After acclimatizing at Raisin Lake for two days, we were rested, relaxed, and excited to begin (like, truly begin) our backpacking journey from Yosemite High Country to Yosemite Valley. Another friend was meeting us for this leg of the trip, so our threesome soon became a foursome.
From the parking lot at May Lake, we drove to the trailhead at Tenaya Lake early Friday morning with our backpacks full of the next five days’ worth of food. Being quite the lavish backcountry cook, it was nearly comical. My pack weighed at least 45 pounds and my first thought as I took off from the trailhead was… Damn, I need to start eating all this food.
For a quick moment I considered gorging myself the first day, losing all the pack weight, and suffering with starvation the rest of the trip. But I resisted, which I was thankful for in my final days when I made the world’s best pasta for dinner (at least, it seemed like the world’s best pasta at the time, complete with sun-dried tomatoes, porcini mushrooms, and grated Parmesan).
We passed Tenaya Lake at the start and it was tempting to just park it on the side and camp right on the lake. Tenaya is a Yosemite classic: a glassy, pristine pool of water surrounded by massive granite domes and pine forests. You could walk right out into the lake and still be knee-deep in water for at least 50 feet. It’s the largest lake in the High Country, and being right off the road, it’s also one of the most visited.
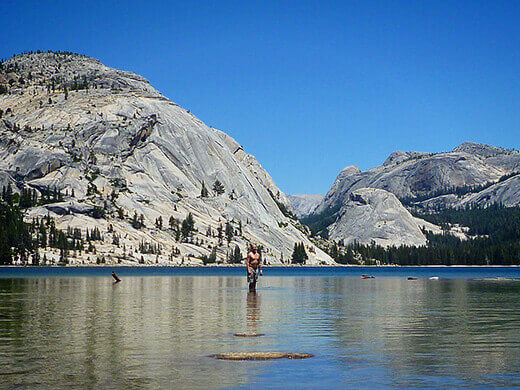
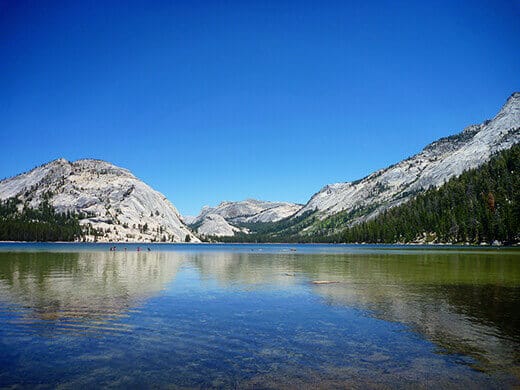
Just two summers ago on a road trip, I went kayaking on Tenaya Lake after a particularly heavy winter. Some of the smaller lakes, like Tioga, were still frozen, and rainstorms caused other lakes to overflow. What was normally a rock hop over the Tenaya outlet turned into a lake ford that year, with some sections waist deep.
As we set out for Sunrise Lakes, I found it so interesting that we were on the same trail I’d paddled over that summer, while watching other hikers wade across with their backpacks over their heads. The lake level was much lower this year after an unseasonably dry winter, but stunning nonetheless. It quickly fell out of view as we headed deeper into the forest toward Sunrise Lakes.
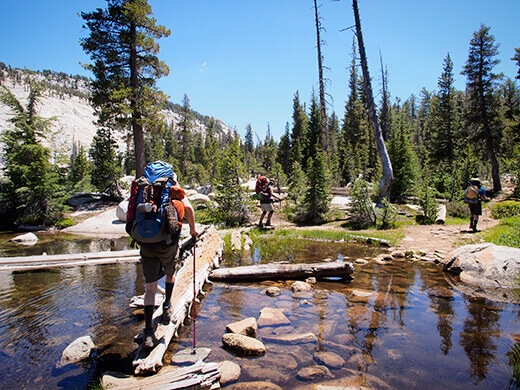
I knew this day would be the most challenging of the whole week, due to the elevation gain and the pack weight, but the first mile and a half of our trail was quite deceiving. It was fairly flat, with some downhill, and we were already used to the high altitude. But after skipping along without a sweat, we reached a series of steep switchbacks that was so brutal, I was trying to conjure a sherpa to carry my pack to the top. And maybe me on his back as well.
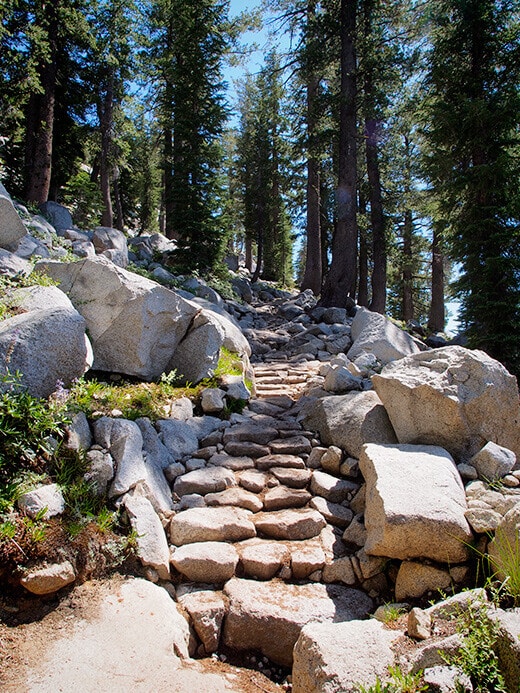
In the hot afternoon sun with hardly any shade, we trudged up a thousand feet vertical in a single mile. It felt like many miles. (And as I came to discover over the course of that week, even a measly 2 miles would feel like a strenuous 5 miles in the end. Amazing what a difference a pack makes at altitude).
By the time we reached the top at the trail juncture, I was a sweaty and sun-baked mess. Nothing a handful of chocolate couldn’t cure though (let me tell you… Trader Joe’s Powerberries, combined with their choco-covered espresso beans, will cure anything).
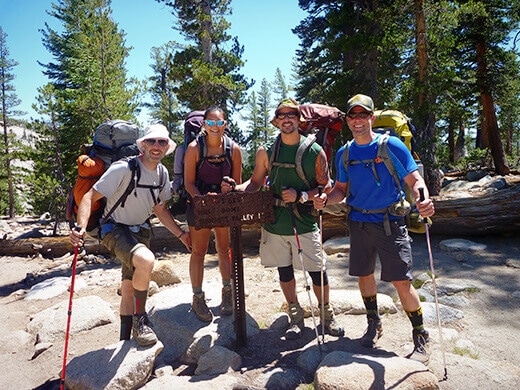
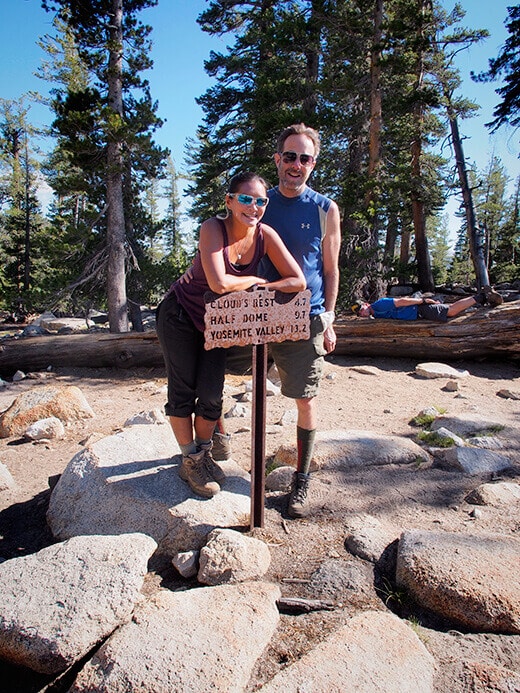
At the juncture were signs leading to several different destinations. There were trails to Cloud’s Rest, Half Dome, and Yosemite Valley (all of them on our list), and many hikers were on their way to one of them. But we turned left on the trail to Sunrise Lakes, a series of three lakes so small that combined, they’re still less than half the size of Tenaya. But what they lack in size, they make up for in seclusion.
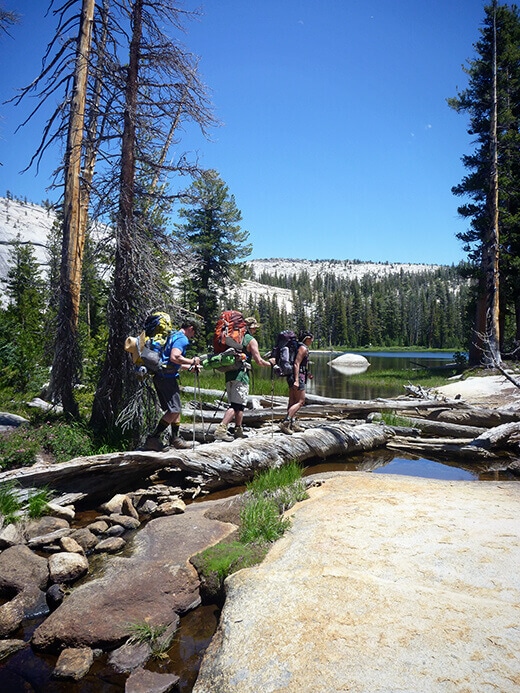
We reached the first Sunrise Lake after half a mile, a beautiful blue gem right next to the trail. We stopped for a moment to take in the view, but pushed on to the second lake, our final destination.
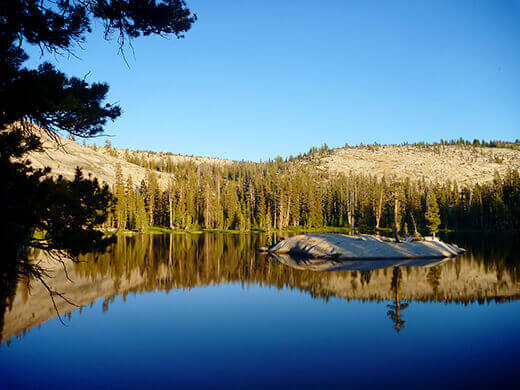
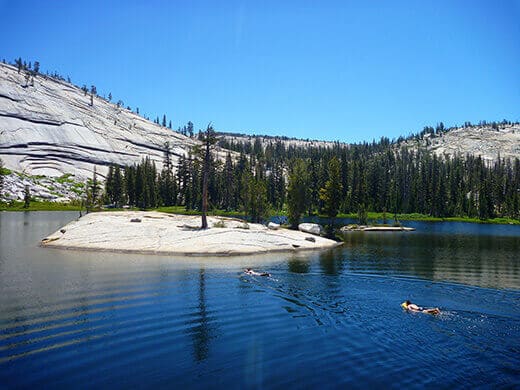
While the trail goes right along the shores of the first and third lakes, it passes just 300 yards south of the second lake. Day hikers could easily miss the turn-off, meaning we’d see less people at the second lake. The second lake is also the only one with a little island in the middle of it, which we’d seen on Google Maps before deciding which one to camp at.
When we arrived, there was not another person around. I immediately threw off my clothes and jumped in the lake in my underwear… I had been waiting all day for this!
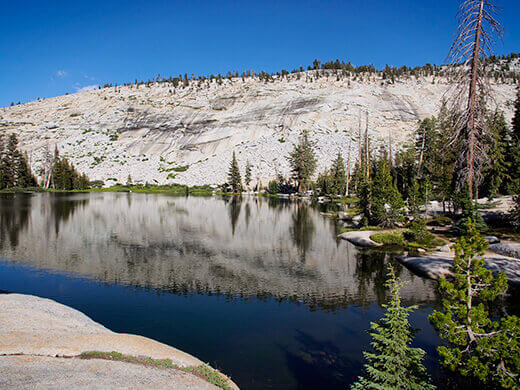
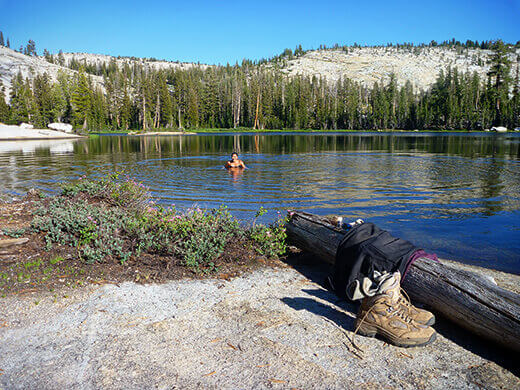
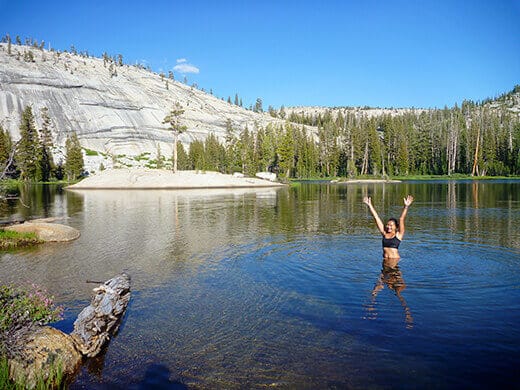
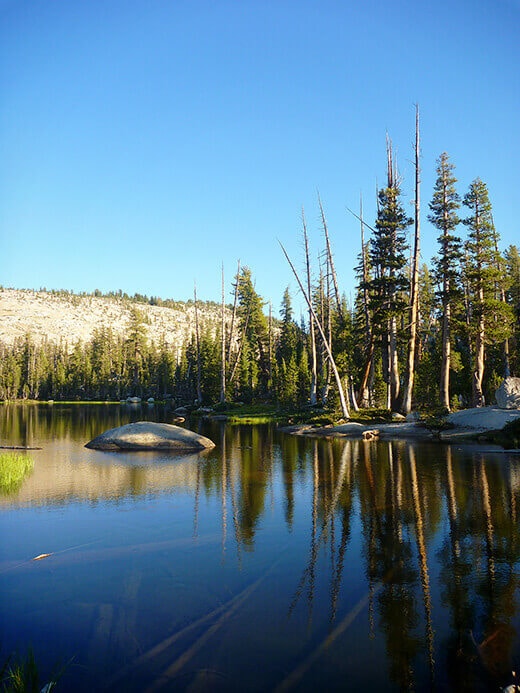
Sunrise Lake wasn’t as warm as Raisin Lake, but the cold water woke up all of my tired muscles within seconds. The sun was still on the lake, warming my face and my back as I swam around.
After setting up the tents, we pulled our chairs up to the shore and opened some wine to celebrate. (For the remaining five days on the trail, we’d carried the equivalent of four bottles of wine with us and made sure none of it was wasted!)
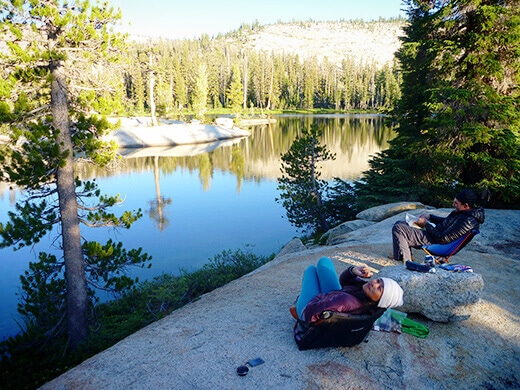
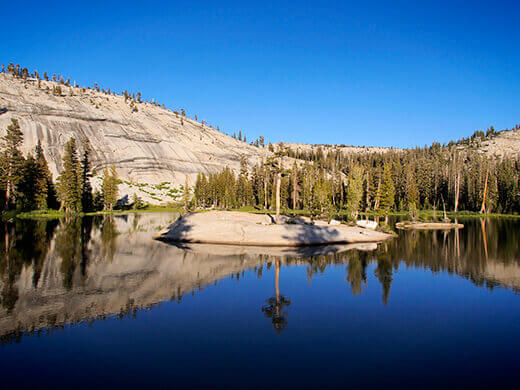
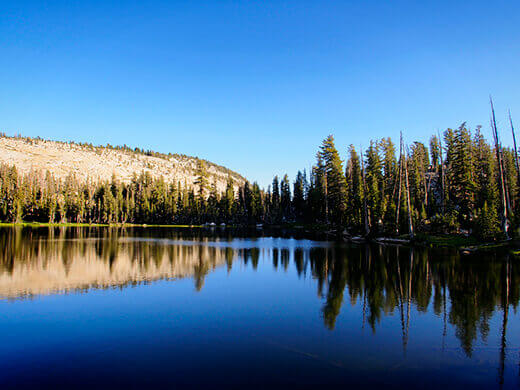
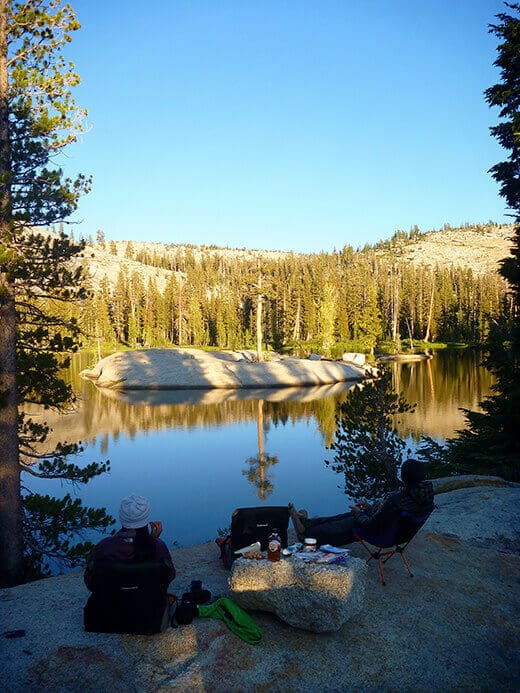
Just before sunset, we followed a stream behind our tent and walked about a hundred feet to the edge of a ridge… We had no idea we were so close!
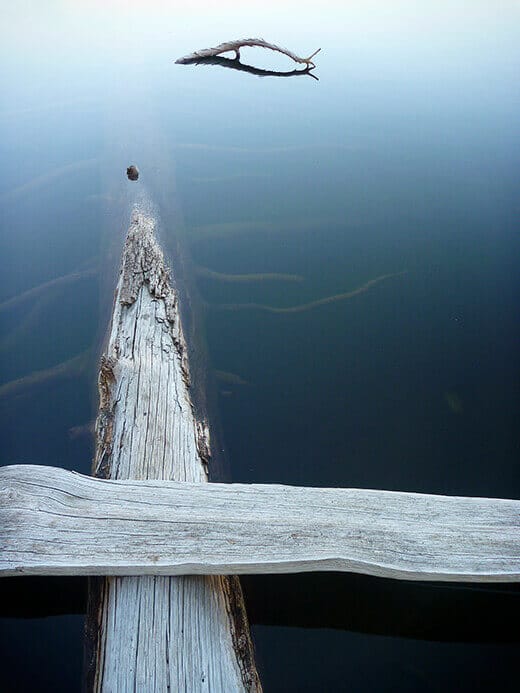
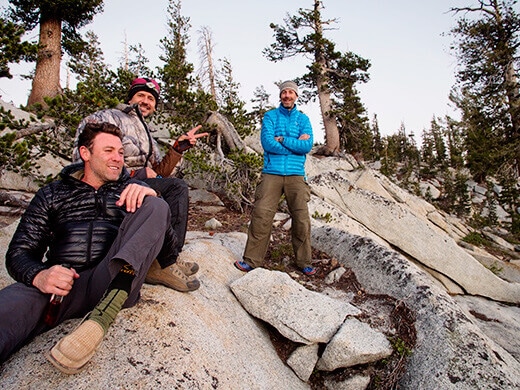
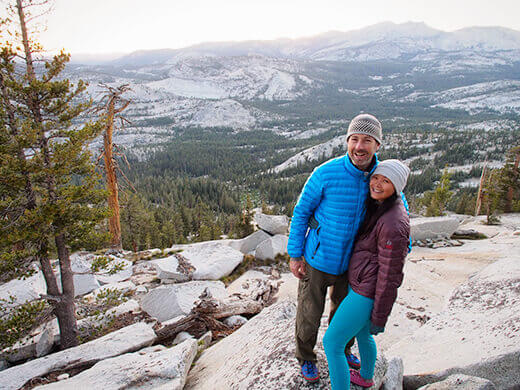
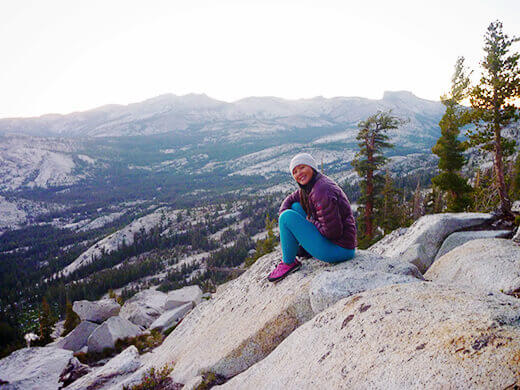
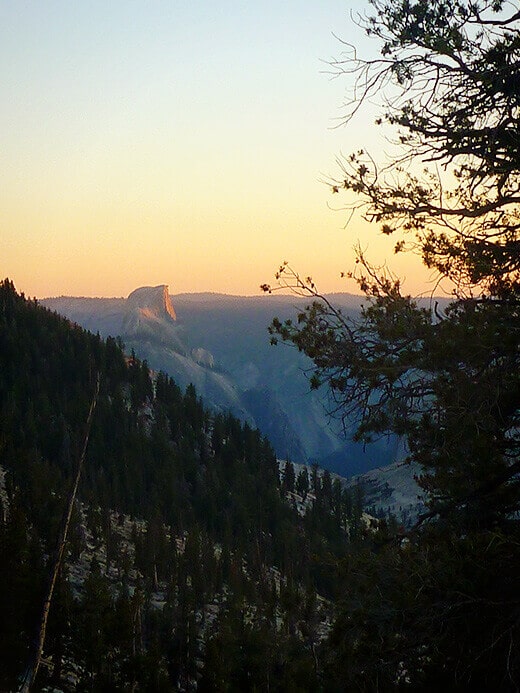
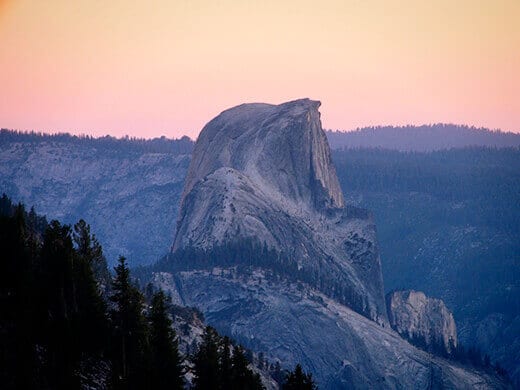
Not only were we on a lake, we were also camped high on a ridge that overlooked Yosemite Valley. In the glow of dusk, Half Dome was awash in shades of pink and orange.
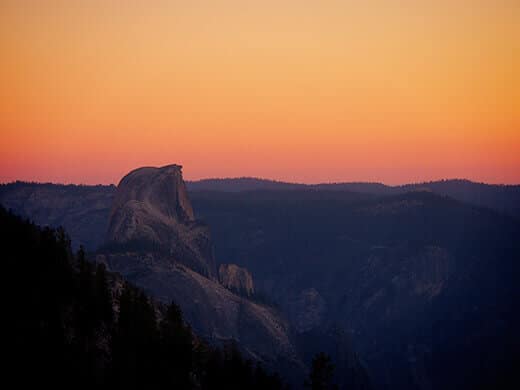
I really did not want to leave the next day and wish we’d packed an extra couple of days into our itinerary. Right as we were getting into our groove, totally set up with our tents and our clotheslines and our fire pit and our makeshift kitchen, we had to tear it all down for the next journey. Doesn’t it always feel that way when you’re camping?
With the next stop on our hike far away from any source of water, we took advantage of the lake as long as we could. Again, alone… and on a weekend, no less.
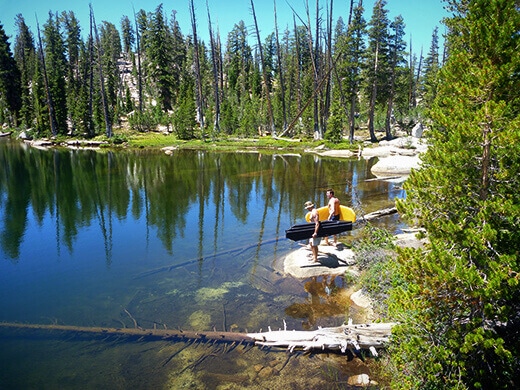
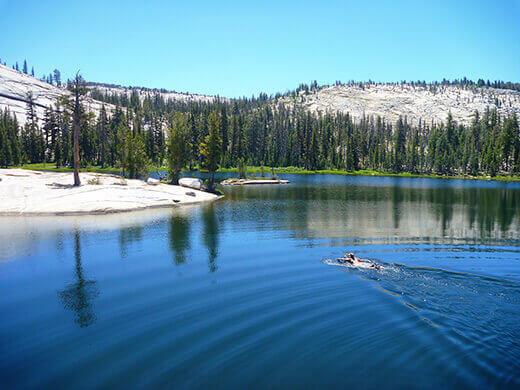
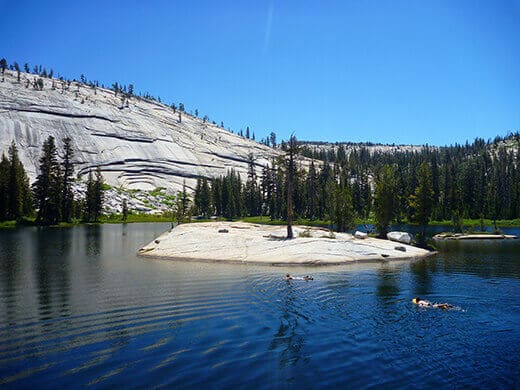
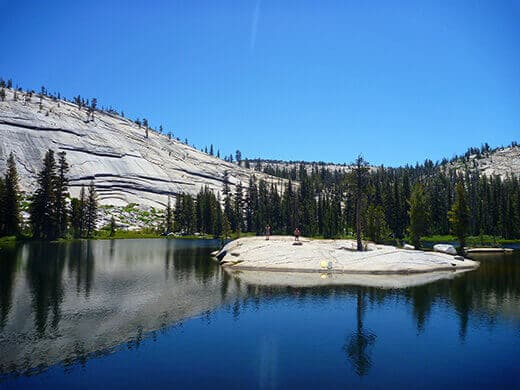
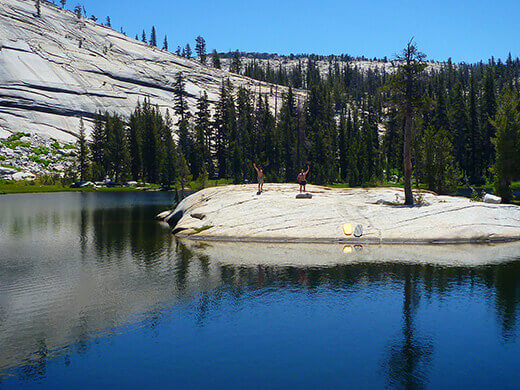
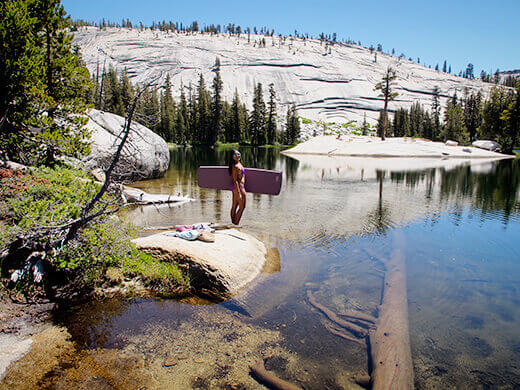
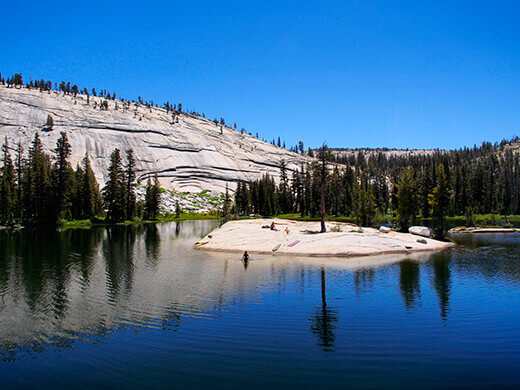
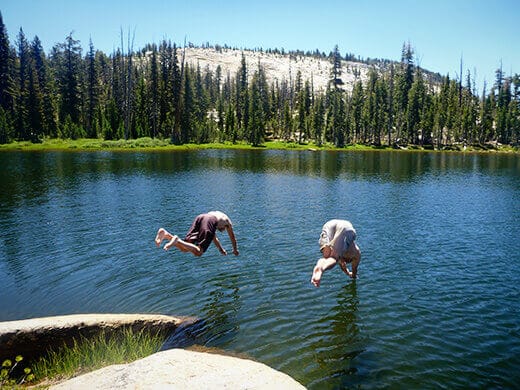
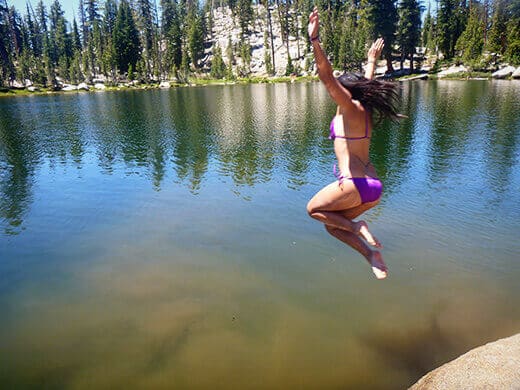
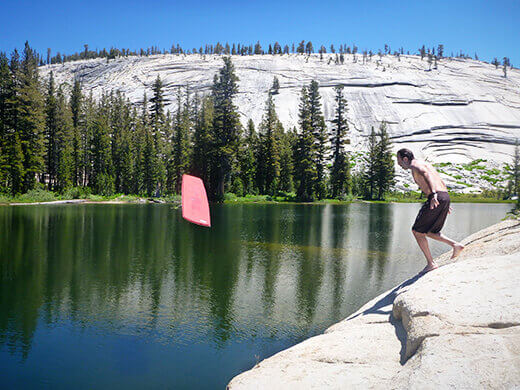
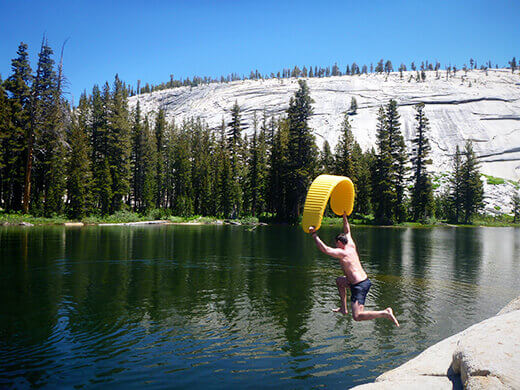
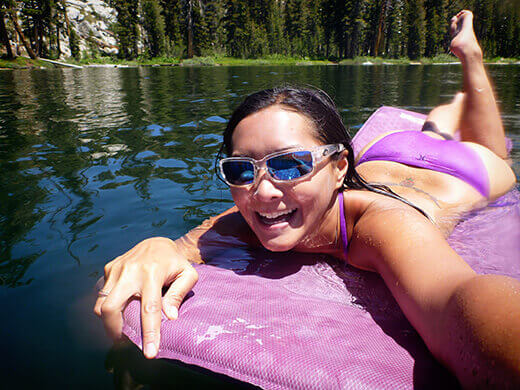
Even though we could swim across this lake and back without much effort, we still felt very, very small in the grand scheme of things.
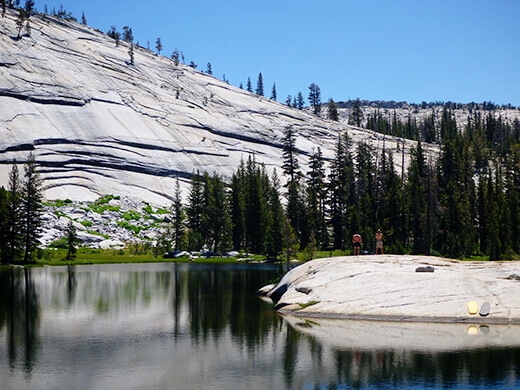
Feeling energized from our dip, we strapped on our packs and set out for the next leg of our adventure: Cloud’s Rest. As heavenly as it sounds!
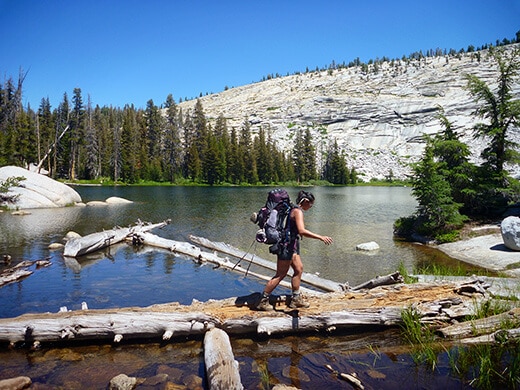
Trail map: Click here
Segment log: 4 miles with 1,300 feet elevation change
Next segment: Sunrise Lakes to Cloud’s Rest
Read the full “Epic Yosemite” series:
- Backpacking to Raisin Lake
- The Start at Tenaya Lake
- Sunrise Lakes to Cloud’s Rest
- Cloud’s Rest to Little Yosemite Valley
- Climbing the Half Dome Cables







Your post inspired me, and so we planned the very same trip this June. Our trip is quickly approaching and the nerves have kicked in high gear. My question is, what trail head did you start at? Our permit is Entry: Sunrise Lakes – Exit: Happy Isles>Little Yosemite. Also, where would you suggest we camp the night before we start?
That was exactly our entry and exit. The day before, we actually did a warm-up hike to Raisin Lake to acclimate: https://gardenbetty.com/epic-yosemite-backpacking-to-raisin-lake/
It’s not as much of a destination as other lakes in the park, so getting an overnight permit was very easy. We camped there for two nights before hiking back out, driving to Tenaya Lake, and starting our week-long backpack.
Enjoy your trip! This is still one of my absolute favorite backpacking adventures EVER. 🙂
How did you get from little Yosemite back to your car?
We took the park shuttle from Happy Isles back to Tenaya Lake where we parked.
I know this post is a few years old, but I’m considering a very similar trip for late August of 2018. I’m a little confused about how/where I need to make reservations for camping?? Since we will be backpacking, do I just need a wilderness permit (and add in a permit to hike Half Dome) or do I need reservations at specific campgrounds, like Little Yosemite Valley?
Any tips you have would be greatly appreciated! Your pictures are gorgeous and it sounds like it was an epic adventure.
Hi, you can apply for a wilderness permit directly from the Yosemite website. Half Dome permits are assigned separately through a lottery process, which can also be found on their site. I suggest reserving them early as permits do sell out for popular trailheads during the summer.
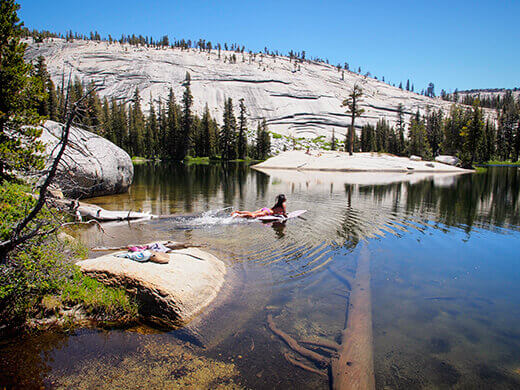
I love that you use your Neoair as a raft. Do they dry pretty quickly? I’m nervous to try it, as I don’t want a damp bed. Any tips?
Yes, just towel it off and leave it out in the sun for a bit, it dries very quickly!
Hi, is there any visible sign at the Tenaya junction that leads to Sunrise Lakes? Turn left from the sign you stood with?
Also, so the route for Cloud’s Rest according to your entry goes like this: Tenaya Lake, Sunrise Lake, back to Tenaya junction to start the journey to Cloud’s Rest and from there descend to Half Dome?
p/s is it legal to camp at Cloud’s Rest?
Yes, there are signs at the major trail junctions since many people do them as day hikes. I suggest getting a topo map of Yosemite and familiarizing yourself with the route you want to take (and any water sources available). The Google map I link to in the post should only be used as a rough guide.
As for camping on Cloud’s Rest, you’ll have to call the park and find out if it’s still allowed. It’s sort of a gray area.
What a great trip! We are looking to do the same trip mid- to late-June. Your pictures and descriptions have gotten me super excited. I’m a bit nervous about packing food for 4 nights, 5 days, as this will be my first trip of more than 2 nights. Any suggestions for a good meal plan?
Sorry for the late response to this, but I hope you had a great trip! For future reference, my typical backpacking meal plans look something like this:
Breakfast – Multi-grain oatmeal with nuts, dried or freeze-dried fruit, jam, and honey (the first oatmeal or two also gets fresh apple or other hard fruit); ramen or other instant noodles; instant mashed potatoes with bacon bits and cheese; croissant, banana bread, or other bread/pastry.
Lunch – Tortilla wraps or pita pockets with any combination of hard cheese, salami or other cured meats, vacuum-sealed tuna or salmon, carrot and broccoli slaw, oil-packed sun-dried tomatoes, marinated roasted red bell peppers, marinated artichoke hearts, spinach and hummus (both of which I only bring for the first day).
Snacks – Apples, clementines, peanut butter, crackers, hard cheese, cured meats, spam musubi (I make my own and they last 3-4 days in cool weather), olives, trail mix.
Dinner – Dehydrated backpacking meal (Backpacker’s Pantry-type pouches) with my own add-ins (like dried mushrooms, sun-dried tomatoes, cheese, shallots, garlic, olive oil, and any fresh herbs or veggies I’m able to carry in). I also like vacuum-sealed fresh noodles (udon or ramen), Japanese curry (the boil-in-a-bag versions), quinoa with spam and kimchi, and the plethora of dehydrated and instant foods you can find in the processed foods aisle (I’ve had pretty good chili, stews, jambalaya, and potatoes this way).
The key, for me, is bringing a variety of extras that can amp up an otherwise bland meal. I always tote along a cube or two of chicken bouillon, plus packets of jam/jelly, honey, olive oil, Dijon, salt, pepper, red wine vinegar, soy sauce, hot sauce, crushed red pepper flakes, Parmesan – the kind of stuff you get from fast food restaurants. Also, fermented foods like kimchi and sauerkraut are great additions to meals. And I make the first day of meals the most luxurious with loads of fresh vegetables, since I don’t have to carry them in too far.
Hope this helps with planning your next excursion!
This is great.. great descriptions and great photos. You went in August? How much of a mosquito problem did you have? Did your first little loop north of the road have more mosquitos? What would you do differently?
My Yosemite trip happened in 2013 and there were no mosquitoes that time of year. Best to call the ranger station and ask them what it looks like this year, since it depends on how much precip they had. I loved every second of this trip and would not have done anything differently, other than spending more time at camp!
How long did it take you to hike from Tenaya Lake to your spot at Sunrise lakes?
That depends on how fast you hike at high elevation and whether you’re carrying a pack. It’s 4 miles and the first mile is about 1,000 feet gain.
Simone Anne liked this on Facebook.
RT @theGardenBetty: A backcountry adventure from one amazing lake to another. Epic Yosemite: The Start at Tenaya Lake http://t.co/AkfuuCmAf…
RT @theGardenBetty: Backpacking should always be this fabulous. Epic Yosemite: The Start at Tenaya Lake http://t.co/P5ksLQiqfR < TY for RT!…
RT @theGardenBetty: Backpacking should always be this fabulous. Epic Yosemite: The Start at Tenaya Lake http://t.co/P5ksLQiqfR < TY for RT!…
Backpacking should always be this fabulous. Epic Yosemite: The Start at Tenaya Lake http://t.co/P5ksLQiqfR < TY for RT! @rockmaven56
RT @theGardenBetty: Check out the next story in my Epic Yosemite series: The Start at Tenaya Lake http://t.co/YN7RPeW6UG #adventure < TY fo…
Great trip report and pics!
Thanks!
Check out the next story in my Epic Yosemite series: The Start at Tenaya Lake http://t.co/YN7RPeW6UG #adventure < TY for RT! @HikingHaven
RT @theGardenBetty: Three days into my week-long wilderness adventure. Epic Yosemite: The Start at Tenaya Lake http://t.co/vPjHyH5cnt #cali…
RT @theGardenBetty: Three days into my week-long wilderness adventure. Epic Yosemite: The Start at Tenaya Lake http://t.co/vPjHyH5cnt #cali…
Three days into my week-long wilderness adventure. Epic Yosemite: The Start at Tenaya Lake http://t.co/vPjHyH5cnt #california #backpacking
A backcountry adventure from one amazing lake to another. Epic Yosemite: The Start at Tenaya Lake http://t.co/AkfuuCmAfq #wilderness #hike
RT @theGardenBetty: Backpacking should always be this fabulous. Epic Yosemite: The Start at Tenaya Lake http://t.co/P5ksLQiqfR #california …
RT @theGardenBetty: The true beginning of our week-long journey in the wilderness. Epic Yosemite: The Start at Tenaya Lake http://t.co/hnLb…
RT @theGardenBetty: The true beginning of our week-long journey in the wilderness. Epic Yosemite: The Start at Tenaya Lake http://t.co/hnLb…
The true beginning of our week-long journey in the wilderness. Epic Yosemite: The Start at Tenaya Lake http://t.co/hnLbxVzVBK #backpacking
RT @theGardenBetty: Check out the next story in my Epic Yosemite series: The Start at Tenaya Lake http://t.co/0MVfxRLirI #california #hiker…
Check out the next story in my Epic Yosemite series: The Start at Tenaya Lake http://t.co/0MVfxRLirI #california #hikerchat #adventure
linda! so lovely! i have not backpacked yosemite but your half dome hike post put it on my list! one day you and will should consider doing 3rd beach on the Olympic peninsula. it might be your thing. i love all of your gardening and adventuring posts… however, please forgive me for asking such a silly question…what brand is your white hat? (sheepish shrug) i love the shape of it and, being a brunette myself, the lighter color is so much more lovely than the usual black one. i have been wearing a light blue one, but yours looks really great. care to share your gear tips? 🙂 as an adventuress like you, i prefer to discuss adventures rather than my gear, but sometimes the gear can make or break the adventure, ya know? cheers to you, samantah
I’ll have to look up that beach! One day (one day in the not-too-distant future!) I want to drive up the coast from SoCal and end up on the Olympic Peninsula. I’ve only had little tastes of it from visiting Sequim and Vancouver Island before, but I loved my time there. As for my white beanie, it’s made by Coal. I have a few others by them and they’re very well made and warm. (And I am such a gear head… it’s almost as important as the trip itself!)
thank you! i just grabbed one off of dog funk during their “big ass sale.” haha. i’m not really their demographic anymore (10 years ago, sure) but cc# still worked. 🙂 more details on 3rd beach: the trail head starts outside of la push, washington. the trail itself is a mix of beach and headland topography. however to get from the beach to the top of the headland, you must climb up a slippery slope on a rope, bat man style. it isn’t technical climbing, of course, but still a nice change from just hauling along a coastline. it is supremely gorgeous. once your hand heals, head north! thanks for a lovely blog, samantha
Sarah Ann Barnard liked this on Facebook.
Nancy Townsend liked this on Facebook.
Michael Q. Serdenia liked this on Facebook.
Epic indeed
Reduan Salleh liked this on Facebook.
Epic Yosemite: The Start at Tenaya Lake:
After acclimatizing at Raisin Lake for two days, we were rested, rel… http://t.co/cCh46U0tUI
Blogged on Garden Betty: Epic Yosemite: The Start at Tenaya Lake http://t.co/4Cq4aKjUqf