Welcome Wall Street Journal readers! If you saw my front-page feature, this is the play kitchen makeover that inspired the story. You can read the full WSJ article at How to Build a Dream Kitchen — for Your Toddler (Complete With a Fake Wolf Range).
My daughter loves to be in the kitchen. (Perhaps a budding cookbook author herself?) She loves to watch me cook and mimic what I do, whether it’s stirring up a pot or pouring liquid from one bowl to another.
She loves it so much, in fact, that we’ve had to install a gate across the opening to our kitchen because it was easier than childproofing each and every cabinet and drawer.
Her curiosity and enthusiasm for pot lids, pot holders, tea towels, food containers, and mixing bowls meant they were always scattered on the floor or disappearing into the living room, where she often set up her own makeshift cooking space.
For months I kept an eye on Craigslist for a reasonably priced play kitchen when I realized that my favorite kitchens, the stylish Charlie and Chelsea collections from Pottery Barn Kids, were over $700! (Sorry, Gemma, I love you but I could buy a lot of things for the real kitchen for that much.)
When I found this KidKraft Culinary Kitchen at a steep discount (after stacking a few coupons on the Target site), I decided to jump on it.
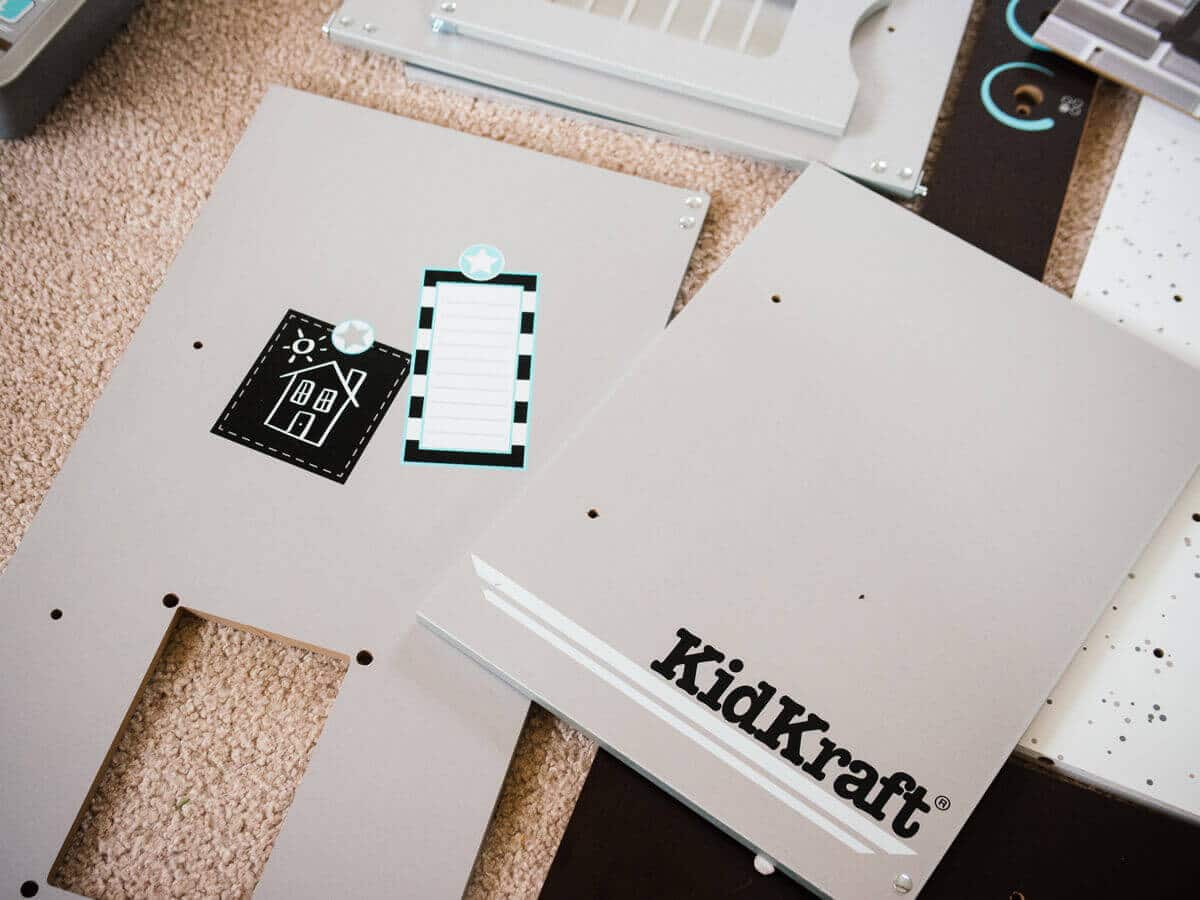
At first glance, there’s nothing inherently wrong with the KidKraft kitchen. It was fairly neutral compared to all the other pastel or primary-colored kitchens on the market, and it was one of the more modern and realistic toy kitchens I found.
I liked the features of this particular model because of the fridge and freezer, the gas burners with clicking knobs, and most importantly, the height of the whole thing.
A lot of toddler kitchens are tiny (no more than 30 to 36 inches tall), and I wanted one that could grow with Gemma for several years. This one is 40 inches tall but still small enough to tuck into a corner of the living room.
And therein lies the problem. Since it was going to live in our living room, it wasn’t vibing with my design sensibilities. It was too dark, too juvenile, and I really dislike logos on, well, anything.
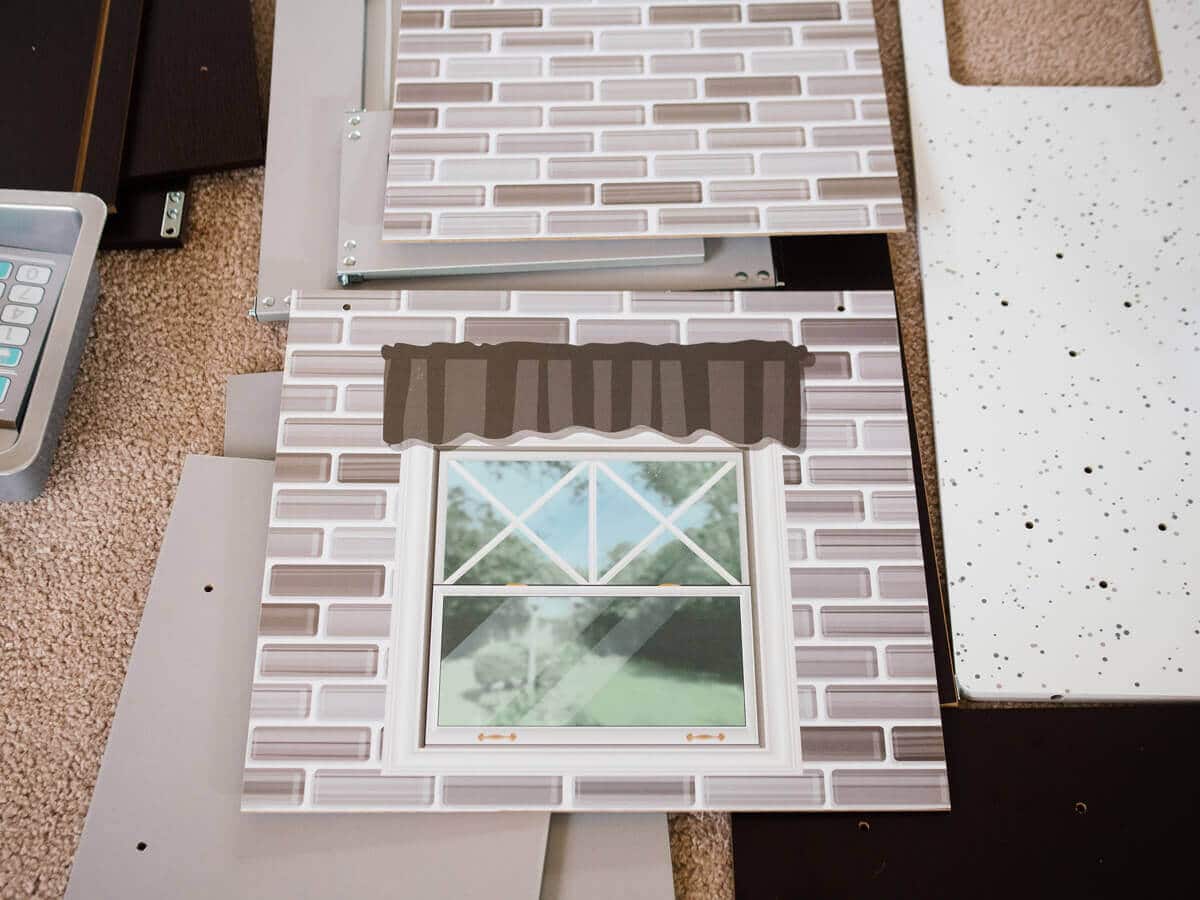
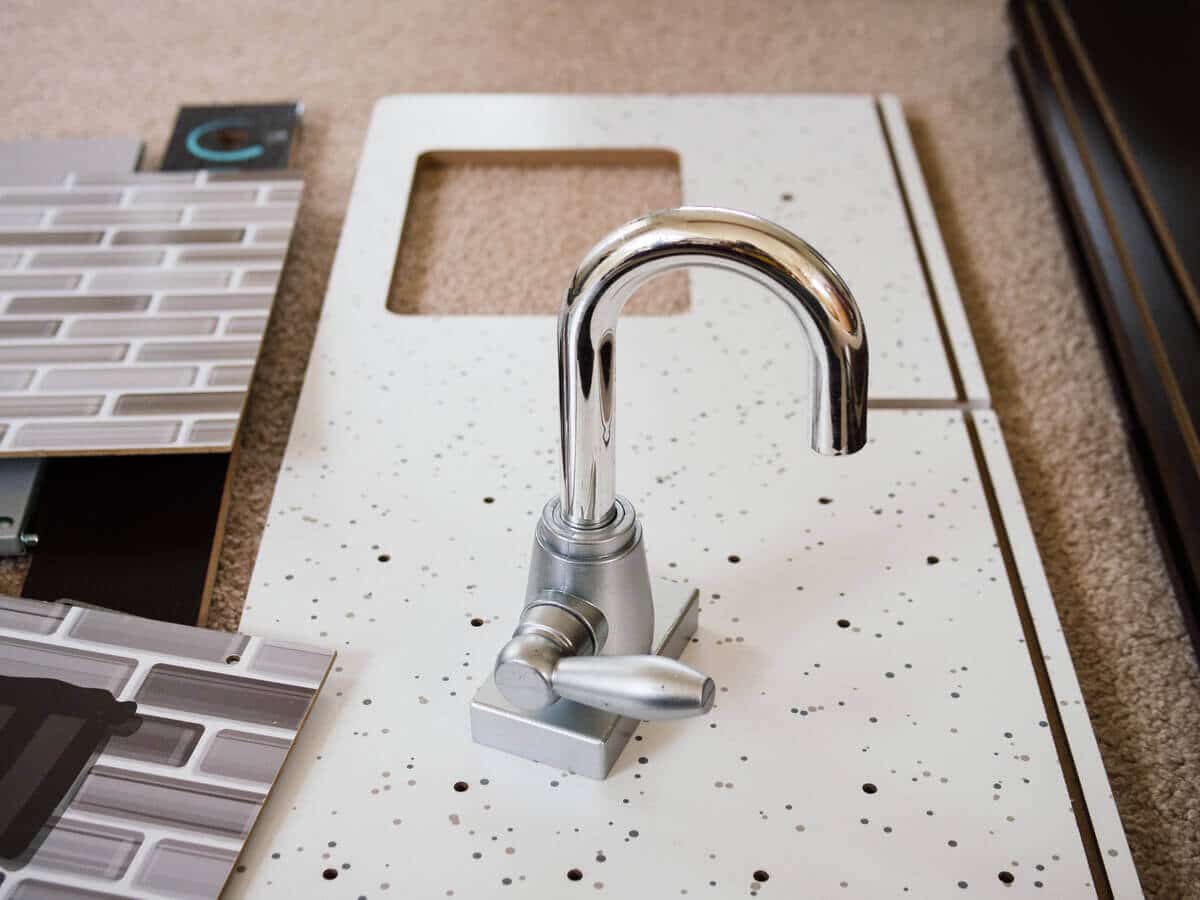
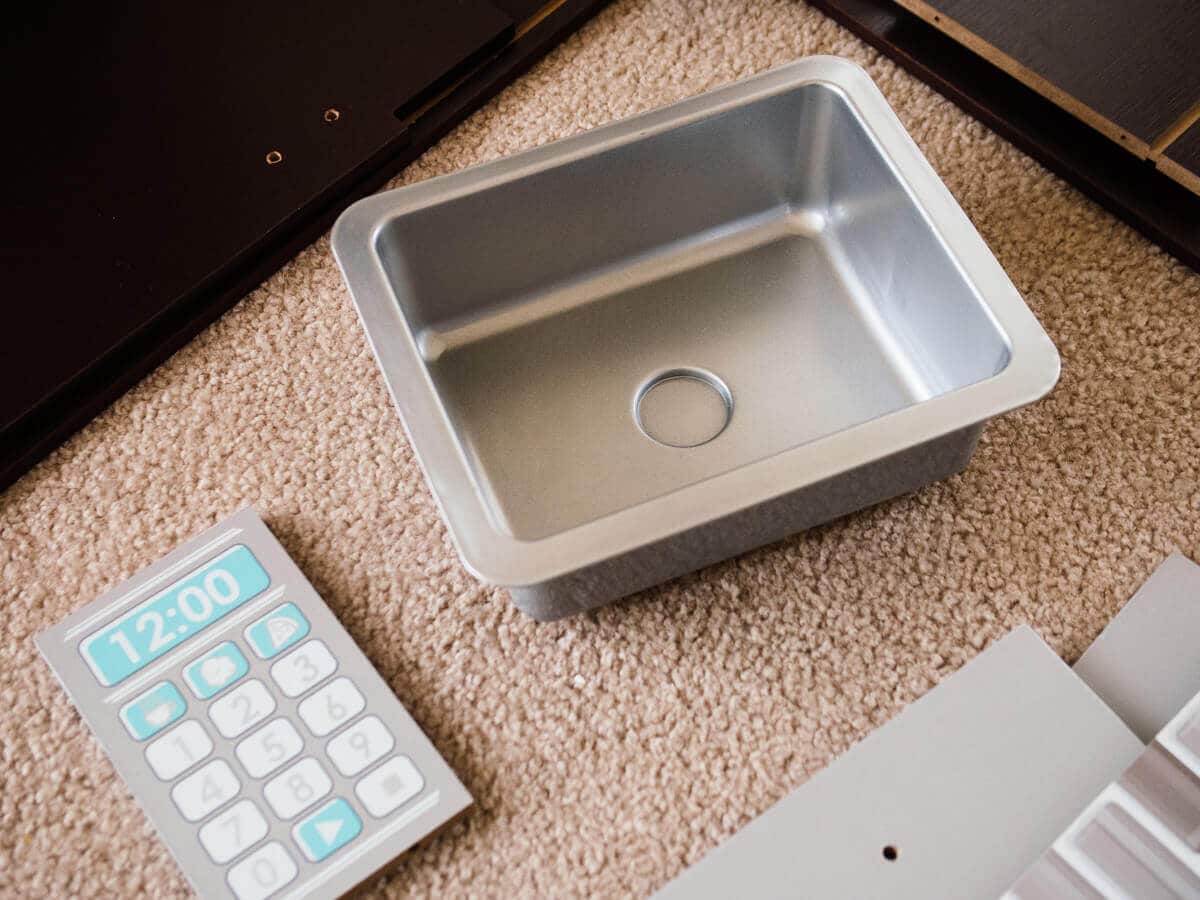
I’ve been pinning beautiful kitchens for the past year as inspiration for our future house (you can see that pinboard right here) and I decided to have a little fun with “remodeling” the KidKraft space into the pint-sized kitchen of my dreams. This play kitchen makeover would sort of be a trial run to see if I truly liked the direction I was going in my mind.
If I could design a kitchen from scratch, my style would tilt toward airy, organic, and modern. I love industrial elements juxtaposed with warm wood accents, natural textures and shapes, and pops of fresh greenery.
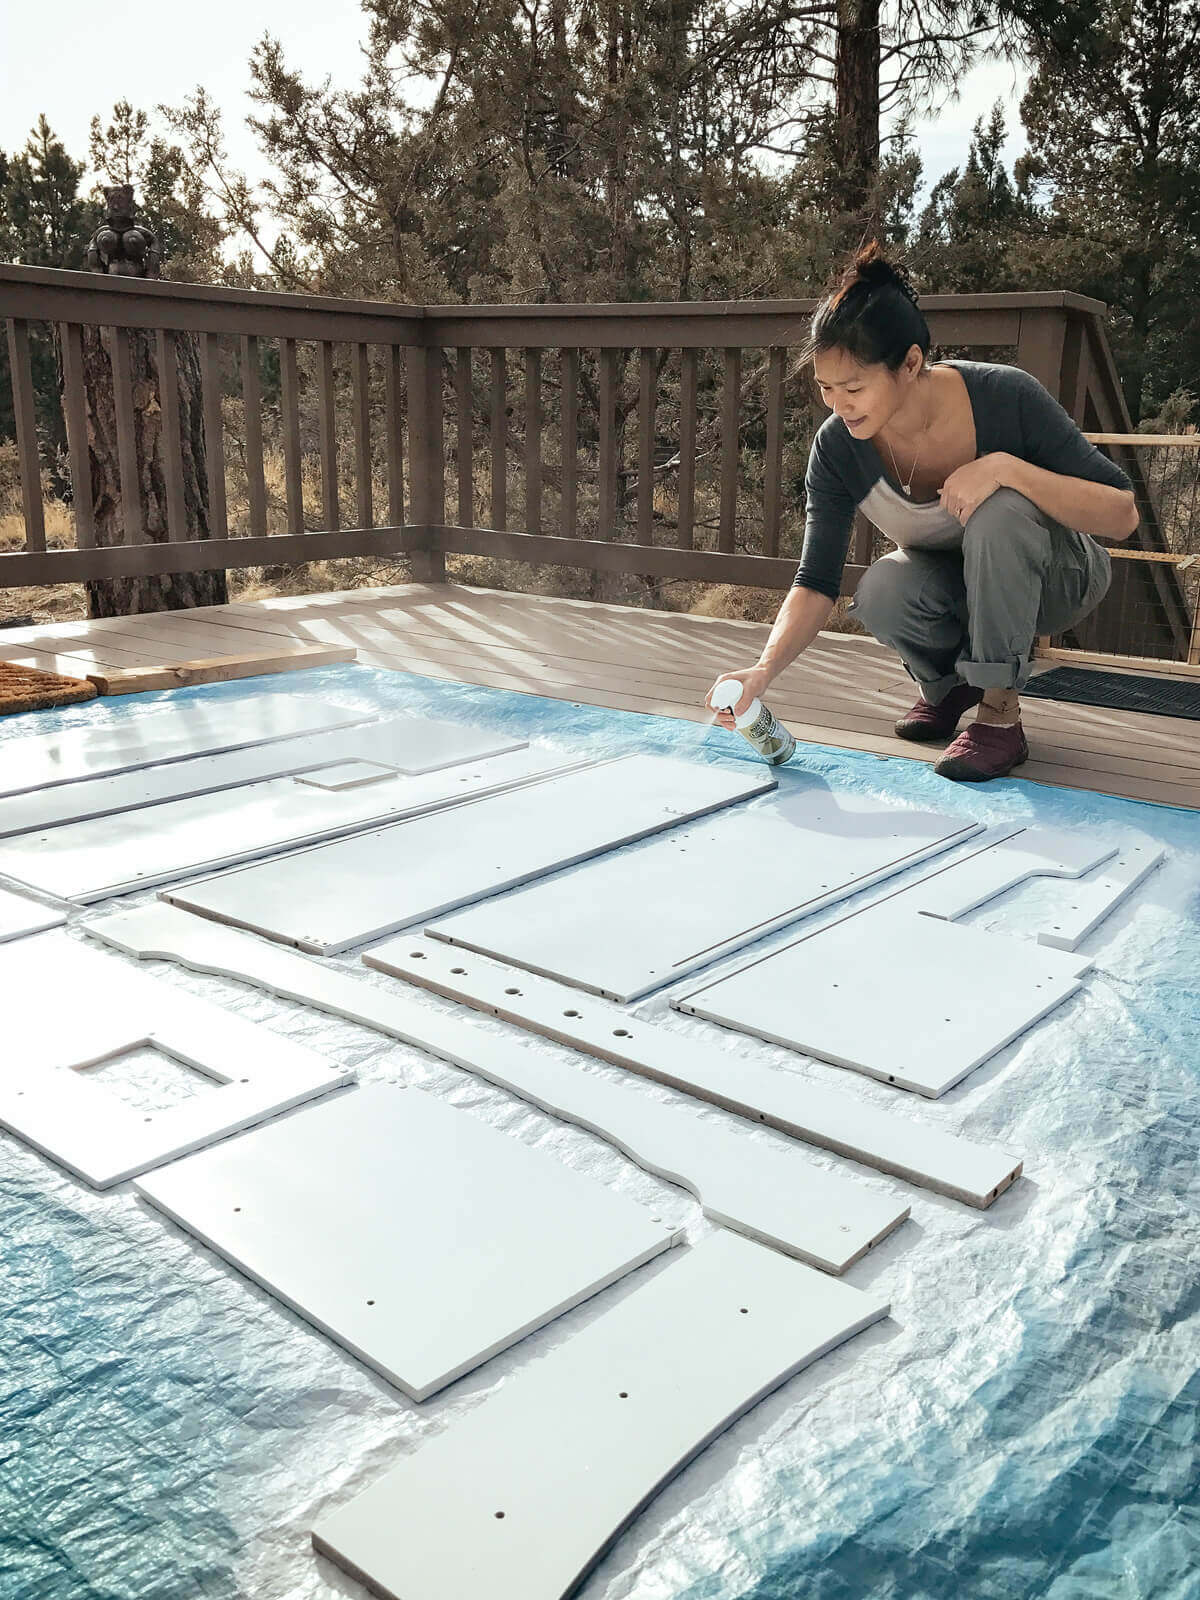
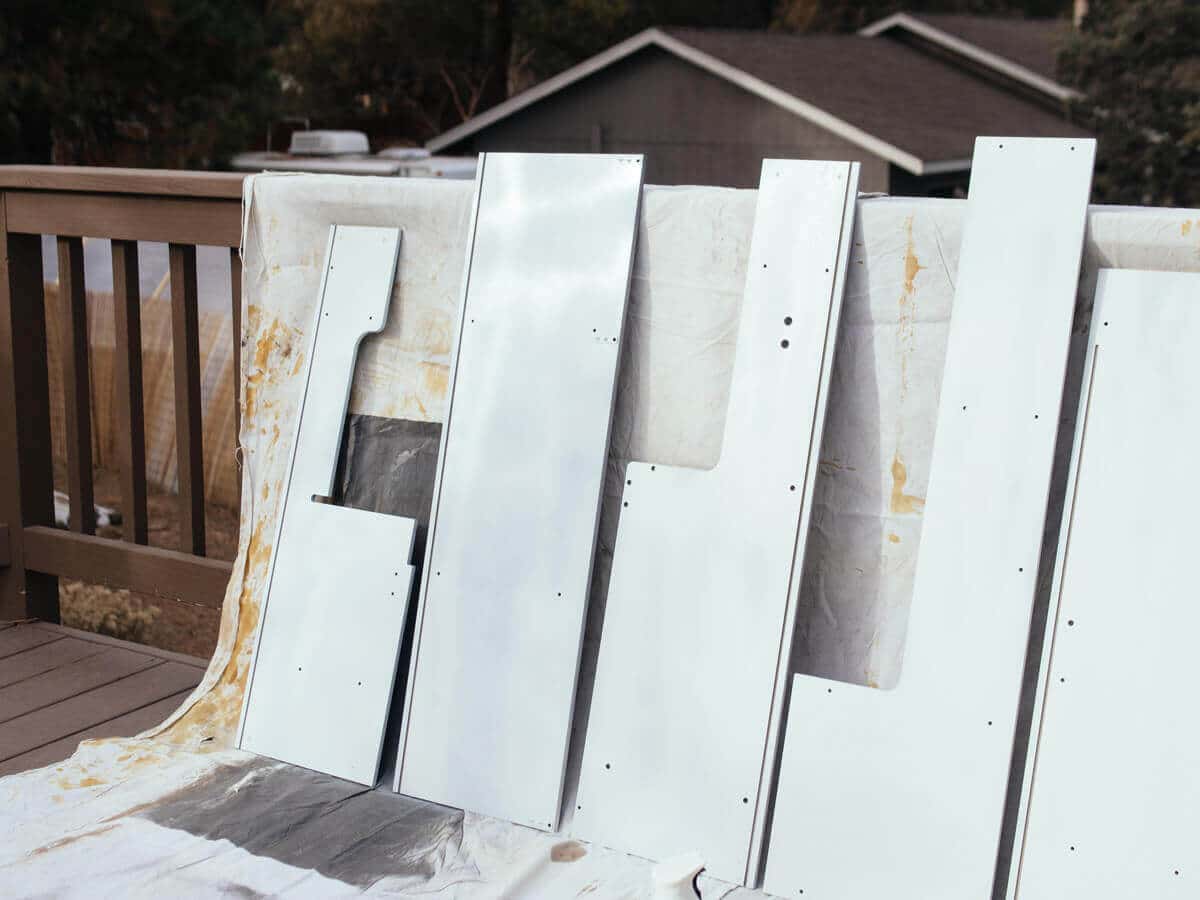
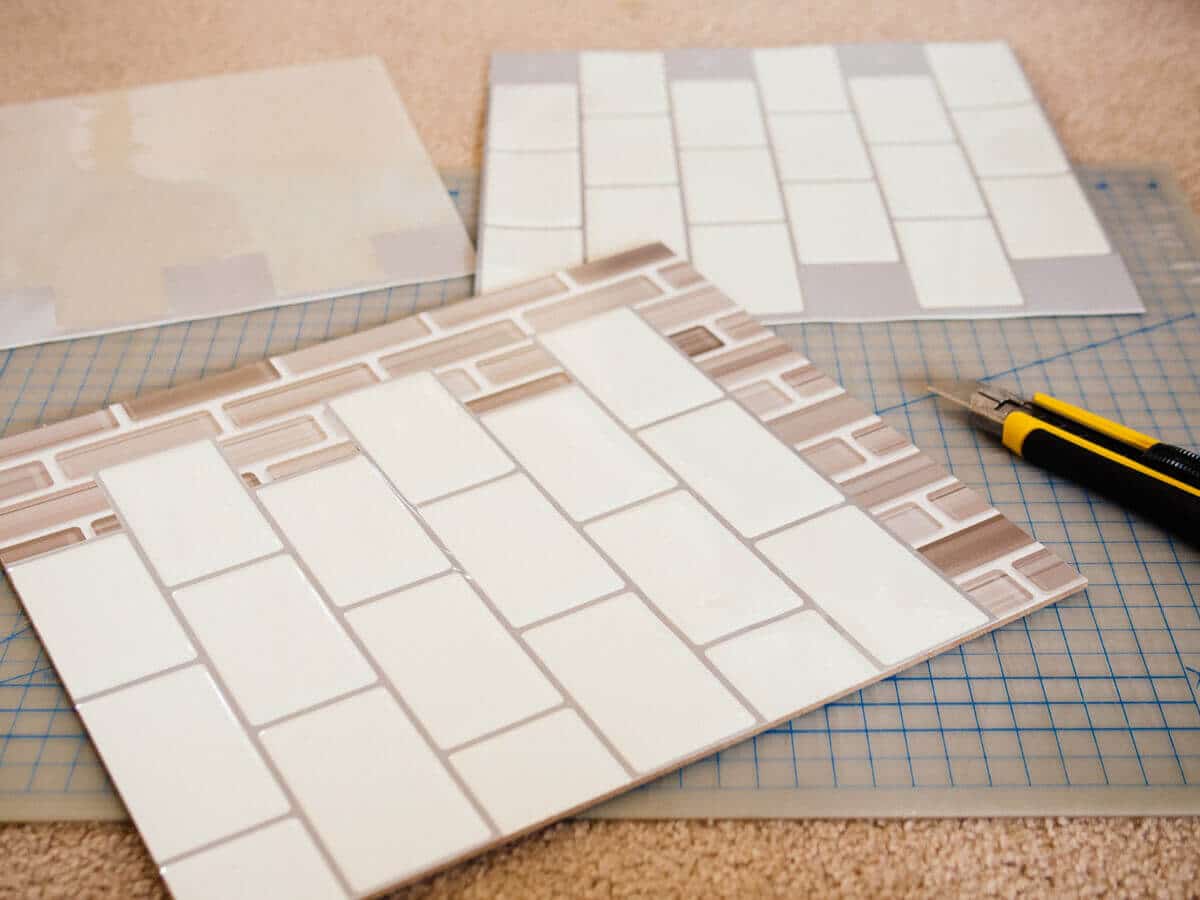
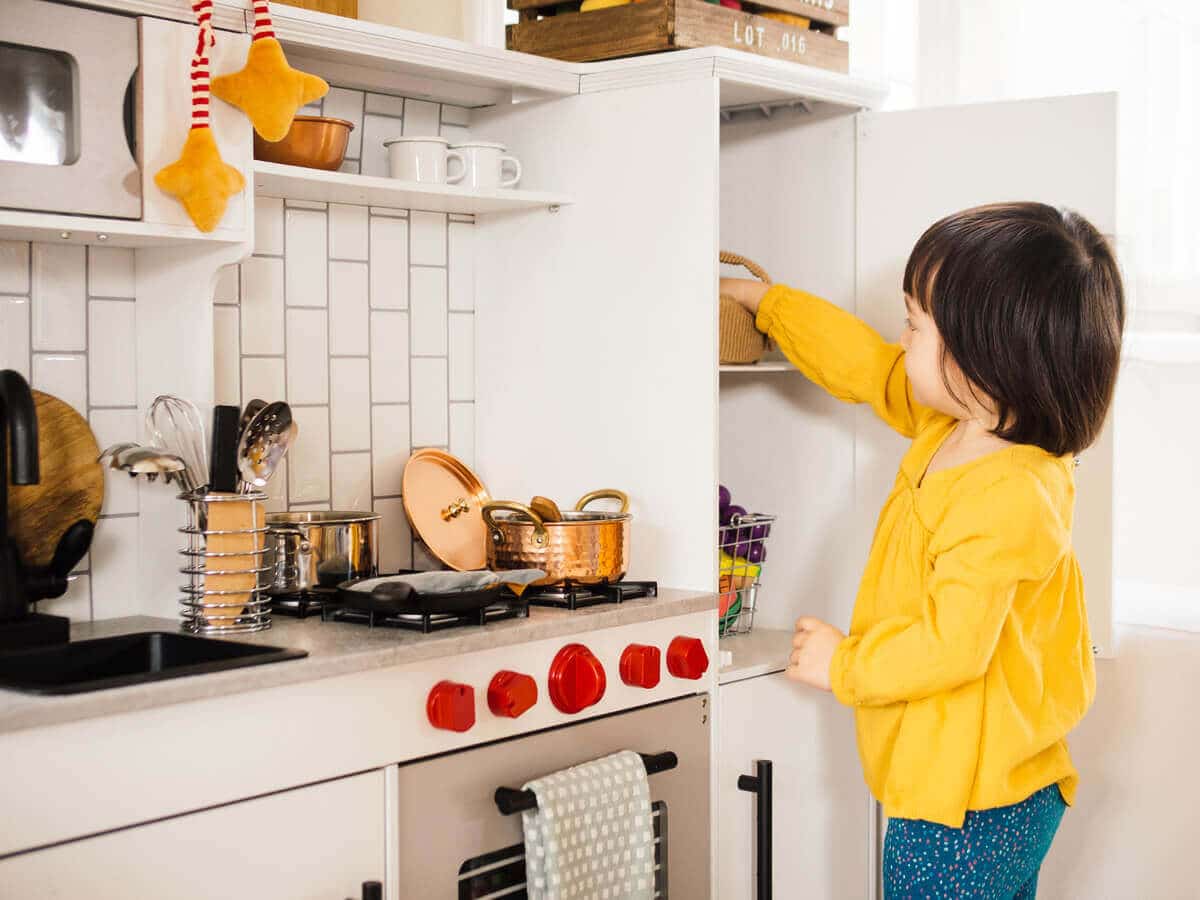
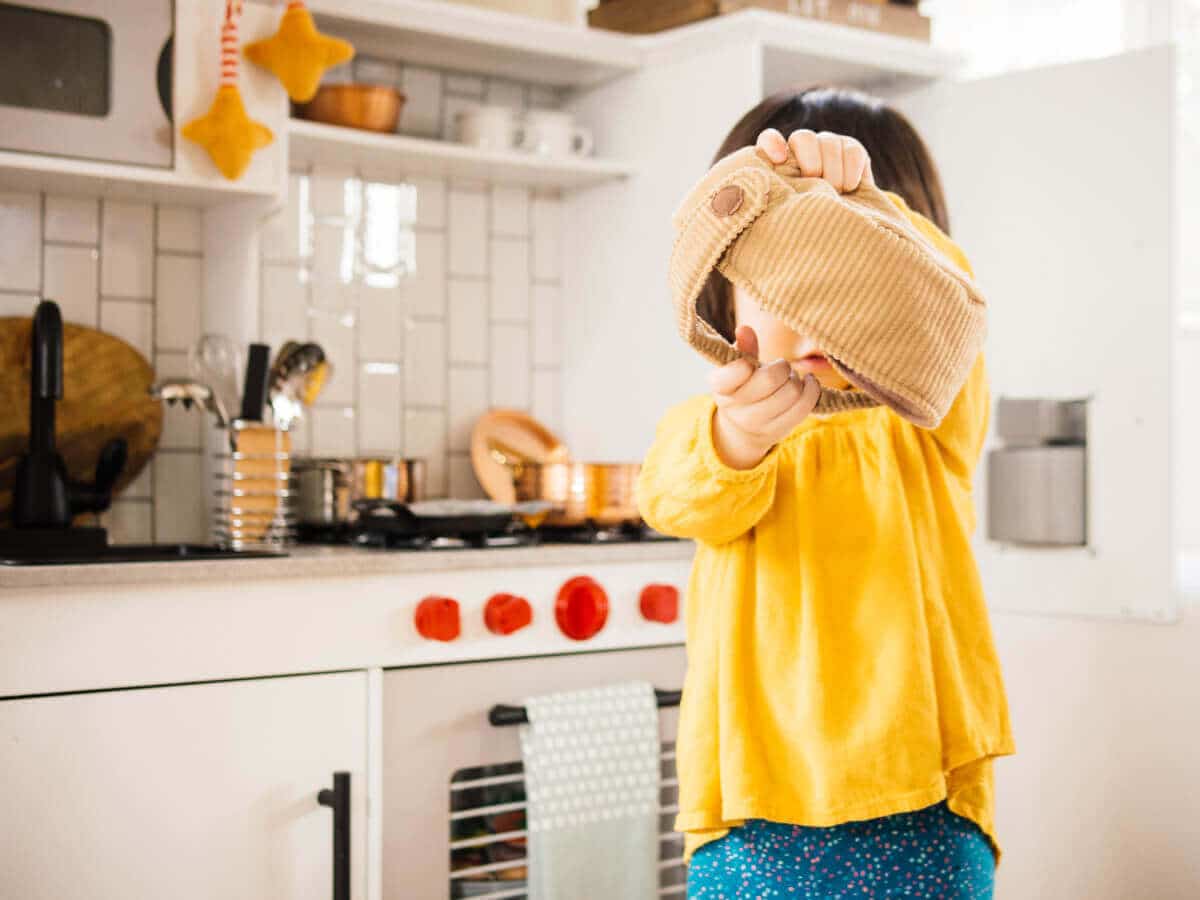
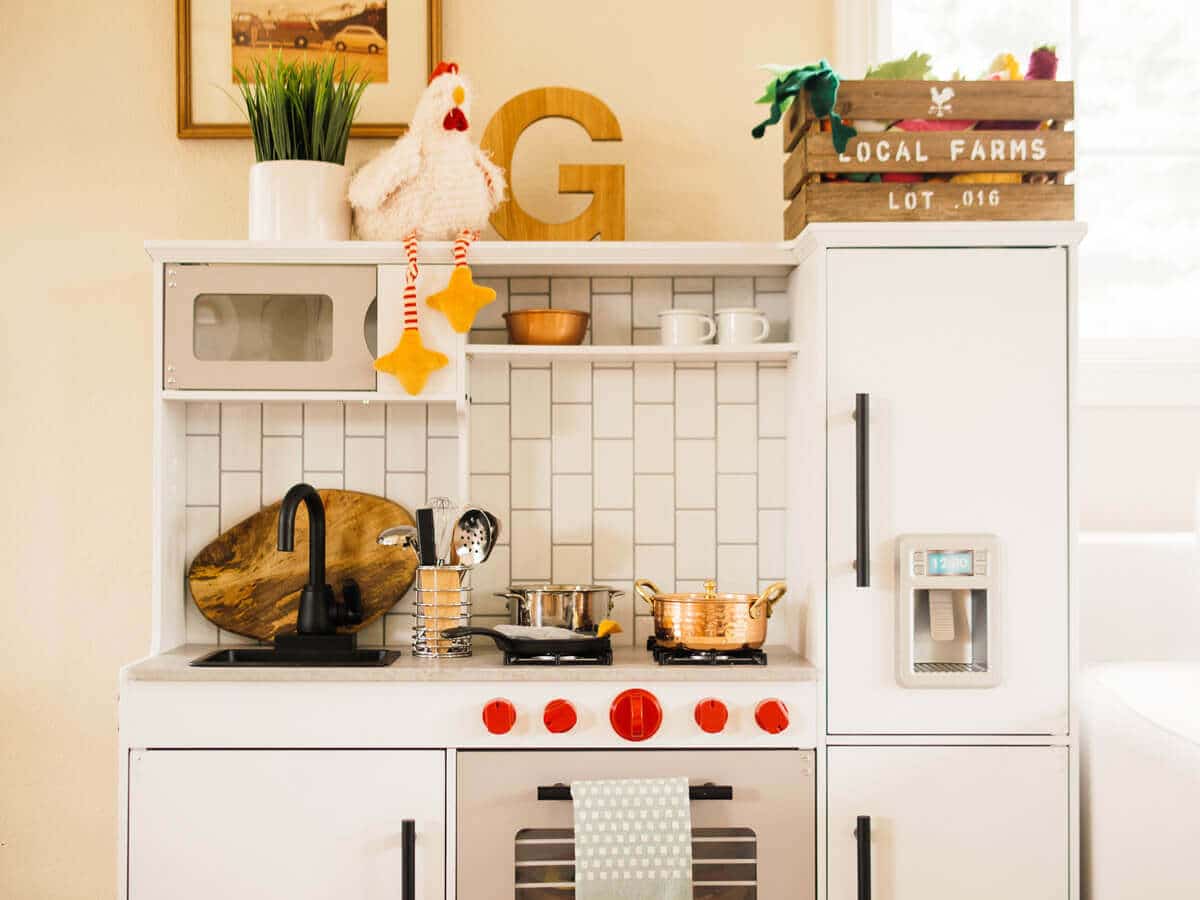
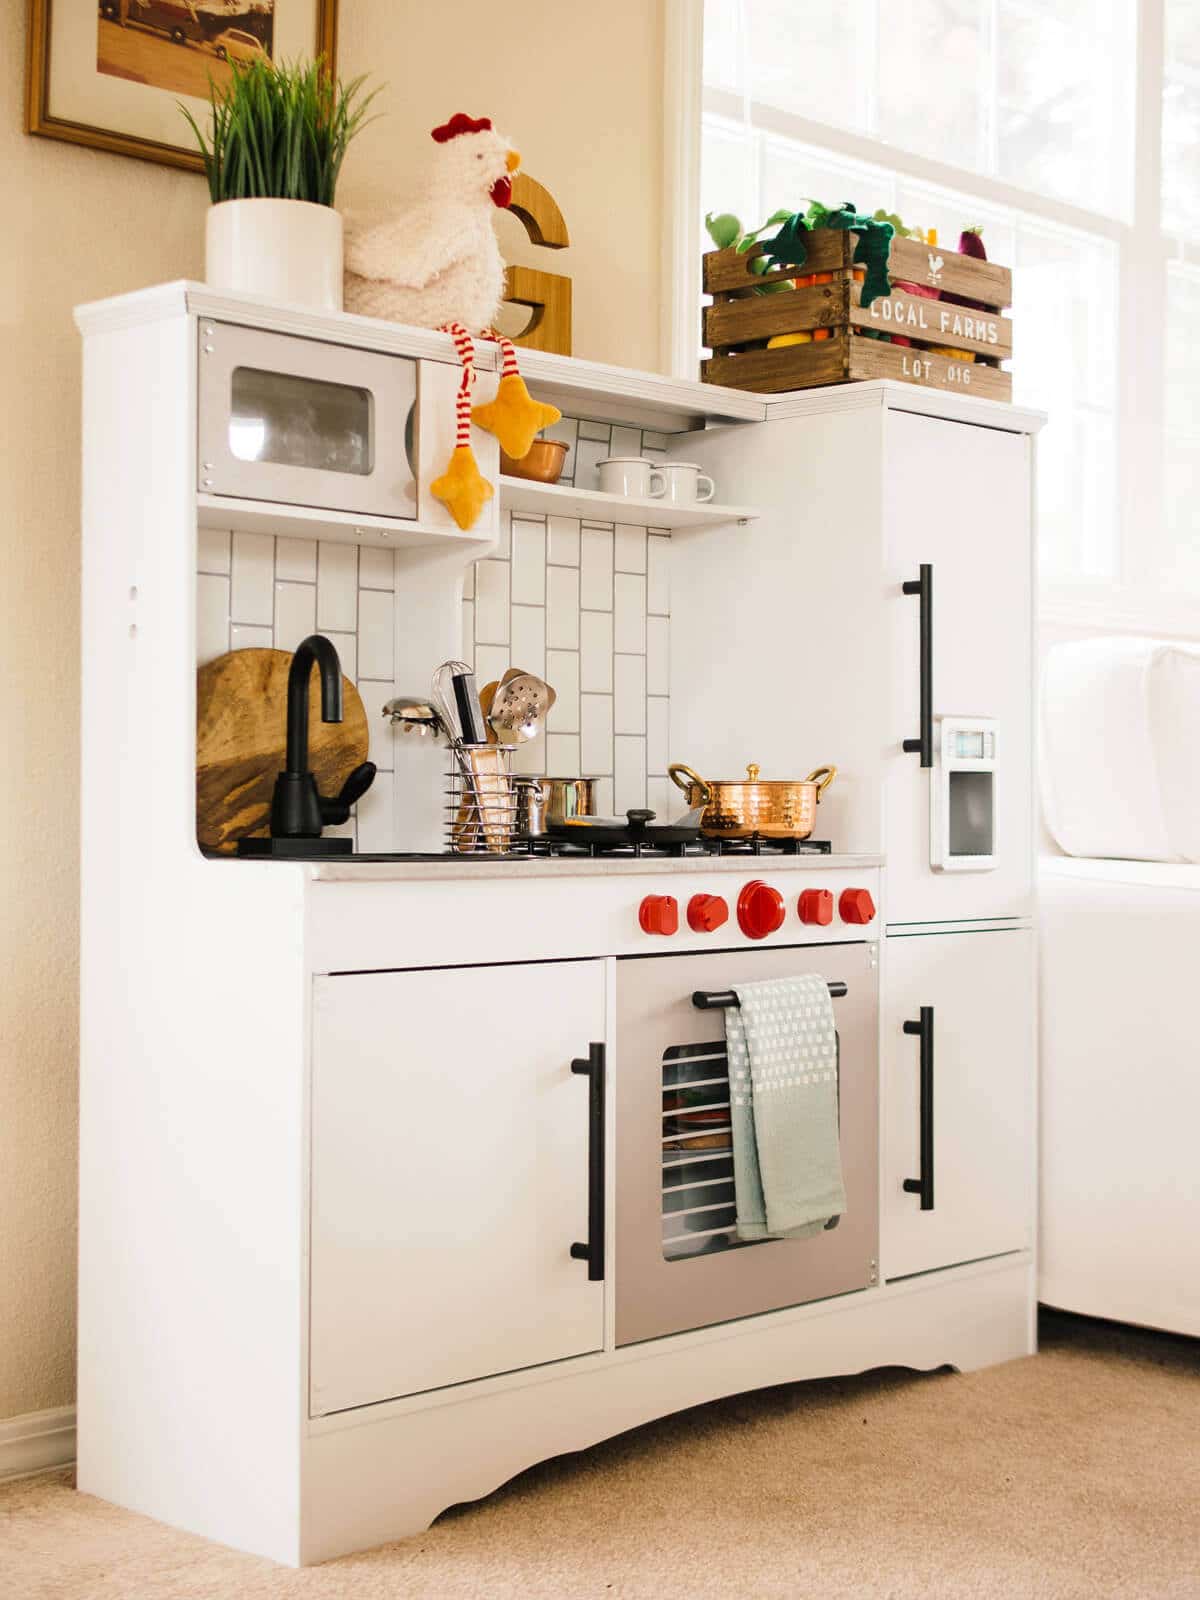
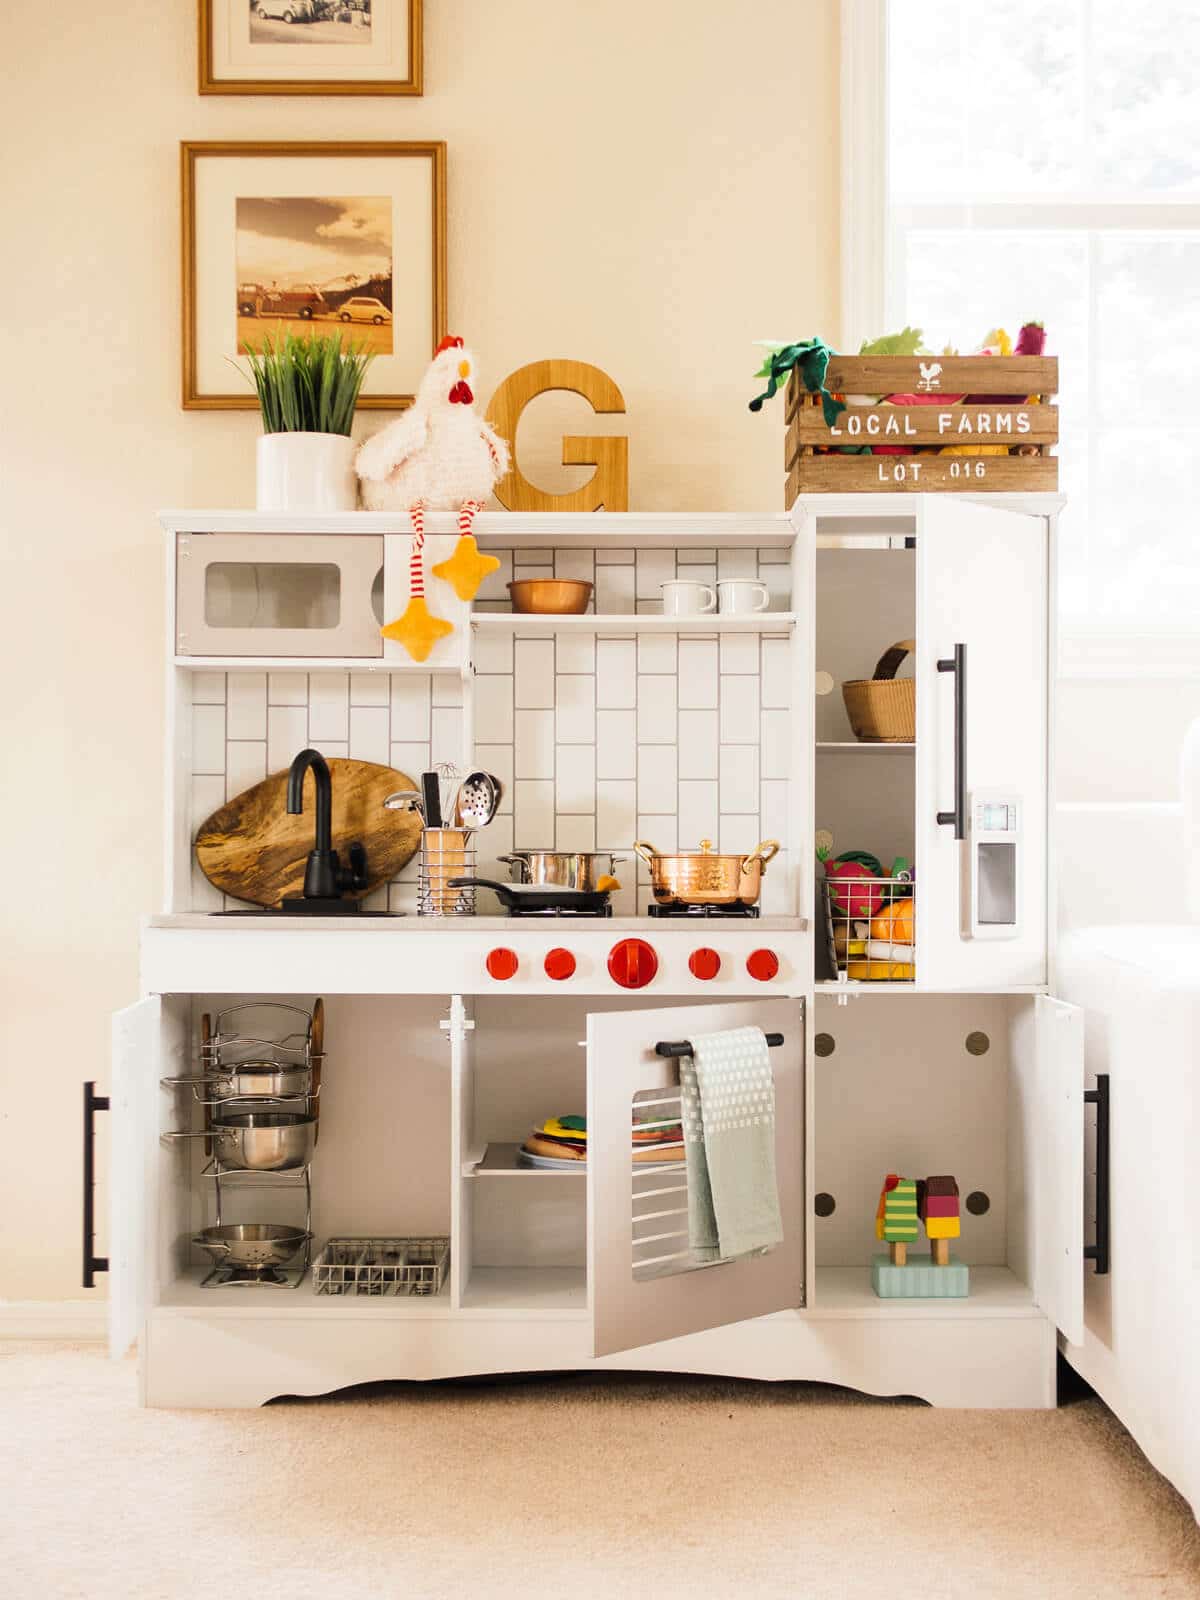
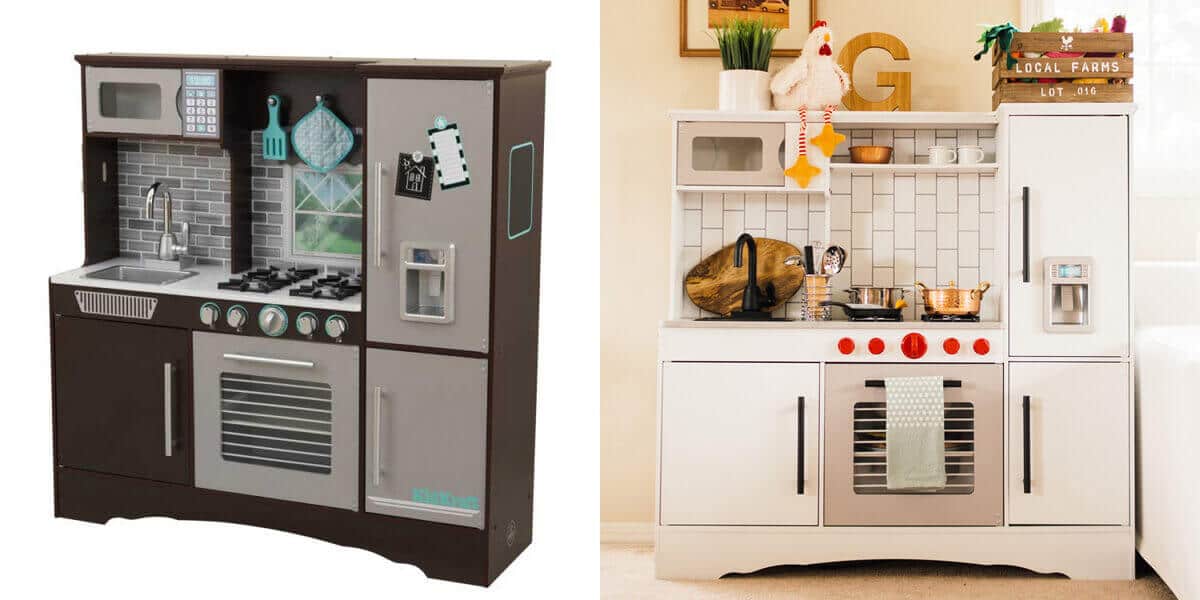
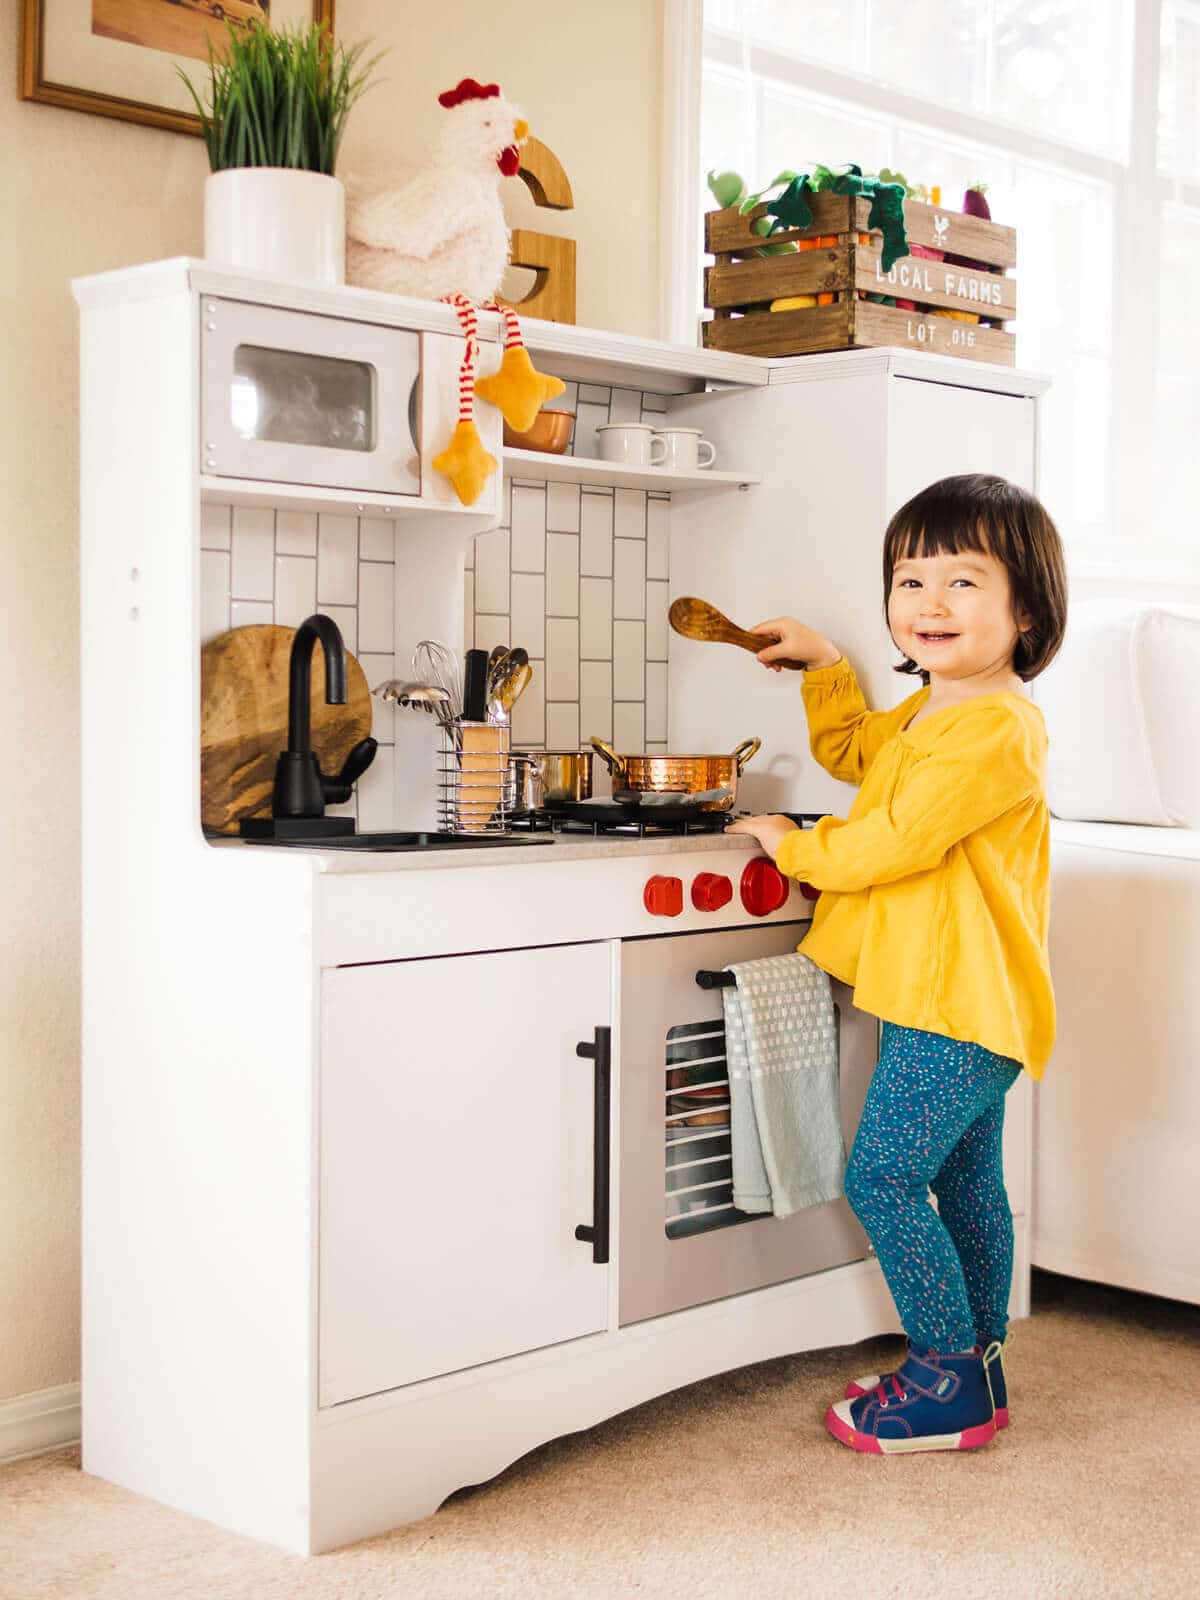
So in making over Gemma’s kitchen, I went with simple white cabinets (painted with this Rust-Oleum spray that saved me from finger fatigue), a vertical subway tile backsplash, and a concrete countertop.
The “tile” is a thin peel-and-stick paper that looks surprisingly realistic. The “concrete” came from a roll of self-adhesive vinyl contact paper (that has the added bonus of being water-resistant).
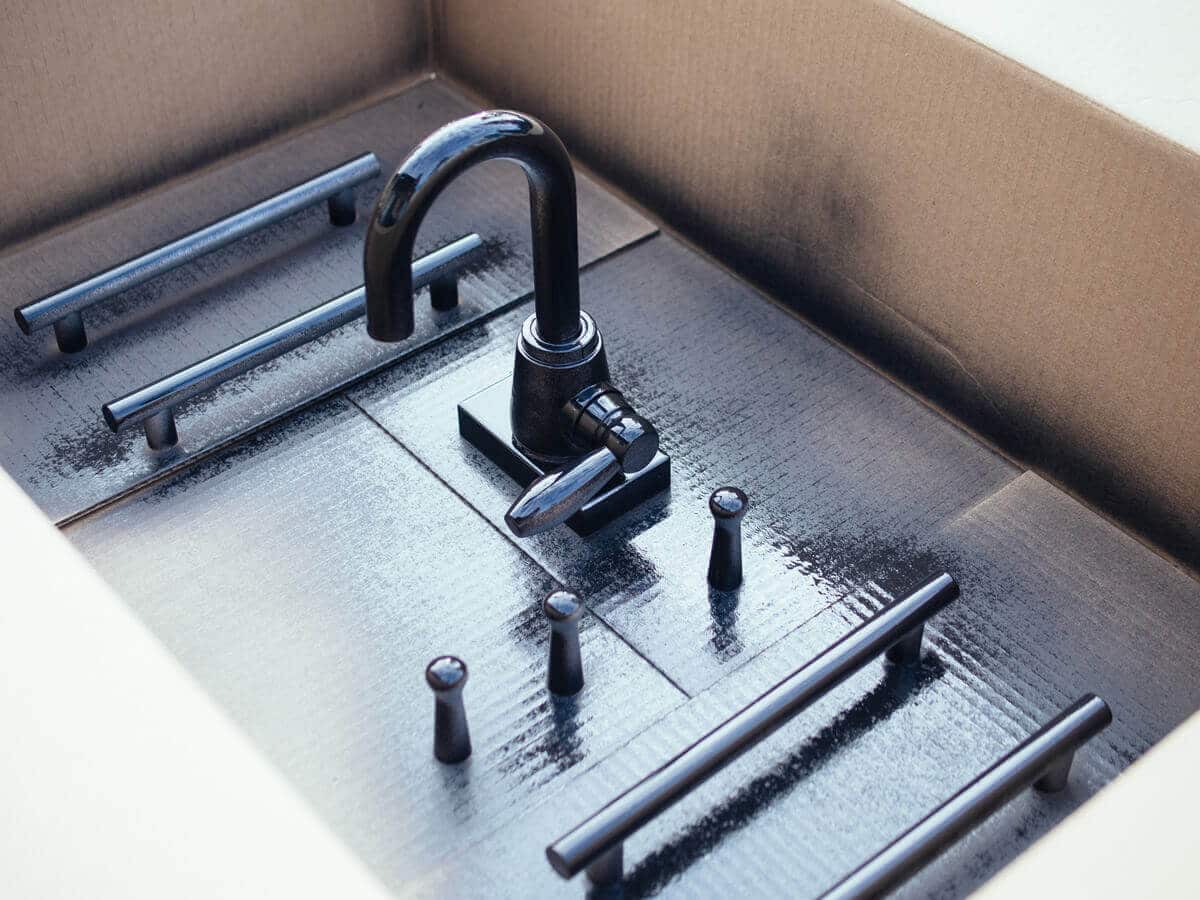
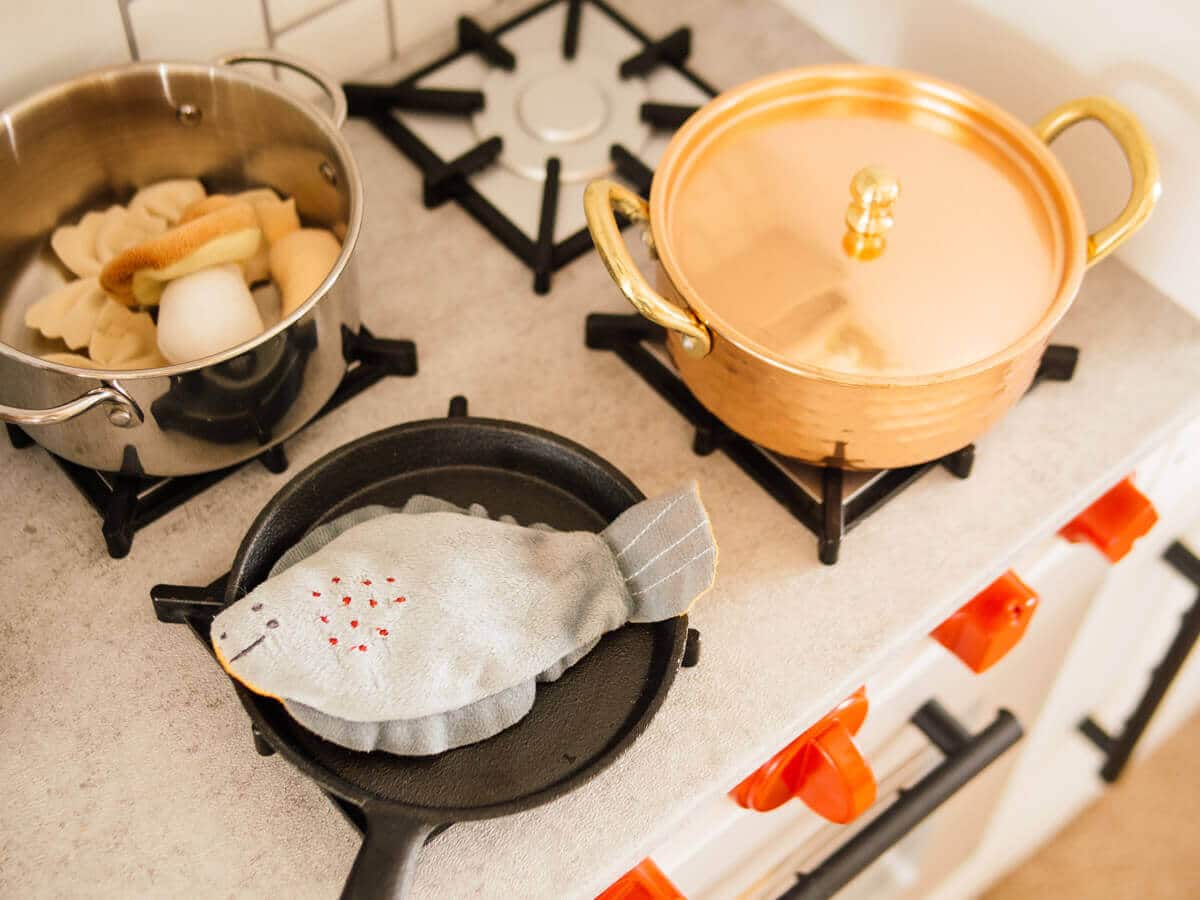
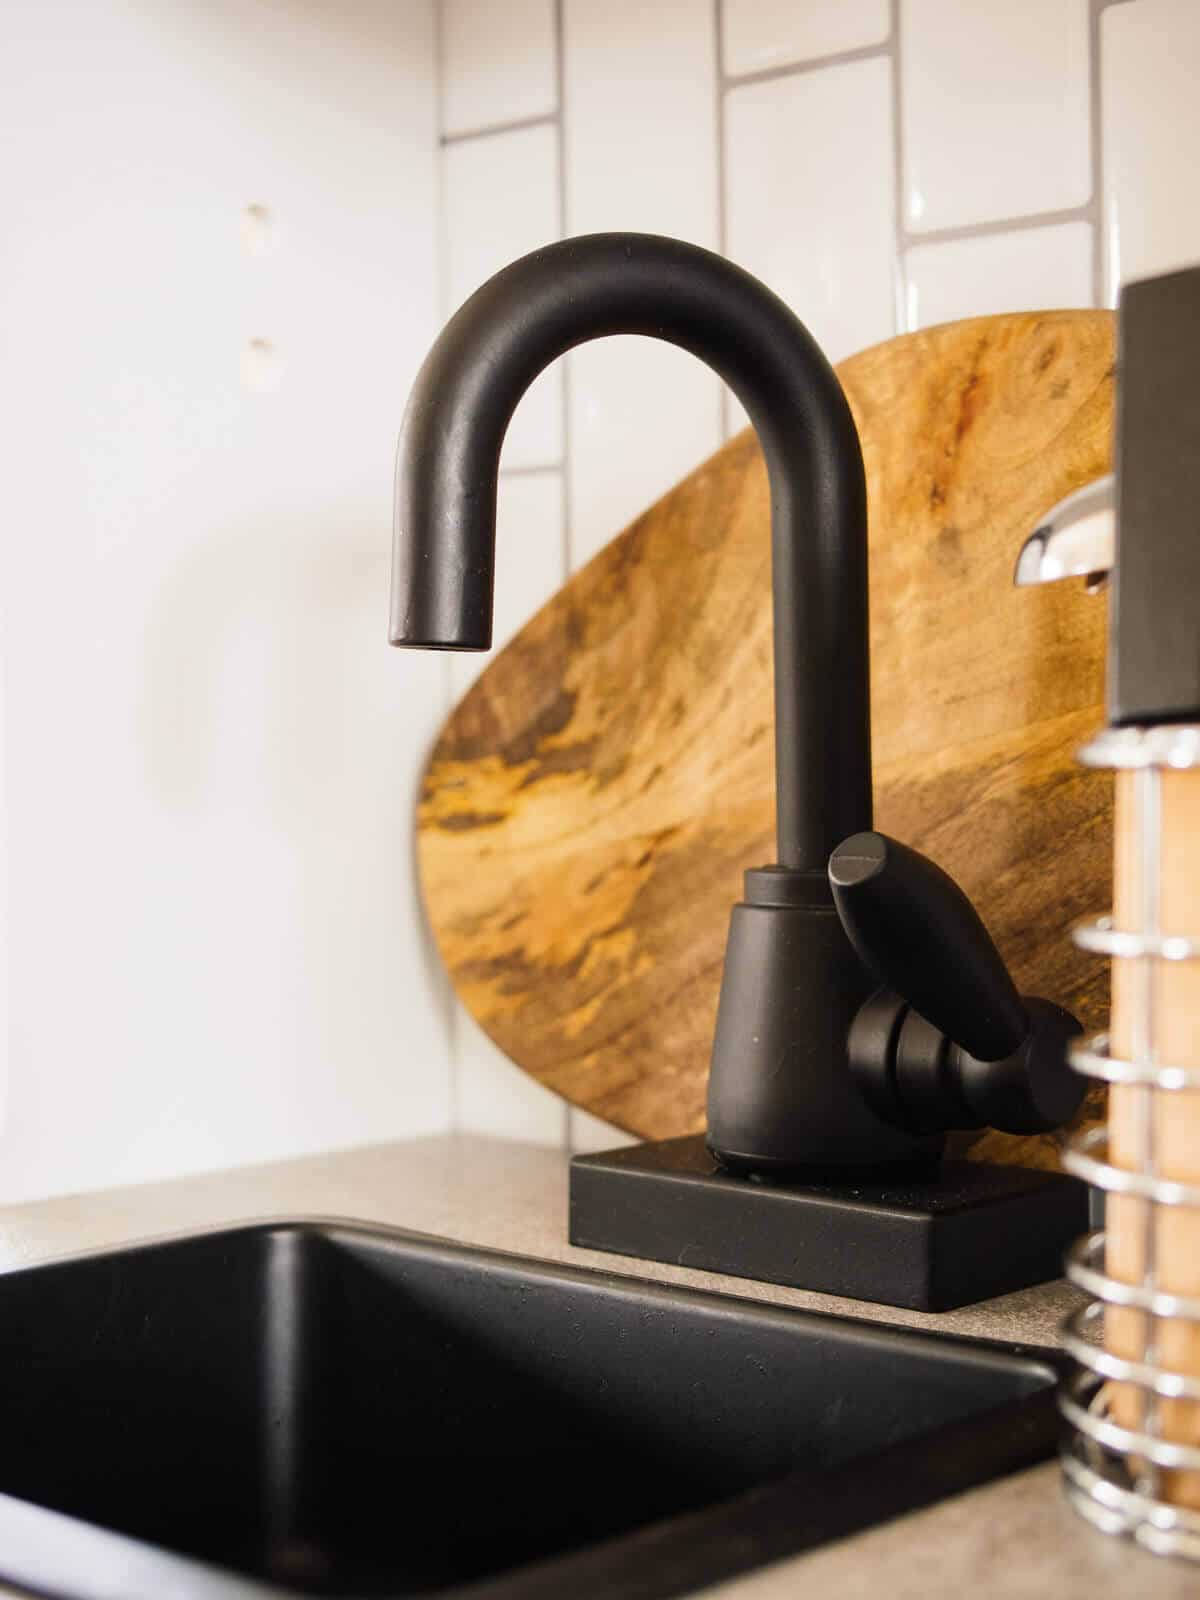
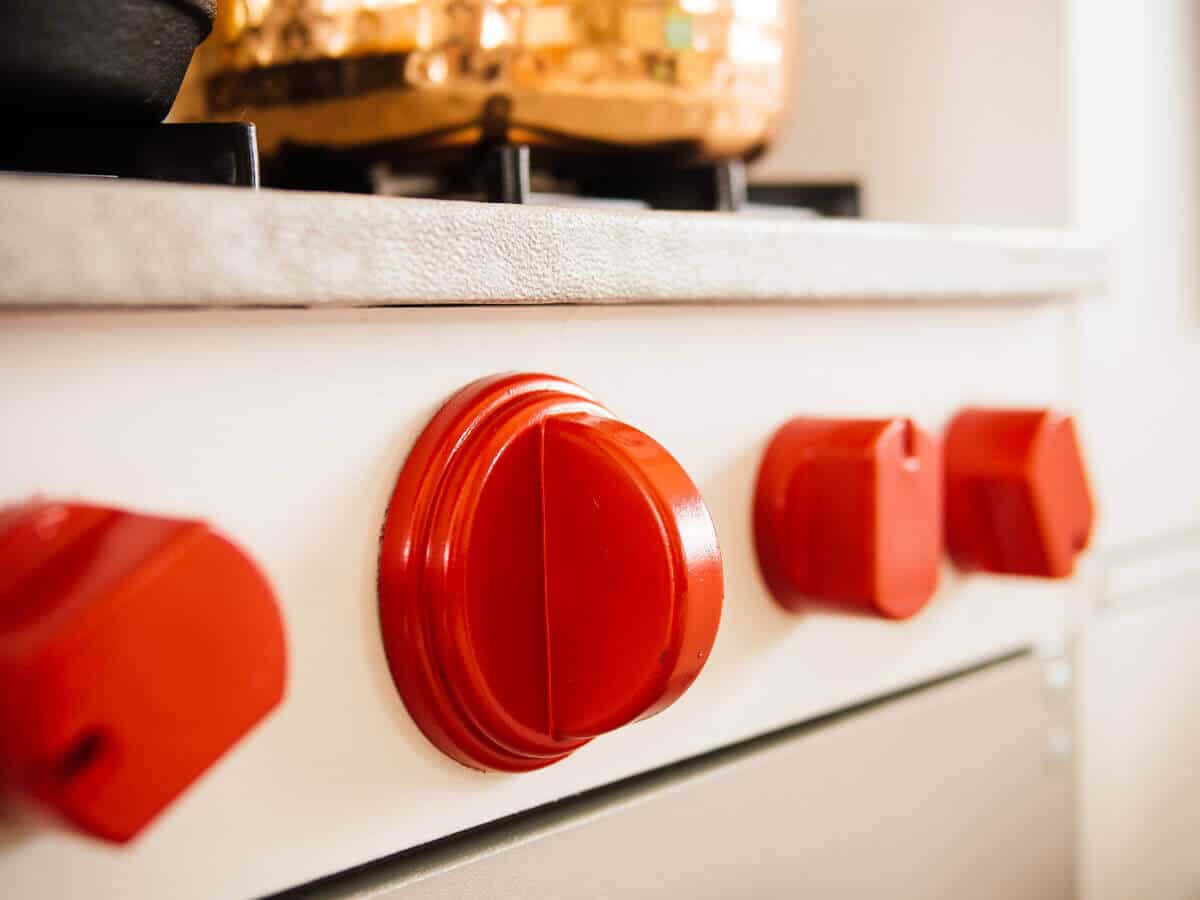
All the handles, fixtures, and sink were spray painted matte black and yes, I even went so far as painting the stove knobs red. (She won’t ever know the significance of her fancy “Wolf range,” but I can dream of owning one.)
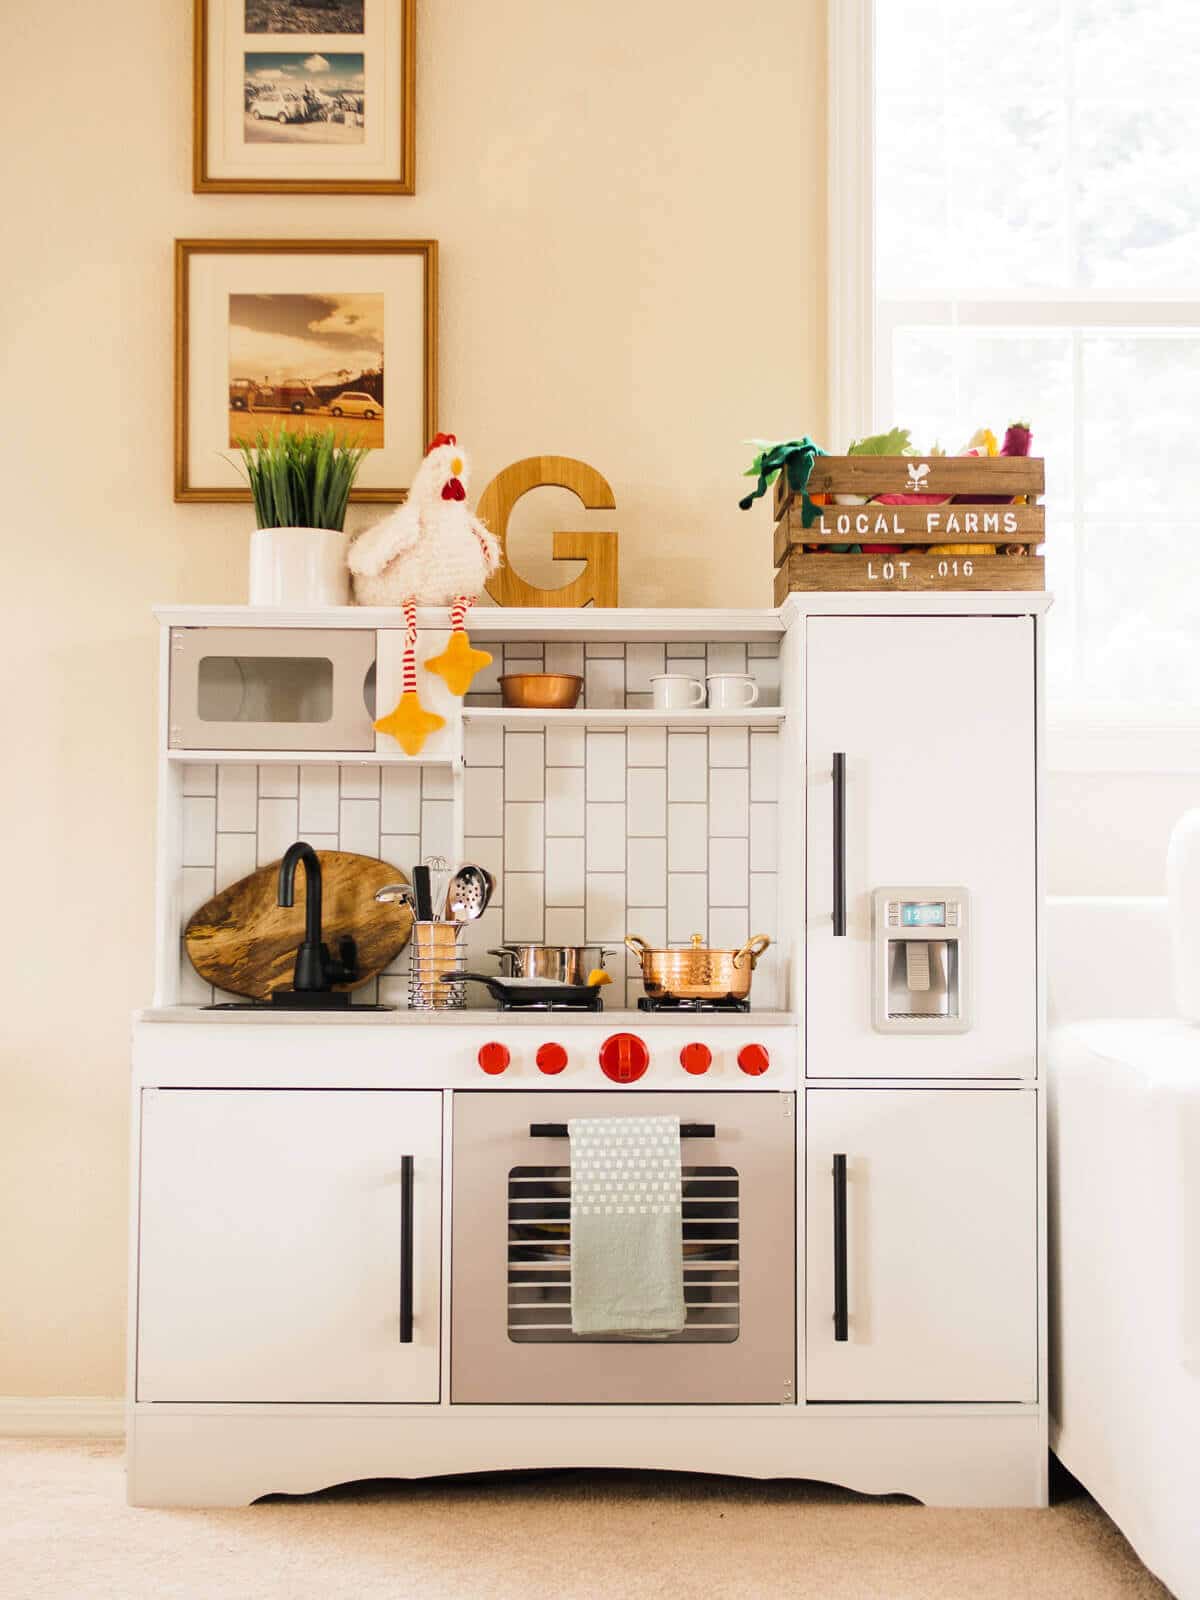
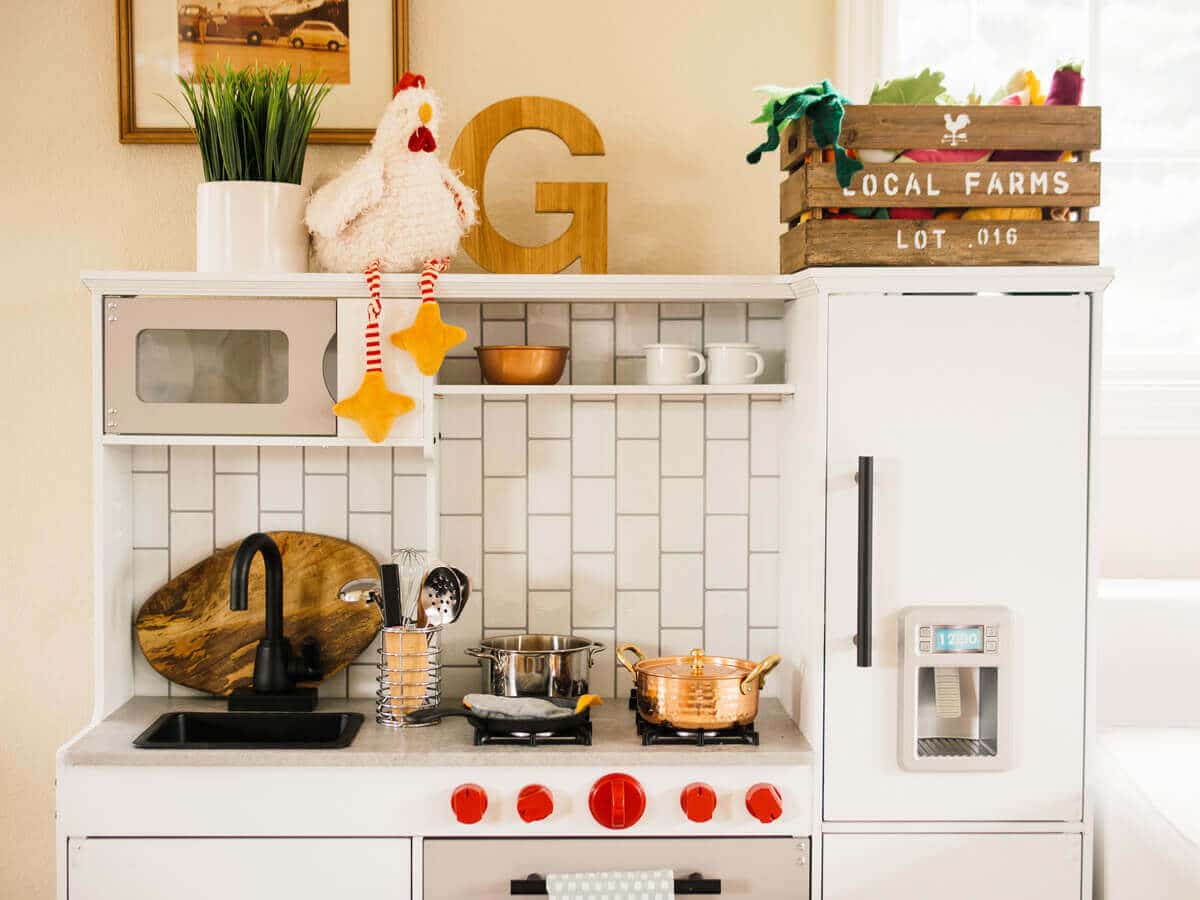
I painted over all the graphics (including a keypad by the microwave and chalkboard on the side), left off the toy cell phone (which also left pre-drilled holes in the side that I’ll eventually cover with a 3M Command hook and a tea towel), and added a shelf in the fridge for extra storage.
Above the stove, I turned a wooden panel (which originally had hanging knobs) on its side to function as open shelving.
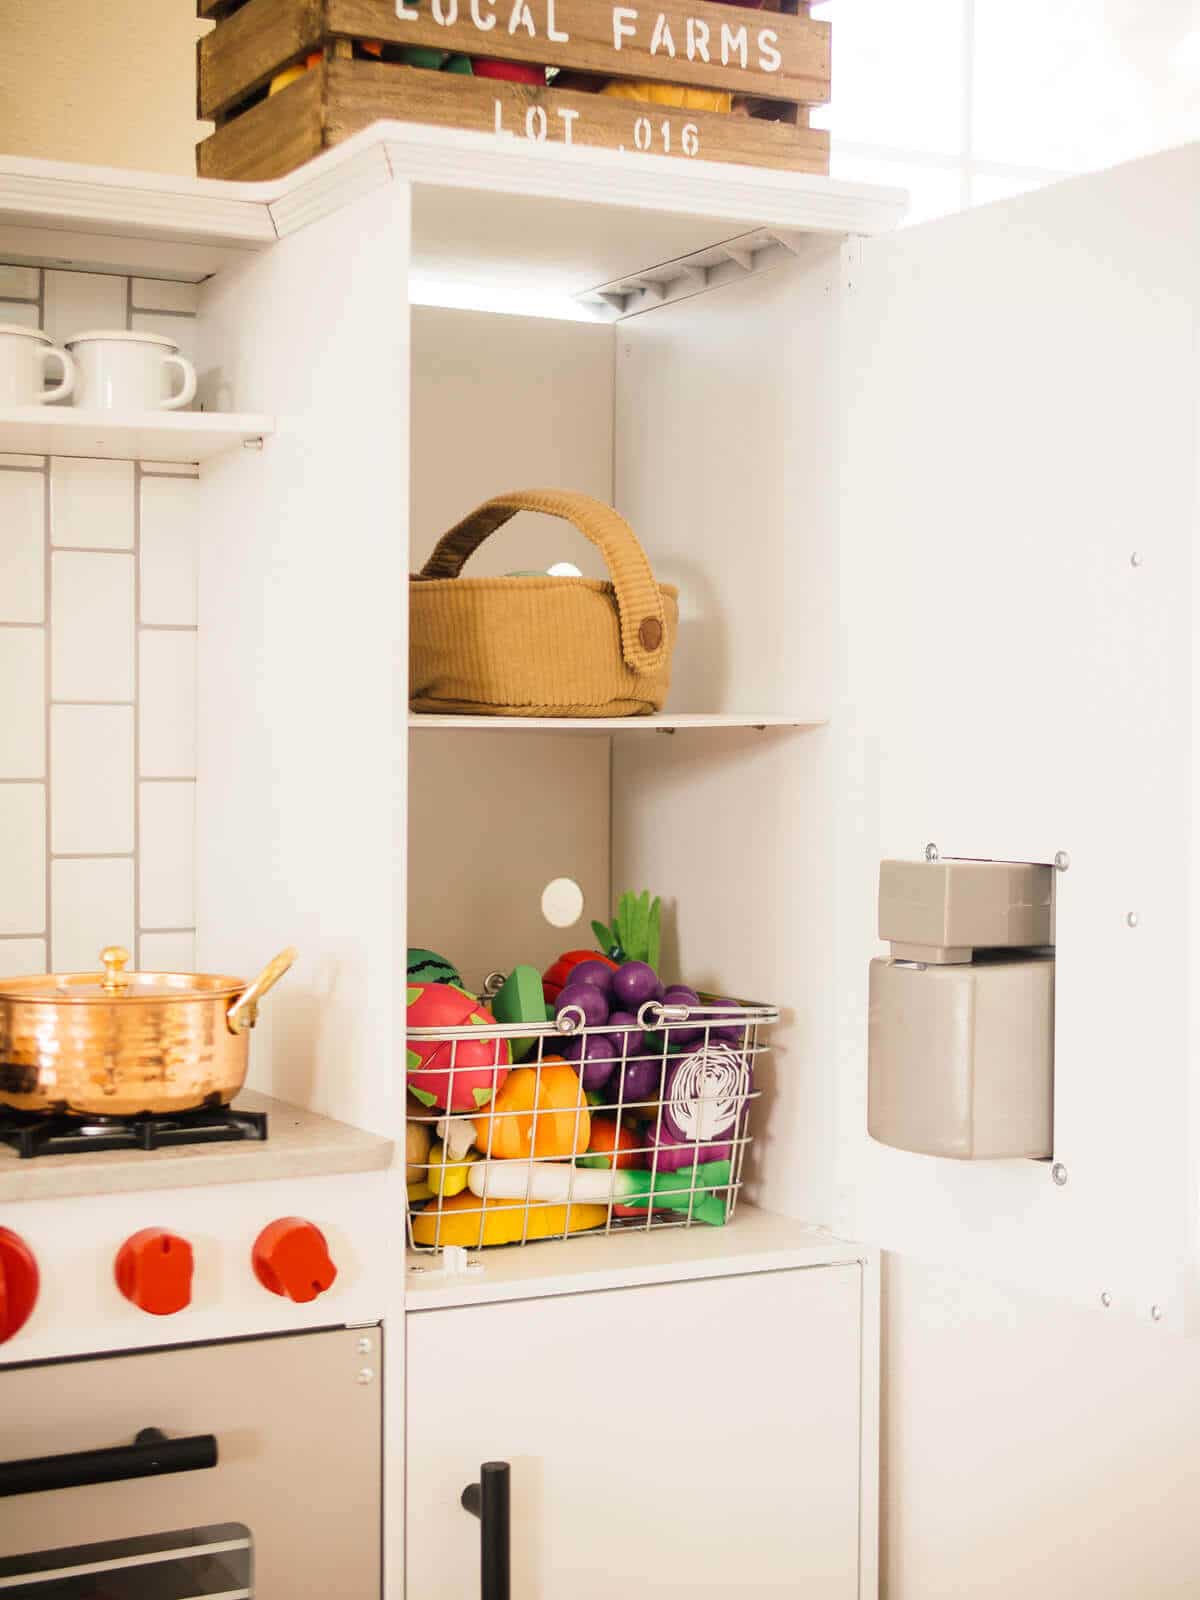
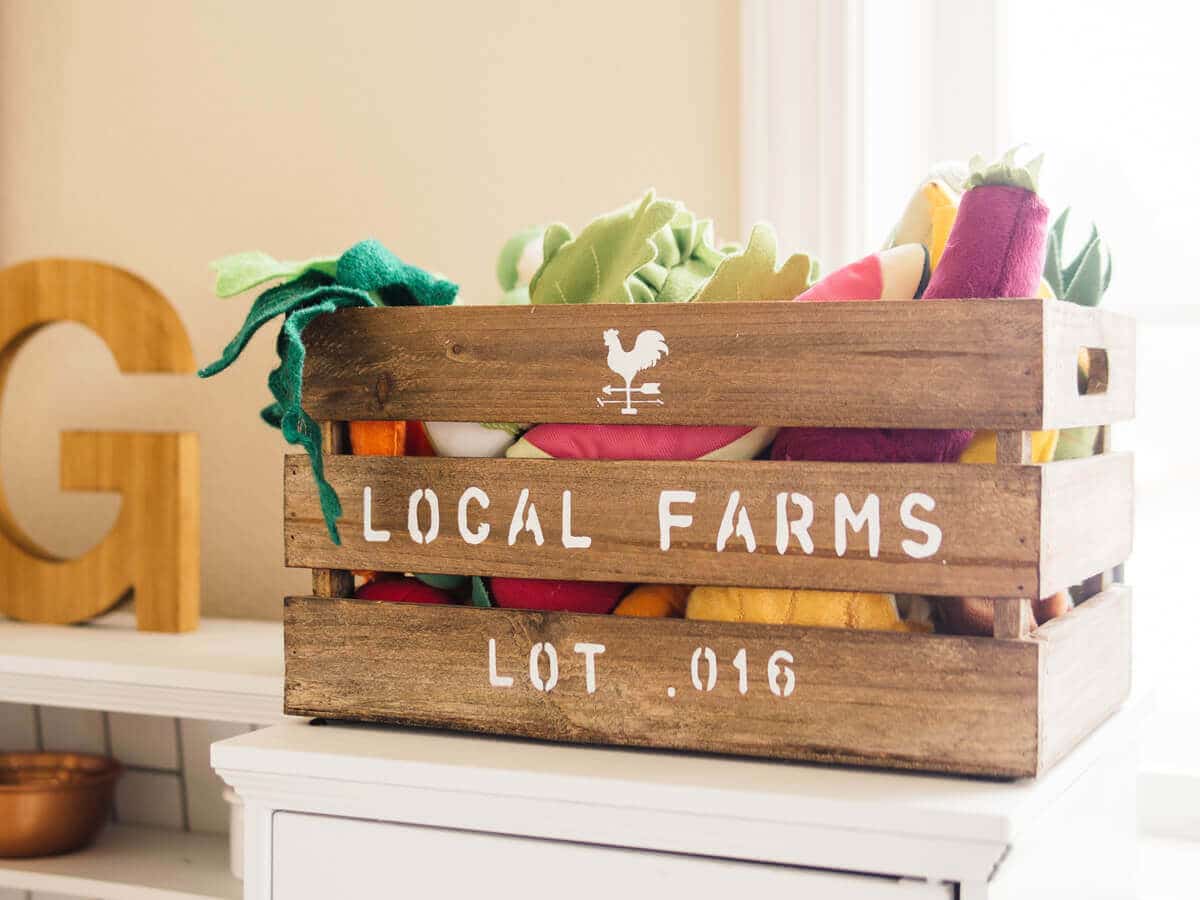
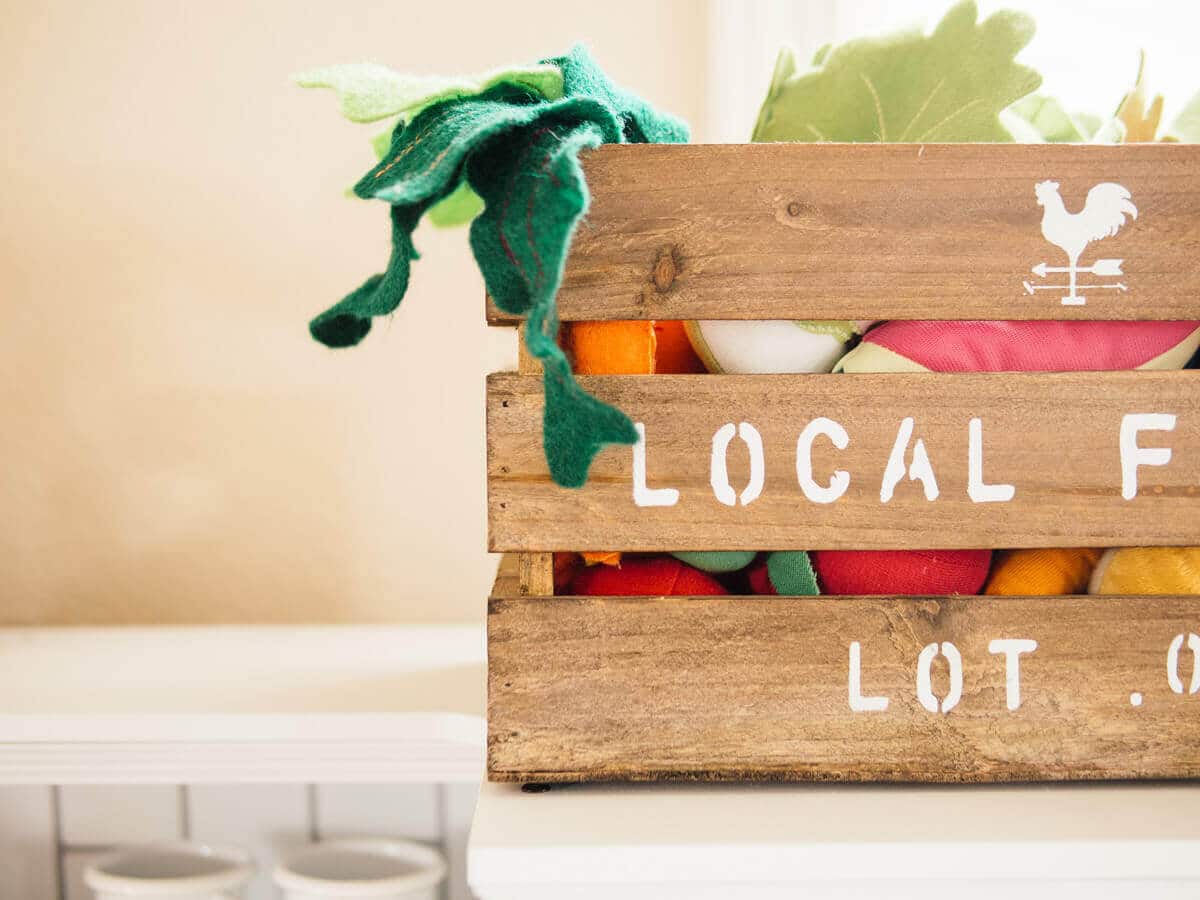
I’d been buying play food for Gemma for a while, and found that I liked felt food and wooden food the best.
This particular set of wooden food has magnets so she can “cut” all the fruits and vegetables. (After seeing piles of worn-out Velcro food at public play spaces, I have to say that magnets are the way to go.)
This set also stands out because it includes some unconventional produce like a dragonfruit, kiwi, and leek.
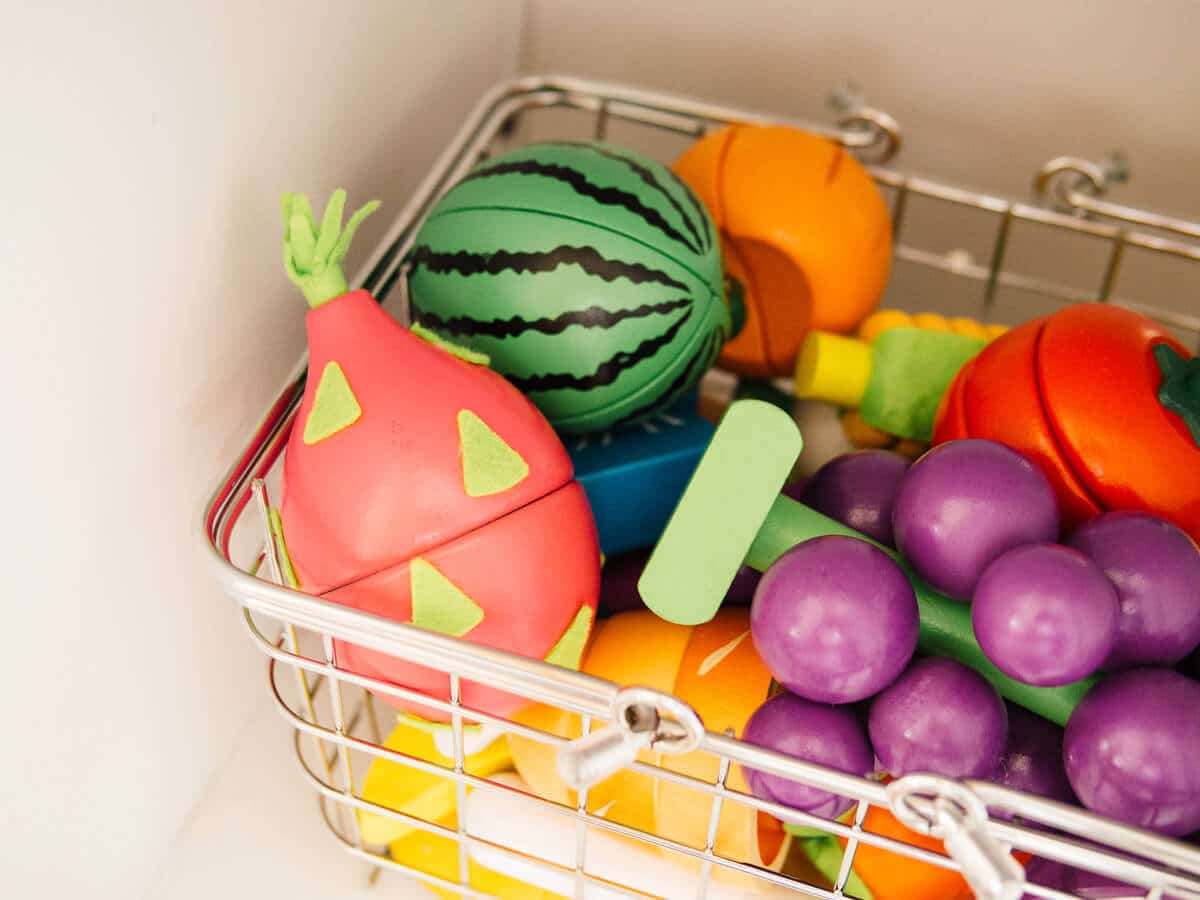
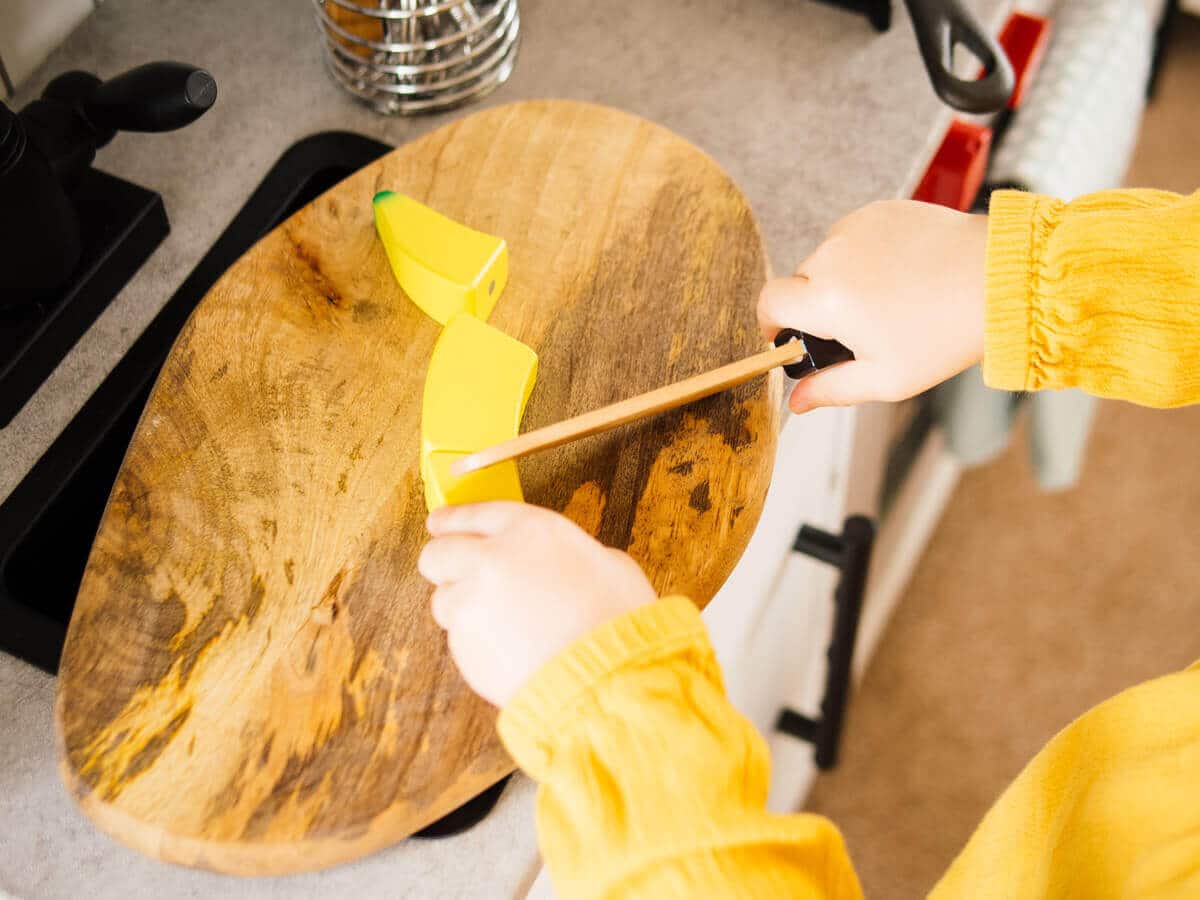
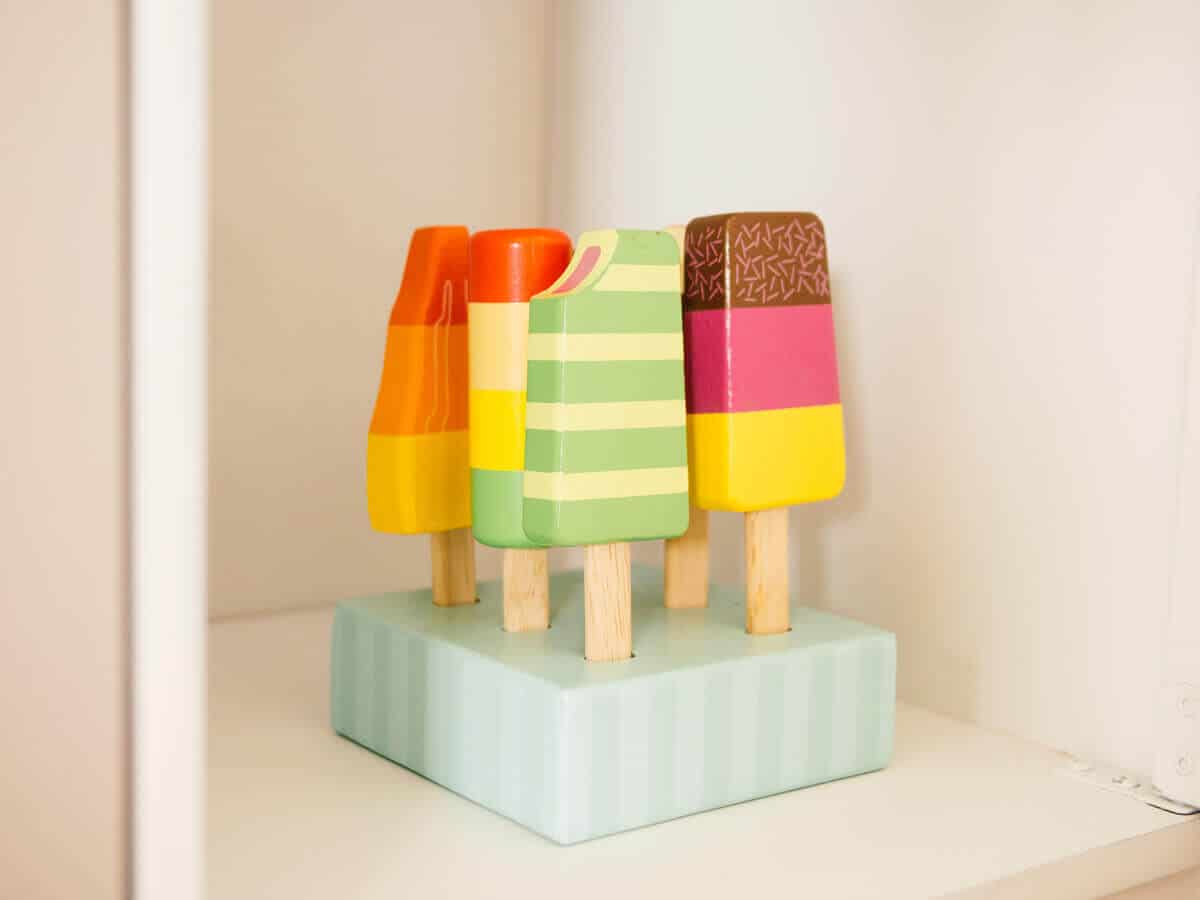
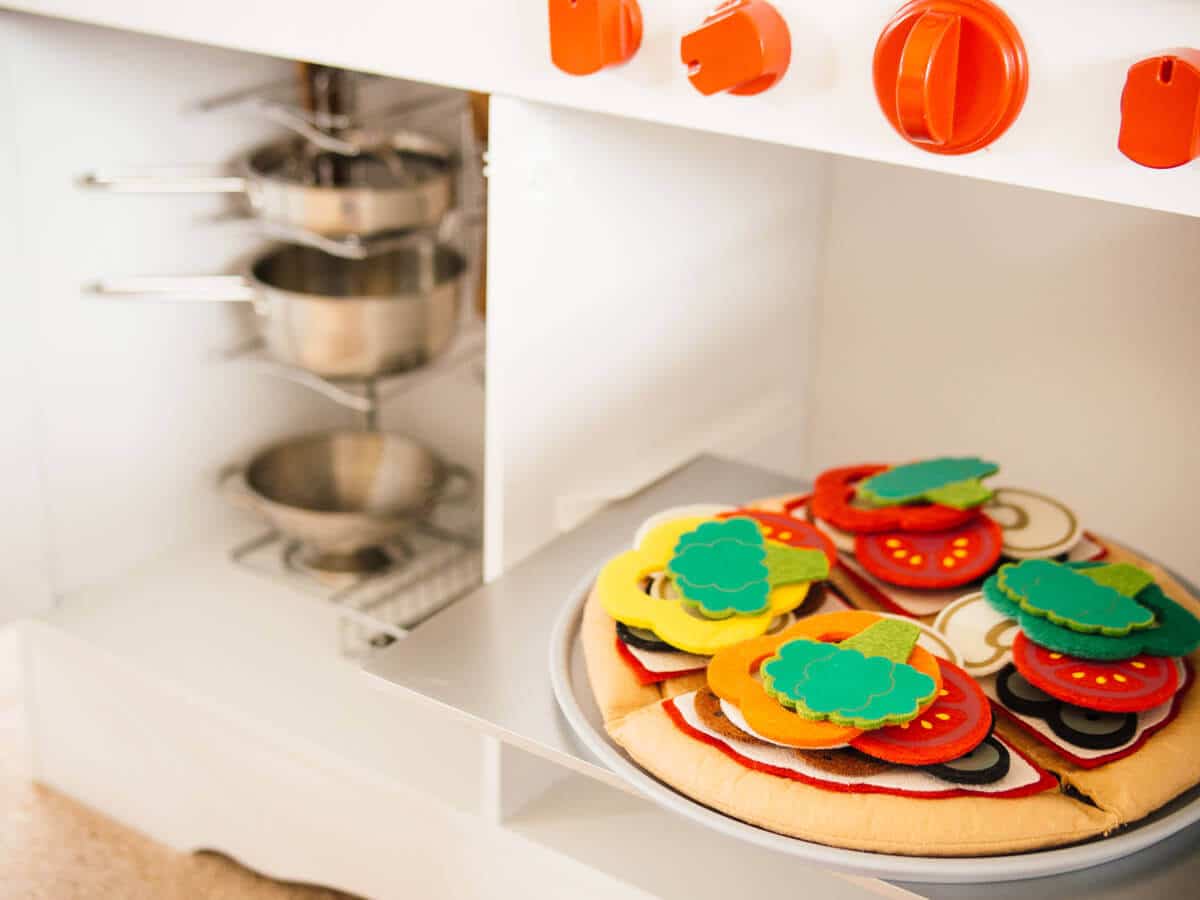
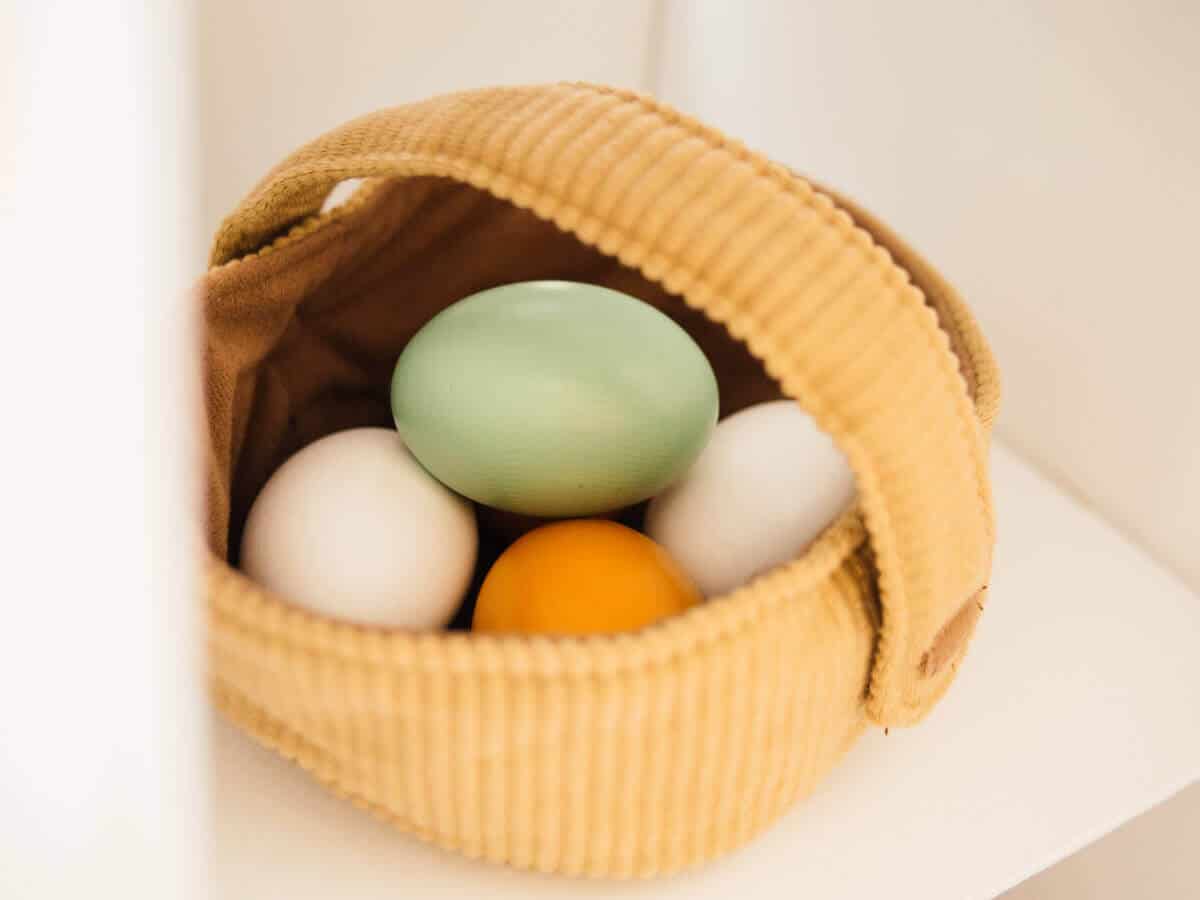
The eggs are my favorite and I think hers, too, because they look just like the ones our chickens lay! It took a little clicking around to find wooden eggs that also came in blue, and these ones are so sturdy and realistic.

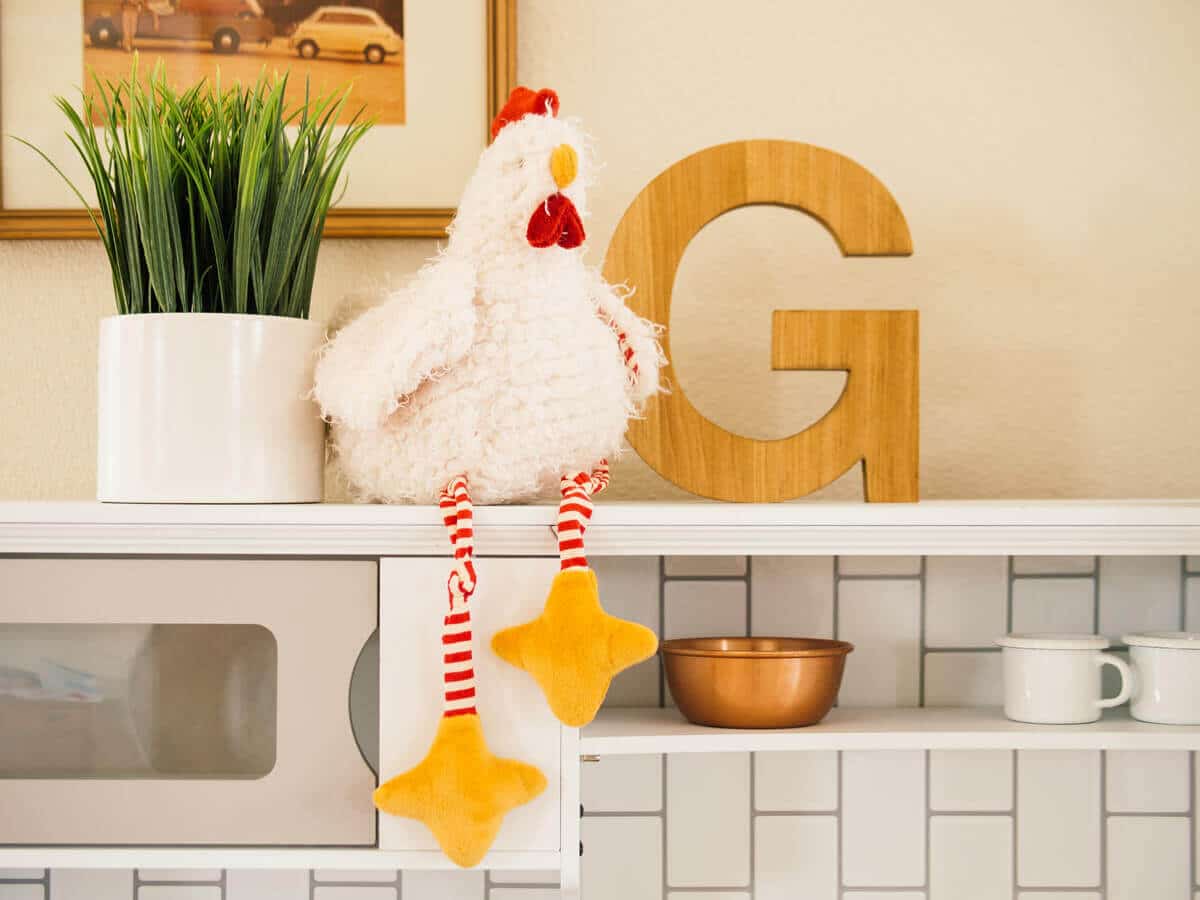
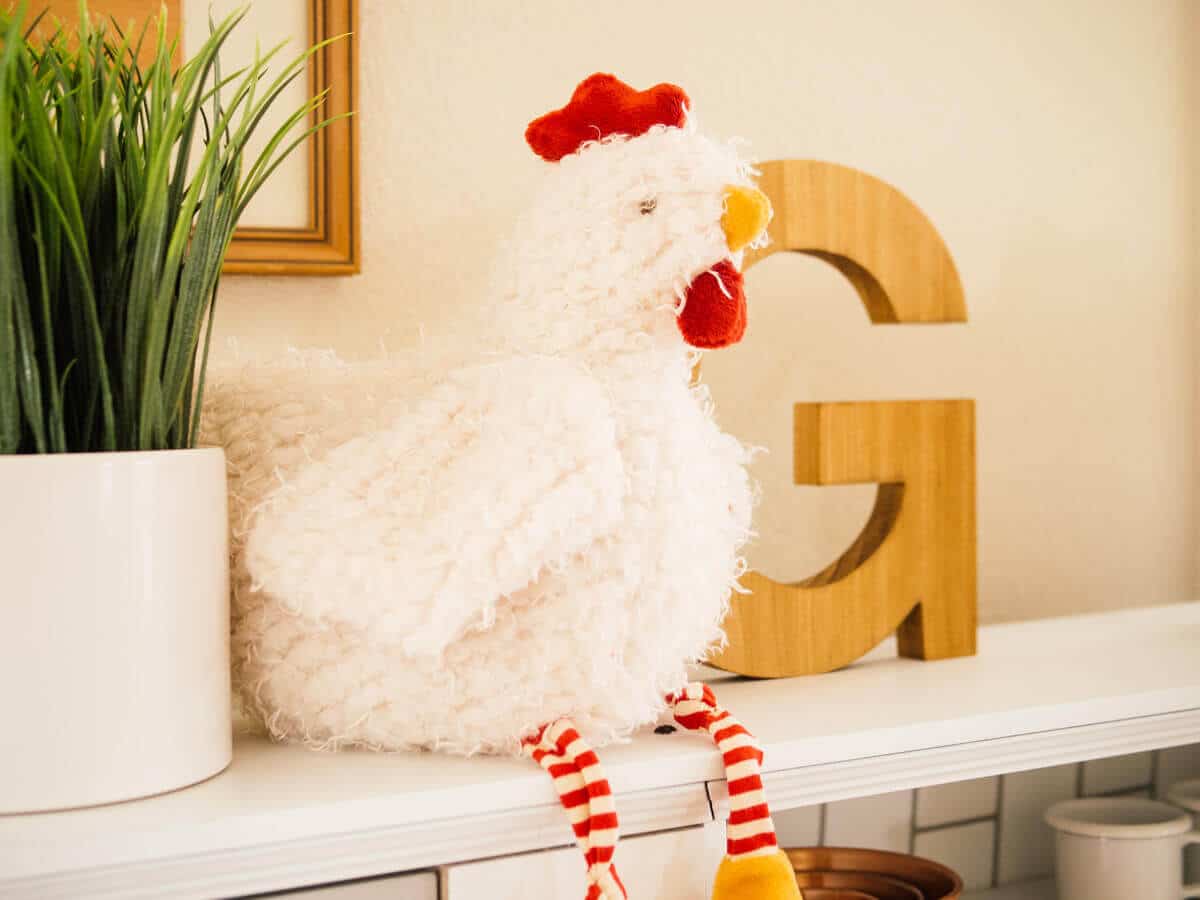
The potted plant (here’s a similar one) is fake… for now. One day I’d love to give her a set of potted herbs to care for so she can really feel like a farm-to-table chef!
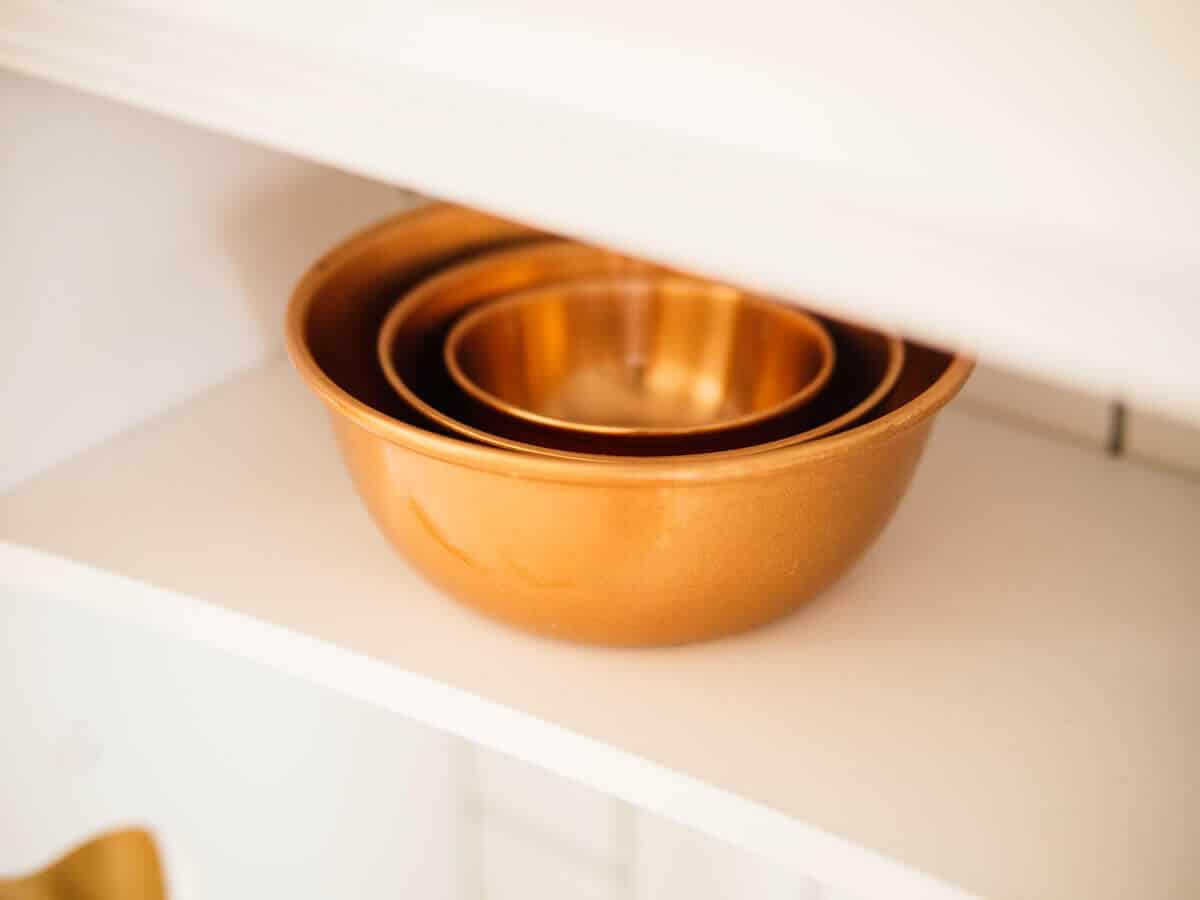
Most of the decor and accessories were found in the sale bins at random stores, and I’ve linked to similar items below this post.
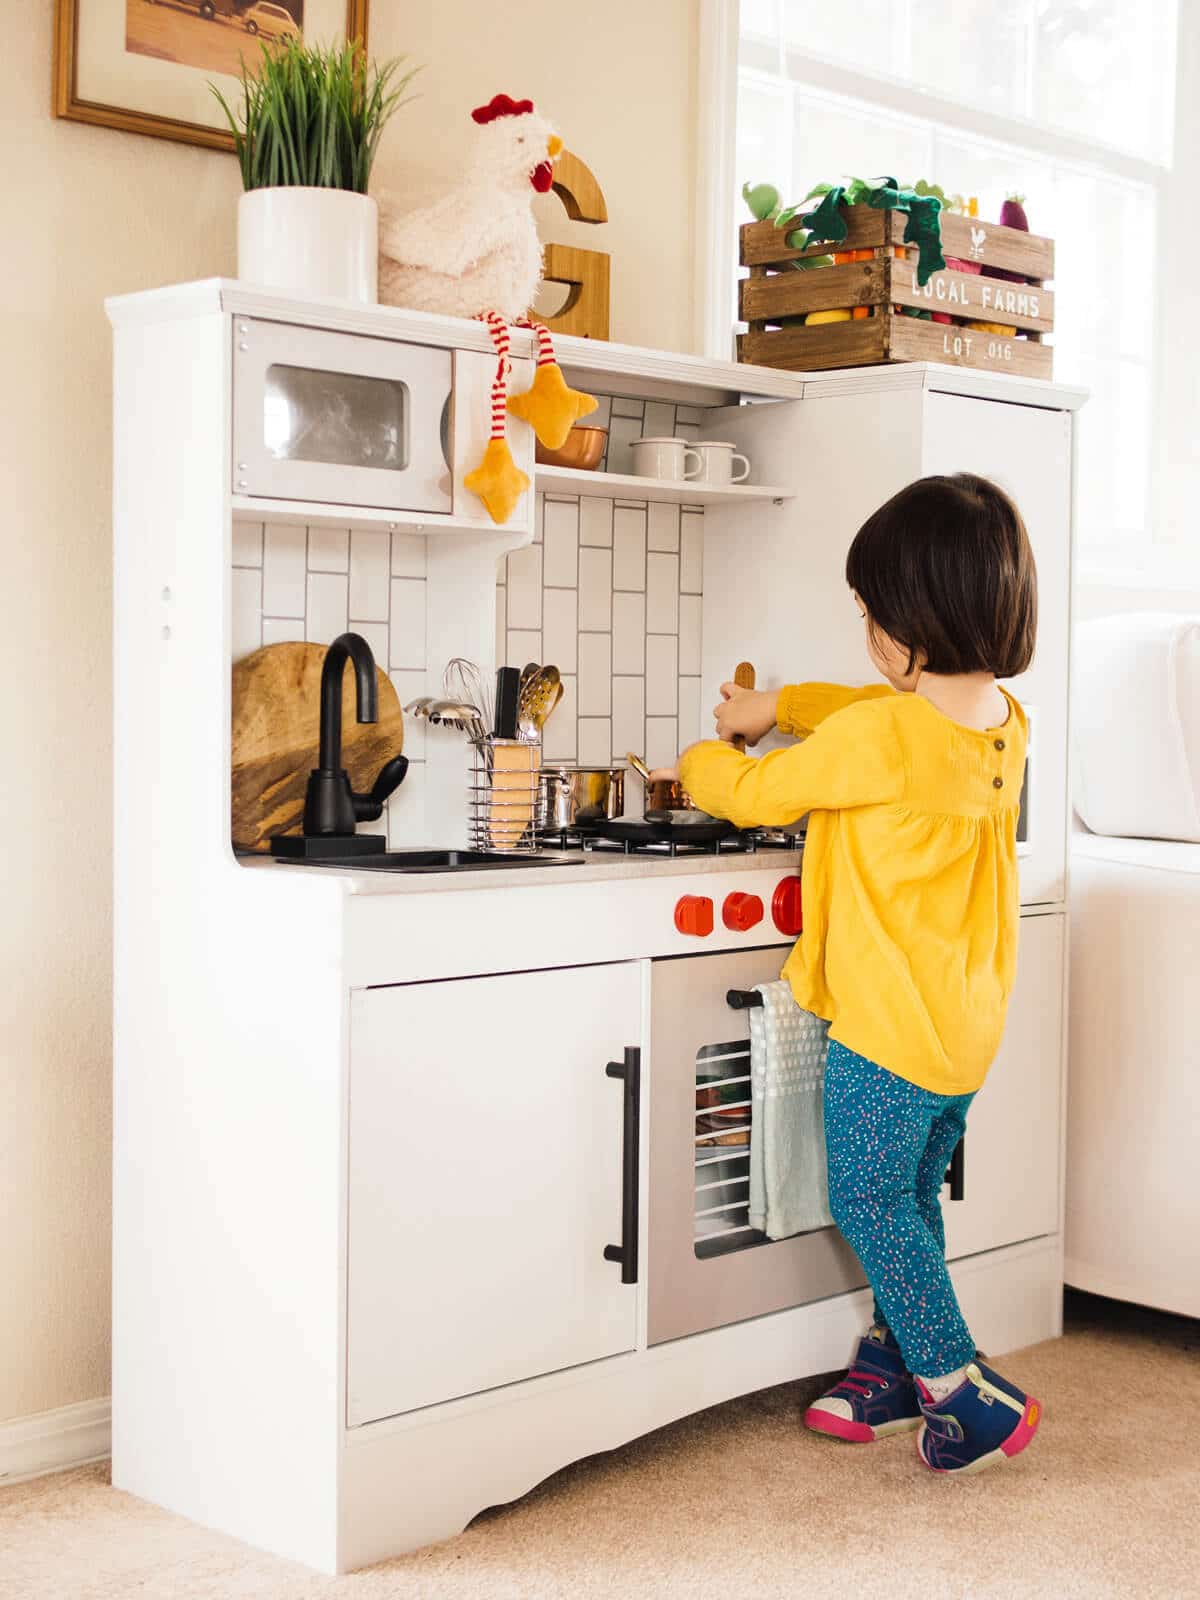
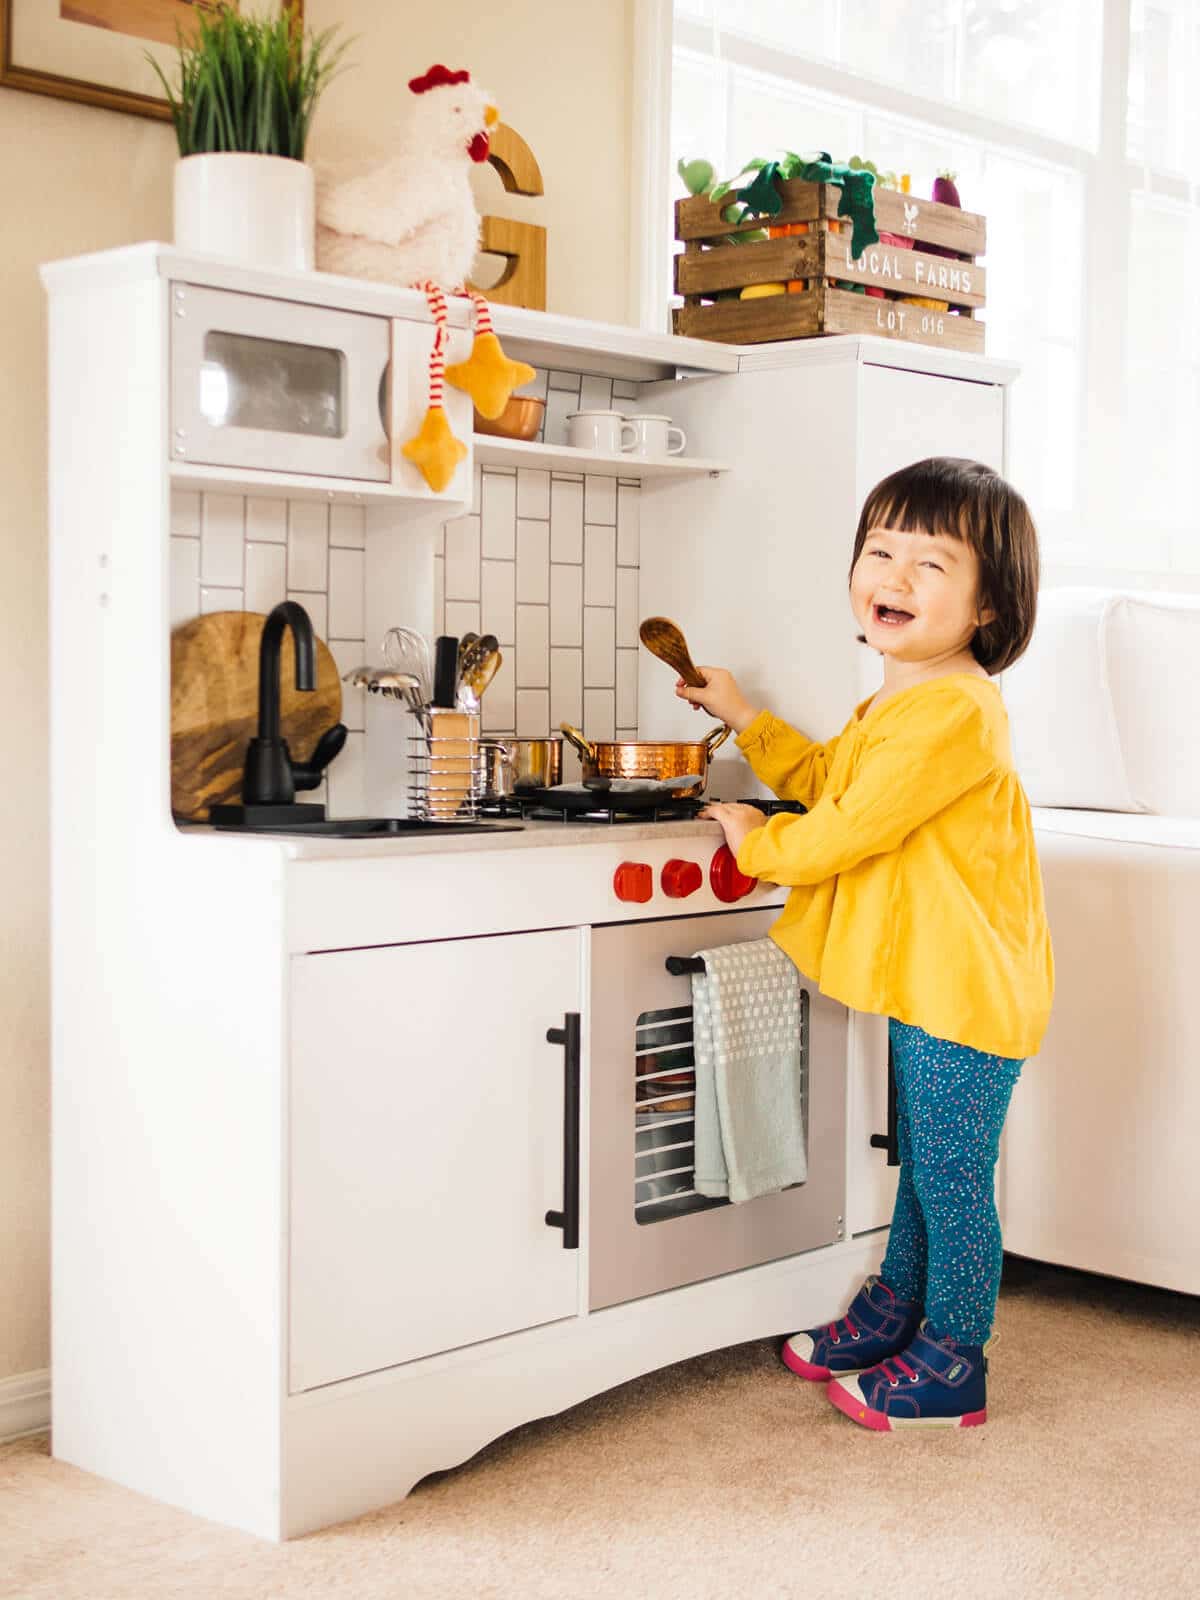
Gemma is obsessed with her play kitchen and it’s been our best investment by far, on all counts.
She’s quite the creative chef and I’ve been showing her some familiar combinations like pasta, sausage, and onion, but of course, we also make culinary masterpieces like turnip, grape, and egg “soup.”
It’s the only toy that gets daily play, several hours a day. (And she even brings her real food over to the play kitchen and eats stuffs her face at the counter standing up, just like her mama.)
I love seeing it in our living room and yes, I am very much feeling the look of it! I think concrete counters and matte black fixtures are a must in our real kitchen one day…

This is an easy project if you start with the kitchen unassembled and put it together once all the pieces are painted.
If you want to recreate the look, here’s what I used:
- Rust-Oleum Universal All Surface Spray Paint in Satin White (5 cans)
- Rust-Oleum Universal All Surface Spray Paint in Flat Black (1 can)
- Rust-Oleum Painter’s Touch 2X Ultra Cover Multipurpose Spray Paint in Apple Red (1 can)
- Rust-Oleum Spray Paint in Satin Clear Enamel (1 can)
- Tic Tac Tiles Peel and Stick Subway Tile in Mono White (5 sheets)
- Very Berry Sticker Stained Concrete Contact Paper in Light Grey
- Rust-Oleum Flexible Smoothing Tool
And because I love a good before and after:
Project Sources
[show_shopthepost_widget id=”3047593″]









Great blog post! I really enjoyed reading about your play kitchen makeover. The transformation is incredible, and the attention to detail is impressive. The new color scheme and accessories have completely refreshed the kitchen and given it a modern look. I love how you incorporated different textures and materials to make it more realistic.
Did you have to sand down the kitchen? Or did you spray paint it over immedately?
No sanding needed, I just sprayed multiple coats of paint on. The paint adhered fine on all pieces. (It’s going on 4 years now.)
What did you use for the shelf in the fridge? We have this same kitchen and I’ve always wanted to put in 1-2 shelves but wasn’t sure what to use or how.
We used a sheet of balsa wood that we painted and cut to size, and installed with metal dowel pins. The shelf is simply laid on top of the dowel pins (2 pins on each side, drilled into the walls) so we could remove it for cleaning as needed. (However we haven’t had to clean or repair it in nearly 4 years, and the kids don’t pull it out either.)
What a fantastic idea! Your little girl looks so happy with the final result.
My littles fell in love with this makeover, as did I, so we are surprising them with it for Christmas. I am just about done painting all the pieces and don’t know exactly how you got the open shelf mounted. I see in the pictures a screw on each side that it is resting on, but is that it? I would think it needs something more? Also, since that wooden piece was supposed to originally be flipped the other way, the original backing is does not go all the way to the top of the play kitchen. How did you do/attach the “tile” in that section? Thank you for sharing this makeover! I can’t wait to see our kids’ faces when we give it to them!
I’m sorry I didn’t see this comment earlier, and I hope your kitchen makeover turned out great!
I love this! I’m going to be making over an espresso kitchen for my 4 year old for Christmas, wanting to make it lighter and more modern. I am wondering how the paint has held up after a couple of years of play. Thanks!
Hi Lindsey, the paint held up really well for the first 3 years (since it was only Gemma and the occasional friend playing with the kitchen). Now we’re almost 4 years in and have a new toddler in the mix, so there’s more scratches from them dragging things on and off the shelves, crayon and marker on the painted surfaces that we’ve (mostly) scrubbed off, and general wear and tear on the edges. It actually looks pretty good considering it’s still one of the few toys they play with daily, and the “concrete” counter is indeed waterproof! (Lots of spills on it over the years.) At the rate we’re going, I’ll probably repaint it in a year or two (mostly just to change things up and finally remove the crayon marks).
I’ve had this saved for awhile! Just finished our kitchen Reno!! Thanks so much for all of the links! You made it so easy!
I absolutely love this makeover! Did you paint the microwave and oven a different color? If so, what color did you use for those? I love the contrast between the appliances and the cabinets! Thanks!
Thank you! The oven, microwave, and ice maker are the original silver color (though I did paint over the microwave keypad with white paint, and it looks fine — like part of a cabinet).
You’ve given me so much inspiration. And thank you for tagging all your items. SUPER HELPFUL. Quick question, you didn’t mention it, but did you prime the espresso cabinets before painting. If not, how has it held up with your daughter? I’m afraid of peeling. Thank you again!
I didn’t need primer. The spray paint I used (and linked in my post) is primer + paint in one product, so it had great coverage over the brown cabinets. I did use the clear enamel spray paint over the white as insurance against wear, and it’s held up really well so far! No peeling (more than a year later), just normal scrapes on the edges where my toddler has dragged her metal basket and other heavy toys on and off the shelves. But, you don’t notice the scrapes unless you’re standing close to the kitchen.
Hi! I love what you’ve done – gorgeous design and execution! 🙂 Thank you for sharing your experience with us. My daughters have the same kitchen, but it was a secondhand gift from our neighbors so it is already put together. Do you think I could achieve a similar result by using painters tape and spray-painting it when it’s already been assembled? I’m thinking of going with the same white + clear spray paint, and possibly doing the Wolf red knobs too 🙂
Thank you so much! Yes, you can definitely tape things off and spray paint the kitchen while it’s fully assembled. It will just take longer. However, I’m thinking that it might make more sense for you to unscrew the panels to make the painting go a bit more quickly and smoothly (especially if you plan to cover the backsplash and counter with a different material like I did).
Hello! I had bookmarked this post awhile ago (because it was amazing) and am now obsessing over play kitchens for my own daughter. Do you have an update, does Gemma still love the kitchen?
Yes! More than a year later, Gemma still plays with her kitchen every day, and is even more engaged with it now that she’s a little over 3. (I’d built this for her when she was 2.) We add to the kitchen every holiday/birthday (new food items, utensils, etc.) and she has a blast serving us meals, drinks, and playing make-believe with her dolls as her dinner guests. I truly believe she’ll continue playing with this for the next few years as there’s a new level of awareness and interaction the older she gets. The props do change over time (she now wants real water in her pots, and repurposes our old dishes and jars for her cabinets) but the kitchen itself is a great stage for her antics. 🙂 Also, the paint, “tiling,” and contact paper have held up really well, even with all her toddler friends being rough on them. That concrete-look contact paper was marketed as being water-resistant, and it’s been amazing! I’ve wiped up many a spill this past year and it still looks good as new.
No matter which play kitchen you go with… do it!! (Boys love it just as much as girls!)
Hi! How long did it take to dry the panels? How many coats did you put on it? How did you make the shelf in the fridge? Sorry for all the questions! I love this!
Hi! I did 2 to 3 coats of paint and let the panels dry slightly to the touch between coats. I was able to spray paint all of it the same day. After everything was painted, I let them dry for over 24 hours before assembling. (There should be a recommended drying time on the can, I think, and I followed that.)
As for the shelf, we cut a sheet of balsa wood to size and painted it white. We had four extra stainless steel pegs that came with some other furniture (similar to the pegs included with IKEA’s furniture) and drilled holes into both sides of the interior of the fridge (just deep enough to sink the pegs into). The shelf is simply laid on top of the pegs. If I had to do this part over, I’d probably use a slightly thicker piece of wood (like 1/4 to 1/2 inch) as the balsa wood bows a little in the middle, but it was left over from another project, so we just made it work.
We also used this same peg system to affix the open shelving above the stove. (That panel already came with the kitchen.)
Good luck with your kitchen! It’s definitely a lot of fun to put together!
I love your kitchen!!! I was looking into buying the IKEA kitchen but I was hesitant because I wanted one with a refrigerator and I’m so happy I found you! haha.. I’m gathering looking at your list of the things you used and have a question, what did you use the Rust-Oleum Spray Paint in Satin Clear Enamel for?
Thank you for your inspiration! 🙂
Hi Cynthia, thank you! I used the clear enamel spray as a top coat over the white paint. My daughter sometimes bangs her pots and pans around and the top coat keeps the paint looking nicer longer. 🙂 I haven’t had to do any touch-ups yet!
What a fun post 🙂
OMG! That kitchen is so dreamy! Gemma is one lucky kiddo.
I definitely have kitchen envy now. 😉
Fantastic job! Looks adorable, and so does Gemma.
Thank you!