When it comes to gardening, I’m all for getting started on a shoestring.
I order from seed catalogs, make newspaper pots for seed starting, recycle household containers for seedlings, reuse egg shells and egg cartons to start seeds, and scour the dollar store for cheap seed starting supplies.
But where I feel I get the most value, especially if I’m starting hundreds of seeds (which isn’t hard to do in a season when you think about it), is in making my own seed starting mix.
Disclosure: If you shop from my article or make a purchase through one of my links, I may receive commissions on some of the products I recommend.
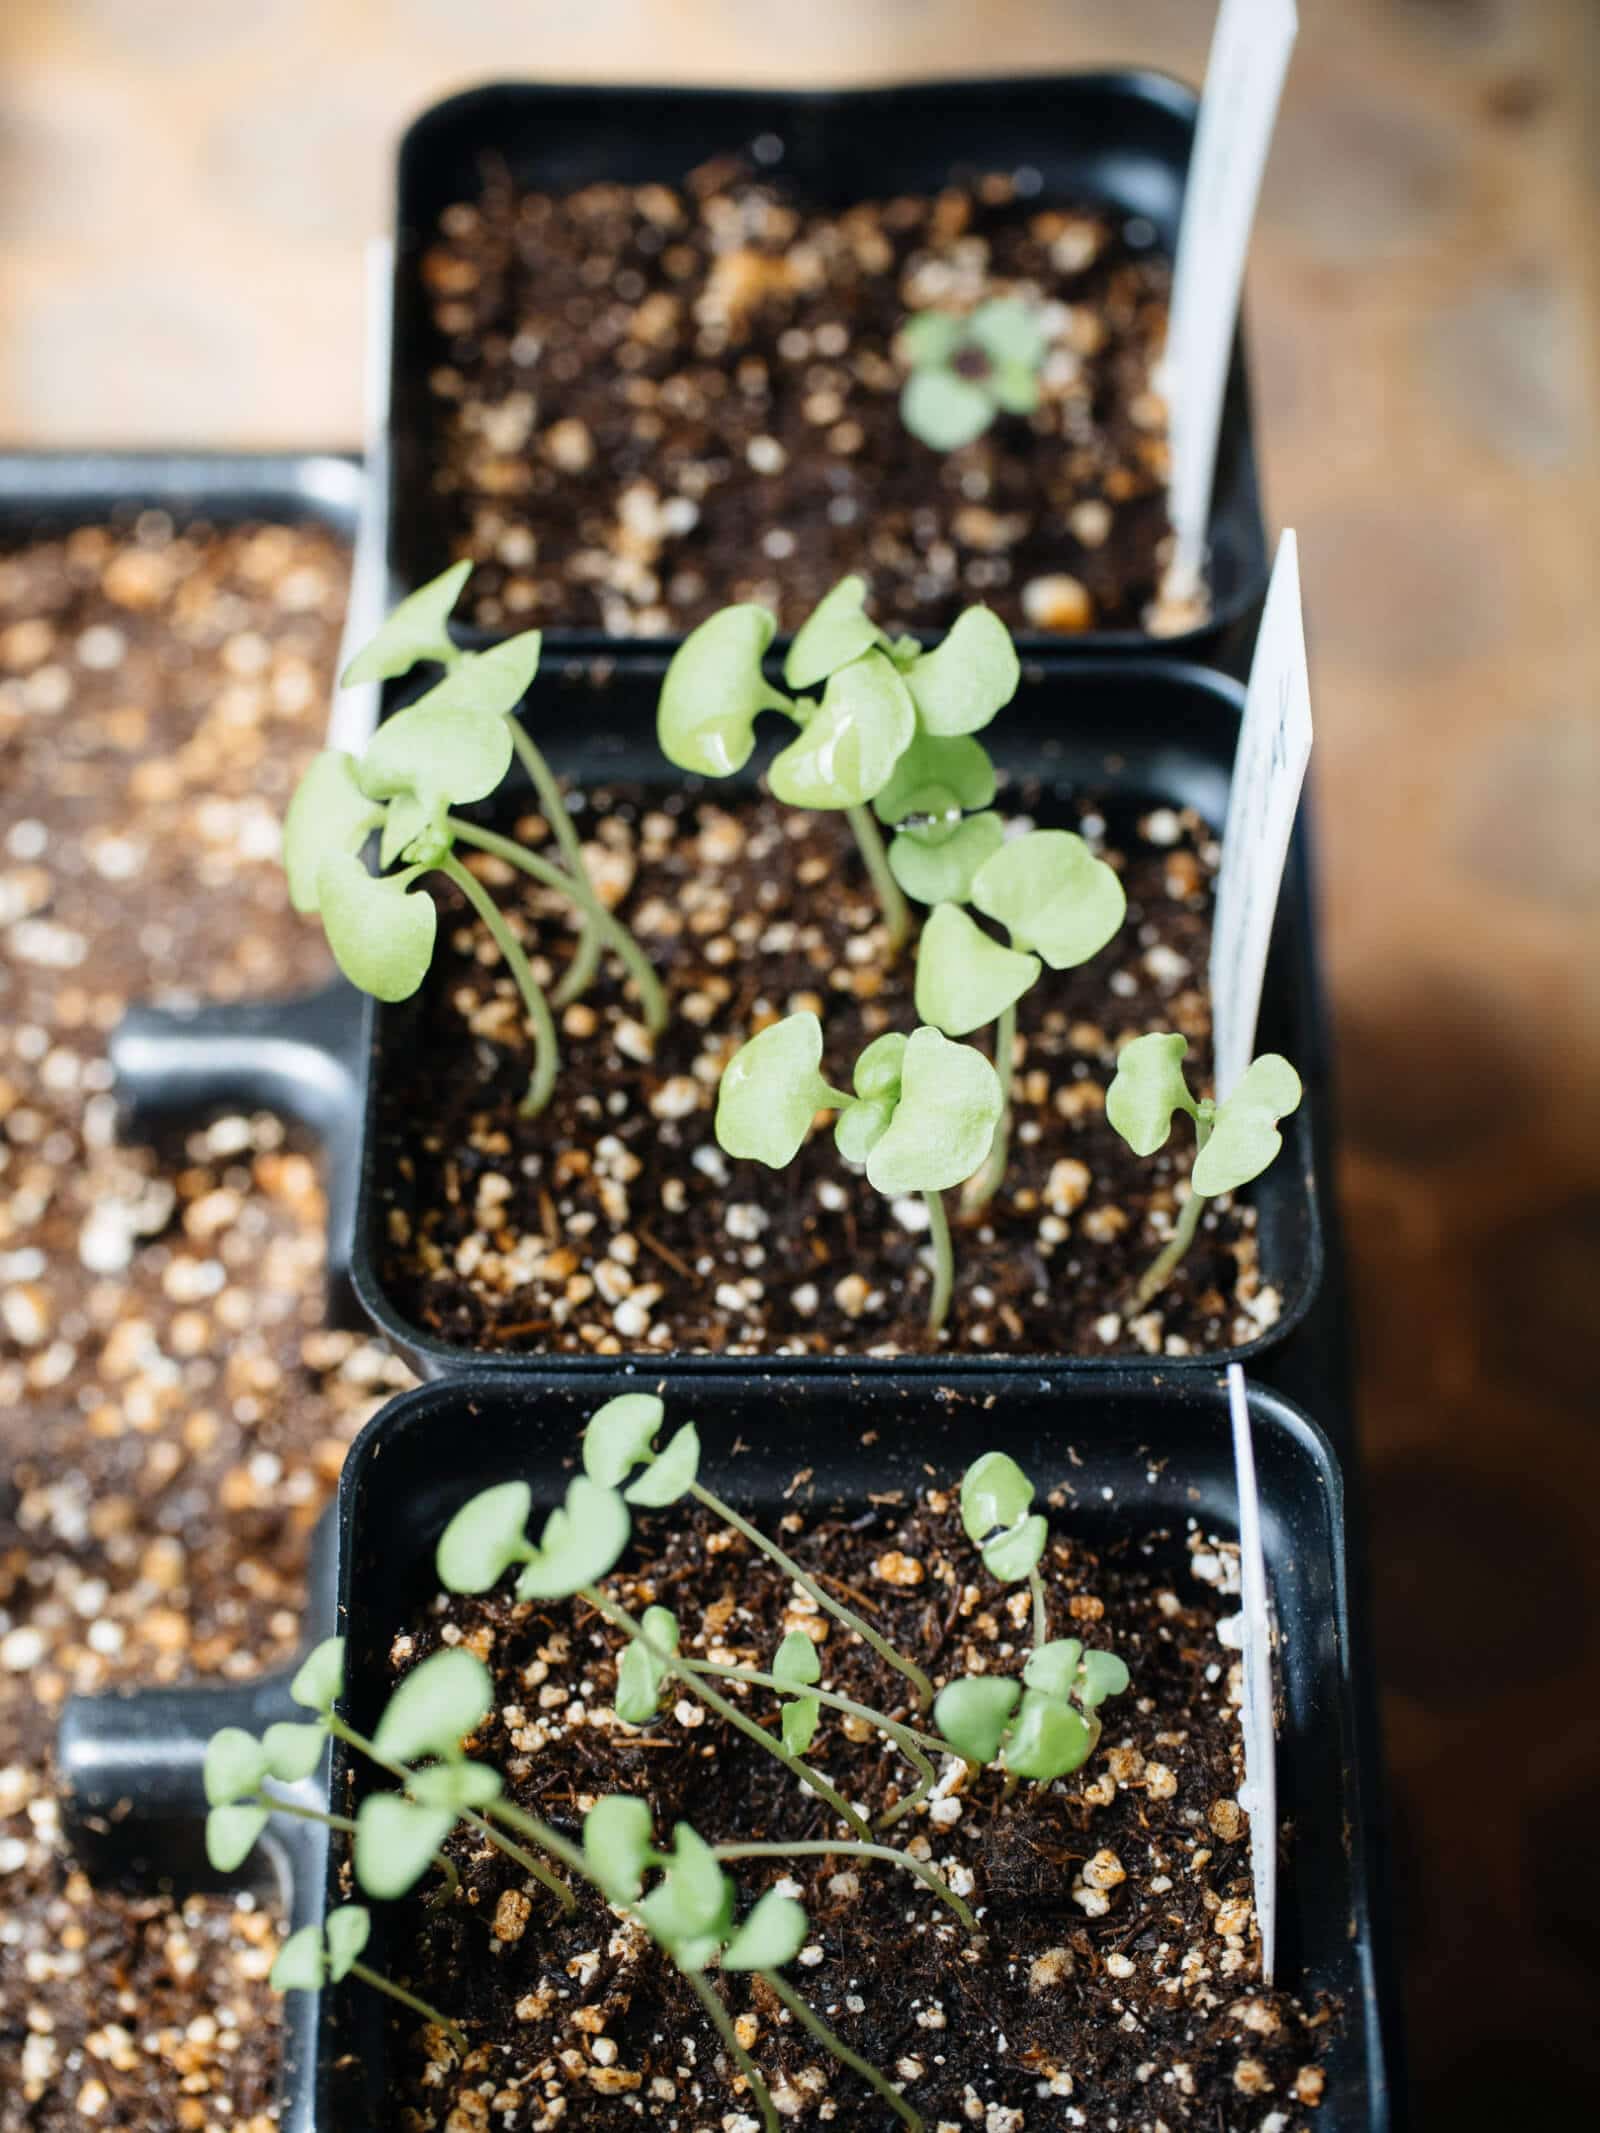
What is seed starting mix?
Go to a nursery and you’ll realize two things about seed starting mixes.
First, they’re relatively expensive. Sure, the price tag on a typical 8-quart bag doesn’t seem too bad, but then you bring it home and realize that 8 quarts isn’t really going to cut it when you have a whole flat of seeds to sow.
Second, some seed starting mixes contain chemical agents to hydrate the soil or supplements to supercharge your plants, which—for starting seeds—are completely unnecessary.
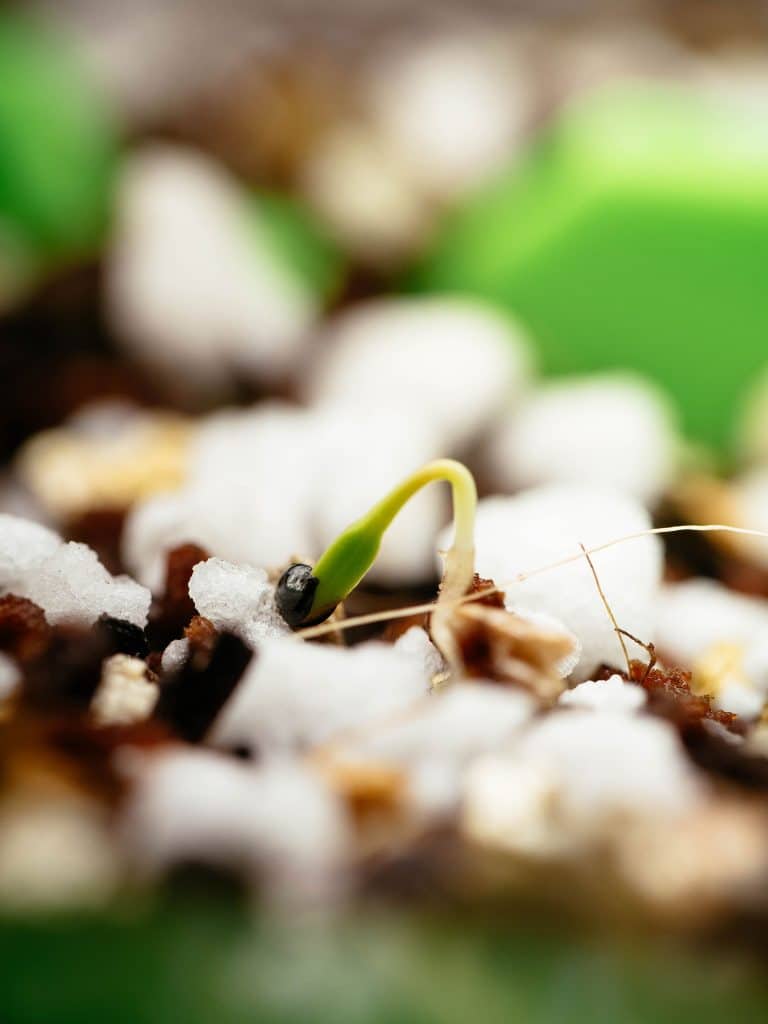
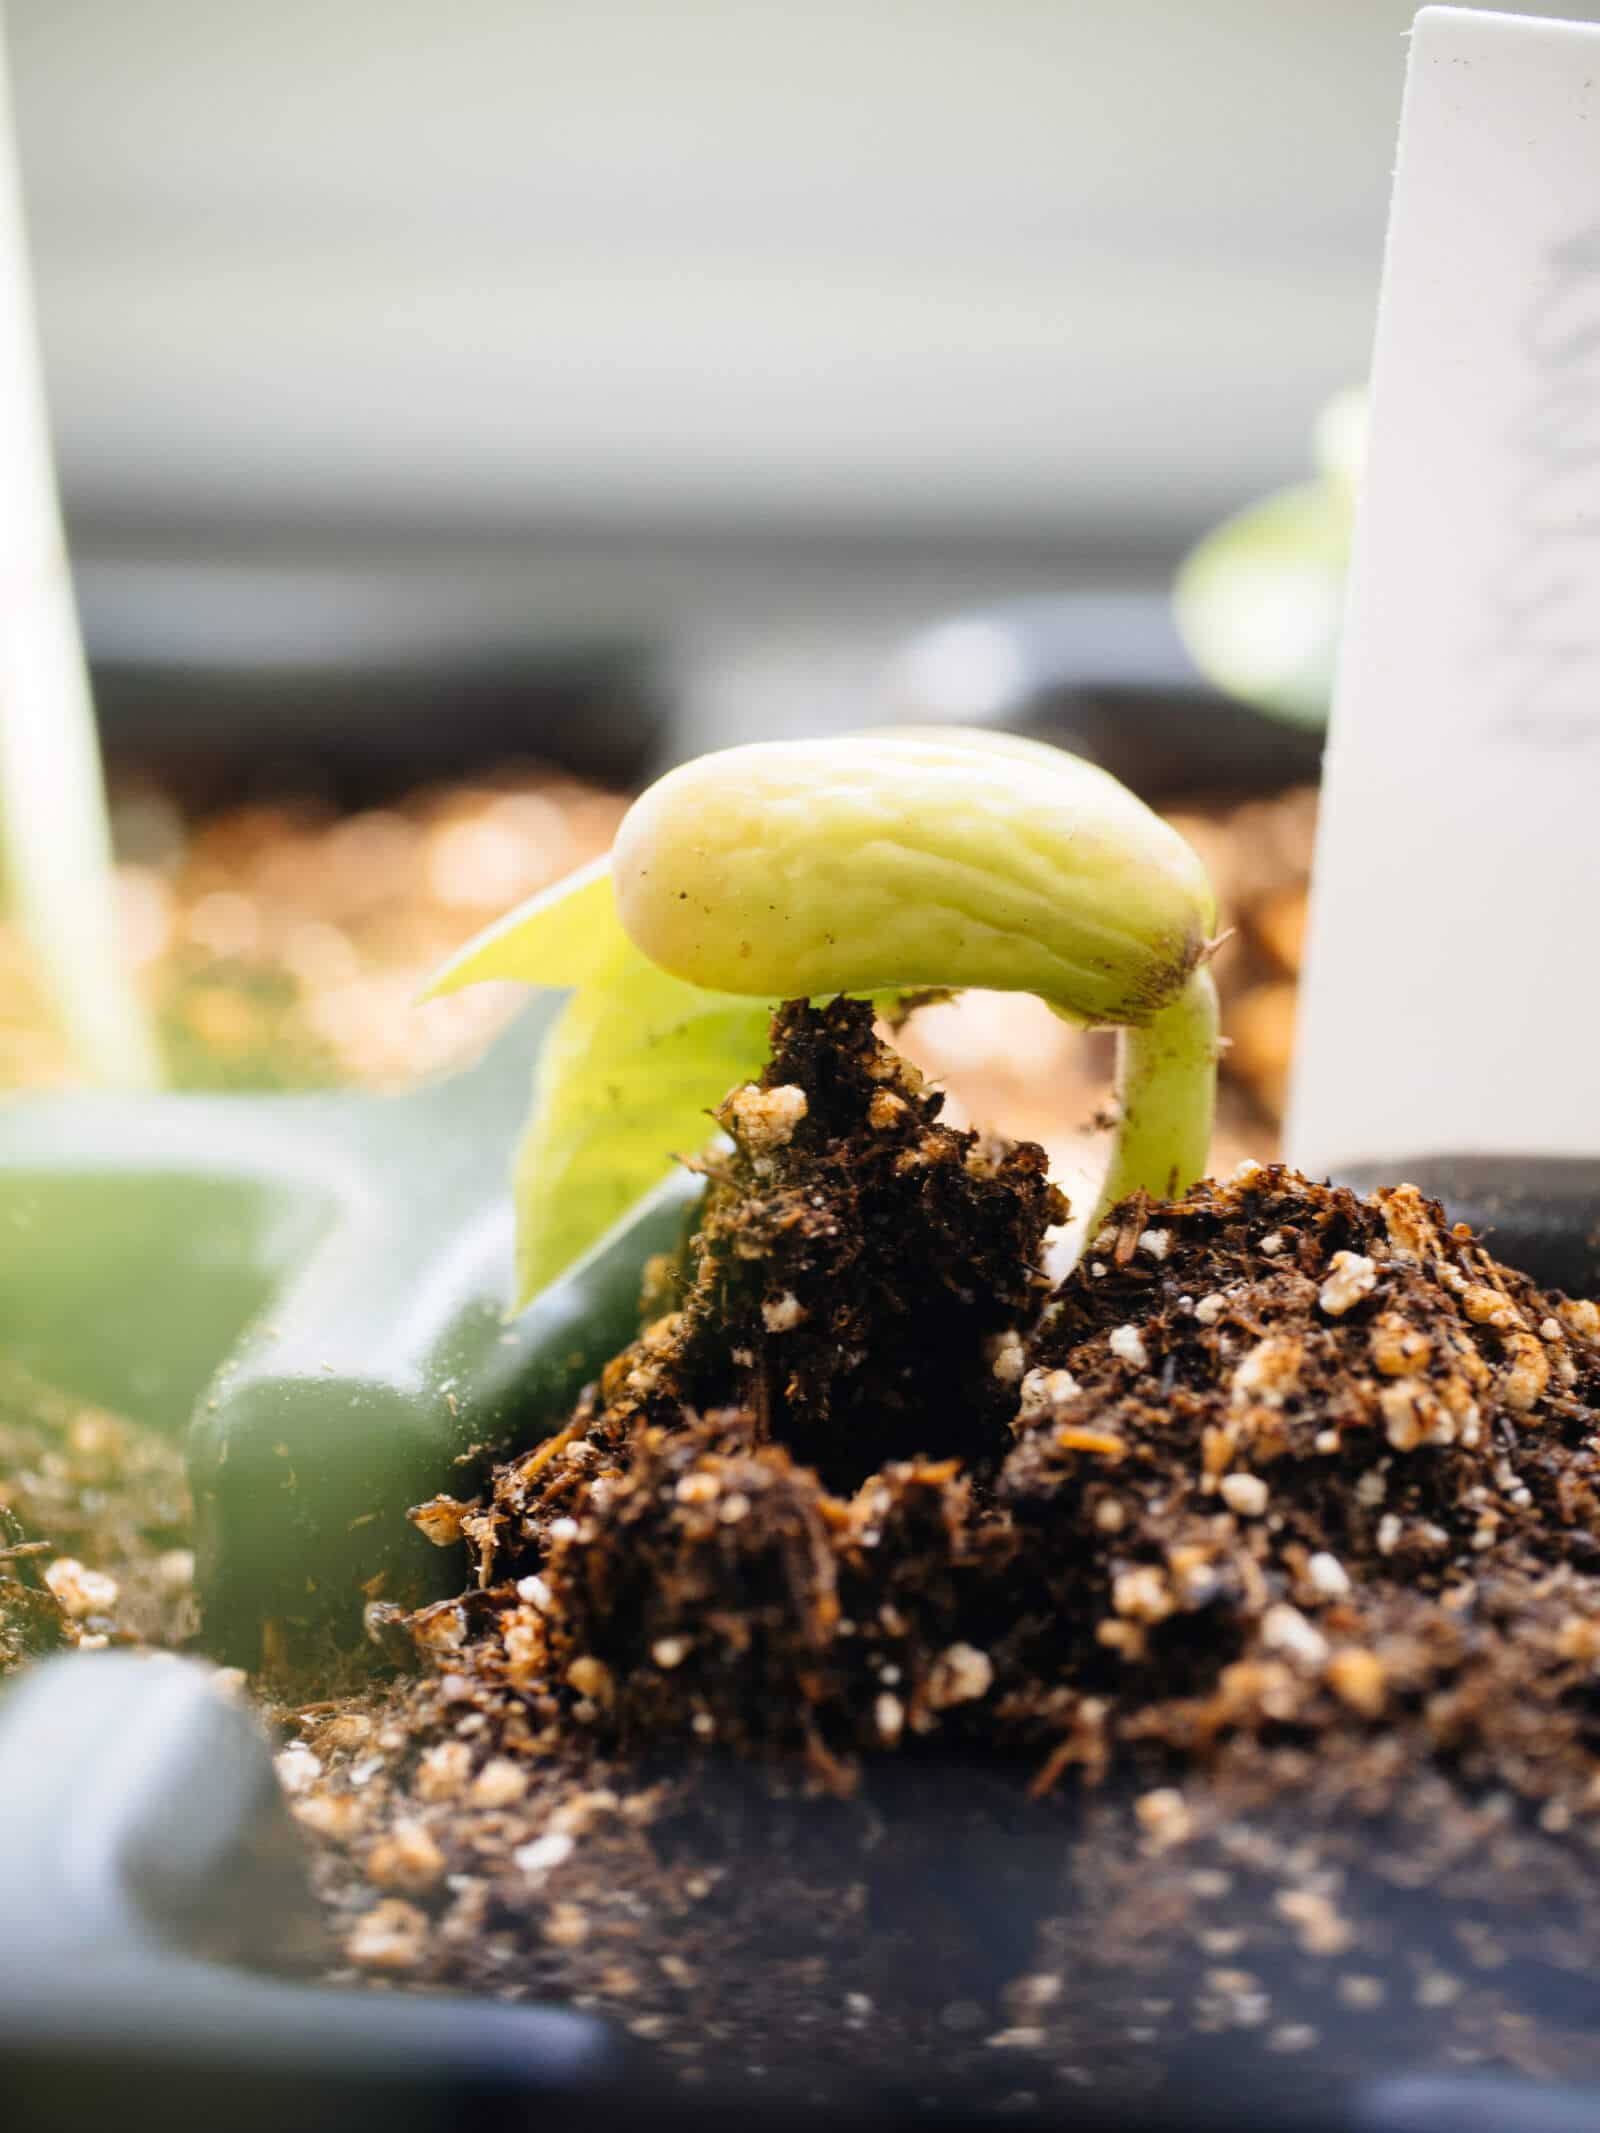
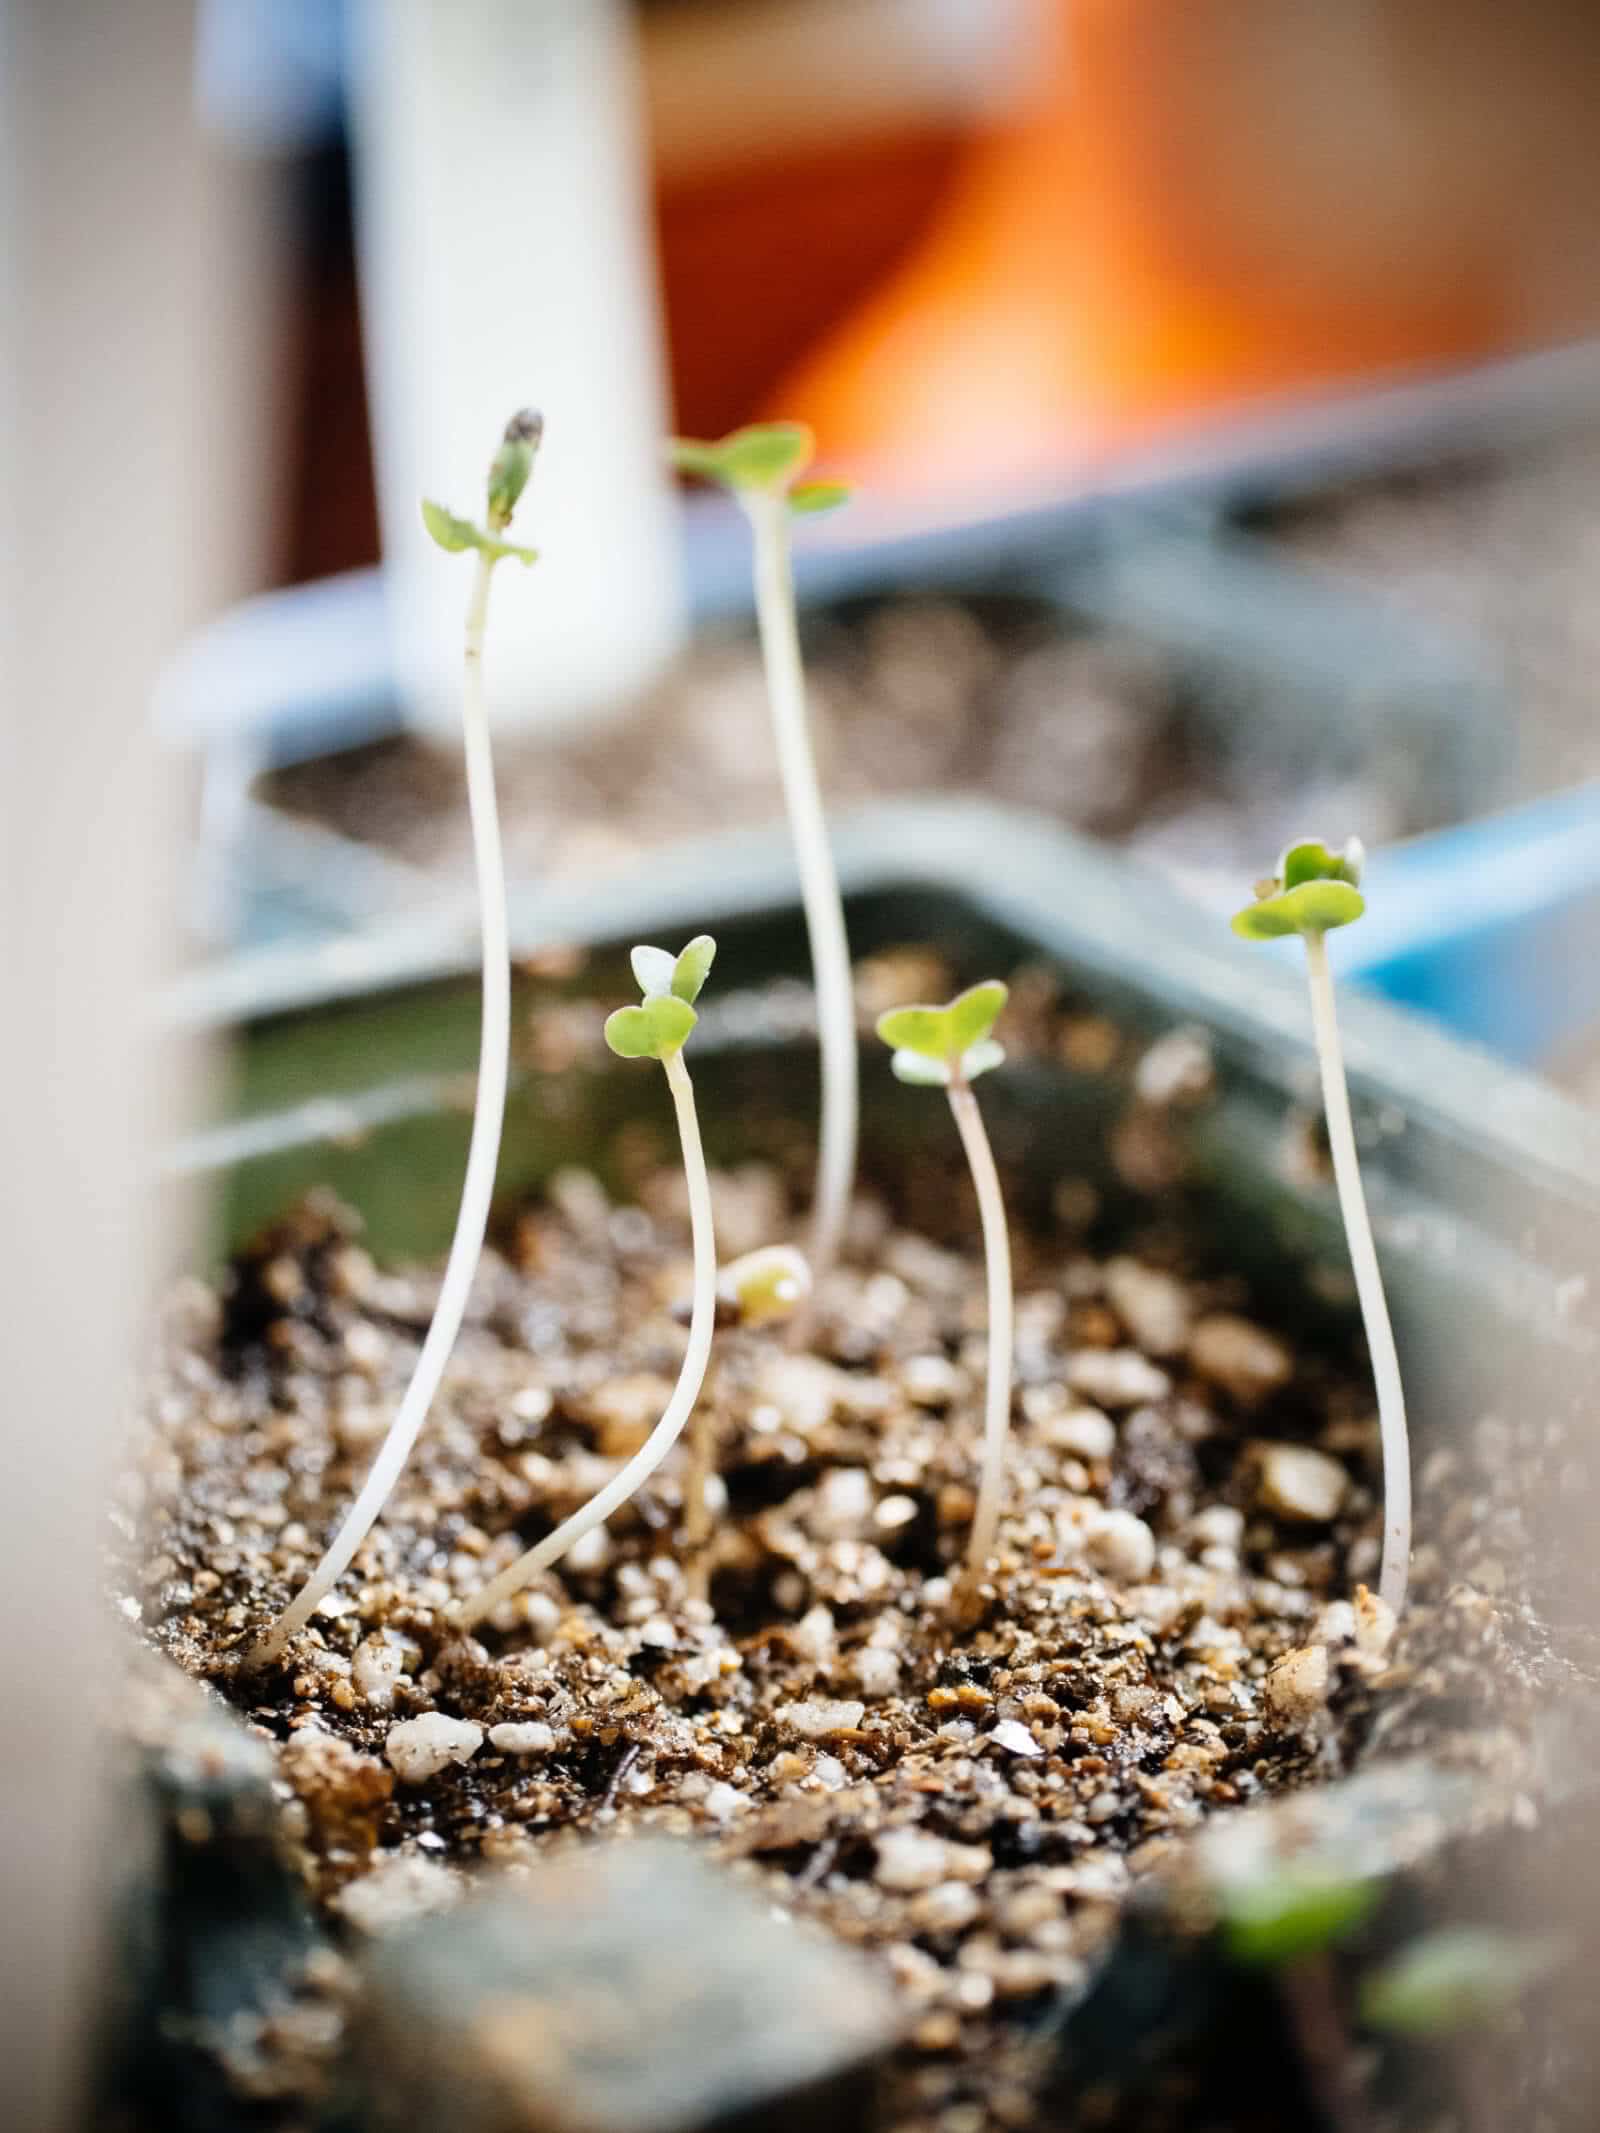
This is because all the nutrients that a seedling needs in its initial stage of life (before it develops its first true set of leaves) is contained in the seed. Think of it like an egg yolk for a baby chick.
A seed does not need fertilizer, compost, or beneficial microbes to germinate, nor does a seedling need any of that to grow healthy and strong in the first couple weeks. (You can read more about seed to seedling anatomy in this post—it’s truly amazing how self-contained seeds are.)
Soilless seed starting mixes should only contain three ingredients — and you read that right, soil is not one of them.
I remember being confused when I first learned about soilless mixes. How does a plant grow without soil?
It all comes down to starting seeds versus growing plants. In the beginning, seedlings just don’t have the same needs their grown-up selves do.
The best seed starting mix (which you’ll learn to DIY below) is made of perlite, vermiculite, and sphagnum peat moss.
This blend is made specifically for seed starting, and it’s very light and fine-grained to help promote baby root growth and ensure the mix doesn’t get compacted in seed starting cells or seed starting containers (which are usually only 1 to 3 inches in size—tiny!).
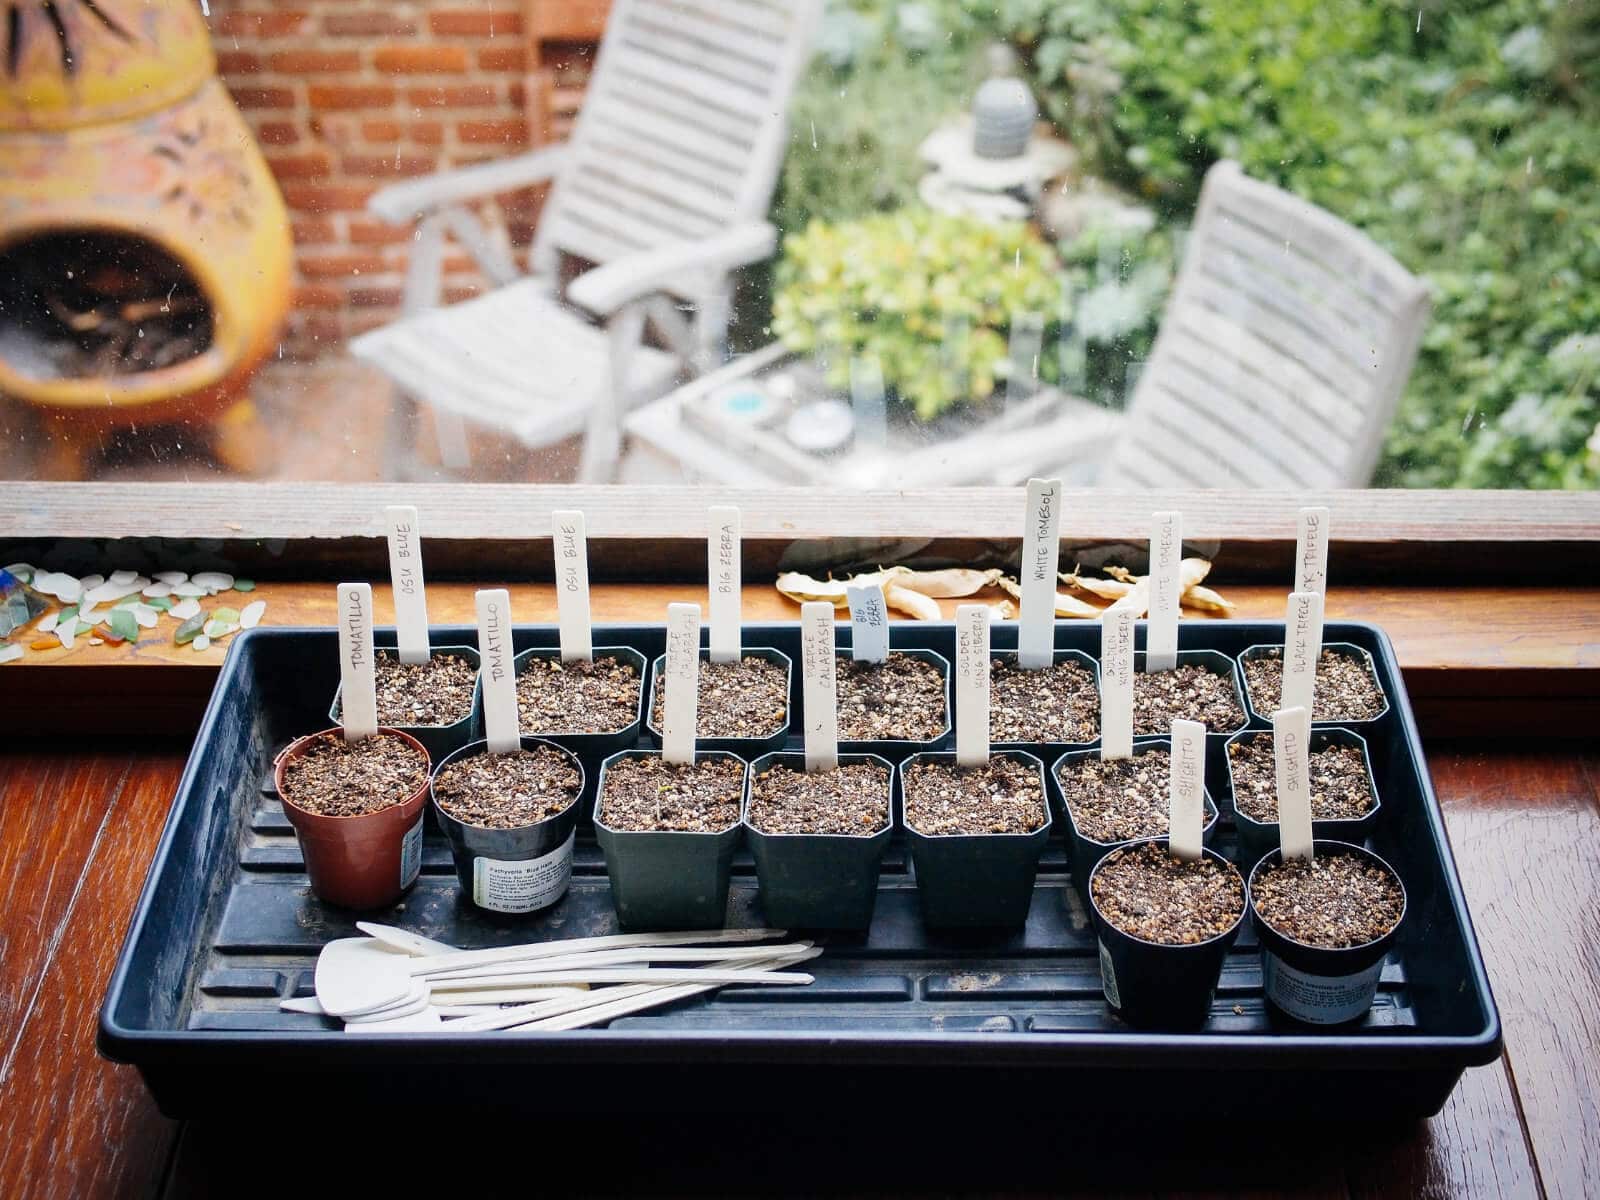
Is seed starting mix necessary?
You may be wondering why you need to use a soilless seed starting mix when you normally just plant your seeds in the garden, straight in the soil.
Here’s the thing: Garden soil has the advantage of being in the ground and living in harmony with the soil food web. It’s ideally well-draining and somewhat forgiving, as you tend to let Mother Nature take over and aren’t as obsessed over what does or doesn’t take off.
Unfortunately, garden soil tends to be too dense for seed starting and potting. It’s full of weed seeds. It’s teeming with microbes (both good and bad) and because they’re now constrained in an indoor environment without natural checks and balances, they can wreak havoc on your seedlings in the form of damping off or fungal diseases.
If you’re going to put forth the effort to start your seeds indoors, nurture them, and harden them off until it’s time to transplant, seed starting mix will give you greater success rates so you don’t waste seeds (or time).
What’s the difference between potting soil and seed starting mix?
Generally speaking, potting soil is a growing medium that contains topsoil (in other words, plain old dirt) and some combination of bark, perlite, vermiculite, peat, humus, manure, and/or other fertilizers.
Potting mix is a similar growing medium that’s usually soilless, though commercially, you may find the terms are interchangeable and refer to the same thing. (You should always check the label of any bag you buy.)
Potting soil and potting mix aren’t ideal for seed starting because:
- They have a coarser texture than seed starting mix, and you’ll often find chunks of bark in potting soil.
- They don’t drain as well as seed starting mix.
- They’re sometimes too rich in nutrients.
It’s not the end of the world to use potting soil or potting mix to start your seeds, but you’ll be paying a premium for ingredients that aren’t needed for germination.
On the other hand, if you don’t want to mess with repotting seedlings and just want to plant the seeds in their permanent container, you can start your seeds in a good potting mix that’ll continue to help them grow sturdy and strong.
Related: How to Repot Tomato Seedlings for Bigger and Better Plants
Get my recipe for homemade potting mix below.
The best DIY seed starting mix needs only 3 ingredients
That’s the benefit of making your own seed starting mix at home—no synthetic fertilizers or synthetic wetting agents to worry about, just simple organic ingredients to get your seeds off to a great start.
Together, these ingredients provide the perfect level of fluffiness, drainage, and moisture retention for starting seeds.
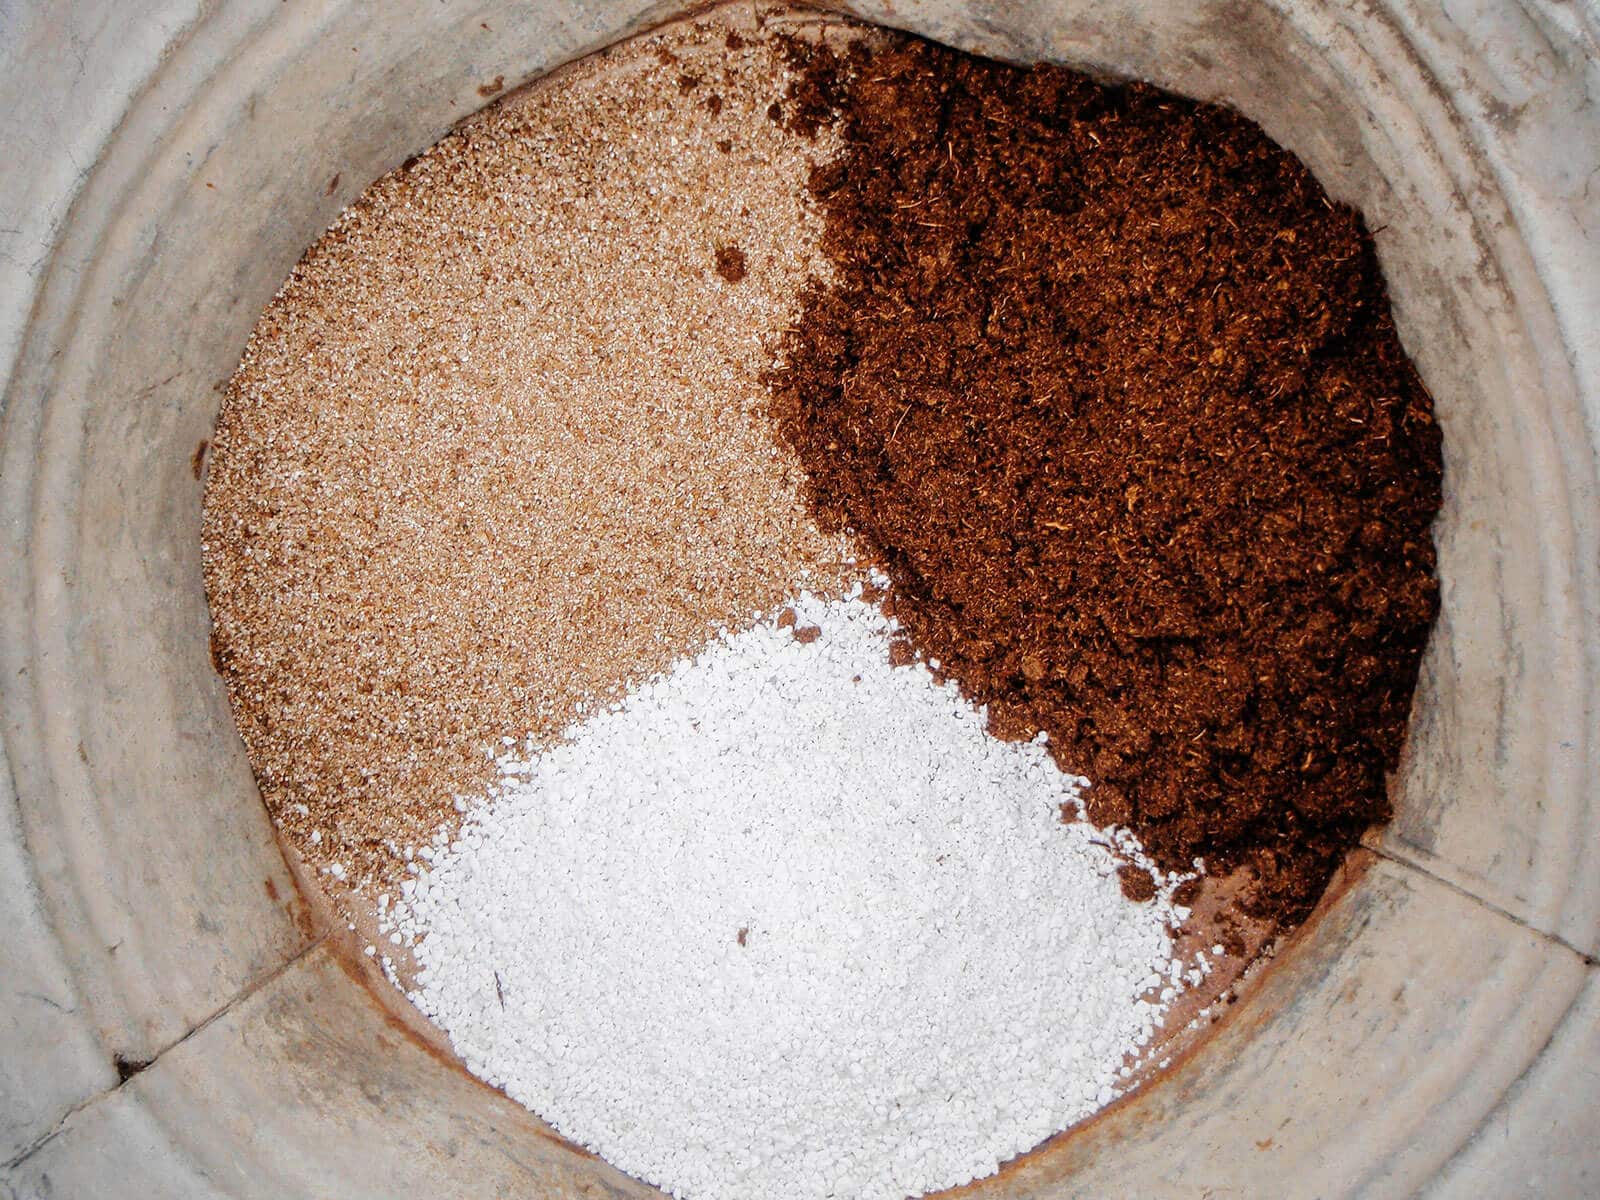
- Sphagnum peat moss (not to be confused with the coarser and more fibrous sphagnum moss that’s typically used to line floral baskets) is an excellent, sterile, moisture-retaining medium. The finer the fiber, the more water-holding capacity it has.
An alternative to peat moss is coco coir. This material is similar to peat in terms of look, feel, and moisture retention, but is made from the fiber of coconut shells. - Perlite is an ultra lightweight volcanic glass resembling white popcorn ceiling, and it provides drainage and aeration.
- Vermiculite is a natural micaceous mineral, brownish and granular in appearance, with water-absorbing properties that facilitate re-wetting of the soilless mix.
All three ingredients are easy to find at most garden centers, but I’ve also linked my favorite sources online (below) if you can’t find them at your local nursery.
Basic Seed Starting Mix Recipe
- 1 part sphagnum peat moss (or coco coir)
- 1 part perlite
- 1 part vermiculite
A “part” refers to any generic unit of measurement to make the quantity you need, as long as it’s consistent: a scoop, a bucket, or a bag of each ingredient.
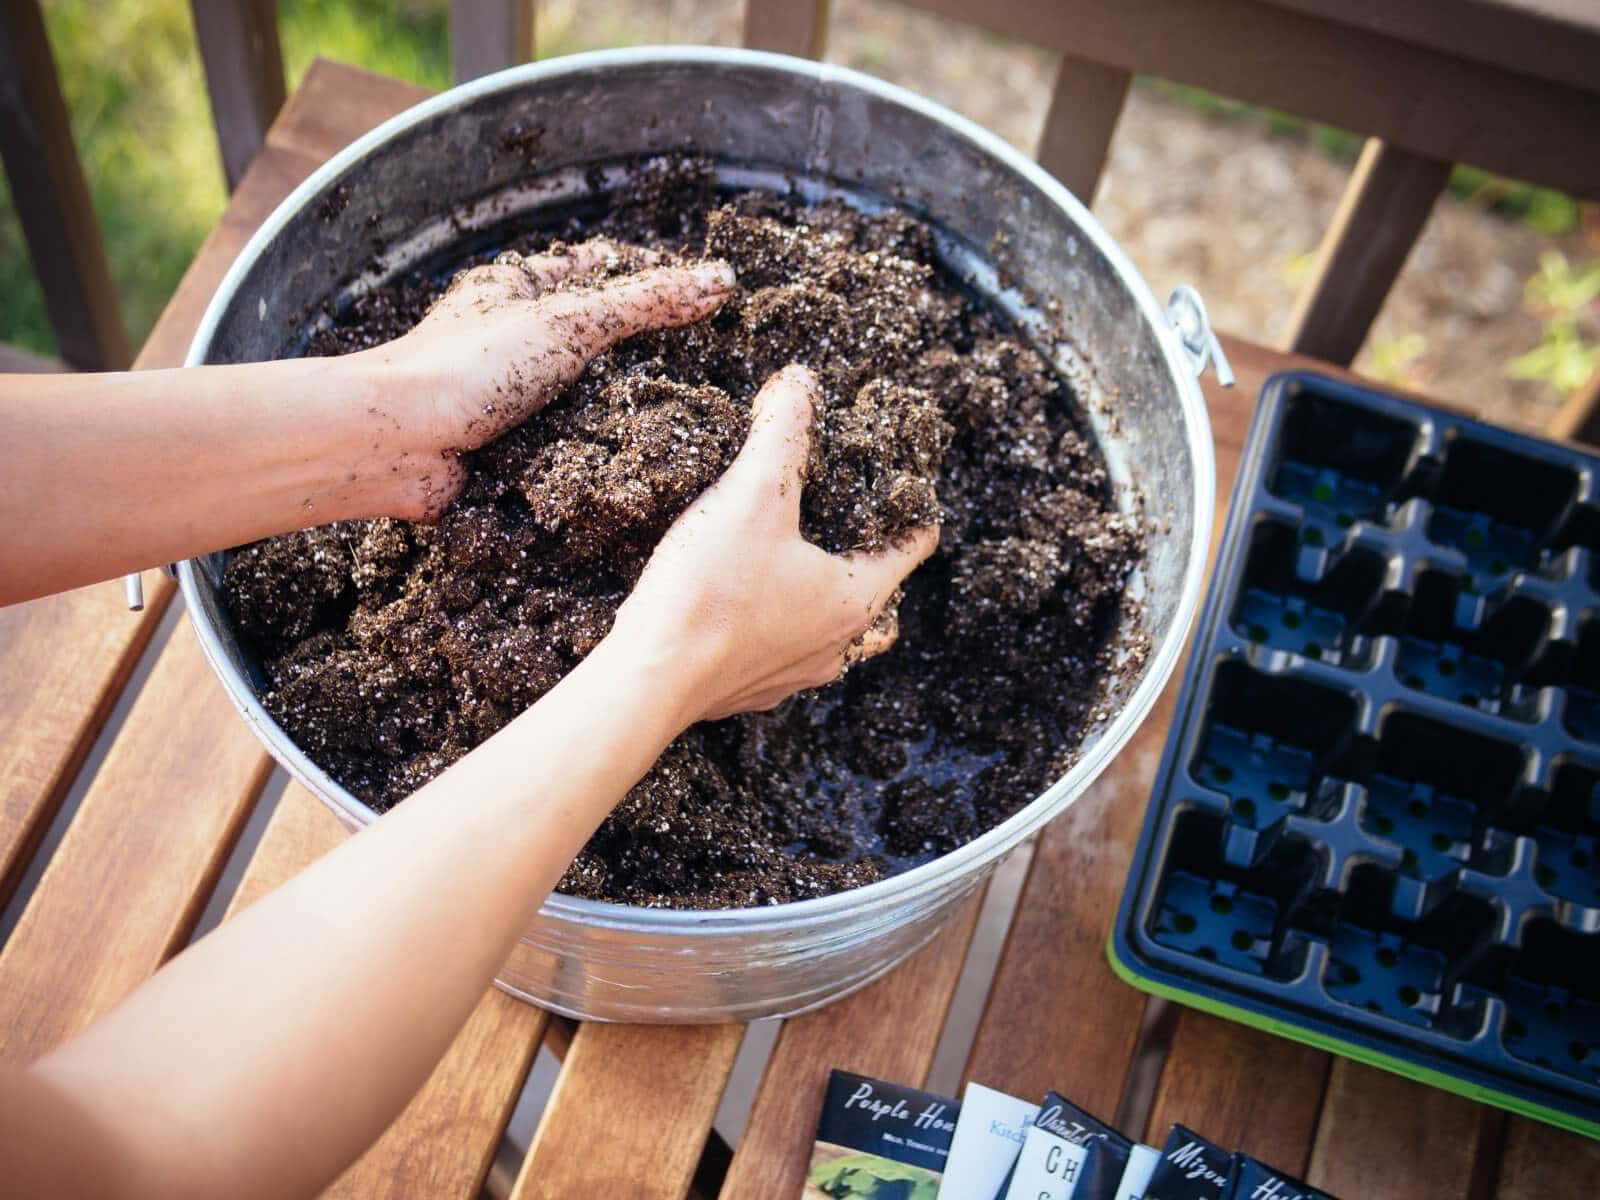
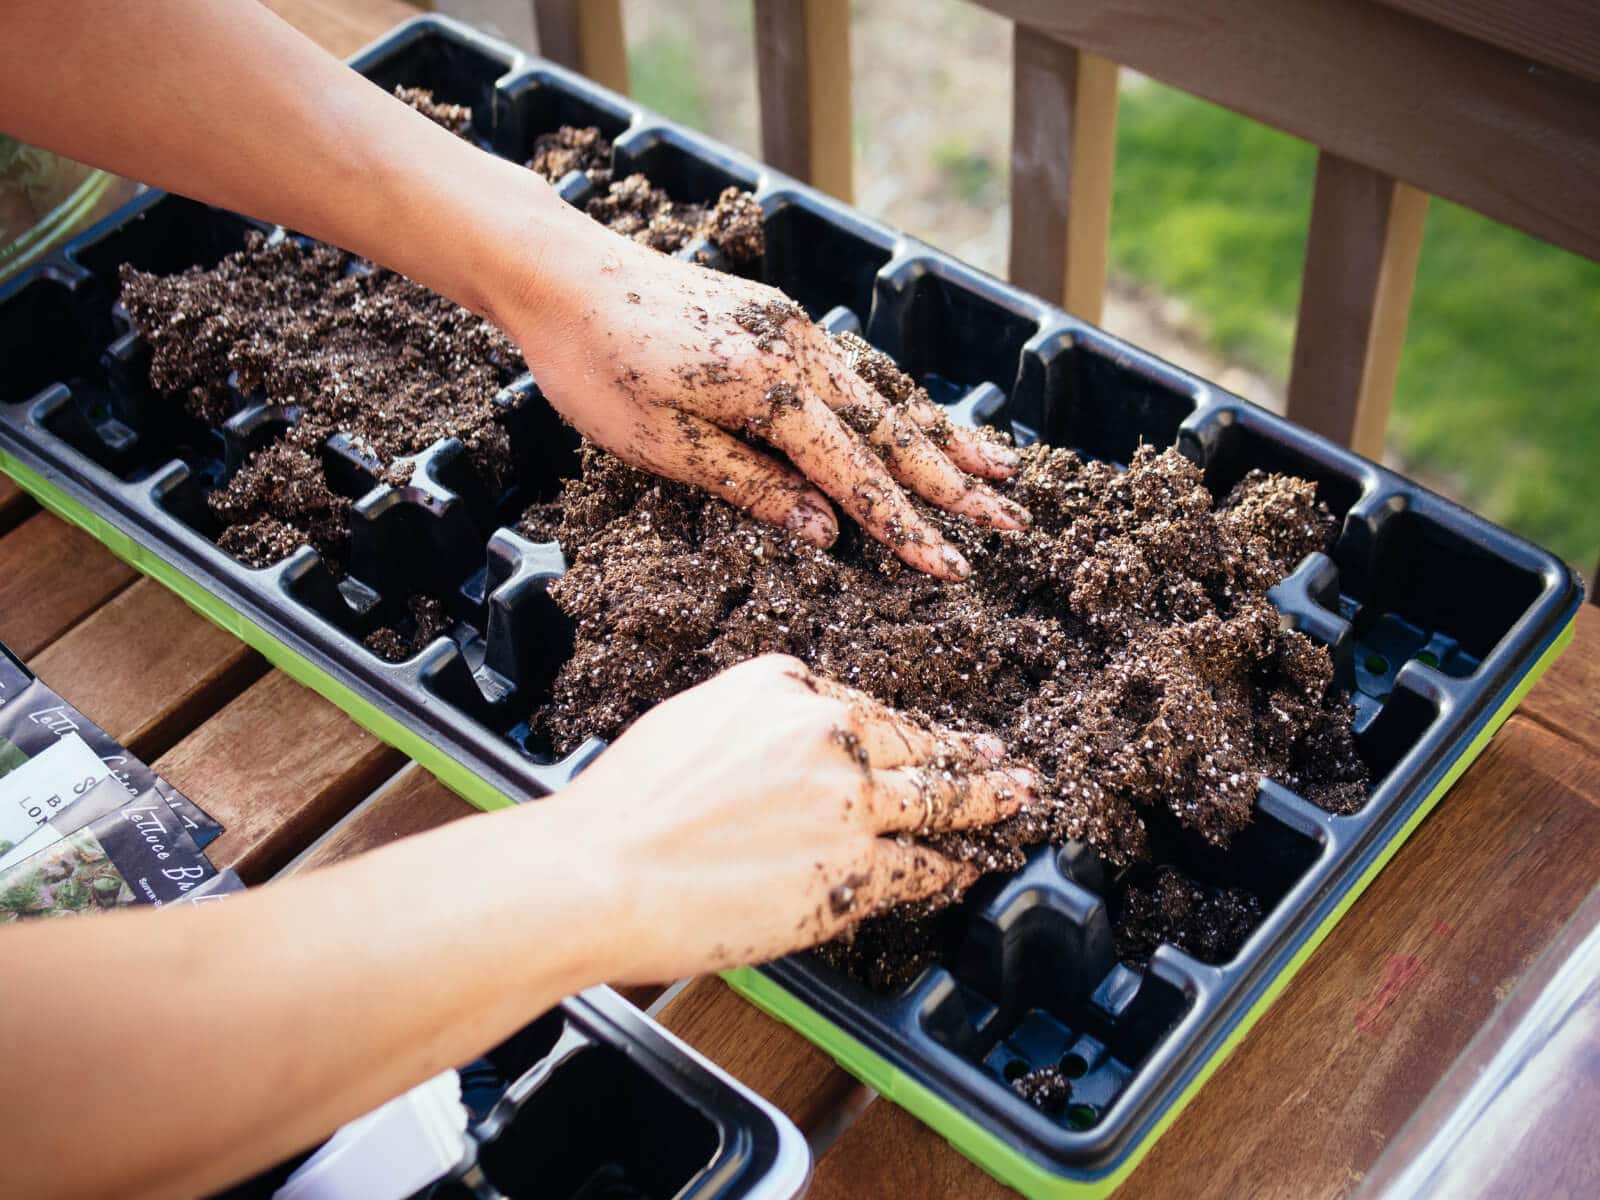
Combine all the ingredients in a clean tub or bucket, and saturate the mix with water. Stir the mixture with your hands or a trowel until it’s thoroughly moistened but not soggy (like a wrung-out sponge).
Add as much water as the mixture will absorb. You might be surprised to see how much it holds—peat moss can absorb 16 to 26 times its weight in water.
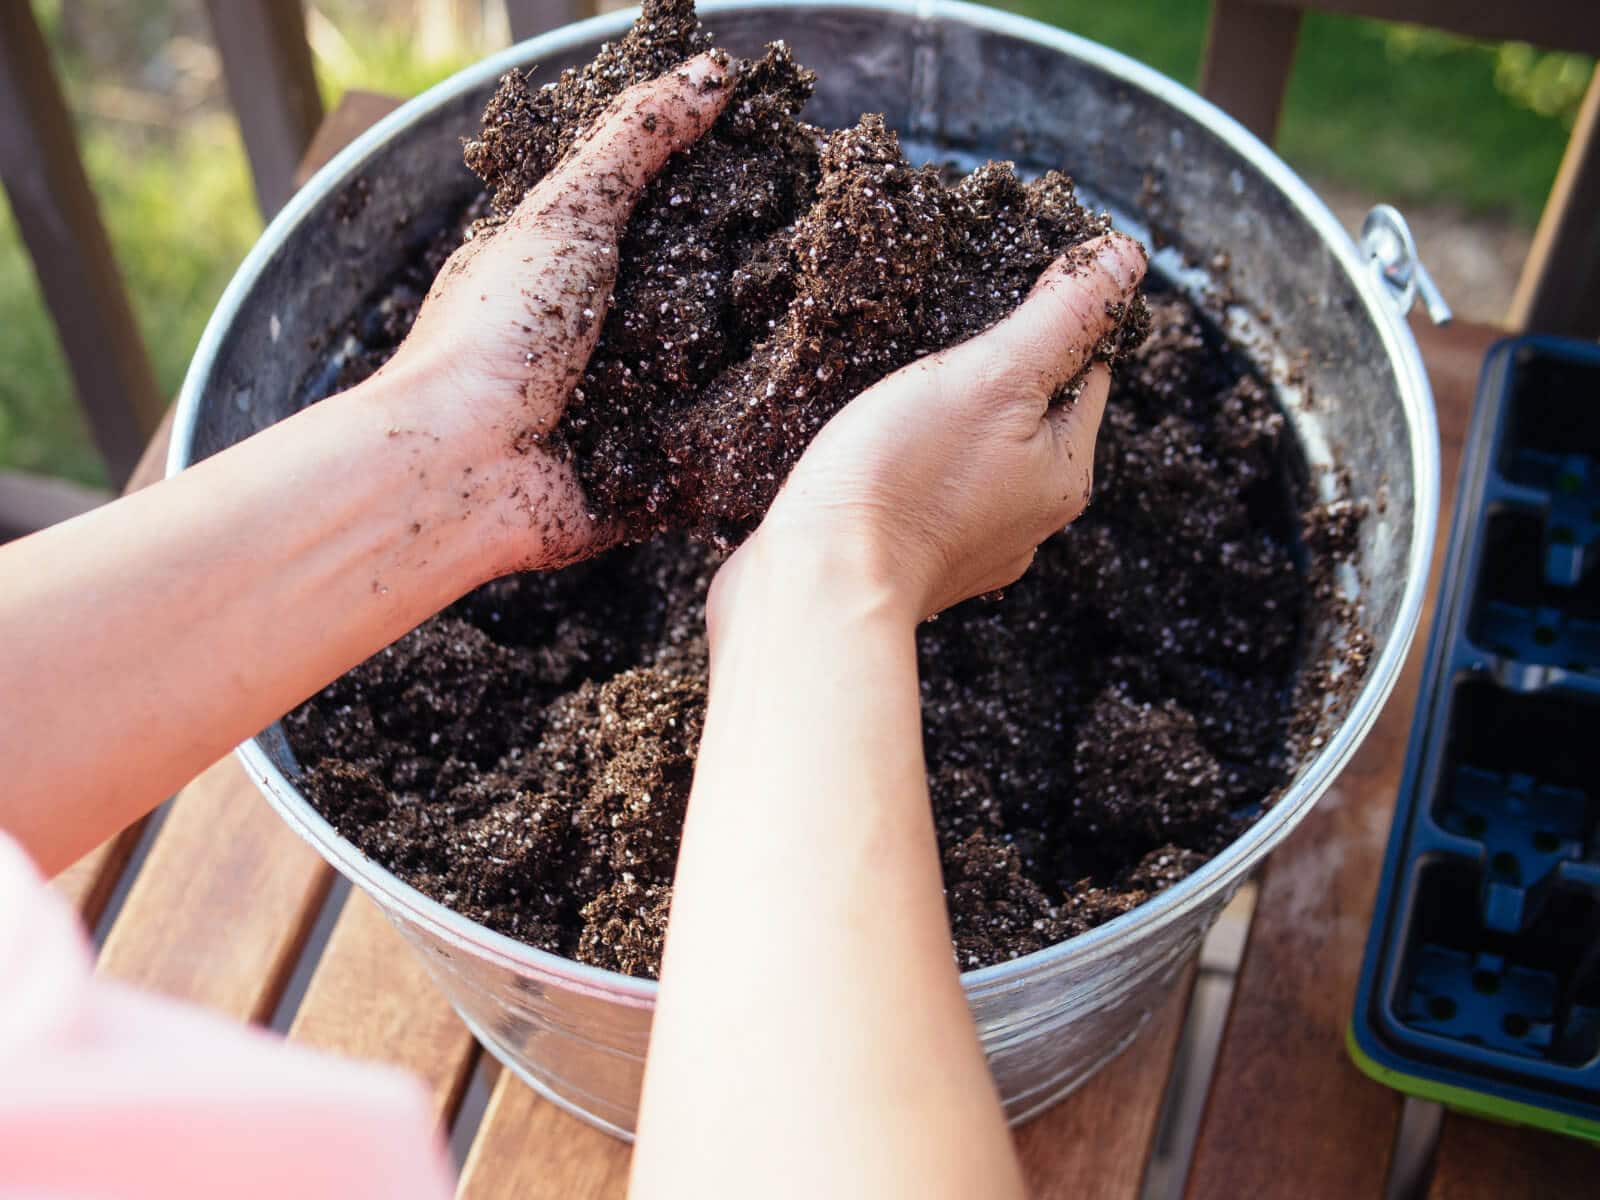
This initial watering makes it easier to keep the mix uniformly moist throughout the seed starting period, as peat moss can be difficult to re-wet if it’s been left to dry out.
Fill your seedling pots with the homemade seed starting mix, add seeds, and sprinkle a thin layer of vermiculite over your seeds if they need darkness to germinate. (Your seed packets should give any special instructions.)
You can save leftover seed starting mix for next season, or use it as the basis of your potting mix.
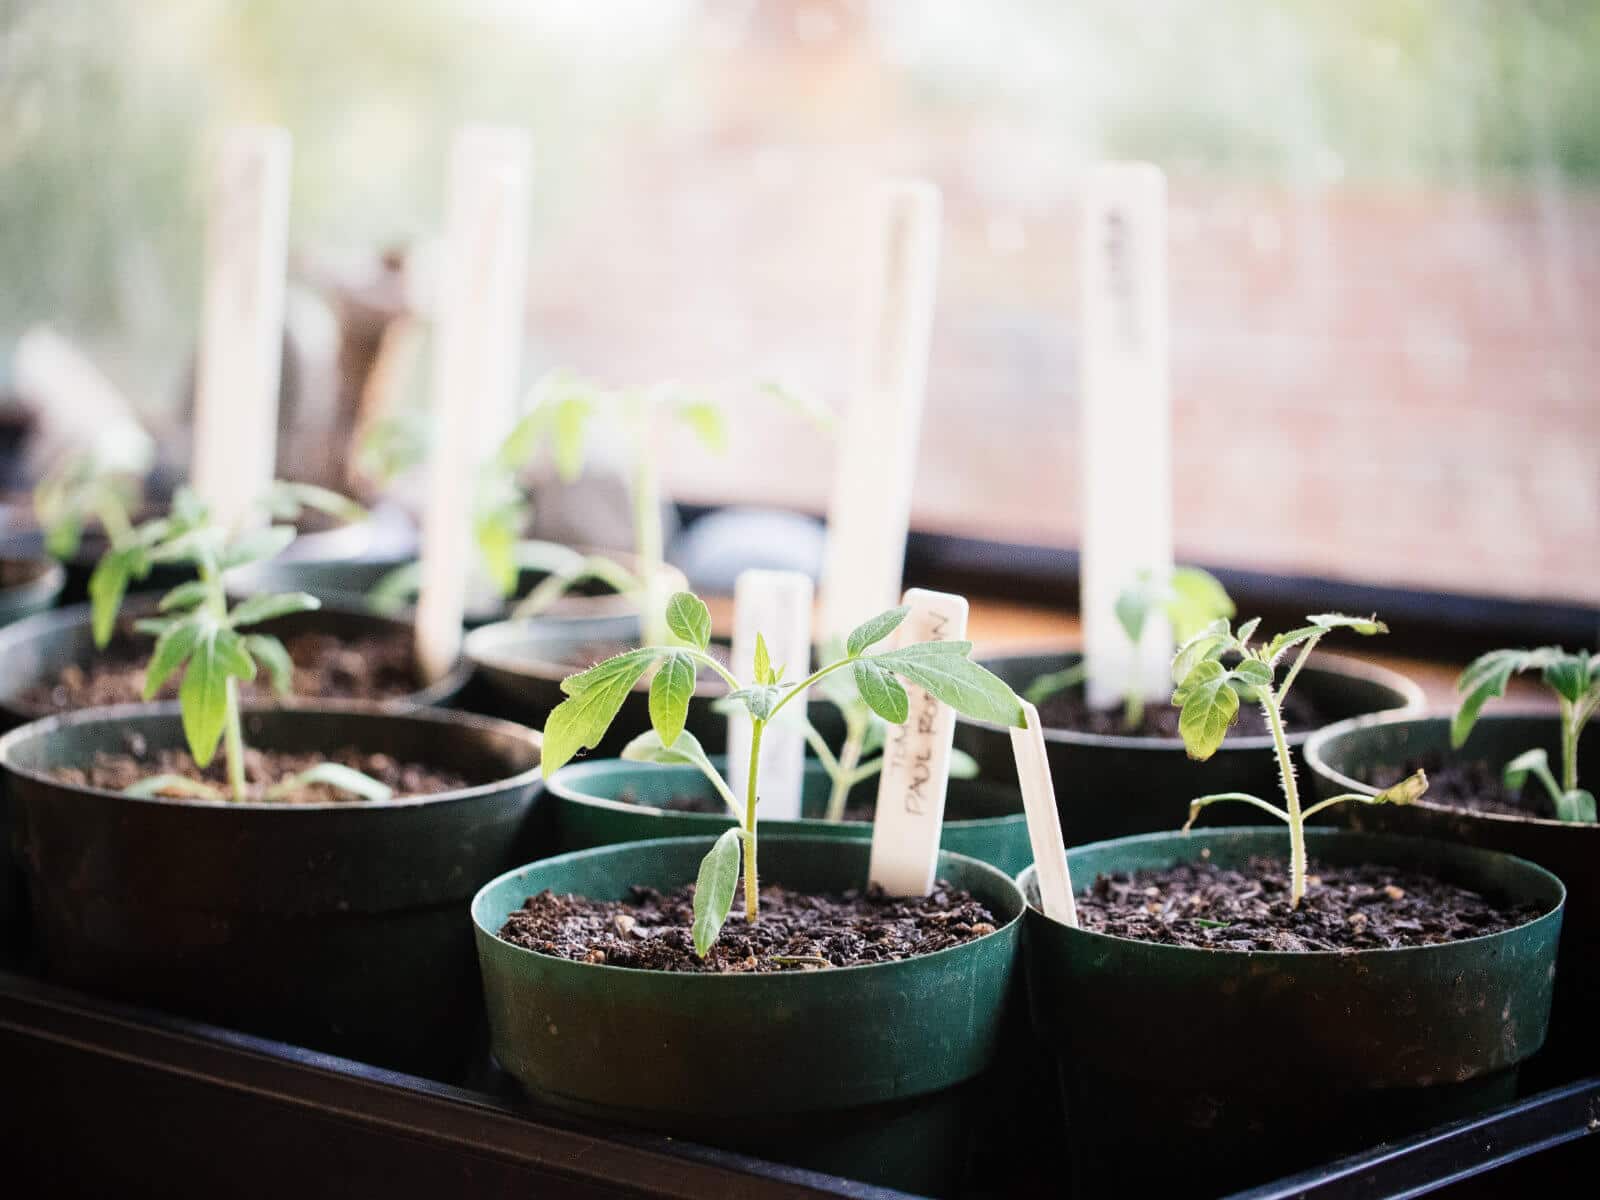
How to make the best potting mix for transplanting seedlings
With potting mix, we want to increase the ratio of peat moss (or coco coir) to up the moisture retention so our potted plants don’t dry out as quickly.
A basic potting mix is a good starter medium for transplants, but you’ll want to amend it with compost, garden lime, worm castings, kelp meal, or other supplements depending on the nutritional needs of your plants.
Basic Potting Mix Recipe
- 6 parts sphagnum peat moss (or coco coir)
- 1 part perlite
- 1 part vermiculite
Enriched Potting Mix Recipe
- 4 parts sphagnum peat moss (or coco coir)
- 2 parts compost
- 1 part perlite
- 1 part vermiculite
Enriching your potting mix with compost will help your seedlings and transplants thrive after the cotyledons die off. I like to start with well-aged compost, then add other amendments that inject a jolt of nutrients as well as increase microbial activity in the potting mix.
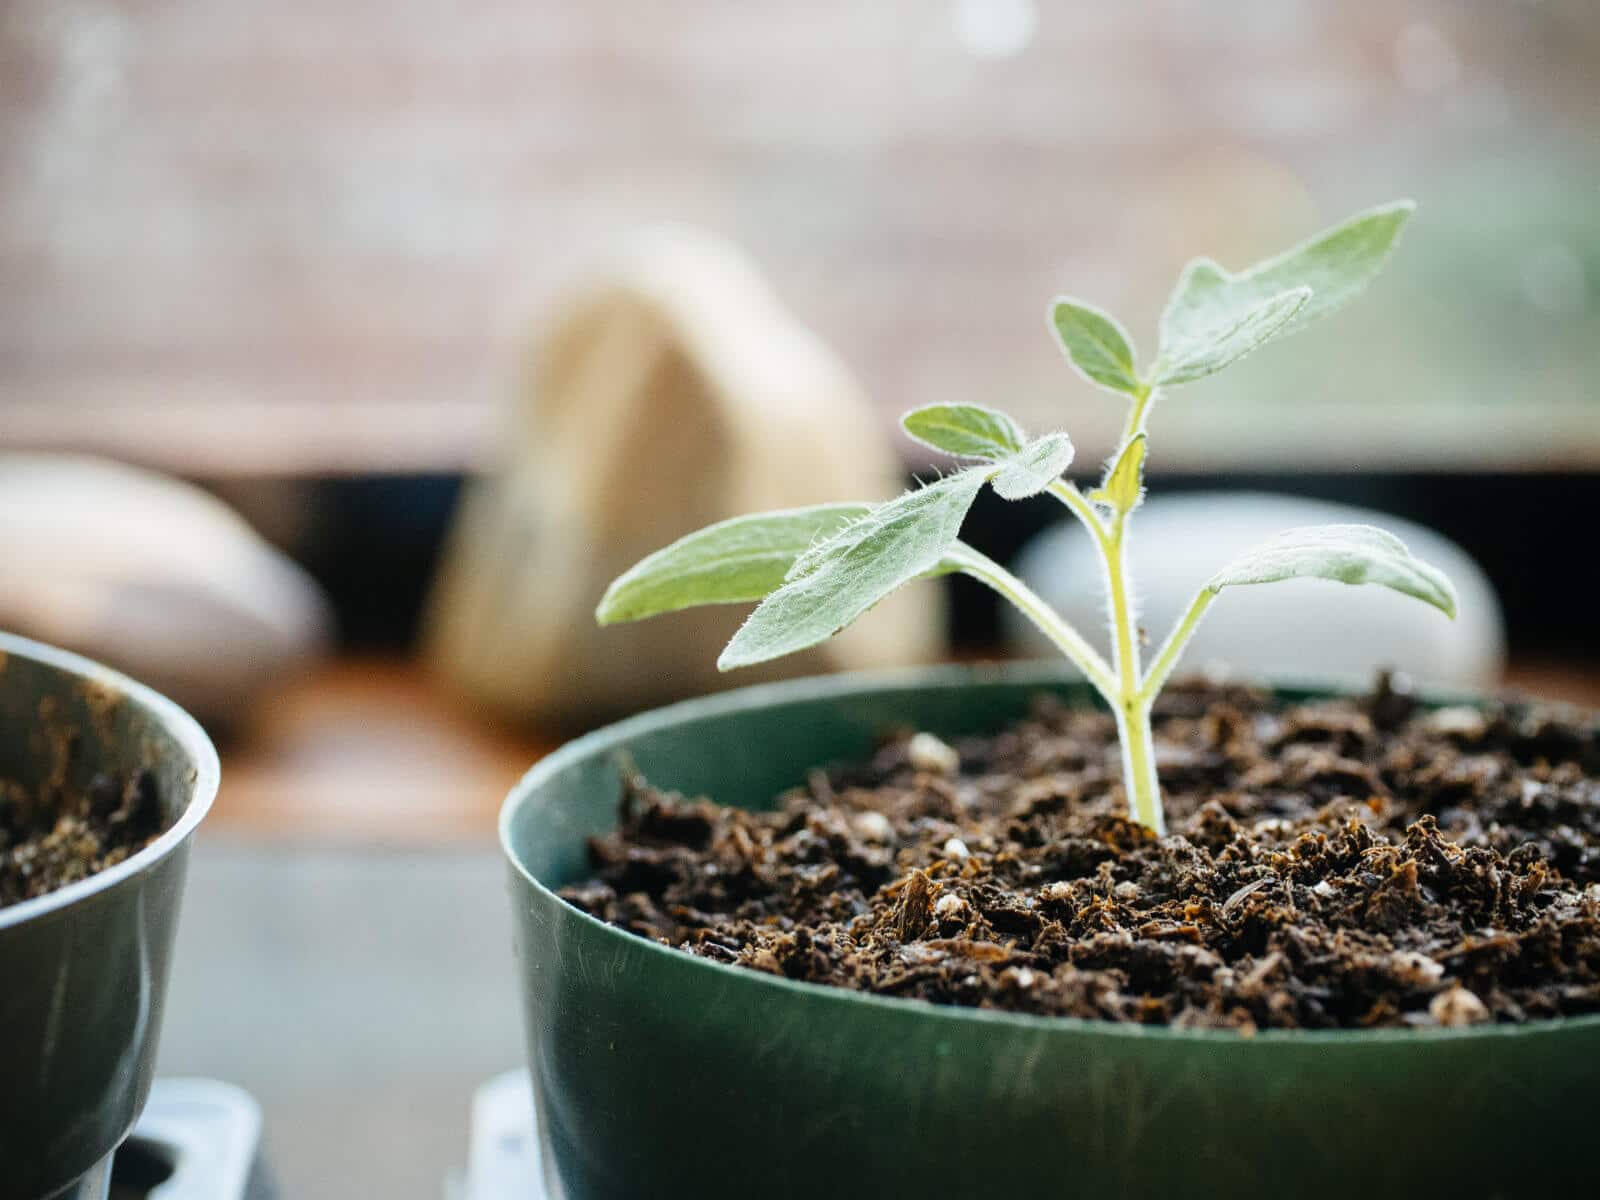
So just how cheap is homemade seed starting mix?
Let’s do a little math here and see how much we can save with this DIY.
A well-known brand of seed starting mix from a big-box garden center runs about $5 for an 8-quart bag.
While that doesn’t sound like much, note that 8 quarts is only 0.27 cubic foot.
Buying the individual ingredients from the same store means I can make a little over 1 cubic foot of DIY organic seed starting mix for around $8.
The same amount of pre-made seed starting mix from the national brand costs $20. That’s more than double the cost for a product that’s ridiculously fast and easy to make.
Some people might feel a little hesitant about the initial investment (2 cubic feet of vermiculite = $20, 2 cubic feet of perlite = $17, 3 cubic feet of peat moss = $12), but a little goes a long way.
If you keep these ingredients dry, they’ll never go bad and you’ll have plenty for your seed starting and potting needs.
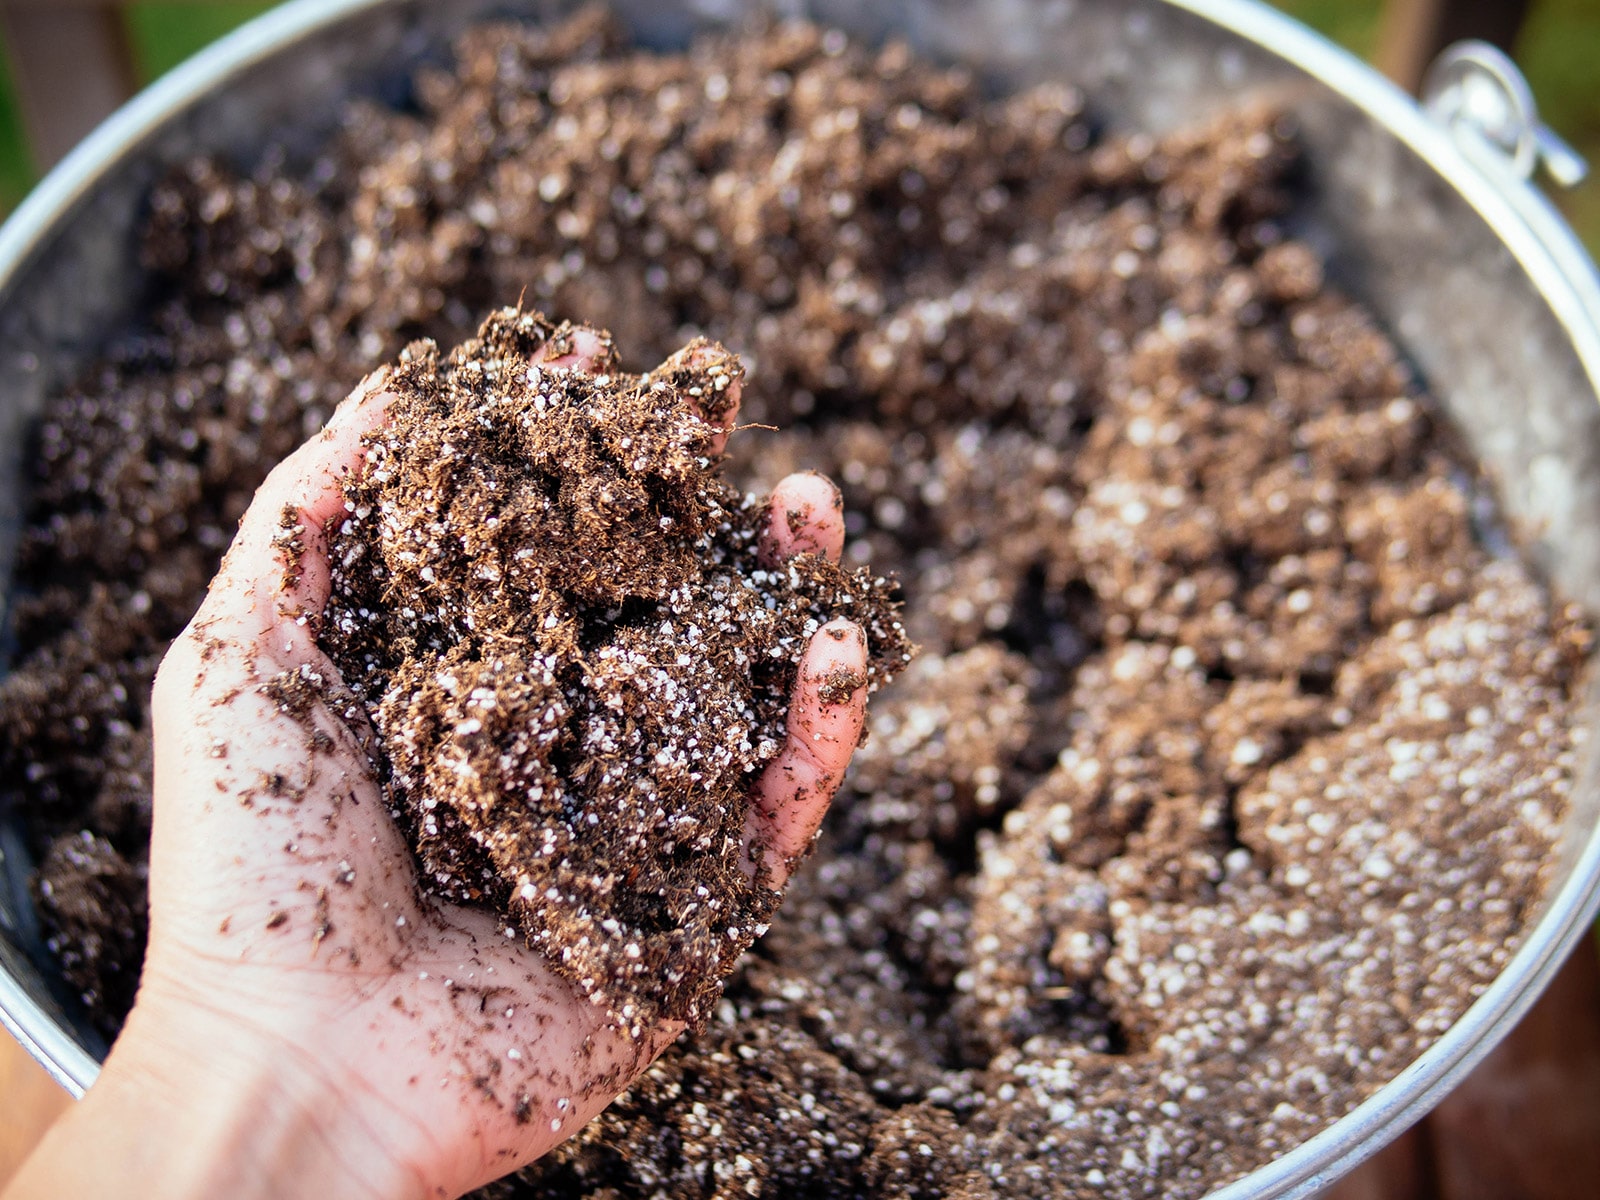
Common questions about seed starting mix and potting mix
Does seed starting mix or potting mix go bad?
Since seed starting mix and potting mix are soilless mixes, they don’t “go bad” or expire if they’ve been properly stored in a dry location. You can still use these mixes years after you make or buy them, but with one caveat.
One of the main ingredients in seed starting and potting mixes—peat moss—is an organic material that naturally decomposes over time. It doesn’t have a very long shelf life and after one or two years (from the time you purchase it), the fiber starts breaking down, making it ineffective at its primary job: to hold moisture.
Expiration in this case doesn’t mean the peat turned moldy or smelly (and it doesn’t as long as it’s been kept dry)—just that it loses its structure.
So while you can still use old seed starting mix or potting mix past its “expiration,” you’ll likely have to replenish the peat to maintain its water-holding capacity.
Can you reuse seed starting mix or potting mix?
You can reuse seed starting mix or potting mix as long as you didn’t have any problems with pests or diseases.
Let the old seed starting or potting mix dry out before storing in a bucket, storage bin, or clean trash bin, and keep it dry until you’re ready to use it again.
You’ll likely only get one reuse before the quality of the seed starting or potting mix is diminished, since one of its main ingredients, peat moss, is a natural fiber that breaks down over time (especially if it’s been wet).
What can you do with old seed starting mix or potting mix?
Old seed starting and potting mixes that need to be rejuvenated can be mixed in with new soilless mixes to give them a second life. They can also be added to your garden soil to help improve soil structure. (In either case, just make sure they’re free of any pests or diseases so you’re not introducing problems to new plantings.)
But if you don’t plan to reuse your seed starting or potting mix, you can just add it to your compost pile and let it break down naturally.
Do you need to sterilize seed starting mix or potting mix?
I don’t recommend sterilizing your seed starting or potting mix because it puts your seedlings and plants at a disadvantage from a biological standpoint.
Sterilization kills all bacteria—both good and bad. Without these microbes providing natural checks and balances that weed out weak plants and strengthen the healthy ones, your plants—which have been coddled in a “perfect” sterile environment inside your home—become unable to fend for themselves once they’re out in the garden.
3-Ingredient Organic Seed Starting Mix
The best DIY seed starting mix has only 3 ingredients. Save money and get my no-fail recipe for organic seed starting mix you can easily make at home.
Materials
- 1 part sphagnum peat moss (or coco coir)
- 1 part perlite
- 1 part vermiculite
Tools
- Clean tub or bucket
Instructions
- Combine all the ingredients in a clean tub or bucket, and saturate the mix with water.
- Stir the mixture with your hands or a trowel until it's thoroughly moistened but not soggy (like a wrung-out sponge). Add as much water as the mixture will absorb.
- Fill your seedling pots with the homemade seed starting mix, add seeds, and sprinkle a thin layer of vermiculite over your seeds if they need darkness to germinate. (Your seed packets should give any special instructions.)
Notes
A “part” refers to any generic unit of measurement to make the quantity you need, as long as it’s consistent: a scoop, a bucket, or a bag of each ingredient.
Where to buy seed starting mix
[show_shopthepost_widget id=”3916499″]
Black Gold 8-Quart Canadian Sphagnum Peat Moss Plus | Premiere Horticulture 1-Cubic-Foot Sphagnum Peat Moss | Nature’s Premium 1-Pound Brick Coco Coir | GROW!T 1.5-Cubic-Feet Premium Loose Coco Coir | Black Gold 8-Quart Perlite | Espoma 1-Cubic-Foot Organic Perlite | Espoma 8-Quart Organic Vermiculite | Espoma 1-Cubic-Foot Organic Vermiculite | Dr. Earth 1 1/2-Cubic-Feet All-Purpose Compost
This post updated from an article that originally appeared on March 15, 2011.
View the Web Stories on organic seed starting mix.
Thanks for the recipe!
Never stir peat moss with bare hands. Peat contains a fungus that can live and breed in your fingernails. It doesn’t hurt plants or other organic matter though.
Hi I have printed off your method of making a seed raising mix, unfortunately I have only been able to print pages 12-18. I actually require pages 2-18 is there anyway you could add a print section to your page. I am not overly computer literate, given I am 75 years of age and appreciate being in the garden more than on electronics. This would be gratefully appreciated. I am in the process of teaching a couple of young people to grow their own food, starting from the ground up I believe will give them better skills, instead of packets and bags of products.
With regards,
Linda
Linda,
Next spring I want to use your above mixture for my seeds.
What I would like to know, is there any fertilizer that will make the seedling strong?
In the past my seedlings are weak and never make it into plants. So disappointing to see them come up and then die in a few days. I even tried your paper towel method and that works for them germinating and then when I planted them in a little pot, they died.
I just can’t seem to make them into little healthy plants.
I end up giving up and going to the nursery and buying plants, but I really want to grow my own.
Please advise.
Thanks, Sue
Will just using peat moss, vermiculite and perlite keep a soil block intact? Or should I add compost or something else to help it hold together?
At what point do I start adding nutrients to the plants I’m starting indoors, and do I use liquid fertilizer, like fish liquid? Thanks
Once your seedlings have grown a couple sets of true leaves, you can start using a diluted liquid fertilizer. Fish fertilizer is a great choice, as is liquid kelp.
Hi, I have just made up some seedling mix from perlite, vermiculite and coco coir from my local plant nursery/shop. The perlite is in very large particles ie the size of dried pea seeds. Do I need to return this package and access a different source, or is there some easy way to break them up? the mix is very coarse, and seems too coarse for growing tiny seeds in.
Hey Linda,
I’ve read your comments (or responses) about the different benefits and detriments of Peat Moss vs Coco Peat, so please don’t think I an Re-Asking a question that has been addressed more than once.
I’m wondering if you have (or know a soil mixer that has) had a chance to work with the relatively new product called “HydraFiber”. This is a wood (pine) based product that actually has been having great success in replacing all aggregates in potting soil and seed starting mixes. This means no need for Perlite or Vermiculite. The benefit there, is obviously that the mining and processing of these additives (and the health risks of breathing in tiny particles of volcanic rock or glass product). The mixes I know about are still using a little bit of peat moss, but they are working to replace them with an annually renewable product made from cattail stalks (something that is starting to be farmed in my home state of Iowa in the flood plains of the river valleys). However, I have not been able to find much information on the processing of the HydraFiber, or how the primary producers of it are acquiring the wood to begin with.
Obviously, there is NO system that we can come up with that has ZERO impact on people, planet, wildlife & health. The challenge then is to come up with the BEST consideration for us personally. So if you could help me to find more information on this new product (available to my wholesale mixer for less than 2 years, and only this year in any larger quantities), I would greatly appreciate it. Maybe we could further communicate so as to share information that would offer you a new subject.
Here is the info that I have currently. I have written to my wholesaler to get any and all info that he has, but even though I trust him, I would love to have an opinion from an outside source. Please let me know what you find?
Here is the Company that is producing HydraFiber (always hard to know what to believe when it’s a marketing site)
https://www.hydrafiber.com/
Here is the company that is offering the wholesale HydraFiber mixes (soon to be available in retail, and in Peat-Free)
https://beautifullandproducts.com (I am NOT a representative of this company, I’m just interested in this product)
This is a quick read about some of the massive environmental BENEFITS of Some Hypnum Peat Mosses
http://www.peatworks.com/
And Lastly, here is the info that was sent by my local company who recently began working with the wood product.
———————————————–
Is This The End of Horticultural Peat Moss?
Harvesting peat moss for horticultural purposes has been in the news a lot lately. You may have already heard, but here is a brief recap: it is getting increasingly difficult to harvest horticulture-worthy peat moss; harvesting it has a substantial environmental impact, even with the conservation measures in place to ensure its continued availability; and finally, supplies in the US have been drying up for businesses like ours who use it to blend high quality growing and germination mixes. Big companies who own the bogs are increasingly pressuring small businesses like ours to accept their pre-blended mixes with peat rather than the raw material, which we dislike because we prefer our mixes to theirs by a wide margin. Long story short, small blenders like us may find it increasingly difficult to acquire raw peat moss in the coming years. Not only that, but the increasing cost of aggregates such as perlite and vermiculite have been an ongoing challenge since the beginning of the pandemic. Thankfully, we have found a solution that will decrease our environmental impact, improve your plants’ performance, reduce your input costs, and keep us blending our high quality custom mixes for years to come!
And The Evolution of Horticultural Wood Fiber?
HydraFiber, a product made from processed pine fibers, was originally developed and promoted as a way to free ourselves from aggregates such as perlite and vermiculite, which are extracted through mining and heated to extremely high temperatures, to produce the popcorn-like structure of perlite and the worm-like structure of vermiculite. HydraFiber, with a total porosity of 99% (total porosity = water holding capacity + air pore space), and a water holding capacity of 66%, will retain 33% air space even when watered to field capacity. So even when your pots are drenched, the roots can still breathe easily, leaving enough air space and oxygen in the media to prevent most soil-borne pathogens from gaining a foothold. Moreover, we have found (through independent laboratory testing and field trials) that it can also be used to significantly reduce the use of peat moss in growing media by as much as 75%, and we are looking at ways to make that number 100%. Pictured below is one of our new blends featuring HydraFiber, which is also completely aggregate free: Our Organic Aggregate Free Mix.
I haven’t seen HydraFiber in any of my local stores (or even heard of it before your comment) so I don’t have an opinion on that yet, but it’s definitely interesting and worth looking into. I’m always keen to learn more about new products like this so I’ll report back if I find something to share. 🙂
Thank You
Great article, but I could do without all the argumentative trolls! We’re all grown-ups here and each and every one of us can make our own informed decisions. This just shows that it’s not so much the Planet that needs saving . . . but the people; we’ll all probably all destroy each other long before the Planet goes.
it’s the internet. What do you expect? Anyone from the worst corners of the earth can come on here and say anything. Just ignore them.
Having read a lot of the comments I’m yet to see any trolls. I thinks it’s a good thing that so many people are willing to challenge the sustainability of our practices. Granted, people should make their own informed decisions. Instructional posts such as this are however are going to attract people who maybe aren’t as well informed on such topics. Sustainability of the use of Peat Moss is also heavily dependent or where in the world you are and who you buy it from. At least with this choice being scrutinised somewhat in the comments people will likely do their own research and come to their own conclusions.
Nice blog
Do you add any lime to the seed starting mix?
The base mix by itself comes out very acidic, about 4.5 ph. just like the peat moss. Compare this to the Espoma Organics seed starting mix, which is just peat moss, perlite, and lime, at about 6.5 ph.
Did you have the base mix tested to determine the pH? In my experience, peat moss does very little to acidify soil (in seed starting mixes or in garden soil). The pH is acidic to start (when peat is first added) but neutralizes after about a week of being watered, and most seeds don’t germinate until then. So there’s no need to add lime to seed starting mix. I’ve yet to find any ag studies that support the common belief that peat is an effective acidifier by itself.
As the starting mix doesn’t contain any nutrients, do we have to add any nutrients using foliar spray or by drenching after the first two leaves have grown out. Bigger seeds do not need nutrents for about 2 weeks but what about very tiny seeds? Can we drench/ spray with npk( very small amount) …..
Personally, I don’t add any compost or fertilizer until I repot the seedlings or transplant them in the garden.
]if your in sandy soil as I am tomatoes and need a pH of 6 to 7 fla boy have your soil tested at your county extention office9 fla boy
Good point. My seedlings aren’t doing well. I planted them in this mix AFTER germination, barely poking above the soil. They’re withered up now and look like they probably won’t make it. I’ll have to run out and get some lime to hopefully salvage them! I do wish the topic of acidity was mentioned in this long article, even if it is short lasting.
wow, this is an especially informative discussion of seed starting mix (and some good info on potting soil mix, too), thank you for all the education!
I wanted to add that many gardeners are finding that coir has such a high salt content that seedlings fail to thrive in mixes made with coir. Recently, a company in Pittsburgh started offering PittMoss, a soil-less planting mix. Their product “Plentiful” seems to work well. Using it is a little bit of an adjustment…it looks lumpy but it IS light and fluffy and it doesn’t change color much when it’s wet (so I have to be careful to water enough and not too much).
It’s all recycled paper products and sold in approximately 2 cu ft bags, online.
Tho the Canadian Peat Moss Association is succeeding at farming peat sustainably; there is this demand for seed starting mix that does not use peat, so PittMoss may be the first, but probably not the last, company to figure out how to reuse waste paper:) I love innovation!
Hope this helps as we all make our own decisions (as Garden Betty carefully reminds us is our own responsibility) based on the best information we have and our own best intentions. Happy Gardening!
Great info, thank you Gene. I hadn’t heard of PittMoss but that sounds like a promising alternative, or at least another option people can try and see if they like it!
I should have also stated that in San Diego, diy mix cost about the same as commercially available seed starting mix! Prices are just so high here, on everything; so, this year I planted some seeds in commercial mix and others in the paper-based product I mentioned. All of my seedlings took off, doing great:) Except some seeds that were a gift and from a seed company I haven’t ever bought from, so…. when you find high performing seeds, stick with that company:)
Helpful site – however, just wondering why you recommend peat when it is a non-renewable resource that sequesters carbon and harvesting it destroys habitats which take hundreds if not thousands of year to grow back?
Hi Anne, I’ve answered the peat vs. coco coir debate a few times in the past if you scroll down a bit in the comments, but I’ll copy and paste one of my previous responses here:
If you read my post in its entirety, you’ll see that my seed starting and potting mix recipes both offer coco coir as an option if you can’t find or don’t want to use peat moss.
I know some people prefer coco coir over peat moss because it’s thought to be better for the environment, but truth is, coco coir requires quite a bit of processing. Even though the material itself is made from a waste product, the processing produces more waste products and has other detrimental effects on the countries and industries where it’s made. Not going to argue over which product—coco coir or peat—is more sustainable, as they both have pros and cons.
All that to say: peat is perfectly acceptable to use from an environmental standpoint, especially if you’re just using it to pot up plants, and not en masse as a soil conditioner. Coco coir is far from being the eco-friendly alternative it’s claimed to be, and there is little evidence to support that claim.
You’re always welcome to do your own research and draw your own conclusions on this, based on what your personal definition of sustainability is.
This is simply not true. Coir actually takes minimal processing. The coco husks are left in tide pools until they start to pull away from the coco shells, then they are manually stripped off. This creates jobs for the local economies which often have few other opportunities. Any additional chopping that may be done is far less processing than what it takes to simply dredge peat out of bogs. However, coir, especially bigger chunks, is often VERY salty from the residual salt left by the sea water that it soaks in. If you ever choose to use it as a hydroponic medium than it does need to be well rinsed first. I’ve never had any issues with excess salt in the pressed blocks I normally order.
Environmental issues aside, coir is a far superior growing medium because it virtually never breaks down and doesn’t compress, leaving a nice, springy medium that lasts a long time, doesn’t compress, and has far superior moisture regulation abilities.
But my main point, to yours, is that I believe you are quite incorrect regarding the processing of coir, and most processing that is done is by hand on the beach by locals that need work.
Hi Jeff, it’s been a while since I entered this discussion, so I thought I’d look more into peat vs. coir to see if things have changed in recent years.
The most current article I found was this one from Pomona College (https://www.pomona.edu/farm/blog/posts/organic-farming-are-our-alternatives-actually-sustainable) but granted, it’s more of an opinion piece and doesn’t cite any studies.
However, I found this older article where all the sources were updated, and which I think you might find interesting: https://www.gardenmyths.com/coir-ecofriendly-substitute-peat-moss/ (You can direct any questions to that site’s comments section, since it’s more relevant over there.)
One conclusion is stated on that article:
“Peat moss affects climate change and resources the most. The impacts by peat include transportation, land use change, CO2 production, and aquatic eutrophication (loss of bogs).
Coir affects human health and ecosystem quality more than peat. The impacts by coir are due to transportation, electricity consumption, use of calcium nitrate for buffering, land occupation, and production of particulate matter.
[The Quantis] study is based on estimations and limited accurate data, but they do provide a general understanding of the situation. Both peat and choir [sp] have significant impacts on the environment and according to the current data, neither one is considered significantly better than the other.”
It’s a complex situation and based on the current sources available, I still stand by my original views that from a seed starting mix or potting mix standpoint, peat is acceptable to use, as is coir. I don’t use either of them in my garden soil or raised beds as there are better (and/or cheaper) options for amending, so I can’t contribute to that debate.
Thanks for sharing your thoughts!
HI Linda – thanks for this recipe. As it has no nutrients in it, at what stage do you report the seedlings so they start to grow? My experience is that my seedlings sit at the 2 cotyledons stage, and I’ve concluded that they need nutrients to grow on. Am I right?
You should repot the seedlings once they develop a few sets of true leaves—by that point, they’ve used up their nutrient stores.
Hi Linda 🙂 When you say to replenish the peat for old seed starting mix, do you mean I should buy peat and mix it in? If I just keep putting more of the seed starting mix in the cups once the seeds germinate does that count as replenishing the peat? Or could I just mix my new seed starting mix with my old one. (FYI my old mix is from 9 years ago.) Many thanks for your help!
Thanks so much for your post. Great info.
One thing that may have not been mentioned in the replies is the harm that our using peat moss does to the planet. We (USA) get most of our peat moss from the bogs of Canada. We need to be preserving these bogs as they are crucial to keeping the balance in nature.
I will be trying your “recipe” using the coco coir.
Thanks again, best wishes to you,
Carole O.
Well said. See my comment above for a number of other benefits that coco coir has over peat moss. It’s far superior in all ways unless you want a medium that breaks down into compost.
Useful post! I’m thinking of trying the seed starting mix recipe shortly (the coco coir version).
I have a question though – with the 1:1:1 ratio of coir/vermiculite/pearlite, does the one part coir refer to dry coir or hydrated coir? That is, should I be wetting the coir before measuring it for this recipe? I’m a bit confused here, because most of the other recipes I’ve seen seem to use a far higher ratio of coir (like 60-70% of the total volume, at least).
Hi, I’m starting seeds indoors for the first time and feel like I’m missing a step, when do I move seedlings from the little containers with starting mix to larger containers with potting soil?
Hi Linda,
I am a gardening beginner. I wonder if I can add some crushed egg shell into the basic seed starting mix, or moist the mix with boiled egg shell water? Just in case I transplant the seedlings a little late and they need some nutrient…?
Great article by the way, so glad I come across it!
Best,
Judy
IME either is fine, but large pieces of egg shell aren’t going to do much good. Perhaps if you grind it really finely than it may add some value.
Wow, perlite where you are from is expensive! I just bought a 4 cu ft bag of “Midwest Perlite” brand perlite for $11.99 today
That’s a great deal! The prices I listed were just the average national brands at my local Home Depot (Central Oregon). If you have the space, buying in bulk is definitely the way to go.
I was looking forward to this until I saw peat moss as an ingredient. Peat moss is soo destructive environmentally and as a gardener I am trying to be a custodian to the planet so I will not use this. I hope that you can provide a different starter mix that excludes peat with an explanation why we shouldn’t be using it. Thanks!
I agree!!! So sad, please take care of our planet.
I think Coco coir is friendlier. So that might be an alternative.
This is what I found
Ingredients such as perlite, vermiculite, and rockwool are questioned as they consume high energy during their production process,” he says. “Ingredients like coir, wood fiber, and recycled paper fiber are perceived as being more sustainable because they originate from the reuse of byproducts or from a renewable resource.”
Perlite also isn t that good for our environment….
Coco coir is not necessarily friendlier. Just because it’s made from a waste product doesn’t mean it doesn’t produce its own waste products and consume vast amounts of resources in the countries where it’s made. (Not to mention most coco coir is made overseas.) So it depends on how you personally define sustainable.
If you have a problem using perlite, vermiculite, or any other ingredients commonly found in seed starting mixes, you can just start your seeds in native soil. Seed starting mix is not a requirement for growing plants, it’s just a recommendation.
Thank you Linda!!!
Pretty sure that as you come closer to starvation mode you will get over this whole….EVERY GOOD THING GOD GAVE US…..Is Harmful to the earth when we actually use it for what it’s meant for.
So tired of this misinformation being spread! 4th generation Farmer here!
Exactly. Don’t encourage the use of peat moss. Be kind to the environment. There are many other ways you can prepare your seed started. Coco coir is a good alternative for peat moss. Even potting soil is a great option. The writer needs more research.
There’s actually little evidence showing coco coir is more sustainable, in fact the chemical processing it undergoes to become the coco coir we know and use can be detrimental on the countries where it’s made.
I’m also unsure how you can say potting soil is a better option? Depends on what you consider potting soil. A lot of the store-bought potting soils contain peat.
You are welcome to do your own research on the manufacturing processes of peat vs. coco coir and draw your own conclusions based on what your definition of sustainable is.
That a girl.
Ew. She is grown.
Your 100% correct!
If you read my post in its entirety, you’ll see that my seed starting and potting mix recipes both offer coco coir as an option if you can’t find or don’t want to use peat moss.
I know some people prefer coco coir over peat moss because it’s thought to be better for the environment, but truth is, coco coir requires quite a bit of processing. Even though the material itself is made from a waste product, the processing produces more waste products and has other detrimental effects on the countries and industries where it’s made. Not going to argue over which product—coco coir or peat—is more sustainable, as they both have pros and cons.
All that to say: peat is perfectly acceptable to use from an environmental standpoint, especially if you’re just using it to pot up plants, and not en masse as a soil conditioner. Coco coir is far from being the eco-friendly alternative it’s claimed to be, and there is little evidence to support that claim.
You’re always welcome to do your own research and draw your own conclusions on this.
So much to worry about. I advise everyone if they are so concerned with the planet then give up your cars. No excuses. I think everything has its pros and cons and living isn’t easy. Thanks for this great post. I am fond of using repot me for their potting mixes. No gnats, or other creatures. Real good stuff.
Yes. Well said.
I would actually recommend giving up meat as it produces more methane than all the transportation methods combined. At this time, giving up cars is unreasonable, but giving up meat seems like something more people can do by will.
this article is about how to start plants.. its not a platform for environmental points of view!
Giving up meat isn’t the answer, because if you think about it, the fuel it takes to transport all the different fruits and vegetables you’re not able to grow across the country or the globe it uses way more fuel than anals put off methane. That also doesn’t account for all the wildlife that is killed in order to grow the fruits & vegetables. I wish more people would realize and think about what they are saying before trying to preach about something. Its the same with electric vehicles, the mines to extract what is needed to make the batteries for the electric cars is far more damaging to our plant than fracking or drilling. Not to mention the batteries can’t be reused or recycled in any way so they cause more harm than good in the long run.
It’s not about saving the planet at all, it’s just about a non-renewable resource that is likely to run out, and ecosystems that are destroyed irreparably when we have much better options.
Regardless, coir is a far superior planting medium when the only metric considered is performance. Use what you want, but if you care about the best performing medium for your seeds and plants you’ll take the time to look into coco coir. Plus, it’s significantly cheaper if you get it from a real supplier (not some special “green” supplier). I buy it direct from Sri Lanka and it is so much cheaper than peat, completely renewable, and supports a struggling economy.
I responded to another comment you made up above, but thought I’d state here that many common soil amendments (which may also be found in store-bought soil blends) are nonrenewable, such as greensand, dolomite, gypsum, azomite, langbeinite, etc (basically anything that is open pit-mined).
Personally, I have used both peat and coir in my seed starting mixes and never noticed a difference. Seedlings don’t live in that mix for that long—and so little is used for that particular application—that I’m not sure performance can be measured effectively. (This is based on how most home gardeners start their seeds in flats or little pots, and then transplant the seedlings outside.)
Also—and maybe you live near Sri Lanka?—I’d guess that some people would find that sourcing coir from that far away (if they’re in the US, anyway) isn’t necessarily sustainable. No judgment, by the way. Obviously we all own things that were made overseas. As I’ve said elsewhere in this comment thread, we have to pick our battles, whether in life or in the garden.
Garden Betty, I’m getting confused. I hit the link for make your own potting soil, so I’m assuming this recipe is when you transplant the last time into your container? So, you just use to make your own high premium potting soil is the sphagmum, compost, perlite, vermiculite with the Dr Earth, fish meal, bone meal, 2 aspirins, and crushed eggshells, compost, garden lime, worm castings (everywhere is out of stock) and kelp meal; No store bought soil at all? I’m using 20 gallon planting sacks for the larger growing tomatoes. May I use regular potting soil then add the fertilizer and fish meal, bone meal, aspirins and eggs? That is a lot of ingredients! Ha! I’m a fairly disabled person and I don’t think I can gather and mix all those ingredients even though I’d love to. Could you give me a simpler way to get decent effects? I read good and bad reviews on the Fox Farm potting soil. Thank you. Lisa Murphey
Need an answer soon please.
This is one of the best explanations of anything that I’ve ever read. Thank you!
You’re so welcome!! I’m glad it was helpful!
Hi Linda. Because peat is acidic, and because most commercial seed starting mixes are mostly peat, they add at ouch of lime to raise the pH more toward neutral. Do you know the ratio of peat to lime? Thank you.
Hi. You don’t need to add lime to seed starting mix. Lime acts slowly (it needs 3-4 months to fully take effect) so it doesn’t have an affect on seedlings. Also, peat turns neutral as it ages and especially the more you water it.
The very easiest way I have found to put drainage holes in containers or cups is this: heat a soldering iron. Put on gloves. Barely touch the bottom of your container or cup with the tip of the soldering iron and you’ll melt a hole. I put a fan near my work site to blow the fumes away. I bought a cheap soldering iron for this purpose 12 years ago and it is still working. Has anyone else tried this method? It is very fast and easy. For foam cups I use a ballpoint pen to push a hole in the bottom. Foam cups melt too easily with the soldering iron.
That’s a great idea. I usually push or hammer a nail through my plastic cups to make my holes.
I started out doing that long ago but my cups would often split or crack. The soldering iron way is fool proof.
If you stack all your plastic cups together and stick something solid–like a piece of wood–into the last cup to make everything sturdy, you can turn them upside down and use a long drill bit in your drill to put holes in all your cups at once. Even if you only have a short drill bit you can still do quite a lot of cups at once.
Great tip!
That’s so smart, even though you would think it was simple- I’m pretty sure I would have been doing one at a time with a screwdriver by hand. Sometimes common sense requires help from others… 😉
thank you Tina! I used your soldering iron idea this year and enjoyed a very speedy process of turning all manner of containers into seed pots! From solo cups to yogurt containers, I easily melted drainage holes! But then I got concerned about the melted plastic build up on my partners (ahem!) soldering iron. But, never fear, I learned that soldering TIPS are cheaply replaced!
I think where most people go wrong is in having enough light so that their seedlings aren’t spindly and not repotting into an enriched soil soon enough. It’s fairly difficult to have enough light, at least where I live, but there are some fairly affordable LED grow lights that can help with that.
I agree. I wrote more about combating leggy seedlings in this post: https://gardenbetty.com/leggy-seedlings-what-causes-them-and-how-to-correct-them/
hey guys this didn’t work
A few reasons you may have had trouble: not keeping the soil moist enough (usually the #1 reason), keeping the soil TOO wet (which leads to rot), sowing the seeds too deep, poor germination rate on the seeds (often due to quality or age), or not sowing enough seeds for the particular variety you’re trying to grow.
This is a seed starting mix-not a potting mix. Potting mix is what you use in “pots” for transplants or full size plants. The above is a soil less mix used to start seeds which will be transplanted. It contains no food since the seed has all the energy (food) in the seed itself that it will need until roots become available for feeding.
If you read the whole post, you’ll see that the potting mix recipe is included as well, and I do differentiate between the two.
I hope you are aware the ink used to print newspapers etc. contain lead. Just thought you should know
Decades ago, heavy metals in newspaper inks were common when newspapers were set in lead type, but these days, most newspapers (especially the major ones) use soy-based ink out of health concerns for their workers. This report by the USDA states that both b/w and color-inked newspapers can safely be used for mulch in vegetable gardens: https://semspub.epa.gov/work/05/79213.pdf
If you’re worried that your local newspaper may still be using heavy metals in their inks, you should call them to verify.
Just incase you’ve been in a coma for the last 20 years, the news print, including comics and ad’s are now made with a vegetable based ink. The only thing you have to worry about are the shiny or coated ads.
I use this seed start mix. it does a good job germinating the seeds, The problem that I have is when I go to transplant the seedling, the soil falls apart. I do soak before transplanting. Is there anything that can be added to the mix so it will stick together better?
It’s a very loose mix, so it’s not meant to stick together unless you really pack it into your pot. You can try increasing the amount of peat used, but it’s not a problem for the mix to fall apart when you transplant (assuming you’re transplanting into soil anyway).
Thank you for getting back to me so quickly. 🙂 I will add more peat. I was just concerned that the roots were being damaged when the soil fell apart as I tp. Again thank you for your hard work and knowledge that goes into this website. 🙂
So long as the roots are moist and intact, there’s no issue. You can see this post for an example of the loose soil around my tomato seedlings: http://gardenbetty.com/2011/04/how-to-repot-tomato-seedlings/
And thank you for reading my blog! 🙂
I germinate only in vermiculite then start feeding with 1/2 strength fertilizer when the first true leaves start forming. Shortly after that I transplant into potting soil. The secret to transplanting from vermiculite is to get just the right degree of dampness: too wet or too dry is not good (but also not deadly to the seedlings if you’re careful. The day before I transplant I fully water the seedling plugs (which are in single cells). After drying for a day, the plug can be easily removed from their plastic cells and placed in a bigger pot with soil.
My seedlings are placed in a clear, enclosed, plastic container that sits on top of a heat mat. If yours are not heated or are uncovered, they may be ready to be transplanted in less than 24 hrs.
I expect that the same principles would apply to a germination mix of vermiculite, coir, peat moss and/or compost mixture.
Hello Linda, This is an Excellent Article I came across via google search regarding potting mix. Thanks!
I have always used combination of Sand (80%) and Vermi Compost (20%) as potting mix and I do add Bone meal and Neem Cake relatively in small proportion. Additionally I use NPK fertilizer (foliar spray) along with Micro Nutrients. This has fetched me good results so far but the disadvantage I feel is, container gets very heavy because of sand (I am into terrace gardening) and I need to regularly water the plants.
For past few days I was reading about Soilless Potting Mix/Enriched Potting Mix and now I am more inclined to use Coco Peat (which is very easily available in India), Perlite as well as Vermiculite because of their properties and hopefully it will reduce a lot of weight of the container, will provide good drainage and because of their water retention property, it may reduce the watering cycle. I will continue to use some part of sand as it provides stability to the plant.
Regards
Sand is very fast-draining, which is indeed a disadvantage if you’re using it for a potted plant that needs regular watering. I typically use a sand mixture for cacti, succulents, and other low-water plants.
Good luck with making your own mix with coco peat, I believe you’ll have better results with that!
Thanks Linda! I am now using the composition of “Enriched Potting Mix” and beginning to see good results. Also the “seed starting mix” composition is showing very good results. I sowed Coriander (Cilantro), Fenugreek and Spinach a week back and they all have germinated well.
Starting to use Enriched Potting Mix for Tomato, Brinjal (Eggplant) as well as Chilli (Hungarian Yellow Wax variety), they all are in a container, will transplant them.
Hi Linda, I have used enriched potting mix for my seed starting is it ok?
Yes it’s fine.
Hello Linda,
Just came here from google search, and happy to read your guide on potting mix.
But i have one doubt, please kindly clarify.
I bought Coco coir compressed brick of 5 KG weight, which can expand to 60/70 liters on adding water. How to measure coir in this case as in dried form or expanded wet form measn have to take water mixed coir to measure?
I really appreciate your help in clarifying this.
Thanks
It does not have to be an exact amount. Just eyeball equal portions of dry coir, vermiculite and perlite, then thoroughly saturate the mix with water before using.
Thank you!
Hi Linda,
I am from Kolkata, India. I have some hibiscus plant and some lemon plant in my Flat Balcony. They are used to get 6-7 hrs of Sunlight. But I am having problem like Leafs are becoming Yellow and also they are dropping from plant. What can be the cause and how to overcome from this problem. Any Idea. Thanks in Advance.
Sorry, it’s hard to know since yellow leaves can mean so many things. Perhaps underwatering, overwatering, or a nitrogen deficiency.
For Nitrogen which type of Food I can apply?
Also one more thing I want to know that, for Rose tree how to prepare Potting Mix. It will very helpful for us if you let me know about this. Thanks in advance.
If you don’t know the problem with your plants, an all-purpose fertilizer would be best. Choose one that’s fairly balanced in its N-P-K values. Or add compost, compost tea, or fish emulsion.
And I’m sorry, but I’m not familiar with growing roses.
Hi,
I’ve been using this potting mix but one problem i encouter always is that my seedlings tend to wilt off!
What could be the reason?
The wilting (damping off) is caused by different kinds of fungi. If your seed starting mix is sterile (never reused and always mixed with new ingredients), the fungi could come from pots or tools that haven’t been cleaned. Sometimes the fungi could be reintroduced via gloves, clothes, or other items that might come in contact with your seedlings.
What do you do with the potting/starter mixes from previous years if you don’t reuse it? Do you know of an affordable source to get these ingredients?
I store unused potting mix in a covered container. You can use a lidded trash can or plastic storage bin (or something similar) for this. Mine just stays outside next to my potting shed.
As for affordable sources, I get all of my ingredients from one of the local nurseries. They tend to have a larger (and better) selection than a big box nursery like Home Depot.
Hi Linda, Could you grow grass out of yoiu soilless mixture ? EG: if i created the mixture could i then add grass seeds to it and it will grow ? Thank You ! & great blog 🙂
Yes, you can sprout any seeds in the soilless mix, but eventually you’ll need to fertilize the plant or amend the soil if you want it to thrive.
Dear Linda: Can I start these seedlings outside rather than in the window of my apartment where I have such limited space? Thank you.
Sure, as long as it’s warm enough outside to germinate the seeds.
HI Linda, I’ve been readign your bog entries, ideas on gardening , potting soil ideas, even the chicken tiki coop. I was about to post a pic of my hot Portugal Peppers and my cukes but hmmmm I guess you don’t accept photos of other people’s gardens, harvest etc. Thats Ok , I just wanted to say hi and I enjoy your ideas as well as th erecipies too! Best of luck in the future with your blog.
Thanks!
Gah! I wish I had seen this before starting all my seeds! lol
How creative! it would be nice to have the extra space for things like this, but very difficult in nyc 🙁 … would love to have a whole garden with little herbs, flowers and gadgets.
I love the concept of your blog! and you surf, how cool!..i wish i was brave enough but i think i’d break in half, lol..plus I basically just learned to swim..
(p.s. thank so much for your comment! i changed my web name in case you want to follow the new one, traveldesignery.com is where i’ll be!)
—Lorena
Haha I know, I used to live in NYC and the extent of my gardening was a couple of little pots on the fire escape!
Thanks for stopping by and I’ll be sure to bookmark your new URL!