If you’ve got a yard, one of the first things you should put down is mulch. The versatile ground cover not only smothers weeds, reduces soil erosion, keeps dust down, and stops your yard from turning into a mud pit, it’s also one of the best and most important ways to restore your soil.
Why else should you use mulch?
- To make it harder for weeds to grow: Seedlings are smothered by the mulch layer and without light, some seeds won’t germinate at all.
- To keep moisture in: Mulch helps prevent evaporation, so you won’t have to water as often.
- To retain warmth and regulate soil temperature: Mulch offers insulation from cold and heat, protects plant roots from the damaging effects of extreme weather, and prevents frost heaving (where the soil expands and contracts from the continual freezing and thawing of water in the earth).
- To protect the soil structure: A layer of mulch can help reduce runoff during rainstorms and keep the soil from forming a hard pan (crust) in hot, dry weather.
- As a slow-release fertilizer: Many organic mulches release nutrients into the soil as they decompose.
- For decorative purposes: Mulches can be used to tidy up a bed and create a more cohesive look throughout the garden.
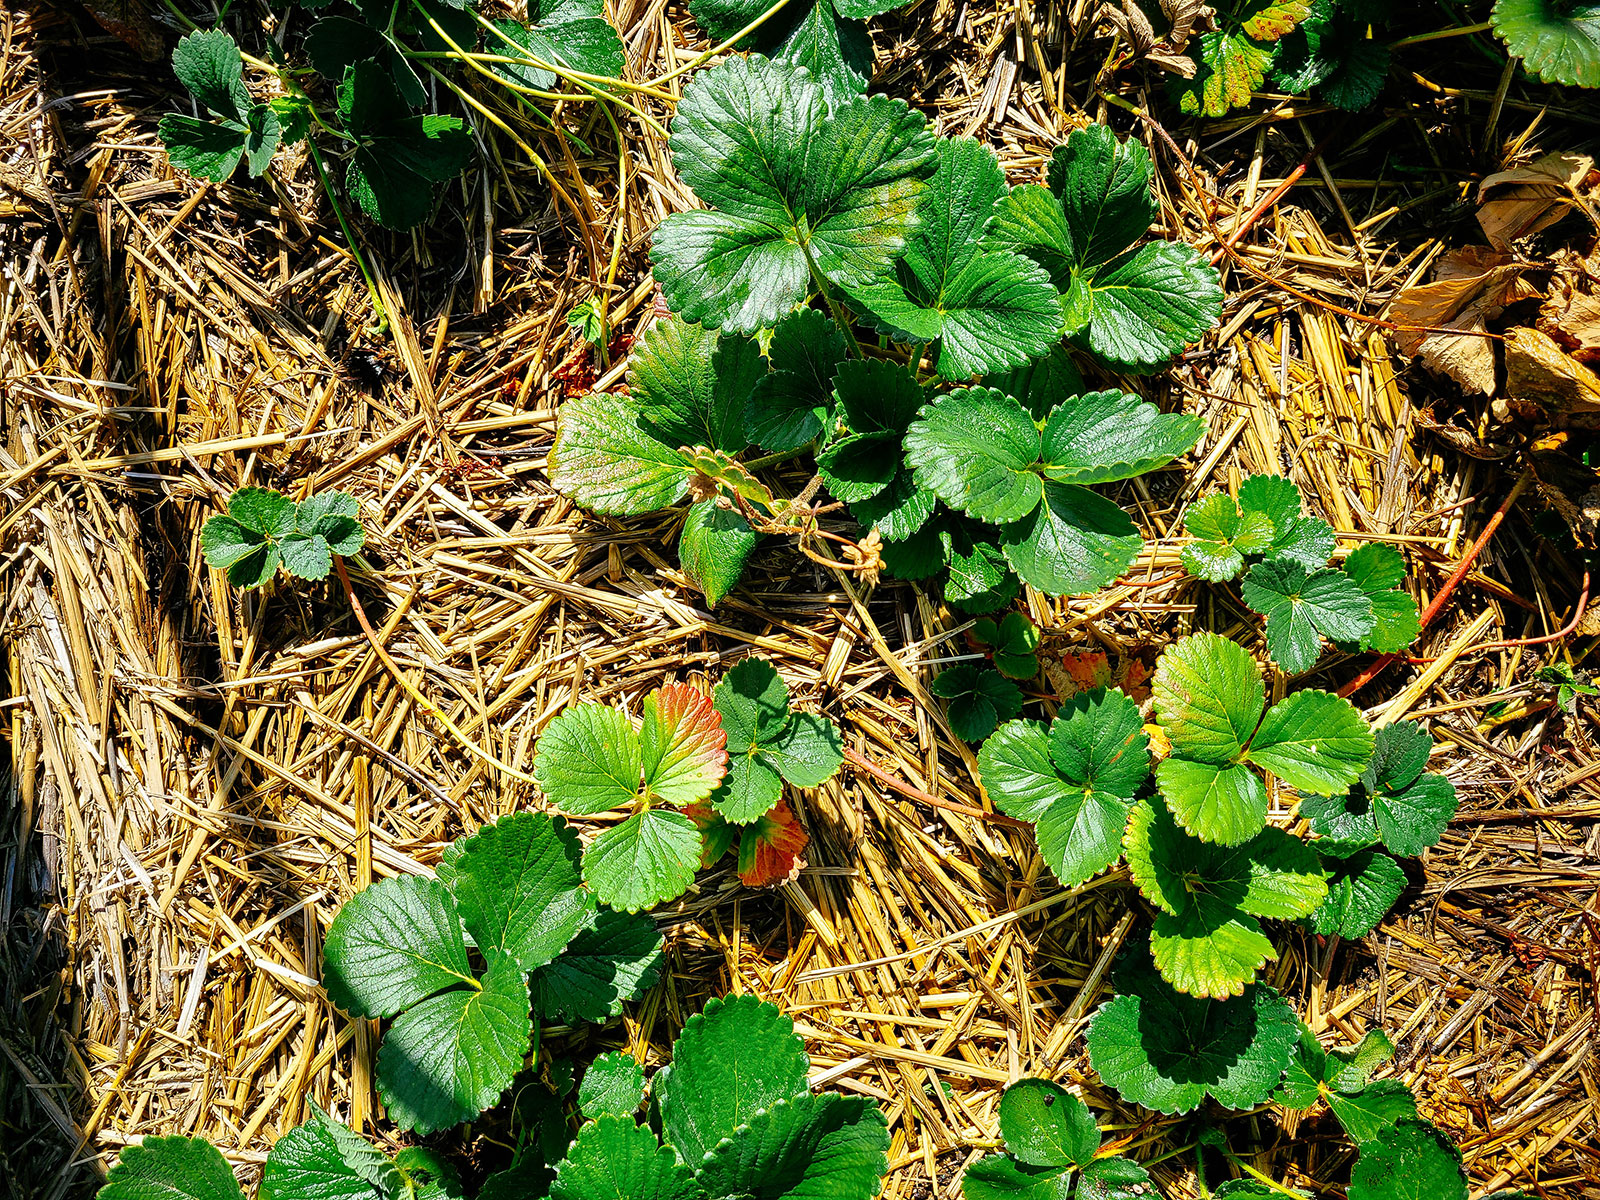
But how do you know what to use, and where? There’s an endless number of materials that can be called mulch, and the best one really depends on your use case. (Surprise: There are even instances where you should leave your soil bare. More on that below.)
Here’s what I’ve learned from personal experience and what I recommend for different types of areas. (You can find out more in my rundown of the best types of organic mulch to use.)
What kind of mulch to use for…
Annual vegetable beds
- Compost
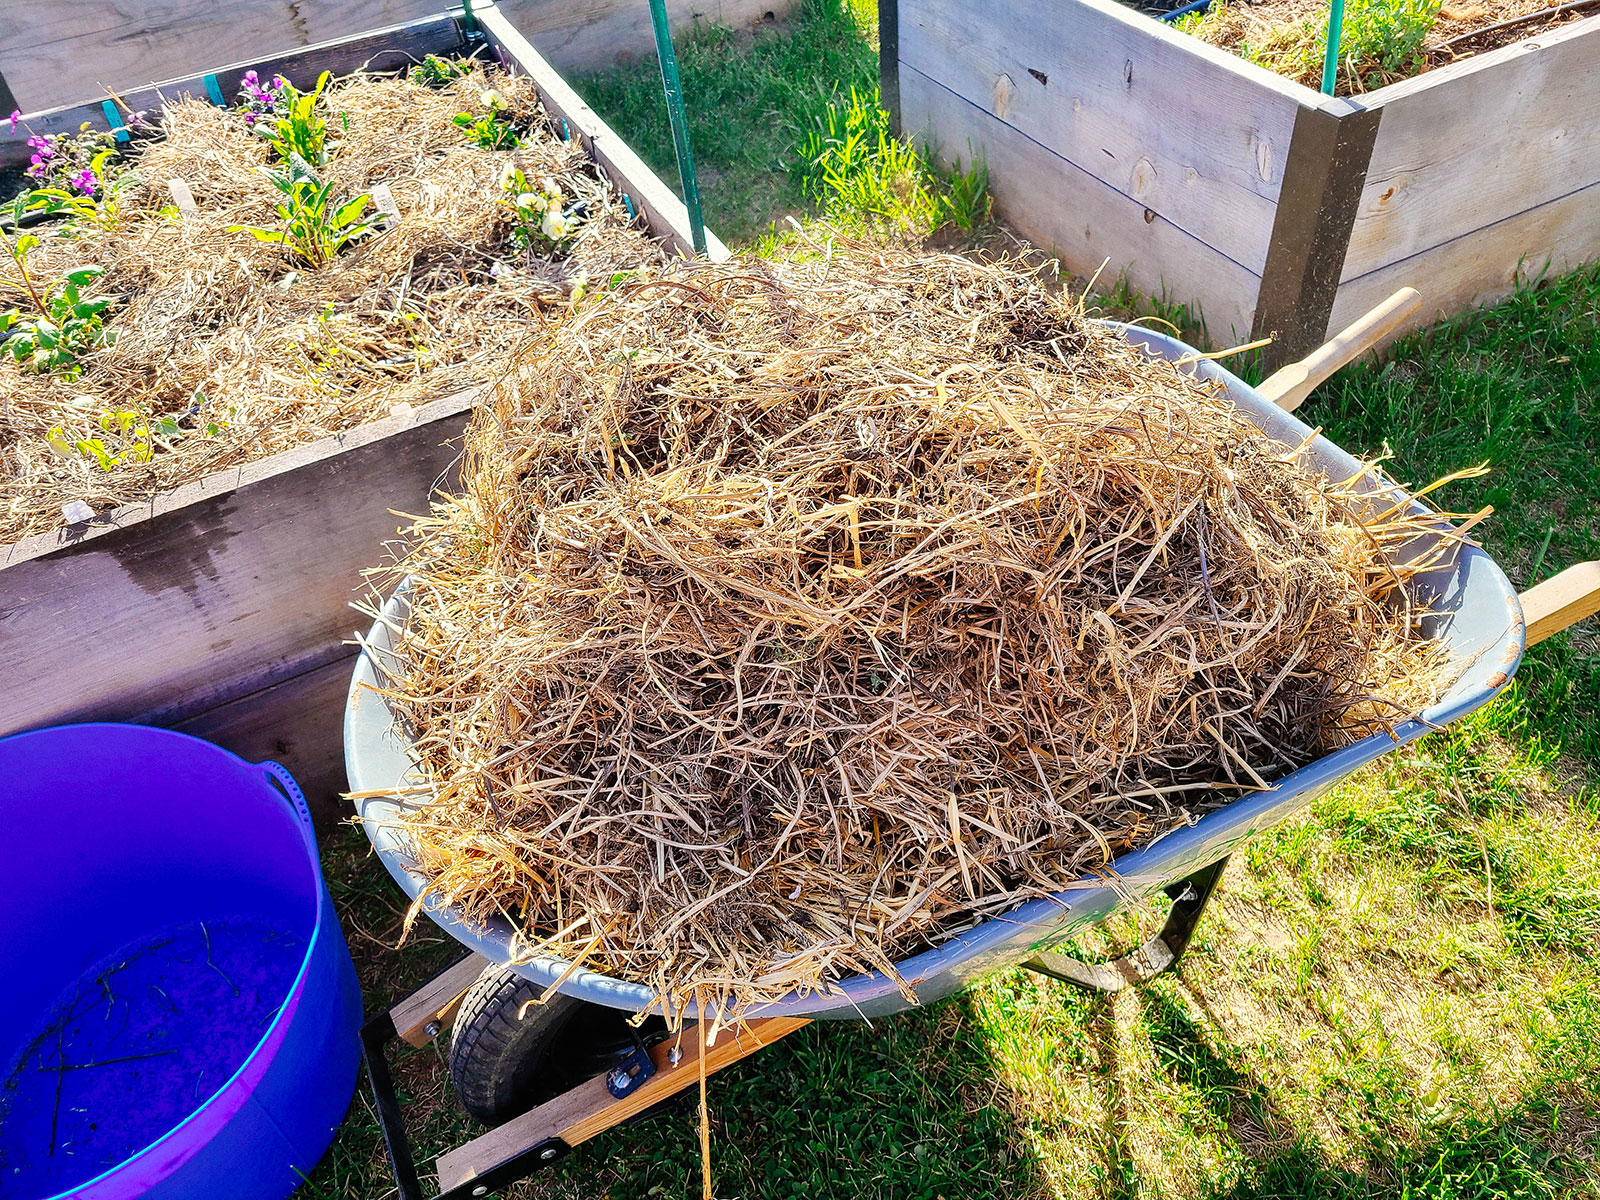
- Straw
- Fall leaves
- Leaf mold (learn how to make your own!)
- Pruned stems and other plant debris that can be repurposed in the garden
- Mushroom compost
- Black plastic
Perennial beds
- Wood chips
- Shredded bark or bark nuggets
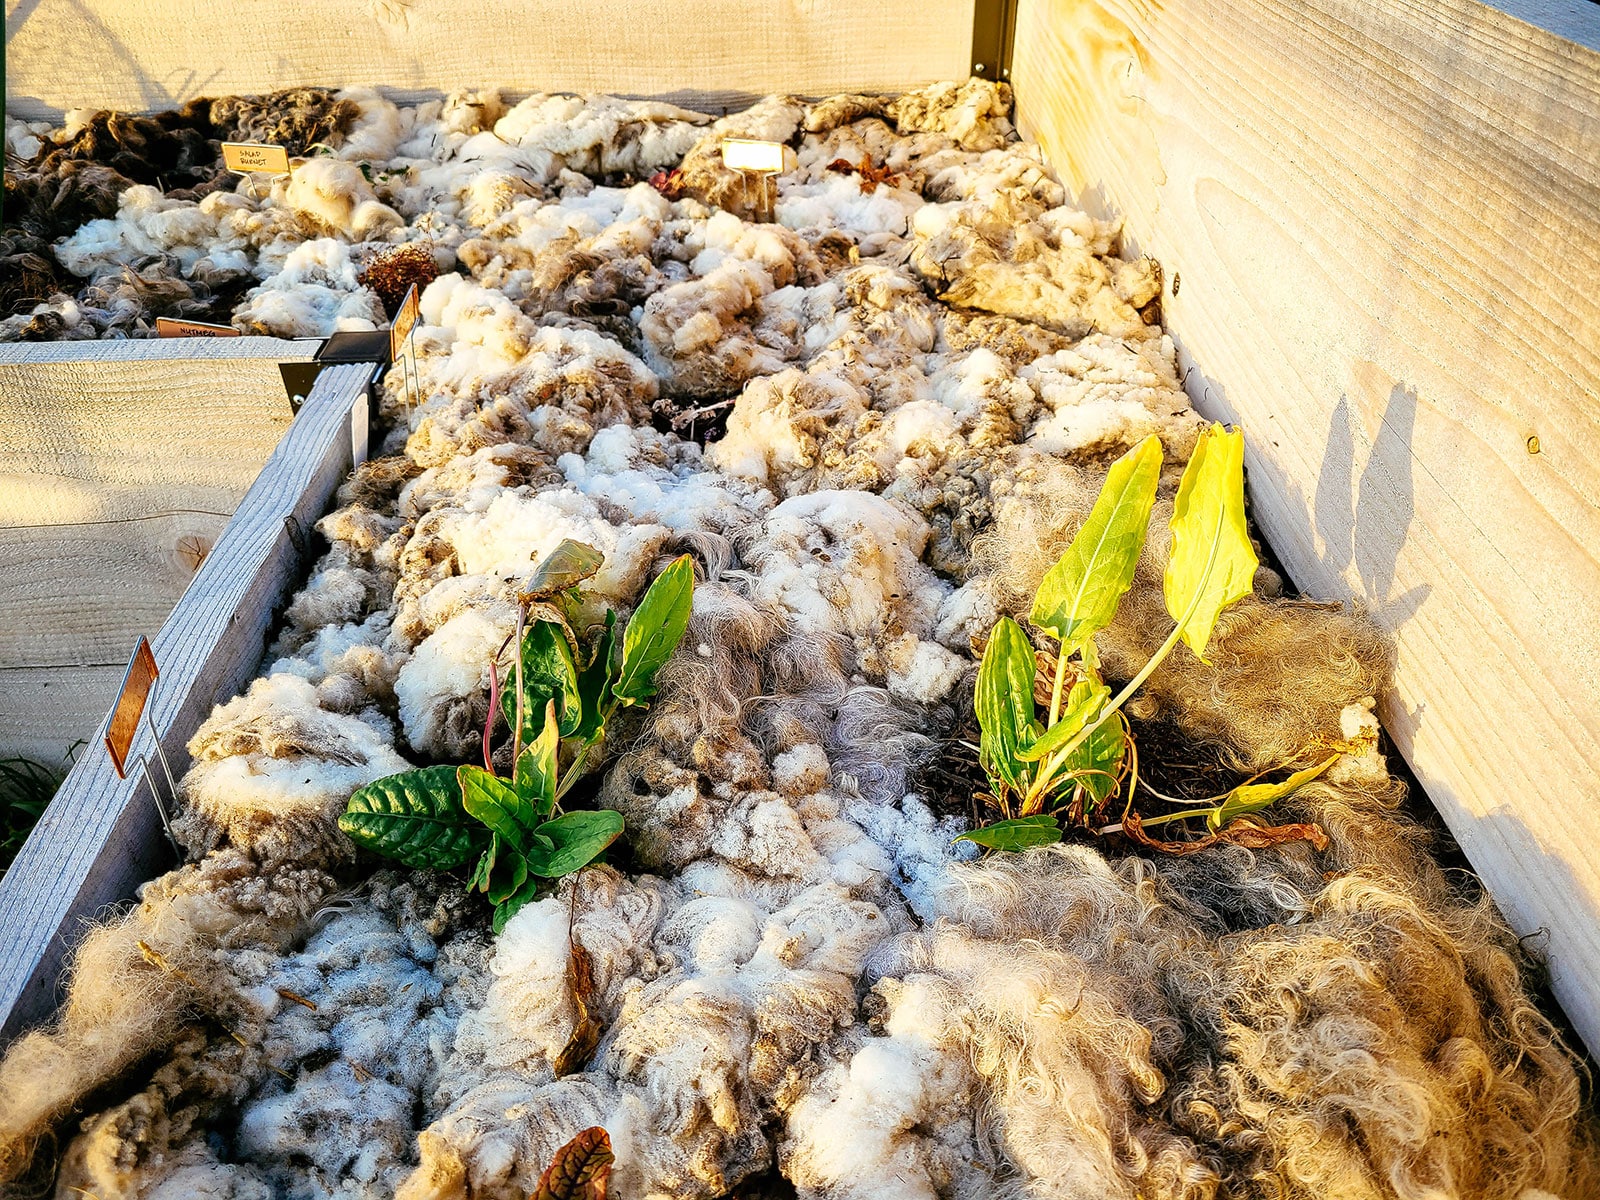
- Sheep wool
- Pine needles
- Straw
- Compost
Flower beds
- Compost
- Wood shavings
- Wood chips
- Shredded bark or bark nuggets
Under shrubs and trees
- Wood chips
- Shredded bark or bark nuggets
- Pine needles
- Compost
Paths and large areas
- Wood chips
- Shredded bark or bark nuggets
- Pea gravel
- Crushed stone
- Burlap
Winterizing garden beds
- Straw
- Fall leaves
- Pine needles
- Grass clippings
- Plant debris
- Sheep wool
- Compost
- Animal manure
Containers
- Wood shavings
- Wood chips
- Compost
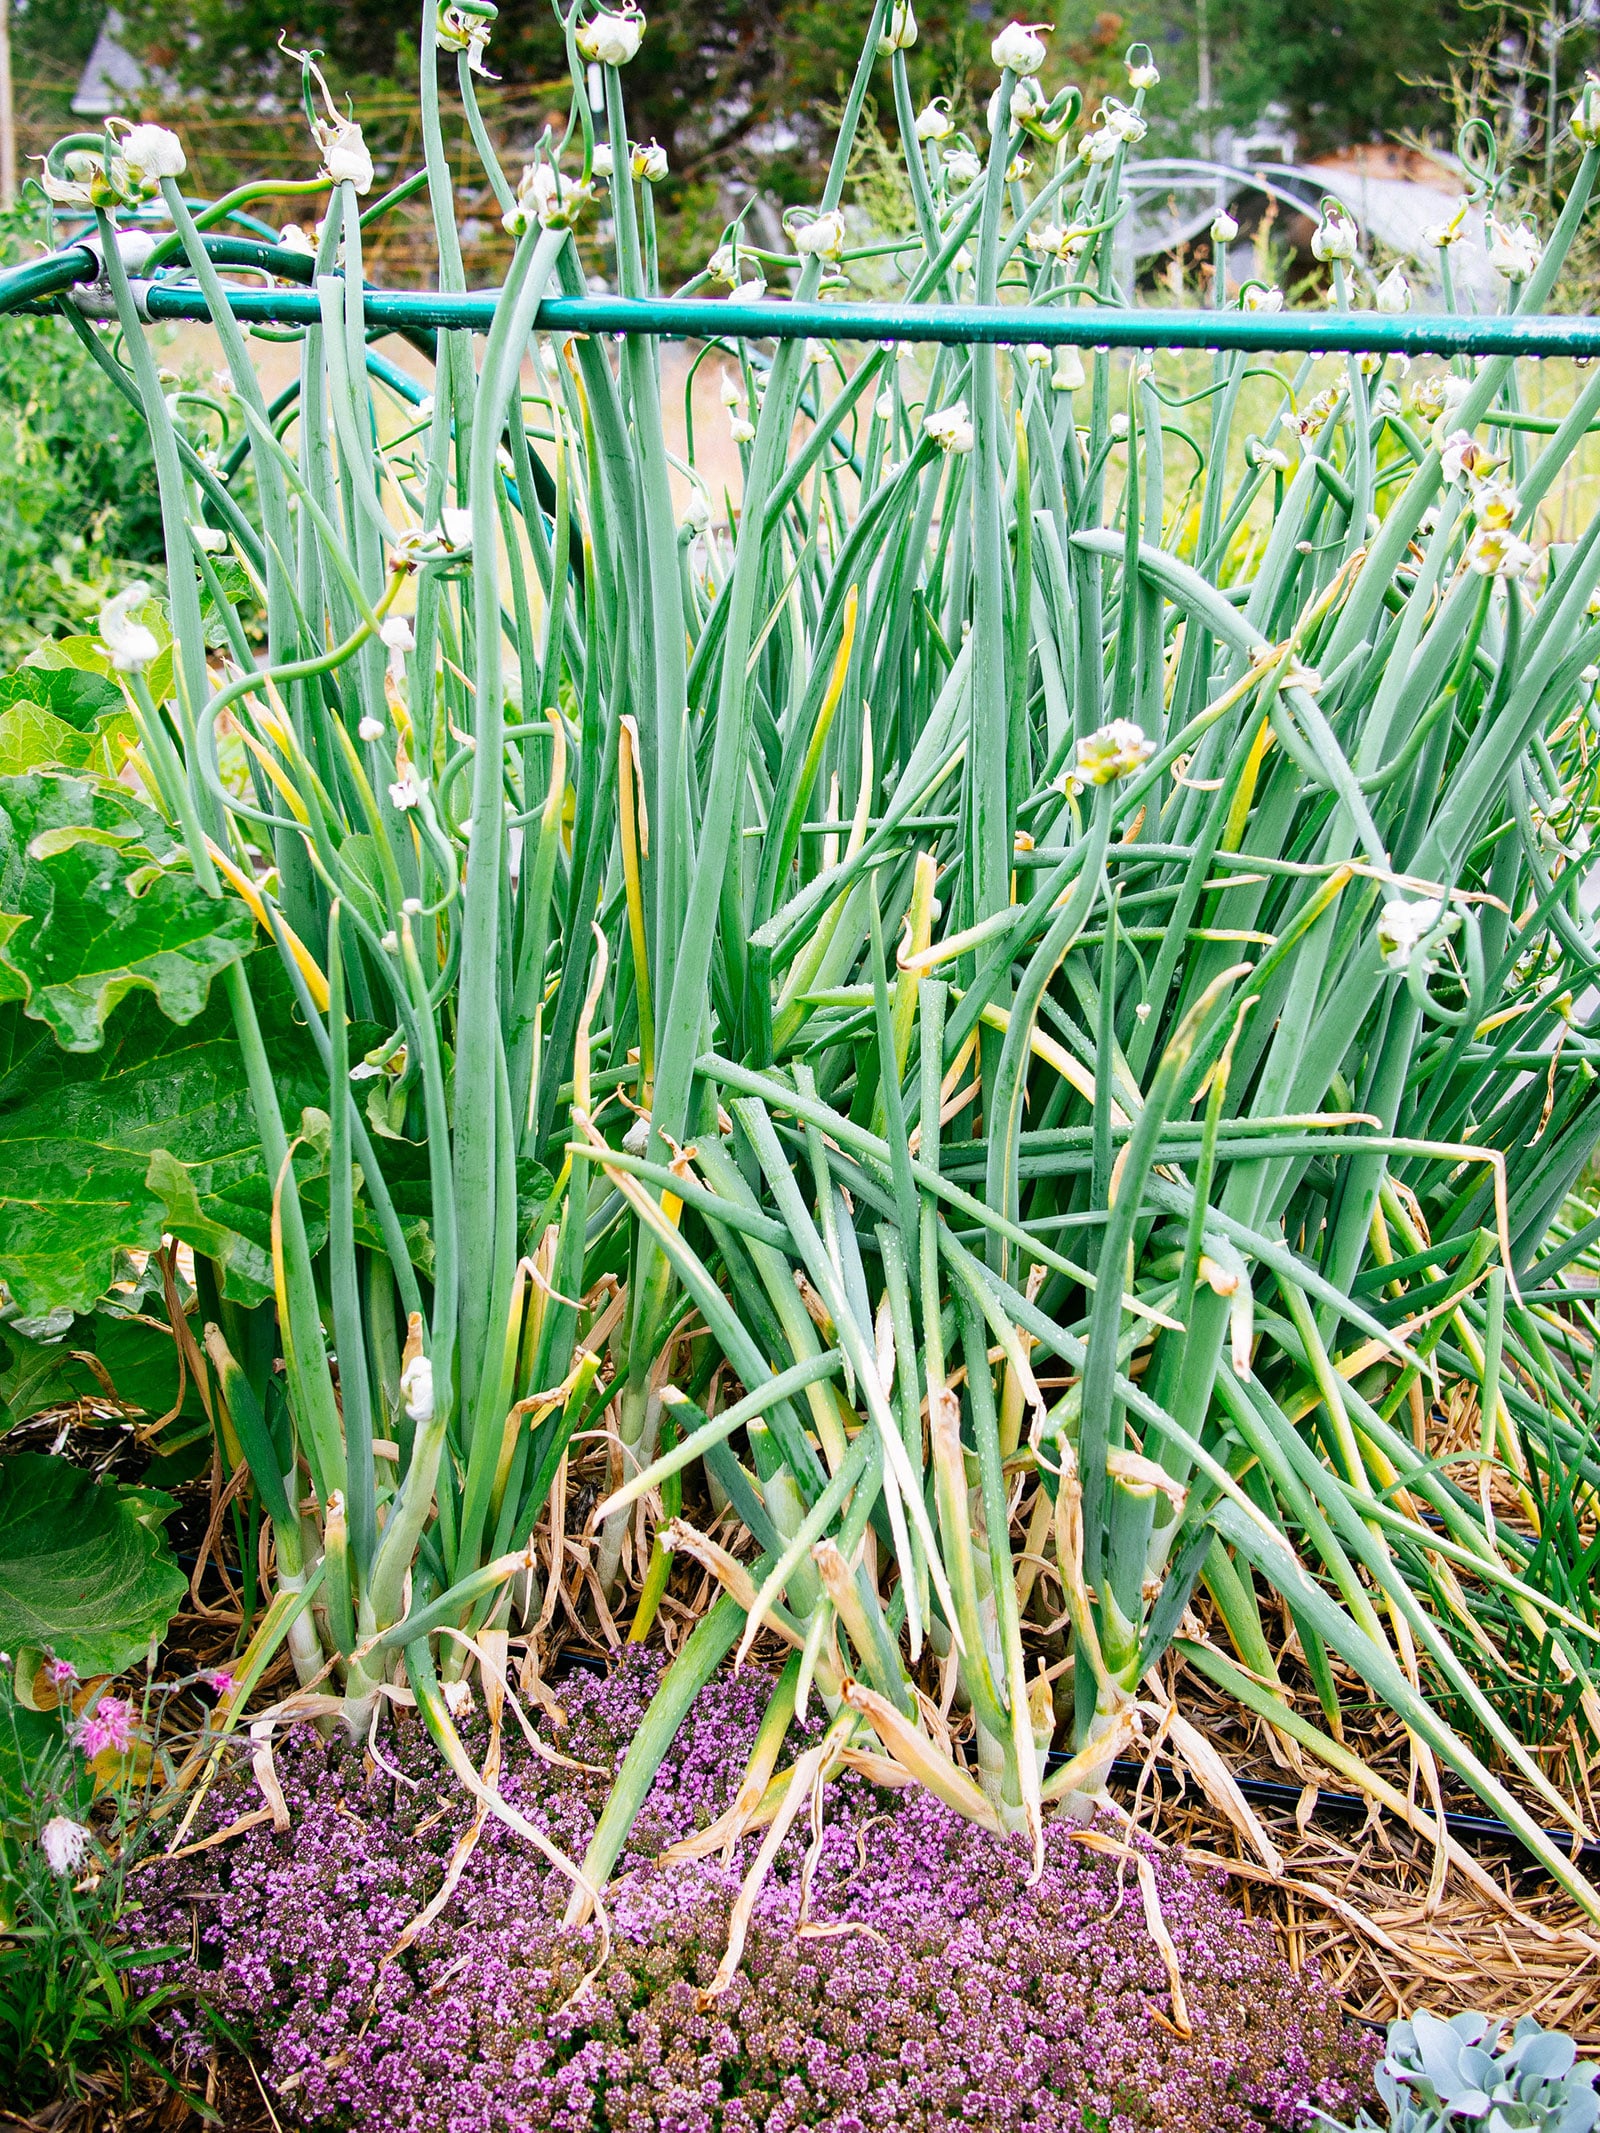
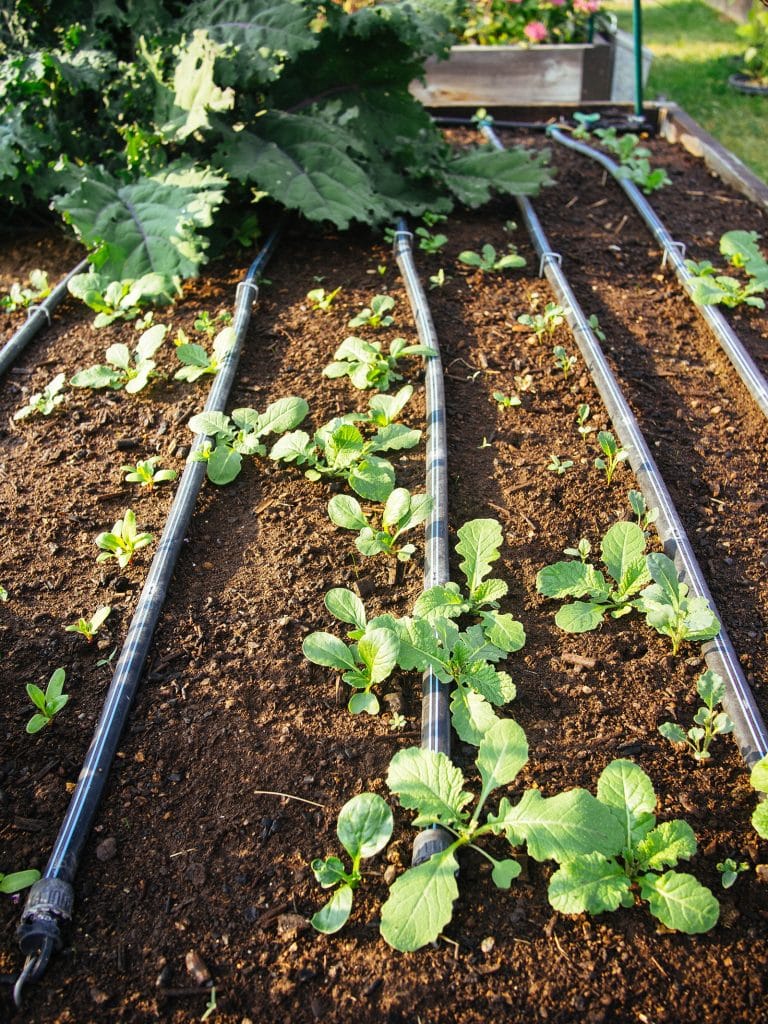
Living mulches
- Lettuce
- Carrots
- Beets
- Cilantro
- Parsley
- Creeping thyme
- Creeping oregano
- Alpine strawberries
- Yarrow
- Chamomile
- Sweet alyssum
- Trailing nasturtiums
What you should never use
I often see dyed wood chips spread across the front yards of newly built homes, and this is a hard no for me. Sure, that all-black (or red or dark brown) mulch might look slick at first, but the artificial color bleeds out over time and ends up looking terrible. Plus, I always wonder what’s in the dye…
The same goes for rubber mulch, which is made from recycled shredded tires. Kudos for finding a new use for tires, but on a hot day, your garden’s going to smell like a tire shop. There’s also the strong potential for leaching (of zinc, aluminum, cadmium, and chromium) and that’s probably not the kind of stuff you want contaminating your garden.
How (and how much) to apply
Start by determining how much you’ll need for your space. If you’re hauling in mulch from a nursery or landscape supplier, you can use my mulch calculator to figure out how many bags, cubic feet, or cubic yards to buy. (It even lets you calculate mulch for odd-shaped beds like rounds and triangles.)
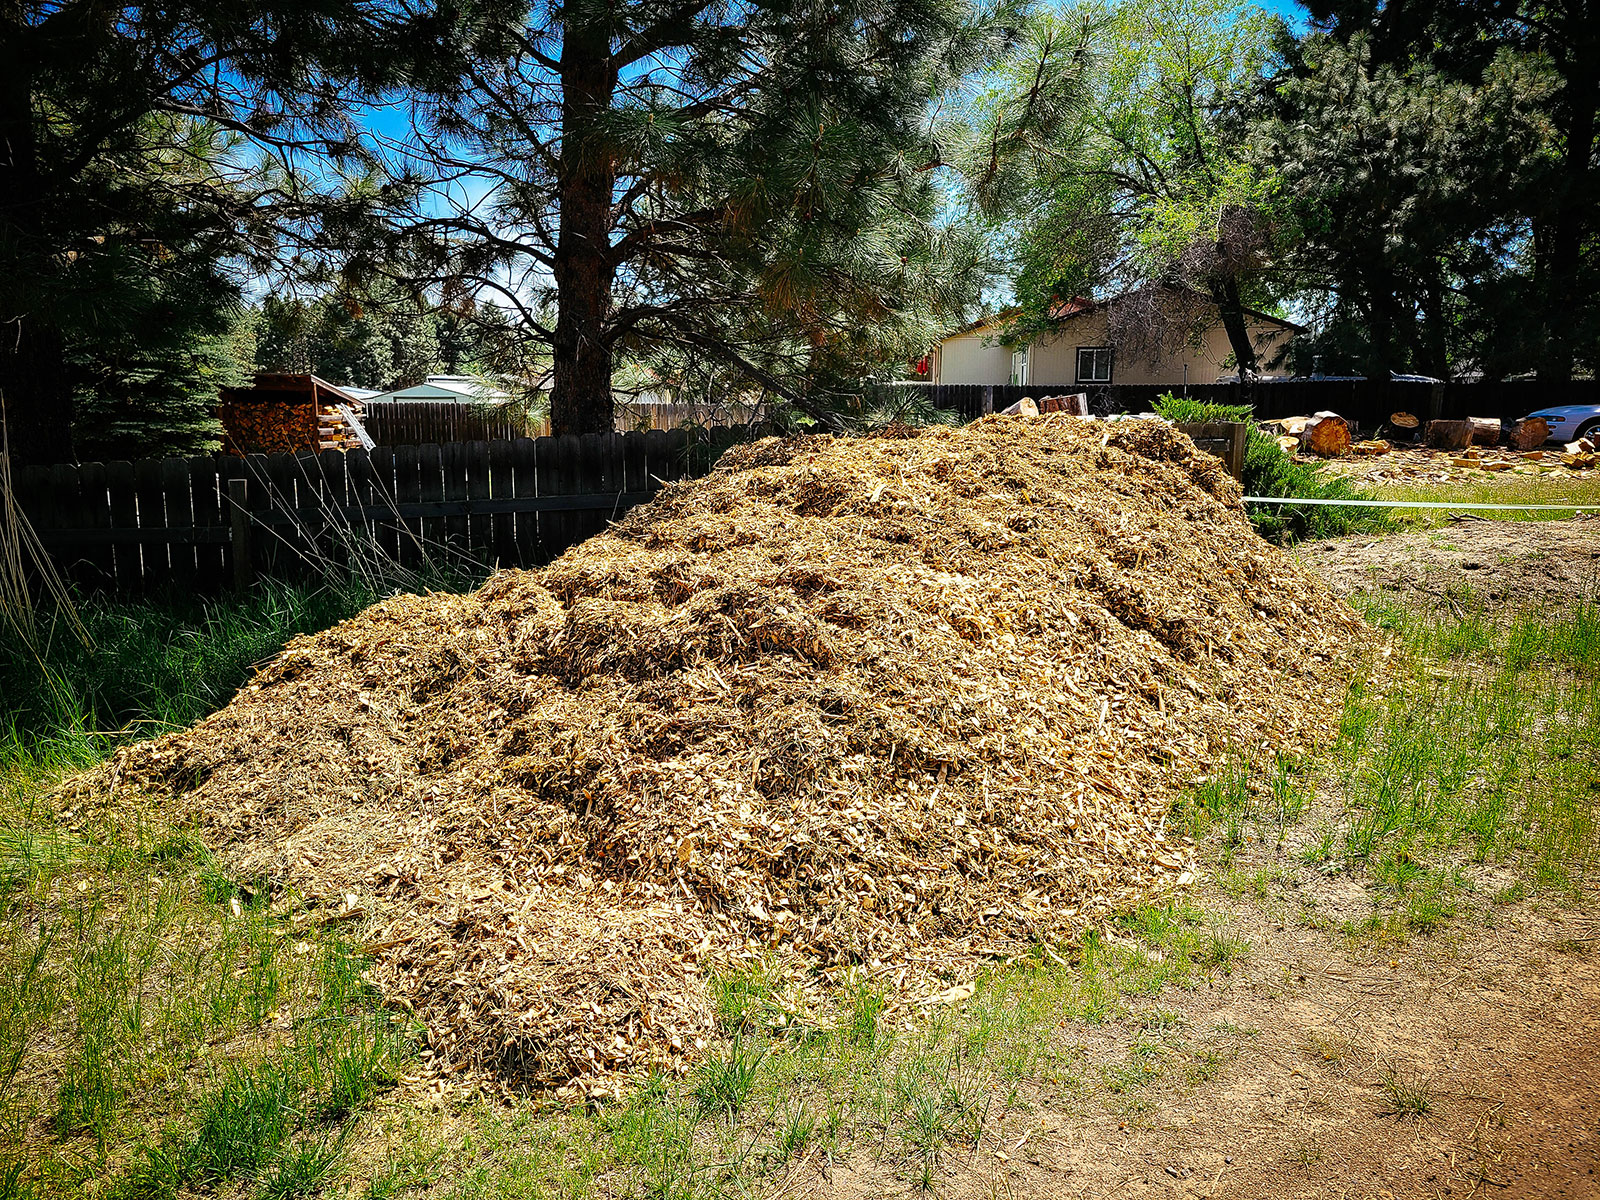
If you’re signed up for a service like Chip Drop, be sure to make room for a truck to dump a large load on your property.
Once you have the mulch onsite, follow a few simple guidelines:
- Remove any weeds in the area first. They can be tenacious and will find their way through the mulch!
- If you’re starting seeds, it helps to apply a very thin layer of a light, fluffy mulch like straw or finely shredded leaves (no more than a quarter inch) to keep the soil surface moist until germination.
- For established plants, spread a 2- to 3-inch layer of mulch on the ground around your plants.
- Leave some breathing room. Mulch should always be kept a few inches away from stems and trunks.
- To prevent matting, especially with denser mulches like leaf litter, periodically fluff up the mulch (with a small rake or your hands) throughout the season.
When to apply mulch
Most organic mulches will last through an entire growing season and should only need to be reapplied in spring and fall. If you see that yours is starting to get a bit sparse (or has blown away), make sure to replenish it.
A good rule of thumb is to keep 2 to 3 inches of mulch on your soil.
(More than that is unnecessary and in some cases, may even be detrimental to plants.)
In fall (after you’ve experienced a few frosts), apply a heavier layer of mulch to protect the soil from frost heaving, protect the crowns and root systems of overwintering plants, and prevent a crust from forming on the soil surface. As the mulch decomposes over winter, it feeds the soil and improves its structure.
The exact amount will depend on your climate. Milder regions may not need more than 3 inches to take them through winter, but colder regions can use as much as 8 inches (particularly over fall-planted garlic, cold-hardy overwintering herbs, or perennial herbs, vegetables, and flowers).
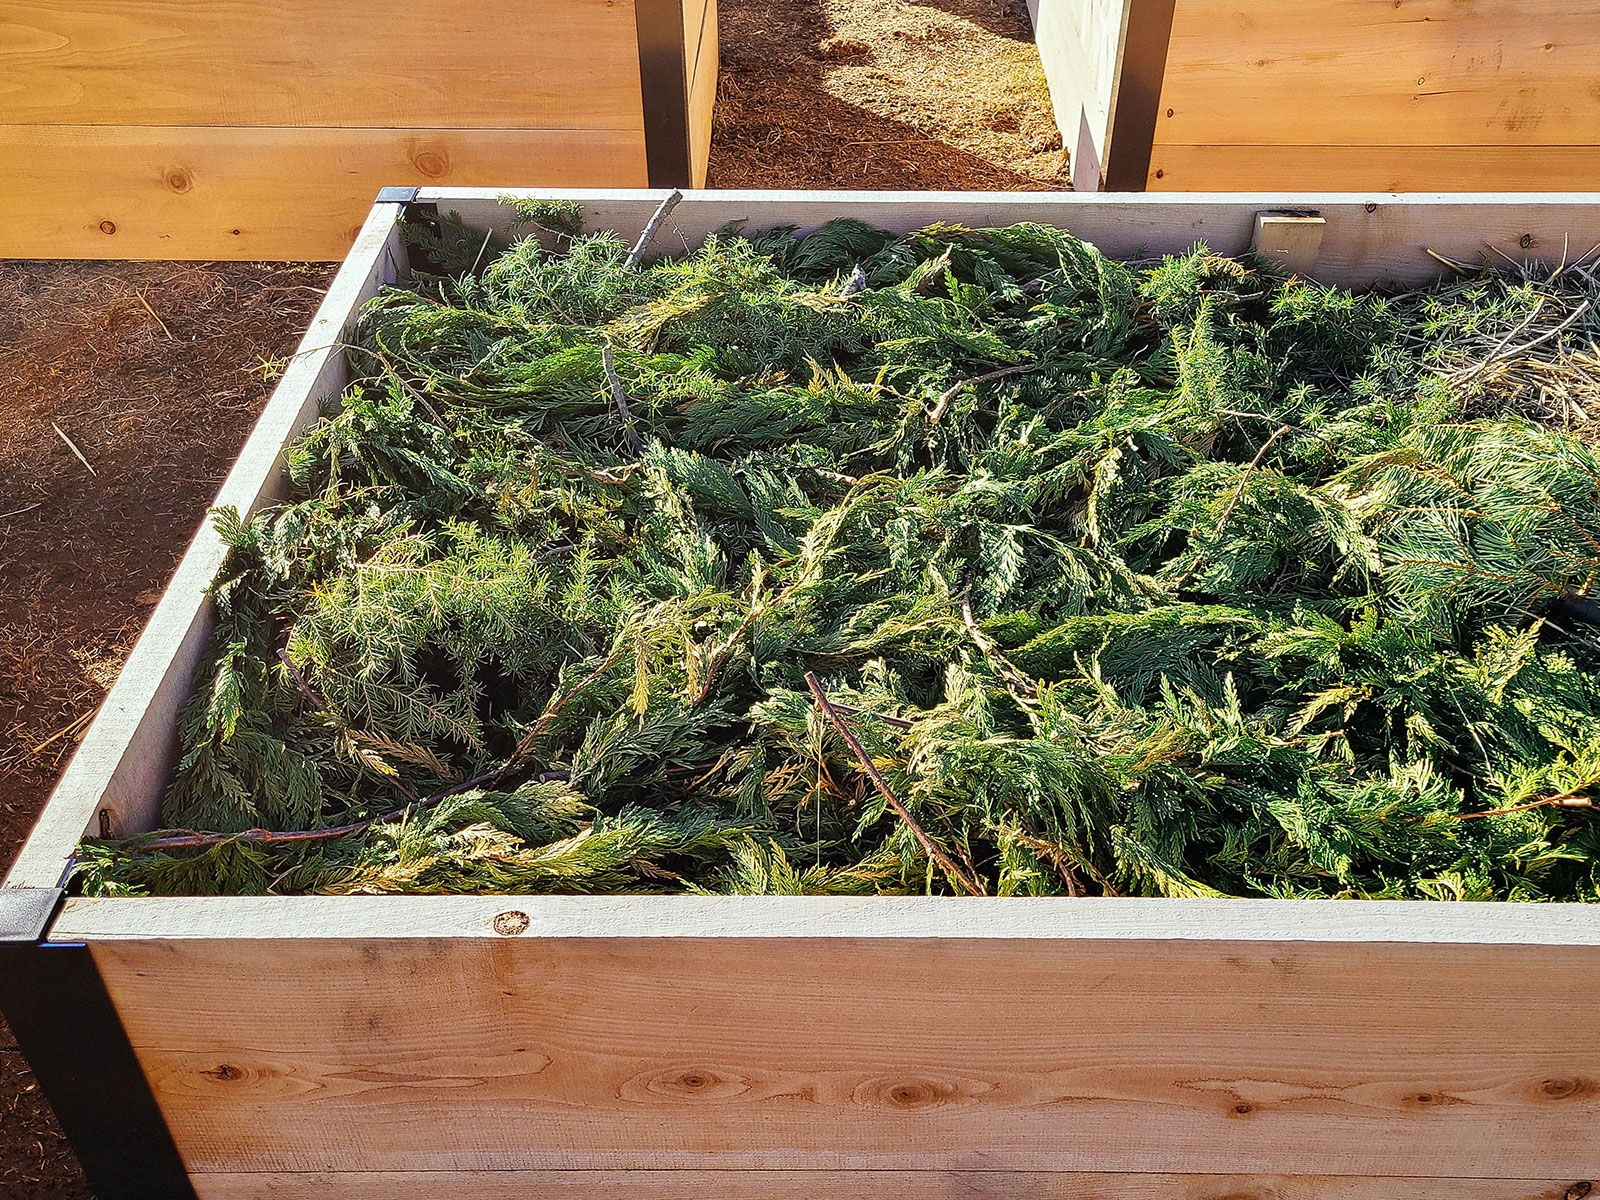
Even if your garden is empty, you should still throw on some mulch—never leave the soil bare over winter, if you can help it. That’s because soil nutrients can be depleted by heavy rains, and mulch works to reduce leaching and surface water runoff, keeping the soil structure intact.
Is too much mulch a bad thing?
Yes, I know I just said three paragraphs ago that too much mulch can be detrimental, but that’s only true of actively growing plants, which need access to oxygen and water.
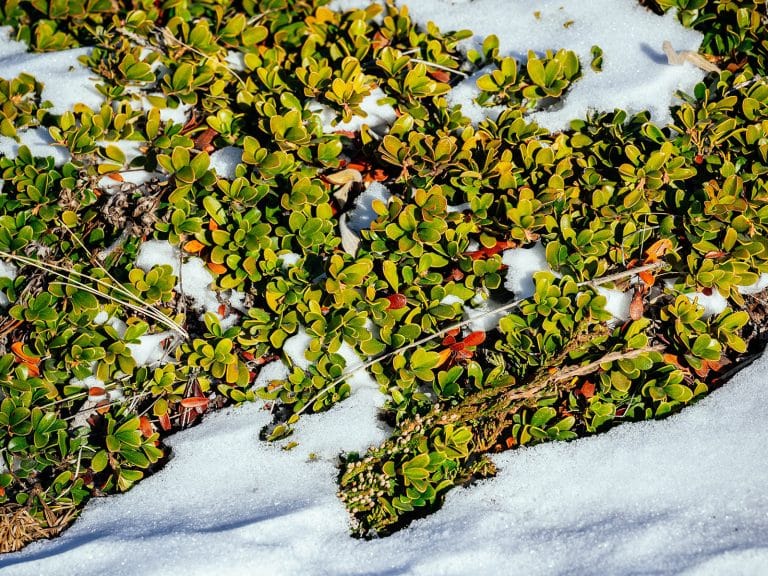
In fall and winter when perennials go dormant, their root systems need to be protected from desiccating winds and freezing weather. Mulch helps hold in moisture (so plants stay hydrated despite cold drying winds) and keep the soil from uprooting plants during repeated freezes and thaws.
Once the weather begins to warm up in late winter to early spring, you can start to thin out the mulch to increase airflow to the soil and roots. Which leads me to the last point…
When to leave your soil bare
Yes, there are times when you might actually want to keep your soil exposed. In spring (particularly if you live in a cold or rainy climate), you should lift all the winter mulch and leave your garden beds uncovered to warm up and dry out so the soil thaws and becomes “workable.”
Removing the mulch also encourages slugs and other insects that overwintered in your garden beds to move out. (Otherwise, they’ll continue to make themselves comfy in the moist, dark recesses of your mulch and help themselves to all your tender new seedlings.)
An empty garden bed also makes it easier to sow seeds. Once your seedlings grow a few inches (past the delicate seedling stage) and the weather turns drier, you can add your favorite mulch again.






Linda – this was really helpful about mulches. Did not know that mulch should be removed in spring! Does that include wood chip mulch?
QUESTION: re dyed shredded wood mulch. I used an organic “Earthgro” by Scott’s that is certified. My research said that they use charcoal to make the wood black and that carbon based color is good for decompacting soil. The wood they use fairly locally sourced wood and never from “used” wood (think pallets, chemically treated wood, etc). So, I’m thinking this is alright to use. Would love to have your take on this. Thanks for any thoughts. LOVE your prescient columns and your spirit of simplicity. Just got your book – looks very cool!
All best,
Cathryn
Great breakdown of issues, resources and issues.
• Mulch is also counter-indicated in arid areas where rain typically falls in small amounts (as opposed to infrequent cloudbursts that occur in many arid regions). The mulch absorbs the light rain and it soon evaporates without ever reaching the soil.
• I would add to vegetable garden considerations, avoiding mulch around even cold tolerant plants such as broccoli before a hard freeze is expected. Mulch insulates soil warmth from the above-ground portion of the plant. Best is to mulch them but pull the mulch back a full sunny day before a freeze.
• Mulching around fruit trees (ornamental or otherwise) promotes gnawing the bark and killing the tree unless very fancy bridge grafting is done. Doughnut shaped mulch, with area around the trunk left bare, will discourage tunneling bark nibblers.
I greatly appreciated this article on mulching. An item you bring up that is new to me is using compost as a top dressing or mulch, not necessitating it being worked into the soil. Saves on work and leaves the soil undisturbed but enriched.
One small item you neglected to mention was the type of straw that is best. Personally, I prefer rice straw because there is not much chance of seed heads sneaking their way into mulch and thereby possibly introducing unwanted young plants.
Rice straw is a great option if it’s available in your area! I never see it in my local feed stores unfortunately.
Question: you said in the fall…protect the crowns and root systems. Do you mean you cover (bury) the WHOLE plant with mulch for winter? I.e. strawberries. Thank you.
Yes, I cover the crowns completely with mulch in late fall after the plants have died back to the ground. Plants like strawberries turn brown and will often mulch themselves as their leaves drop. (But since I live in a harsher winter climate, I always add an additional layer of straw over the brown foliage and cover my entire strawberry bed with about 3 inches of straw.) I remove all the straw and any remaining brown foliage in early spring when I see new growth.
You can do this for other perennials too; my asparagus, rhubarb, etc. all die back in fall and I cover the crowns with a few inches of their own foliage. My garlic patch is also completely covered (with my old Christmas boughs) until I see new growth start to poke up.
I bought my wife one of those metal put together raised bed gardens. It sits on the ground.
After filling with a whole LOT of soil, I topped it off with biochar that I made out of oak heating pellets. Uniform in size mostly.
She planted about 8 plants in it.
Put about a 2 inch layer of untreated biochar on top.
NICE black looking mulch that only fades to a light black when dry but still black.
If I want it dark black I just sprinkle some water on top.
Helps control weeds, temperature, and moisture.
I leave it in place all year round.
In the spring I sometimes have to add more biochar as things settle over time but not much.
Remember, 100% OAK HEATING PELLETS.
No flavored stuff.
Not hard to make the biochar but it is time consuming.
Please explain more about living mulches. How can lettuce, or carrots, or beets work as a mulch? And why is it OK for thyme, or some of the other plants you listed, to serve as a mulch, but weeds do not? Doesn’t thyme compete for nutrients just as weeds do?
Thanks for the article, very interesting.
Thanks! This was super helpful!!!
You’re welcome!