The Florida weave. I have to chuckle every time I hear the name. It sounds like a bad hairpiece, maybe even a rollickin’ good dance down south (and maybe it’s both?).
But it’s actually an effective method of trellising (staking) tomatoes if you plant your tomatoes side by side in rows.
Many small-scale farmers and commercial growers employ the Florida weave method (also called the basket weave method) because it’s fast, simple to set up and maintain, and uses space efficiently during the growing season—as well as after the growing season when there’s so little material to store.
I first learned about the Florida weave over 12 years ago when I was deciding how to support my 14 tomato plants in raised beds.
That first summer, I caged all my tomatoes with the metal conical cages you typically find in garden centers. While the conical cages worked okay in the beginning, I managed to obliterate a few (mostly while uprooting old plants) and didn’t have enough for all my sprawling indeterminates that season.
I also found that my plants became too top-heavy for the cages as they grew taller—and while I’d like to think I was an awesome first-timer at growing tomatoes (haha), the simple fact was that my plants easily outgrew those small cones.
So rather than buying more cages (too much money for something that wasn’t durable) or constructing my own towers out of rebar and cattle panels (too much work), I started looking for tomato supports that were inexpensive and effortless.
That’s when I discovered the Florida weave technique!
The Florida weave used everyday supplies I already had around the yard (stakes and string), and with a little help from my handy husband (who has all the fun tools), I had all my plants neatly trellised in no time at all.
Disclosure: If you shop from my article or make a purchase through one of my links, I may receive commissions on some of the products I recommend.
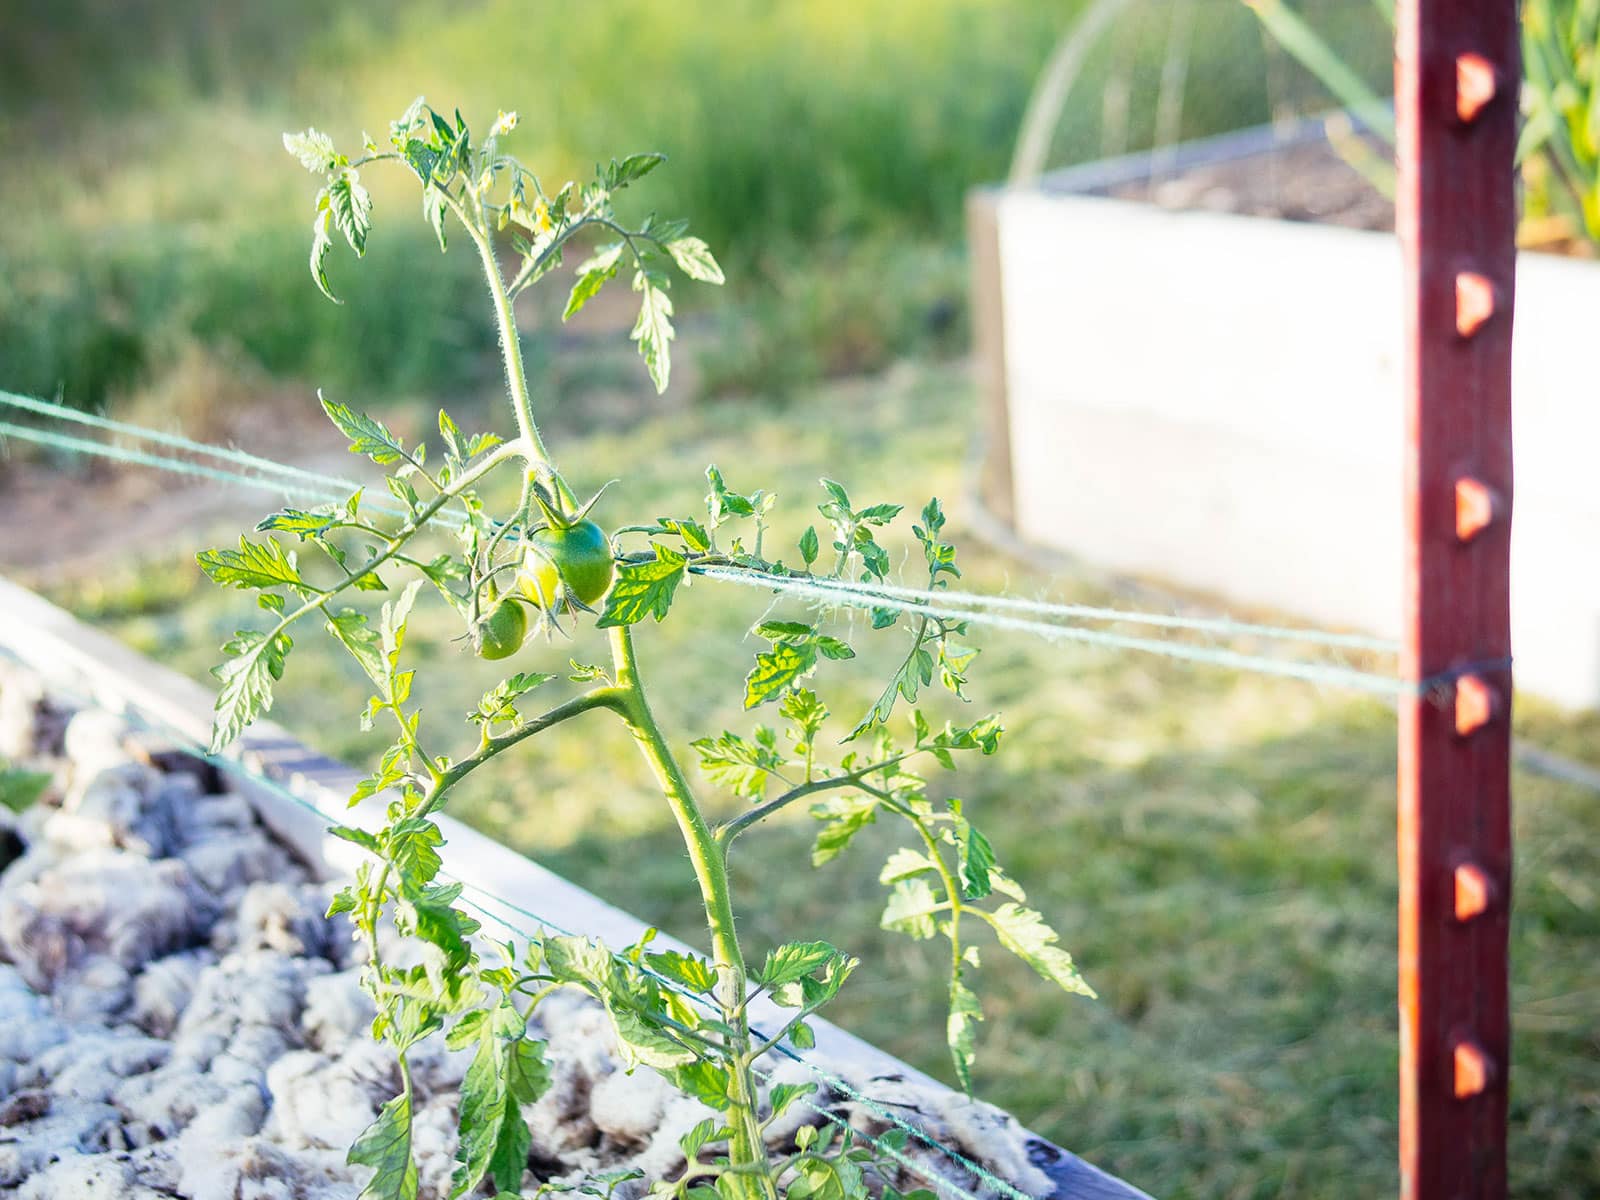
What is the Florida weave?
With the Florida weave method, the idea is to “sandwich” your plants between lengths of twine. The twine gently holds up the plants without the need for additional stakes and clips.
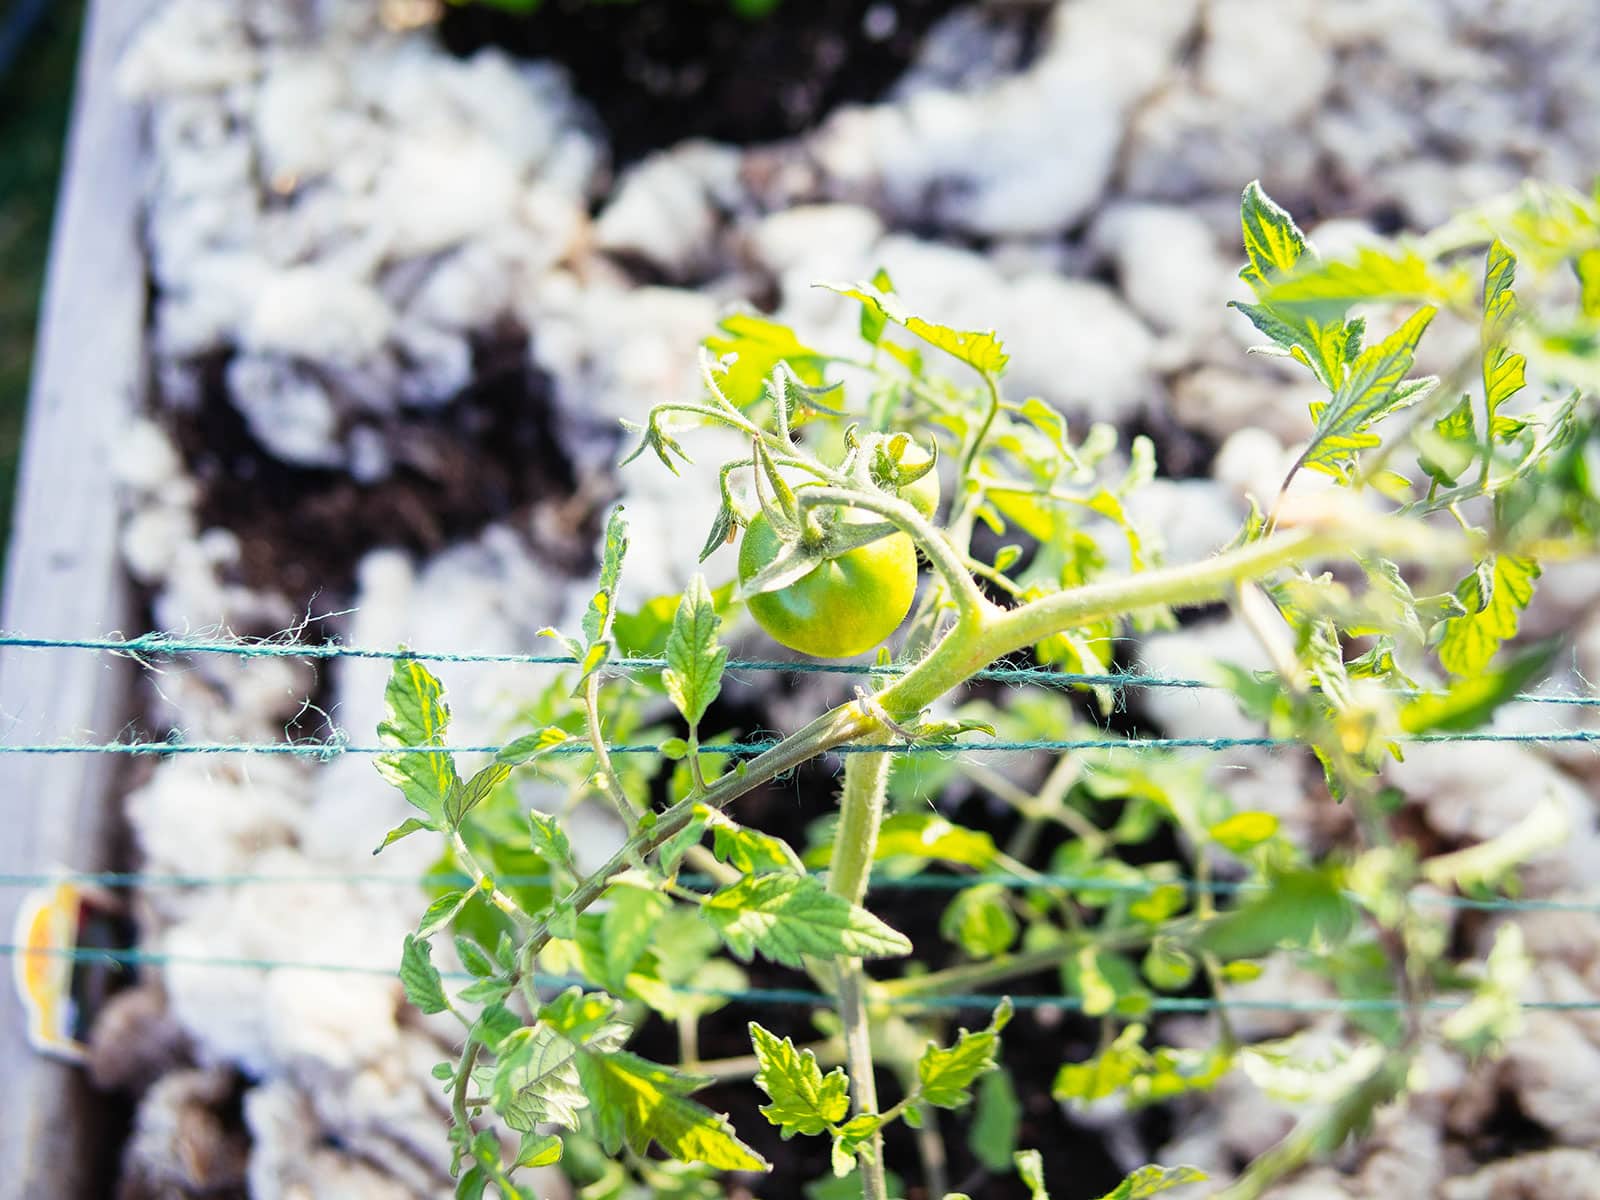
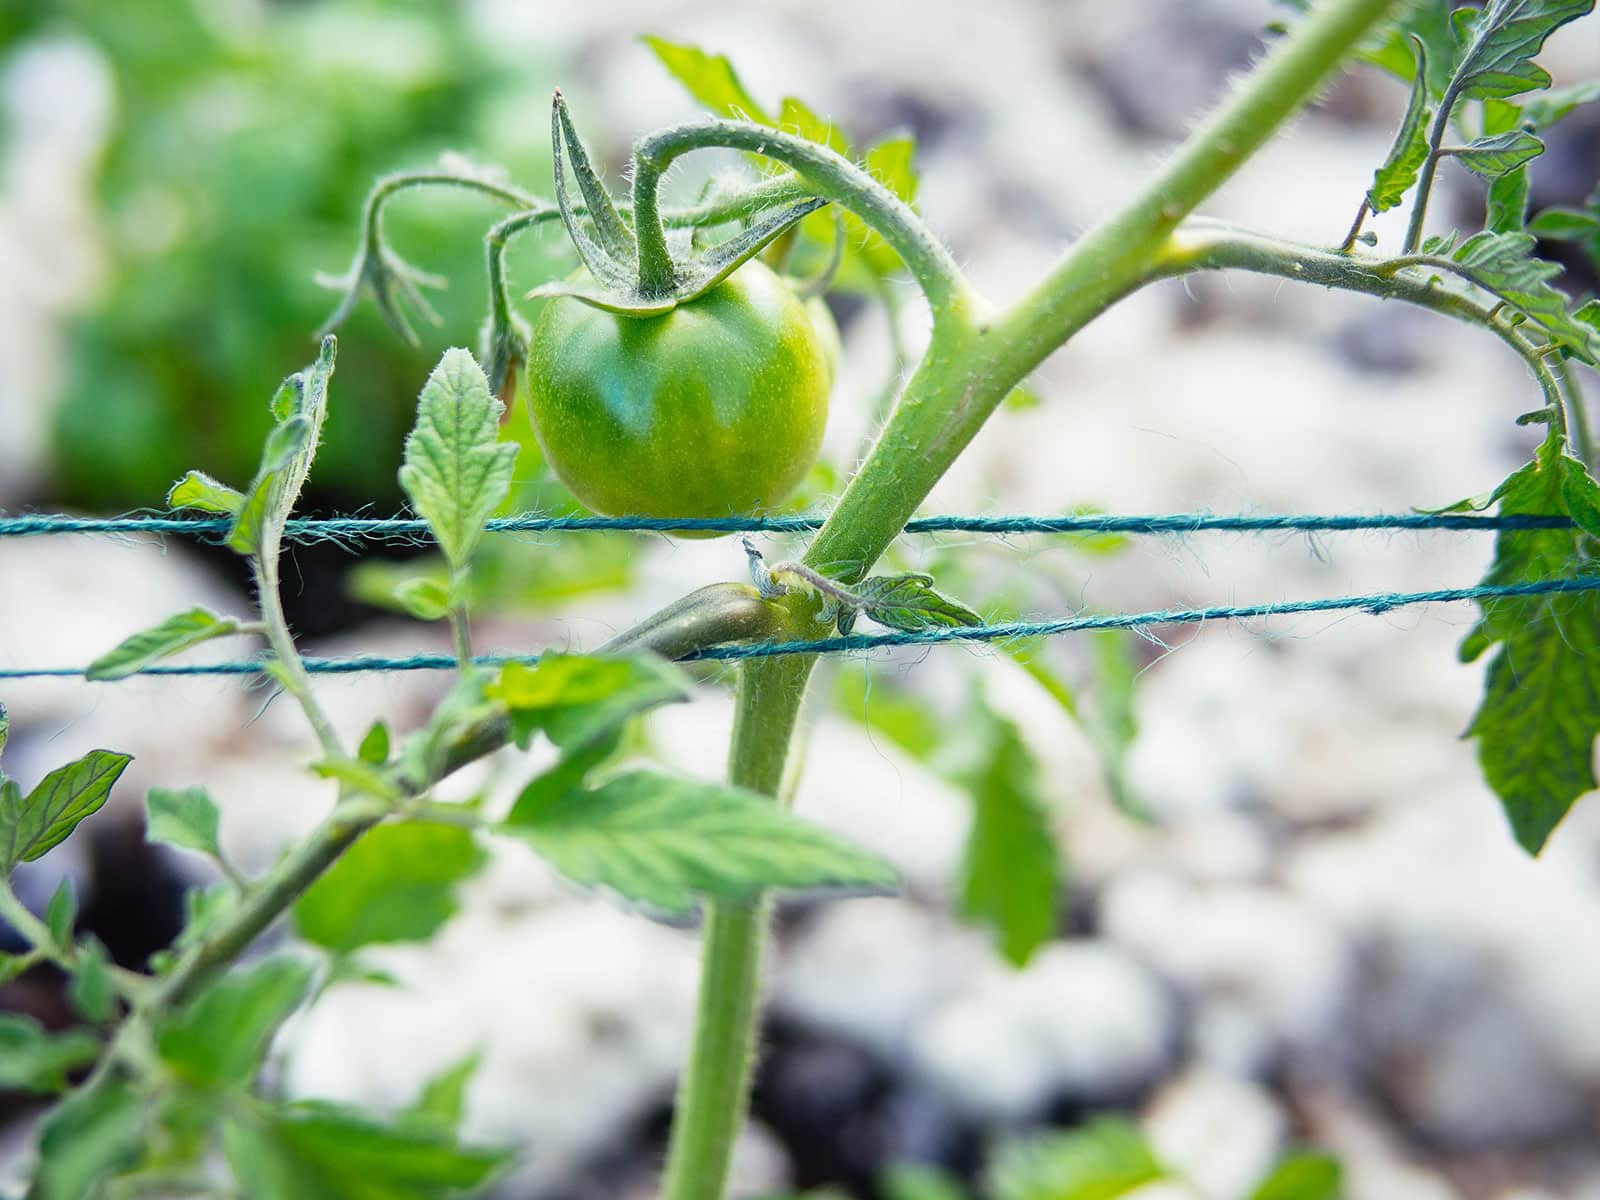
Ideally, you start trellising tomato plants when they’re under 2 feet tall and easier to manage. (I do mine shortly after I transplant my tomatoes in a trench, but before I mulch my beds.)
Larger plants become unruly and difficult to weave around the branches. You also run the risk of driving stakes into the roots of more established plants. So, start early with this system!
What kind of tomatoes can you support with the Florida weave?
The Florida weave works especially well for determinate tomatoes, since they never grow more than 5 feet in height. This makes it easy to contain the plants within the weave and have them be fully supported, especially if you’re using wooden stakes and natural-fiber twine.
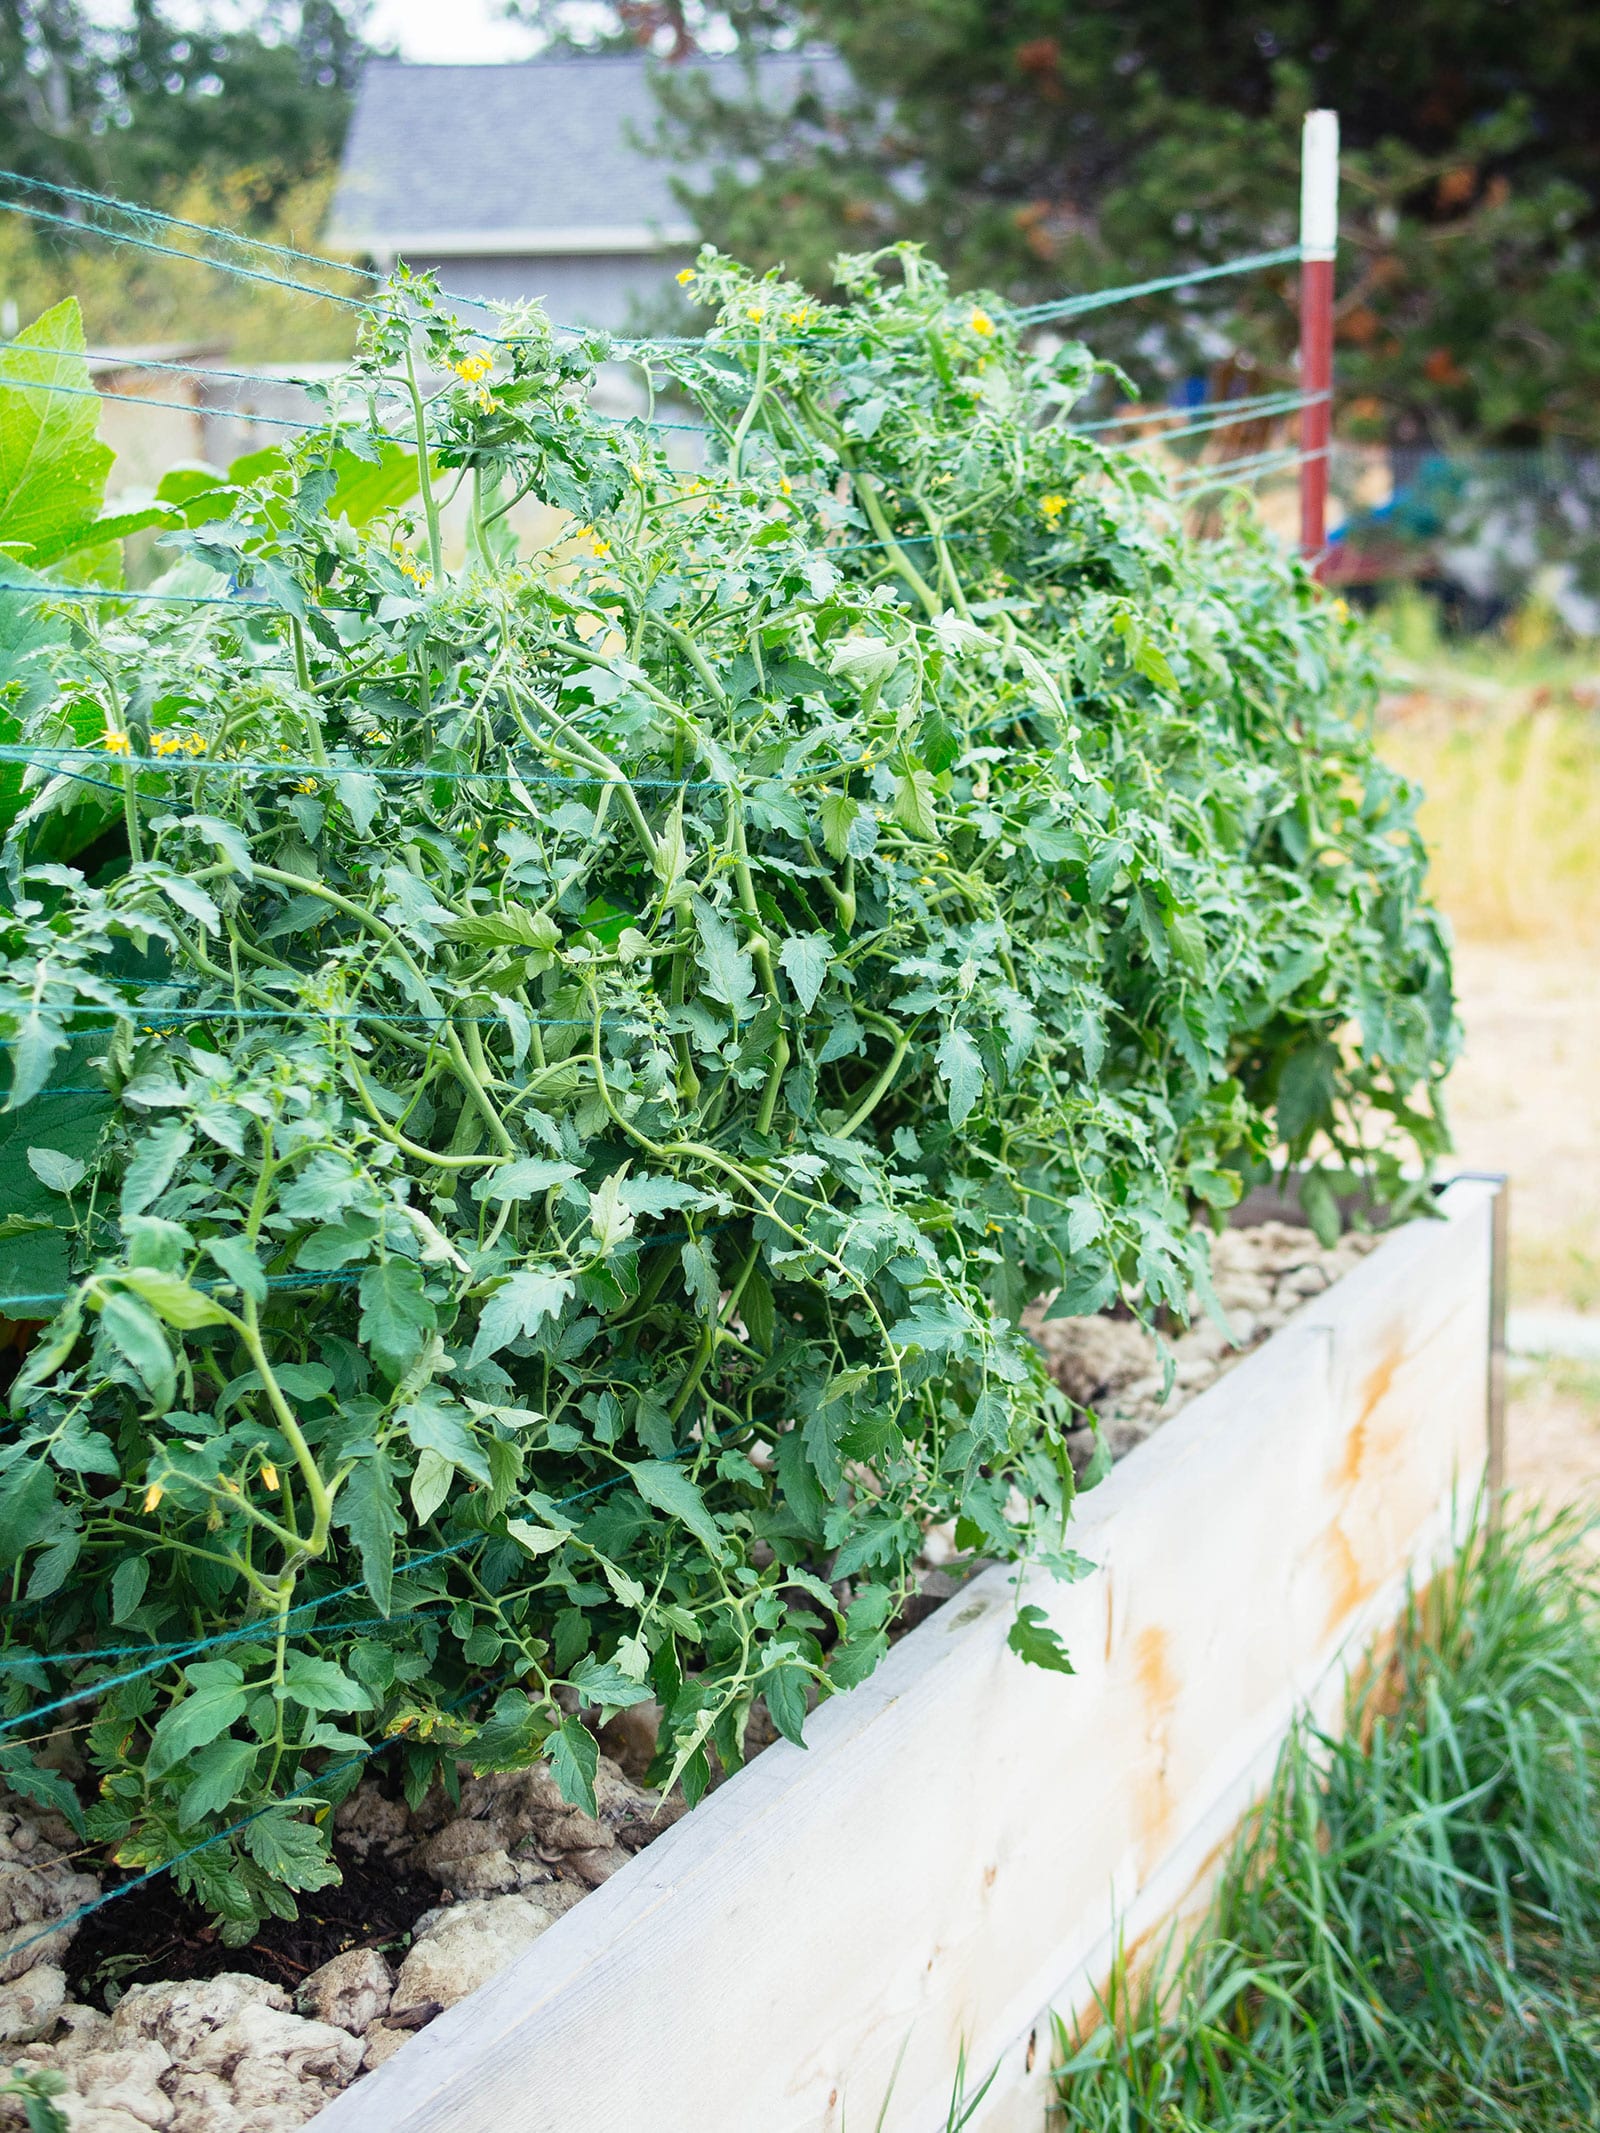
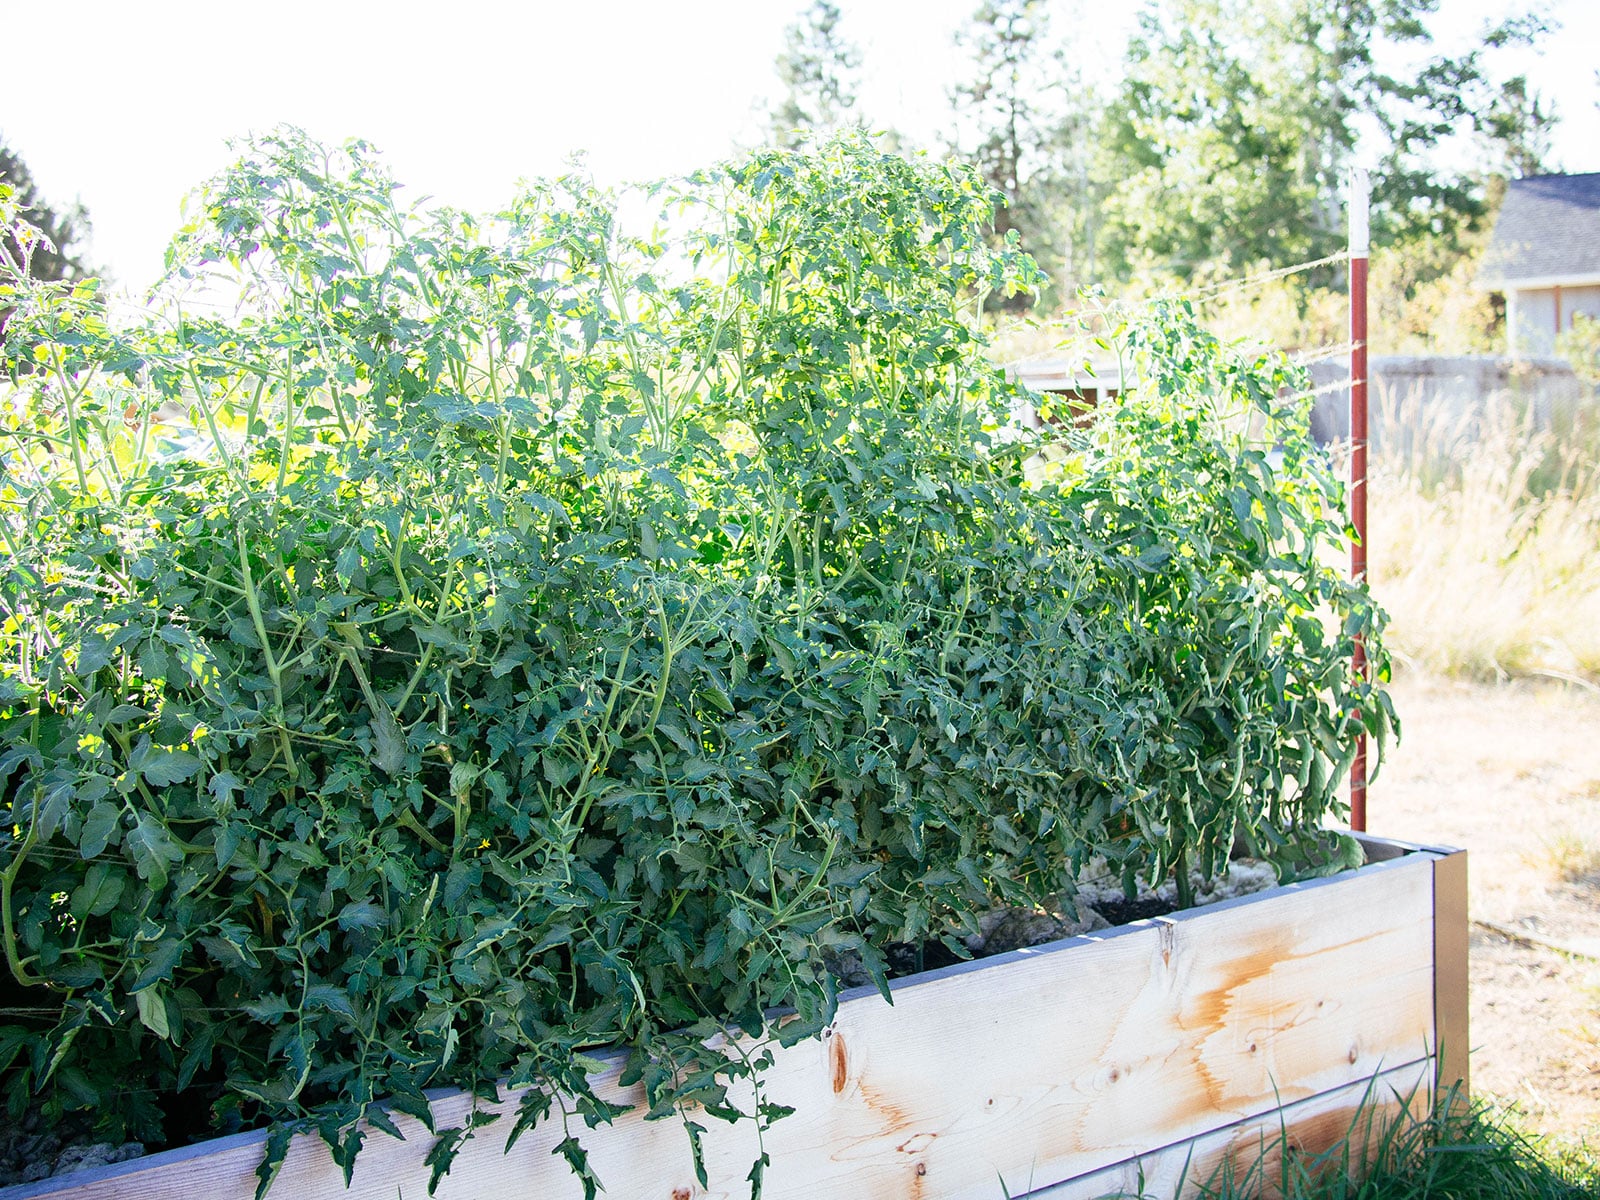
However, I’ve always trellised indeterminate tomato plants with the Florida weave and never had issues. In raised beds, my plants typically grow 8 to 9 feet tall, so any part of the vines that grow beyond the stakes simply drape over the topmost twine like a bed sheet on a clothesline.
How to support your tomato plants using the Florida weave technique
1. Choose your stakes
Start with sturdy stakes at least 6 to 8 feet tall. Depending on what you have available, these are my top choices:
Steel fence T-posts: T-posts range from 5 to 10 feet tall. The 7-foot or 8-foot T-posts are the perfect height for a Florida weave stake, and their larger diameter (1 3/4 inches) makes them sturdy enough for supporting several indeterminate plants in long rows.
While I’ve tried all the other options below, T-posts are now my go-to as they can be reused year after year, hold up well against wind, and can easily support large, heavy plants.
Rebar: If you can’t find tall T-posts, consider using rebar (which are thin metal stakes used in construction). At lumberyards and home improvement stores, they typically come in length increments of 2 feet (up to 20 feet).
A single 20-foot piece of rebar can be cut into three equal lengths to give you three stakes that are 6 feet 8 inches tall.
With their smaller diameters (3/8 inch to 1/2 inch), rebar stakes are easy to drive into the ground. If you wait until after a good rain (when the soil is nice and soft), you can even push the rebar in with your hands.
Wooden stakes: An easily available and inexpensive option, I’ve used 2×2 wooden stakes successfully for determinate tomatoes. They’ll last for a season or two, but are prone to rotting and splintering, and the tops might shatter with a forceful hammer strike.
In a pinch, you can use wooden stakes for indeterminate varieties, but they may start to bow as your plants grow taller.
Bamboo: Thick bamboo works better than wood as it’s weather resistant and has amazing tensile strength, but it’s also harder to come by unless you grow your own bamboo. (Most of the bamboo stakes sold at garden centers are more suited for light-duty staking.)
If you have a bamboo nursery nearby (Bamboo Craftsman in Portland, Oregon, is where I’ve sourced mine), choose strong, straight poles about 1 to 1 1/2 inches in diameter with thick cell walls.
2. Install the stakes
Center a stake between each plant and drive it 12 inches into the ground using a sledgehammer or T-post driver.
If you put a stake between every two to three plants, drive it 18 inches into the ground (and even deeper if your garden gets a lot of wind in the summer).
You want to keep at least 5 to 6 feet of stake above ground for trellising your plants.
(The pictures in this post show my T-posts in the ground outside of my raised bed, but if your T-posts are on the shorter side, definitely install them inside your raised bed so you have enough height.)
3. Choose your twine
Use a durable, weather-resistant twine that doesn’t stretch too much, like tomato twine (a heavy-duty poly works well), waxed twine, tarred twine, or synthetic baler twine.
A thin nylon rope also works, as does heavy-duty hemp cord, which is thick and durable, but not so burly that it’s hard to tie a tight knot with.
In a pinch, you can even use jute, sisal, or plain old cotton twine, but you’ll have to re-tighten the lines throughout the season when they start to sag.
(Hemp cord was used in these images, but I’ve tried all types of twine and my favorites right now—for strength and resilience—are poly tomato twine, waxed twine, and tarred twine.)
4. Create the “weave”
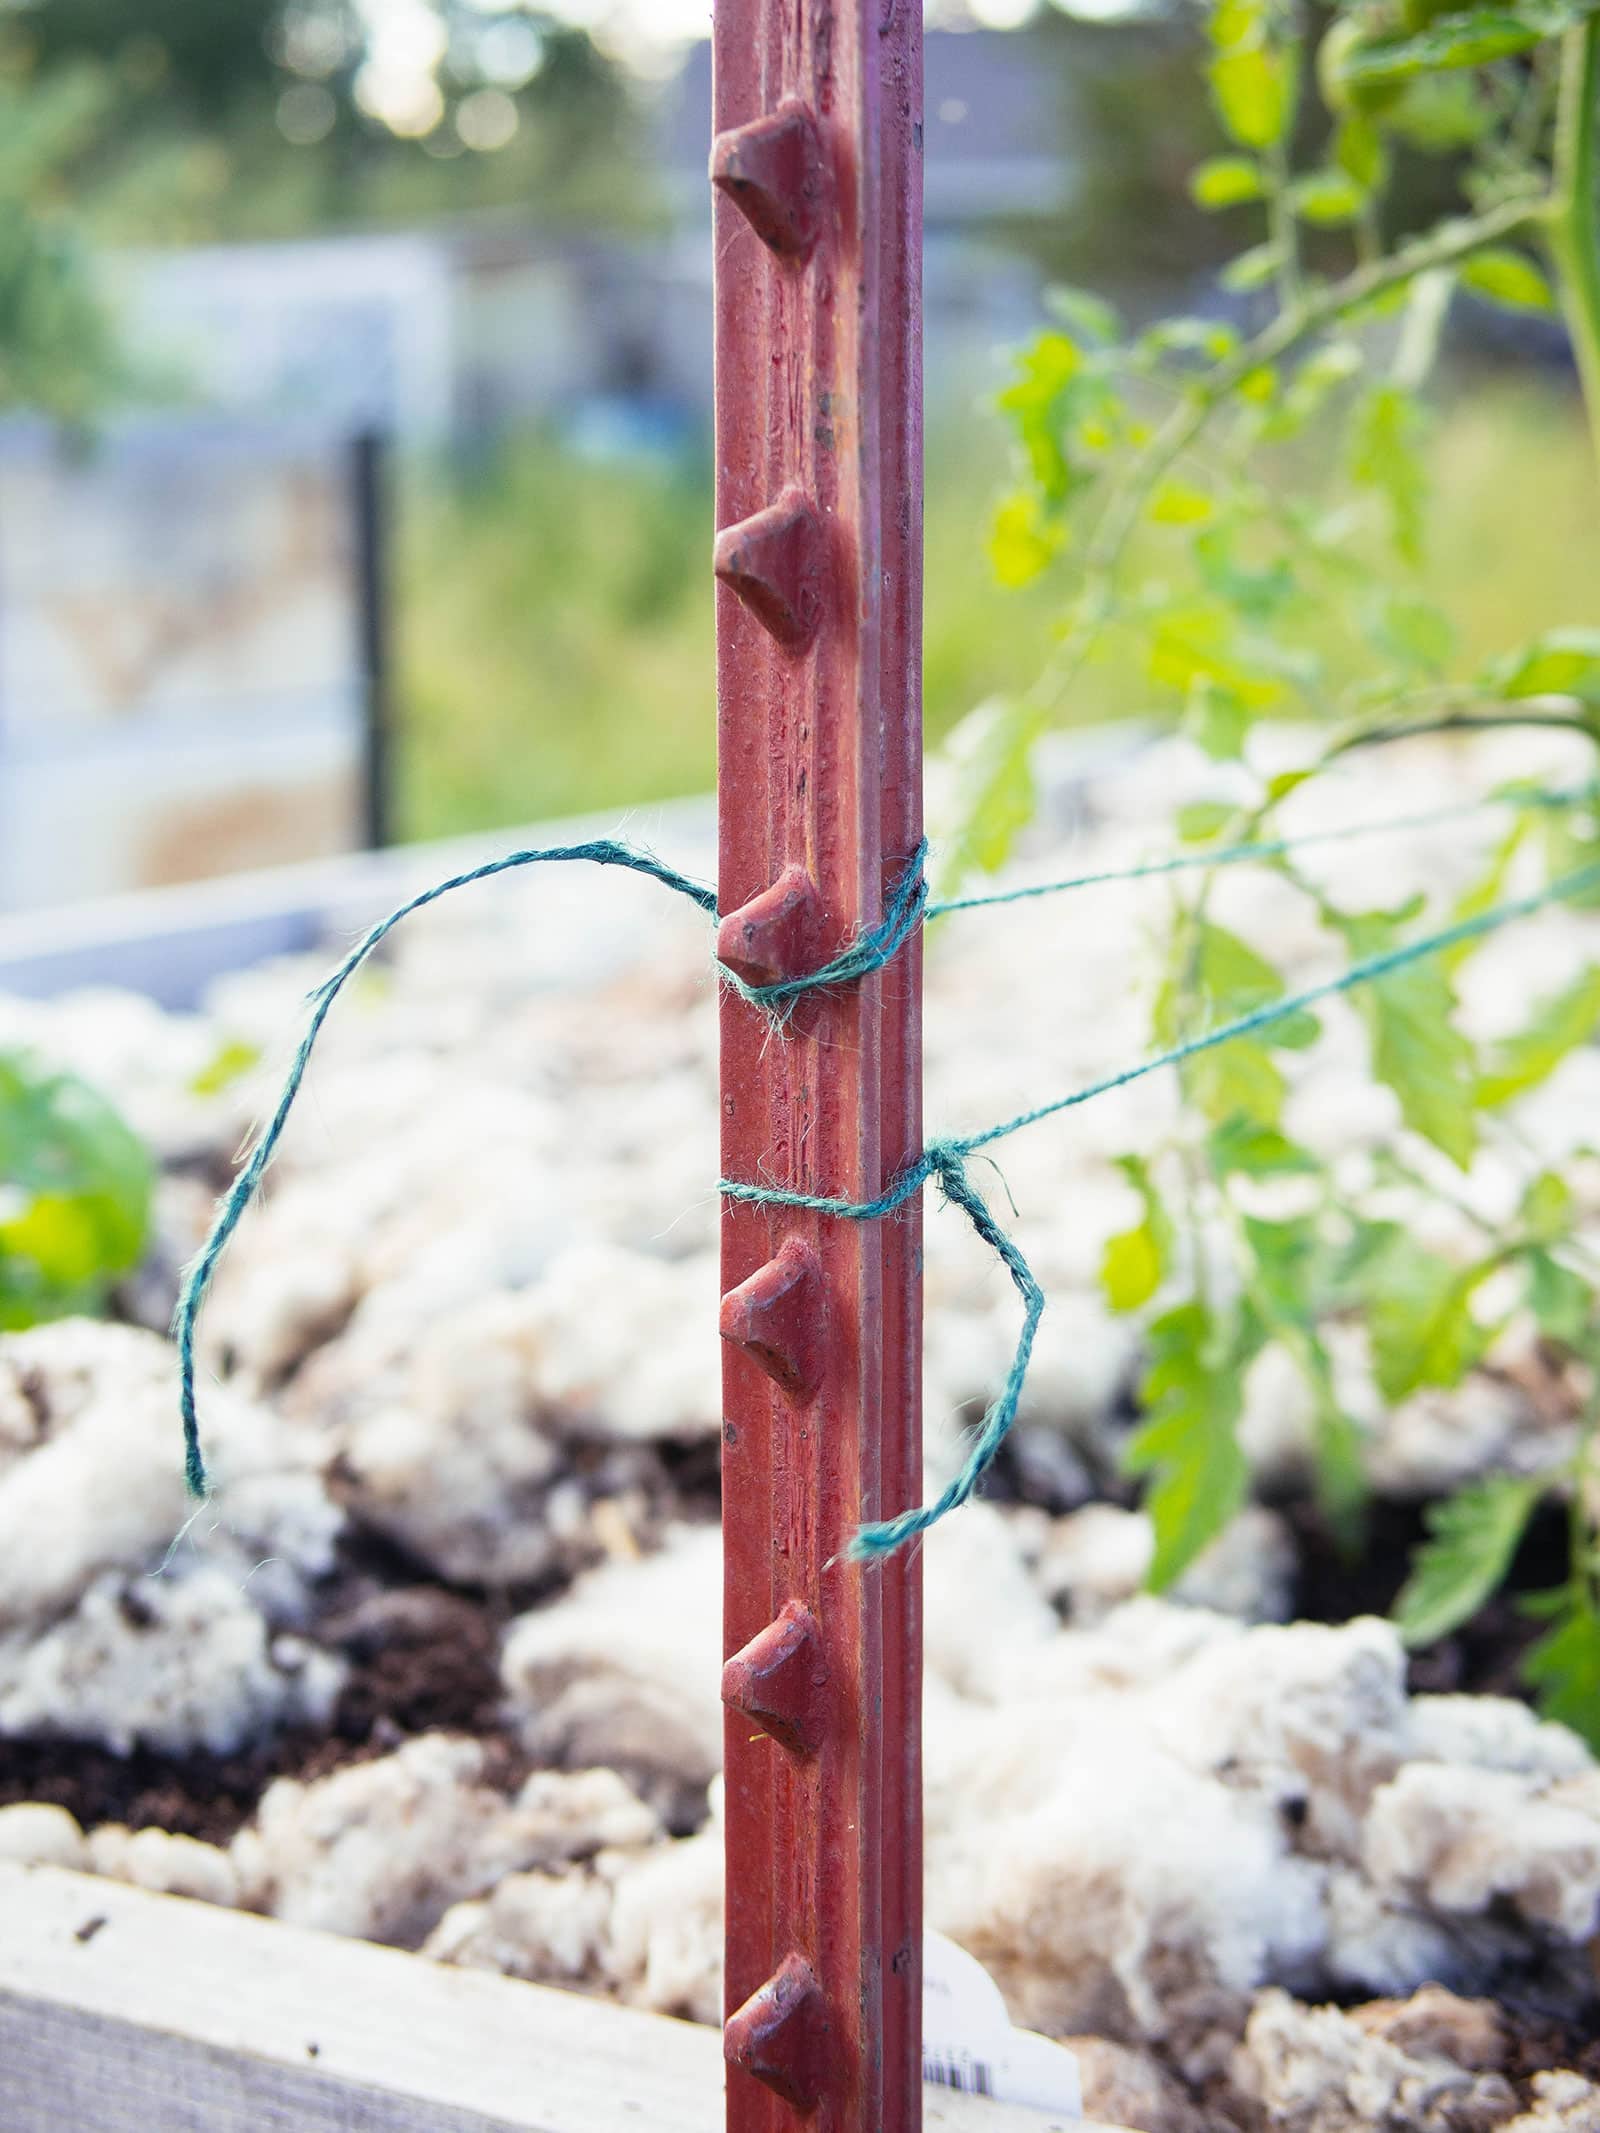
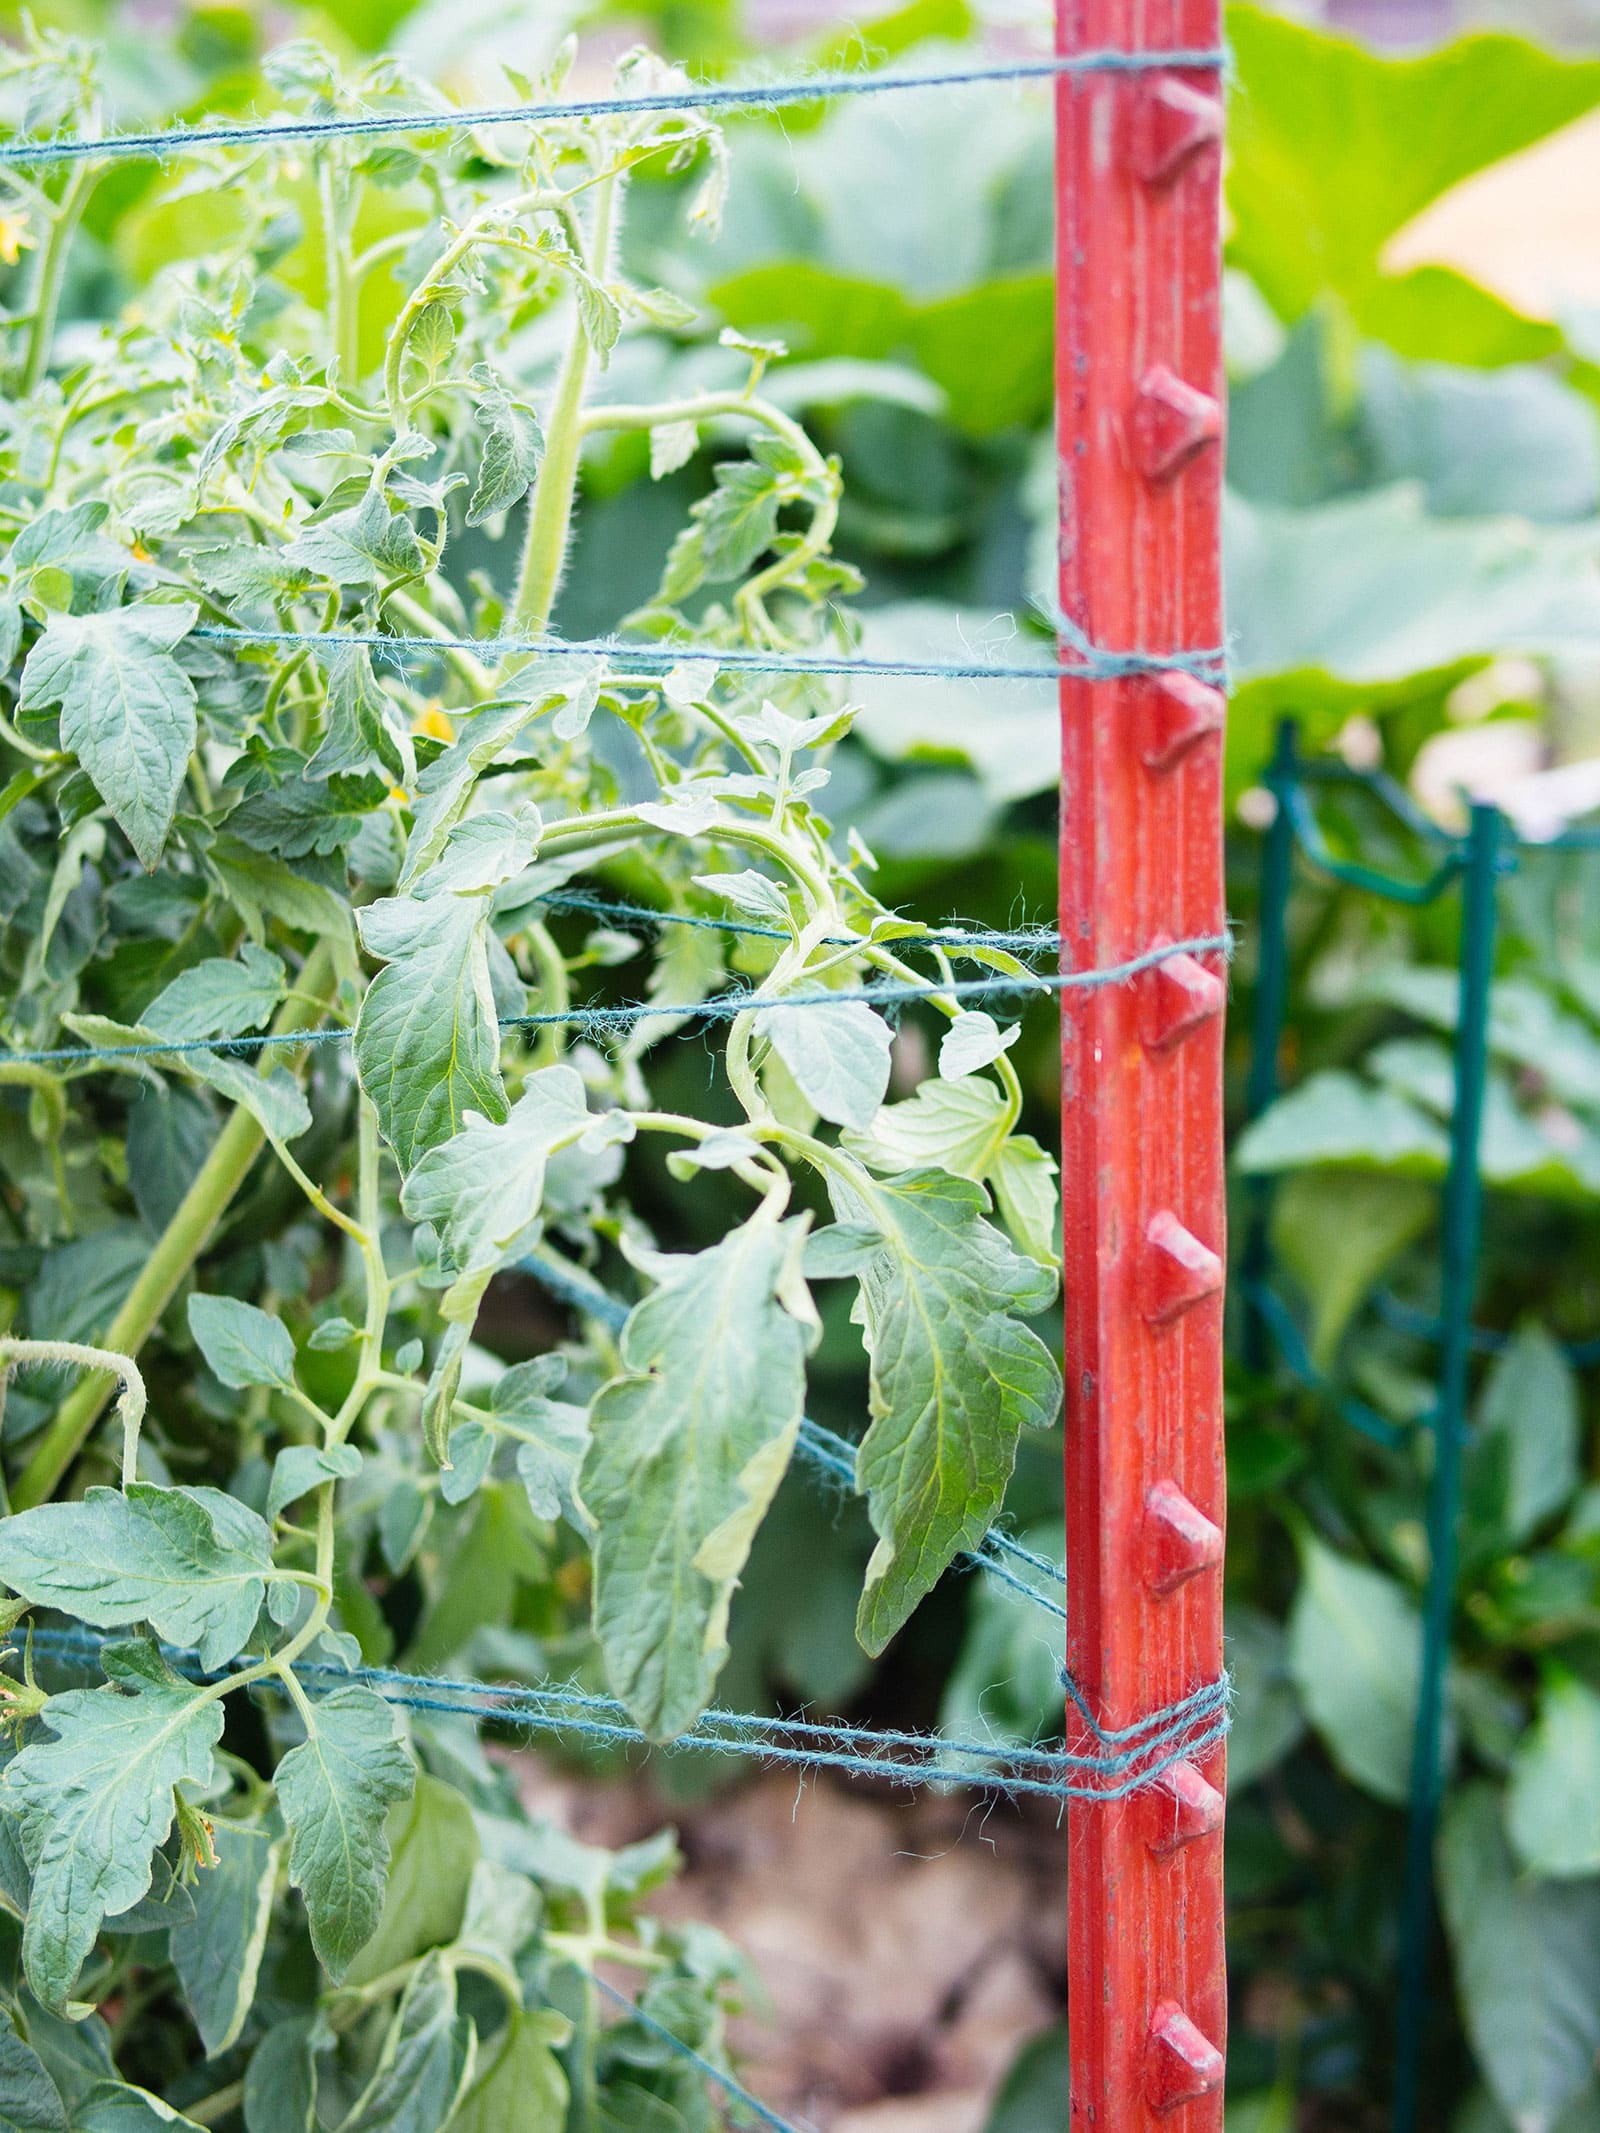
Starting about 8 inches above the ground, tie one end of the twine on the stake.
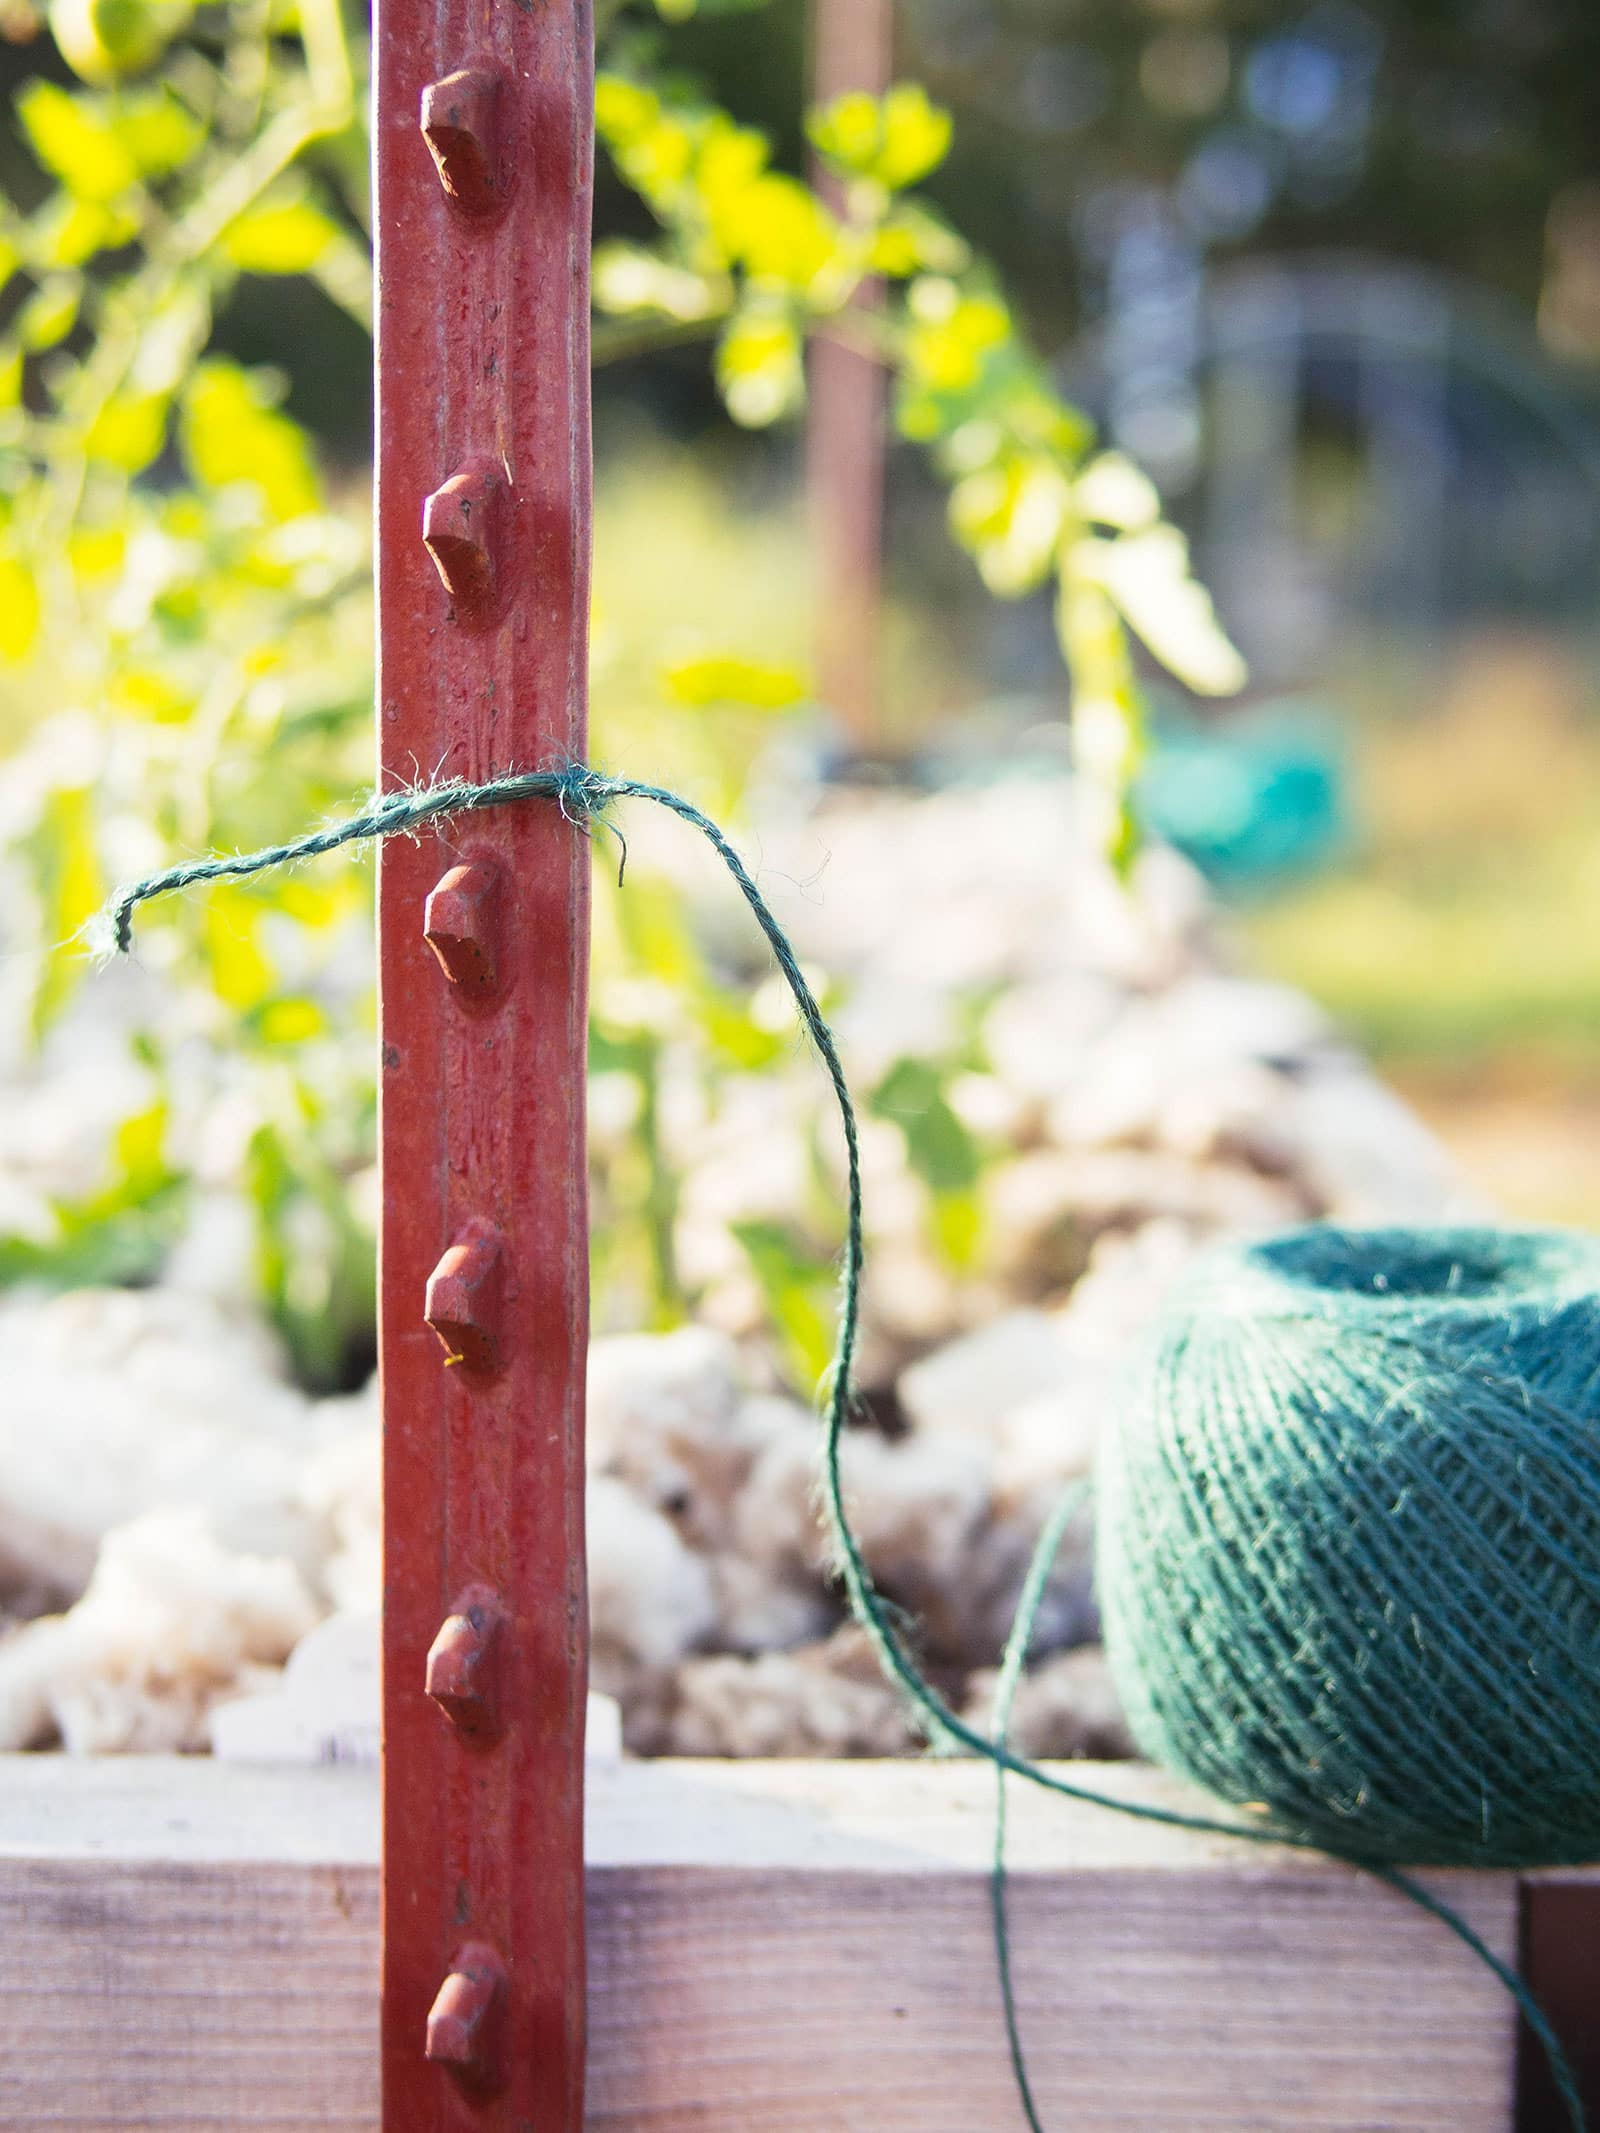
Loop the twine across the back of the tomato plant, bring it around the front of the second plant, then behind the third plant.
When you reach the last stake, loop the twine around the stake in a figure-8, making sure the twine grips the stake and the line is taut, but not pulling too tightly to damage your tomato stems.
Continue weaving the twine in and out between each plant on the other side, back to the first stake, and tie it off with a few knots.
Since that probably sounded just as confusing as it was to write, I’ll leave you with this nifty little drawing.
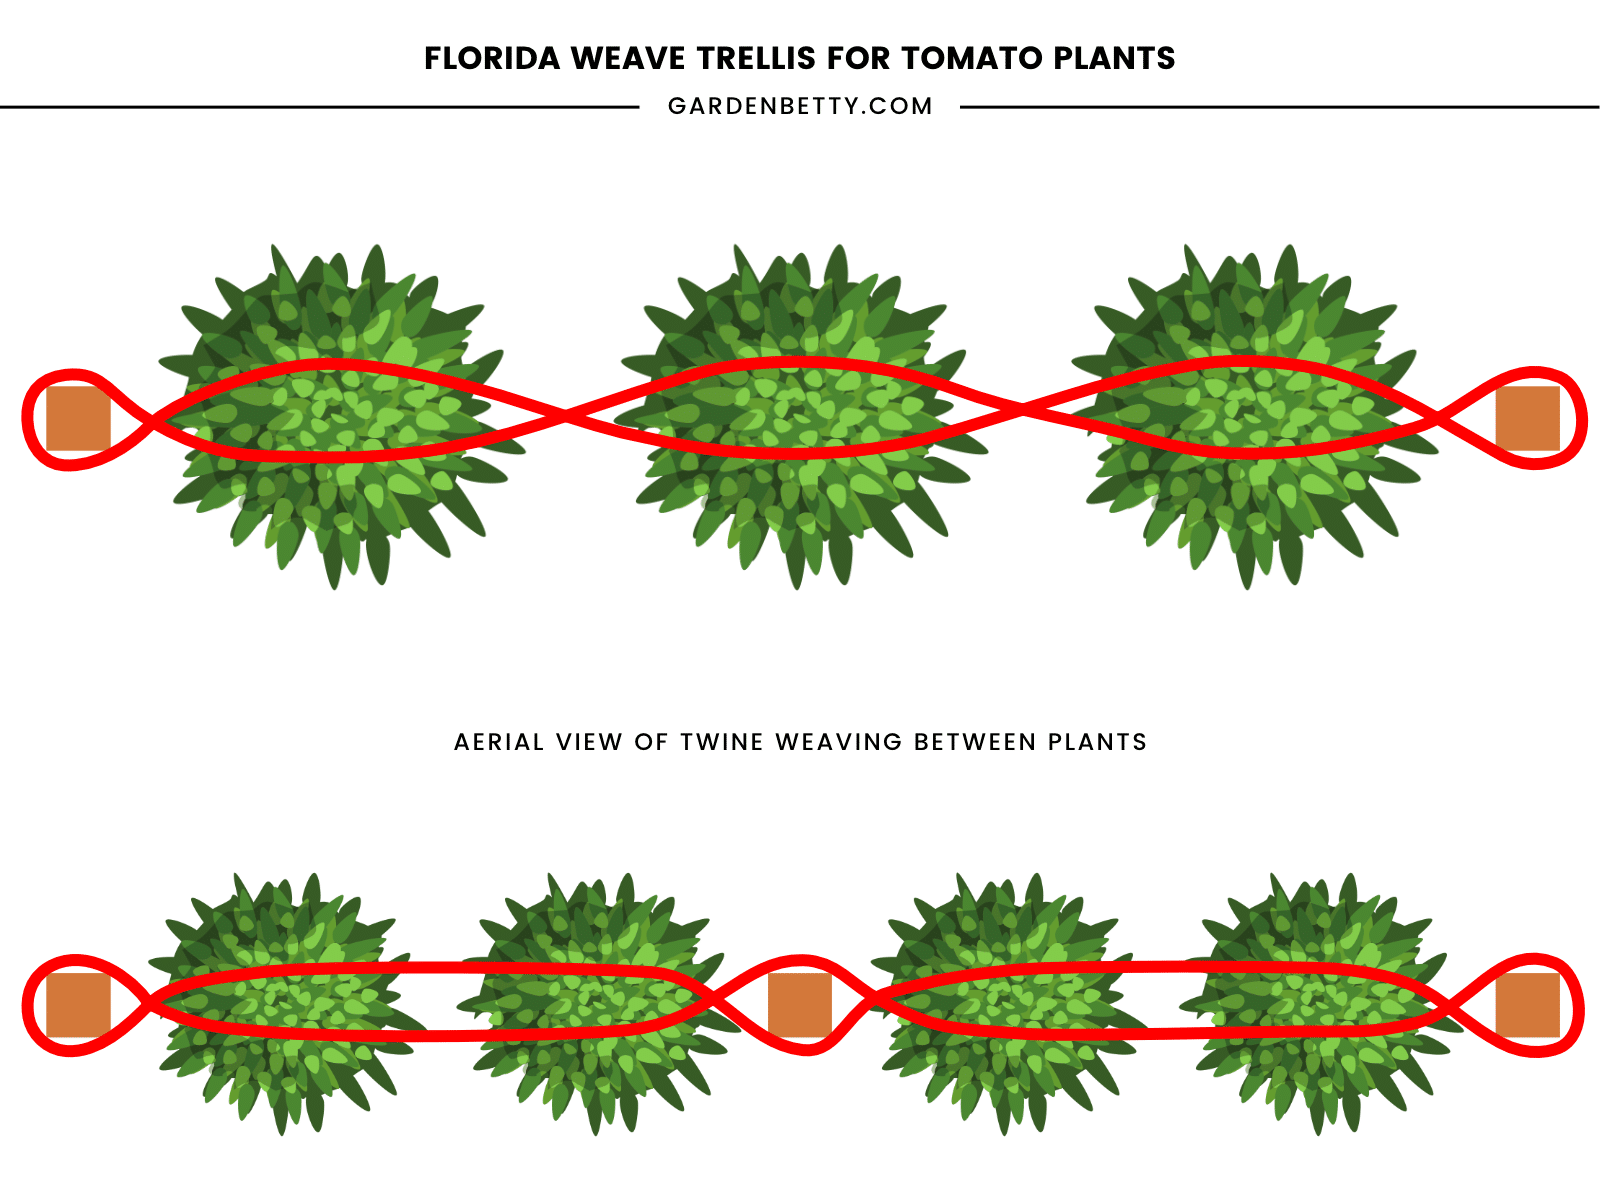
This is an aerial view of what the Florida weave method should look like.
The top illustration shows a setup with three plants across an 8-foot bed. This works best with determinate tomatoes, but can also be used with indeterminate plants if your garden is fairly sheltered from strong winds.
The bottom illustration shows a setup for indeterminate tomatoes that can be repeated for longer rows.
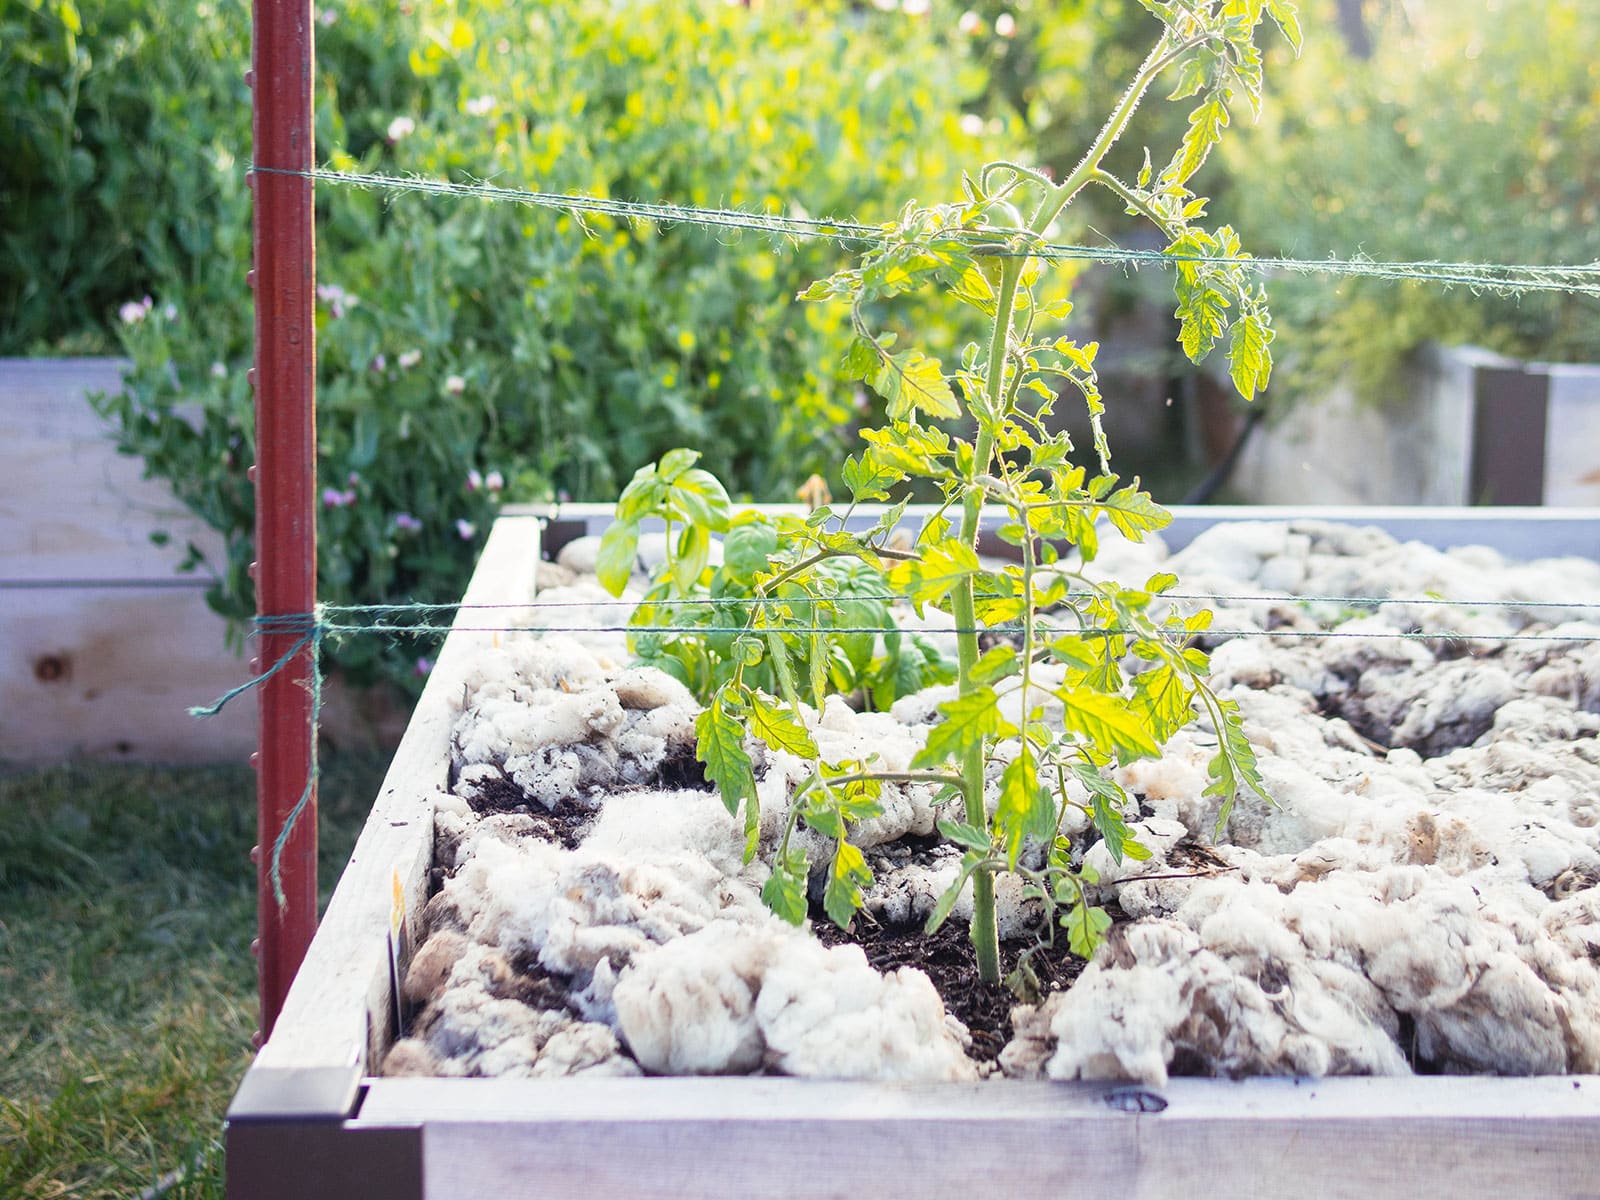
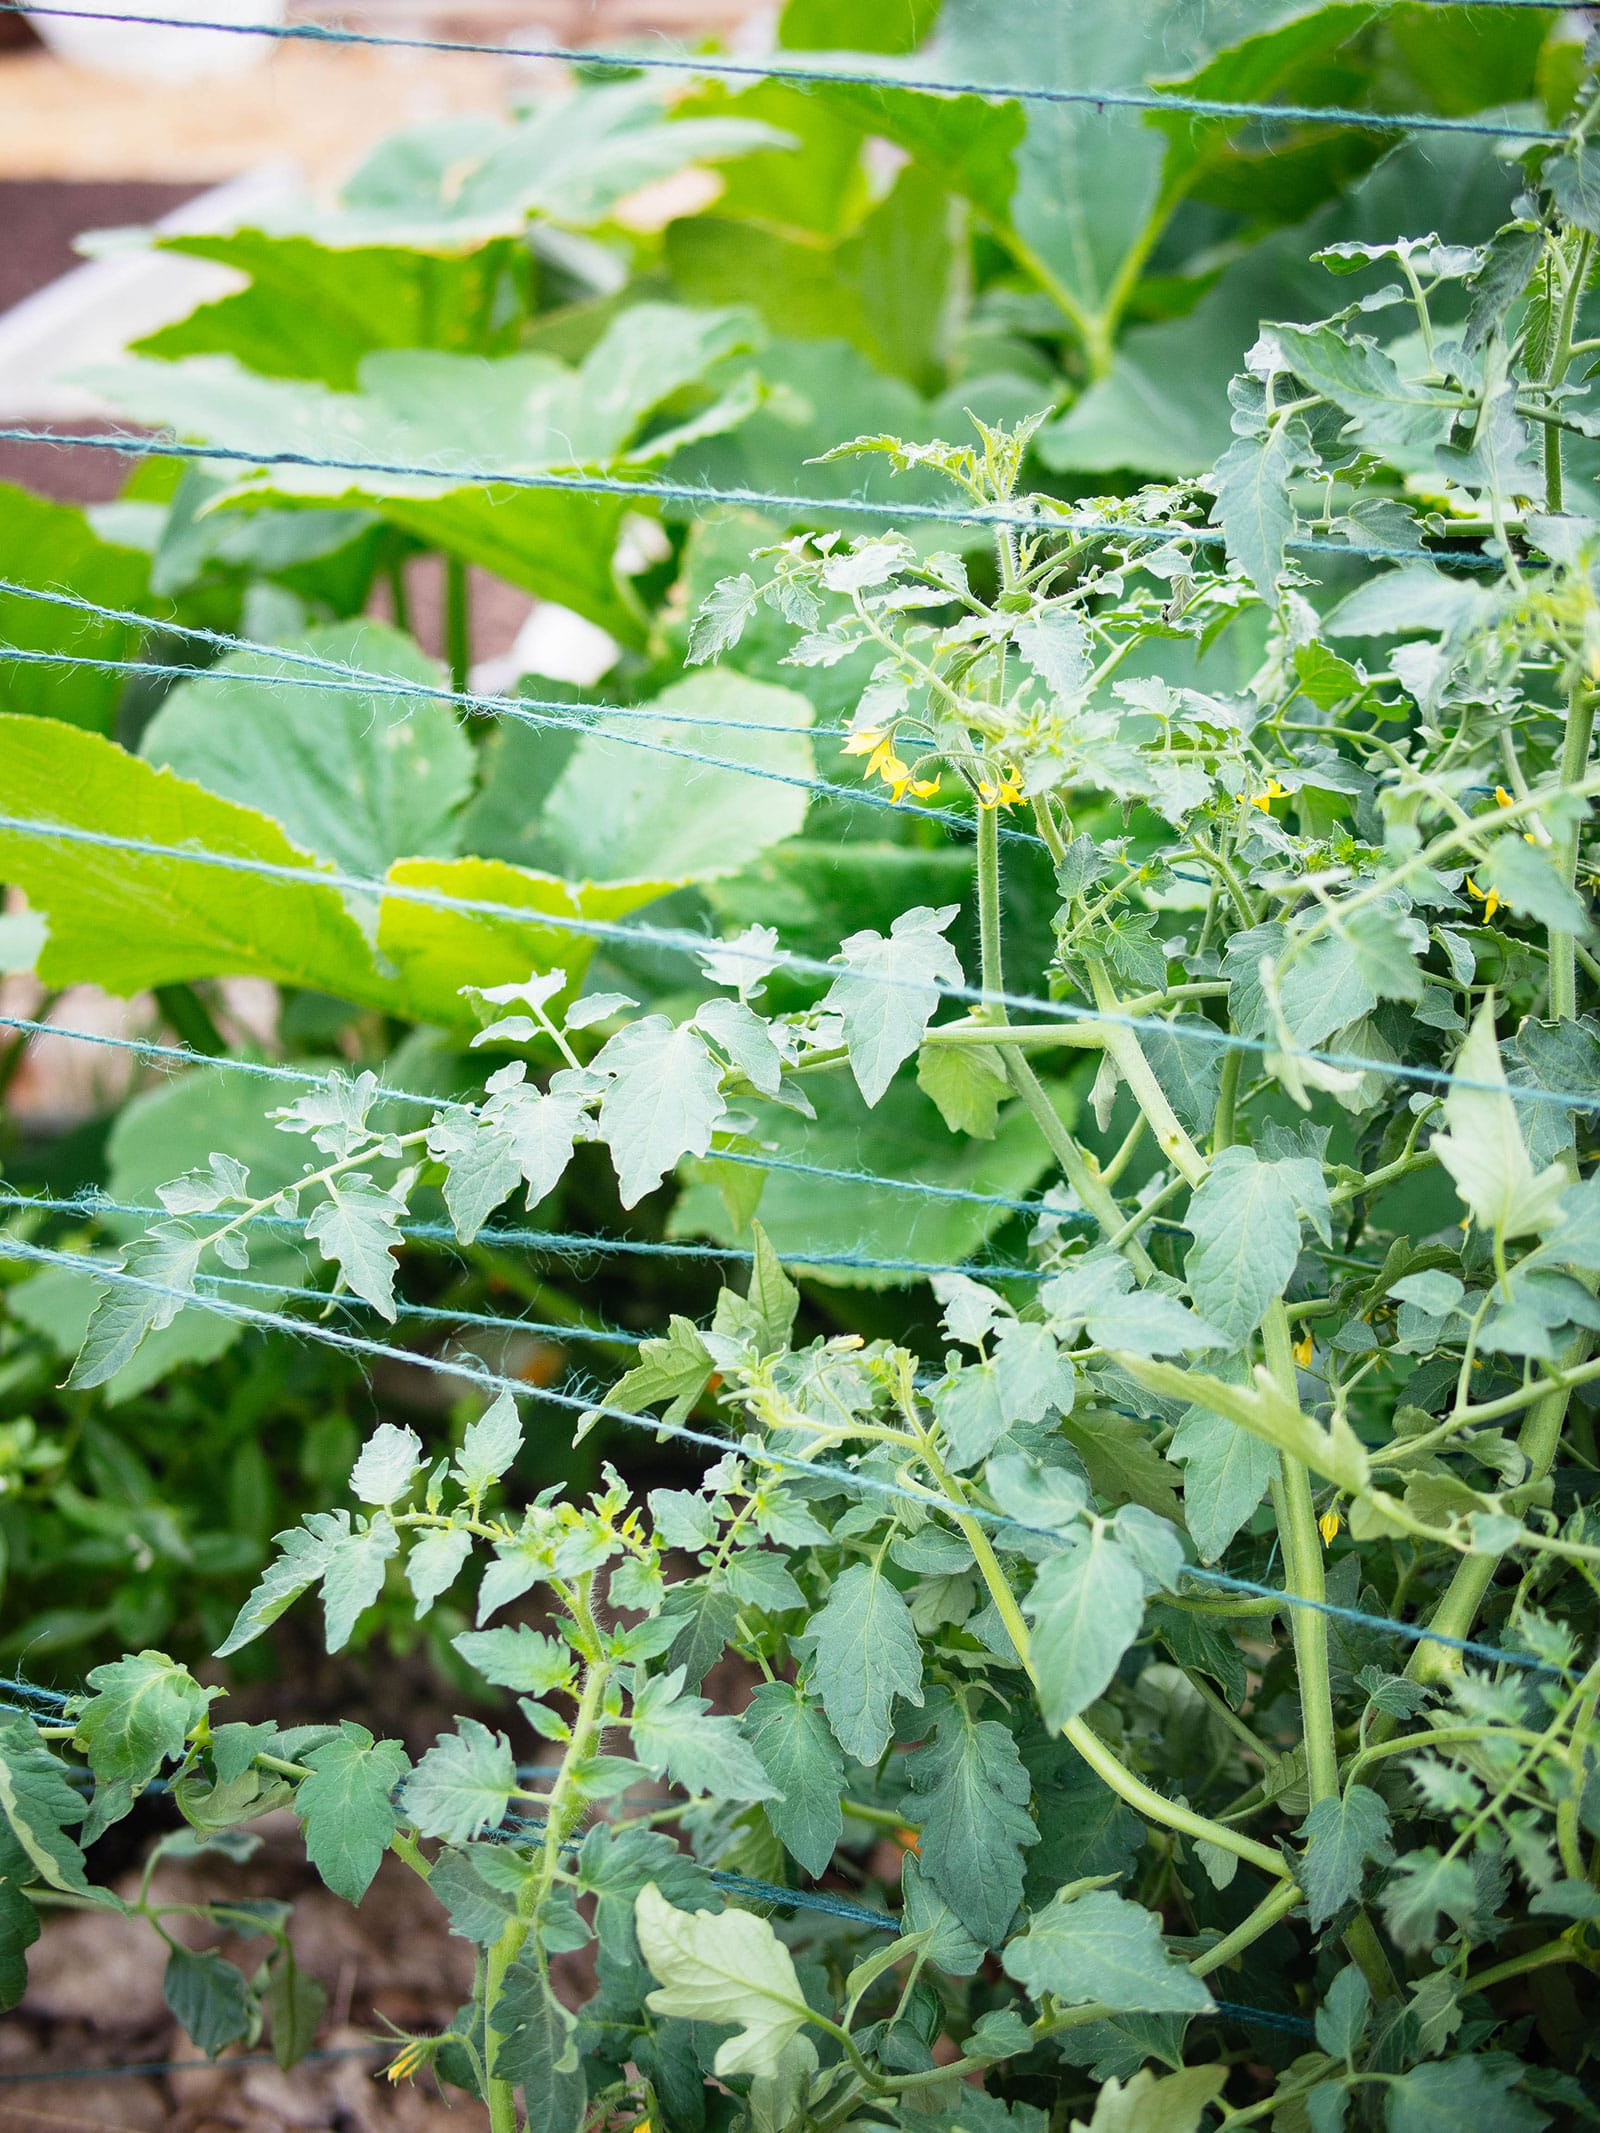
Here’s how that looks in real life.
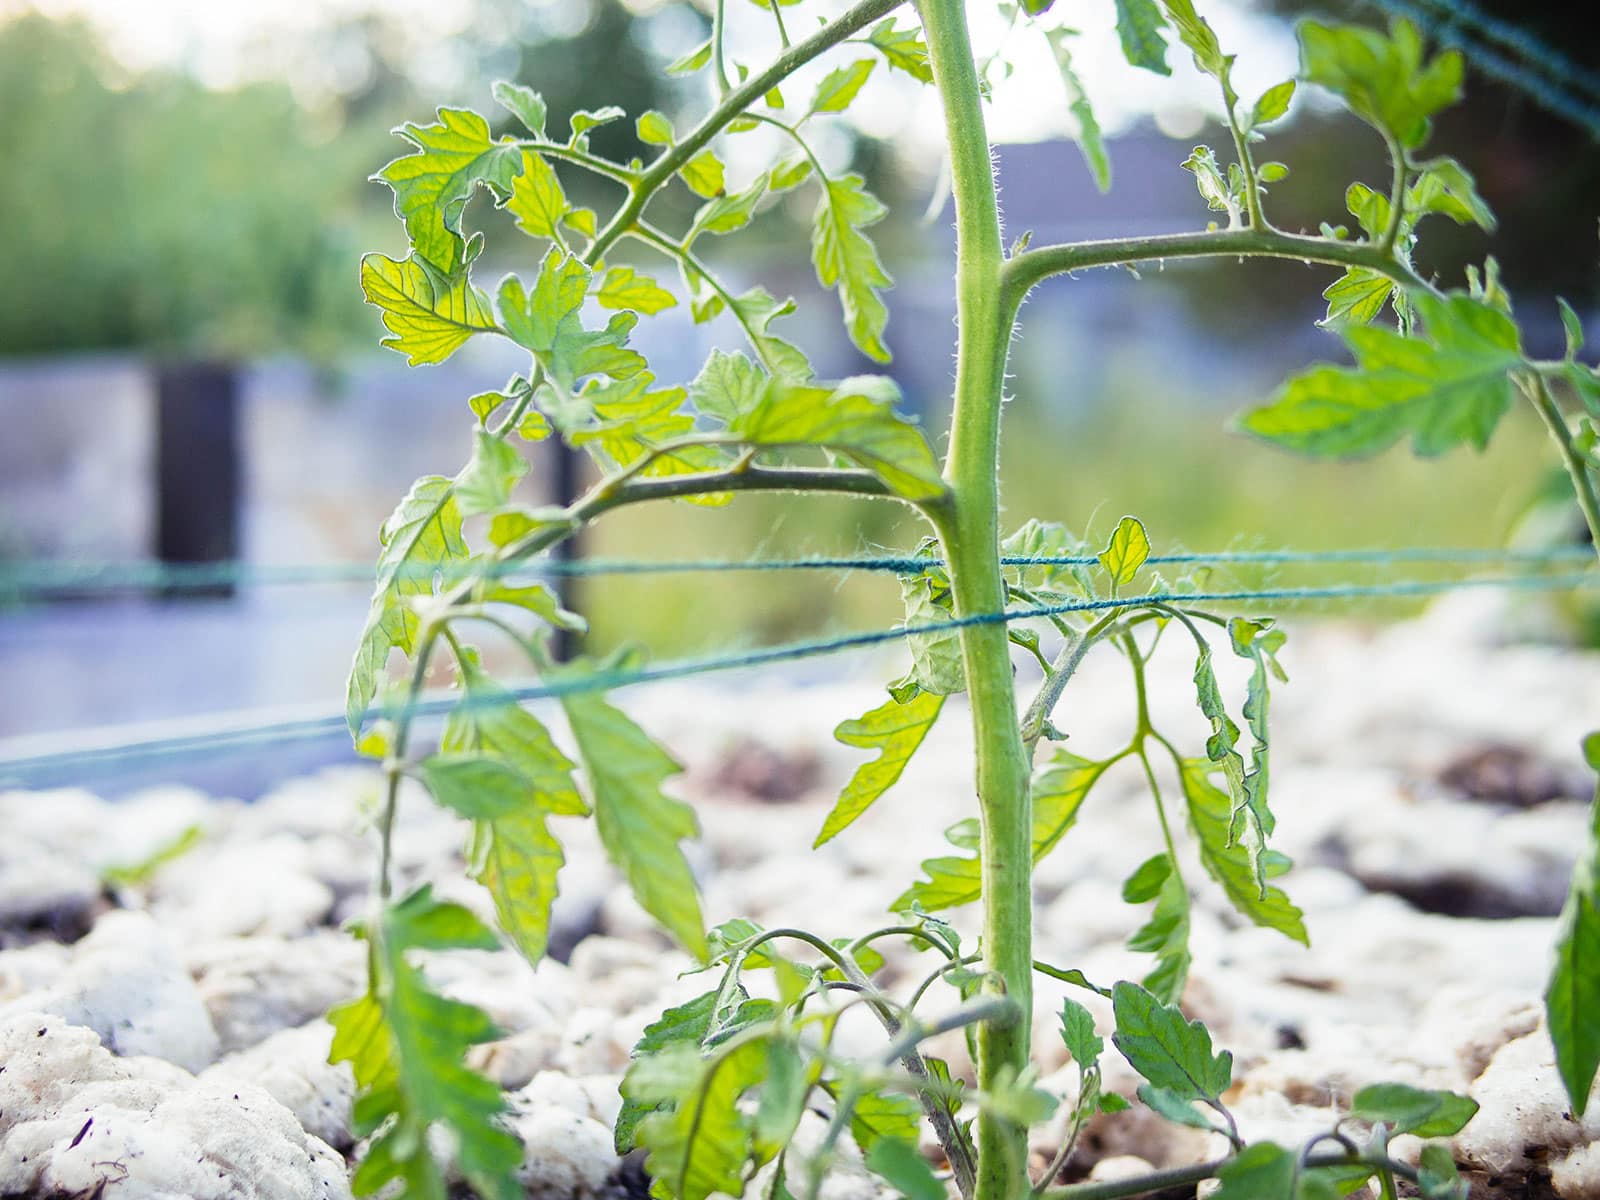
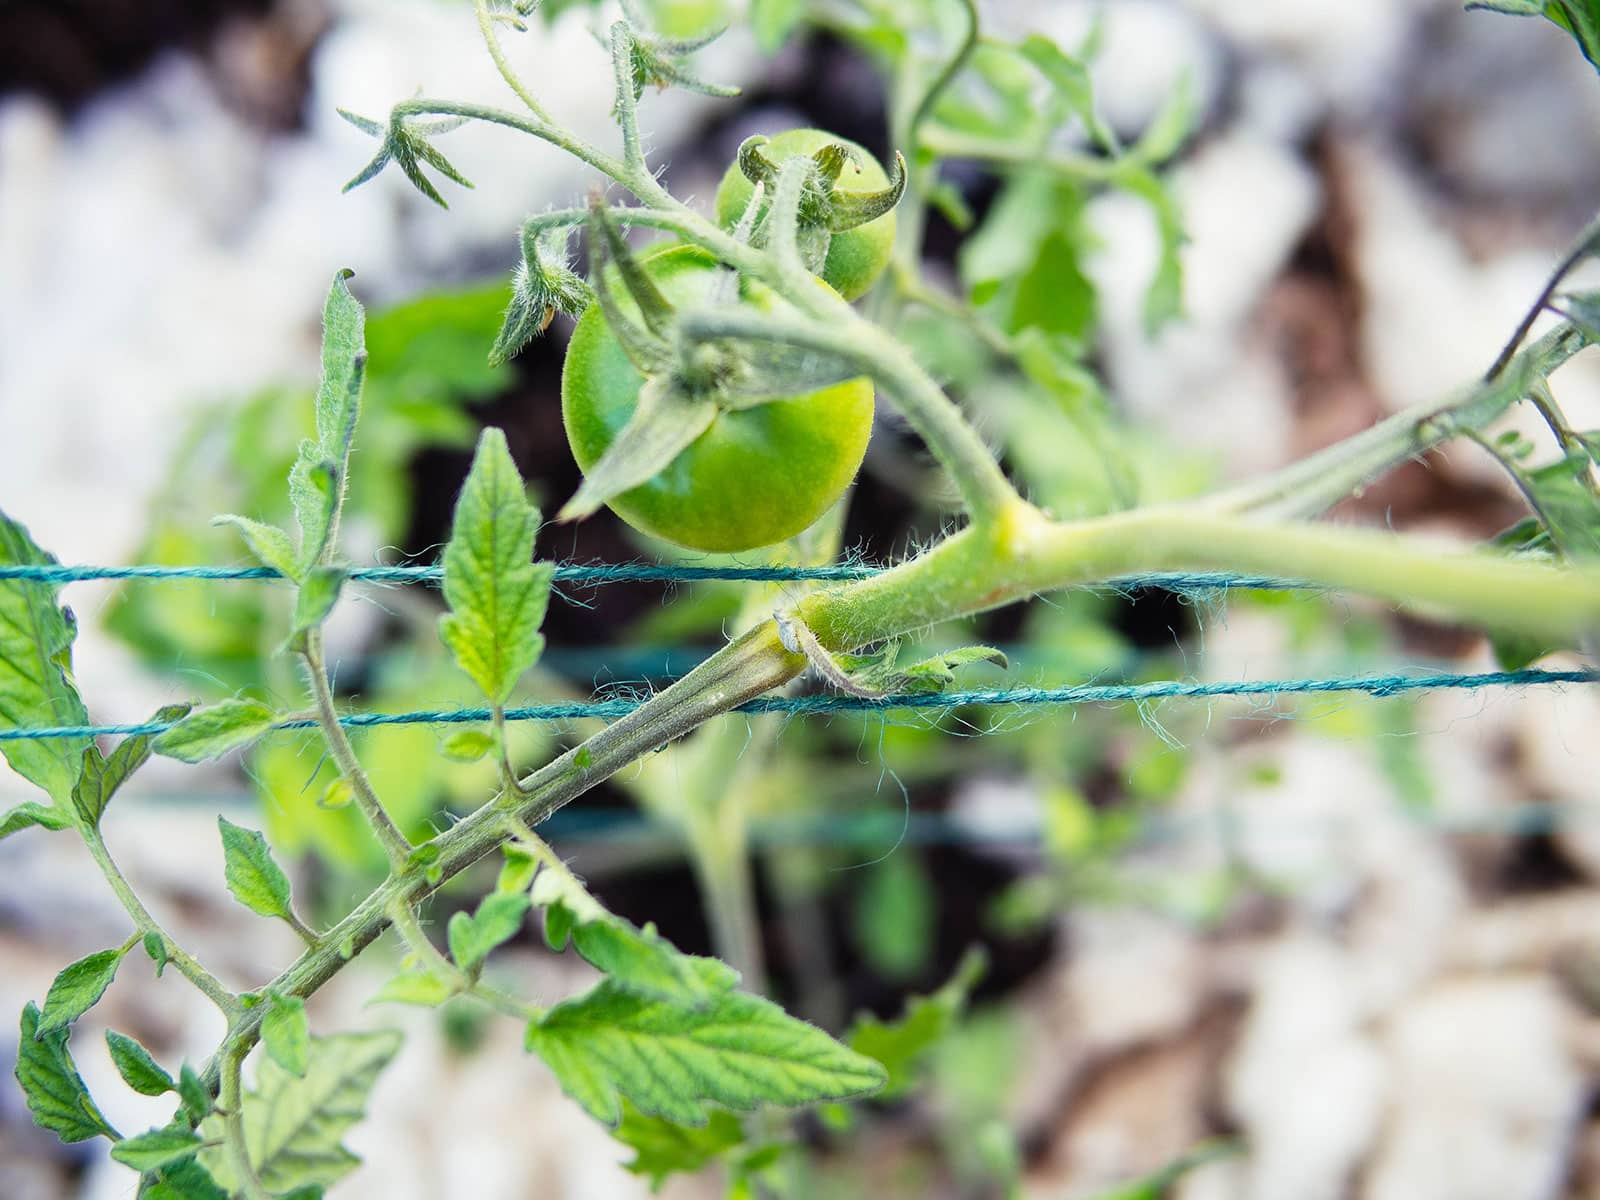
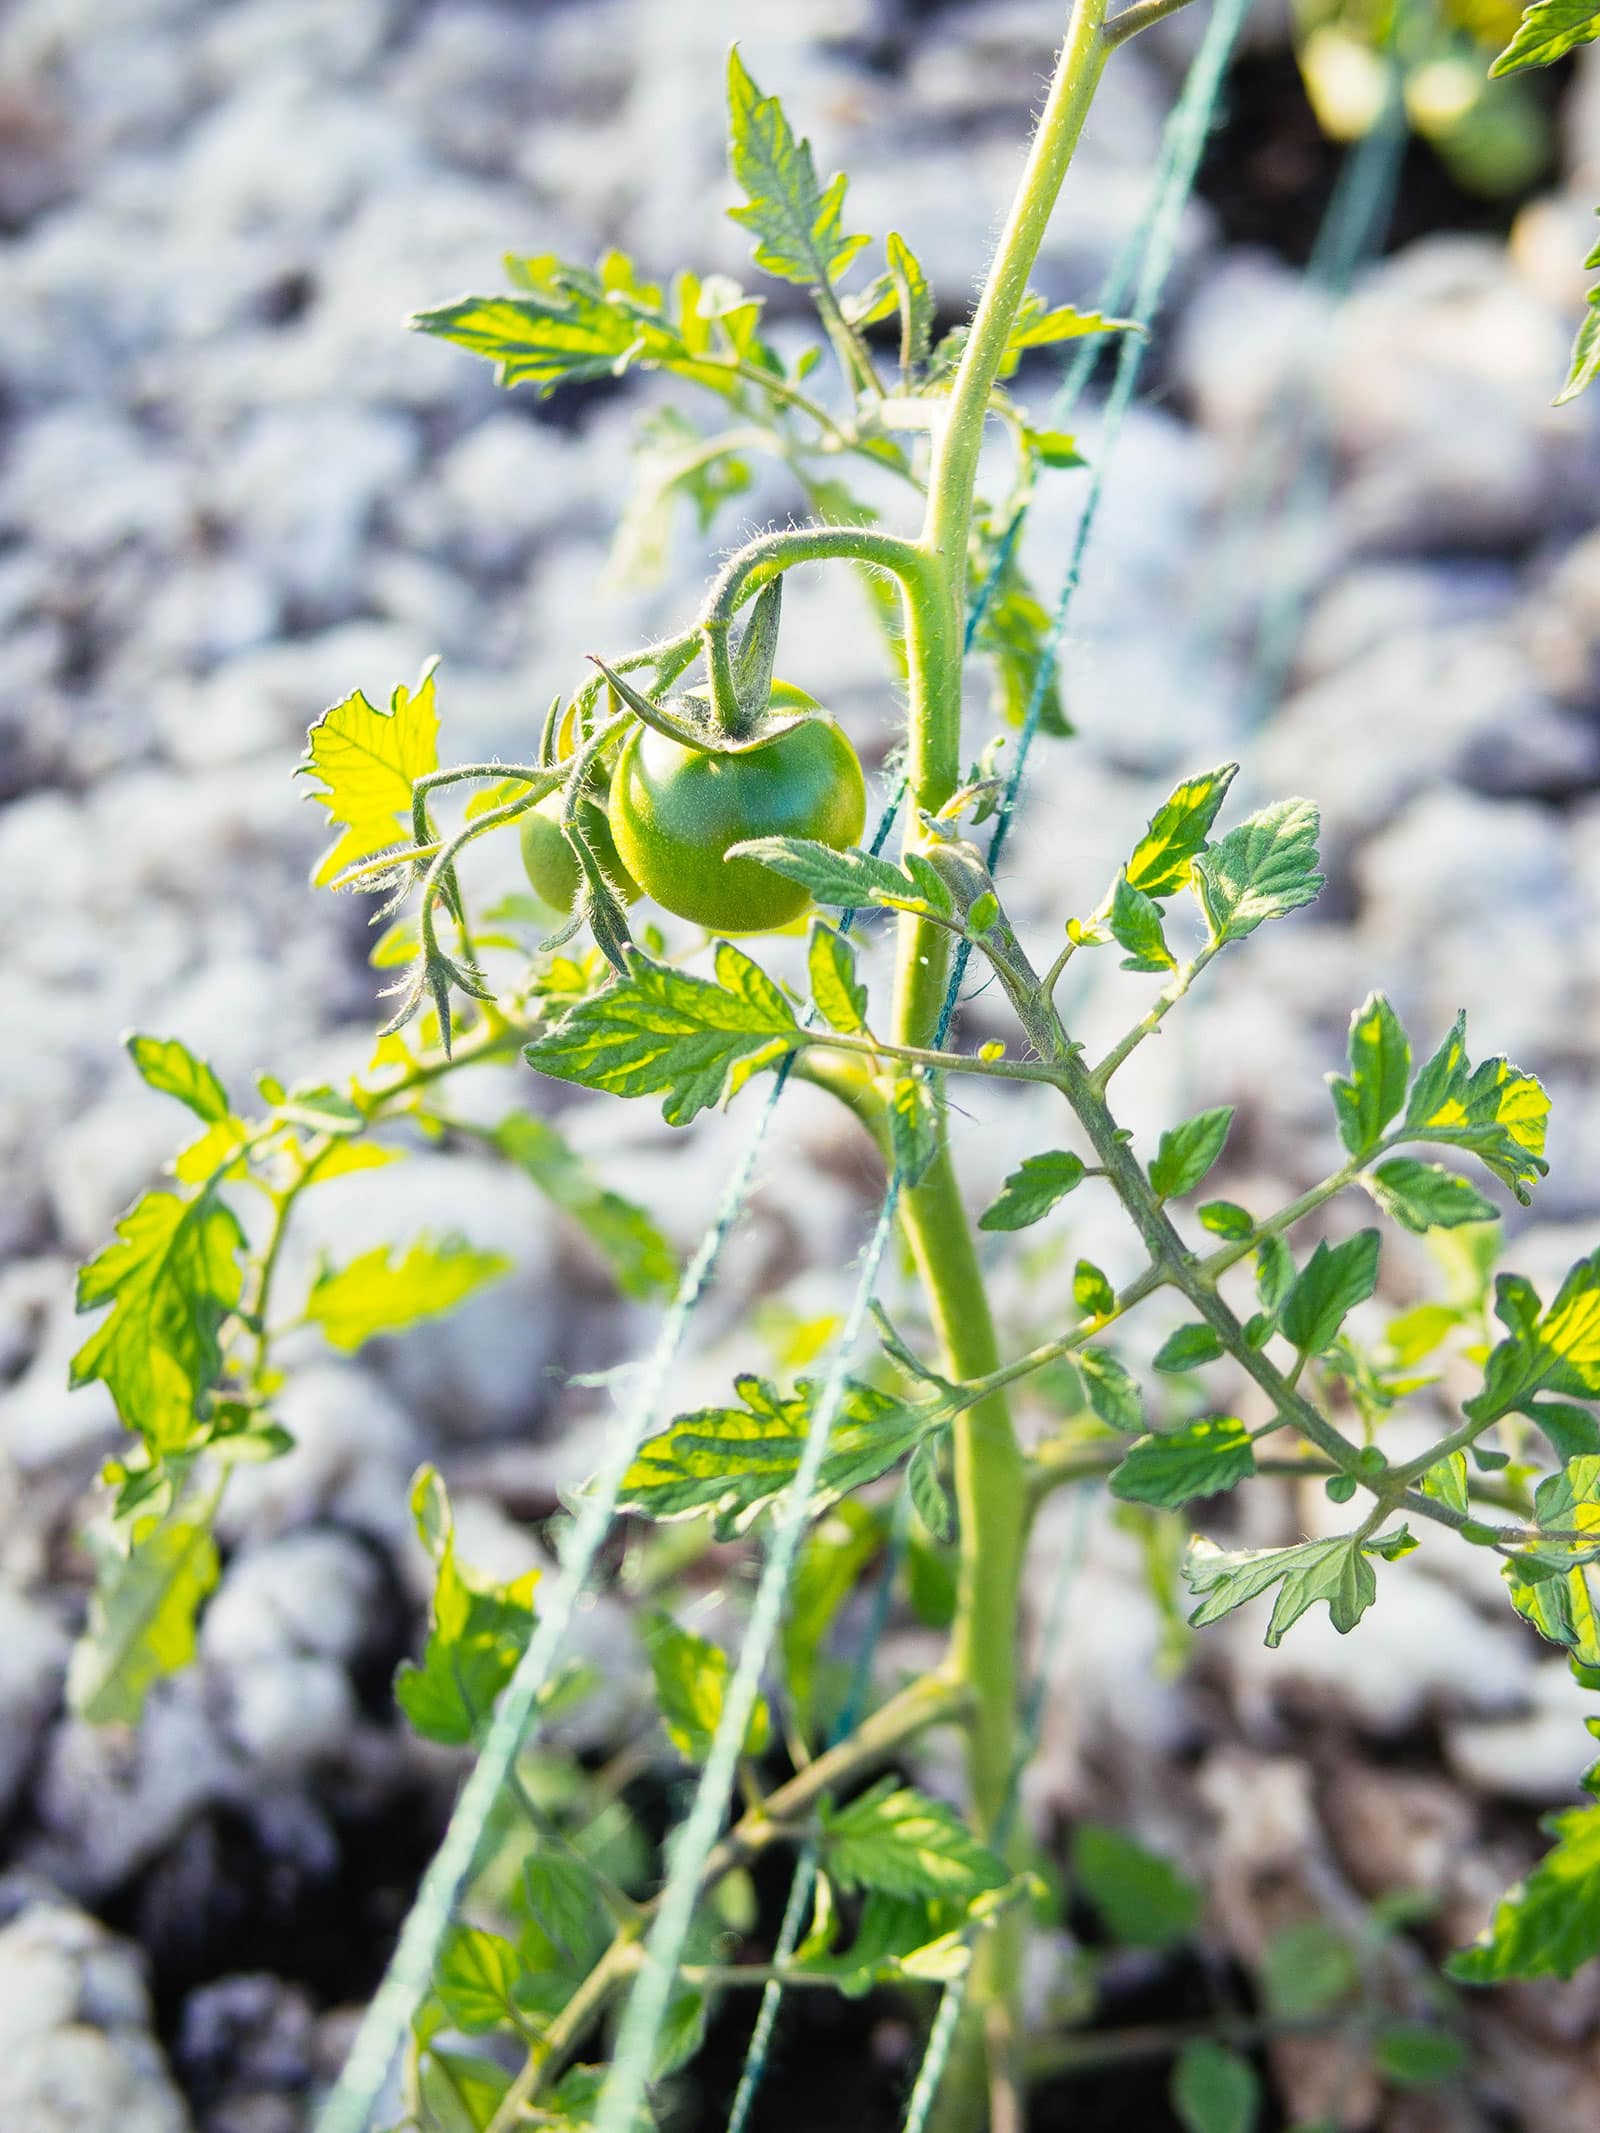
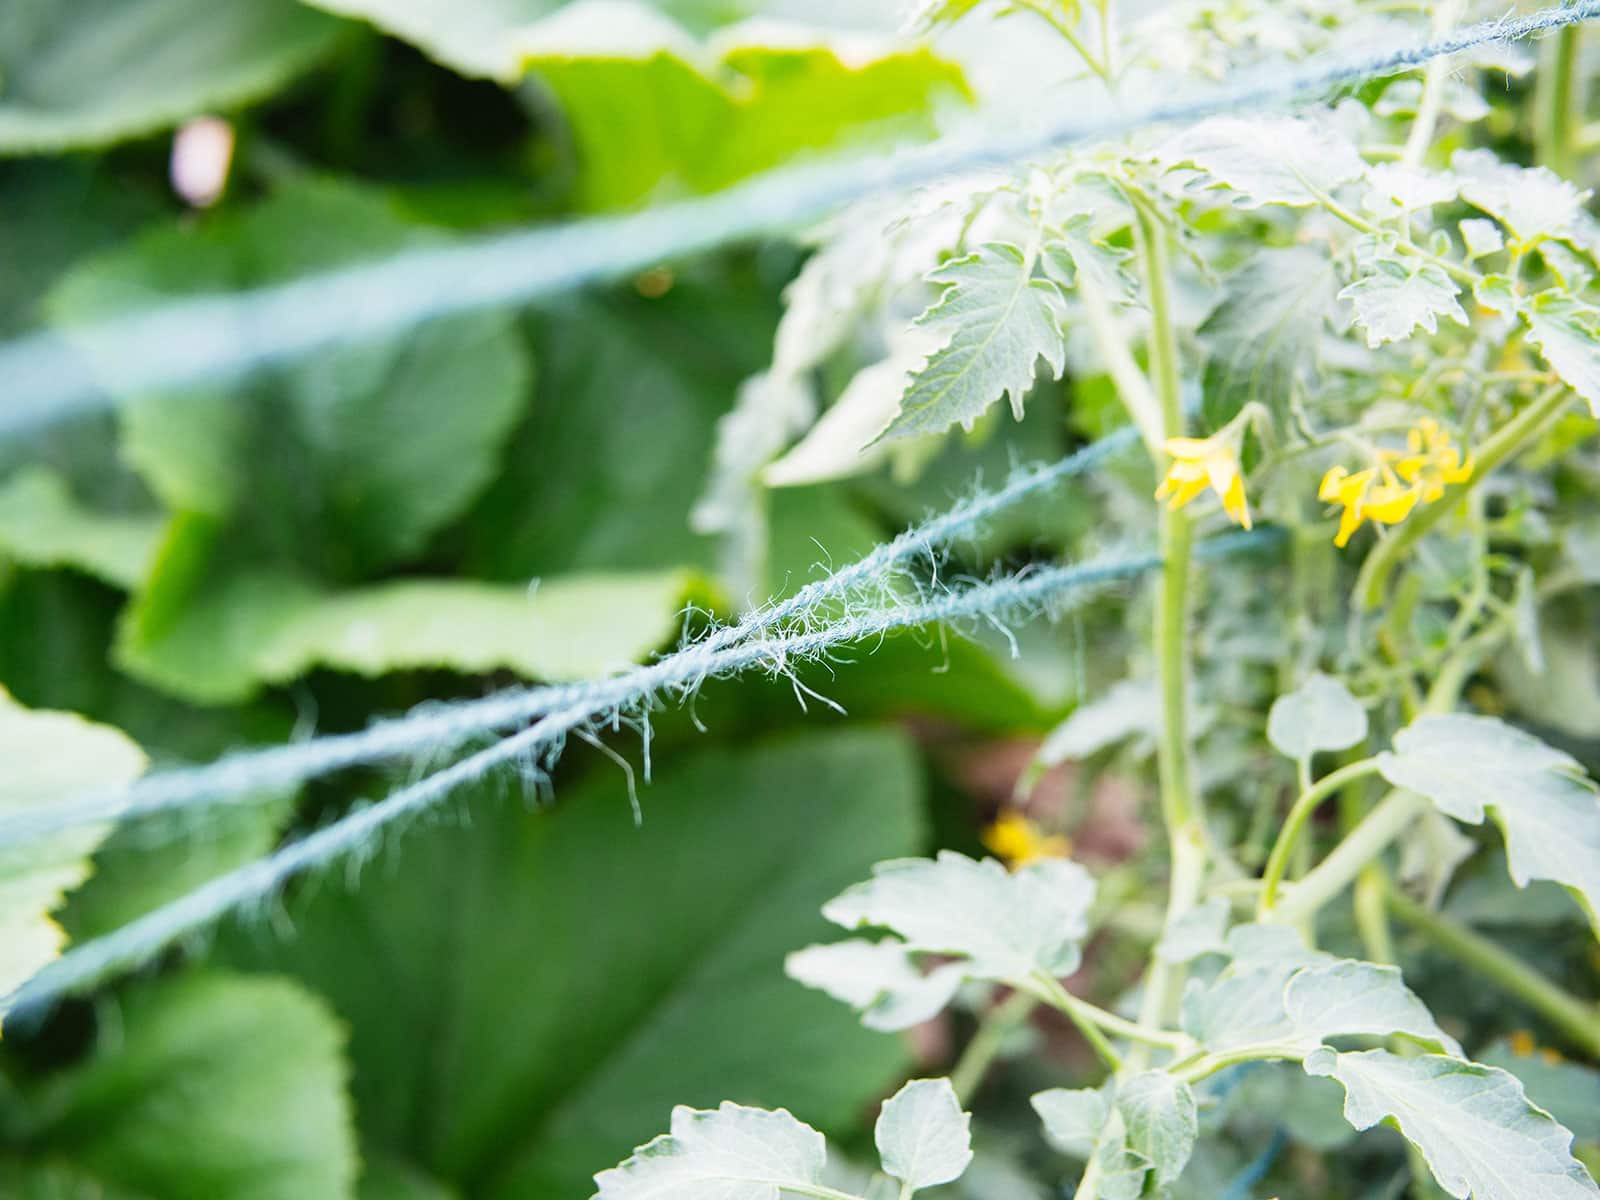
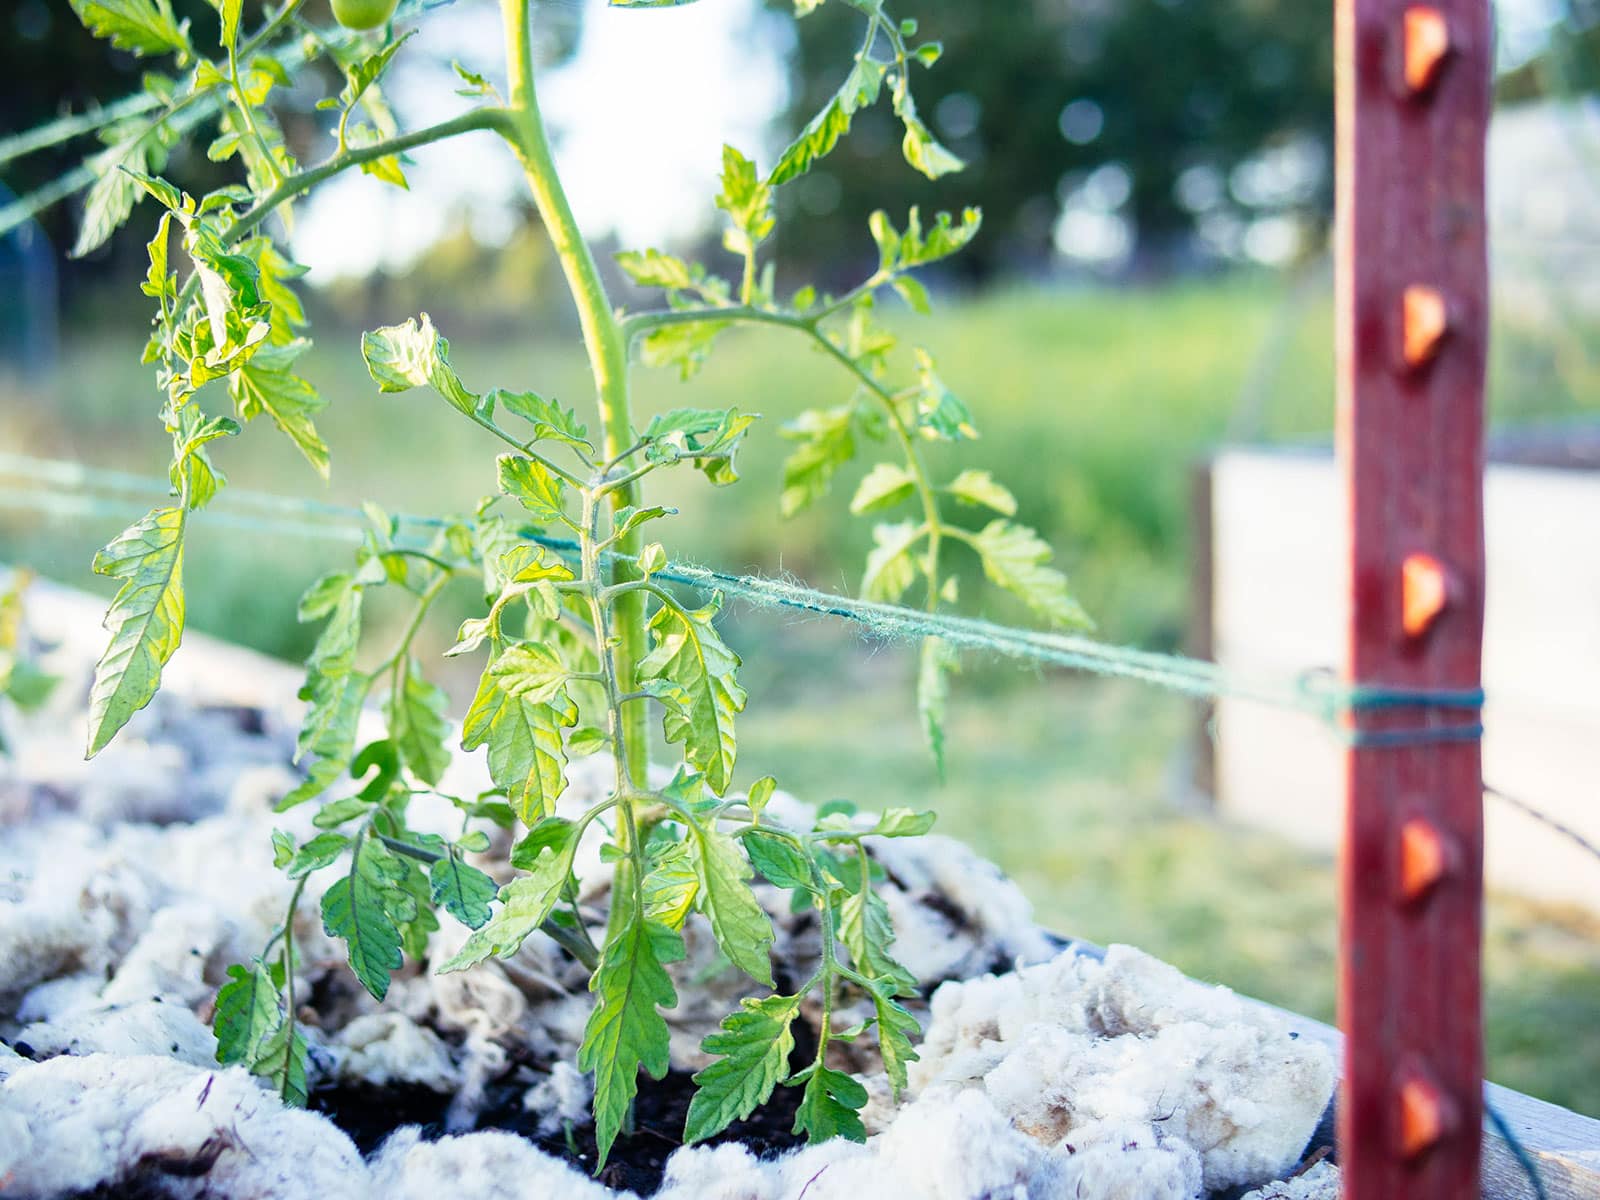
(For reference, I plant my indeterminate tomatoes about 2 feet on center, so I’m able to place three plants along one side of an 8-foot raised bed. Since the tomatoes are contained vertically, the other half of the bed can be used to grow another row of tomatoes or any other plants.)
As your tomato plants grow taller, weave additional lines of twine about every 8 inches up the stakes. Carefully tuck in any stray branches. I tend to reign in just the heavier ones, and let the smaller branches sprawl out naturally.
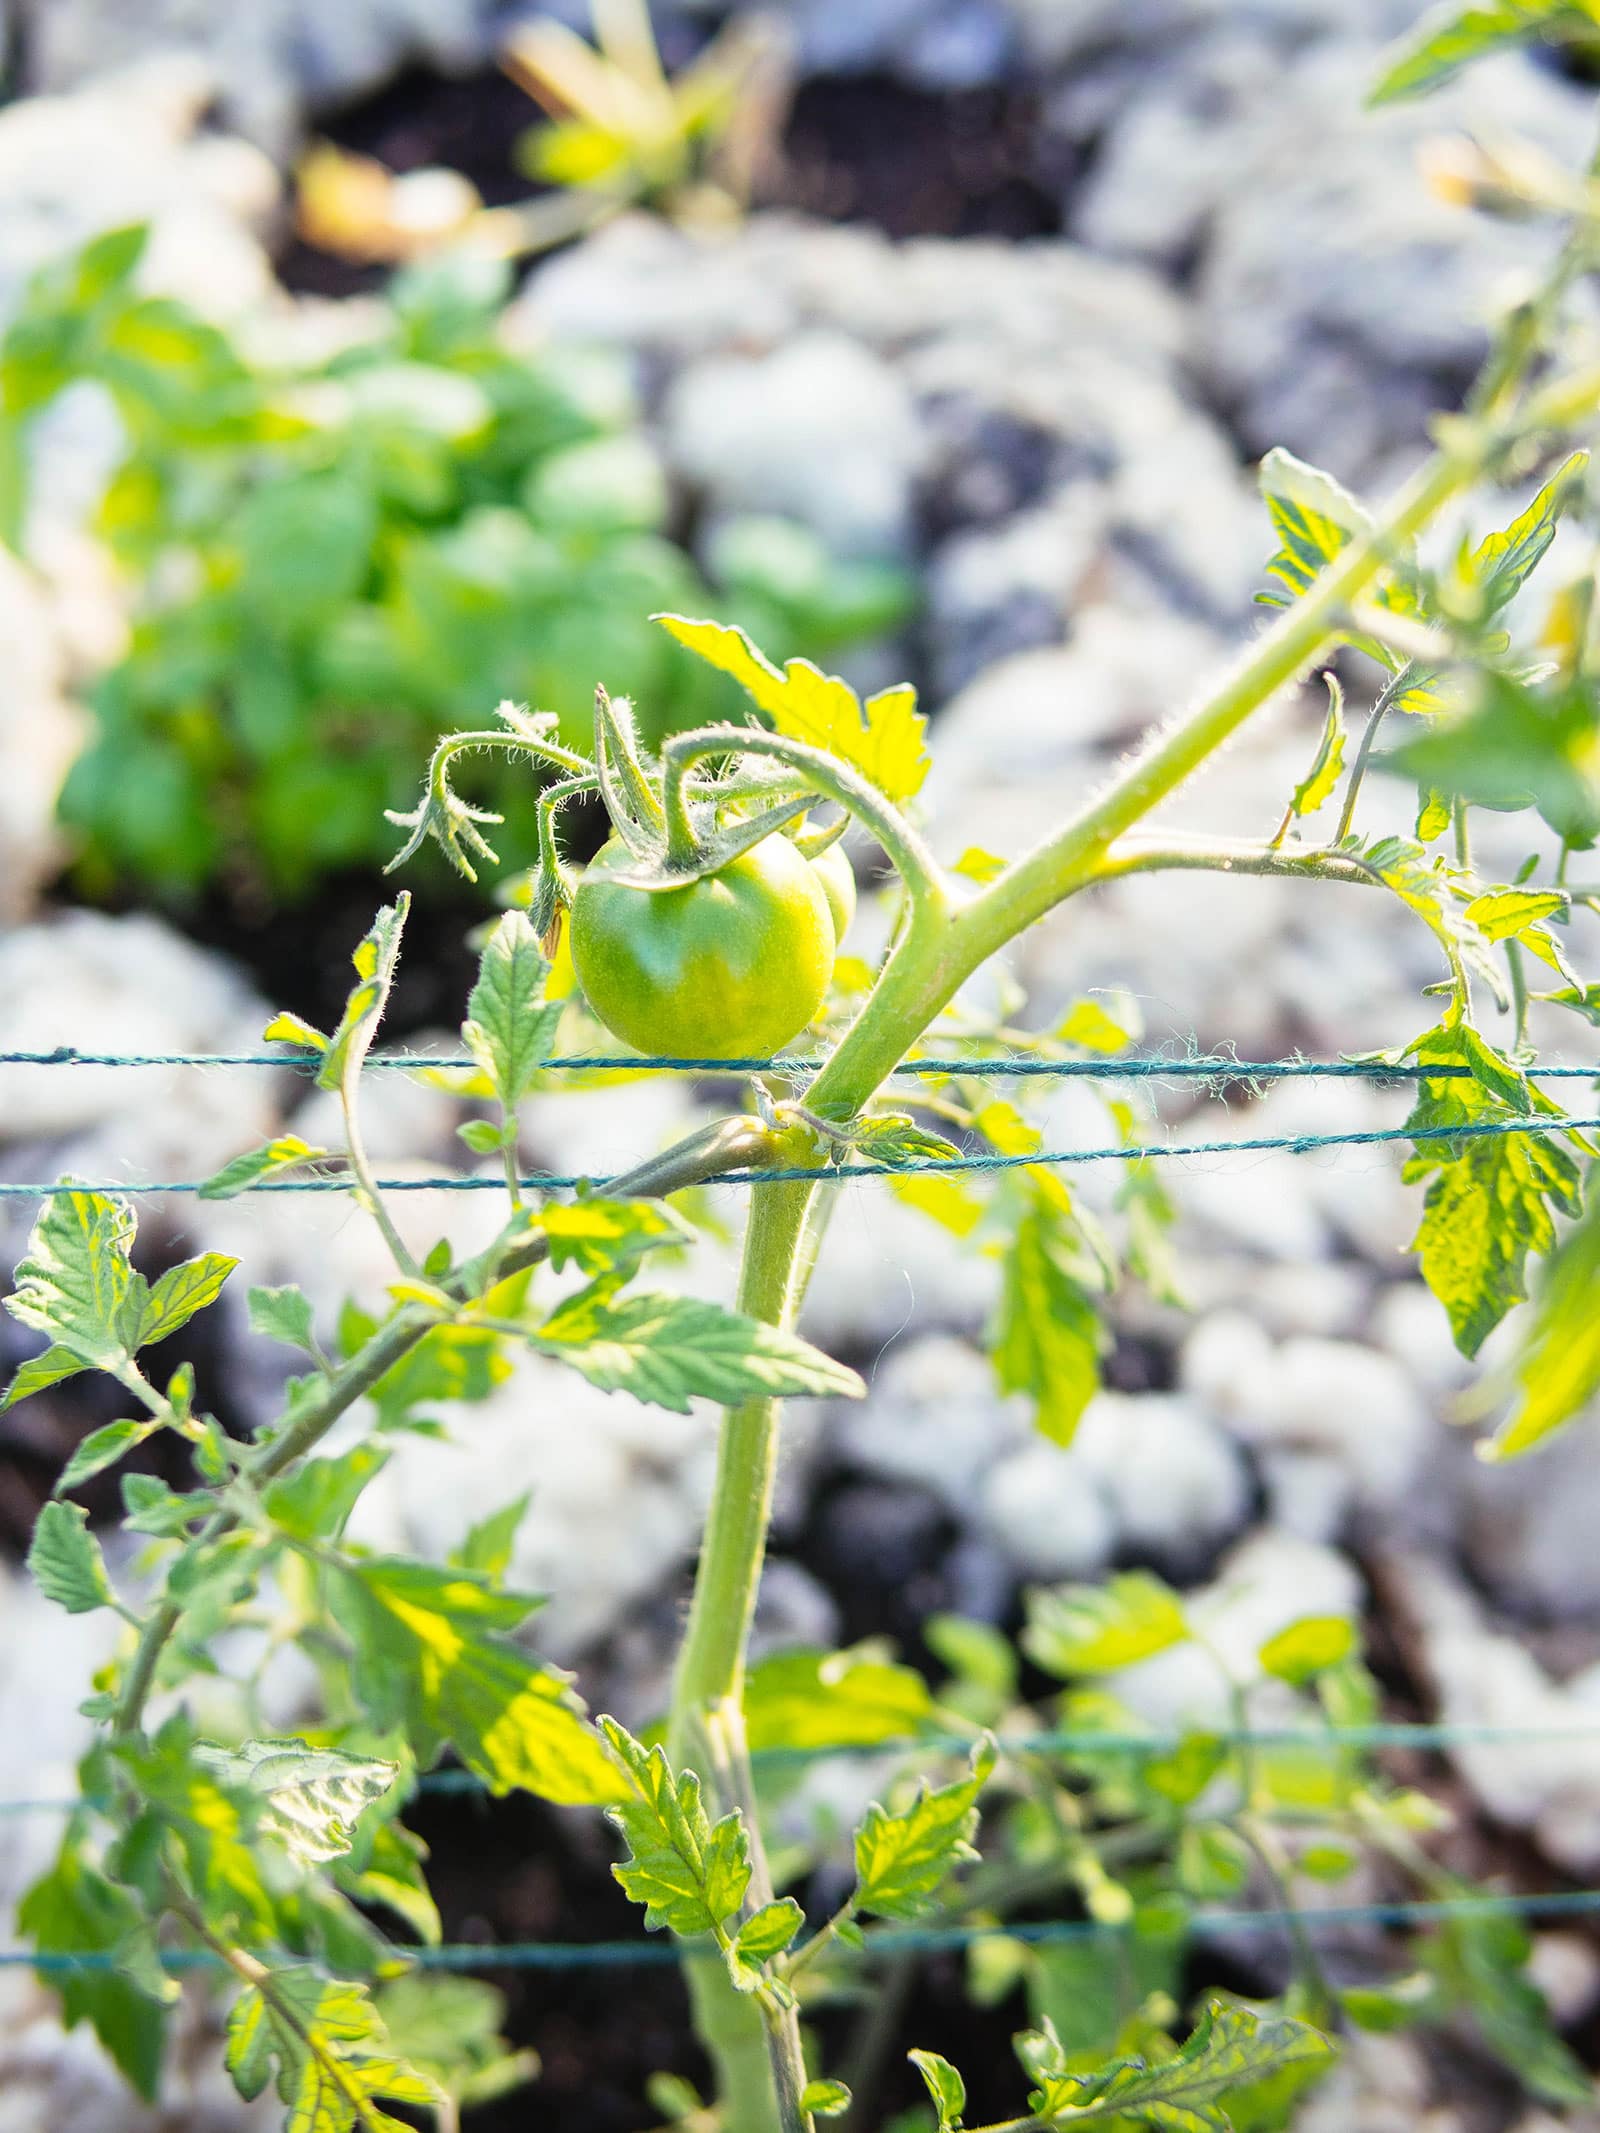
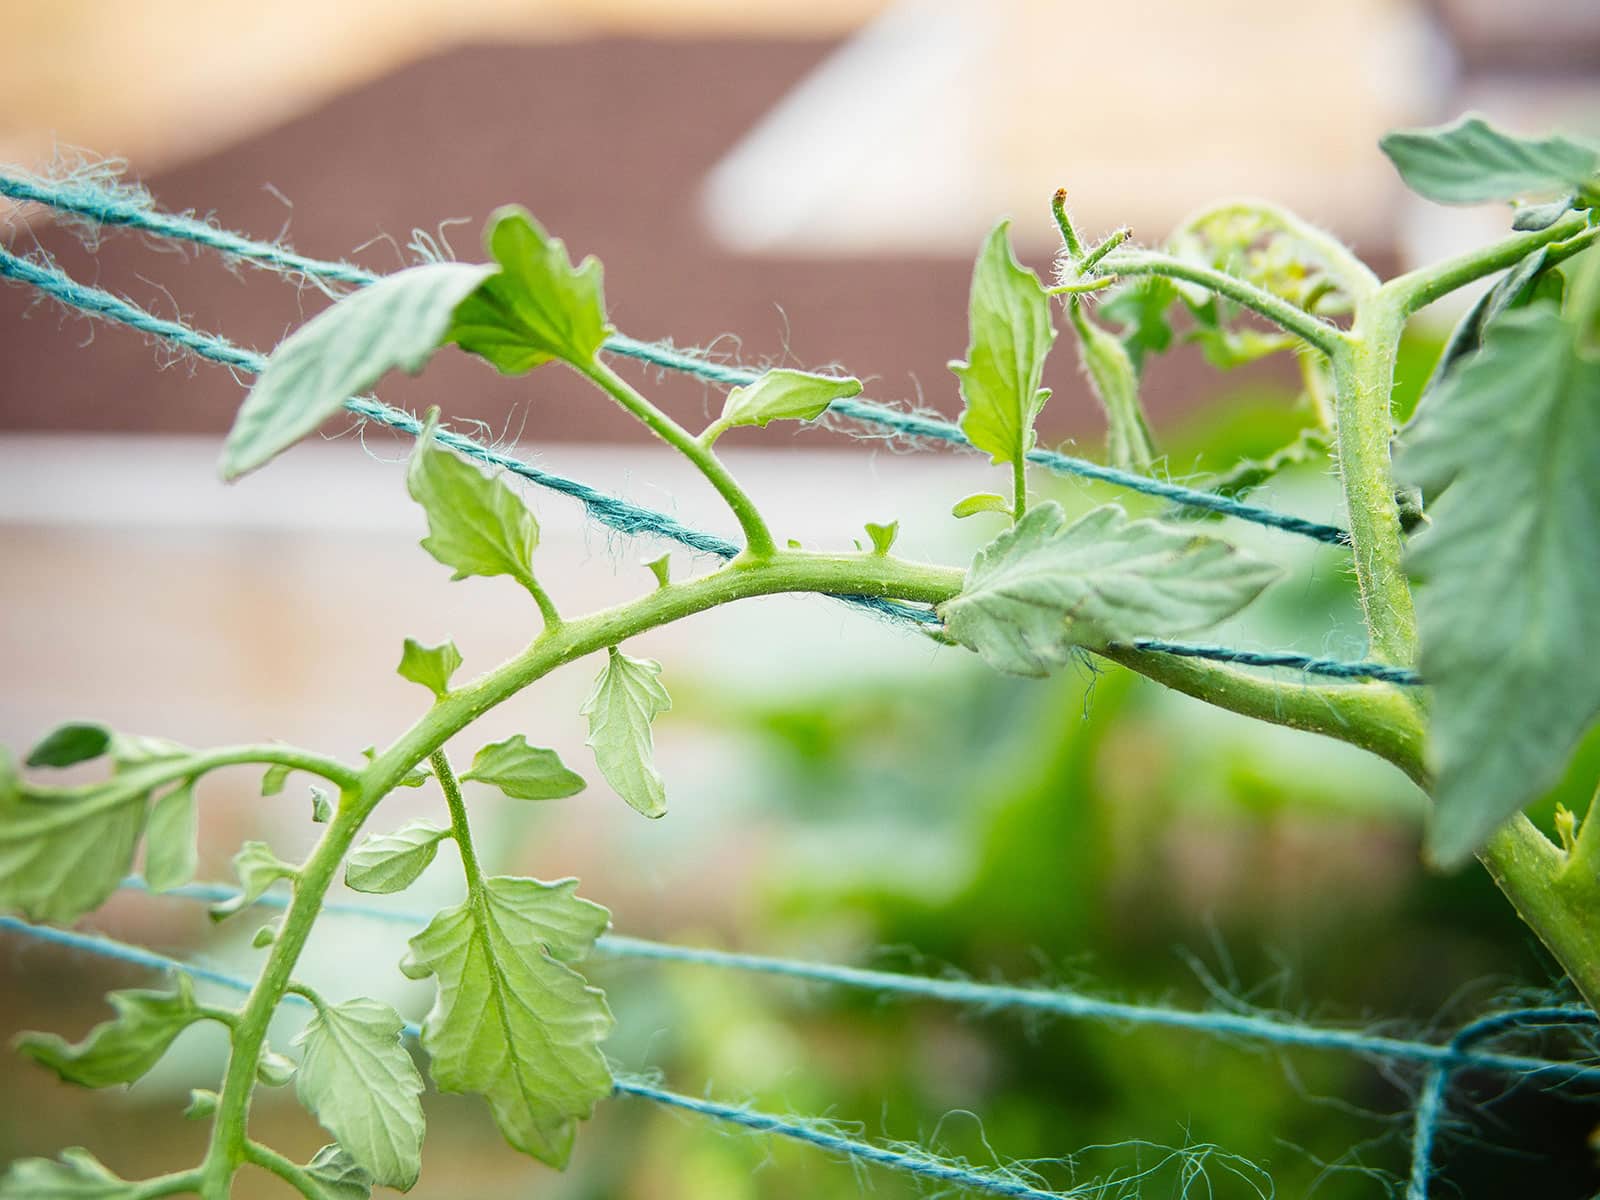
How does the Florida weave hold up toward the end of the growing season?
When your tomatoes have grown tall and bushy, you can just run the twine straight across the entire row of plants between the stakes, instead of weaving a figure-8 in between each plant.
Once you’ve added a few lines of twine halfway up the stakes, the main stems of the plants are well supported and more twine simply holds the branches all in.
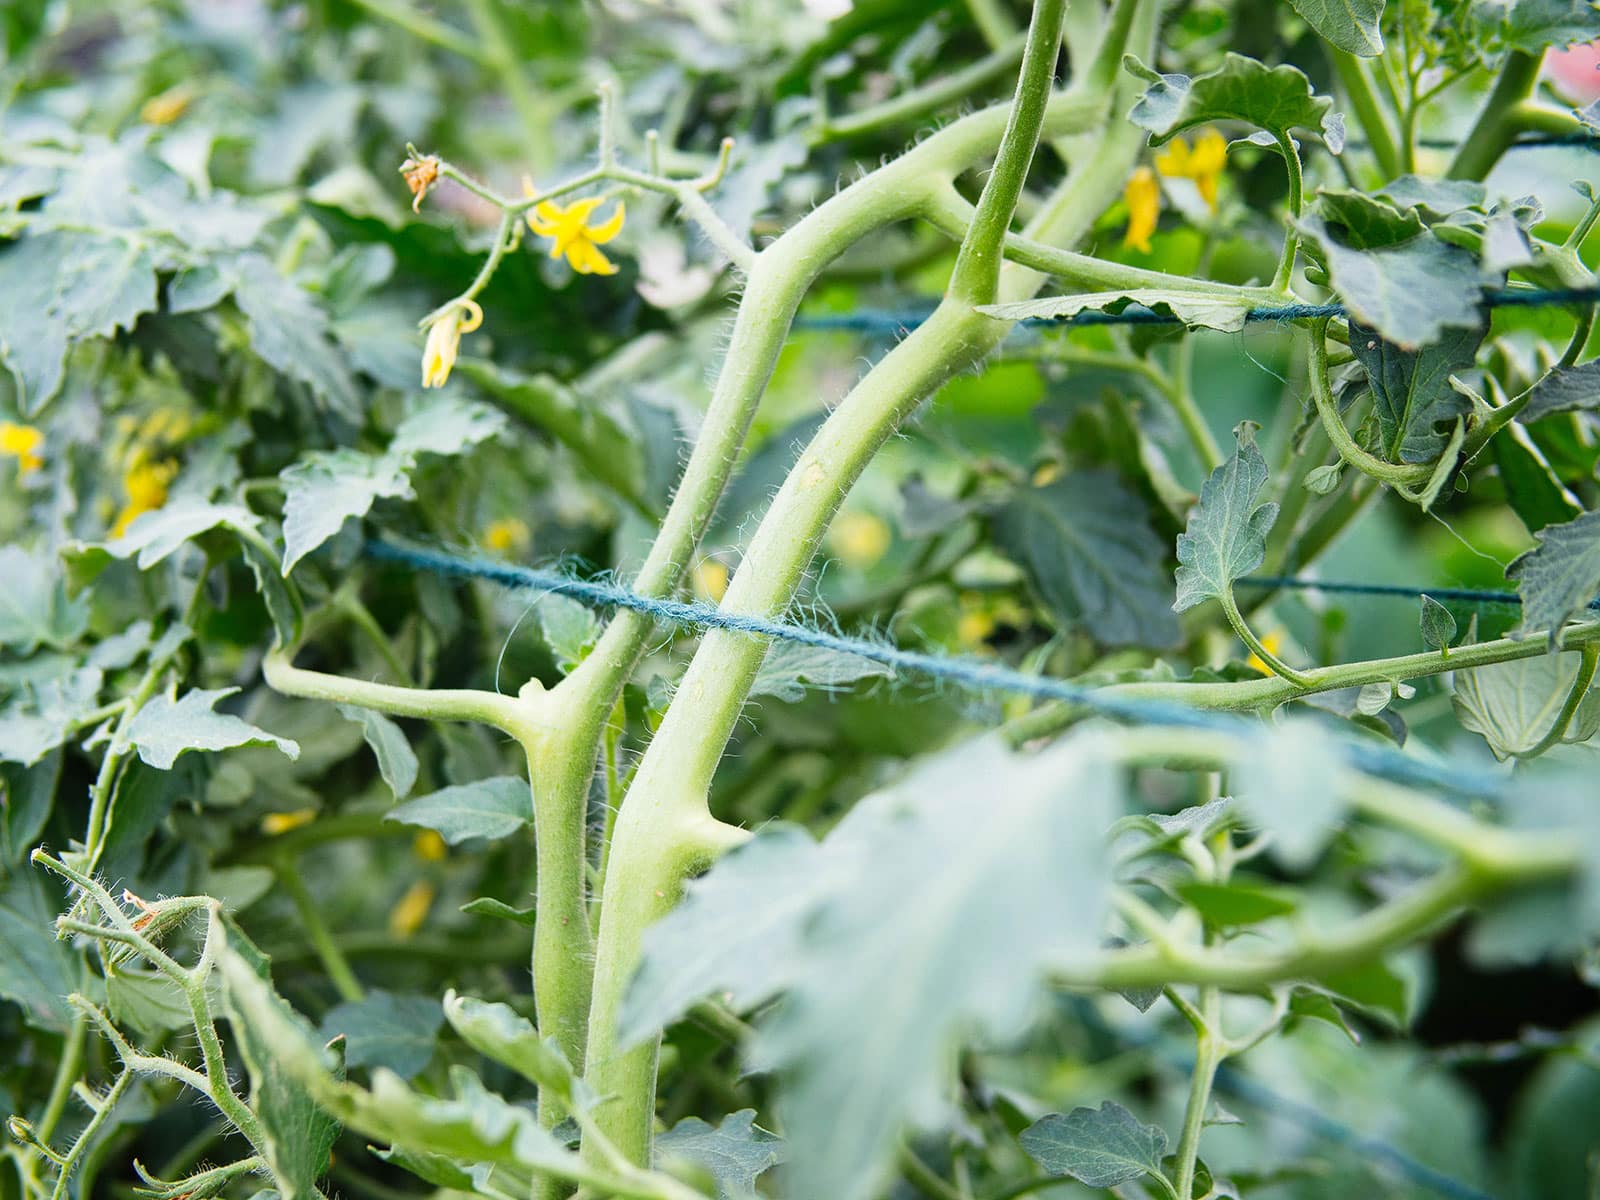
Long vines can be left to grow up and over the twine. With the “wall” of foliage that the Florida weave creates, I actually find it much easier to find and harvest tomatoes.
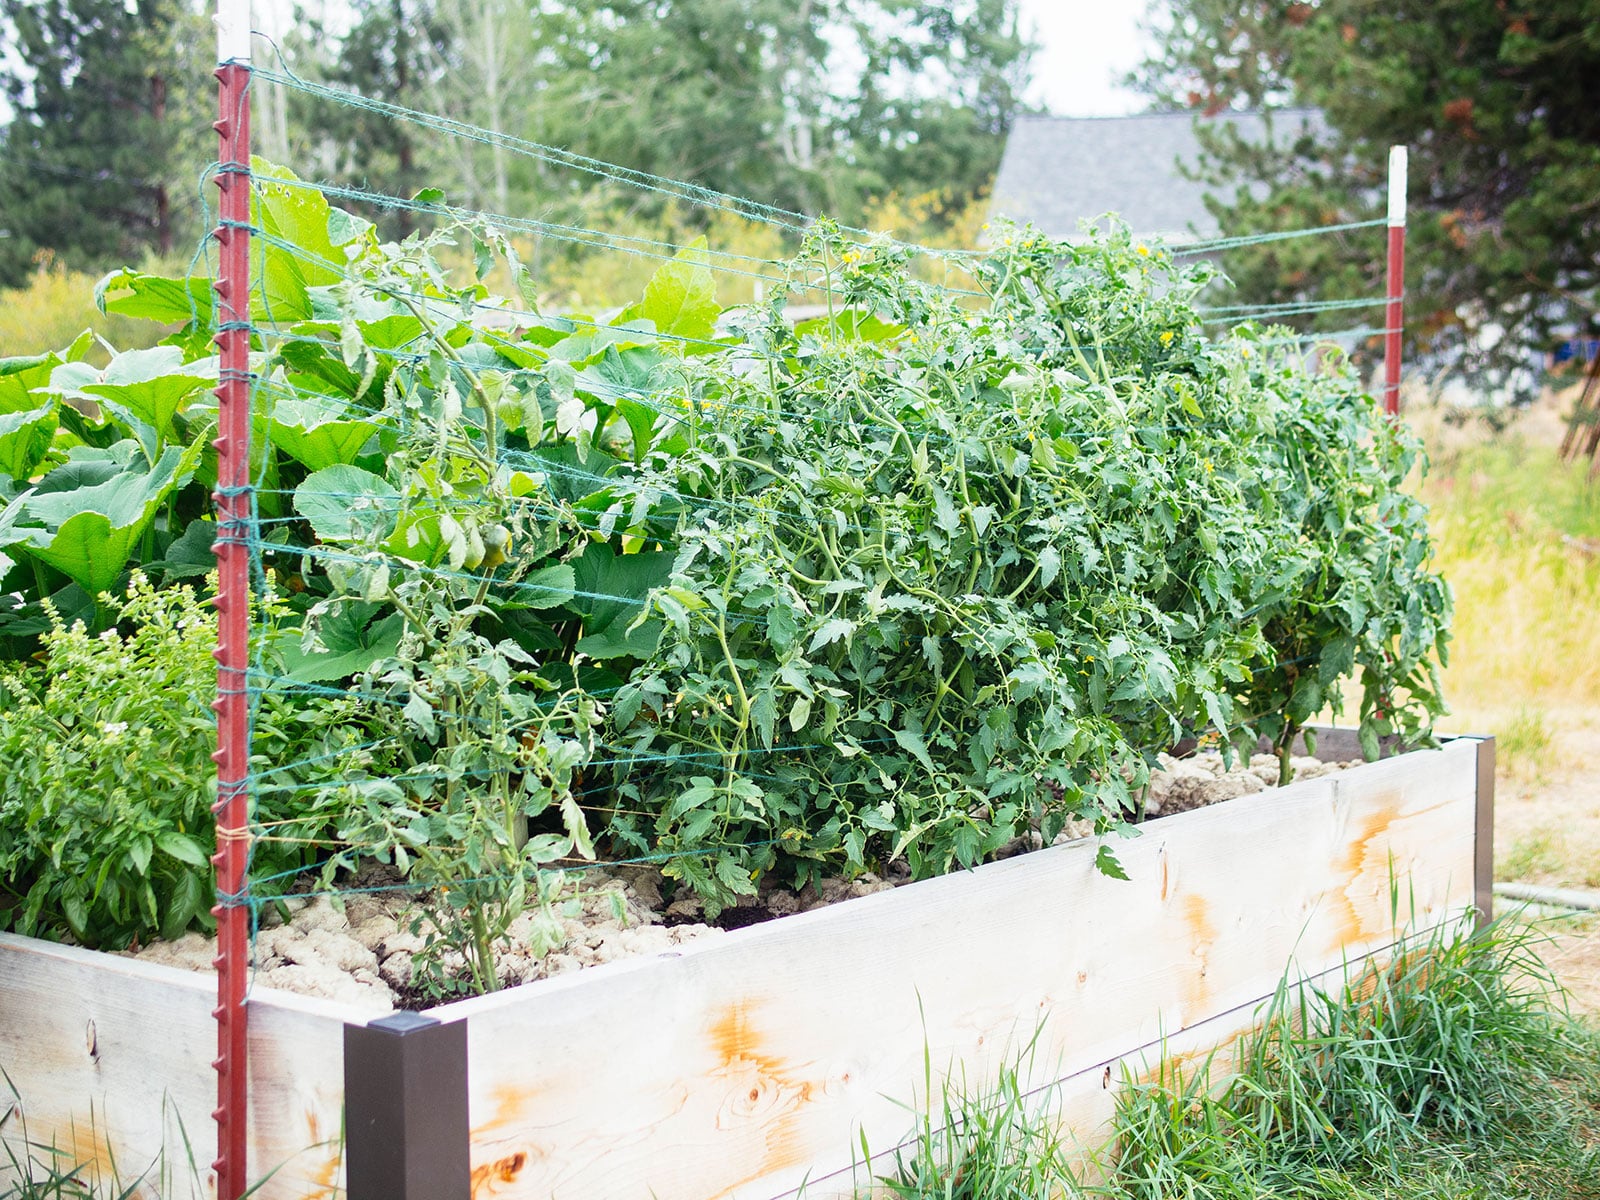
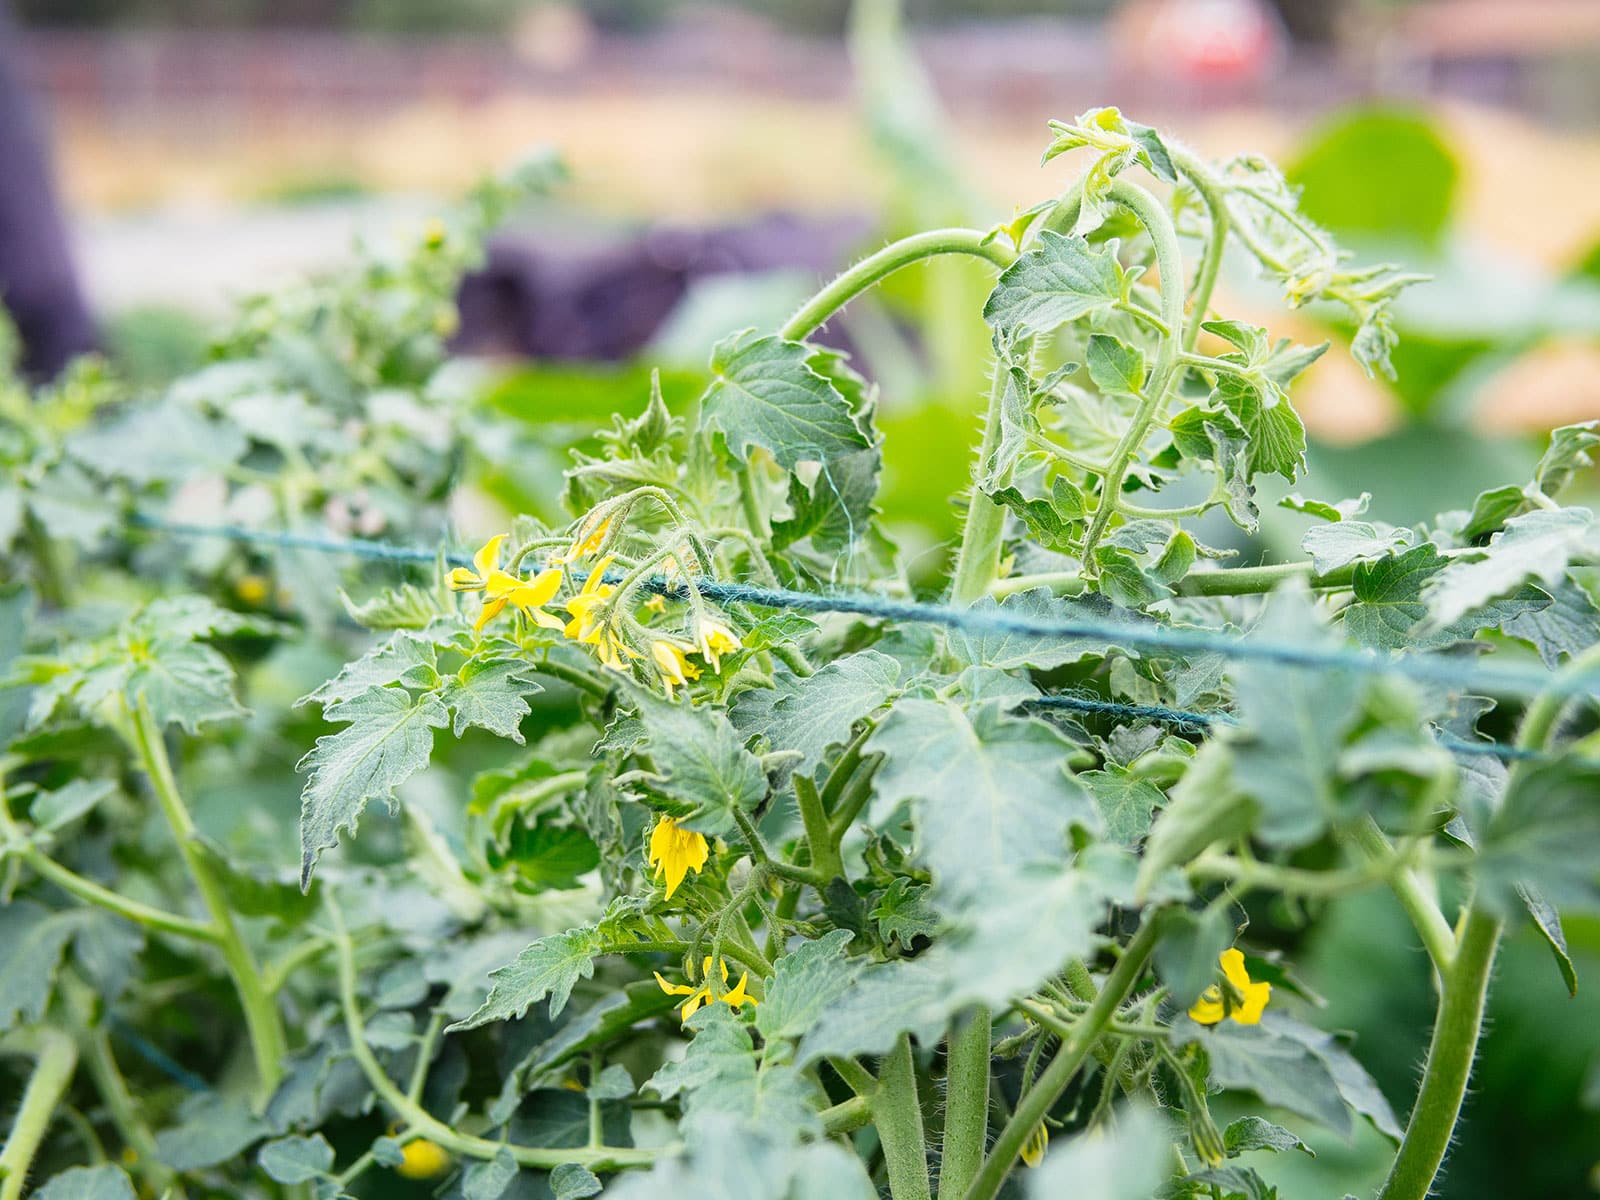
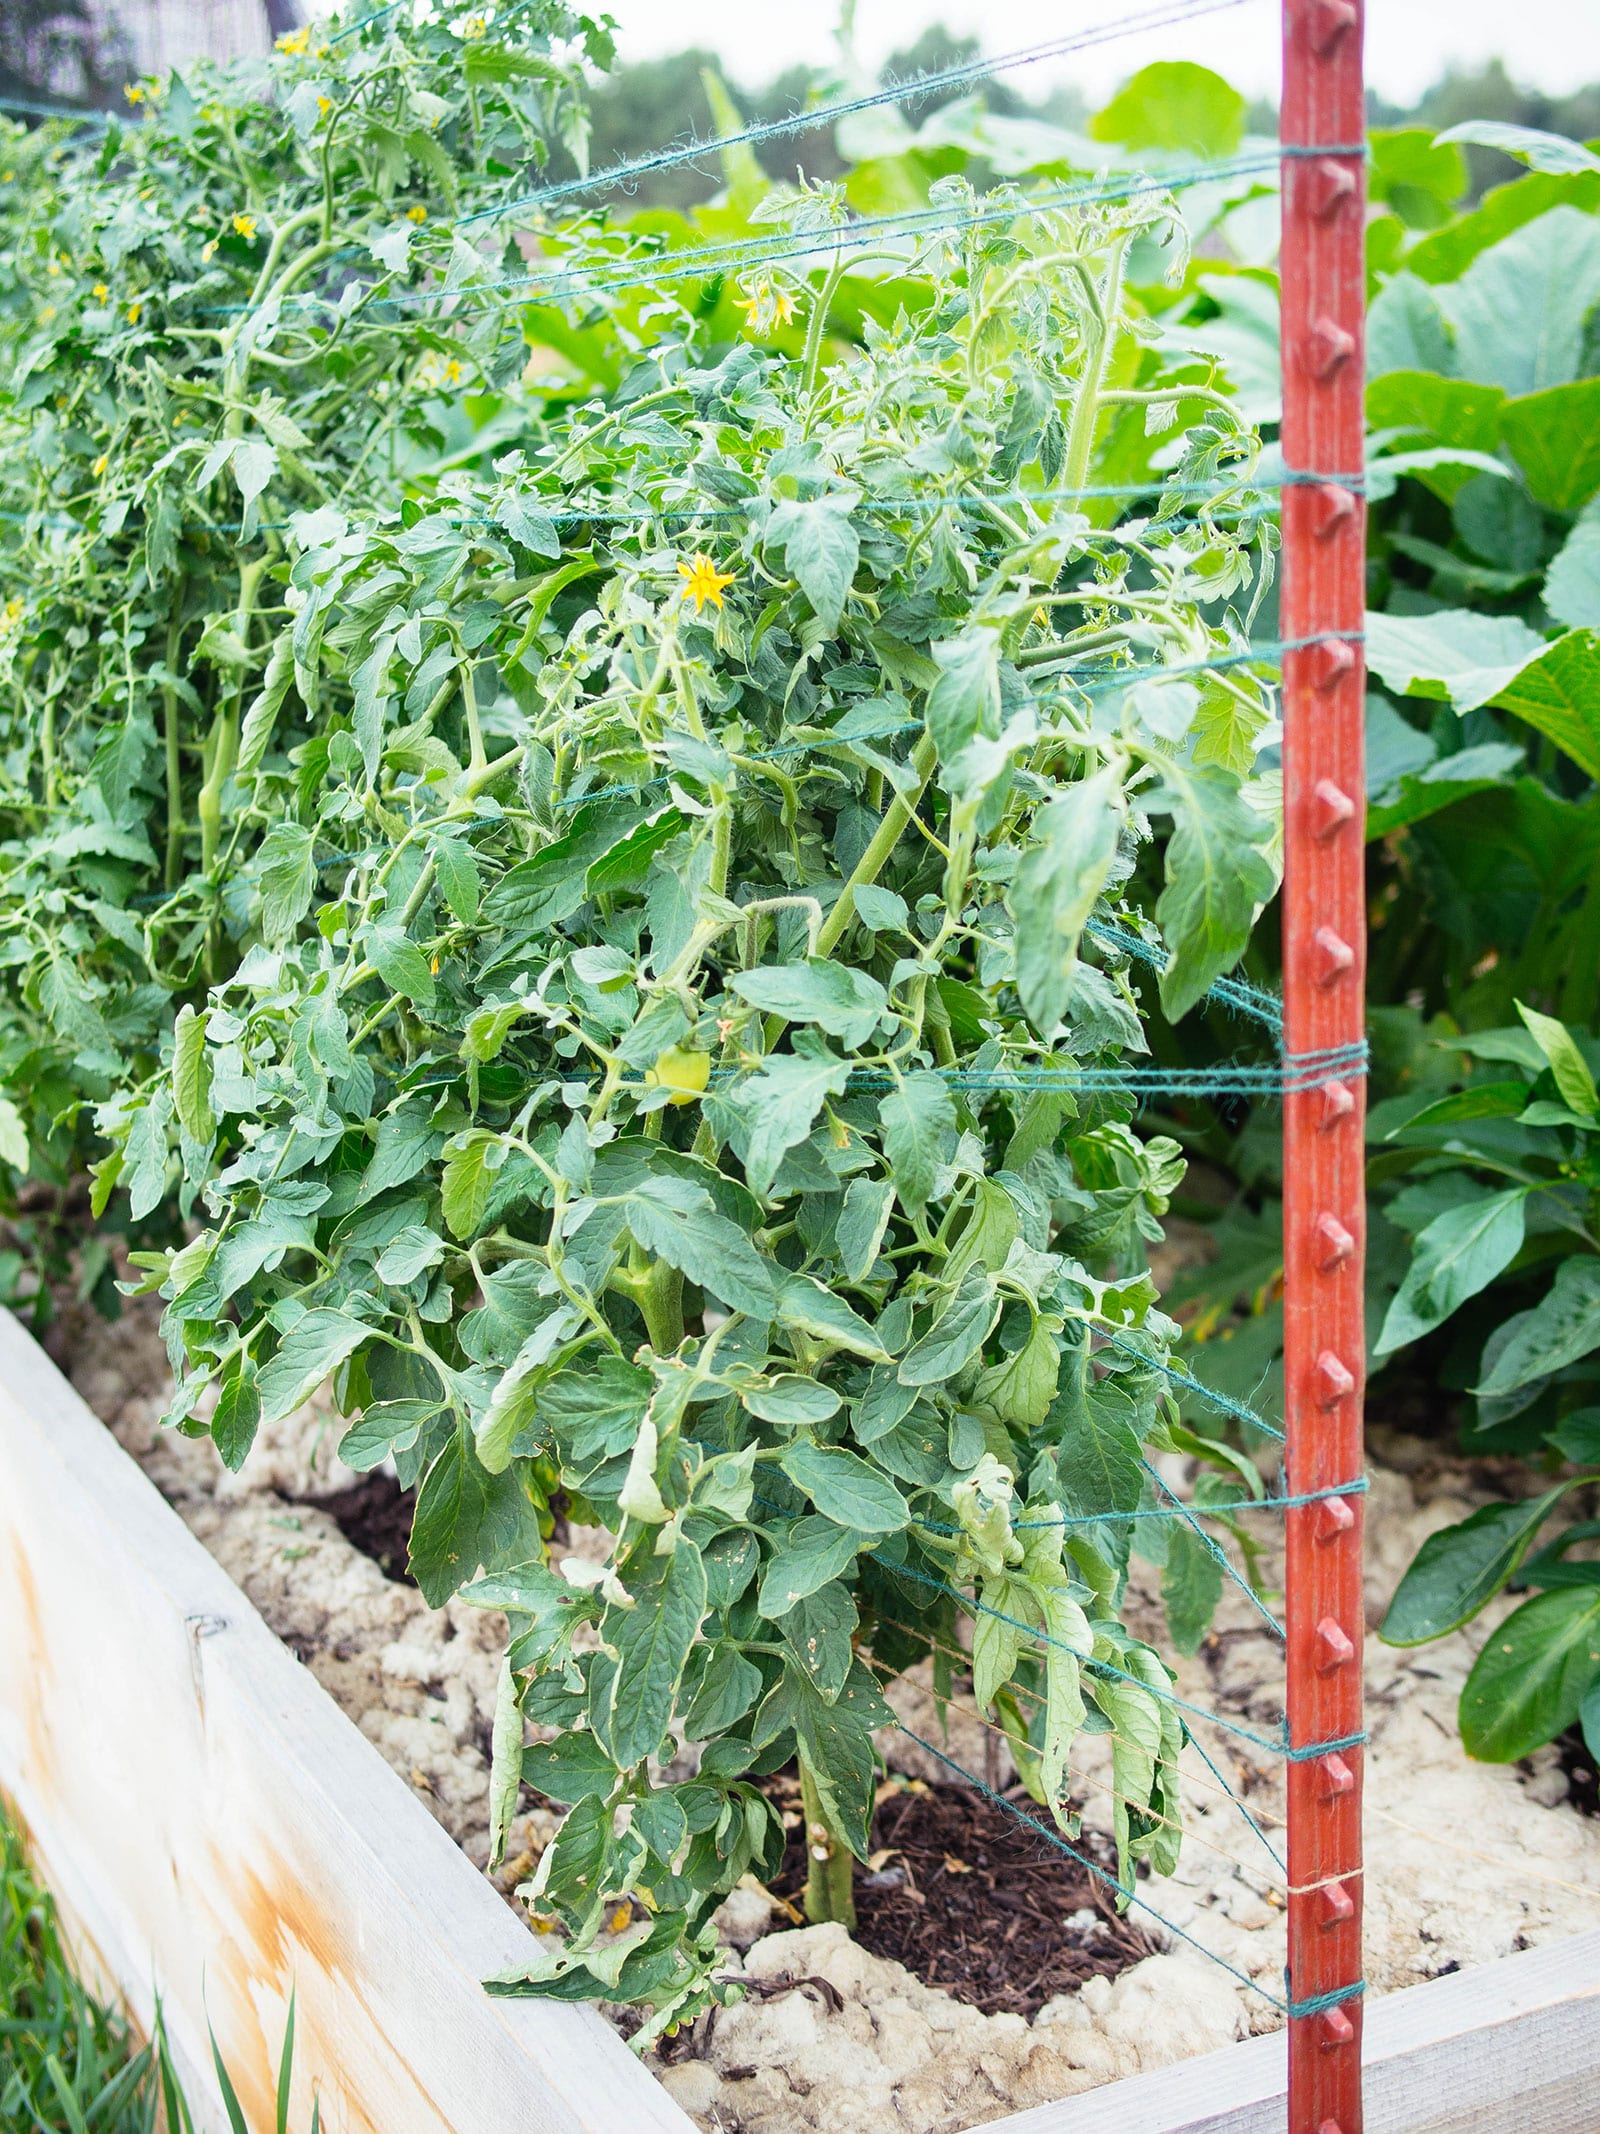
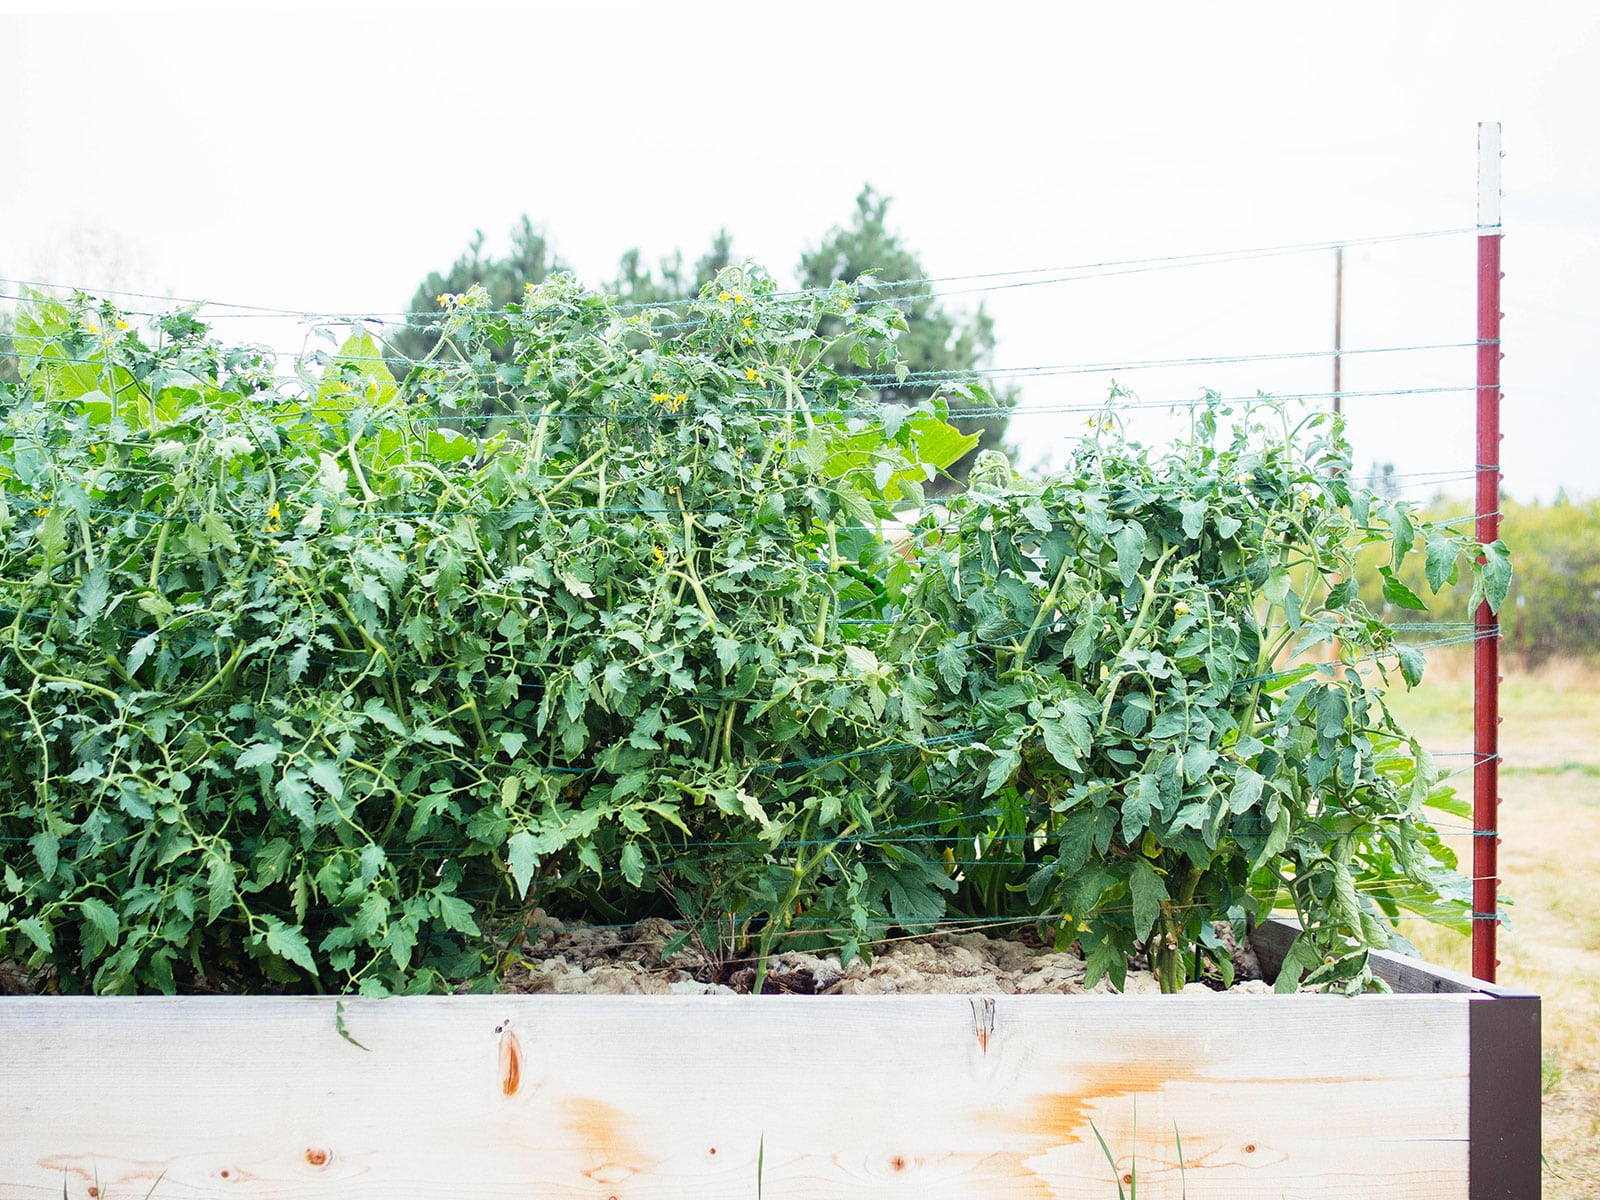
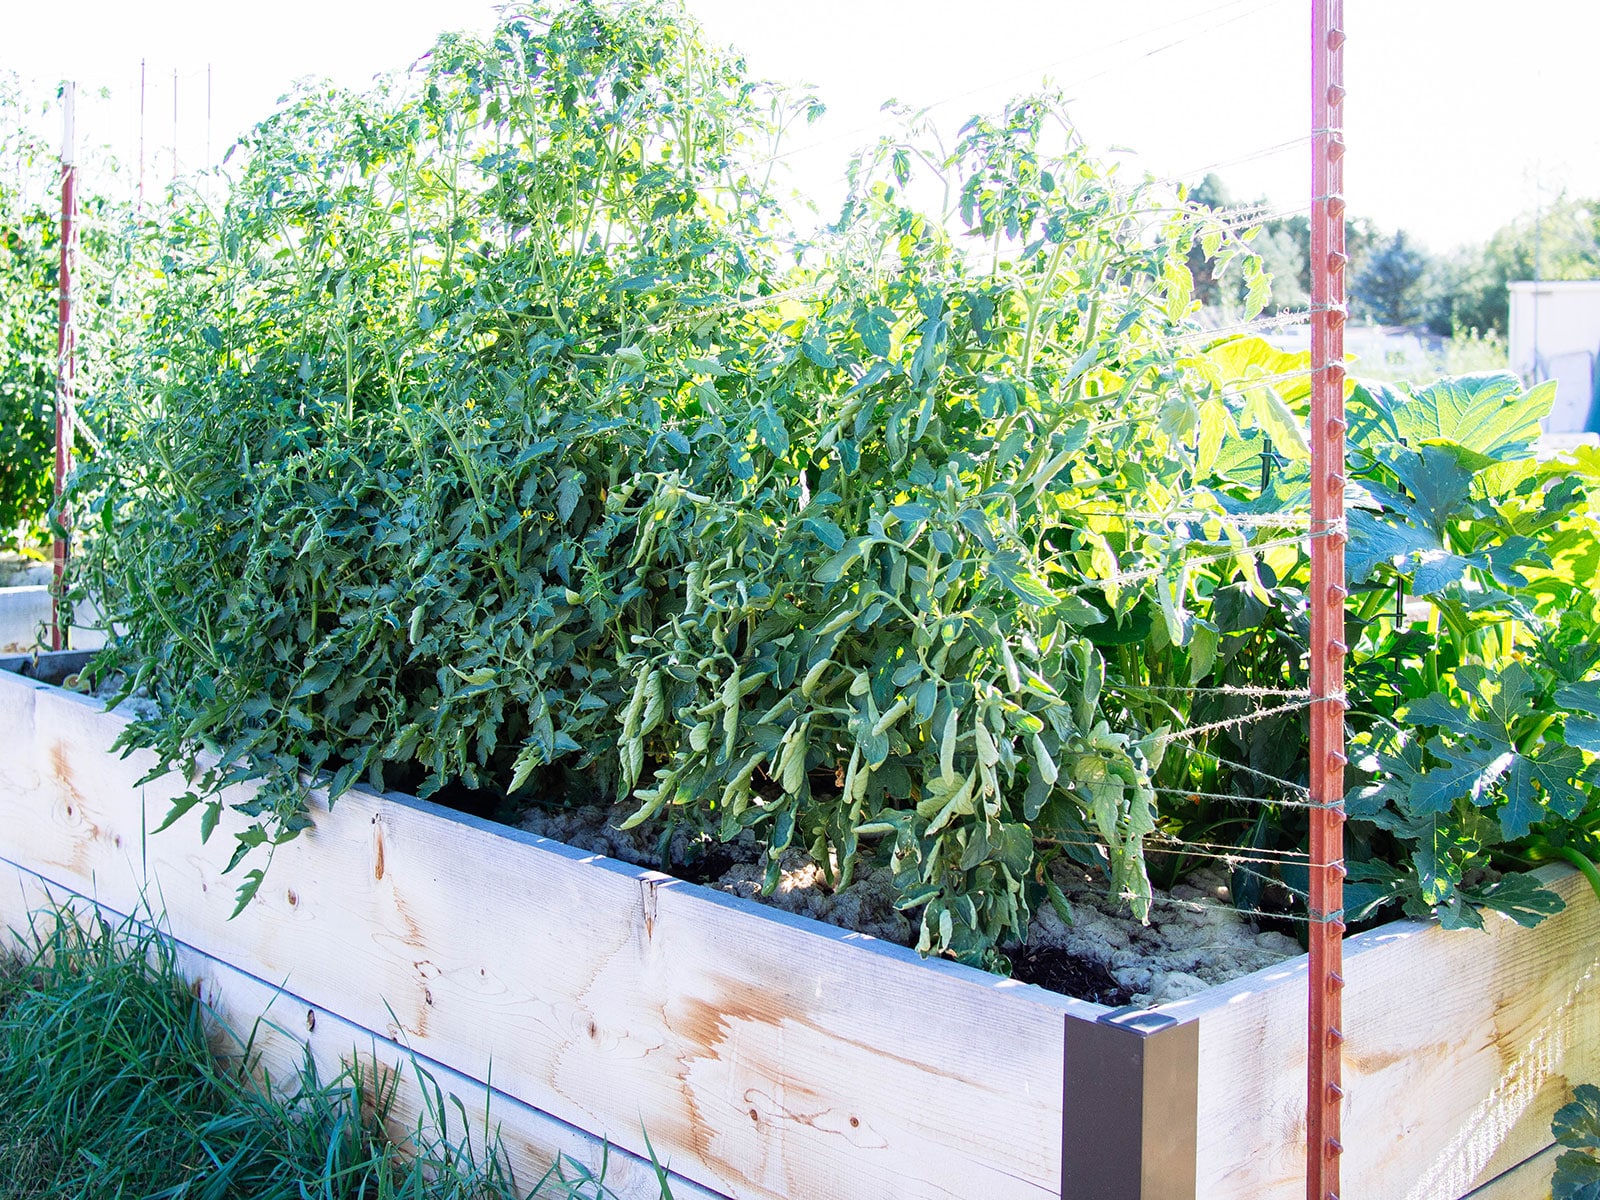
At the end of the season, you can simply cut the twine, pull up the plants, and even leave the stakes in place for the following year if they’re not in the way. (Or, you can adapt the Florida weave technique to trellis other plants like peas, pole beans, and cucumbers.)
No need to wrestle with cages and untangle masses of tomato branches—which is how I ended up with a handful of flimsy, half-broken conical cages in the first place.
Ready to make your own Florida weave trellis?
Here’s what you’ll need
Florida weave supplies
More tomato growing posts to explore:
- Grow Tomatoes Like a Boss With These 10 Easy Tips
- How to Grow Tomatoes in Pots—Even Without a Garden
- How to Best Fertilize Tomatoes for the Ultimate Bumper Crop
- How to Repot Tomato Seedlings for Bigger and Better Plants
- Why and How to Transplant Tomatoes (a Second Time)
- Planting Tomatoes Sideways: How Growing in a Trench Results In Bigger Healthier Plants
- Florida Weave: A Better Way to Trellis Tomatoes
- Conquer Blossom End Rot and Save the Harvest
- Can You Eat Tomato Leaves? The Answer Will Surprise You
- Why Tomato Leaves Have That Unique Smell
- The Power of Fermenting and Saving Tomato Seeds
- 4 Fastest Ways to Ripen Tomatoes in the Garden and Beat the First Frost
- The 30 Best Tasting Heirloom Tomato Varieties (By Color!)
- 83 Fast-Growing Short-Season Tomato Varieties for Cold Climates
- The Best Time to Pick Tomatoes for Peak Quality (It’s Not What You Think!)
This post updated from an article that originally appeared on August 19, 2011.







Hi Linda Ly,
I used the Florida Weave system this year, exactly as shown. I usually use cages I made out of hog wire, which work excellently. But I planted more tomatoes than cages this year, and decided to try something different. The result was not good. My tomatoes get really big and heavy. Planted Parks Whopper. Big Boy and Rutgers. Mulched with straw. The strings couldn’t hold the heavy vines. I have vines running into the yard for 12 feet. I’ve raised tomatoes since I was a young child, raised on the farm.
I appreciate your newsletter, and I find the advice practical and valuable. But I’ll pass on the Florida Weave method.
Thank you for a fabulous newsletter,
I’ve seen the “Florida weave” trellis in various places including the attached greenhouse in a solar home in New Hampshire. My tomato plants get a lot more rambunctious than the ones pictured in your post and for some reason I don’t like the stringy solution. I use the flimsy cages made of heavy gauge wire that you don’t like, but I also insert 3 or 4 poles so that they are inside the top wire circle but outside the next lower circle. In scores of use, this arrangement has never fallen over. I generally plant Malabar spinach and/or a cornfield (shade tolerant) variety of pole bean around the perimeter, two seeds for each pole and two for each heavy wire support. These twine up the supports and often bind leaders or suckers to the support, minimizing tying. While we were living in Florida, I had an endless supply of bamboo poles. The few that we transported to my daughter’s place in Vermont are getting past their useful strength so I’ll be looking for small saplings. Last year I had one tomato plant, a ‘Celebrity plus’ hybrid, and it completely took over the north end of the 4×8′ bed. Despite the weight of the vines and fruit, the hybrid support arrangement held up. The Malabar spinach got overwhelmed, but the beans managed to come up through the shade of the tomato plant, despite having their growing shoots eaten a few times by deer. (Our deer don’t like tomato plants.) We got a nice bonus of white soup beans and more replacement seed than I need or can fit in our limited growing area. BTW, ‘Celebrity Plus’ produced the best tasting tomatoes I’ve ever eaten. Theoretically, it is intermediate between determinate and indeterminate, but this plant didn’t get the memo.
Sharing the Post:
Great article what is the best veggie to plant in winter
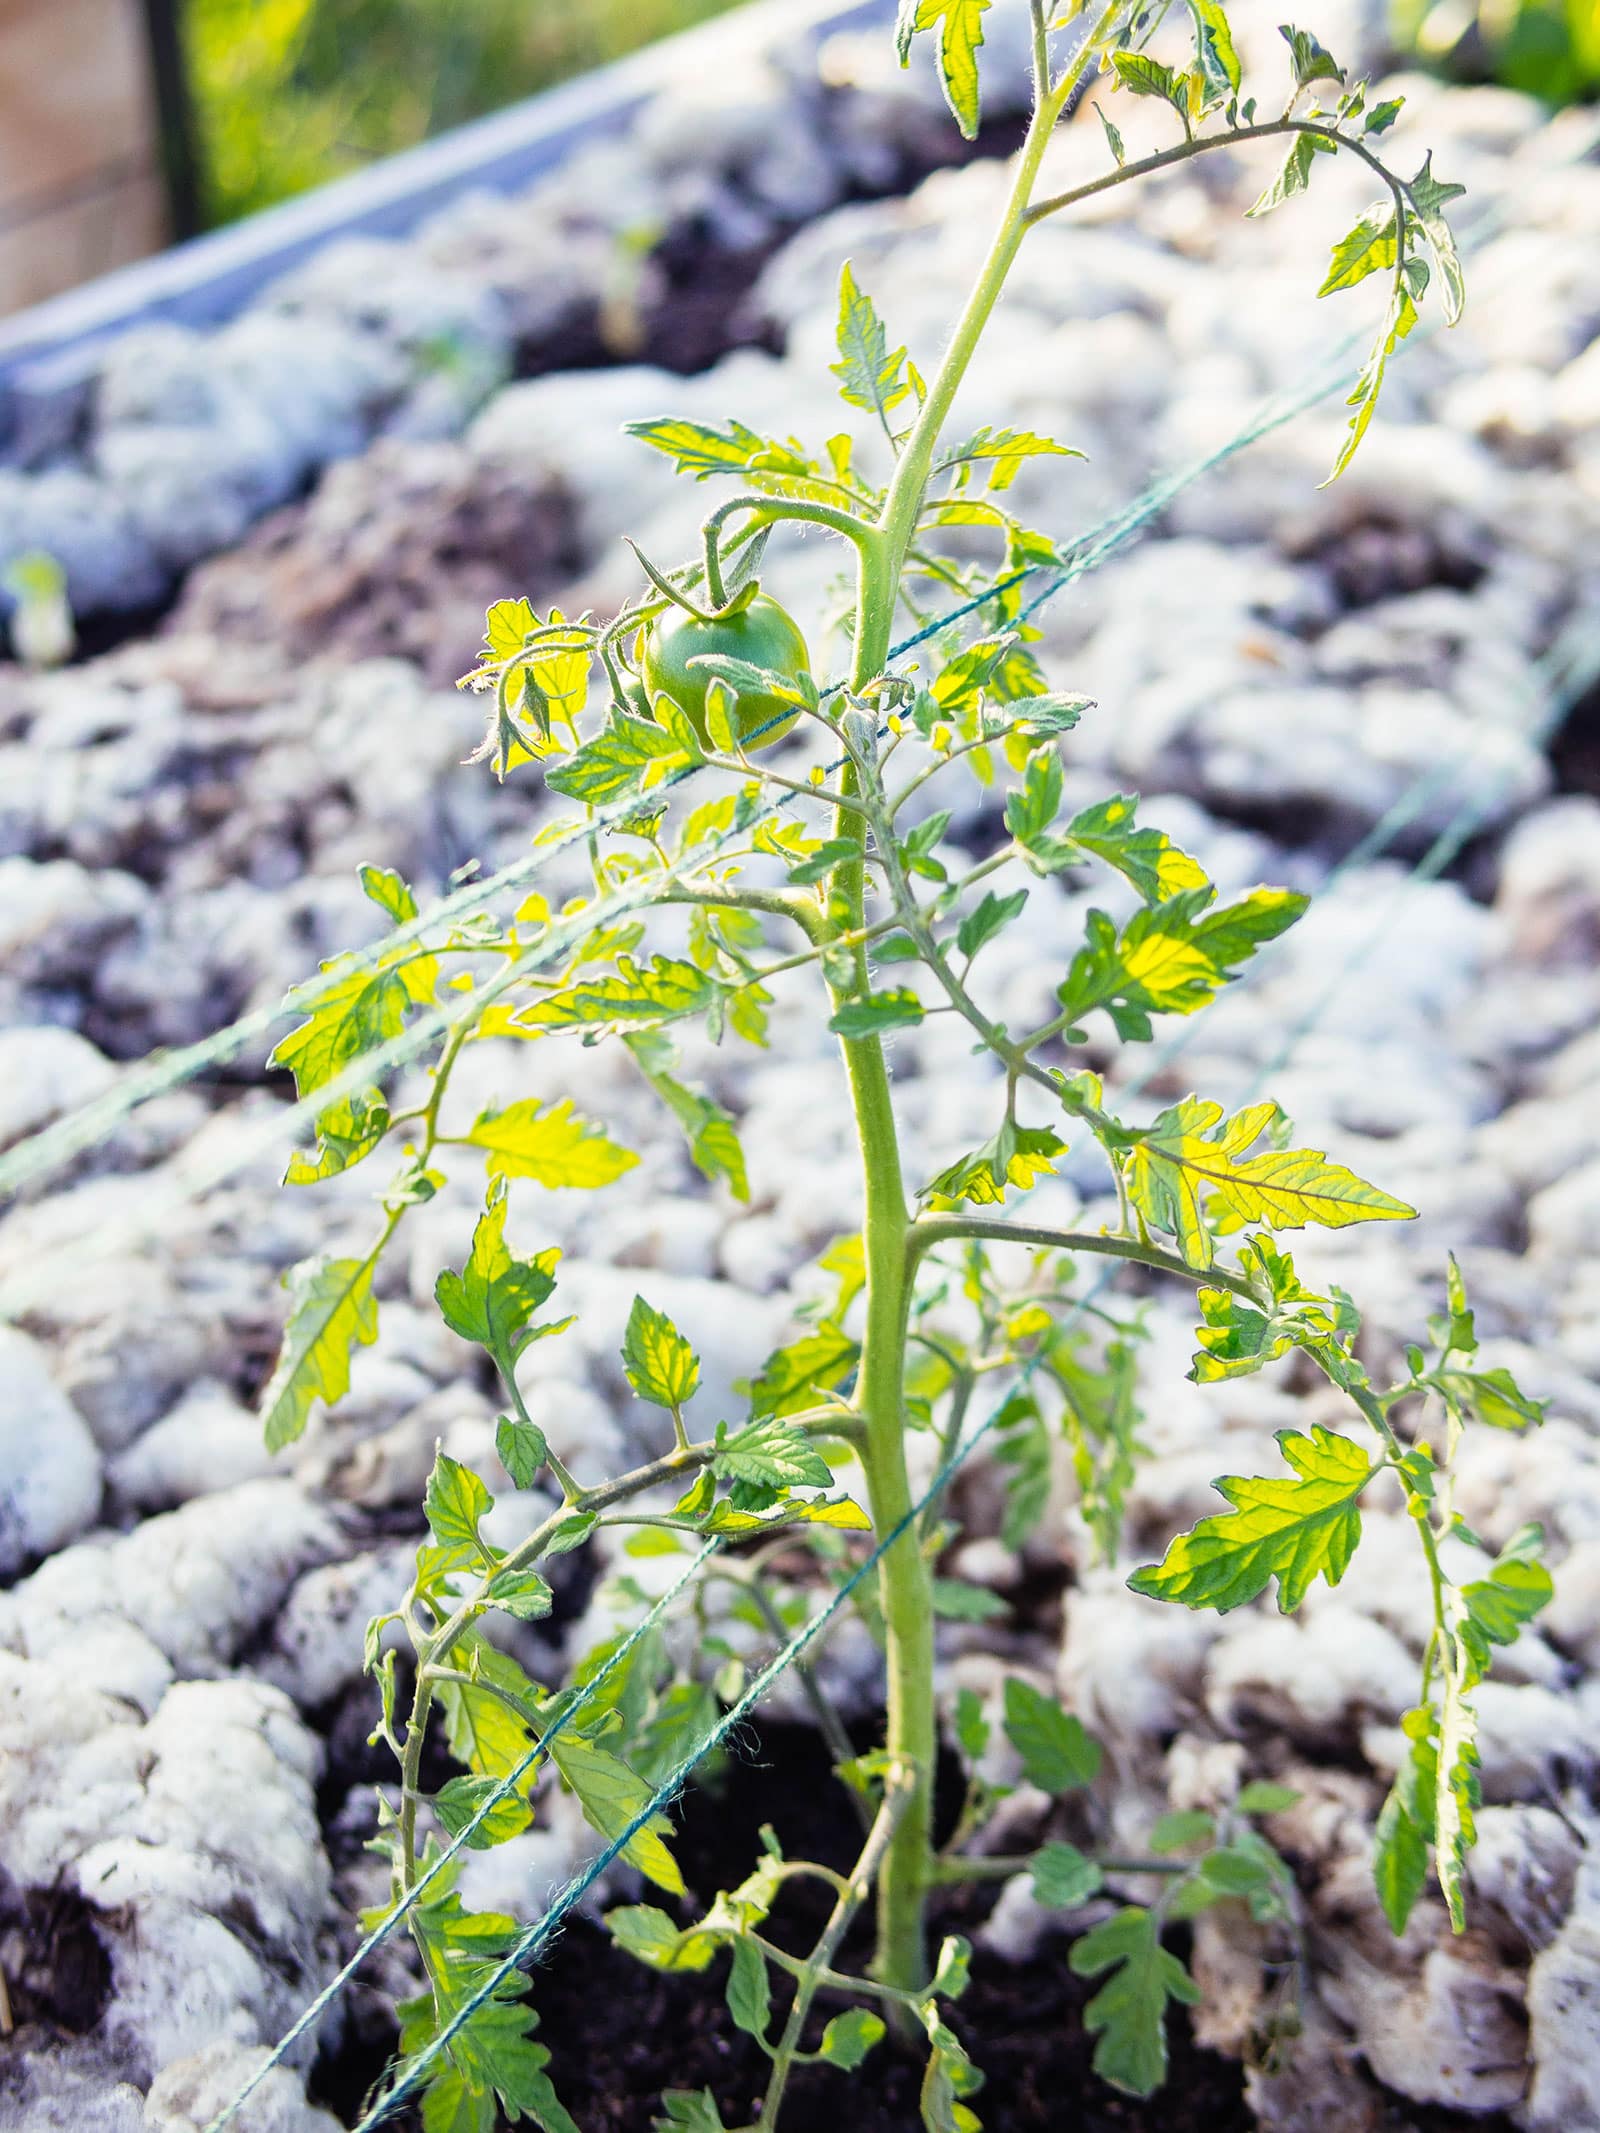
What is the white fluffy stuff on the soil?
That’s sheep wool. She talks about it in another post about the different kinds of mulch 🙂
I noticed you didn’t remove the suckers on any of your plants. Is that something you recommend or just don’t have time to do it?
I’m wondering what you would recommend for staking potted tomato plants. I feel the rebar or t-bars would be too heavy and risk toppling over the whole plant. I’ve followed your suggestions for potting soil and repotting them multiple times and I am now needing any advice on the best way to stake them in their 15-20 gallon pots. I’ve currently got the stems softly tied to 6 foot bamboo stakes but worry it won’t be enough once they really get going (got the bamboo from a local gardening store). Thanks!
Several comments about not using this method where it’s windy, but I’m going to give it a try anyway! I have over 50 tomato plants this year, and I can’t bring myself to buy that many of those junk tomato cages, and the good ones are too expensive. I used bamboo stakes behind some plants last year, and that didn’t work so well – they ended up flopping over. So despite the wind advisory, I’m going to give this a go. I’ve been collecting “trash” from my family members to use – discarded pieces of trellis wood, PVC, rebar, t-posts, bamboo stakes… I have a bit of everything. I have just as many pepper plants and will try it with them too. It won’t look pretty, but hopefully it works. Thanks for the clear explanation!
How did this end up working for you? We are fairly windy where I’m at, but this seems like such a great solution for a 100′ of tomato plants! I would love to know how it turned out for you.
We’re going to try the Florida weave with our raised beds this year. I’m wondering about ‘rope/string burn’ on the stems during windy days. Has anyone had experience with that while using the weave? We’re growing indeterminate varieties. Thanks!
VERY INTERESTING thank you
Rebar is a stupid idea
T posts will work
Rebar is not a stupid idea. If you have rebar lying around, it works great! If you can’t find any of the other suggested materials because so many things are out of stock, it works great! If you plan to move them next year, T-Posts are harder to get out of the ground at the end of the season then rebar.
This is the year I try the Florida weave to rein in my unruly indeterminates.
I find it most interesting that you, and several commenters, below, seem to rely upon their husbands to do the labor involved. C’mon women, you can do it! There’s tremendous satisfaction in gardening, and you deserve to enjoy all that satisfaction.
I went to Lowe’s and bought some tall green stakes and I’m not sure if they’re plastic or steel because I had my son pick them up. My question is if they are the hard plastic type will they work as well and if they have to be two foot deep how you go about doing that? this is the first time I’ve ever tried to grow anything and I’ve got four tomato plants and I’m trying to make sure I do them right
My guess is they will not work. I had individually staked all my plants last year with what Lowe’s and Home Depot sell as tomato stakes. (They are plastic coated hollow metal tubes). Anyhow, due to the weight of the yield, every single plant bent or broke their stake.
Those green ones are plastic and definitely not as sturdy as the metal T-posts, if you’re going to use tall skinny stakes like that. If you go back and get the T-posts, an easy way to drive them deep into the soil is to use a posthole digger first, then backfill the hole once you’ve placed your stakes.
I’ll stick with my remesh tomato cages. I like the idea of the Florida weave, but after speaking with farmers and seeing many pictures of toppled Florida woven tomatoes I feel much safer with the sturdy cages. I think the weave may be fine for determinate varieties like Roma though. Good luck everyone.
The trick is definitely sinking the stakes or T-posts deep enough into the soil to prevent the plants from toppling. I also wouldn’t suggest this method in an area that gets a lot of wind.
What is your spacing for your tomatoes? They look 18 inches apart. Thanks for the article!
Generally I plant my tomatoes about 24 inches apart.
I live in the windy flat plains of Mn. I would really like to try this, but how do these hold up in heavy winds?
You’ll have to use steel posts pounded at least 2 feet into the ground, and heavy-duty twine that won’t snap under pressure.
Those tomato cages that are too fragile for tomato plants work great for pepper plants and others that need a little support to protect them from breaking under a heavy load of fruit. So if they didn’t get completely crushed and broken by your maters, try them around your peppers. After all, we can all use a little support.
Good tip. I’ve also used them to support eggplants and fava beans, but generally I find them too flimsy and not as sturdy as stakes.
I’m actually planning my garden properly this time instead of planting in a haphazard manner (wherever I find space). So I think I can actually use this method. Do you think this method is good for broad beans?
Yes, the Florida weave works well for all climbing plants or tall plants that typically require staking.
I’ve searched to see if you give specific info on your raised beds themselves but didn’t find a post. Such as how deep they are, what materials you used to box them in, how to prepare the area for the bed, etc? I live in the Ozarks of Arkansas and the ground is so rocky and solid clay that just digging a hole can put my hubby’s back out for days! We brought in truckloads of dirt for our large vegetable garden. But need to start making raised beds for more vegetables, herbs and landscaping. Yours seem to be so successful that I thought I would ask the expert! Also, do you plant in rows in all your beds or do you use the “square foot” gardening method in any? And finally, how do you sow your tiny seeds without getting them all in one spot and none in other places?! Thank you in advance!
I was lucky to move into a house whose previous owners already had raised beds built! Ours are approx. 4’x8′ and 8″ deep. I’d guess that they’re cedar but I’m not really sure. We have other beds that are made with railroad ties and we’ve also built our own with brick. You can use any material you want, really; just make sure you use a rot-resistant wood if you go that route.
If your soil is exceptionally rocky and hard, I’d suggest Googling the lasagna composting, sheet composting, or sheet mulching method of prepping soil for a garden (all the same method, just different names). I don’t know if you were being literal when you said brought in “dirt” – most likely you’ll need to amend it with compost before you use it in a raised bed.
I usually plant in rows, but sometimes I will just stick plants wherever I find room – this tends to happen mid-season or in between seasons as I’m pulling out old plants and replacing them with new seeds/plants. I am not disciplined enough for square foot gardening! LOL… My garden is not the neat and orderly thing you see in magazines; it’s fairly haphazard with plants growing everywhere!
For handling those tiny seeds, try making some seed tape: http://gardenbetty.com/2012/03/make-your-own-seed-tape/
Enjoy your new garden!
Susan, I’ve used the straw bale method on my red clay here in CA. It’s easy, sorta, will save any hole digging, and will eventually feed your clay enough to make it into good soil. Just get a bunch of bails of straw and put them anywhere you want to grow. I have rather long arms and find that 5 bails, turned up on the narrow sides without twine makes the ideal width for a bed. You can place the bales flat so the twine is on top to cover a larger area with each bale but I think it’s much easier to not have to have the twine in the way,
You must get the bales in place well before you plant so that you can soak them down and keep them moist for a good 3 weeks. Otherwise they’ll cook your seedlings. Soaking them and keeping them moist gets them to go through their initial decomposition, which cause them to get hot. So put them in place about a month or so before you plant and soak them after they’re in place. Don NOT try to soak them and then move them. They go from fairly light Oh my GOODness! with water.
I like to mix about 50/50 compost and planting mix to add to the planting holes to give the roots a nice easy start. Since the straws are oriented up and down when the bale’s on it’s narrow side, they’ll easily separate giving you a nice planting hole. Just shove the trowel in and pull back, stick in a handful or so of the compost, then the veggie start. Finish by filling in the rest of the hole with the mix and spreading it on top of the bale around the plant.
You can also plants seeds directly in the straw on top and the sides for the most use of the bales. After everything’s planted, I like to cover the entire top of the bales with the planting mix. The vertical orientation of the straws makes it easier to plant but also makes them natural wicks to evaporate your water. So instead of mulching the soil with straw, you’re mulching the straw, which is your soil, with soil. This also makes a good planting bed for tiny seeds that might get lost by falling too deep to grow back out of the straw.
Run a tube or 2 across the top of the bales for irrigation, then add all the little drippers and/or micro sprinklers to cover all the plants and you are ready. If you have one of the containers in your system for adding fertilizer during watering, that’s the easiest way to feed your plants. Also you can skip the planting mix and use straight compost in the planting holes and across the top. They’ll get some nutrients from the straw as it breaks down, especially once the worms get up in there.
My ground is quite uneven so the bales tend to lean one way and the other, leaving gaps between them. This is not a problem. It’s an opportunity. I take all the leaves except the very top ones off my tomato plants and then plant them deep in these cracks, filling around them with the mix. I had a real wide gap between 2 end bales the first time I made a straw bale garden so I took some prunings and drove them in the end of the gap to seal it. Then, starting on the inside end, I buried my tallest tomato with it’s roots on the ground and the last leaves a couple inches above the bales. As the plants got shorter, I continued to plant them with their roots on the ground but filled in around them less and less. As they grew, I removed the lower leaves and filled in around them until the gap was filled. The little 8 inch plant at the end had little trouble catching up with the big guy at the other end and was a huge producer.
After using bales for a few years, I ended up getting a little tiller and tilled all the good black soil on top into the the red clay beneath, and pulling it all away from the beds into mounds. Then I laid tree prunings, artichoke stems big and hard as bats, oyster, muscle, crab and clam shells, most of a large bag of ground oyster shell, shredded and non-shredded paper and cardboard and a bunch of used, rusty wire for iron into the holes I’d excavated. Then I tilled a huge amount of home grown vermicompost from a 55 gallon drum and a few garbage cans into the mounds of soil and pulled it all over the beds so they ended up about a foot high. If I’d only known about huegelkultur thenm they would’ve been much higher.
Since then I’ve let things go to seed, collecting a great deal and letting the plants replant for me. When it’s time to remove a dead plant, I never pull them. Okay, almost never. I cut the plant at ground level and let the roots stay in the ground to feed the worms, soil and plants. I also leave weeds in the garden as long as they aren’t shading out the veggies, especially the deep rooted perennial weeds. Their roots go deep into the soil bringing up nutrients the veggies can’t reach. And a great many of those weeds are actually much more nutritious than the veggies and quite tasty.
And cutting, or breaking up dead veggies and weeds, depending on how dead they are, provides mulch and food for the soil. So my straw bale beds have graduated to lazy gardener beds with loveage, carrots and many other herbs and veggies replanting themselves and running everywhere. My foolishly letting the lemon balm and other herbs go to seed ended up with them coming up all over but that’s not a problem either. It’s an opportunity to easily yank or dig up a bunch of free chicken food, for which the chickens are very grateful.
Brilliant! Love that you are teaching this new Floridian about the Florida weave. I am absolutely going to try it for the next tomato growing season in September!
Best of luck! (And love that your next tomato season starts in September… gotta love that warm Florida climate.)
I actually tried this technique this year for my tomatoes in, of all places, FLORIDA! It has worked wonderfully! My honey even attached permanent stakes to the end of my raised bed so I could do this whenever I plant tomatoes! My plants are HUGE and loaded with tomatoes and blossoms, much easier to harvest too. Thanks for the tip!!
So happy to hear it!
Beautiful garden! You can try the Florida weave with your beans and cucumbers too.
OMG! What a fantastic idea. I am not only a fellow young, Florida, gardener, but I am kinda into pugs too 😉 My DH and I are trying stakes this year (cages sucked for us last year as well), and this looks like what we will use next year. The Florida weave. haha cracks me up. I would love for you to check out my garden pics here:
http://busymomsdoitbest.blogspot.com/2012/05/just-cant-get-enough.html I look forward to reading more in your blog!
Thanks for the detailed graphic. Love this idea and I’ll be talking my husband into doing it. I loathe those metal ones too. We’re doing over 30 tomato plants this year and this method will make it a piece of cake!
Your graphic which shows the string being woven between three plants is actually a variation called “Missouri Weave” (which is usually done on 2 plants between stakes).
I recommend that at least the end stakes be made of a sturdy metal. This is important especially with longer rows, open sites and indeterminate varieties. Wet plants get heavy and a row of string weaves tomatoes will act like a sail in strong thunderstorm winds snapping wooden posts.
Interesting, I’ve never heard of any variation called a Missouri weave. I’ve always seen it as a Florida weave, whether you weave 2 plants or more.
I do agree that the end stakes should be as sturdy as possible. In gardens prone to wind or summer storms, steel T-posts are my recommendation.
I wish I’d know this earlier in the year! Can’t wait to try it next year when I expand my garden!
Let me know how it works out for you! I’ll be using the Florida Weave again next year as well.
This is a great idea. Thanks for sharing! I only have 2 tomato plants this year, but this will help me expand!
Especially since this method takes up so little space! Good luck with your BIGGER tomato crop next summer! 🙂
Looks great. I am so fed up with wire cages. Would love to see what this method looks like with mature plants…
I just took some photos of my plants today, and added them at the end of my post. They should give you an idea of how it all looks mid-to-late season!