Seed saving is one of the small joys of gardening: knowing that what you planted this year can continue for many years to come.
Couple that with the uncertainty of seeds being available when you need them, and seed saving is more important than ever.
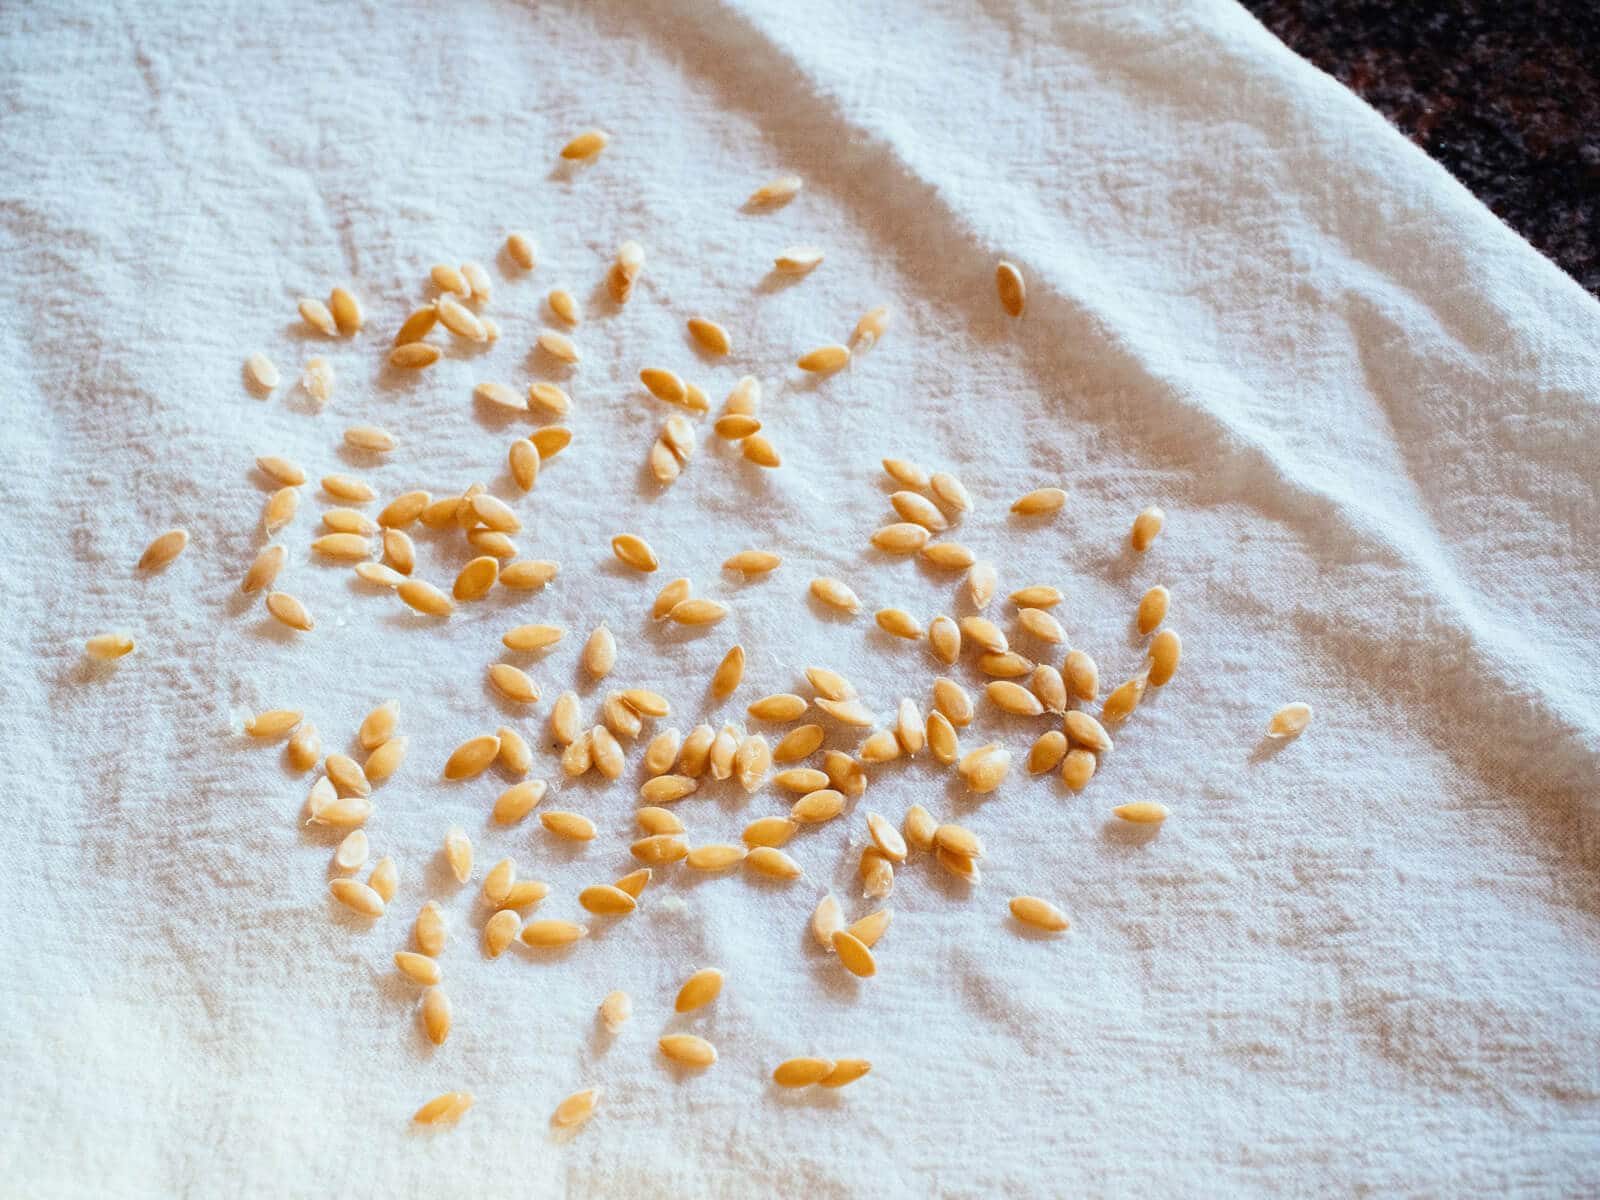
Now that we’re nearing the end of the season, my kitchen counter is lined with tea towels and saucers of all sizes, with seeds of all kinds spread out to dry. Even more fruits, vegetables, and seed pods are sitting in baskets or paper bags, waiting to be extracted, washed, dried, and stored.
It seems easier to just buy new seeds every year, and sure, seed packets don’t cost all that much.
But when you save seeds from your own garden, you’re preserving a piece of horticultural history—continuing the “bloodline” of your heirloom vegetables, fruits, flowers, and herbs to ensure they will exist another generation.
Saving seed and raising crops from them year after year also means your future plants will become more adapted to your climate and growing conditions, making them more vital, productive, and resistant to local diseases.
Here’s how to choose the right seeds to save, how to save them, and the best way to store seeds to extend their shelf life.
Selecting the right seeds to save
Open-pollinated vs. hybrid seeds
To assemble your own seed library, start with plants from self-pollinated heirlooms, or open-pollinated (OP) varieties.
Seeds from heirloom and OP varieties stay true to breed, so your next generation of plants will take on the same genetic traits of the plant they came from.
Seeds from hybrid plants, on the other hand, may take on the traits of just one parent, or even combine random traits of both parents to become a completely different plant from the one you previously grew.
Most supermarket produce comes from hybrids. While you can still save seeds from store-bought vegetables, it’s not ideal unless you don’t mind breeding something new in your garden. (And random crosses between plants do happen, even if they weren’t intentional—I’ll explain more below.)
Annual vs. biennial plants
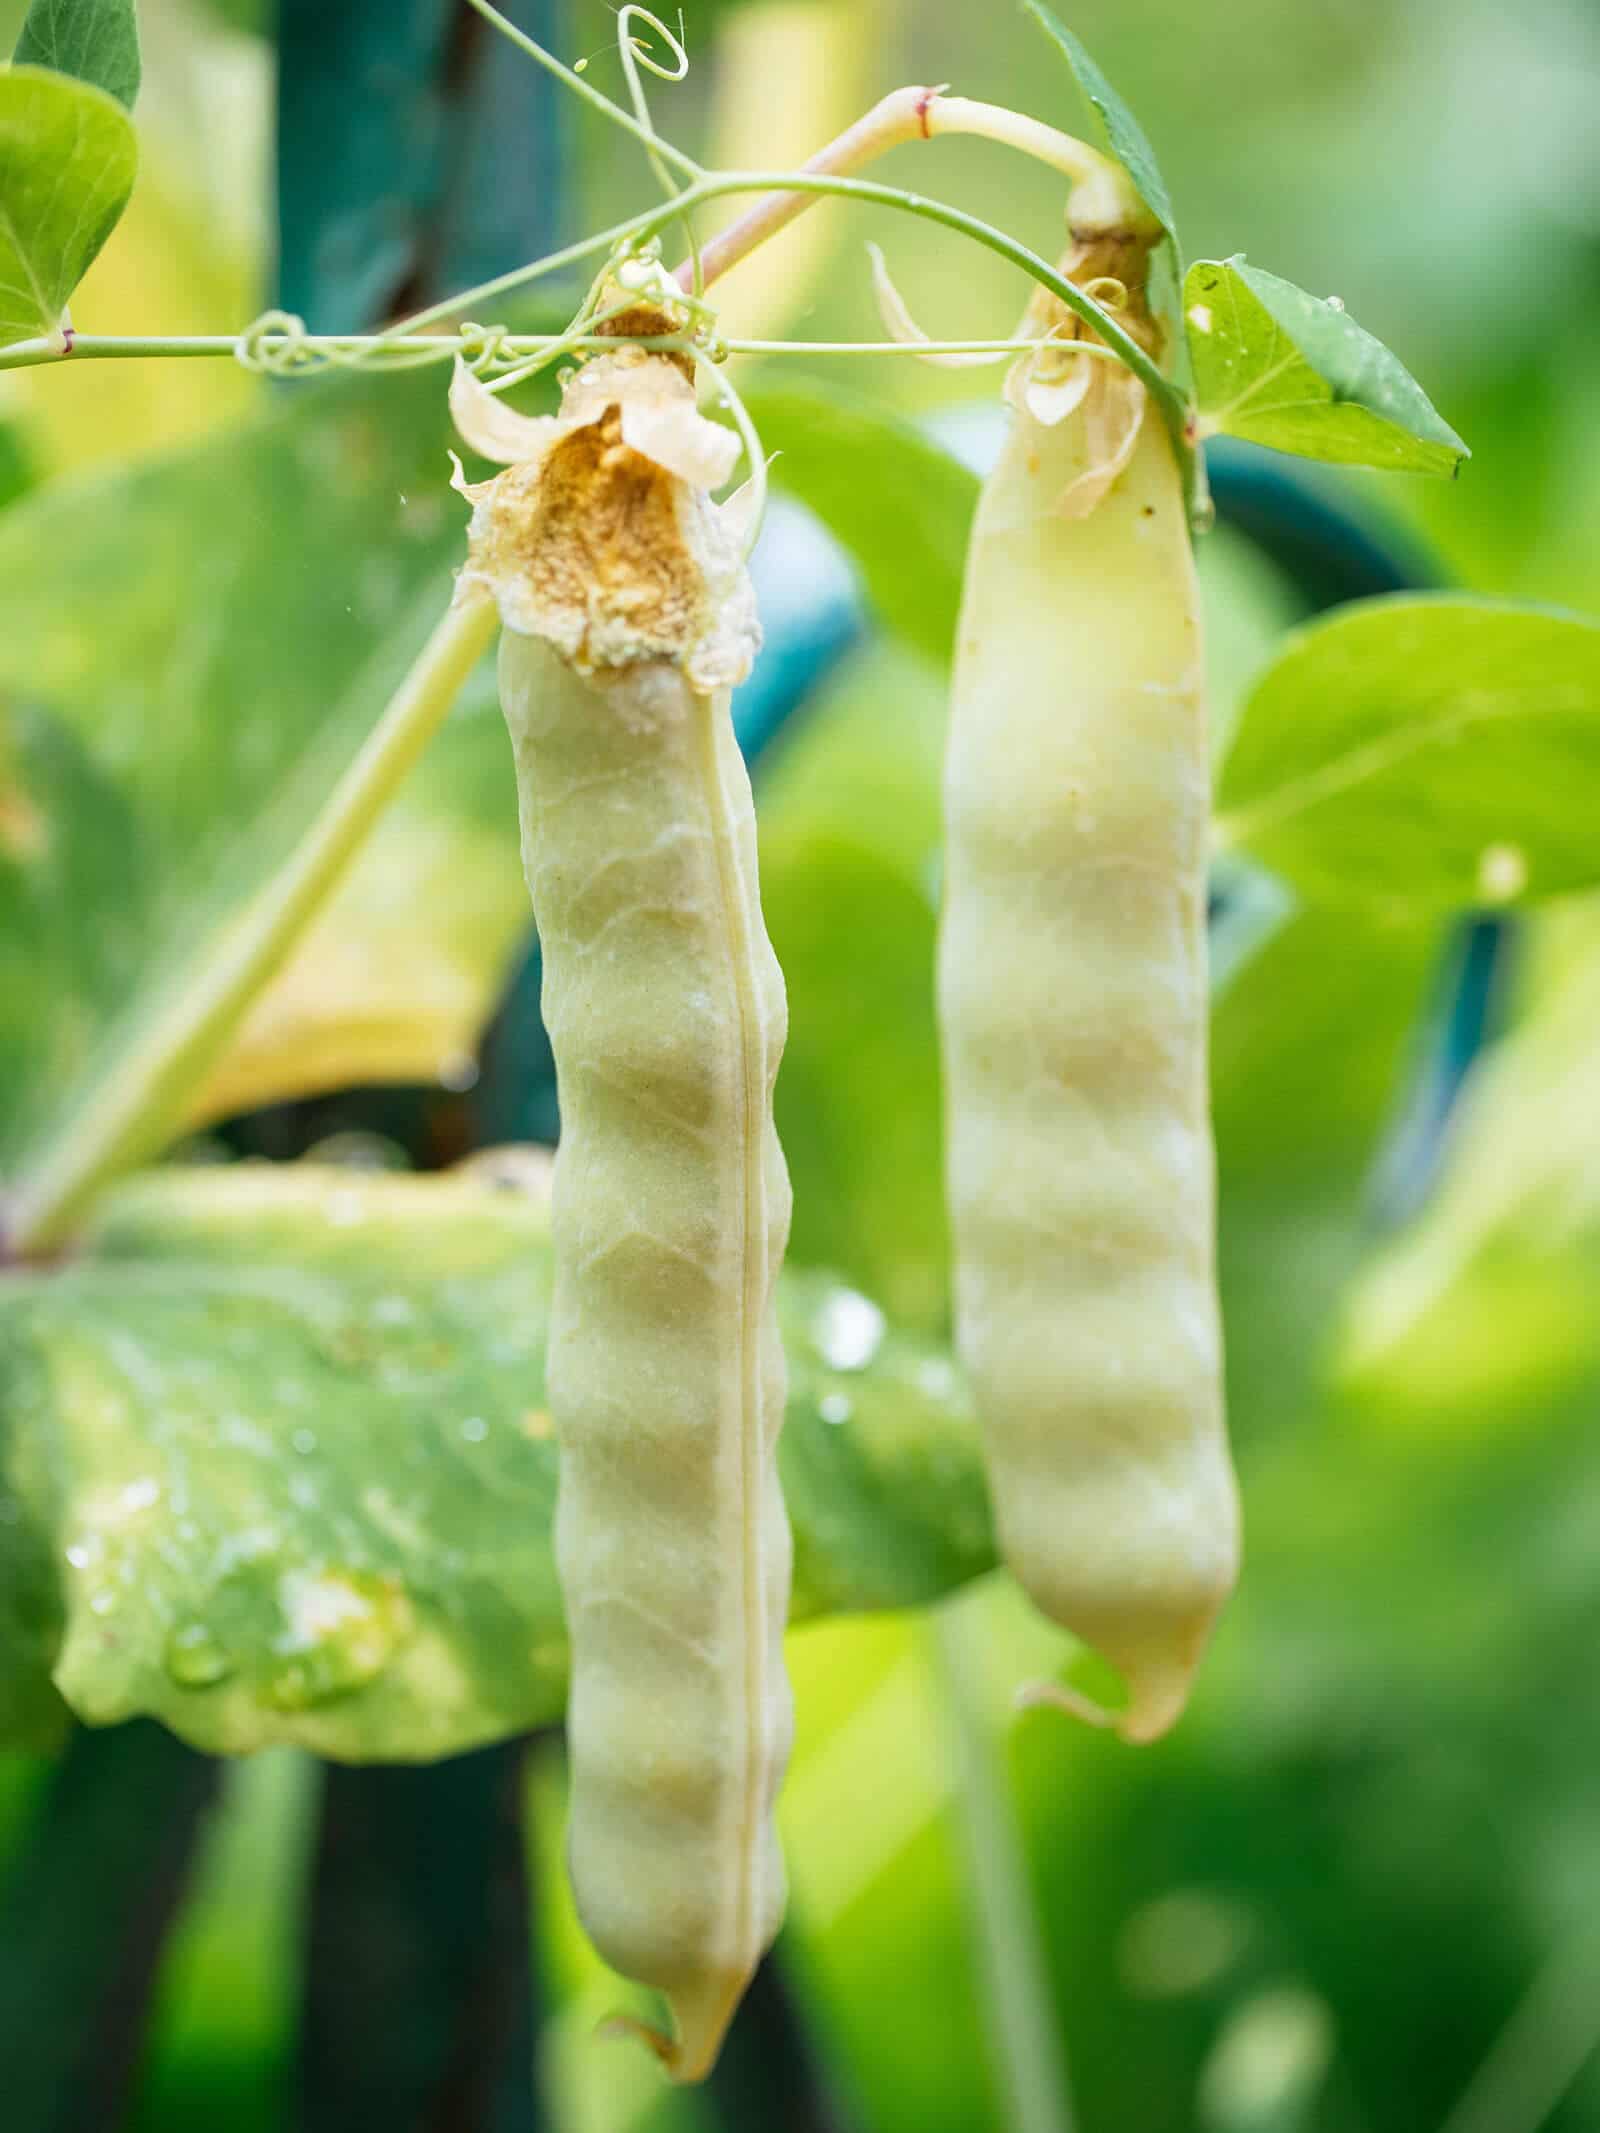
Annuals are plants that go through one complete growing season before setting seed. They’re the most predictable, as you know the seeds will be ready for harvest within a few months of sowing.
Common annual plants in the vegetable garden include corn, cucumbers, melons, summer squash, winter squash, basil, beans, and peas.
Biennials, on the other hand, are plants that require two growing seasons to complete their life cycle. The first year, they focus their energy on vegetative growth. The second year, they reach maturity and go into seed production.
Examples of biennials include beets, chard, carrots, parsley, cabbage, kale, onions, and turnips.
Biennials can be trickier to collect seeds from, as you have to leave them in place for two years before the herbs and vegetables bolt. It’s not a big deal if you have the space, but in small gardens, it may not be worth it to dedicate a bed or two solely to growing seeds.
To make things more confusing…
Certain plants, such as tomatoes and peppers, are actually tender perennials (meaning they can survive year-round so long as frost doesn’t kill their roots), but they’re more commonly grown as annuals in most climates.
Other plants, such as fennel, celery, lettuce, spinach, and radishes, can behave as annuals or biennials, depending on the hardiness zone they’re grown in.
How to choose which plants to save seeds from
When saving seeds, you should collect from your most vigorous plants with the most desirable characteristics—those that germinated first, produced fruit the earliest, produced the most fruit, or bolted last.
You should also collect seeds from healthy vegetables that are ideally sized and shaped, and feature the strongest varietal characteristics (such as coloring, striping, or pleating unique to that strain).
By singling out these characteristics in your garden, you’re essentially doing the same thing plant scientists do in laboratories when trying to breed desirable traits into seed varieties.
Every time you grow that variety, and select seeds from the plants with the strongest traits again, you help those traits become more prominent in each subsequent generation.
Marking the perfect plant
If you grow many plants, it can be difficult to remember which vegetables to save seeds from, or which to allow to dry out on the vine.
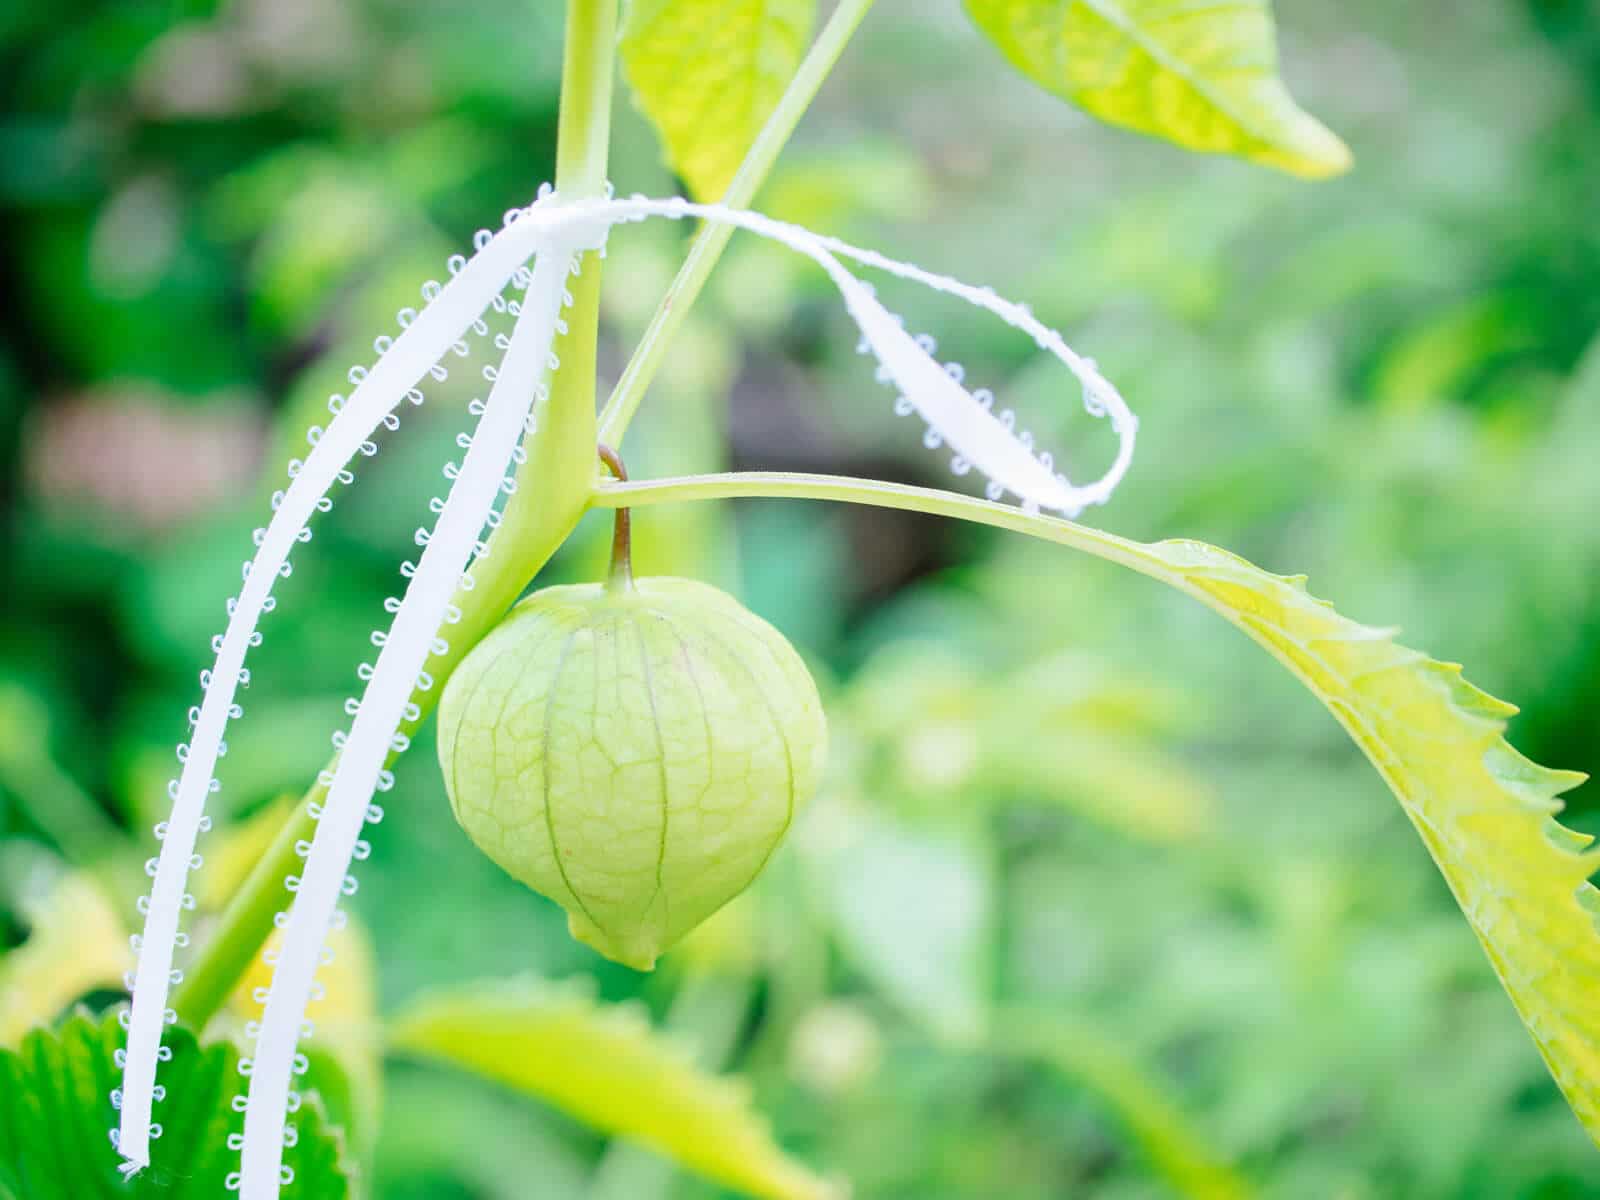
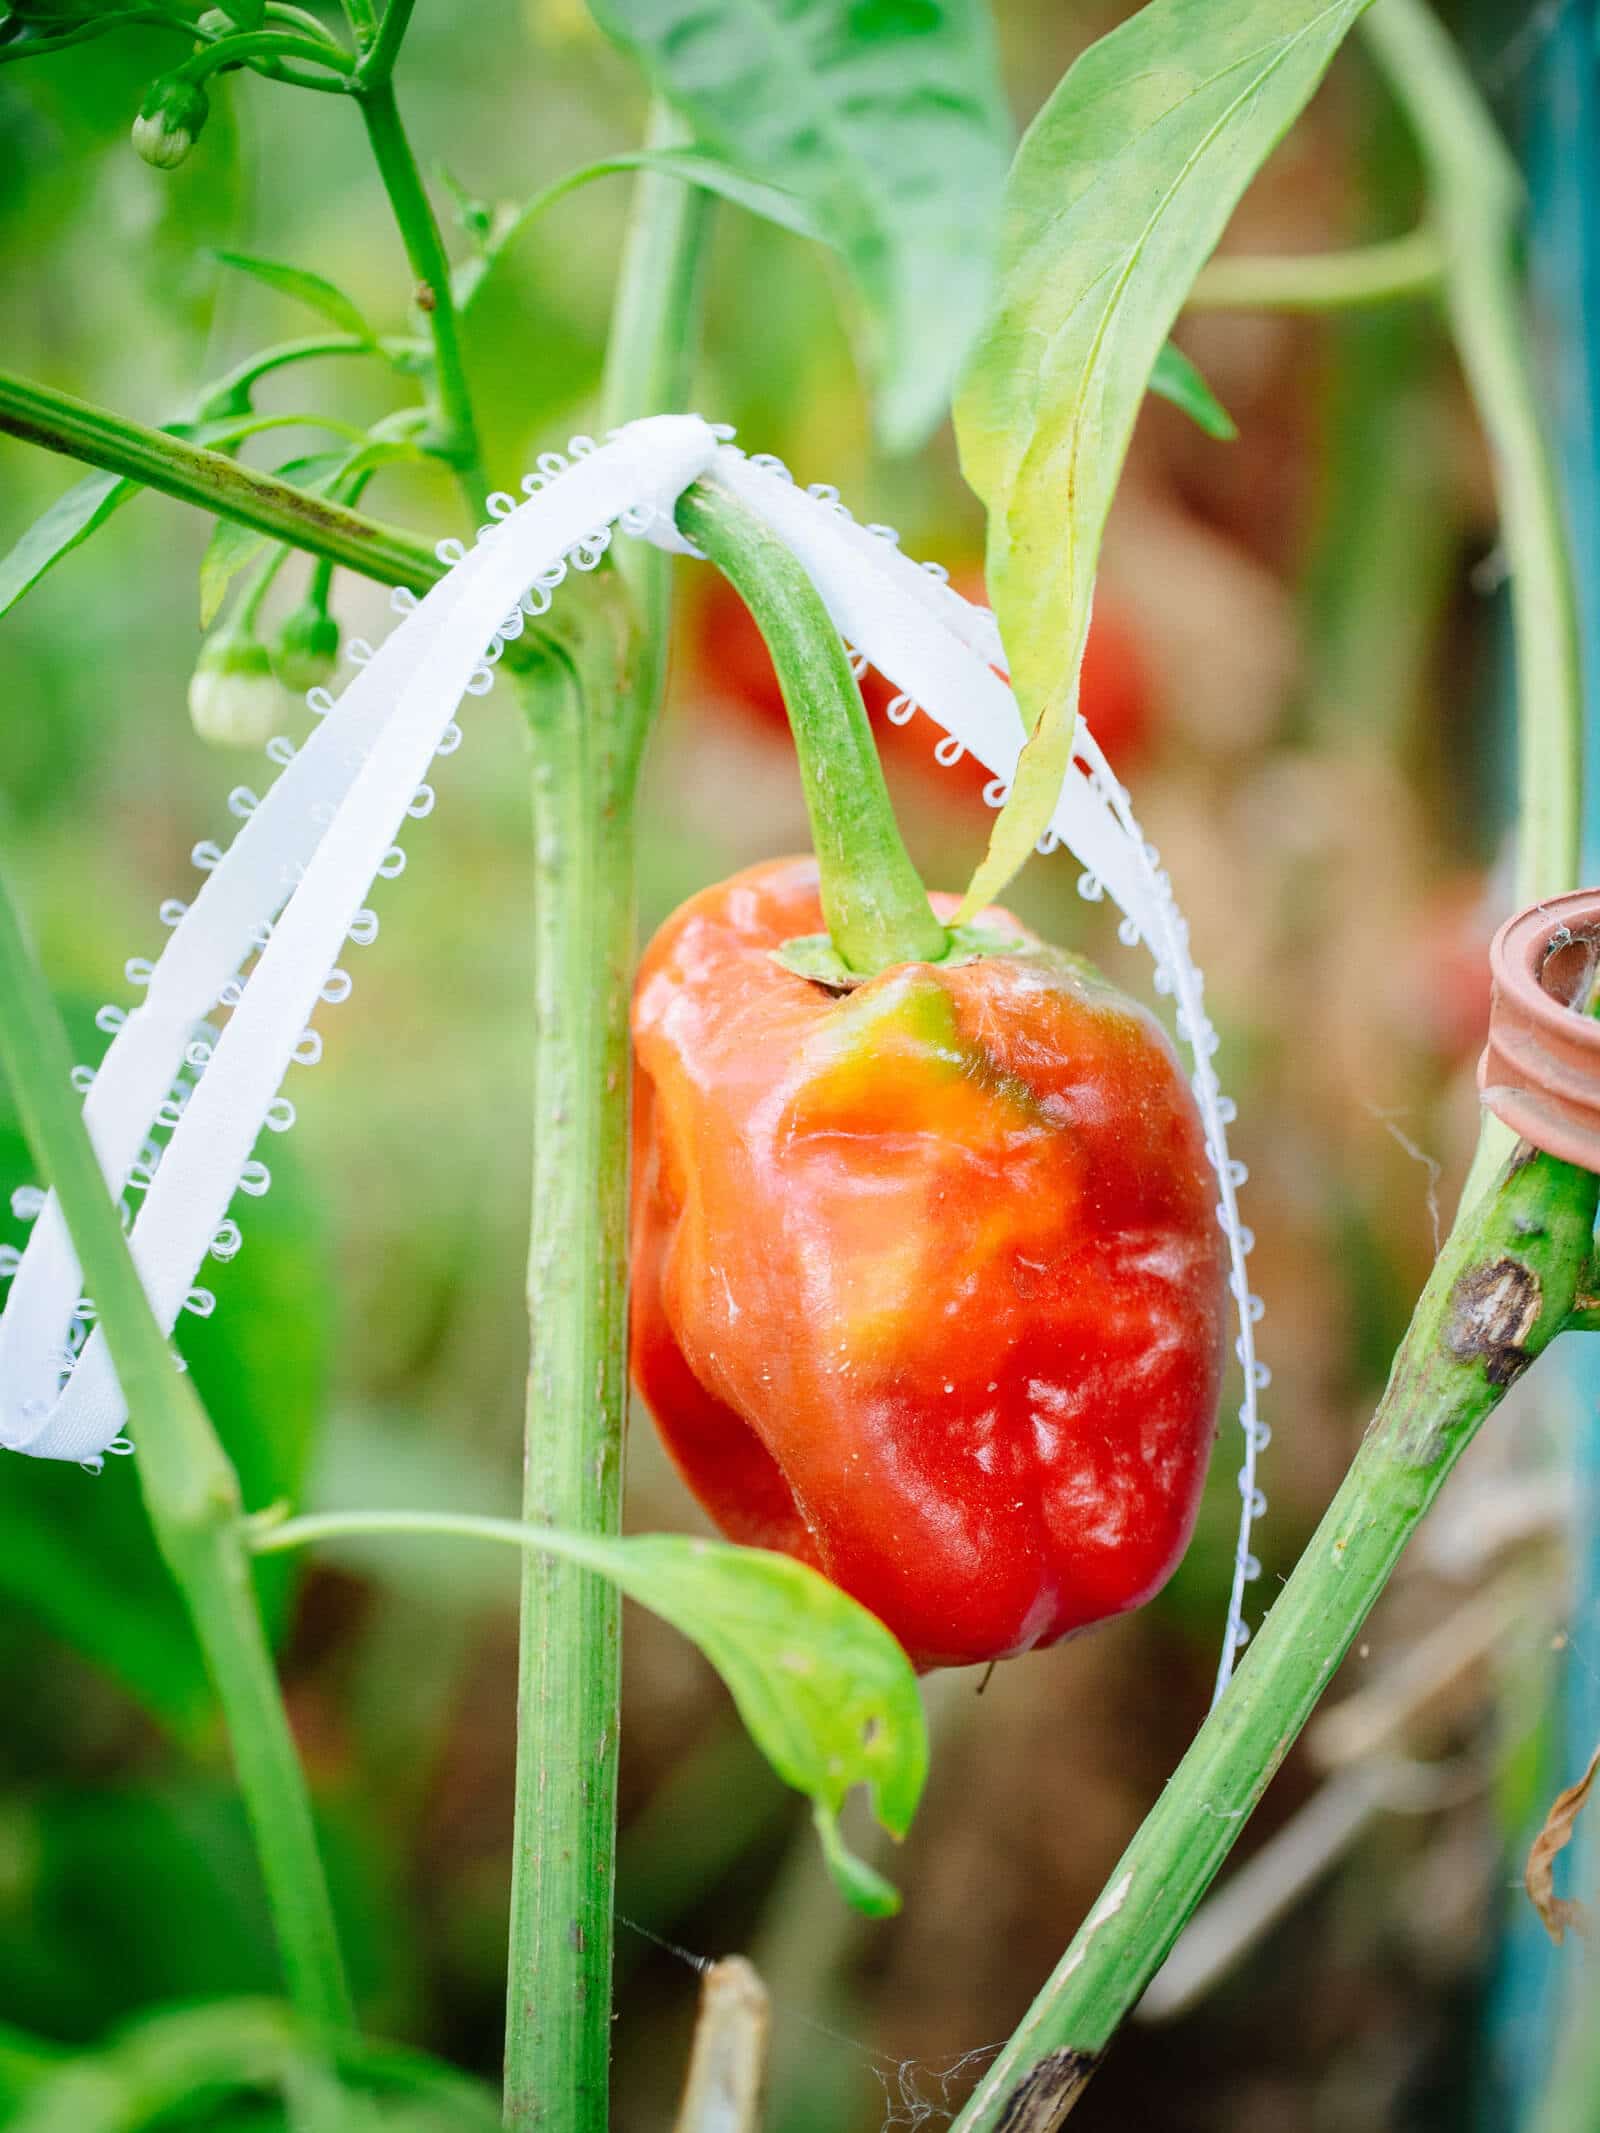
Here’s a quick tip: Mark your specimen with string or tape so when the time comes to harvest its seeds, you know which vegetables to gather with just a quick glance.
Throughout the season, I walk around my garden looking for the perfect tomato (or bean, or pepper…) and wrap a ribbon around its stem.
Disclosure: If you shop from my article or make a purchase through one of my links, I may receive commissions on some of the products I recommend.
Not only does this little step make easy work of collecting the best seeds later on, it also keeps the kids (and curious friends) from unknowingly picking a prized fruit before its prime seed-saving time.
Self-pollinated vs. open-pollinated plants
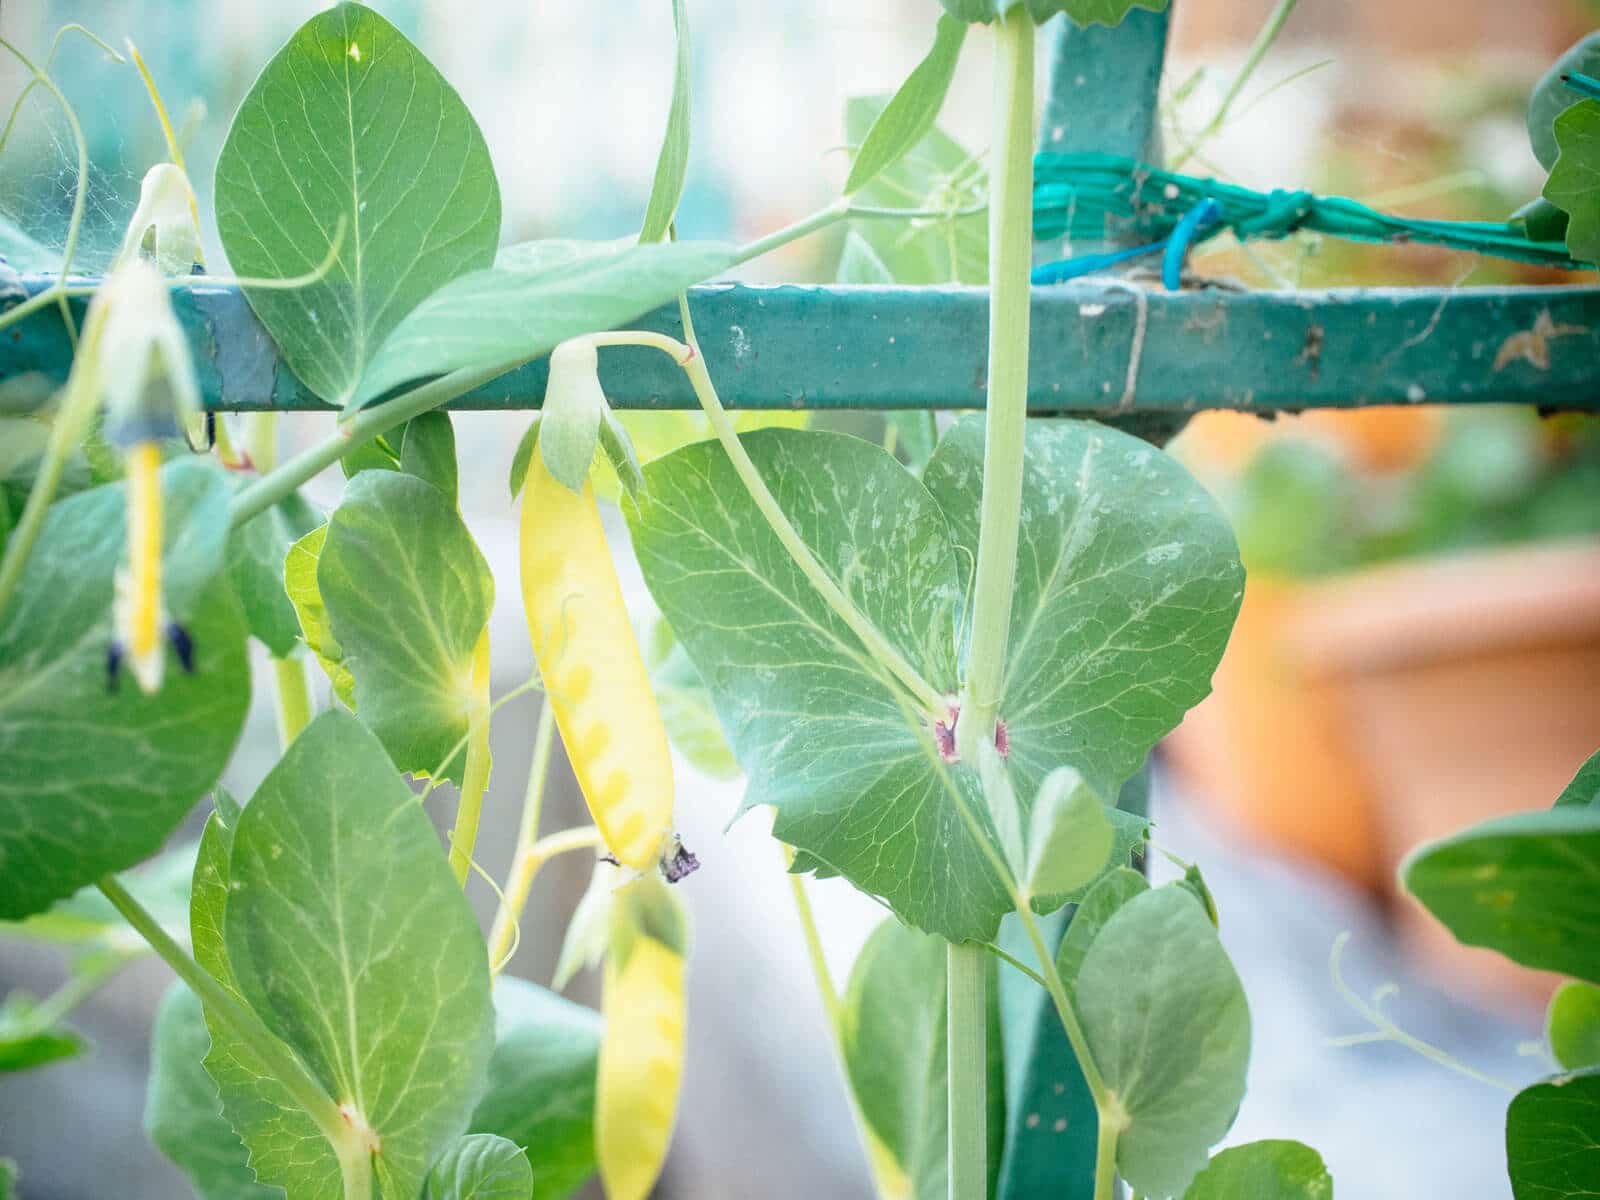
Self-pollinated plants have both male (stamen) and female (pistil) parts on the flower and can produce fruit without outside pollination.
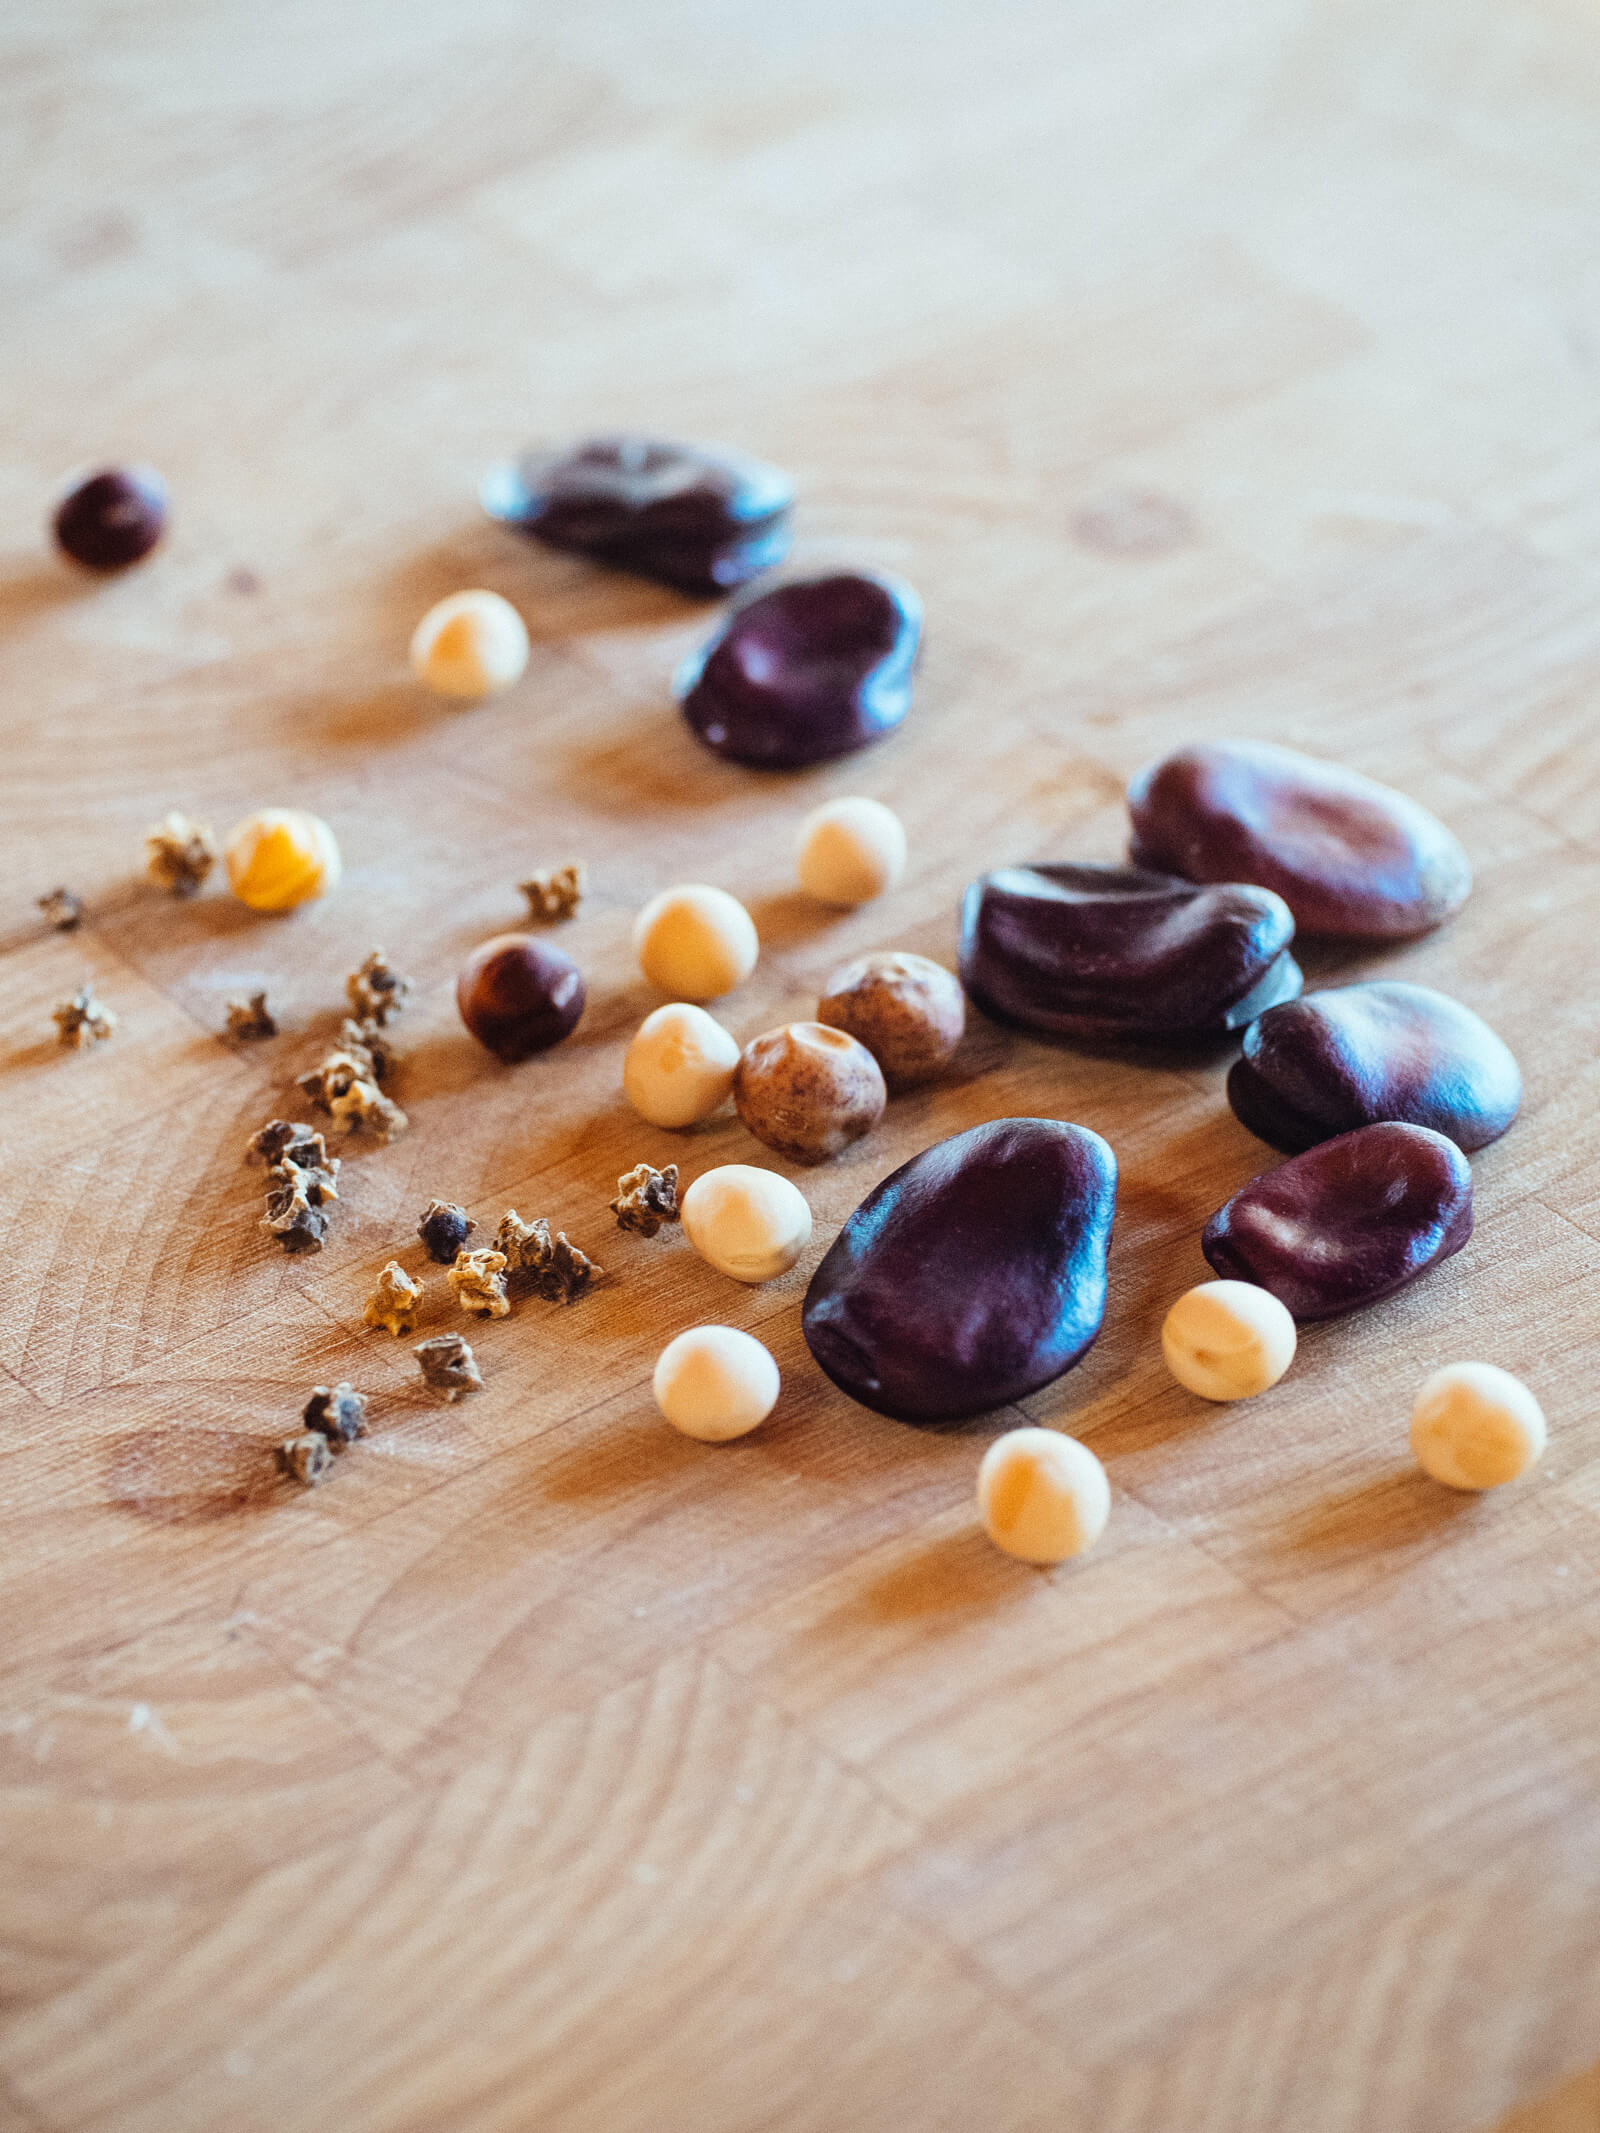
Legumes are a common example of self-pollinated plants, and thus are the easiest seeds to save as no special treatment is needed.
Open-pollinated plants rely on wind, insects, birds, or humans to spread pollen. Most plants are OP and will cross-pollinate with other plants of the same species.
Related: How to pollinate squash by hand for a bigger harvest
When cross-pollination happens, the next generation of plants may bear similar characteristics to either parent, but actually be a new strain. In effect, a hybrid is created and will often produce sterile seed.
To prevent cross-pollination, you can try one of the following methods:
- Grow only one variety of an OP crop per season. (For example, grow red onions this year, and yellow onions next year if you want to collect seeds from them.)
- Isolate your crops with physical barriers (like greenhouses, row covers, or bags) that prevent pollen from blowing in the wind or pollinators from spreading pollen to nearby plants.
- Time plantings so that varieties of the same species are not flowering at the same time.
- Plant different varieties at substantial distance from each other. (This is usually out of the question for home gardeners whose neighbors also have gardens, as the required distances can be anywhere from a hundred feet to a mile or more, depending on the breed.)
Collecting and storing seeds
There are two ways to collect seeds:
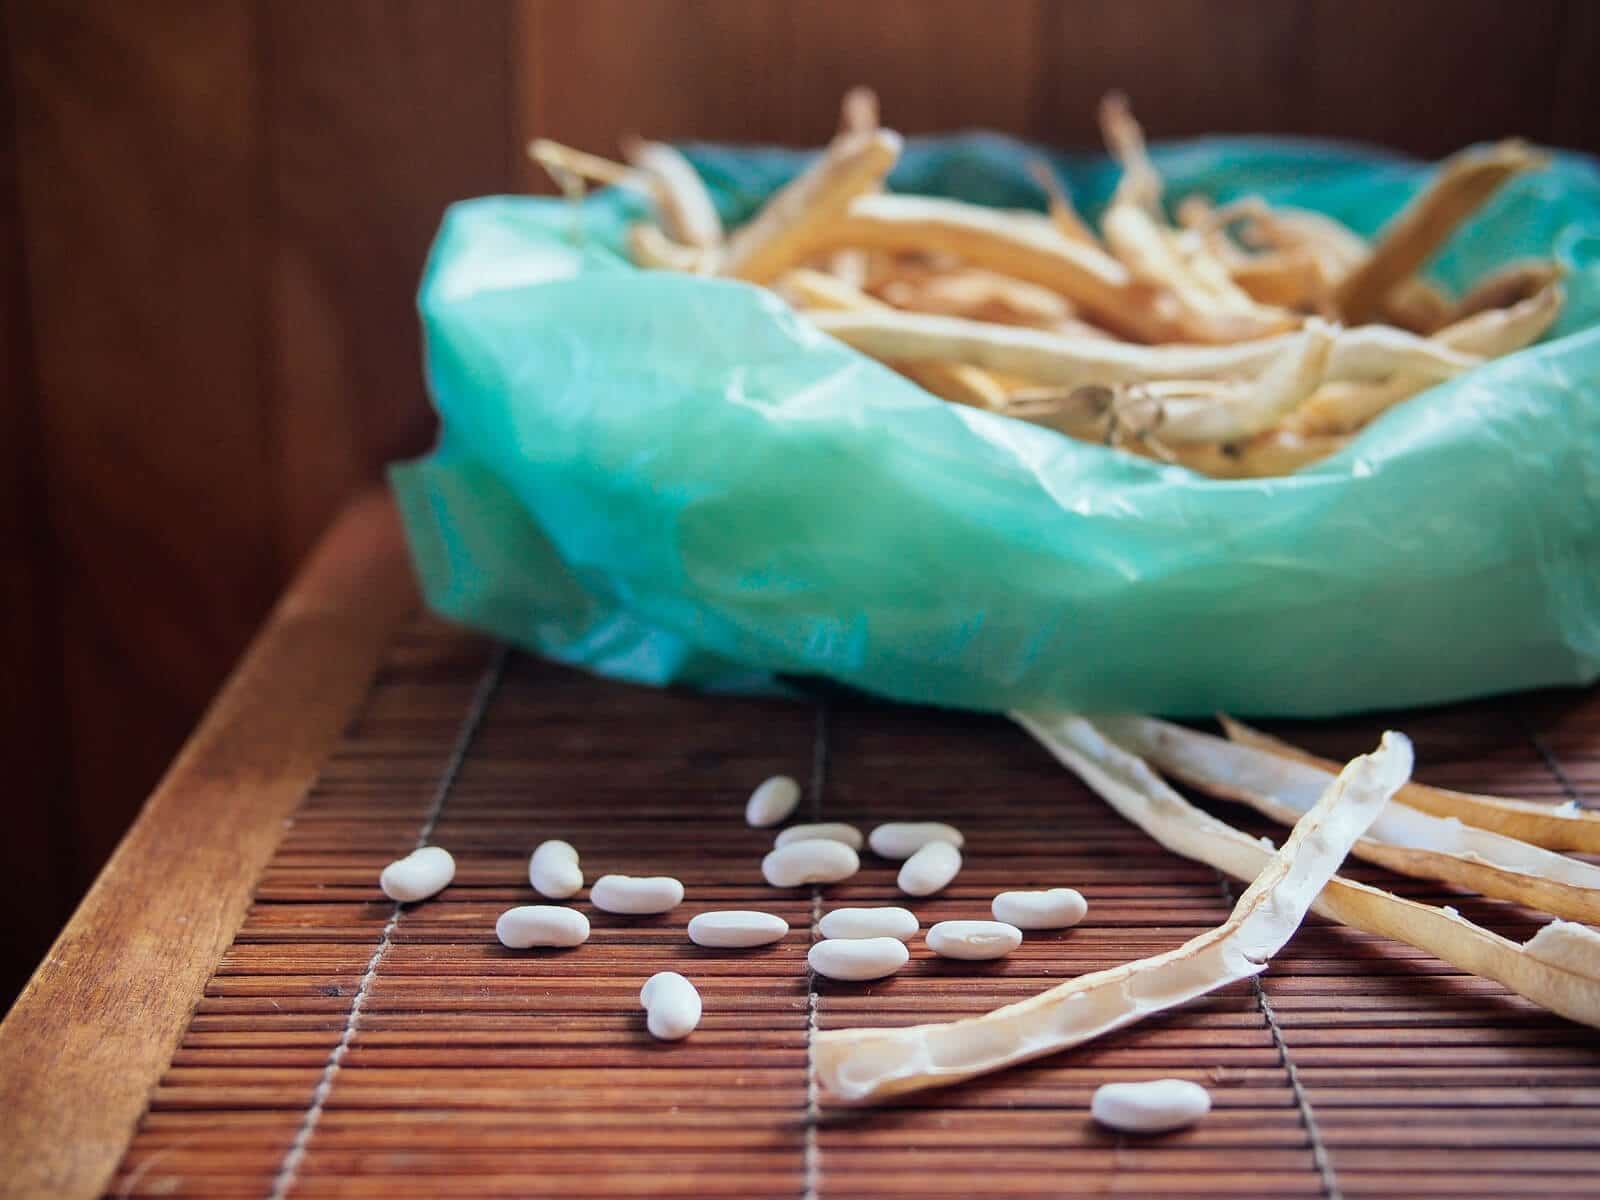
- Wait for the seed pods or seedheads to dry out completely on the plant. Think: peas, beans, radishes, spinach, and parsley.
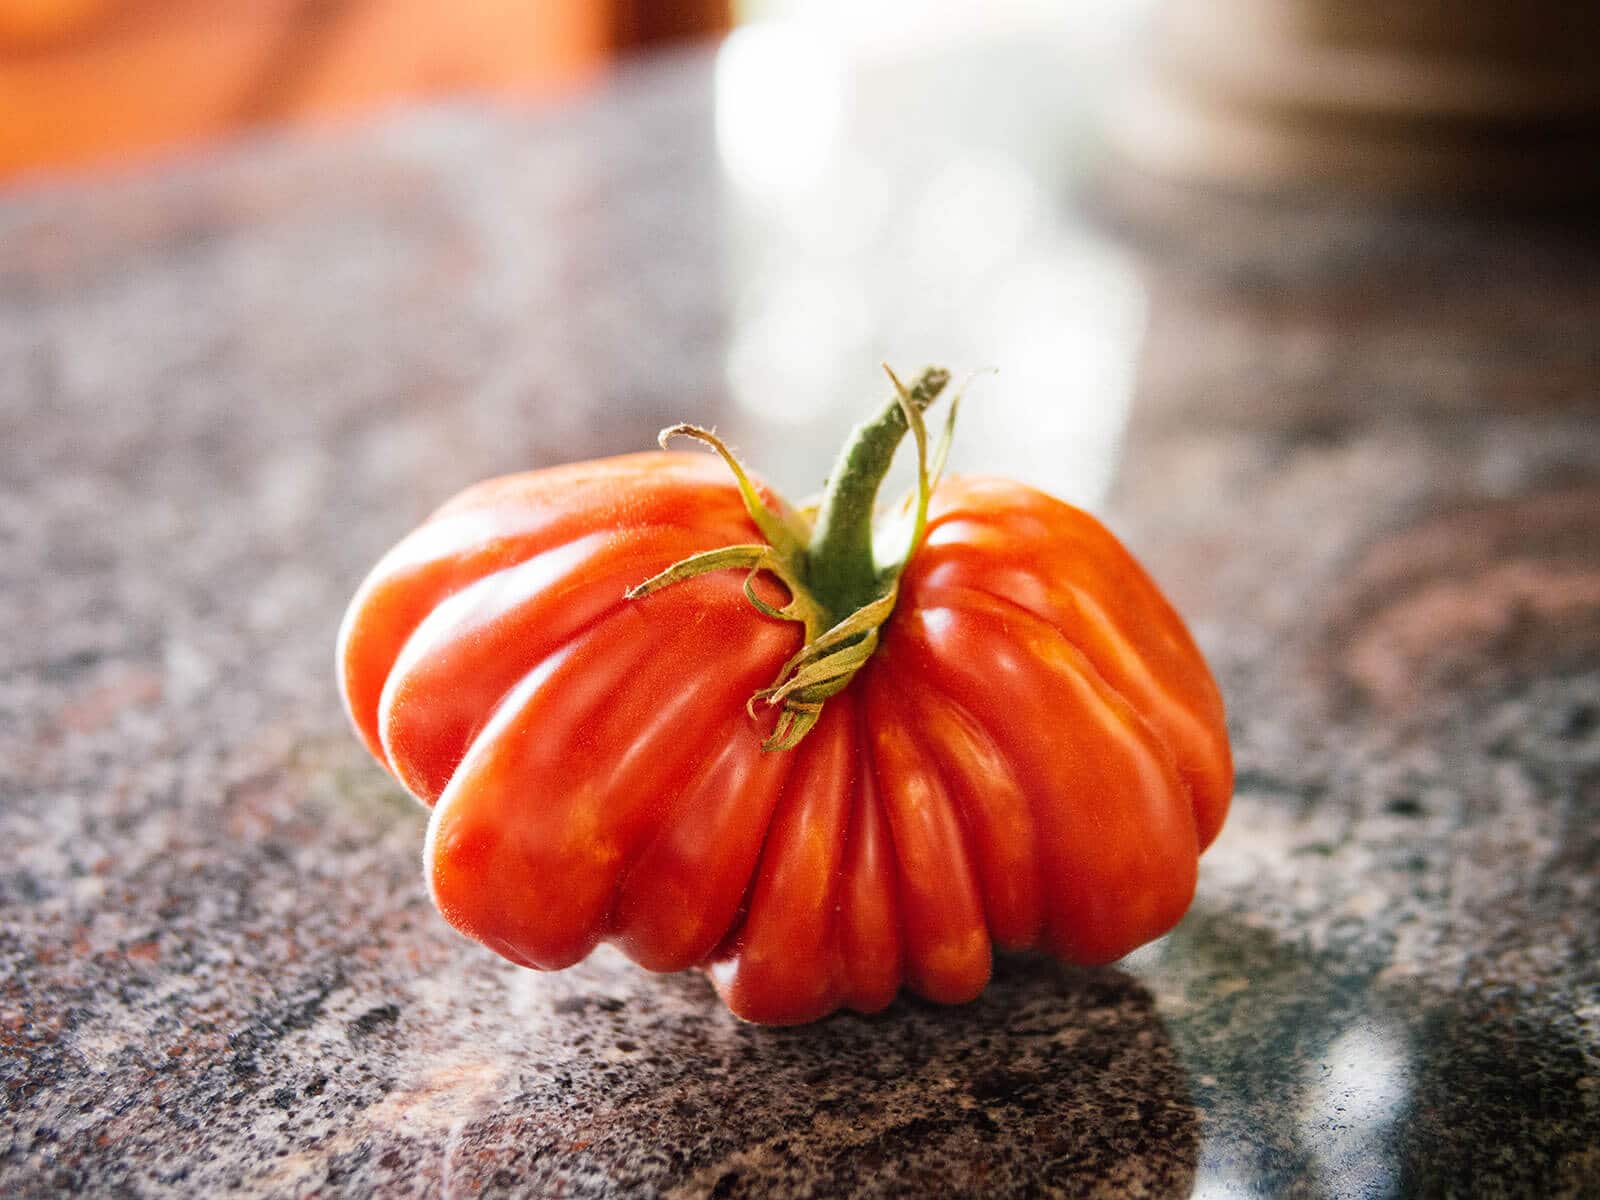
- Wait for the vegetable to grow to full size on the plant (and ideally have some color indicative of ripening) to ensure the seeds are mature. Think: tomatoes, cucumbers, eggplants, peppers, and squash.
How to collect seeds from seedheads
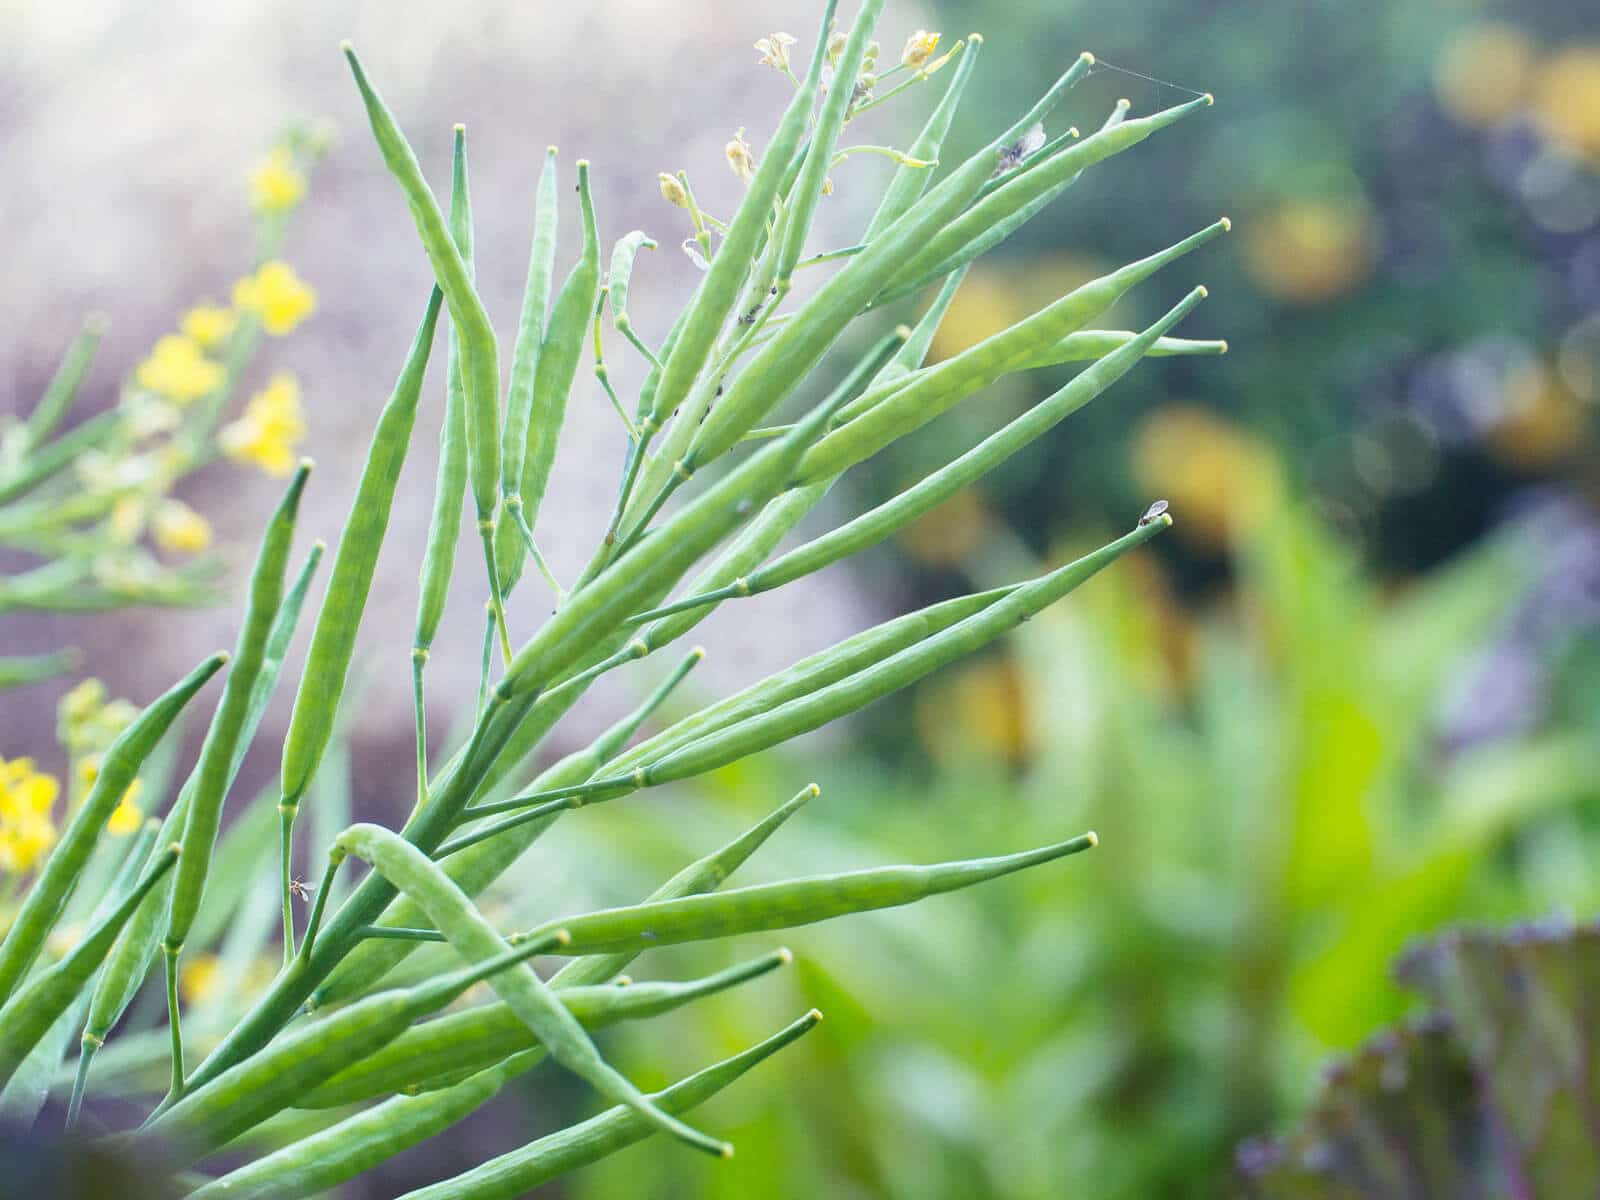
With the first method, you want to gather the seeds when they have hardened and dried out, but before the seeds drop from the plant (as with flowering seedheads) or before the pods and capsules split open (as with legumes).
Collecting seeds from ornamental flowers is most efficient when you’re deadheading spent blooms, as they’re easy to miss if you wait too long before they fall.
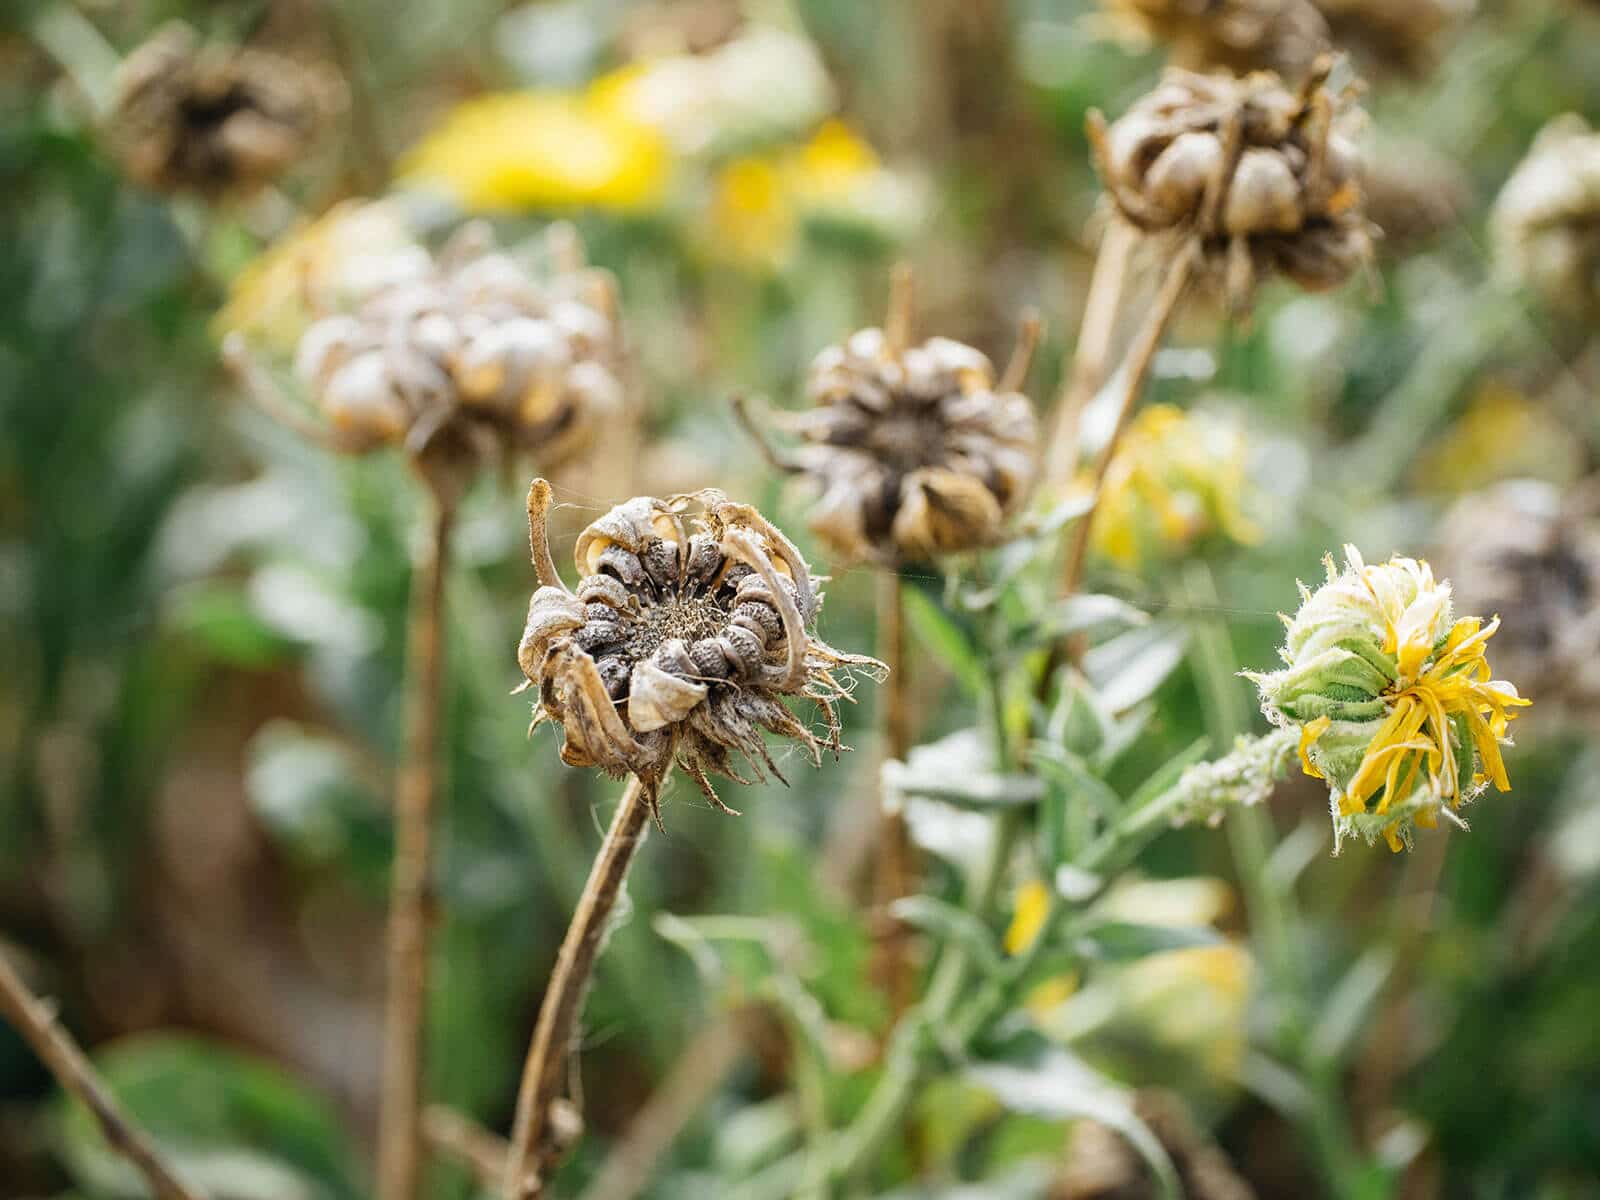
If you’re collecting seeds from vegetables, you simply have to wait until the end of the season when they bolt or become past their prime.
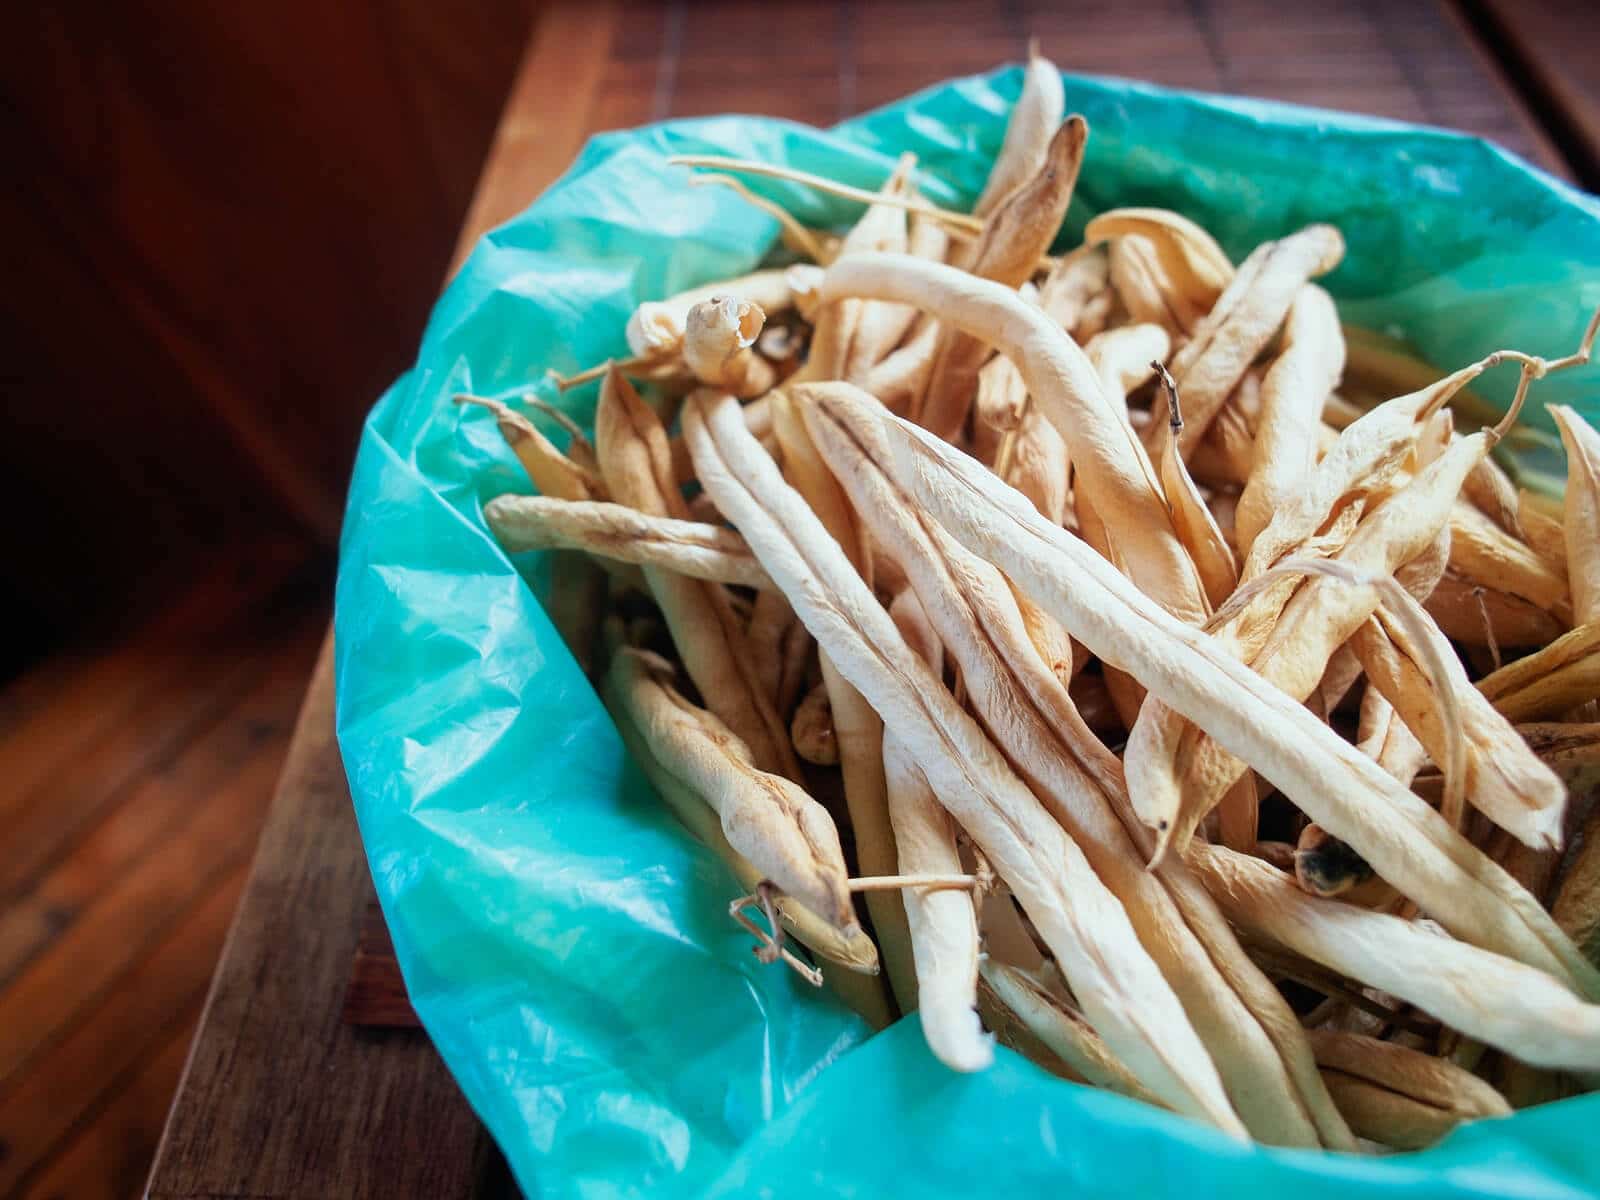
To extract tiny seeds (like those that come from cilantro, basil, lettuce, or mustards), wait for the flower petals to start fading and dropping from the plant (a sign that the seeds are almost ready for harvest).
At that point, cut the seedhead and place it inside a brown paper bag (or a bag made from any breathable material like linen or muslin) so it can finish drying indoors at room temperature.
After a week, give the bag a shake to release any seeds that haven’t fallen off naturally, and separate the seeds from the dead stems and petals.
Once fully dried, these seeds can be stored right away.
If you live in a humid climate or received rain before collecting the seeds, let them air dry indoors for a few days before storing.
How to collect seeds from mature vegetables
The second method of saving seeds requires you to wait until the seeds are mature.
How can you tell if they’ve matured?
- The fruit (vegetable) has grown to its final size at maturity and begun to shift in color. These color changes (such as blushing tomatoes) indicate the fruits and seeds are fully developed.
- The leaves are starting to brown and die, indicating the plant has done its job of reproducing for the next cycle.
Once you’ve harvested the vegetable, scoop the seeds out and wash off any pulp clinging to the seeds. I usually run water over them in a fine mesh sieve and rub them gently against the mesh to remove any fleshy remnants.
Read more: How to ferment tomato seeds for a more productive crop
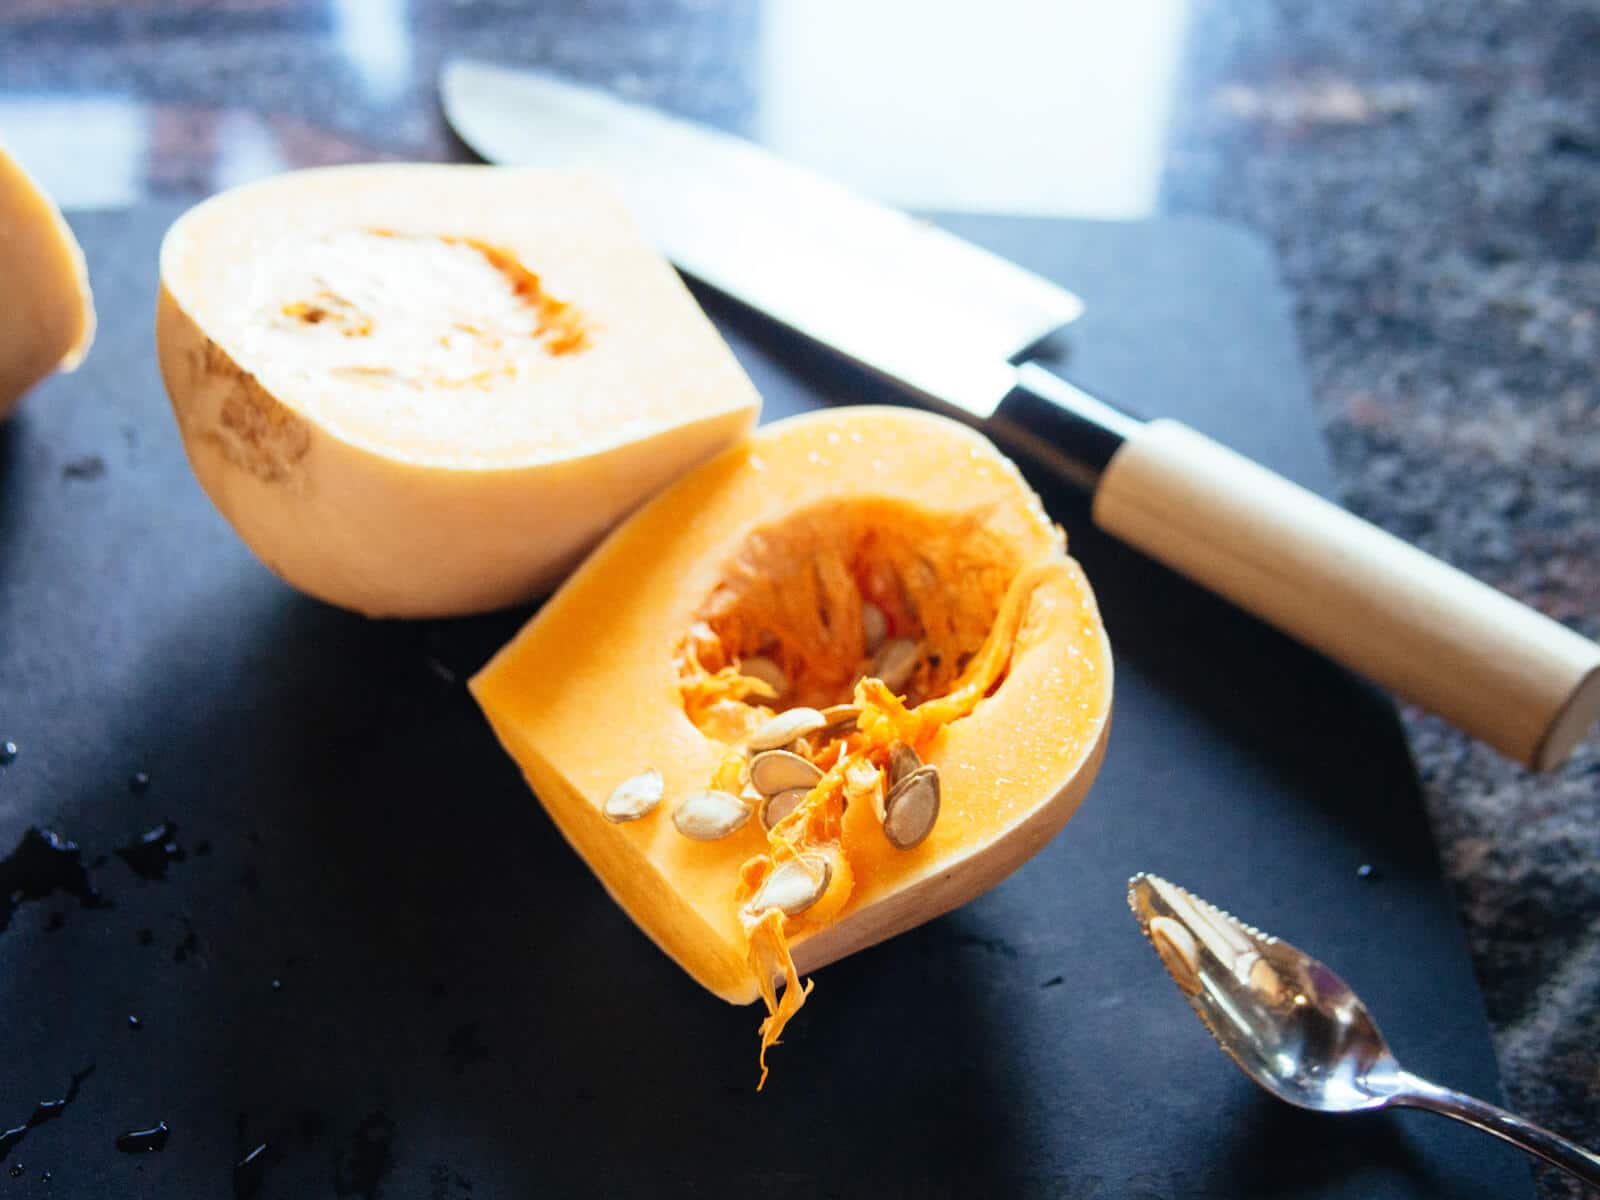
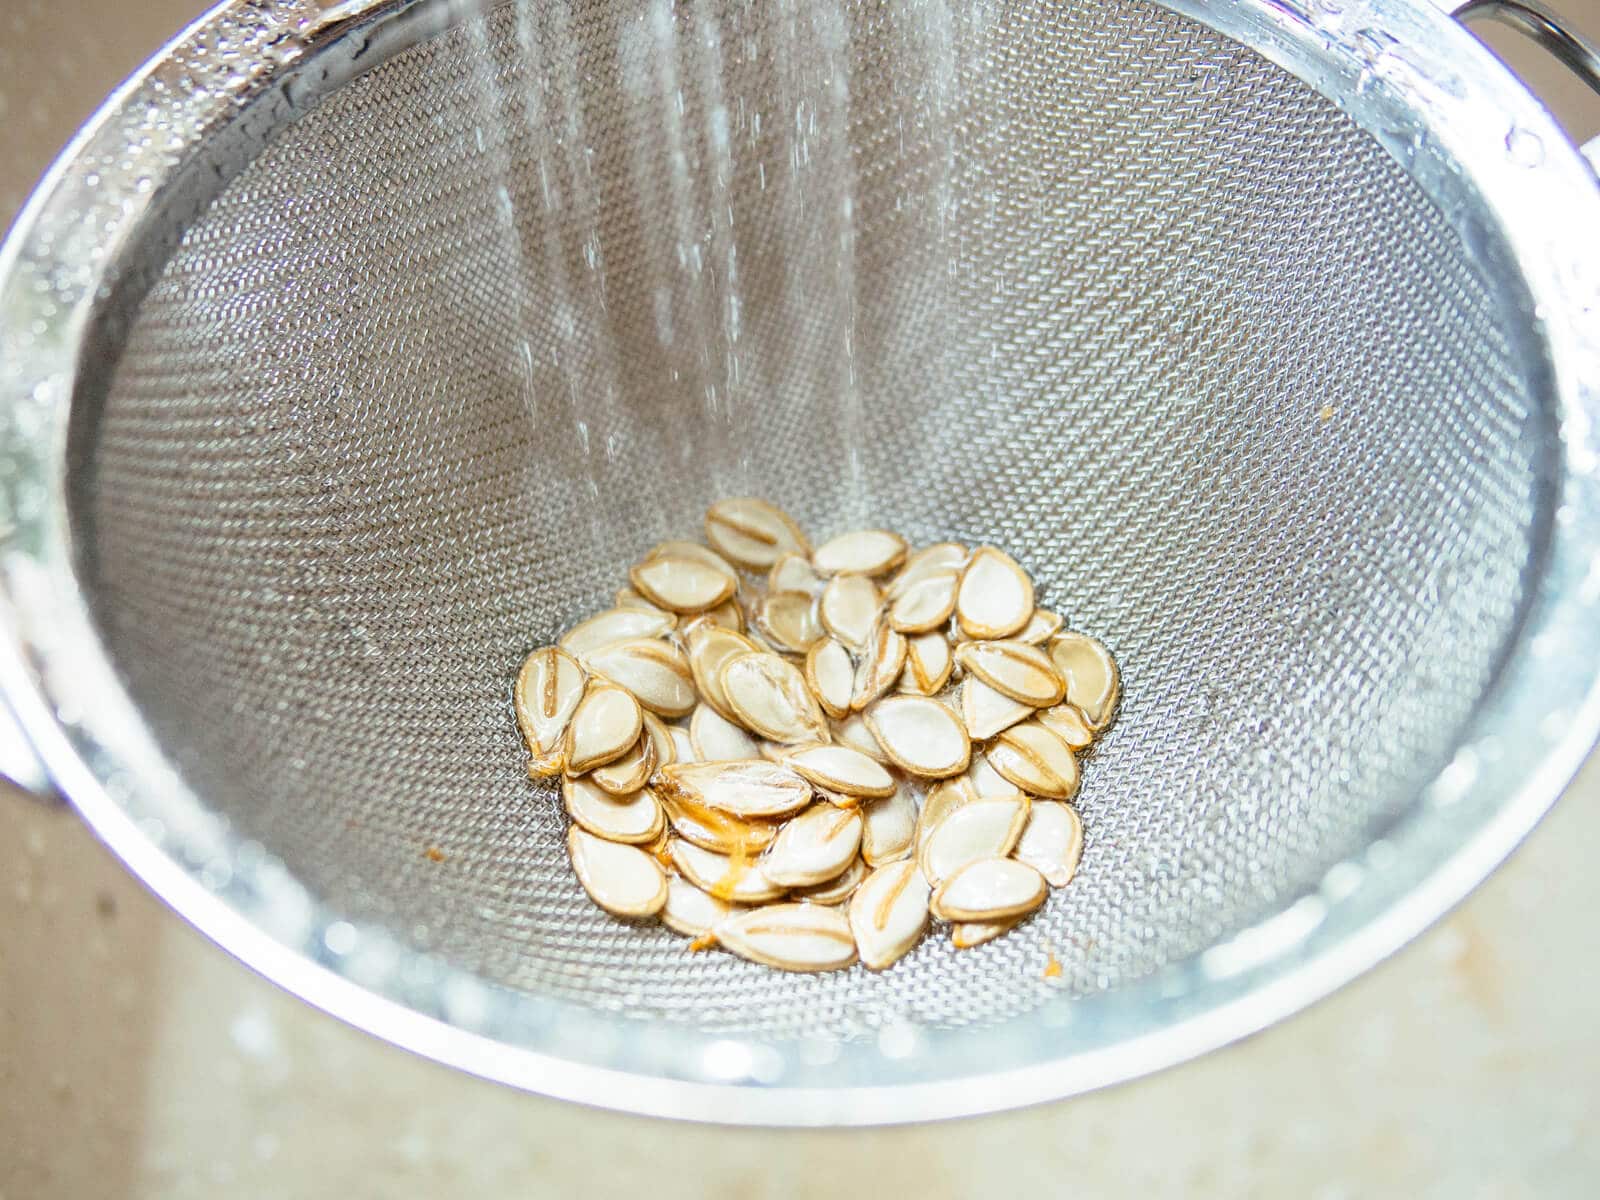
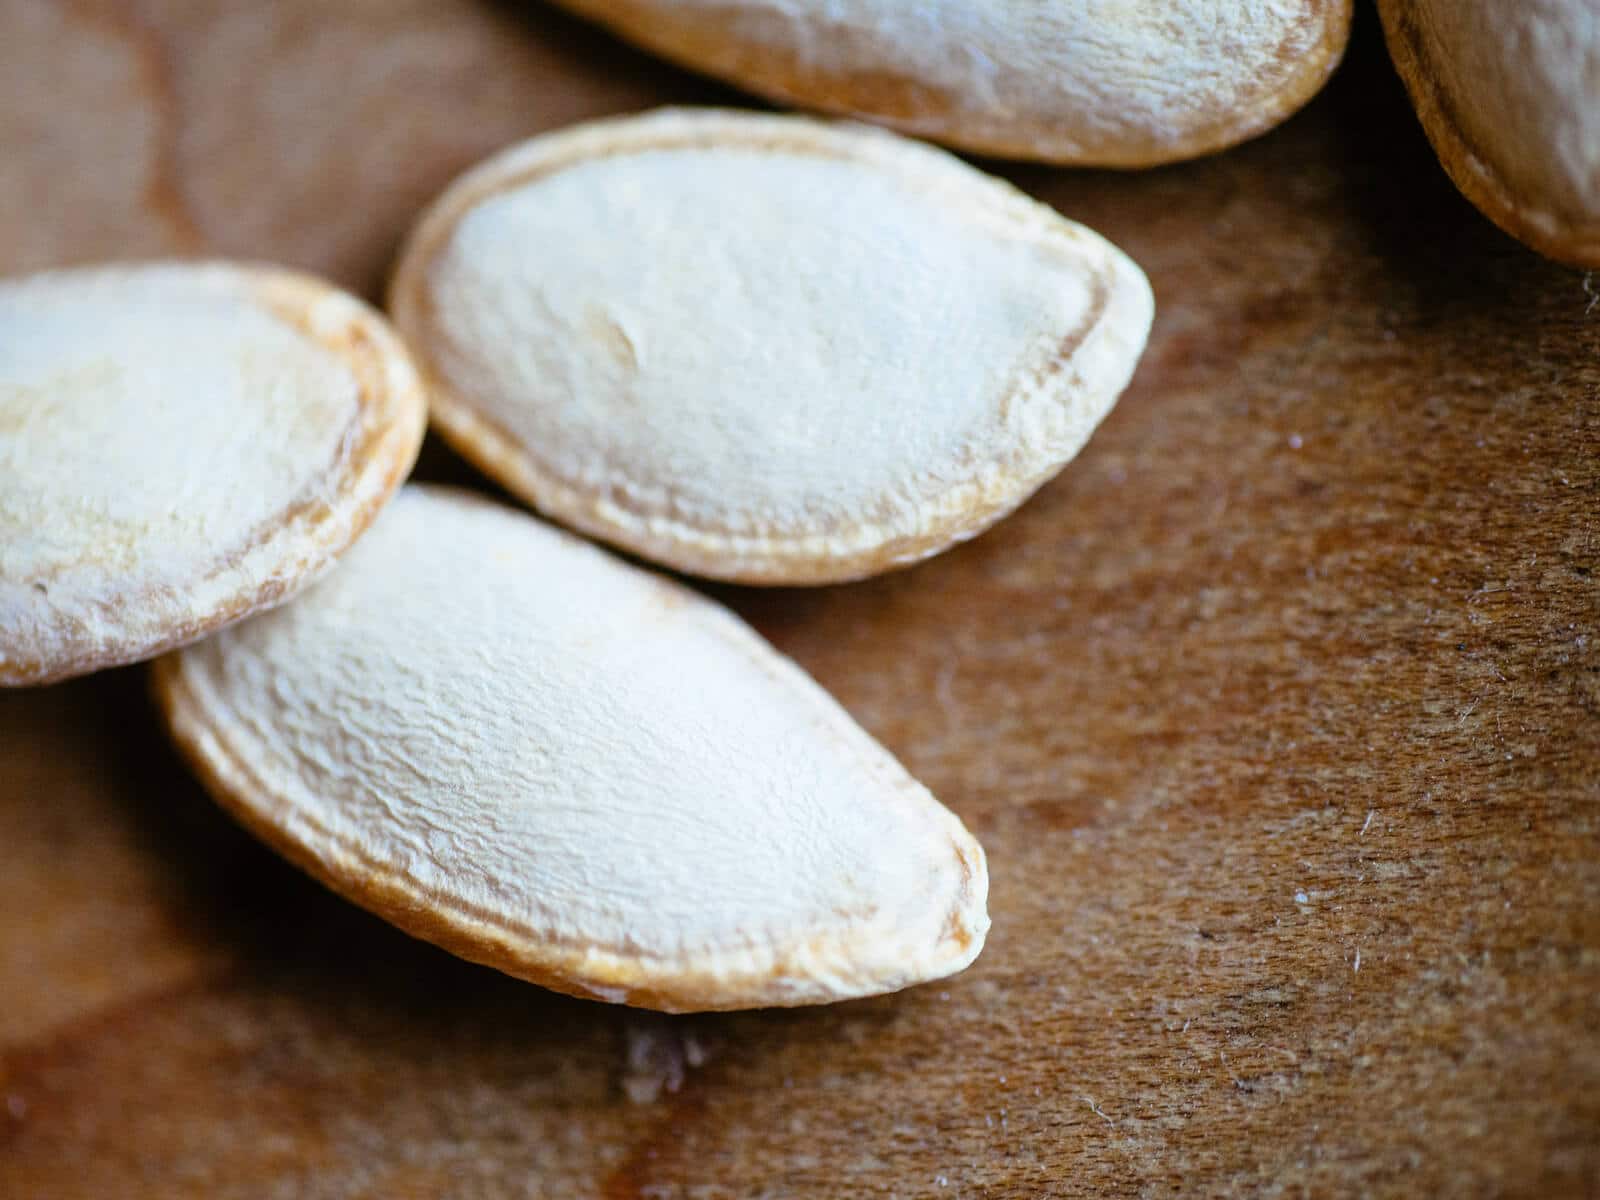
Once the seeds are cleaned, spread them out on paper towels or tea towels to absorb most of the moisture, then transfer them to a non-porous surface (like a metal sheet pan or ceramic dish) to finish drying. A non-paper surface keeps the seeds from sticking and picking up lint.
Every day or so, stir them around to make sure all the surfaces dry evenly.
Storing seeds for maximum shelf life
Seeds must be thoroughly dry before storing, otherwise mold or mildew can set in. Thicker seeds (such as squash) may need to dry out for at least a week before being stored.
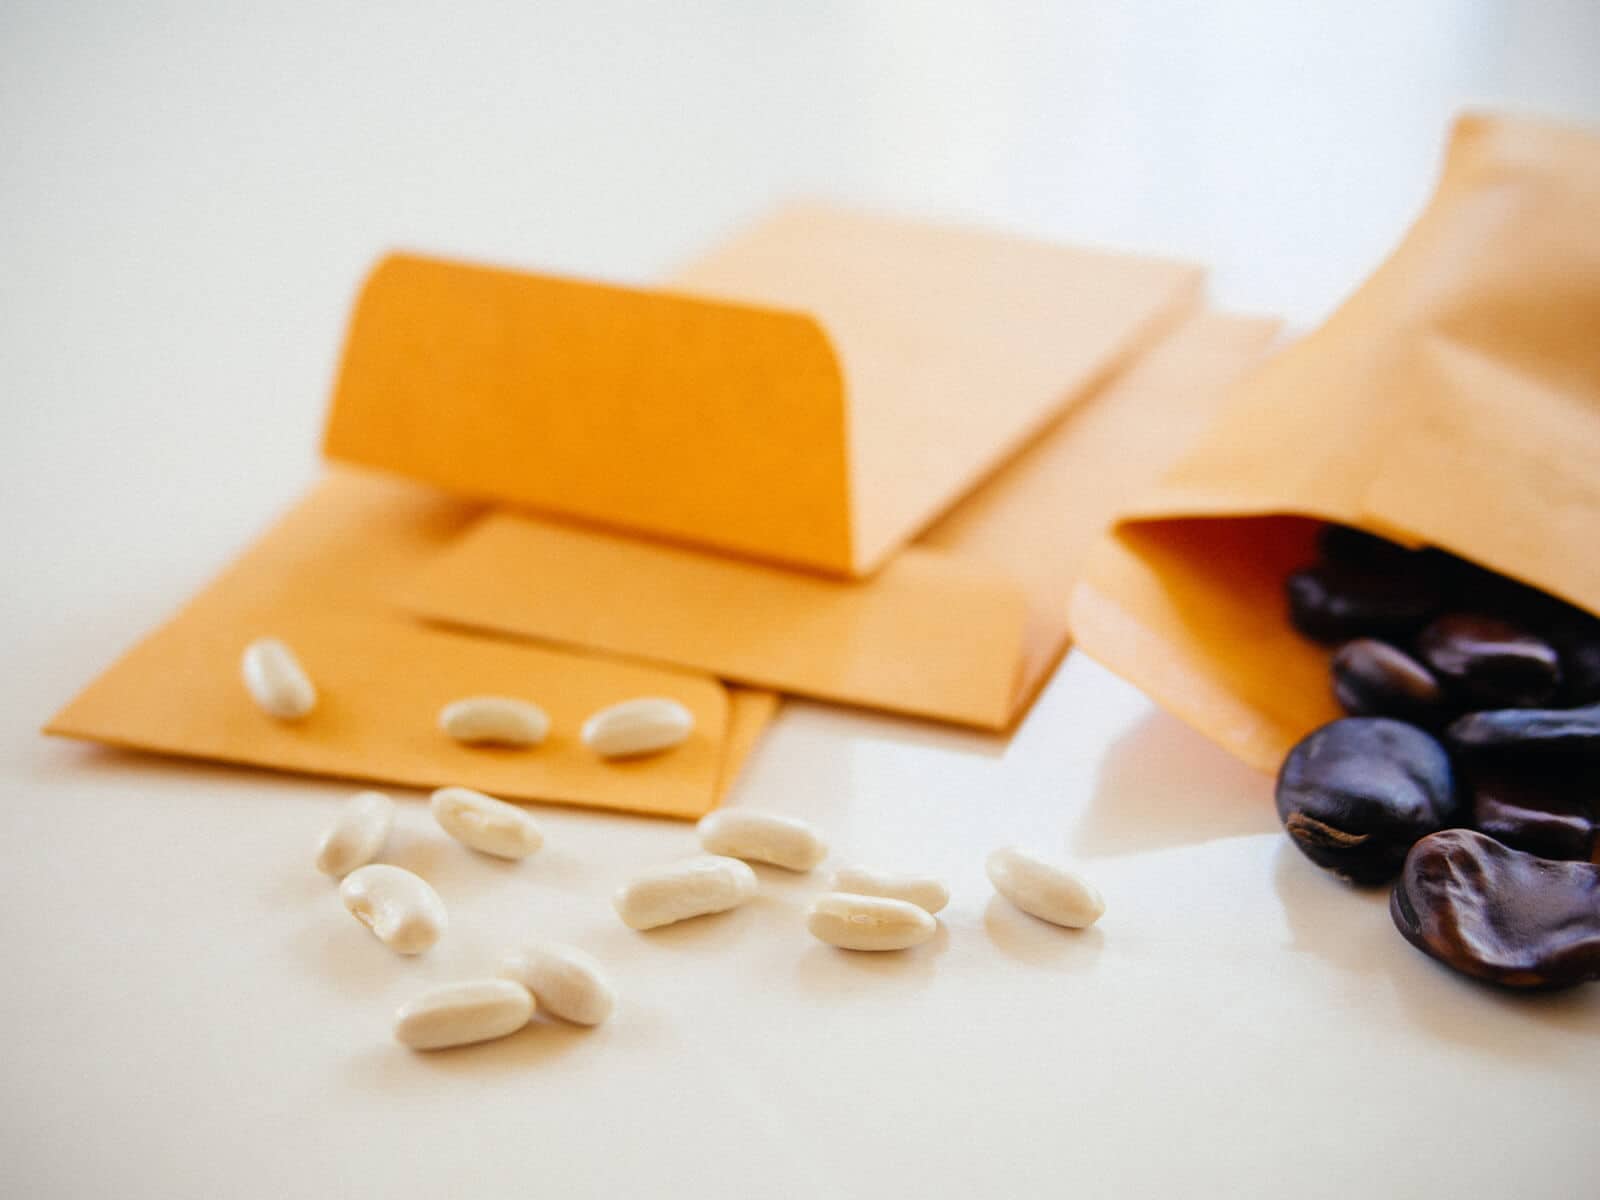
I like to stash my seeds in paper coin envelopes to save space, but you can also use small baggies, spice jars, tea tins, pill boxes, medicine bottles, old film canisters, or any other container you find around the house.
Label the container immediately with the plant name and date of harvest—it sounds obvious, but I’ve saved my fair share of “Grab Bag Tomatoes” over the years when I collected different varieties of tomato seeds at the same time, and got them all mixed up.
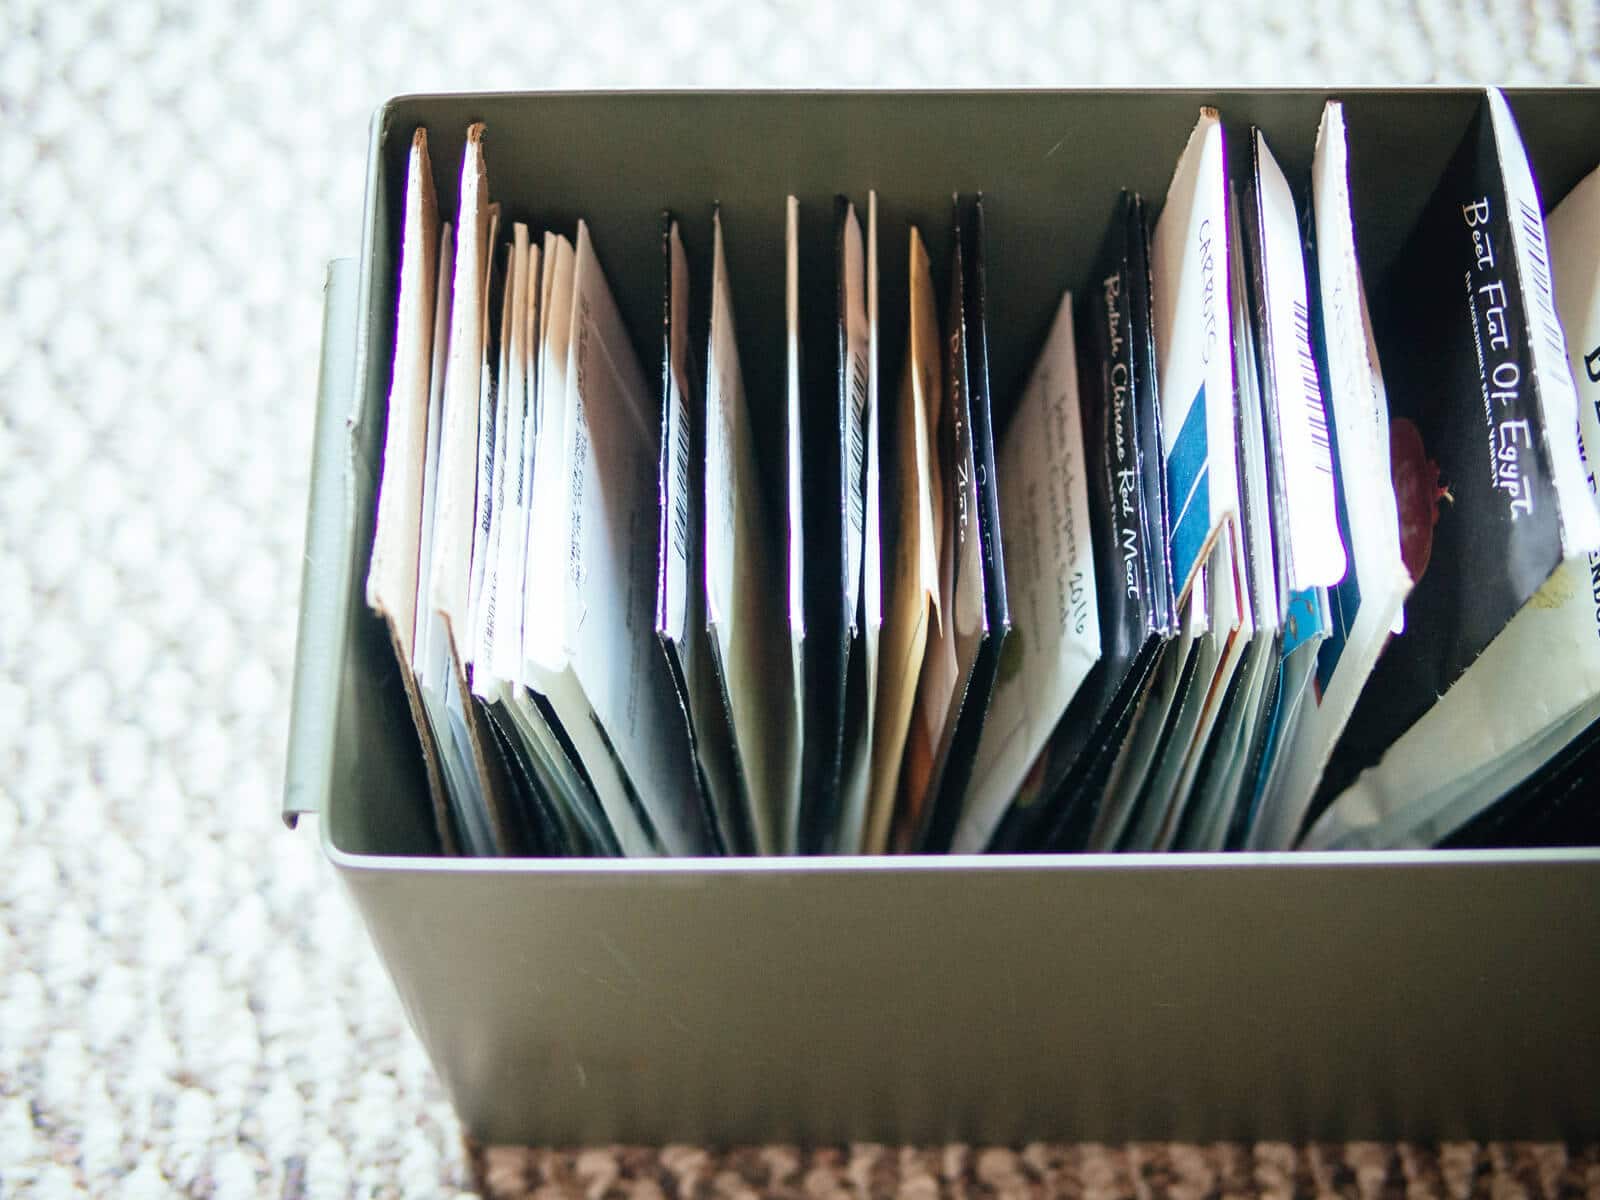
I keep all my seed envelopes in metal ammo cans, and store them in the coldest part of our unheated (but insulated) garage, where temperatures and humidity always stay low.
If you have the space, storing seeds in airtight containers in the fridge is also a great option, but any cool, dark, and dry place will work. Heat and humidity are the enemies.
The optimal environment for storing seeds is below 40°F with less than 10 percent humidity, inside airtight containers in a dark environment.
Seeds are most viable when sowed within the first year or two of saving, but if properly dried and stored under ideal conditions, can last several years. (Download my handy cheat sheet to help you figure out how long your seeds will last.)
If you start saving seeds now from all your favorite plants, you may never have to buy seeds again. And homegrown seeds make thoughtful little gifts!
After all, it was the tradition of saving and sharing seeds with families, friends, and that old farmer down the road that kept heirloom seeds alive for so many generations.
Where to buy
Seed saving supplies
This post updated from an article that originally appeared on September 10, 2011.


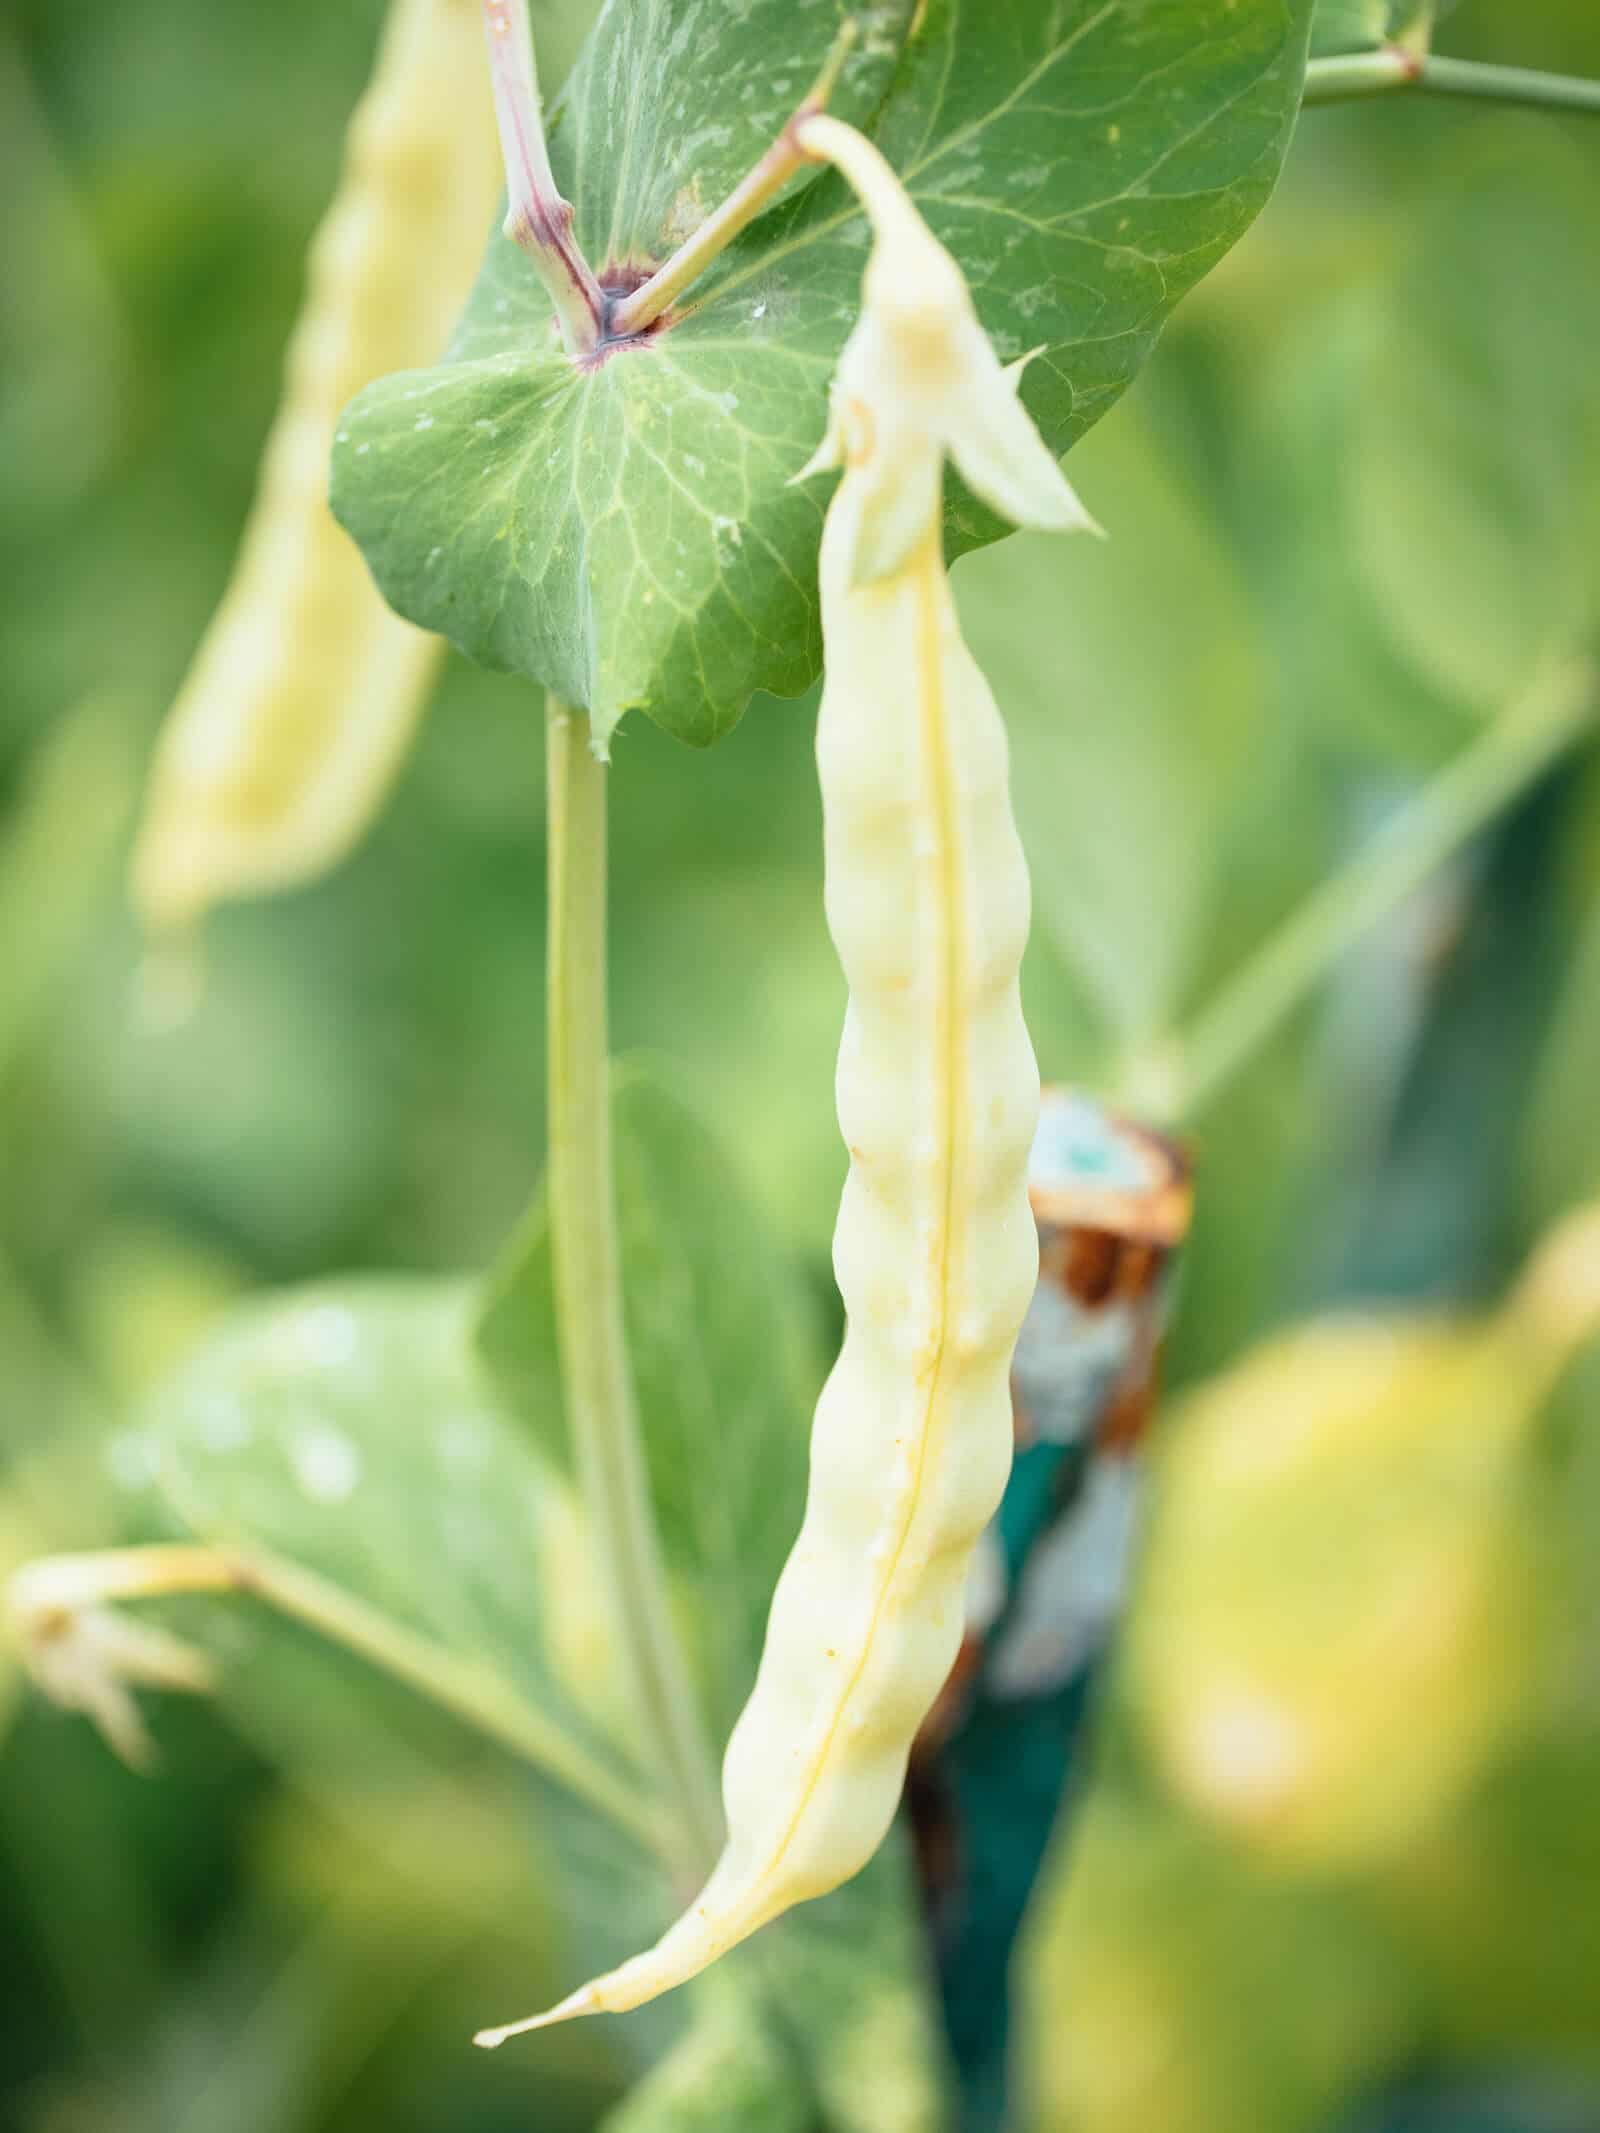




Air-dried seeds store pretty well in jars or envelopes that are kept in dry, cool conditions. Certainly seeds air dried and stored in clean, dry, cool conditions will be good for next season. Remember that a seed is alive; with time, its energy store will dissipate and it is no longer viable.
But, saving seeds you plan to store in the freezer requires REALLY dry seed. Many people use a dehydrator.
You will know that a seed is dry enough to freeze when it breaks cleanly (snaps or shatters) when you break it or hit it with a hammer. If it only bends under pressure, there is too much moisture in it to save safely in the freezer.
I really like the idea of marking your perfect plant or perfect fruit. I must do that as well, thank you!
As summer draws to an end and your plants begin to fade, this is an ideal time to start saving seeds from your… http://t.co/yb2imLvBWZ
Hello Linda. Thank you so much for the information on your great pages. I live in Queensland, Australia so our seasons are quite different to yours but I can adapt things. I love growing fresh vegetables. I had a vibrant worm farm until recently but we had a very hot, 43c day & I lost the lot as did my daughter. I am beginning to think that worms may be a cooler weather process.
Hi Elizabeth, thank you for reading! Worms can survive in warm weather but they do need to be under shade to keep the bin from overheating. Mine is under an eave and protected from sun and rain. On our hottest days (90F here on the coast) the worms simply burrow deeper into the scraps, which we keep reasonably moist.
Thank you Linda
I had them in the shade but we were in the middle of a heatwave and this was the hottest day of all. I hosed over the box but to no avail. My daughter lost all of hers too. I am leaving it until next autumn to get another lot. It seems that we are in for a very hot summer.
Hi Linda. Your information was very good. I have a question about peppers. I took some seeds from a bell pepper and place them in a container. I allowed them to dry but they seem to take forever to germinate. Any tips on how to save bell pepper seeds from store bought peppers?
Pepper seeds need heat to germinate. Also, store-bought peppers are usually hybrids, so if you’re able to grow a new plant from that seed, it might not look/taste the same as the parent plant.
do you have some seed for sell or share?
I do not, but I recommend http://www.seedsavers.org/ or searching for a local seed-saving or gardening club in your area.
RT @theGardenBetty: @themorningfresh I wrote a seed saving guide here: http://t.co/GsztOySKUa … peppers are pretty easy to save from!
@themorningfresh I wrote a seed saving guide here: http://t.co/GsztOySKUa … peppers are pretty easy to save from!
Hi:
About storing seeds. I read on line somewhere that a good way to help ‘dry’ one’s heirloom seeds would be to store them with some rice. Rice will draw any moisture out of the seeds; furthermore if the rice was heated for 10-15 mins on a cookie sheet in the oven then cooled it would be even a better agent in the drying of the stored seed.
I’ve never heard of using rice to dry out seeds (but I’ve used rice to dry out things like cameras, cell phones, etc that get wet). I’m assuming you stick the whole pod of seeds in the rice, otherwise you’d never find them again! Though they’re so quick to dry that I’ve never had to do anything more than lay them out for a few days.
This is wonderful. Do you have any other online resources or good places to explore about saving seeds?
A general Google search should lead you to many online resources on seed saving. But I think the most comprehensive guide is a book called “Seed to Seed” by Suzanne Ashworth. It discusses seed saving, planting and pollinating techniques in detail for all types of plants. I reach for it often!
Thank you Ms Garden Betty!