This post is in partnership with DripWorks. All thoughts and words are my own.
In summer, keeping a vegetable garden well watered means keeping an open tap like you haven’t seen since your last kegger in college.
But in the western United States, the little rainfall we’ve seen this winter can make it seem like summer year-round. And that makes our finite resource ever more precious in spite of the few rainstorms that did pass through in recent weeks.
Despite record-breaking precipitation last year from Alaska down to California, 38.4 percent of the US is once again facing drought, the highest percentage since the 40 percent recorded in May 2014.
Over 44 percent of California is currently considered to be in moderate drought, reservoirs in the Colorado River Basin are at alarmingly low levels, and bone-dry farmland across the country has resulted in poor pasture and crop conditions. According to the Climate Prediction Center, it’s looking like another dry year ahead.
For those of us in urban areas, it’s sometimes hard to wrap our heads around the fact that our water supply is dwindling. After all, we simply turn on the tap and water magically falls, as much as we’d like.
But I think a lot of gardeners (especially edible gardeners) feel the struggle, financially and emotionally, every time a new seed is sowed or another bounty is brought in.
In a conservation-conscious area, this could mean a bit of creative planning, cutting back on raised beds or finding ways to reuse gray water. But irrigate your garden right, and your crops can continue to drink up without exceeding your city’s water restrictions.
In fact, you’ll be able to tend your vegetable garden while saving water at the same time.
The Beauty and Basics of Drip
Most vegetables prefer soil that’s neither too soggy nor too dry. Overwater your plants and you could literally drown them in their own beds; underwater them and they’ll turn brown and brittle.
But just how much is too much and how little is too little? How do you remember when and what to water, and what do you do when you’re away for a week?
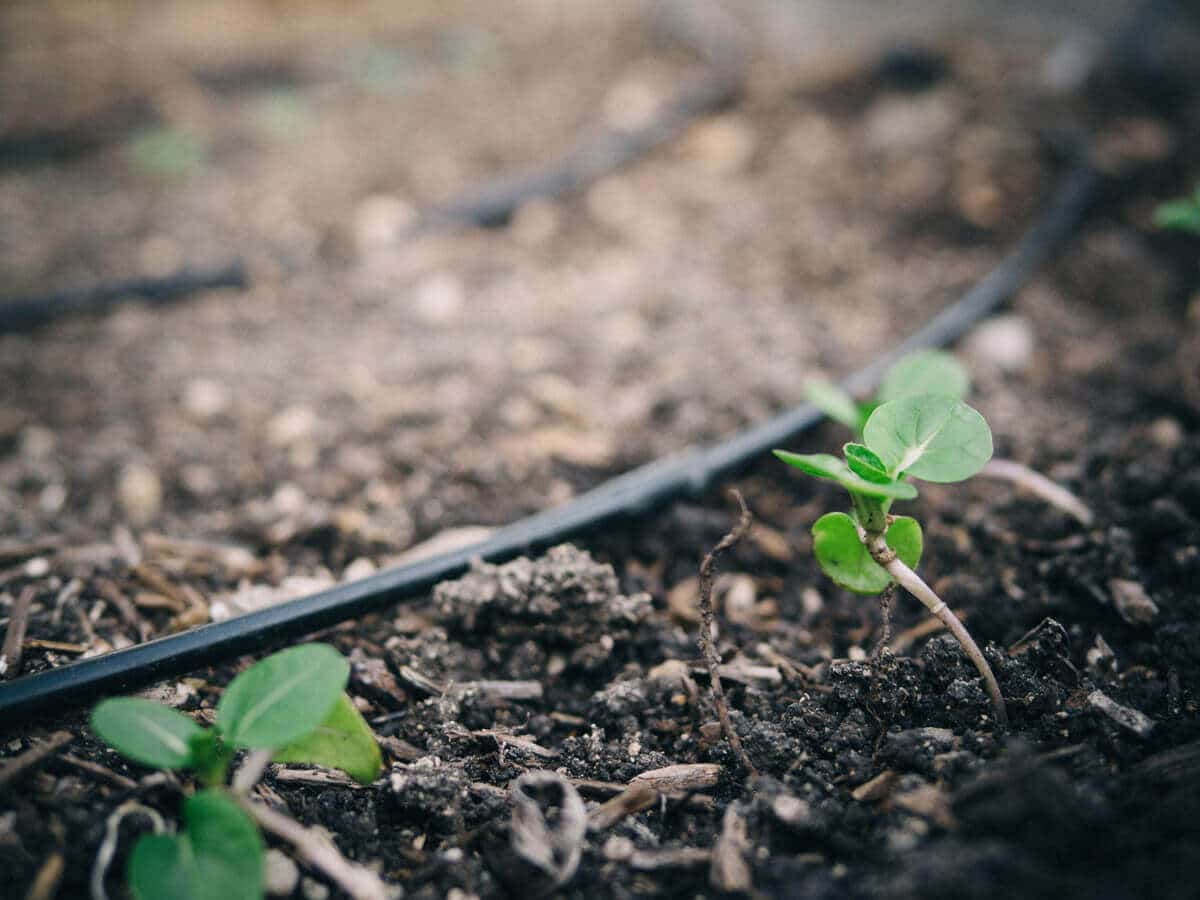
Drip irrigation solves all of these dilemmas, even for people who live in climates with plenty of precipitation. Not only does drip irrigation supply the right amount of water necessary for your plants to thrive, it also delivers water right at the roots, where it’s most needed, and keeps water off the leaves, which helps prevent fungal diseases like powdery mildew and garlic rust.
Compared to sprinklers, which are only 65 percent efficient due to evaporation and runoff, drip irrigation is 90 percent efficient. You end up with fewer weeds, no wasteful runoff, and healthier plants, all with little to no maintenance once the system is fully set up for the season.
What’s even more valuable is the time you save by no longer hand watering. A drip system can be automated on a timer so that you simply set it and forget it. Schedule your drips to run early in the morning for a designated period of time, and your garden will be watered before you even get out of bed.
For someone like me, who’s far from a morning person, that’s a big selling point! Drip irrigation is one of my favorite lazy gardening strategies because it results in a more productive vegetable garden with less effort needed on my part.
Drip Irrigation vs. Soaker Hoses
These two types of irrigation systems are sometimes confused with one another and may even look alike if you’ve never studied them before.
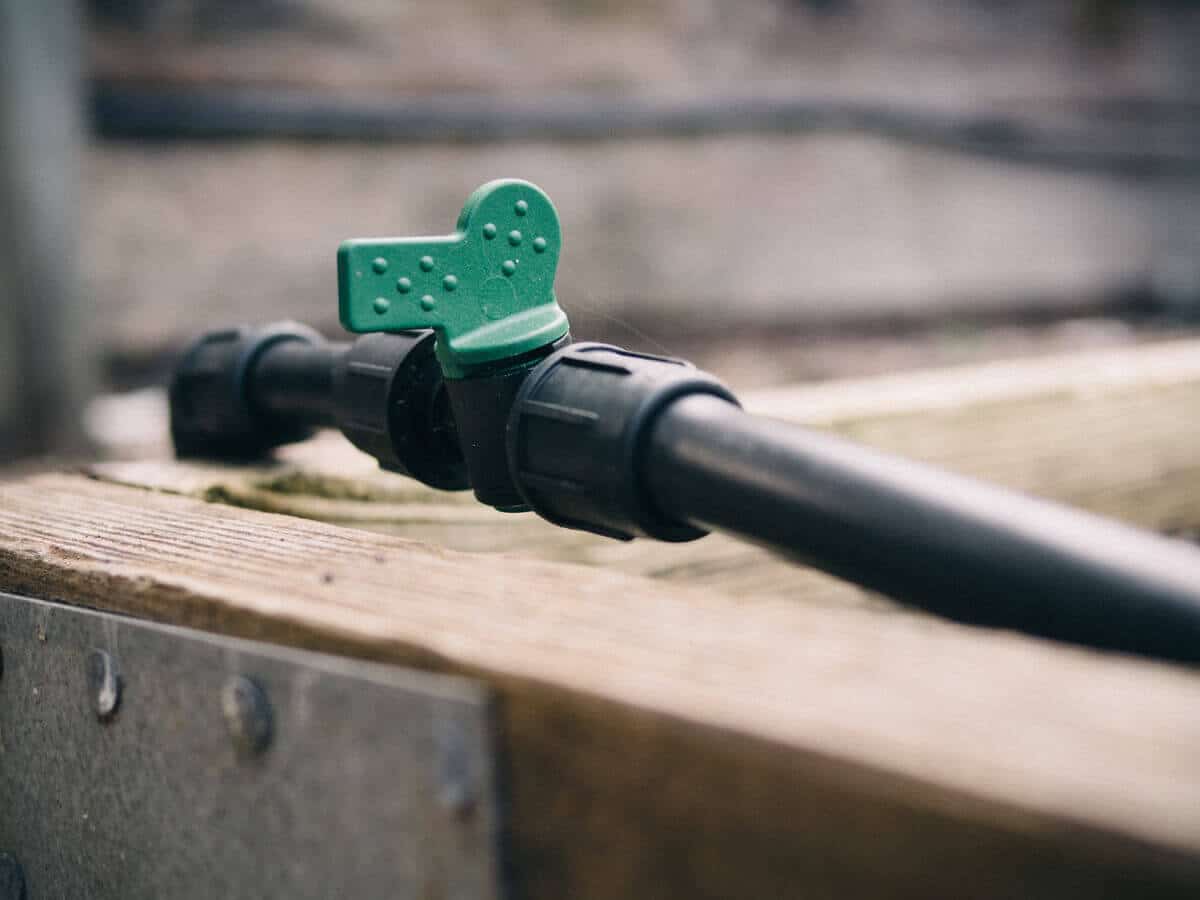
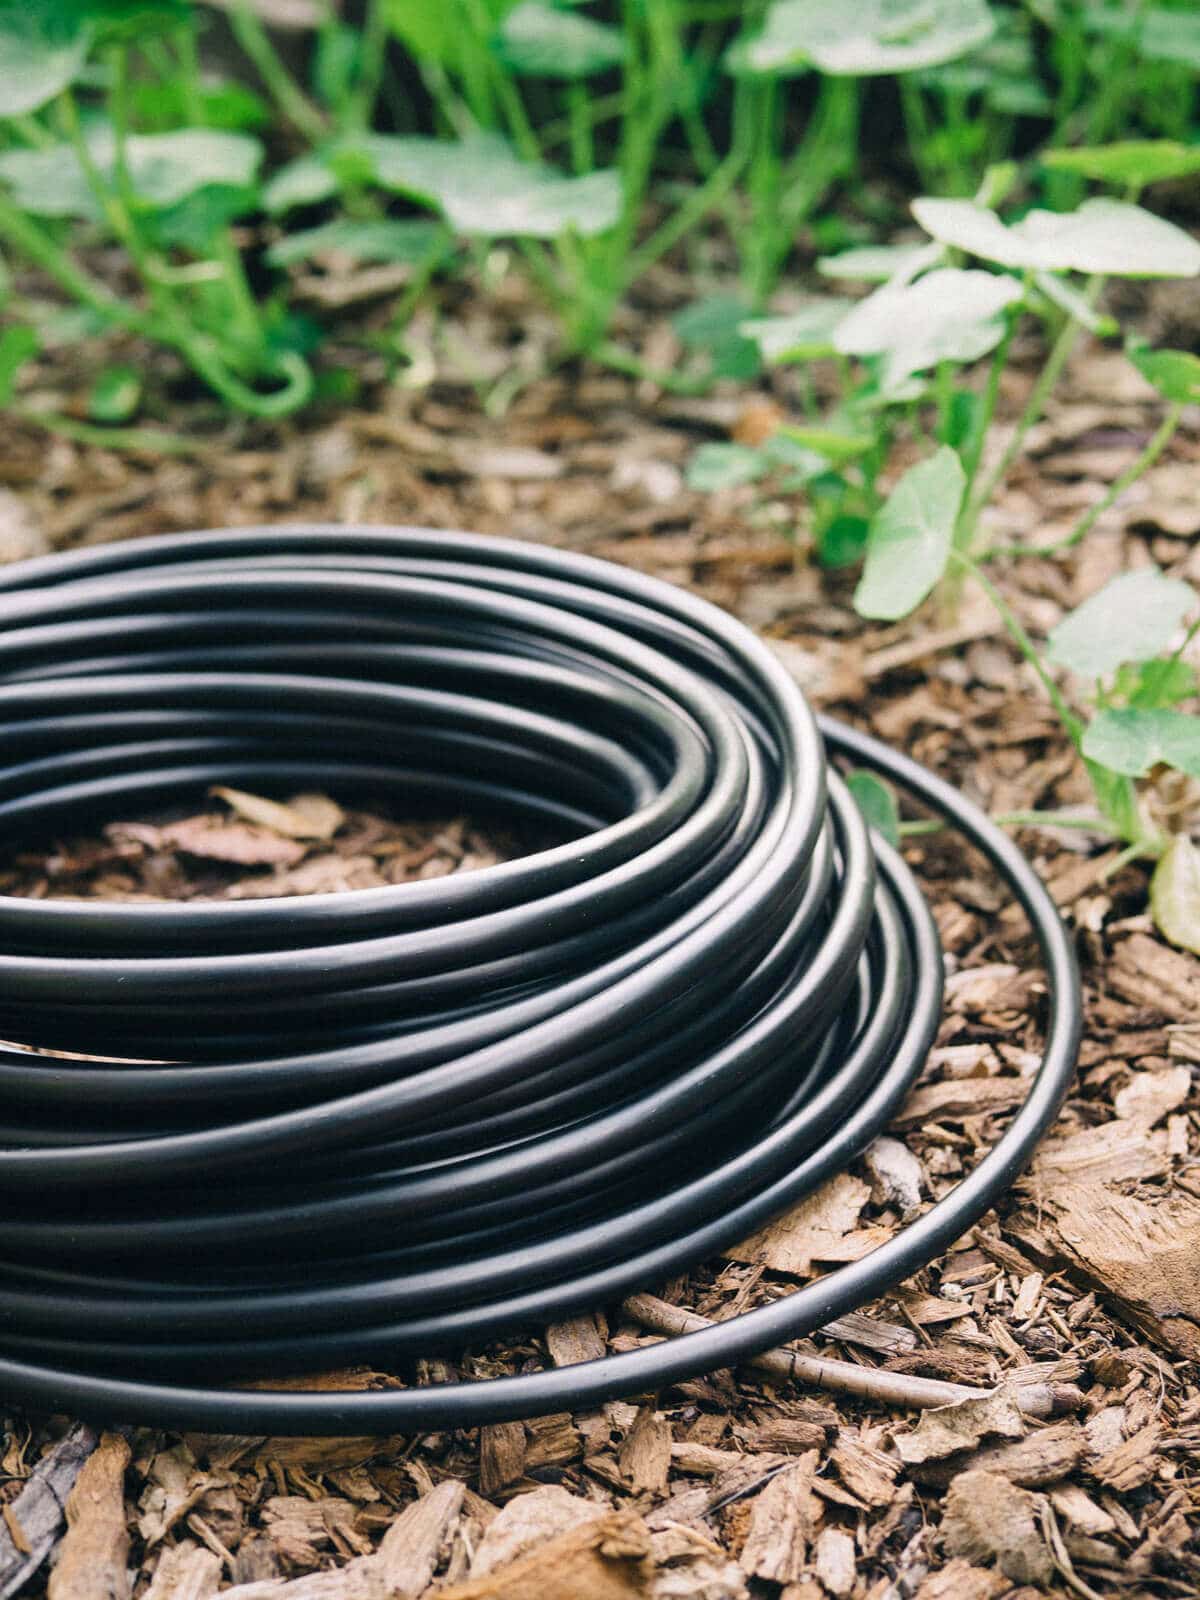
Drip irrigation is made up of a modular system of mainline tubing, driplines, and fittings that join together like an erector set. If you were that kid back then who loved to snap together structures, drip irrigation is right up your constructive alley.
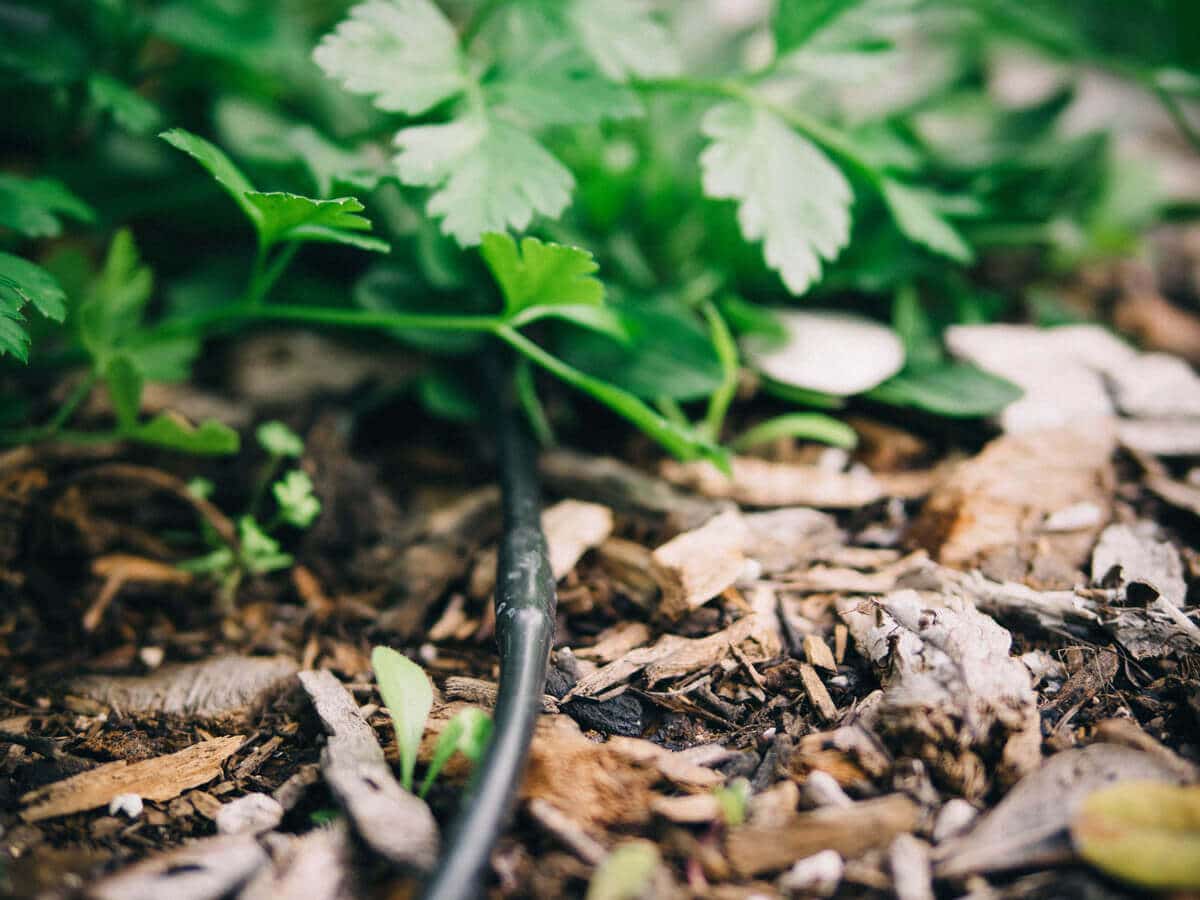
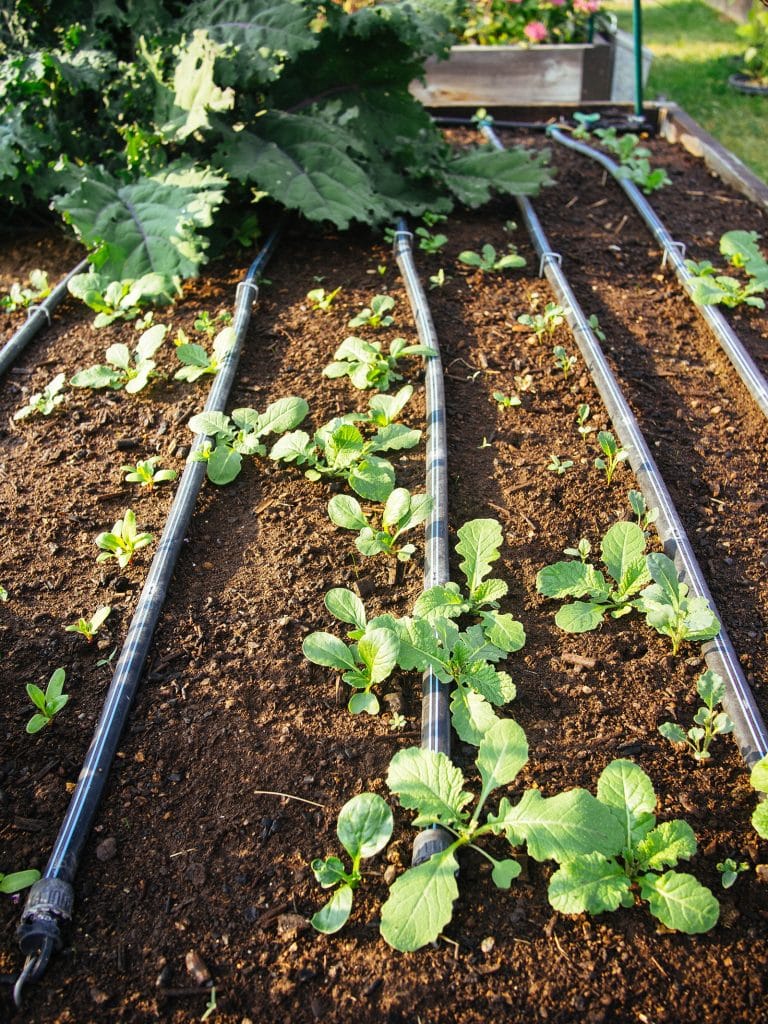
Driplines are thin flexible tubes that can be woven around and in between your plants, allowing you to place them precisely where you need irrigation. They have tiny holes (emitters) spaced every few inches to a foot, depending on the model, and supply water drip by drip.
Since drip systems are modular, repairs are relatively simple and many replacement parts can be purchased cheaply at your local garden center.
Soaker hoses, on the other hand, are essentially porous garden hoses. They’re most ideal for plantings that are close together and work by slowly seeping water along their entire length.
While soaker hoses are an economical and easy way to water the garden, you end up watering not only your plants but everything in between the plants. Water seepage isn’t always uniform, especially on a slope or with a longer hose where it loses pressure. A puncture to the hose requires you to cut out the damaged piece and join the ends with a splice, effectively shortening the hose.
In comparison, drip irrigation is a more sophisticated system. While it takes time to install initially, it’s much more versatile and reliable in the long run.
Start Planning Your Irrigation Setup
Not every garden needs drip irrigation. If you just have a single bed with a water spigot nearby, you could easily attach a soaker hose to your garden hose and lay it along the base of your plants. Soaker hoses are best for short runs (50 to 100 feet) over flat surfaces.
But if you have multiple beds, terraced gardens, containers mixed with raised beds, or a variety of trees, shrubs, and plants in the same space, all with varying water needs, the features and benefits of drip irrigation will make your life easier.
It’s a bigger investment but because it’s modular, you can start with a basic setup and expand it as your garden grows.
For gardeners in milder climates, winter is a good time to install a drip system—before the busy days of spring are here and you likely already have some plants in the yard. For gardeners in colder climates, use the winter break to measure your yard and gather the parts you need while your seeds are getting started indoors.
Choosing a Drip System That Works for You
Start by assessing your garden: Where is your water spigot and does it have high or low pressure? How large is your space and how far is the spigot from the corners of your garden? What kind of soil do you have? Are there containers and bird baths alongside beds that need to be watered?
All of this helps determine how many feet of mainline tubing and dripline your yard requires, and whether you need other emitters, more fittings, pressure regulators, timers, gauges, the list goes on and on.
In all honesty, this was the part I personally had the most questions on; the installation was easy but the planning was tough! And there was no way I could walk into a garden center and know which parts I needed (at least, not without making a few trips).
This is why I really liked working with DripWorks. First, they’re small business. They’re a California company. And all they do is drip.
All of the irrigation supplies you see in this post come from their product line, which they kindly sent me to test. For the DIY type, DripWorks has a handy drip planning guide and a growing library of videos to help you design and install your own system. Their documentation is extensive, and help is just an email away.
If all you have are pictures, sketches and measurements with a bunch of arrows and notes scribbled over them, DripWorks will take them, analyze them, and devise a custom setup with all the accessories you need.
This is where their customer service really shines; they have all the patience in the world for drip novices (like me!). Their goal is not to sell you a system, it’s to sell you the right system. They might send you a list of parts to mix and match, or they might suggest one of their drip irrigation kits.
I went the kit route, specifically the Garden Bed Irrigation Kit and Individual Plant Irrigation Kit, which covered my vegetable and herb gardens, plus a few pots here and there. The kits are all inclusive and a good way to become familiar with a drip system if you’re unsure where to start.
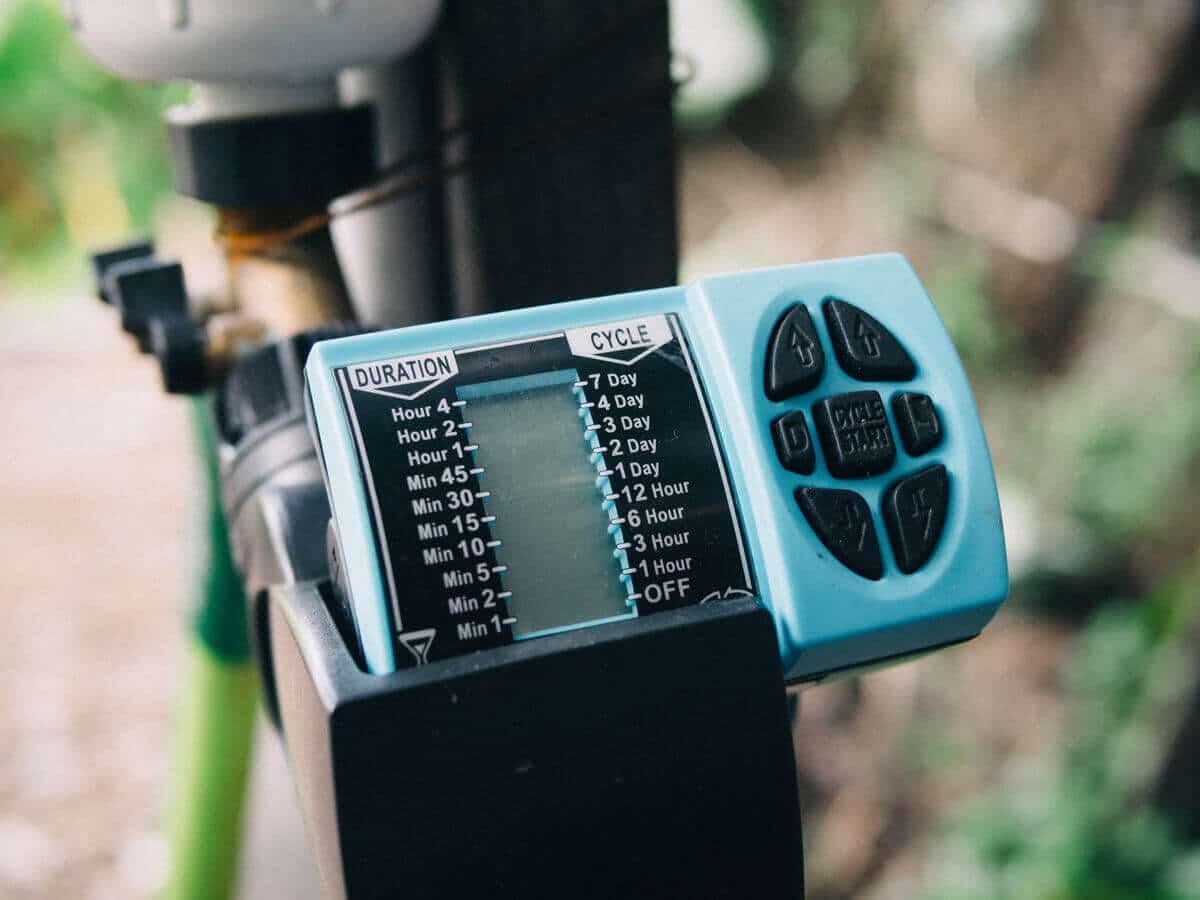
Since my main motivation for installing drip is to automate my watering, I also added two timers to attach to the faucets in my garden: a Galcon LCD Timer and a Galcon Easy Program Flip Open LCD Timer.
So far, I’ve found the Galcon Easy Program timer to be true to its name—much more intuitive to use with much more accessible menu settings.
For each faucet, I also needed a Brass Hose Y with Valve (to split the faucet into two lines and keep one free for a garden hose) and a Brass Vacuum Breaker (to prevent contamination of the home water supply; some cities require this for irrigation systems).
Next week I’ll walk you through the installation of a garden bed irrigation system using all of these parts, so study up on what you like and stay tuned for Part II.
Where to buy drip irrigation supplies
[show_shopthepost_widget id=”3702331″]
DripWorks Garden Bed Irrigation Kit | DripWorks Individual Plant Irrigation Kit | Galcon LCD Timer | Galcon Easy Program Flip Open LCD Timer | Kasian House Brass Hose Y with Valve | Homewerks Brass Vacuum Breaker
Brought to you by DripWorks. Thank you for supporting the small businesses that support Garden Betty.
This post updated from an article that originally appeared on January 28, 2015.







Flow engineering provide Heavy duty Rain Bird pop-up impact sprinkler Easy to adjust and water irrigation systems.drip irrigation in islamabad,Paskistan
Very useful advice. Thanks
You’re welcome!
Angie Smith liked this on Facebook.
Greg Hadel liked this on Facebook.
Sarah Grace Slater liked this on Facebook.
Angelique Mattin Russell liked this on Facebook.
Julia Wilkie Smith liked this on Facebook.
Mike C Podlesny liked this on Facebook.
Laurin Lindsey liked this on Facebook.
Laura Willson liked this on Facebook.
Nelly Chu liked this on Facebook.
Greg Towne liked this on Facebook.
Charlie Bourgeois liked this on Facebook.
Matti Salomaki liked this on Facebook.
Oscar Moreno liked this on Facebook.
Patti Herdell liked this on Facebook.
Dean Elliott liked this on Facebook.
Ning Thanasorn liked this on Facebook.
Informative, thanks for sharing
You’re welcome!
TY for the RT! @MGFsite: RT @theGardenBetty: Drip Irrigation: Watering Your Garden While Saving Your Resources http://t.co/NGRGfsXWf8
RT @dripworksusa: Check out this awesome #DripIrrigation blog by @theGardenBetty! #DripWorks http://t.co/P4aZ6WiiTy http://t.co/WQMvdECeo0
RT @theGardenBetty: How to choose the right system. Drip Irrigation: Watering Your Garden While Saving Your Resources http://t.co/R5uLDcOnr…
Drip Irrigation: Watering Your Garden While Saving Your Resources http://t.co/Xqq9WCcY3z < TY for RT! @rchivos @jchapstk
How to choose the right system. Drip Irrigation: Watering Your Garden While Saving Your Resources http://t.co/R5uLDcOnrP #gardenchat
Ok, so our biggest problem with drip irrigation is switching seasons and going from a bed with 5 tomato plants (5 drips) to the same bed with many rows of radishes/beets/carrots/etc that all need to be watered. Is there any solution for this? We used drip for one summer but then when we realized we’d have to re-do it every season, we pulled it out. I’d like to save the water though, so just curious if you have any ideas on that!
I configured my driplines to be about 10″ apart in a raised bed, so a 4×8 bed has 4 driplines running straight across it. (All of the driplines for each bed run lengthwise like this.)
For large crops like tomatoes, I weave the driplines around the plants to accommodate where they are. For small crops like radishes, I keep the driplines stretched across and plant two rows between each dripline.
In either case, the plants receive plenty of water. I use DripWorks’ 1/4″ soaker dripline, which has inline 1/2 gph emitters spaced every 12″. They’re so flexible that they never have to be “redone,” and they’ll stay in the same bed year-round.
Great post, Linda! To only bring water into part of the garden in off months, you can install a shut off valve in your 1/2″ main feeder line that will allow you shut off any / some / just one of the lines that are furthest away from the source, keeping the ones that are closest the the source still dripping. You can actually install a few in the main drip feeder line that you can turn on or off when you like. I do this in the summer months when I grow way fewer things. This was great! We all need help!
Drip Irrigation: Watering Your Garden While Saving Your Resources | Garden Betty http://t.co/XZ3A646AsT
Be water wise this season. Drip Irrigation: Watering Your Garden While Saving Your Resources http://t.co/dB1Er2rfng #gardenchat
RT @thegardenbetty: Blogged on Garden Betty: Drip Irrigation: Watering Your Garden While Saving Your Resources http://t.co/QvZQqk1UQl
Check out this awesome #DripIrrigation blog by @theGardenBetty! #Gardening #DripWorks http://t.co/4Legd4pFdR http://t.co/kOZSneh3z9
RT @theGardenBetty: Grow a greener garden with @dripworksusa. Drip Irrigation: Watering Your Garden While Saving Your Resources http://t.co…
Tend your vegetable garden without wasting H20. Drip Irrigation: Watering Your Garden While Saving Your Resources http://t.co/rakIY5j91N
Drip Irrigation: Watering Your Garden While Saving Your Resources | Garden Betty http://t.co/OpuMClZRmd
Nice blog, wanted to build one for my terrace garden
I highly recommend it… such a huge timesaver!
Grow a greener garden with @dripworksusa. Drip Irrigation: Watering Your Garden While Saving Your Resources http://t.co/PQuGQsTpK8
I adore your blog, and thanks for this post. I was just about to research this exact topic. You wouldn’t by chance have a promo code for DripWorks? Thanks again!
I DO have a promo code especially for Garden Betty readers! Stay tuned for Part II of the post this week. 🙂
Plants get thirsty too! Use drip irrigation in home gardens as a savvy way of conserving resources. #ThirstyThursday http://t.co/RuHDpNT4AT
RT @theGardenBetty: Learn about the beauty and basics of drip. Drip Irrigation: Watering Your Garden While Saving Your Resources http://t.c…
Learn about the beauty and basics of drip. Drip Irrigation: Watering Your Garden While Saving Your Resources http://t.co/Xqq9WCcY3z
Thank you!!! I skipped on planting my winter garden because I am lacking a drip system; I’m inland (San Gabriel Valley) and I see no other option for viable gardening during extended drought. The planning is intimidating–I am definitely going to check out the links.
I held off on installing drip for a long time for that very reason! But DripWorks made the whole process incredibly easy. I sent them two photos of my garden with measurements, marked where the locations of my faucets were, and they recommended the right kit and accessories for me. Best decision I’ve made for the garden!
Blogged on Garden Betty: Drip Irrigation: Watering Your Garden While Saving Your Resources http://t.co/NGRGfsXWf8