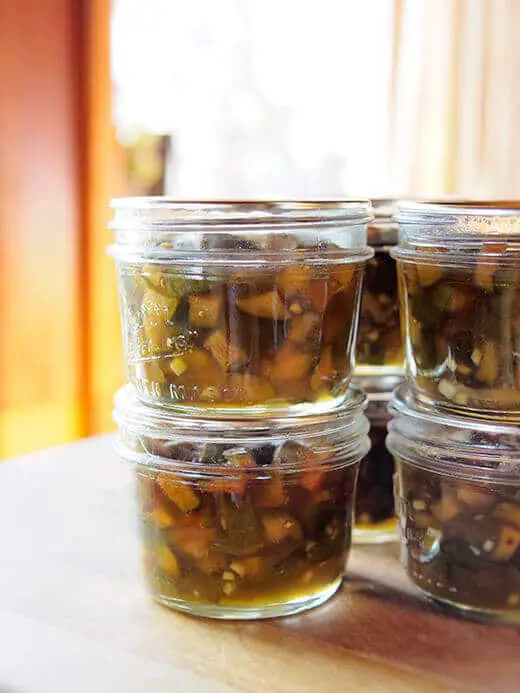
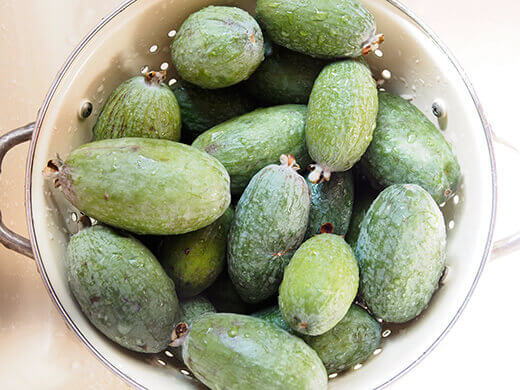
My feijoa tree is dropping less and less fruit every day, and I feel the end of the season is near. I managed to gather one last basket full of feijoas last week, which turned out to be the perfect amount for a batch of preserves.
Now I know what you might be thinking… Noooo! I refuse to peel any more fruit! And I hear ya. Spending the day peeling 20 feijoas is no picnic for me either… but I have good news for you! This last recipe in my feijoa series requires absolutely no peeling, at all, whatsoever, period.
That’s especially good news for those tiny feijoas that get neglected on the ground. Most of my late-season fruits fall in this category, and pure laziness on my part means they promptly make their way to the compost since they’re too small to be of any real use. But putting them in my no-peel preserves extends the harvest just a little bit longer, and often in November, I’ll make very small batches (of just two or three jars) and put them in the fridge without processing in a boiling water bath.
If you’ve never tried the flavor extravaganza of feijoa and ginger together, you’re in for a real treat! I use baby ginger in this recipe because I like the fresh and slightly sweeter flavor — bold without being aggressively spicy — not to mention the tender skin means I don’t have to peel the root either. (Another winning point for my lazy side.)
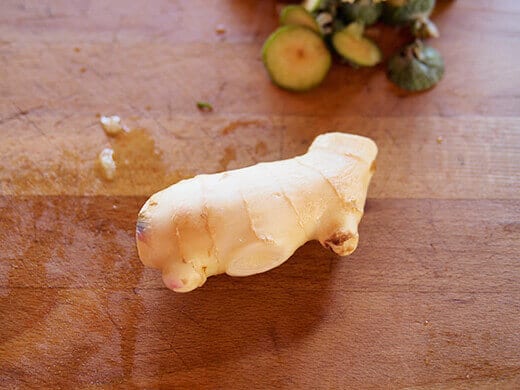
Baby ginger (also called young ginger or spring ginger, though it’s a fall crop) is more easily found in Asian markets or farmers’ markets, and the rhizome is beautiful — smooth and cream-colored with a blush of pink. Unlike regular (mature) ginger, baby ginger has none of that tough outer hide or fibrous center, making it a delight to use in recipes.
Feijoa-Ginger Preserves
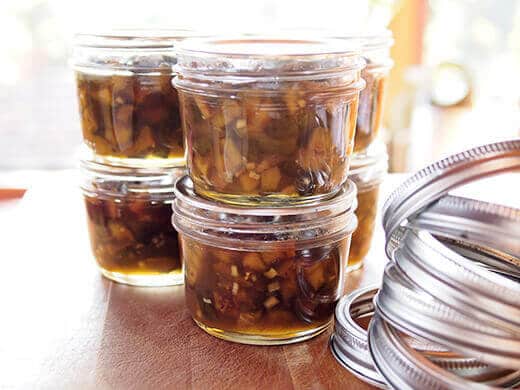
Makes 6 half-pints
Ingredients
20 to 25 feijoas
2-inch piece baby ginger
Juice from 1 lemon
4 1/2 tablespoons low-sugar pectin (I use Ball Low/No-Sugar Needed Pectin)
1 1/2 cups sugar
Making Your Feijoa-Ginger Preserves
Trim off the blossom end of your feijoas, then dice. I like my preserves to be a tad chunky, but you can dice them as large or as fine as you prefer your fruit to be.

Mince the ginger. If using regular ginger, you may want to peel the root first.

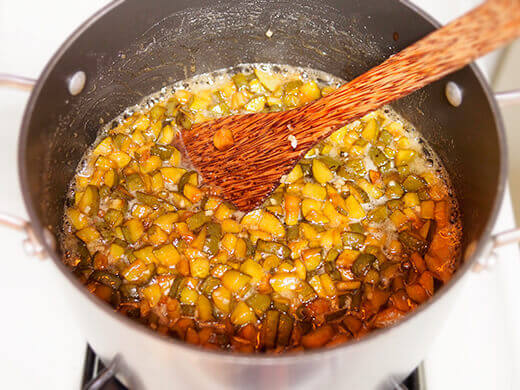
Combine the feijoas, ginger, lemon juice, and pectin in a large, wide saucepan. Bring the mixture to a full rolling boil over high heat, stirring frequently to prevent burning.
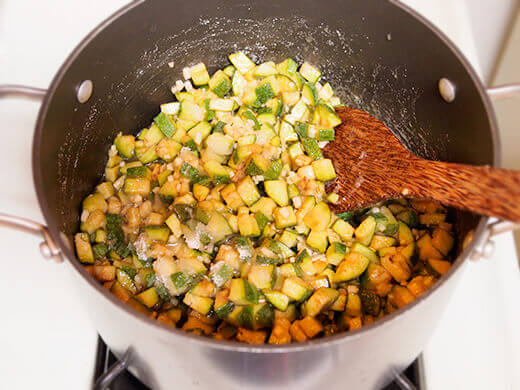
Add the sugar and bring the mixture back to a constant boil that cannot be stirred down. Boil hard for 1 minute, then remove from heat.
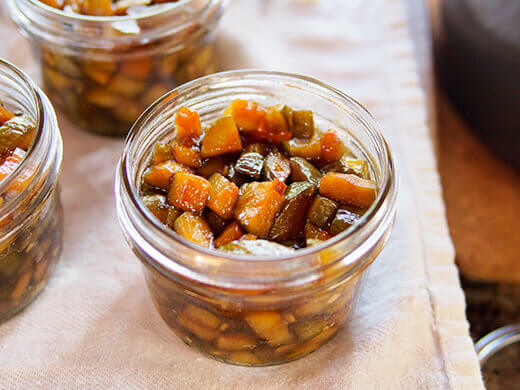
Funnel the mixture into hot, clean jars, leaving 1/2-inch headspace. Wipe the rims clean with a damp towel, then seal with lids and rings.
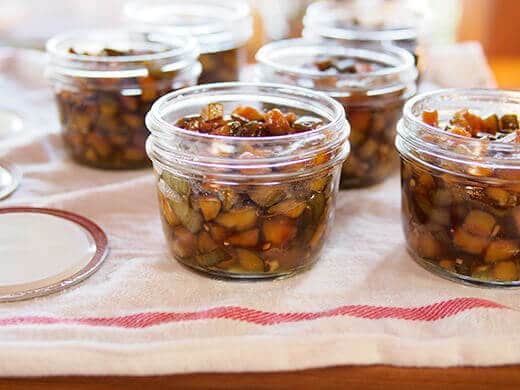
Process the jars in a boiling water bath for 10 minutes, adjusting time for altitude as needed.
Feijoa-Ginger Preserves
 10")
If you’ve never tried the flavor extravaganza of feijoa and ginger together, you’re in for a real treat!!
Ingredients
- 20 to 25 feijoas
- 2-inch piece baby ginger
- Juice from 1 lemon
- 4 1/2 tablespoons low-sugar pectin (I use Ball Low/No-Sugar Needed Pectin)
- 1 1/2 cups sugar
Instructions
- Trim off the blossom end of your feijoas, then dice.
- Mince the ginger. If using regular ginger, you may want to peel the root first.
- Combine the feijoas, ginger, lemon juice, and pectin in a large, wide saucepan.
- Bring the mixture to a full rolling boil over high heat, stirring frequently to prevent burning.
- Add the sugar and bring the mixture back to a constant boil that cannot be stirred down. Boil hard for 1 minute, then remove from heat.
- Funnel the mixture into hot, clean jars, leaving 1/2-inch headspace. Wipe the rims clean with a damp towel, then seal with lids and rings.
- Process the jars in a boiling water bath for 10 minutes, adjusting time for altitude as needed.
Recommended Products
As an Amazon Associate and member of other affiliate programs, I earn from qualifying purchases.
-
 11") ZWILLING Pro 7-inch Rocking Santoku Knife, 7'', Black/Stainless Steel
ZWILLING Pro 7-inch Rocking Santoku Knife, 7'', Black/Stainless Steel -
12Pack Mason Jars 8oz with Airtight Lids and Bands - Regular Mouth Glass Canning Jars, Small Half Pint Mason Jars for Preserving, Pickling, Honey, Jam, Jelly, Kitchen Spice jars, DIY Gift
-
Granite Ware 8 Piece Enamelware Water bath Canning Pot (Speckled Black) with Canning Toolset and Rack. Canning Supplies Starter Kit, Canning Supplies. Canning Kit.
 11")
 12")
 13")


i love your blog layout! and those mason jars are the cutest size.
perhaps you can help a fellow food blogger out and vote for my mac n cheese in a recipe contest? i’d greatly appreciate it!! 🙂
http://www.mysteryingredientbloggershowcase.com/?contestants=macaroni-and-cheese
How to make simple but effective.
Here’s what to do with all that fallen fruit. Feijoa Three Ways: Feijoa-Ginger Preserves (Part III) http://t.co/tlAQpKVGLW #canning
Kathleen Wyrill liked this on Facebook.
No-peel preserves with fresh and lively flavor combo. Feijoa Three Ways: Feijoa-Ginger Preserves (Part III) http://t.co/8x1zWC6y1H #canning
A chunky fruit preserve for oatmeal and pancakes. Feijoa Three Ways: Feijoa-Ginger Preserves (Part III) http://t.co/IFfiUj27ne #canning
The last recipe in my feijoa series for late-season fruit. Feijoa Three Ways: Feijoa-Ginger Preserves (Part III) http://t.co/YORawSJr1O
The Horticult liked this on Facebook.
Leonard Baskin liked this on Facebook.
what do you put this on or use with?
You can use it like jam (spread on toast or crackers) or as a fruit topping for oatmeal or pancakes. Ice cream too. Or maybe warm it up and add on top of meats; it’s basically a compote.
An easy #canning #recipe that requires no peeling! Feijoa Three Ways: Feijoa-Ginger Preserves (Part III) http://t.co/8DbPNueoS2 #canvolution
Jackie McHugh liked this on Facebook.
Sounds very yum.
Esther Van de Klundert liked this on Facebook.
Randall S. Winkler liked this on Facebook.
Kris Snider liked this on Facebook.
Kat Dennis liked this on Facebook.
What is this?
Feijoa Three Ways: Feijoa-Ginger Preserves (Part III):
My feijoa tree is dropping less and less fruit every d… http://t.co/Q6fH6XlP9o
Blogged on Garden Betty: Feijoa Three Ways: Feijoa-Ginger Preserves (Part III) http://t.co/ZEyshh0dJ2