Harvesting milkweed seeds is all about timing. Too soon, and the seeds haven’t matured yet and won’t germinate. Too late, and they’ll have either blown away or created a messy web of white fluff (called milkweed floss or milkweed silk) all over the plant.
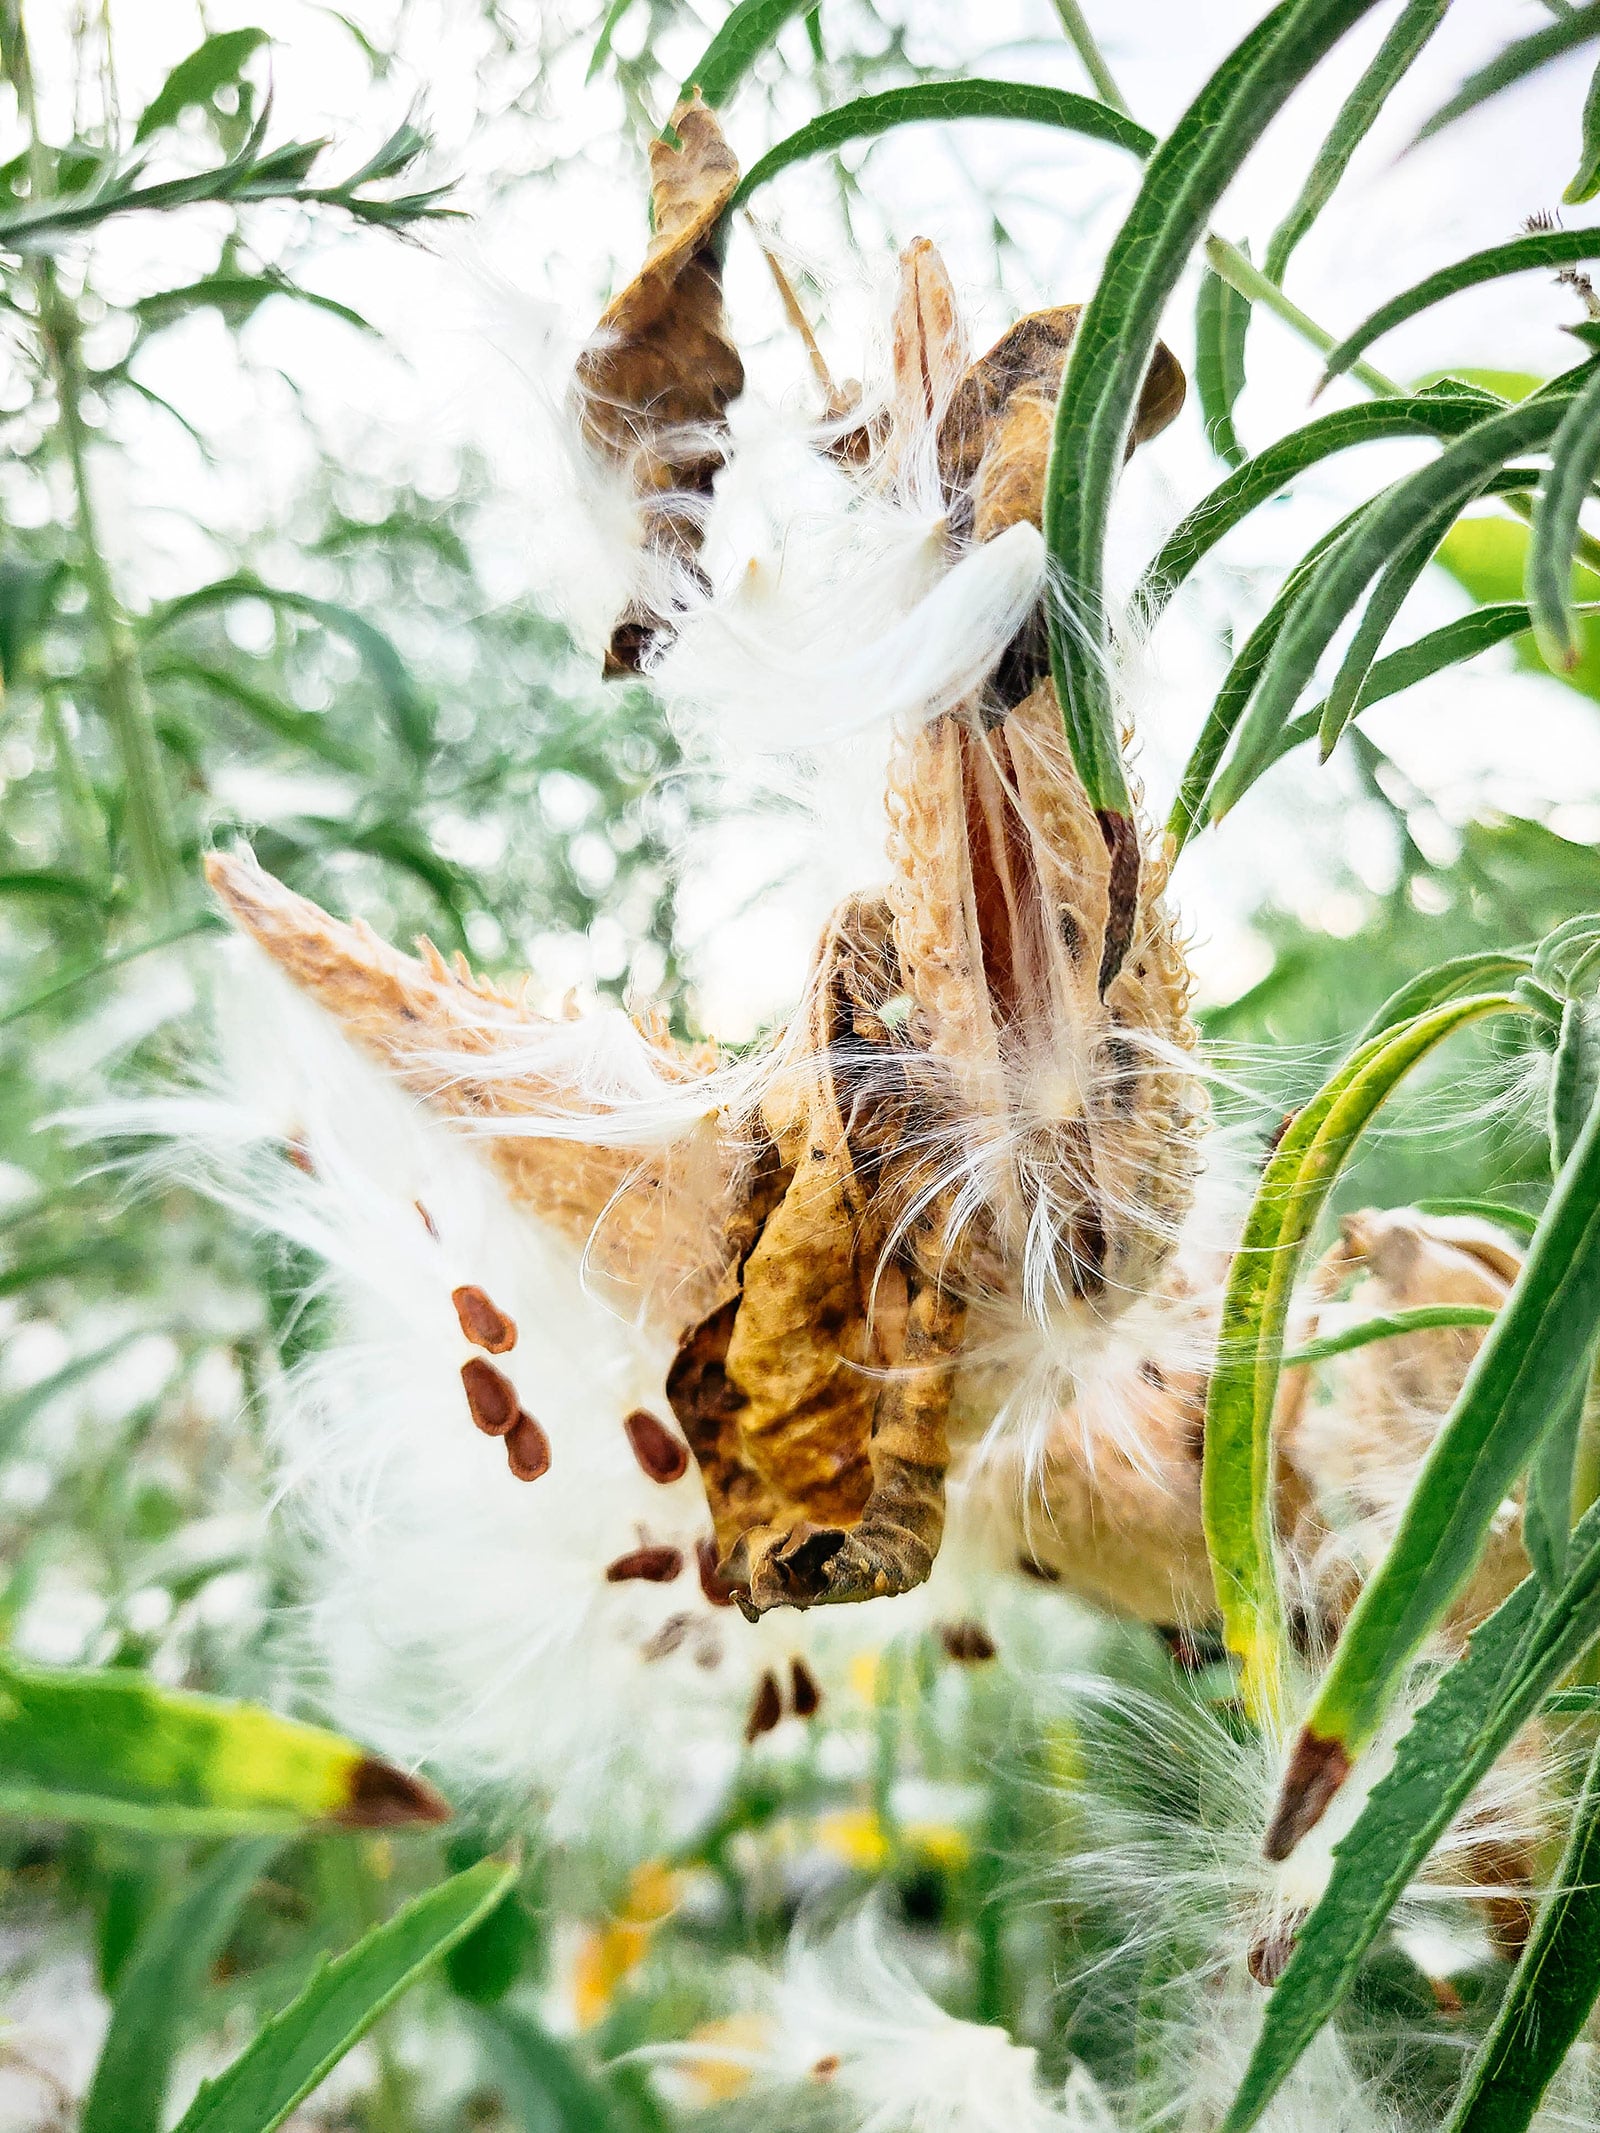
In late summer, I often see milkweed pods ripening in a weedy field or along the edges of trails where I’m hiking or biking. This was how I originally collected my initial stash of milkweed seeds so I could grow milkweed at home. (If you want to do the same, please make sure it’s allowed first and leave some pods on the plants so they can spread naturally.)
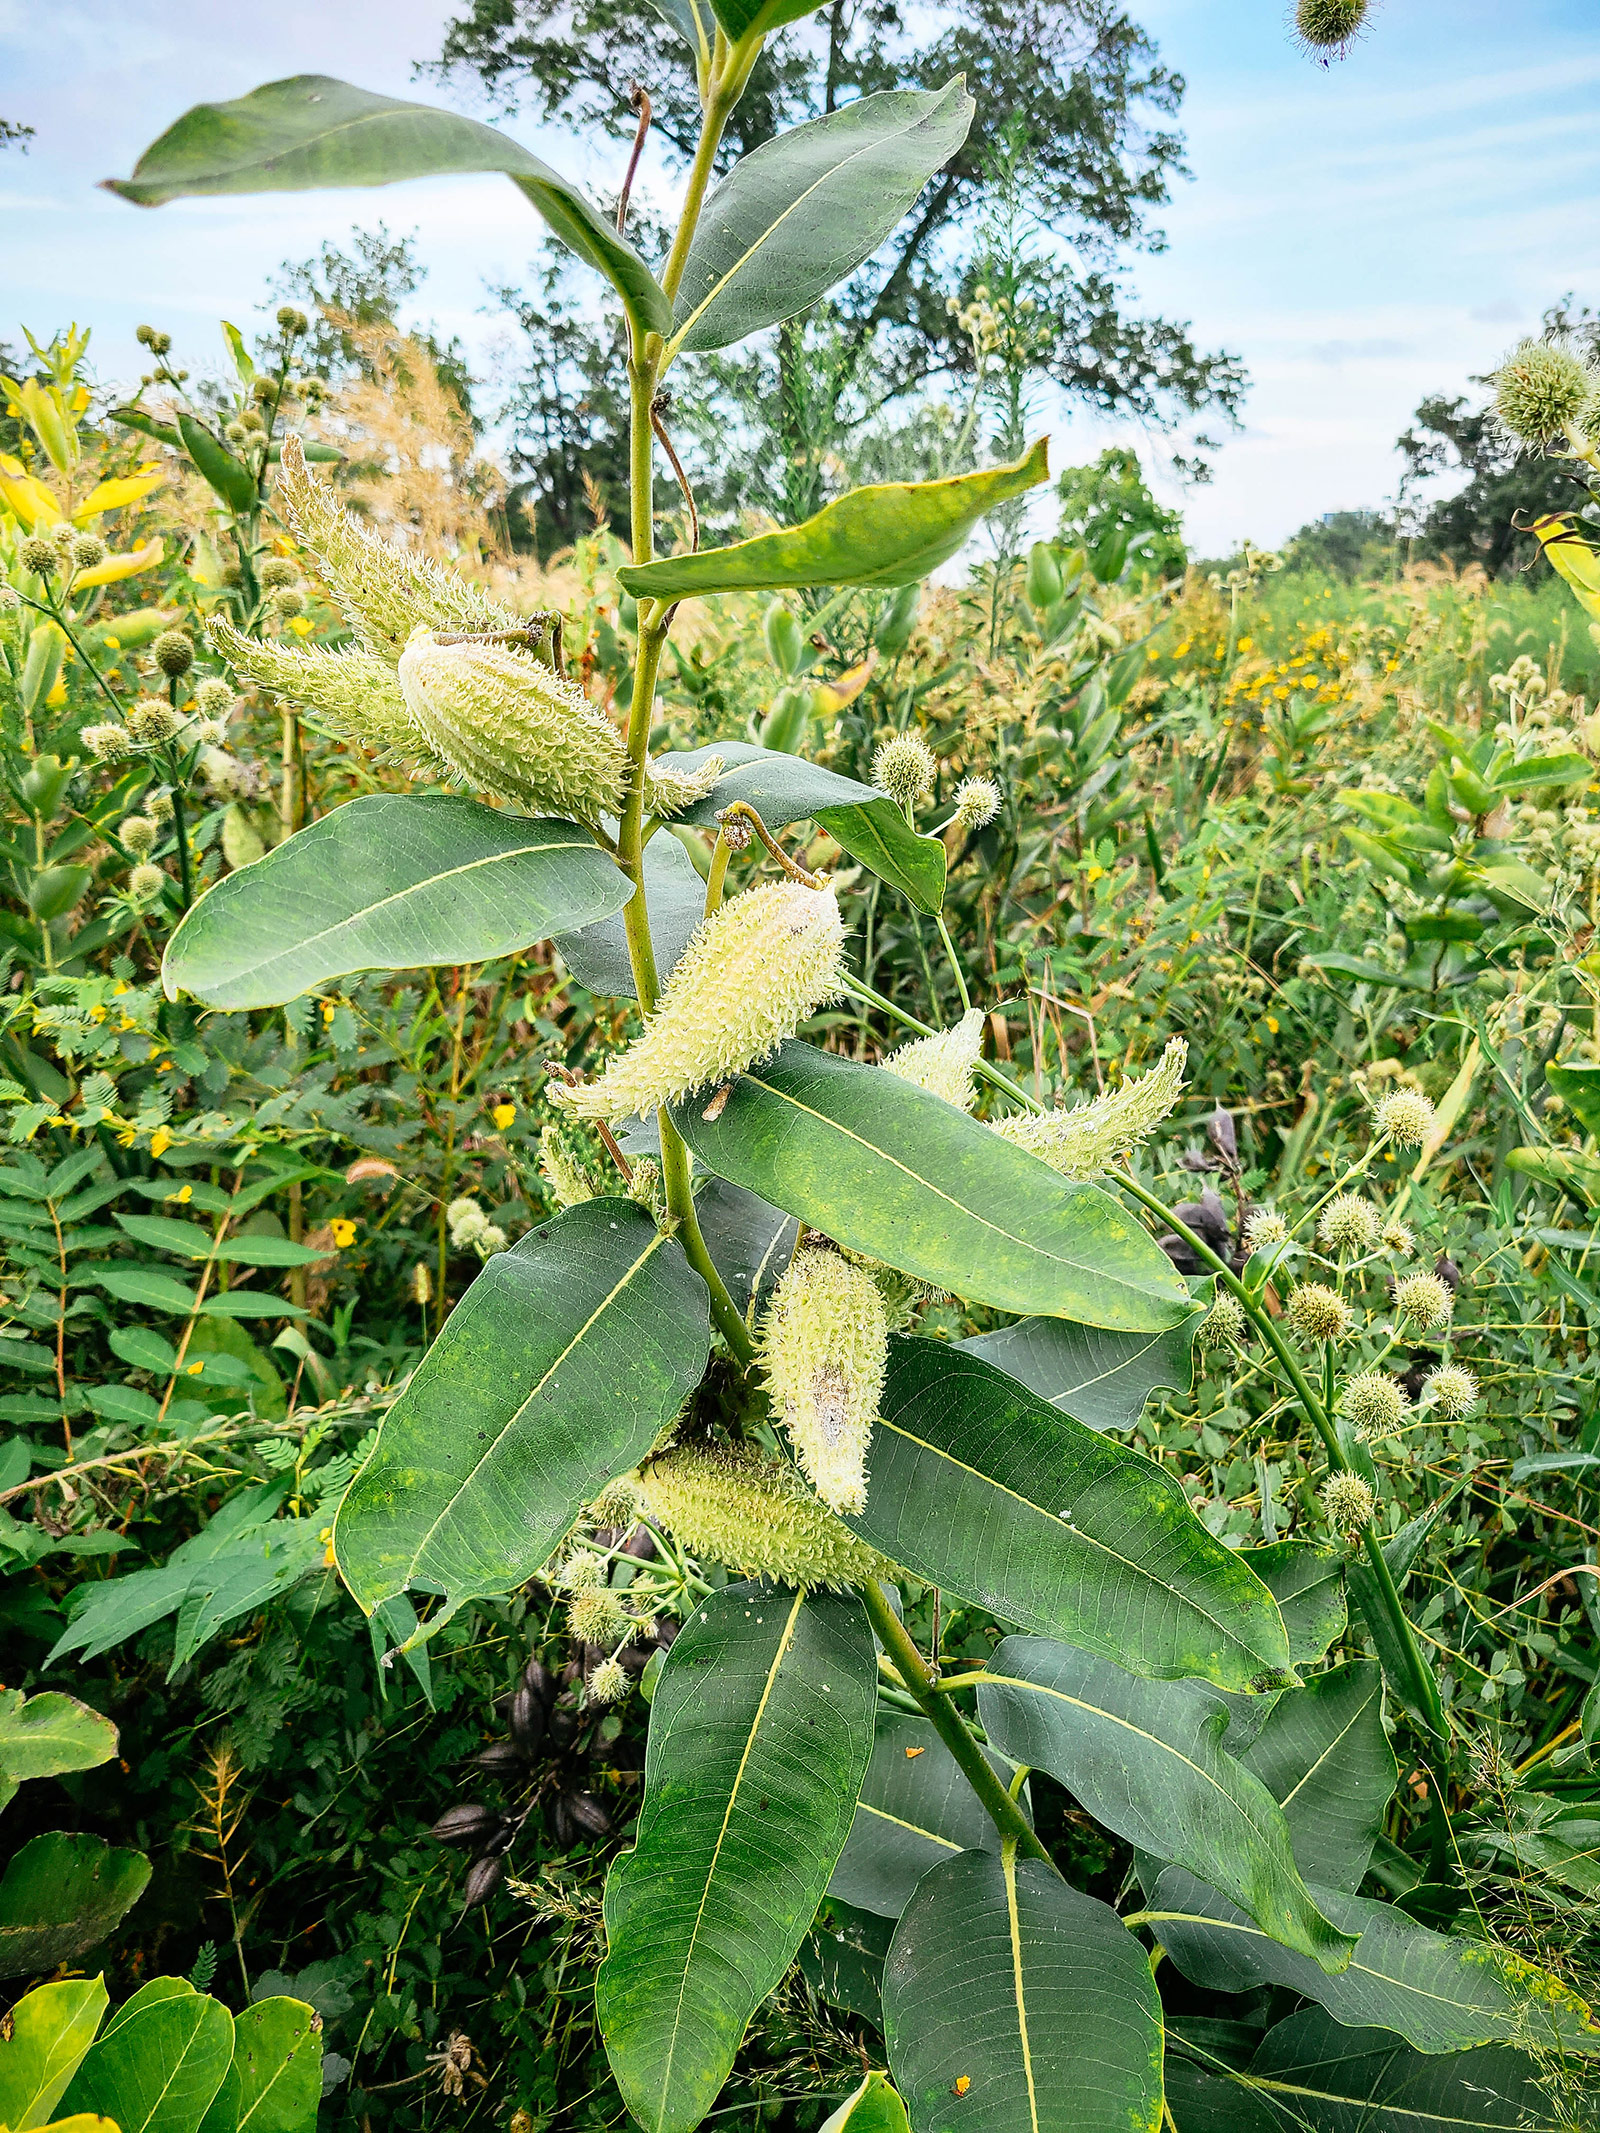
The seed pods between different species of milkweeds look a little different, but have a similar teardrop shape with a pointed end. While several species of milkweeds are native to North America, you’ll most often find these three milkweeds in the wild:
- Common milkweed (Asclepias syriaca), which has fat, spiny seed pods
- Butterfly weed (Asclepias tuberosa) and swamp milkweed (Asclepias incarnata), which both have narrow, smooth seed pods
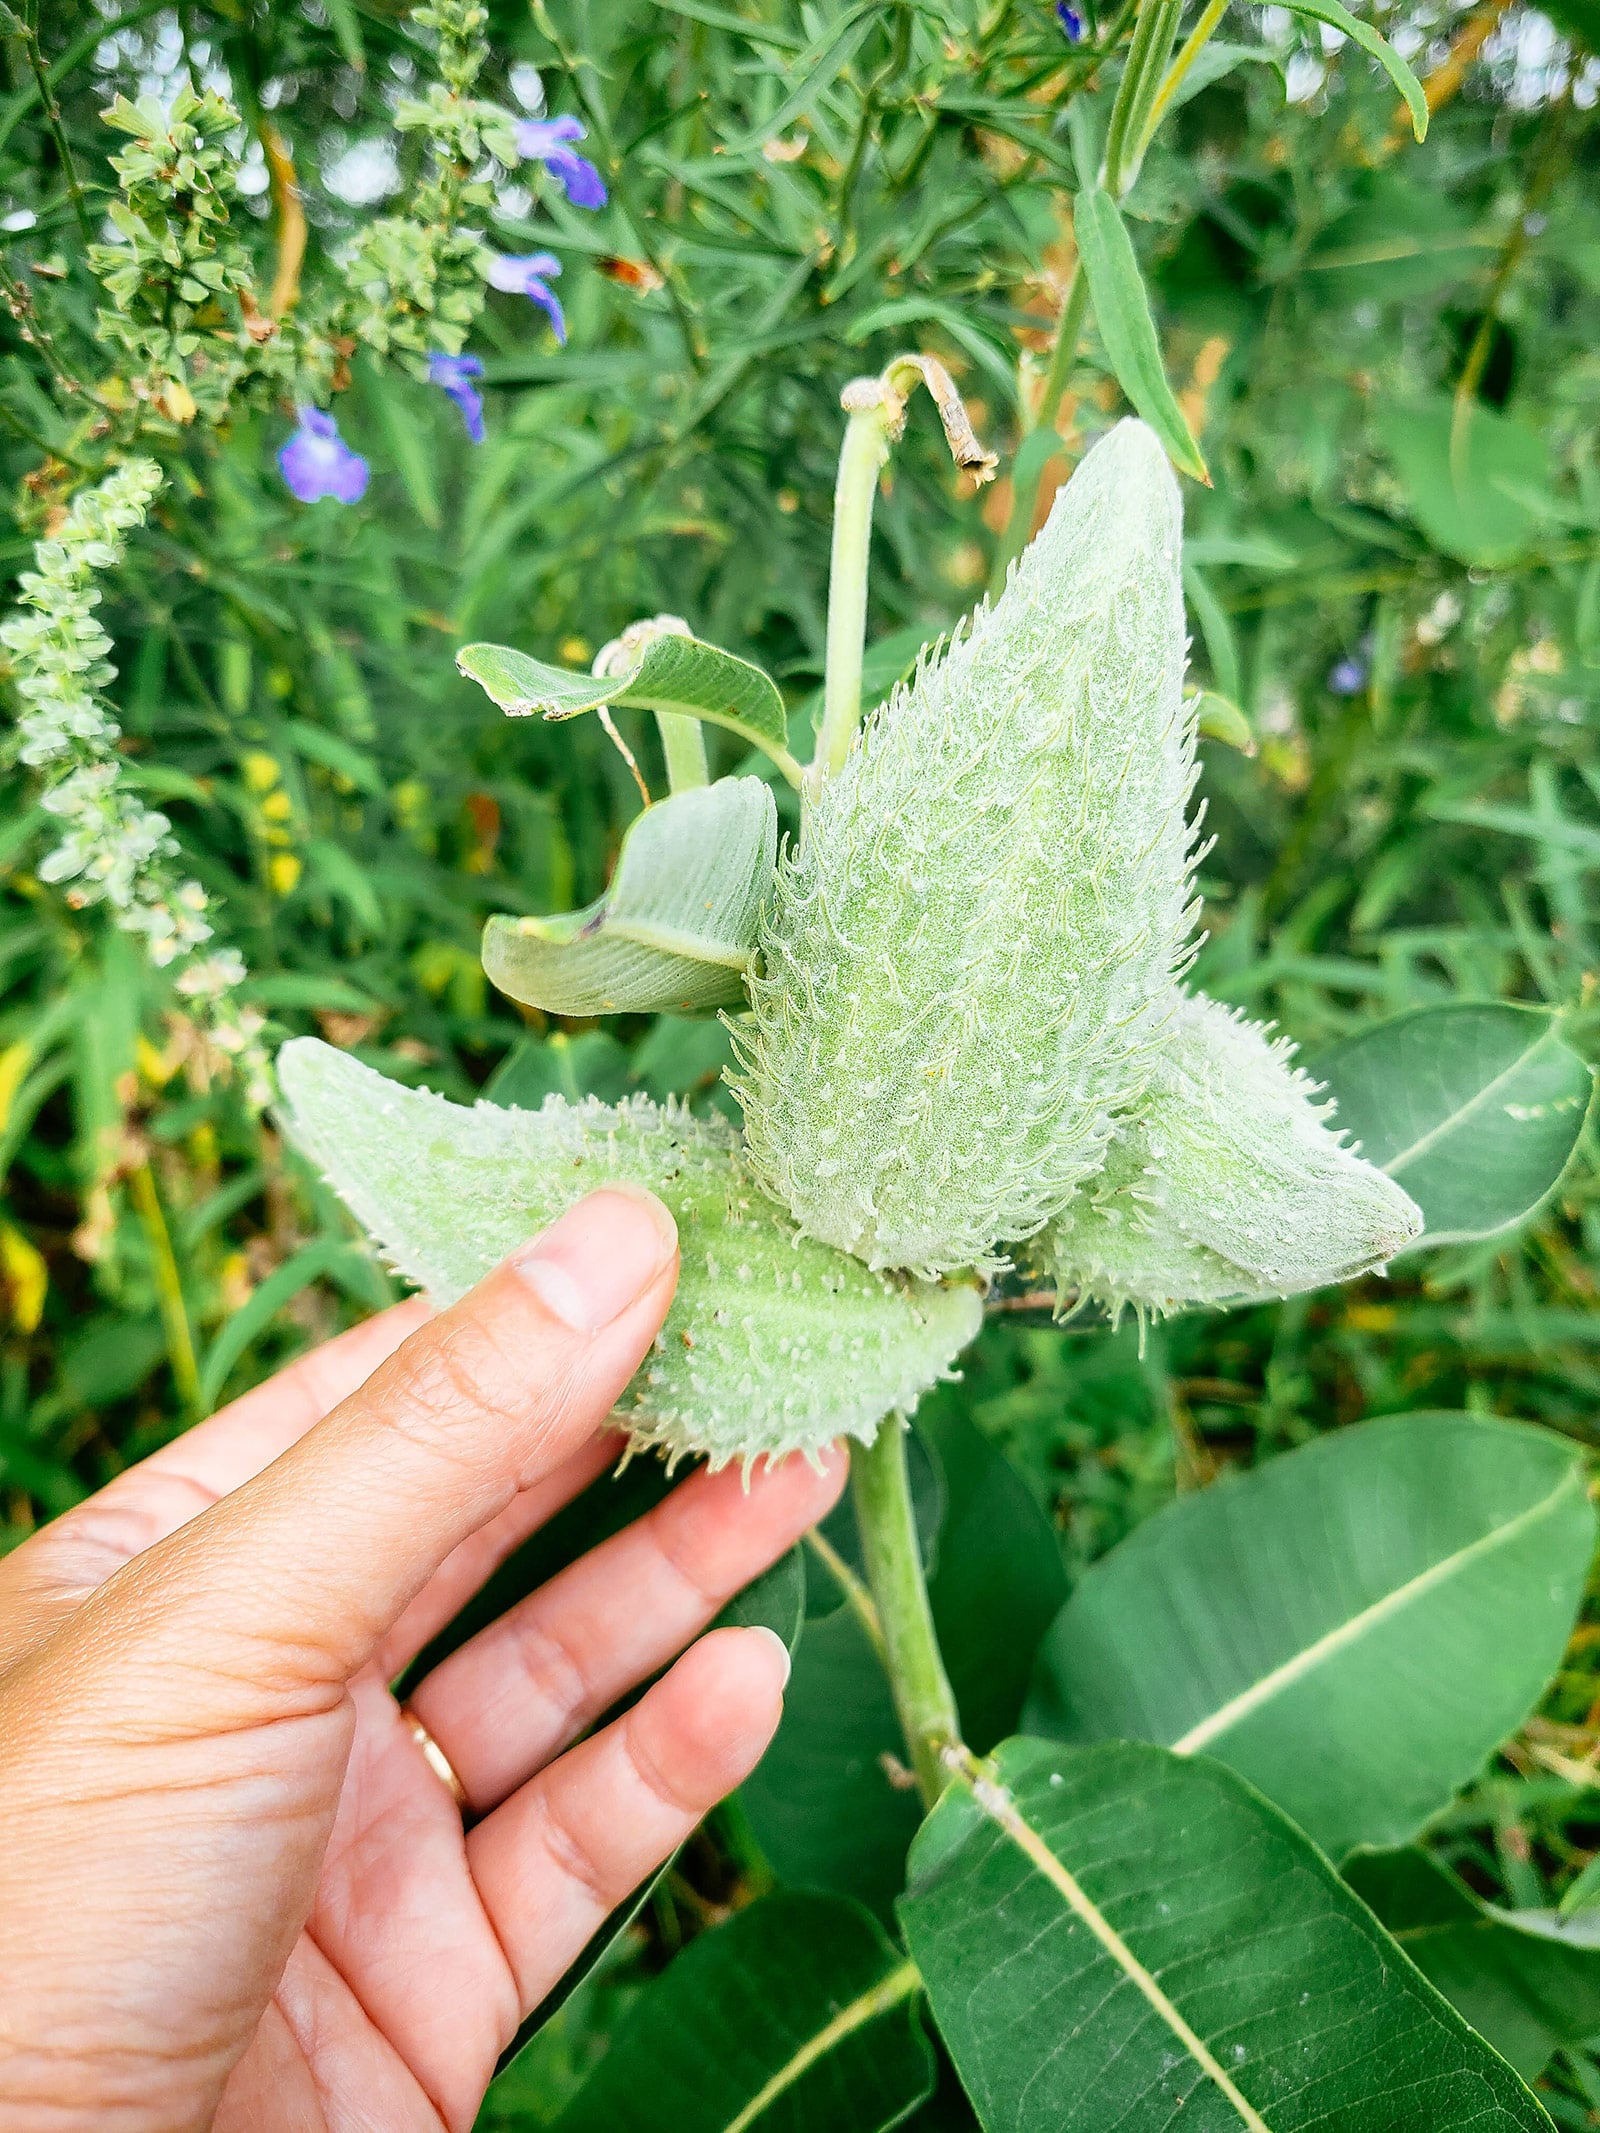
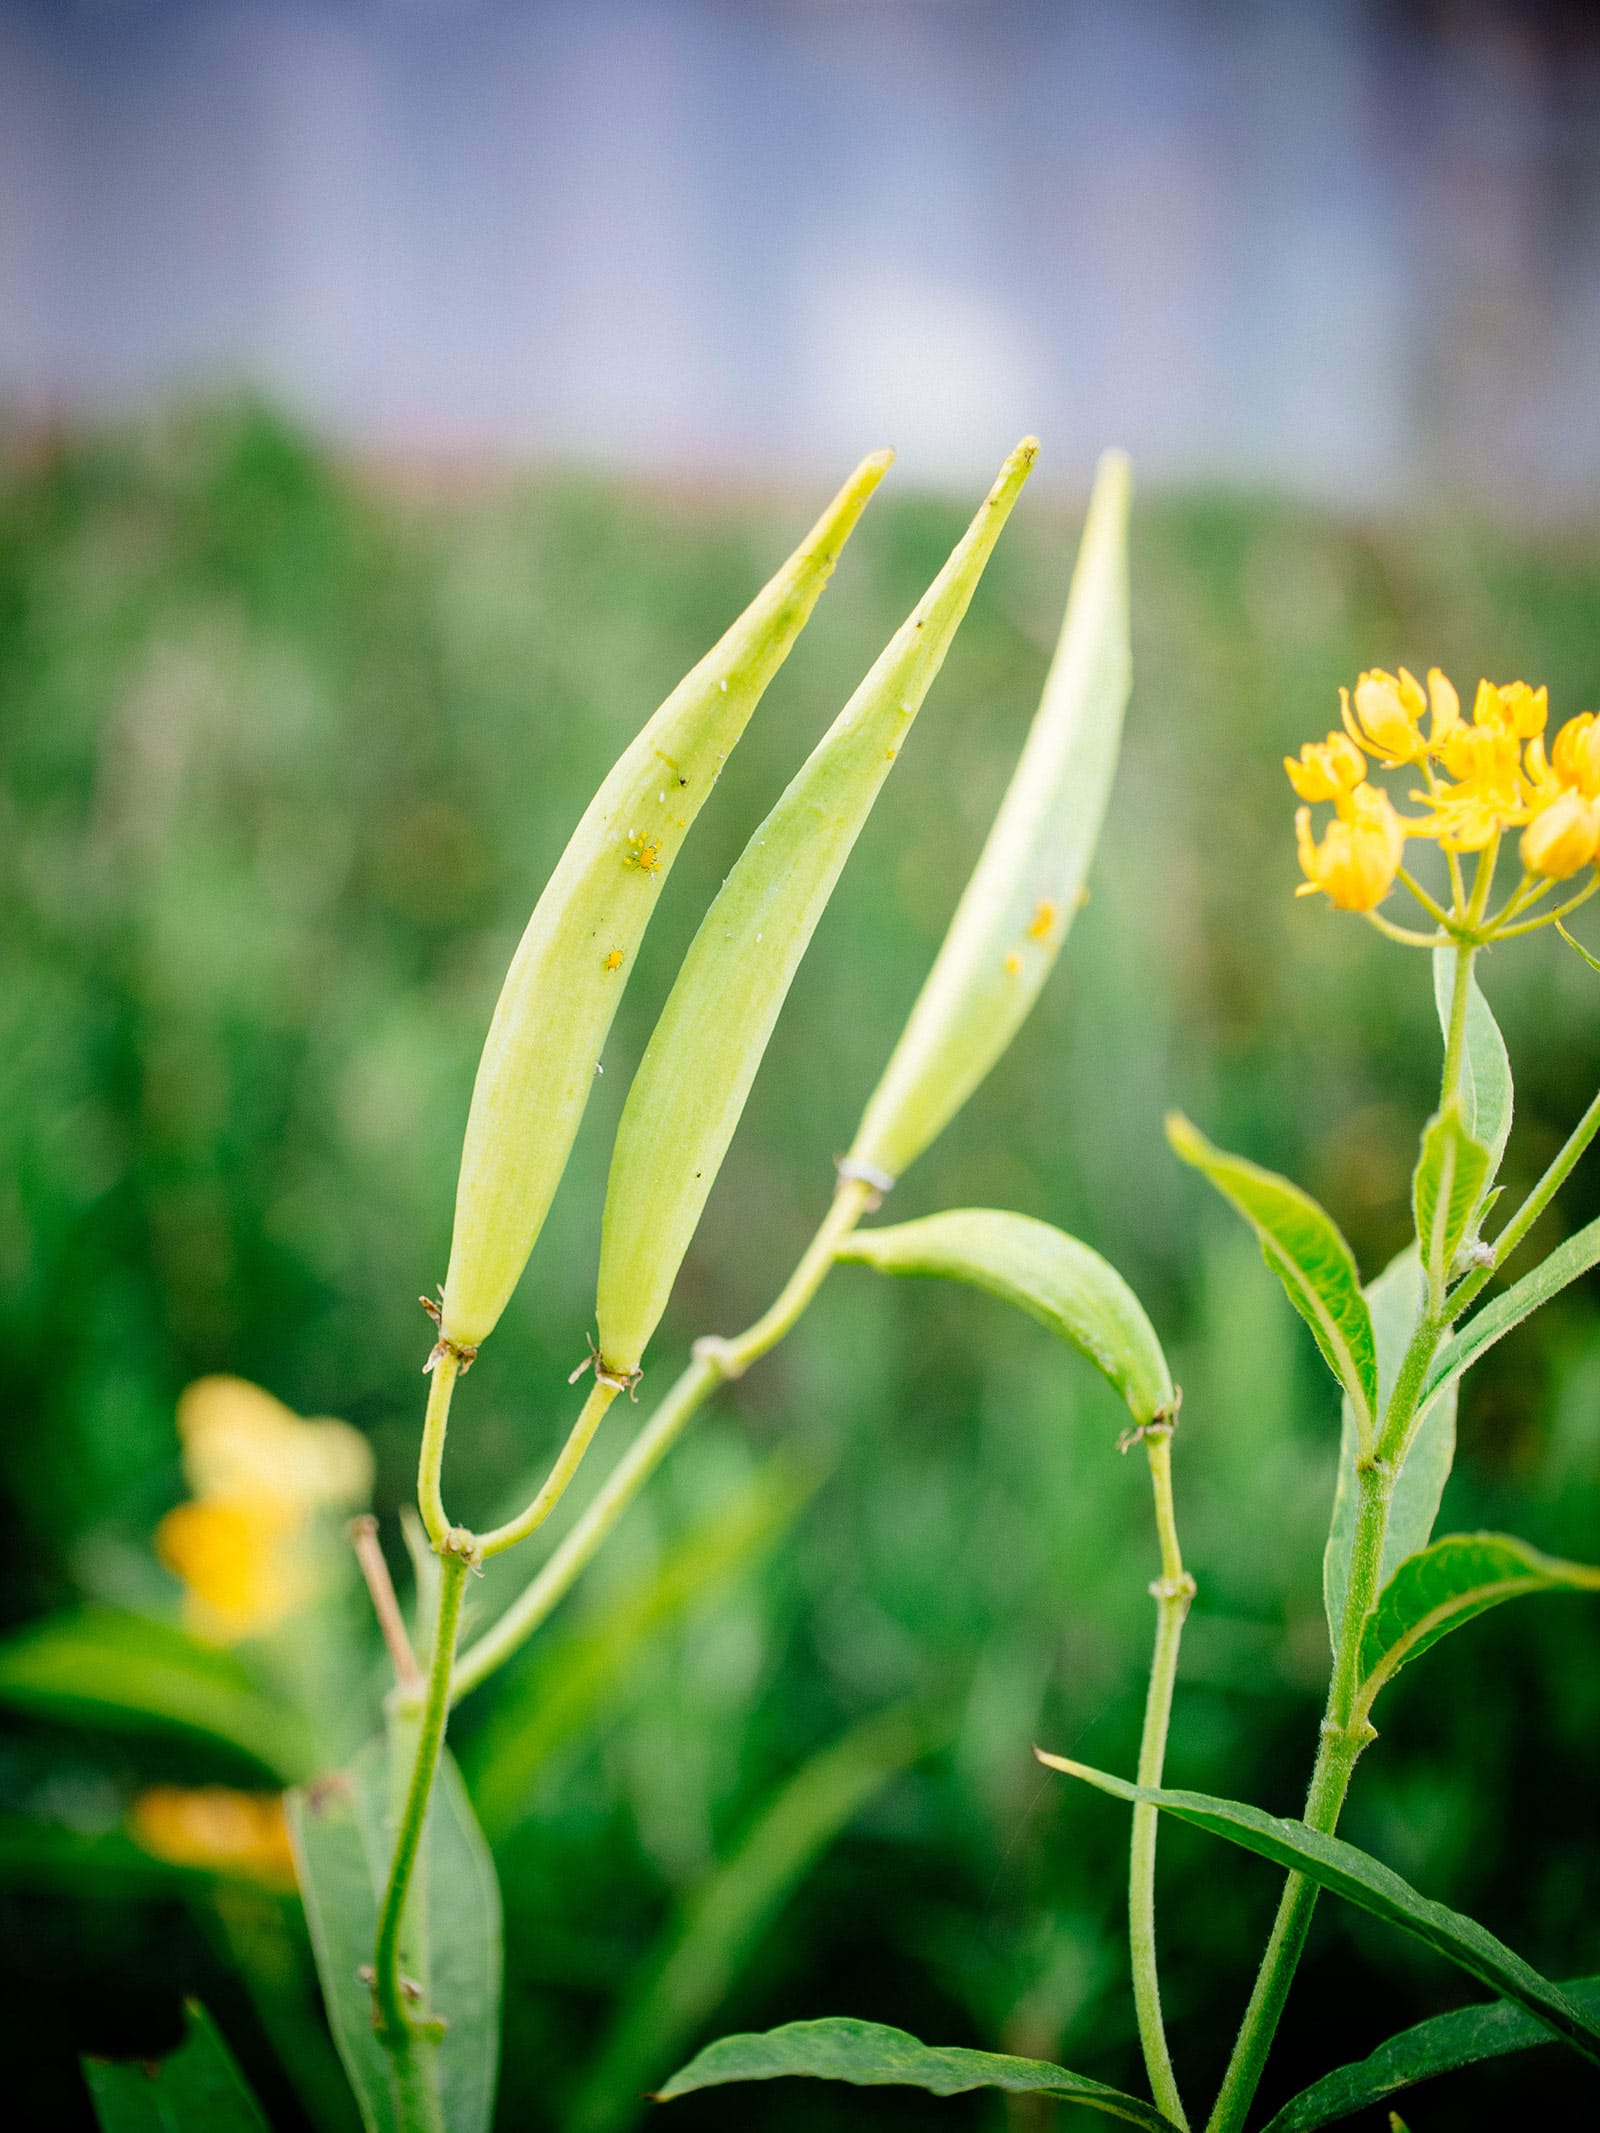
The process for picking and processing all of them are the same, however, and once you know a couple tricks for cleanly separating the seeds from the milkweed fluff, you’ll be able to do it in mere seconds!
So how do you know when milkweed pods are ready to pick?
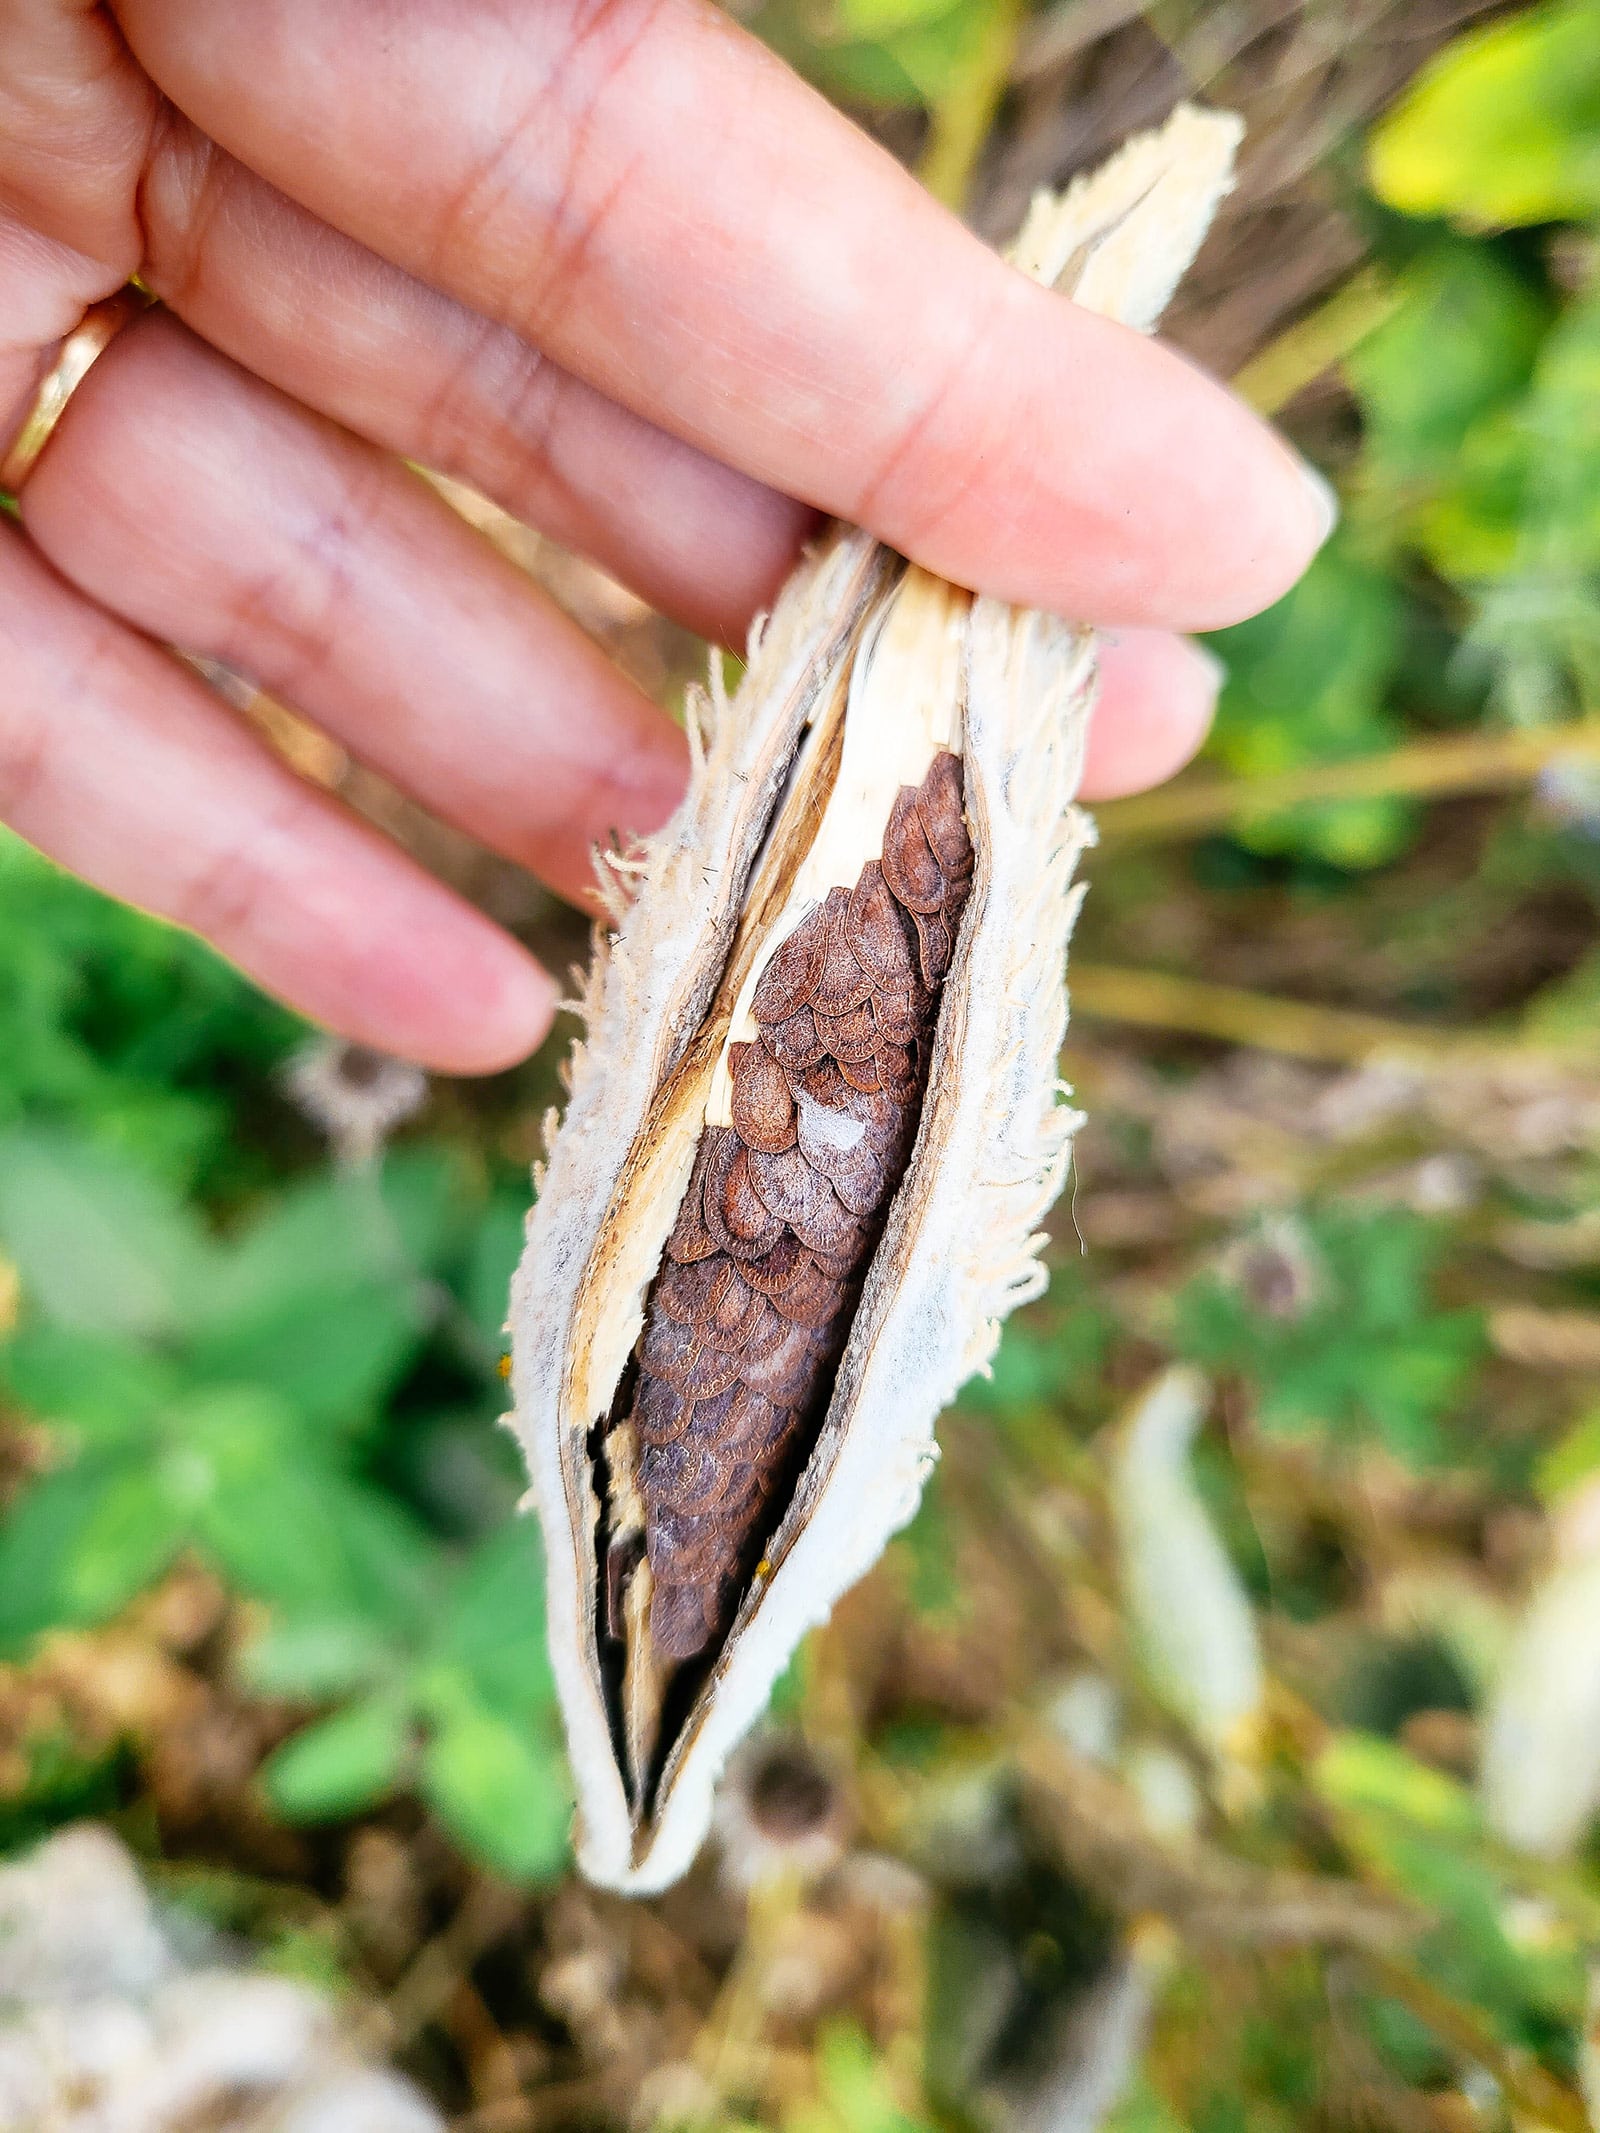
Milkweed pods are mature when they start to dry out in August and September. They don’t have to be fully dried and brown though—if you squeeze a slightly green pod and it pops open at a seam, it’s ready!
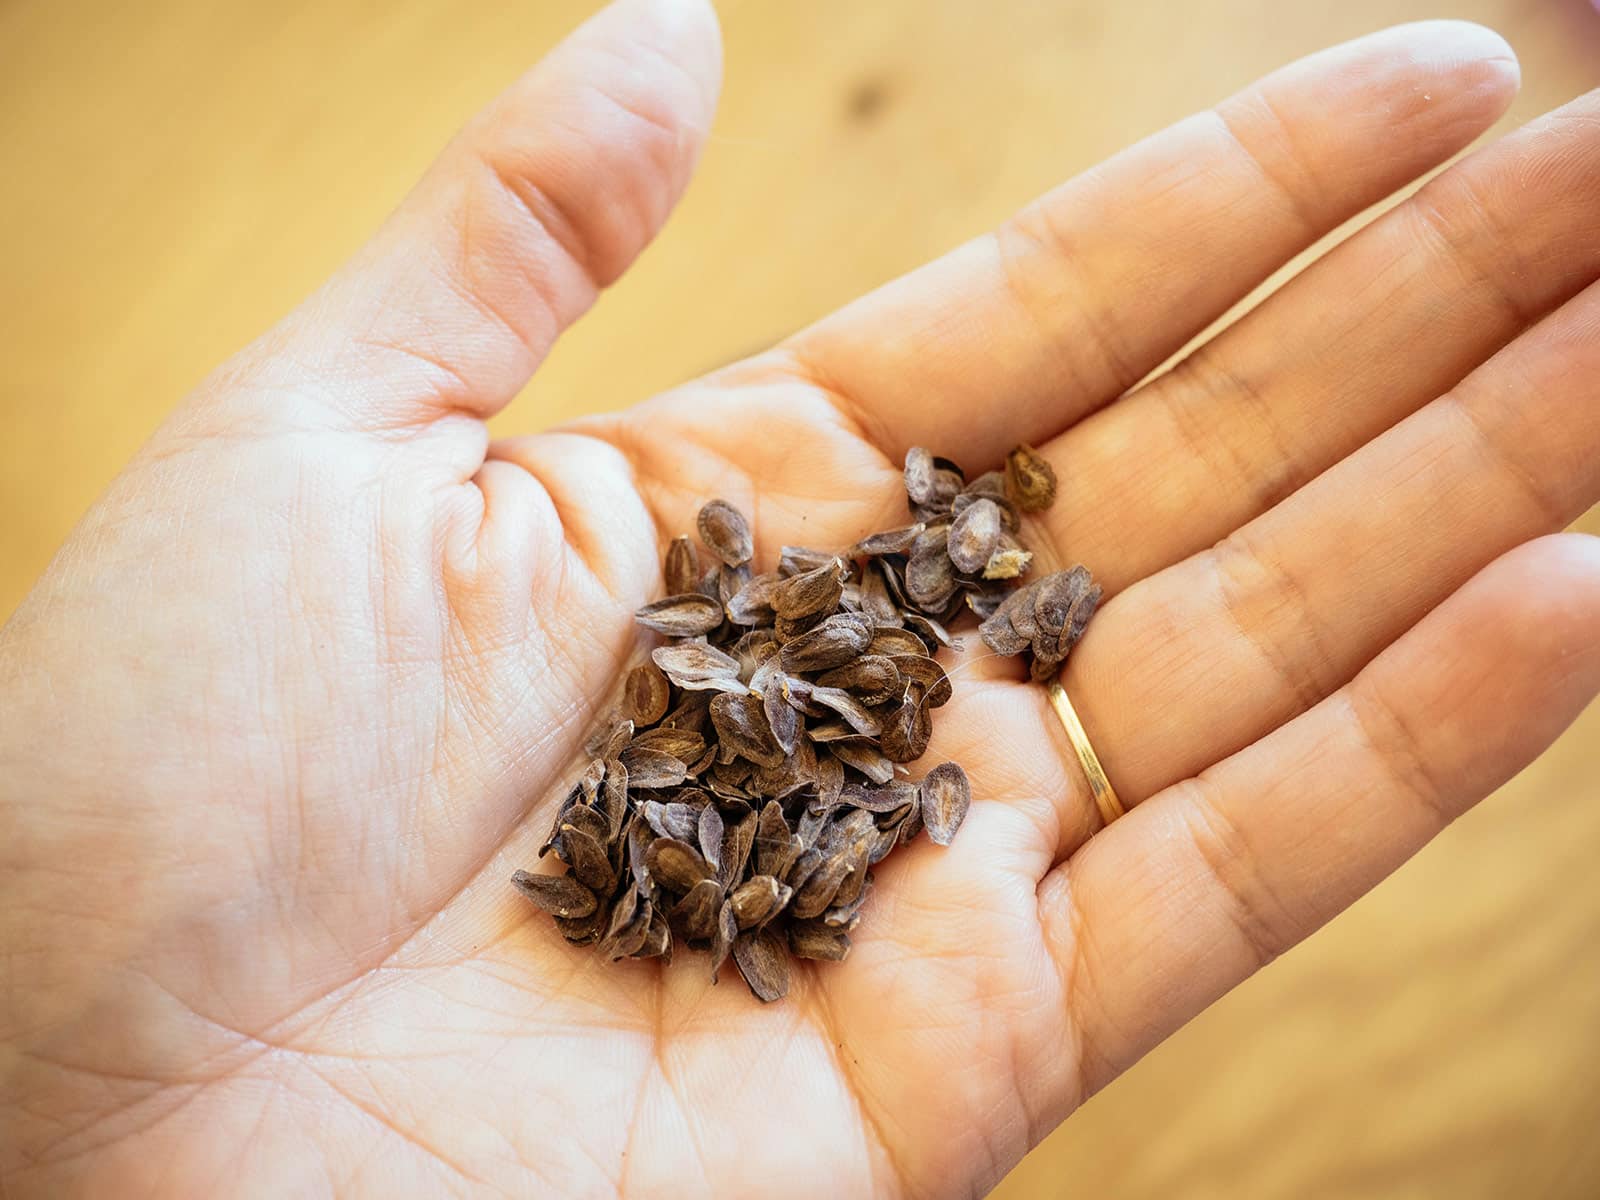
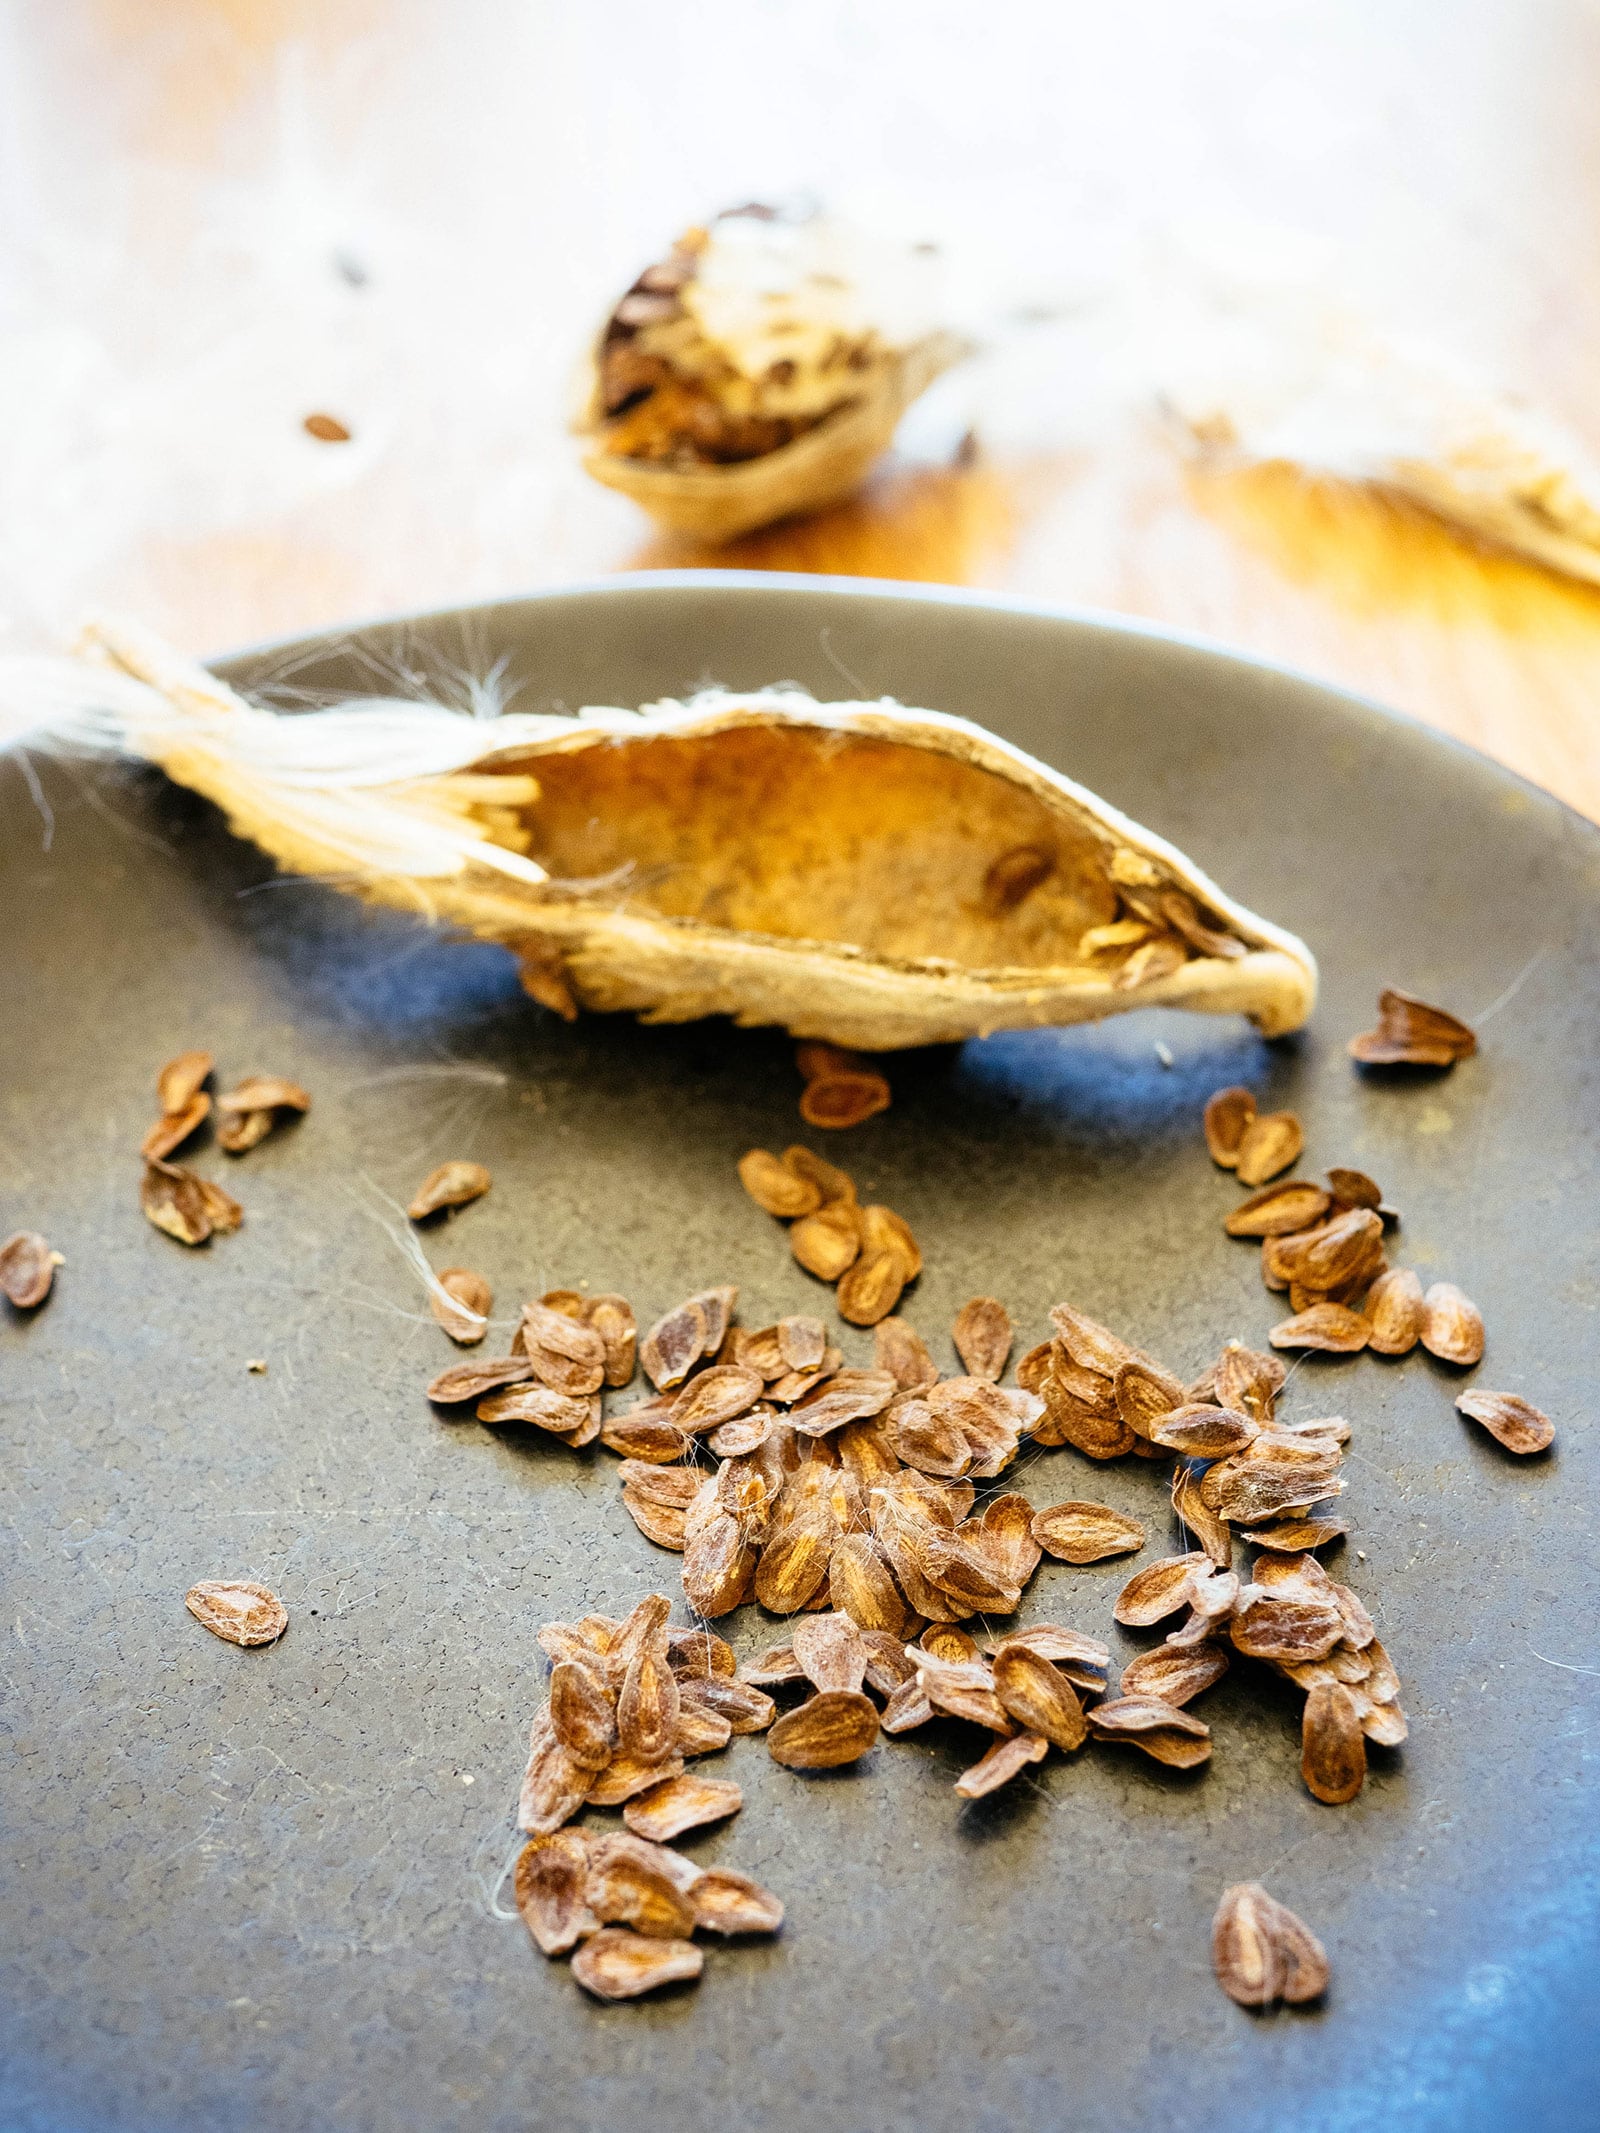
The seeds should be dark brown and leathery. (If they’re cream-colored, very pale, or white, then they aren’t mature and won’t grow into a plant.)
Quick tip
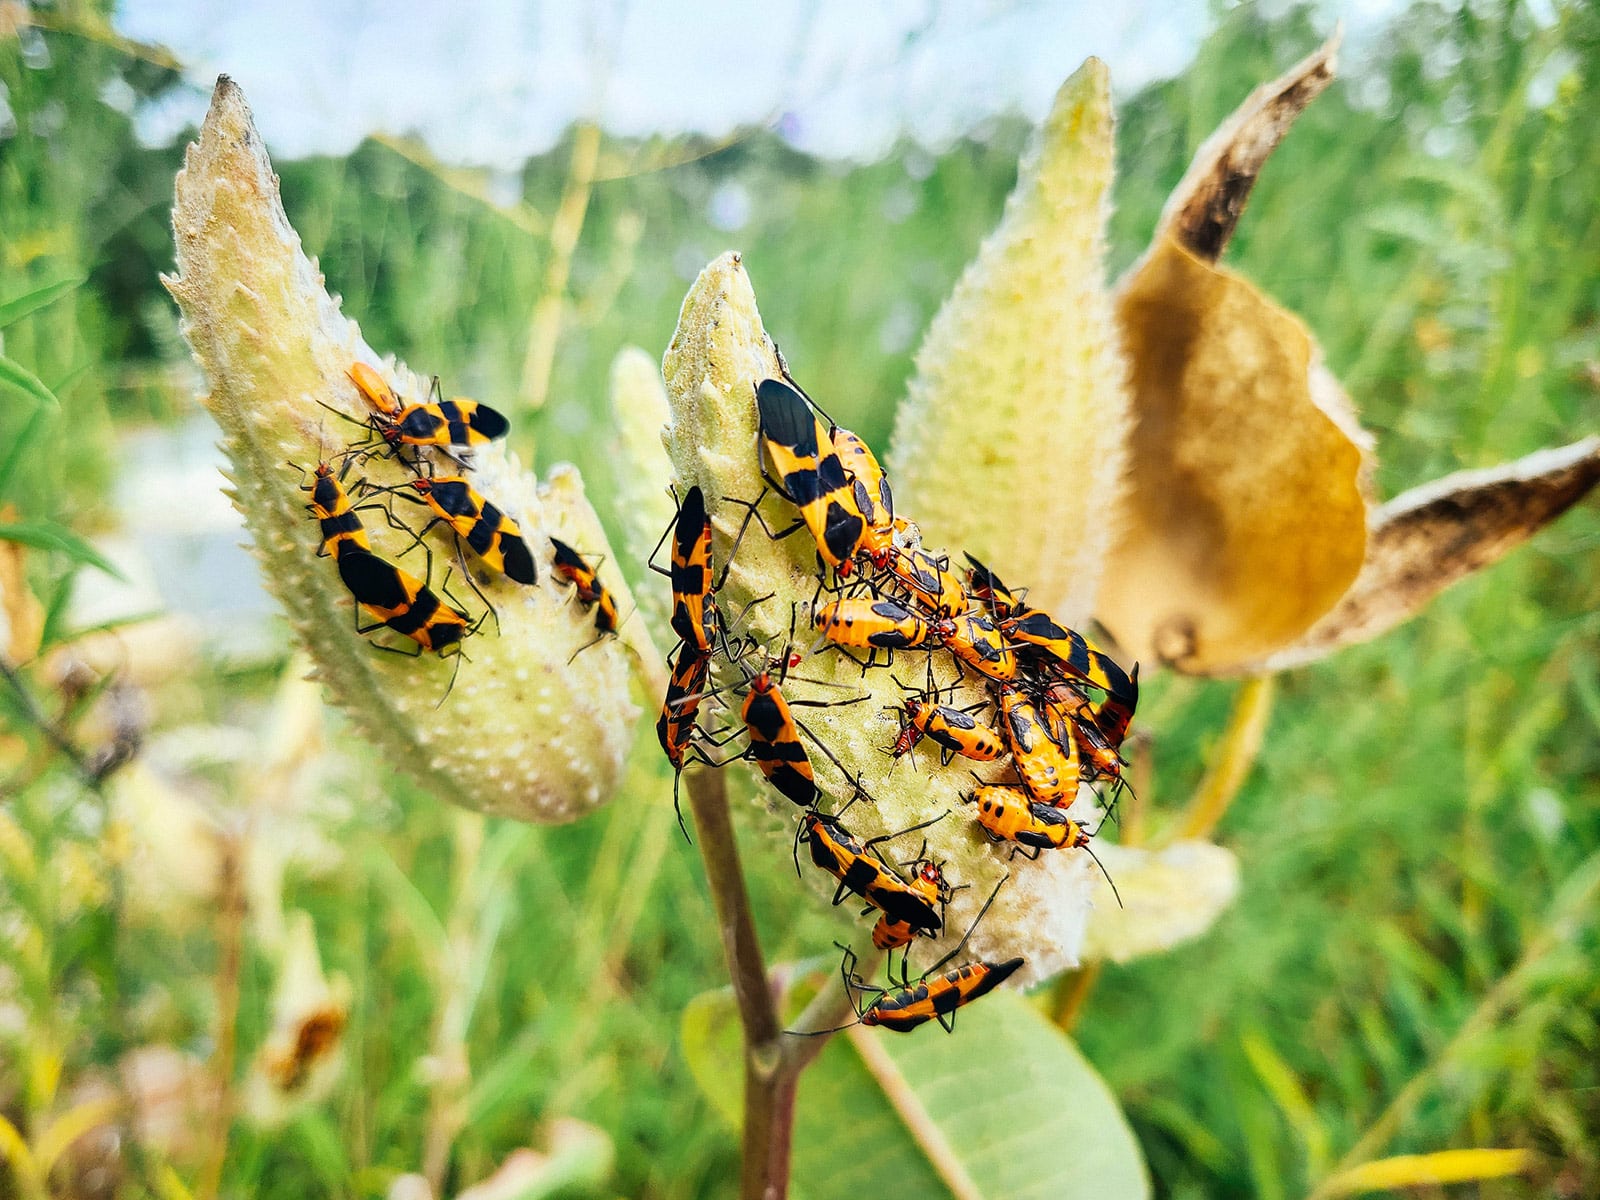
Occasionally you’ll find milkweed bugs crawling on a seed pod. These red and black insects feed on the seeds by piercing the pod and injecting digestive enzymes to liquefy the seeds. If a seed pod is covered in milkweed bugs, chances are high that the seeds have been damaged.
Method #1
The key to easy harvesting is picking the seed pods before the fluff inside has expanded, causing the pod to burst.
Pick an unopened seed pod and gently apply pressure to the seam. If it doesn’t open easily, the seeds inside are immature. If the pod opens, it should be pretty simple to separate the seeds from the fluff.
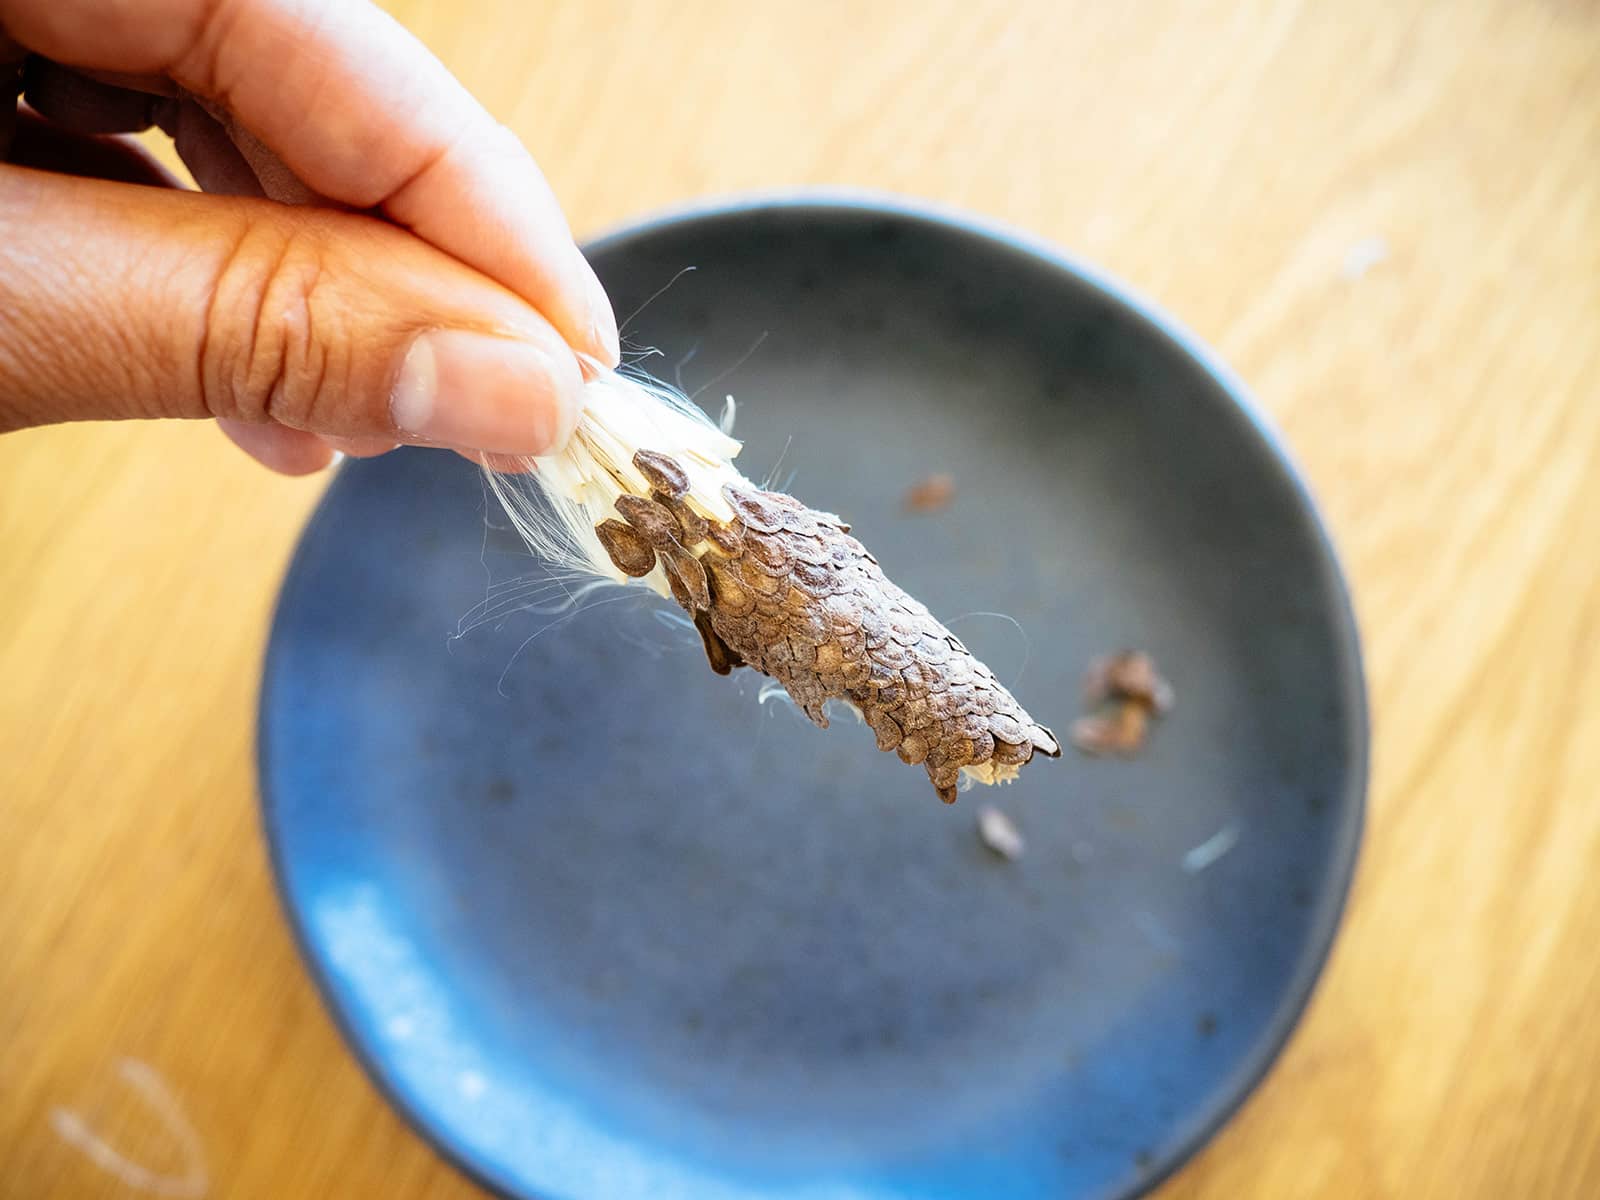
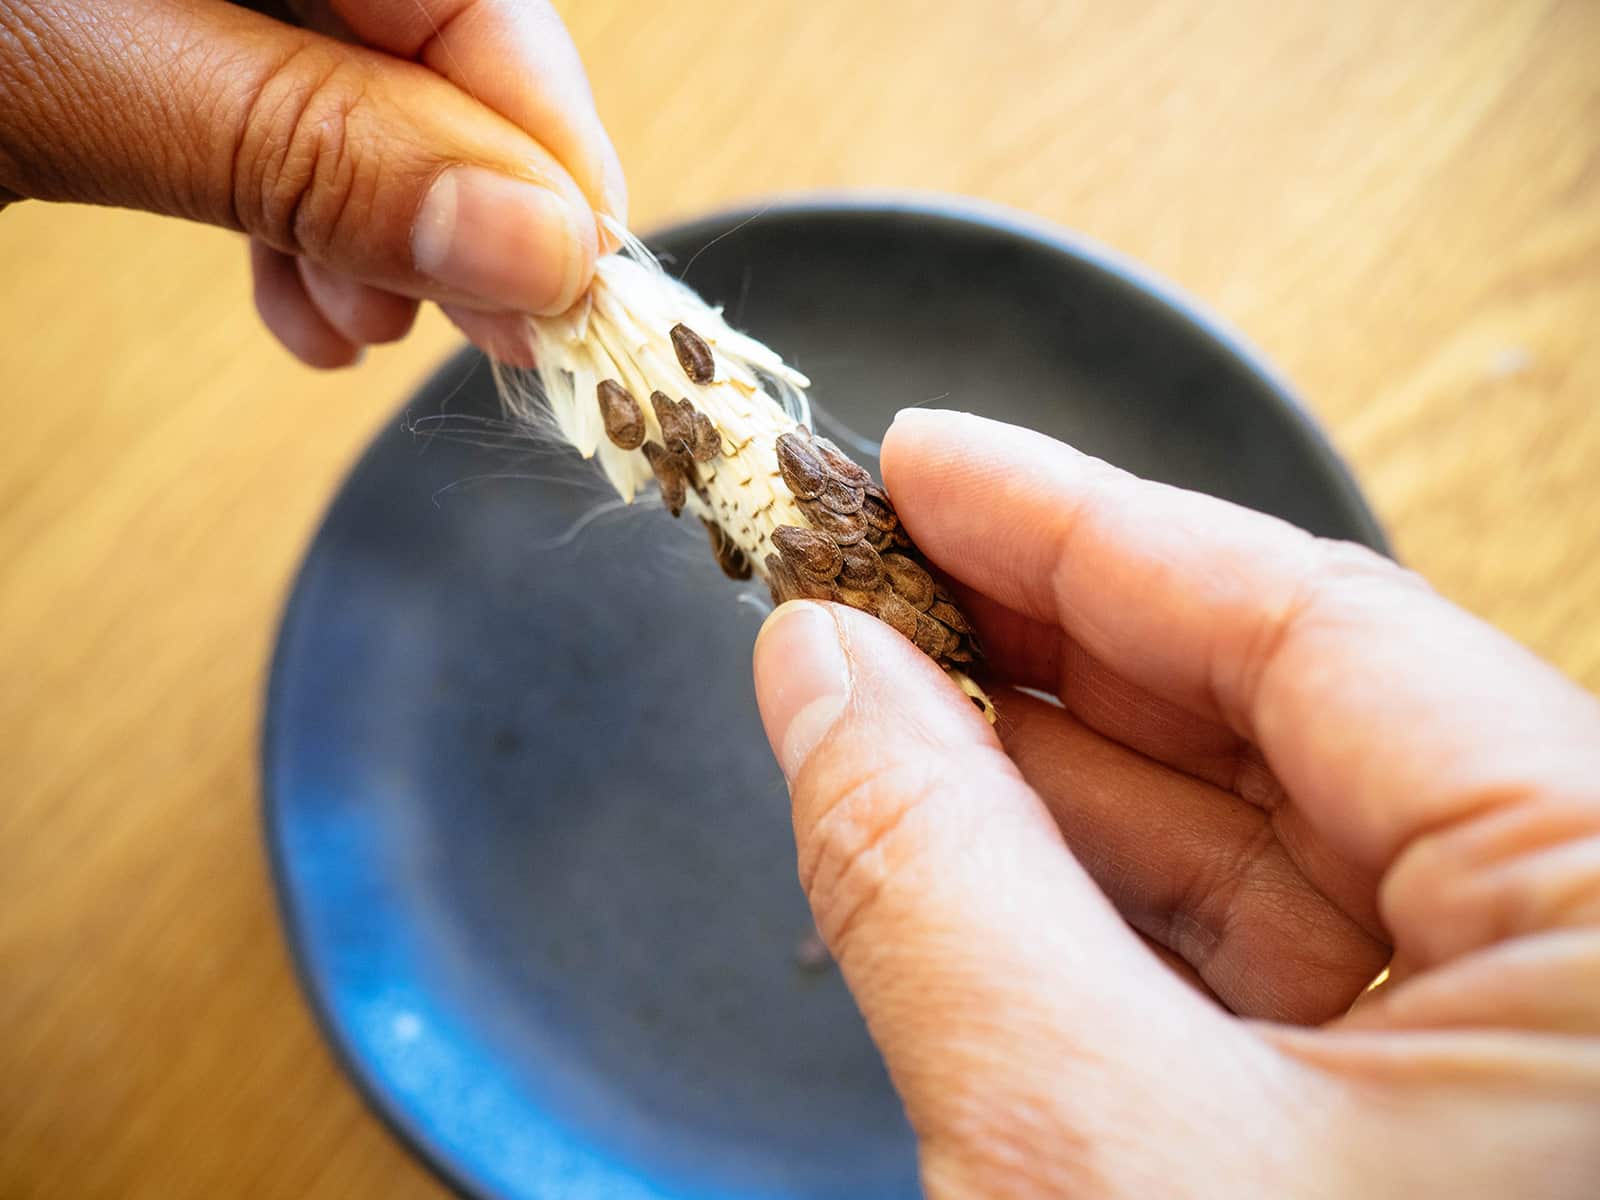
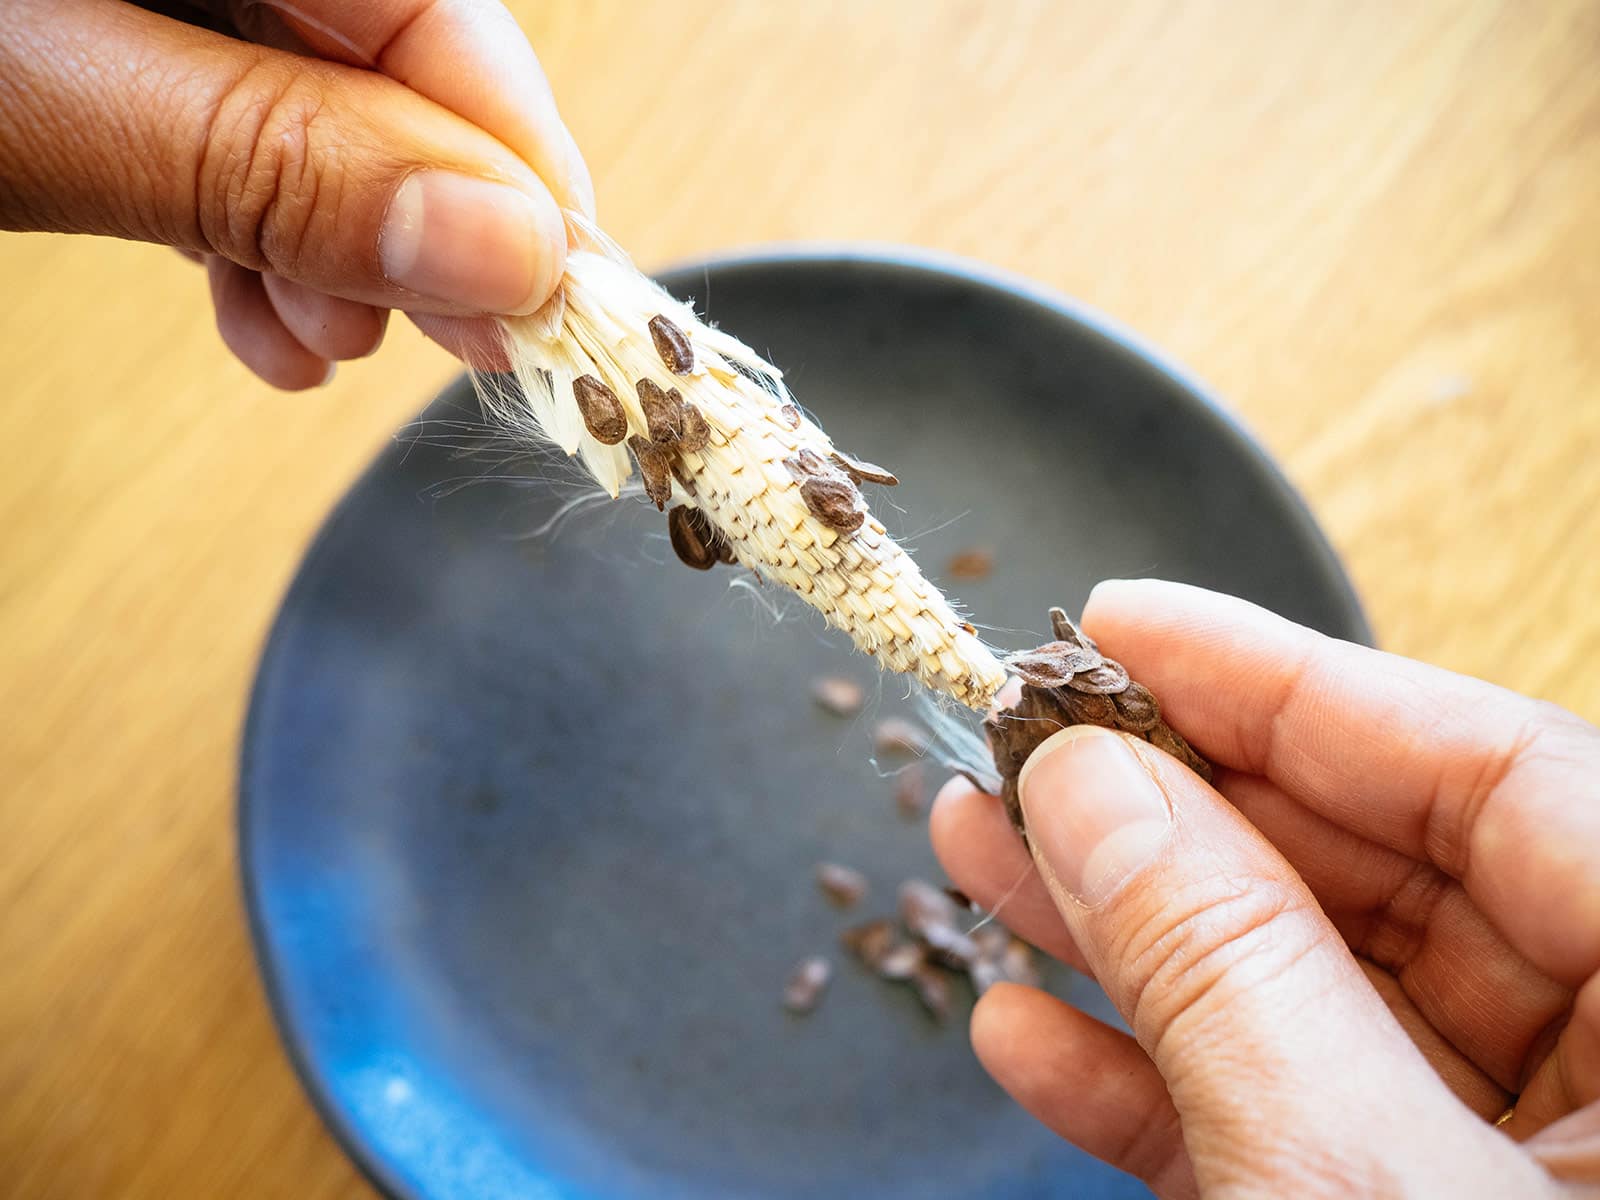
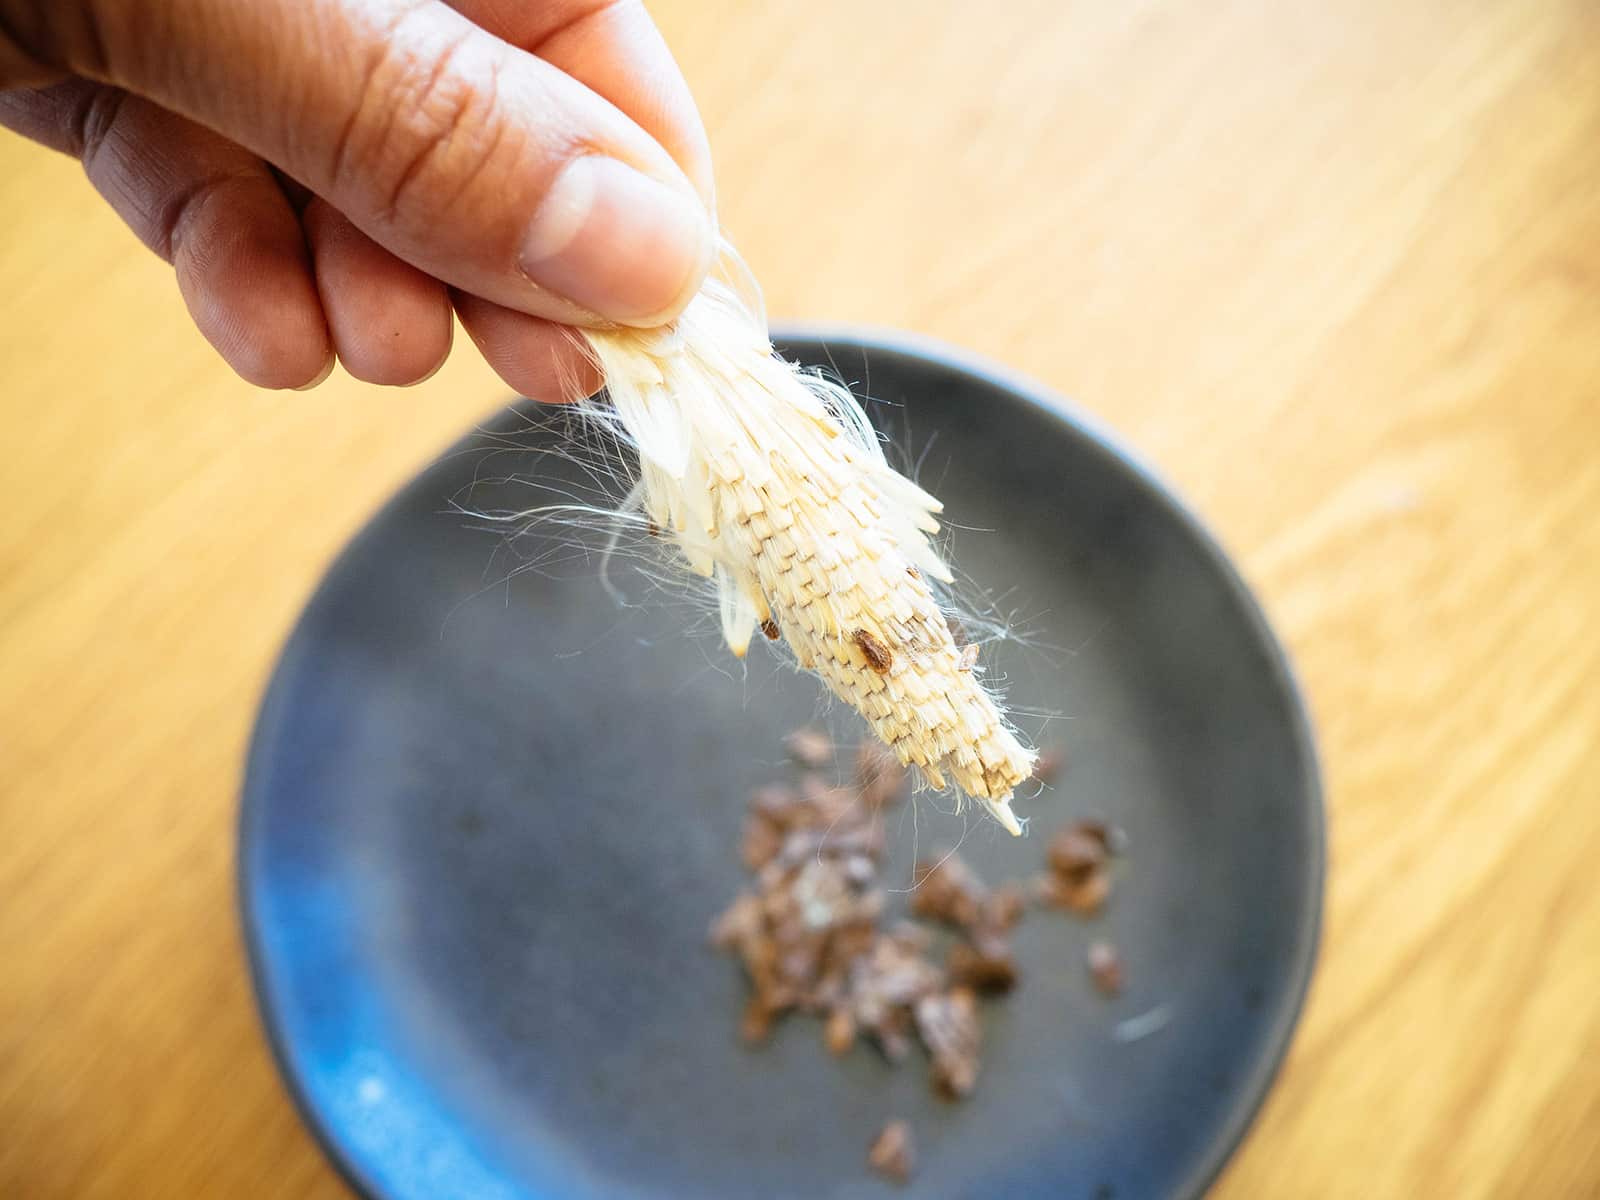
Pinch the seed mass at one end of the pod, and pull the seeds off with your other hand. (It’s kind of like stripping the leaves off an herb sprig.) The seeds should fall away easily and you’ll be left with a “cob” or cone of milkweed floss that can be discarded.
Method #2
If you’ve missed the window of opportunity and you’ve got milkweed floss flying everywhere, the best way to separate the seeds from the fluff is by shaking them off!
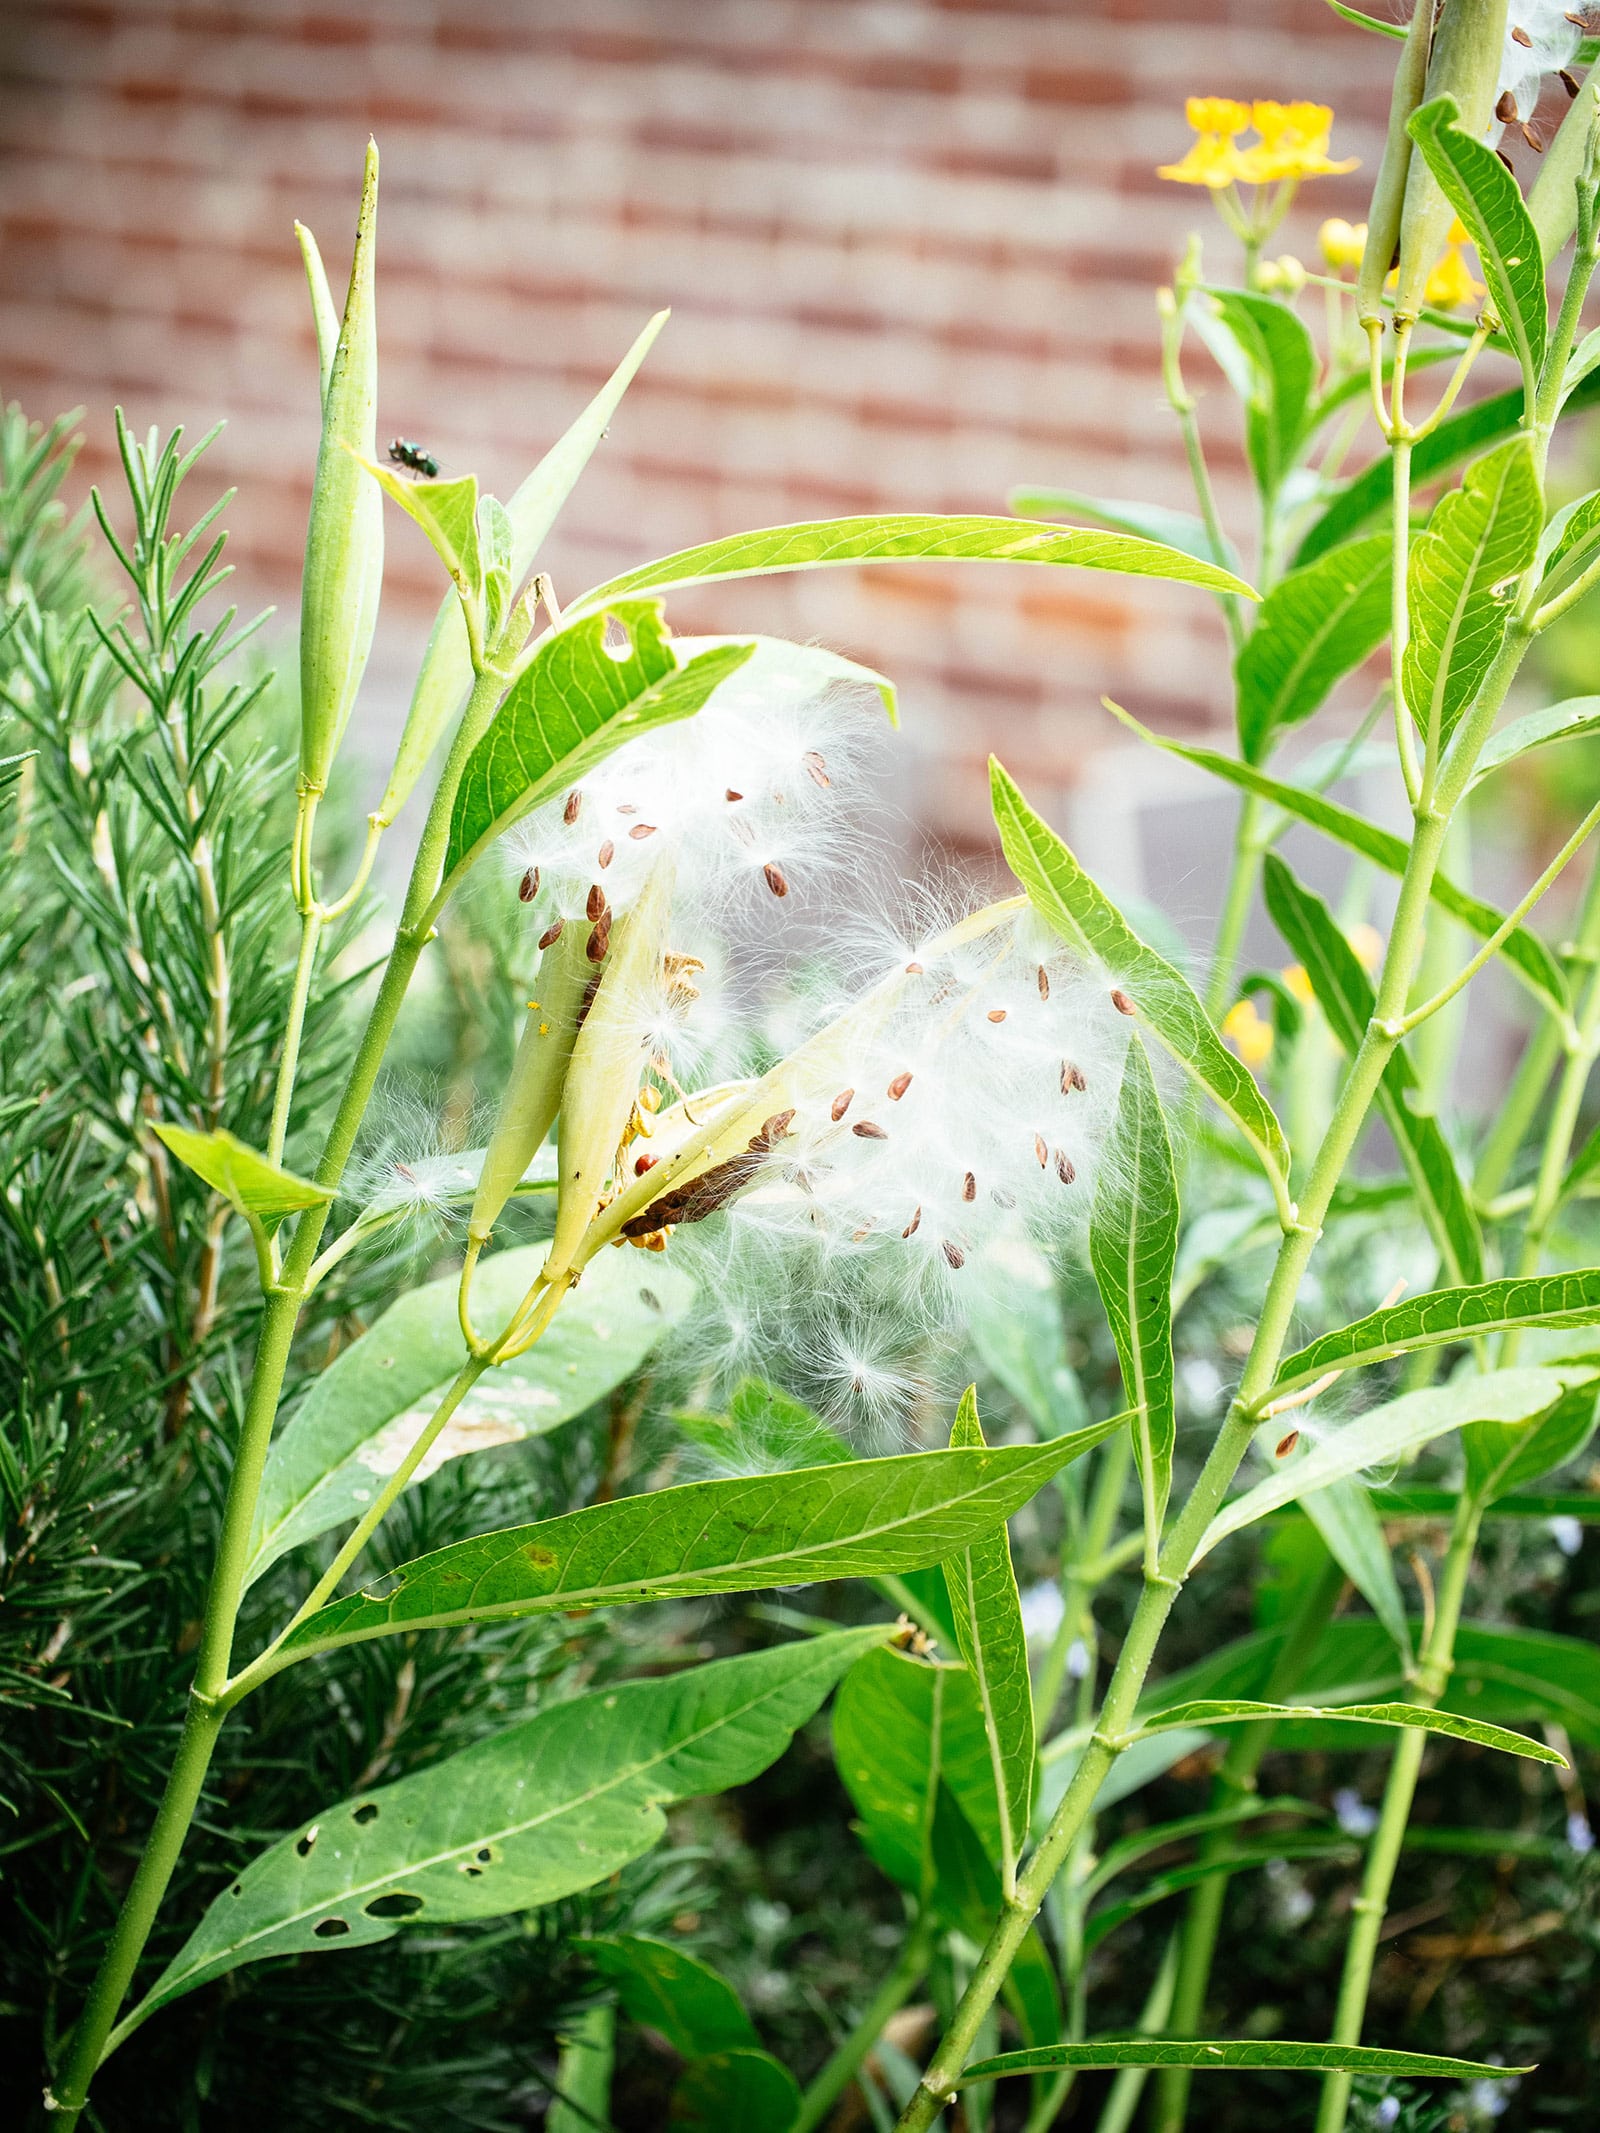
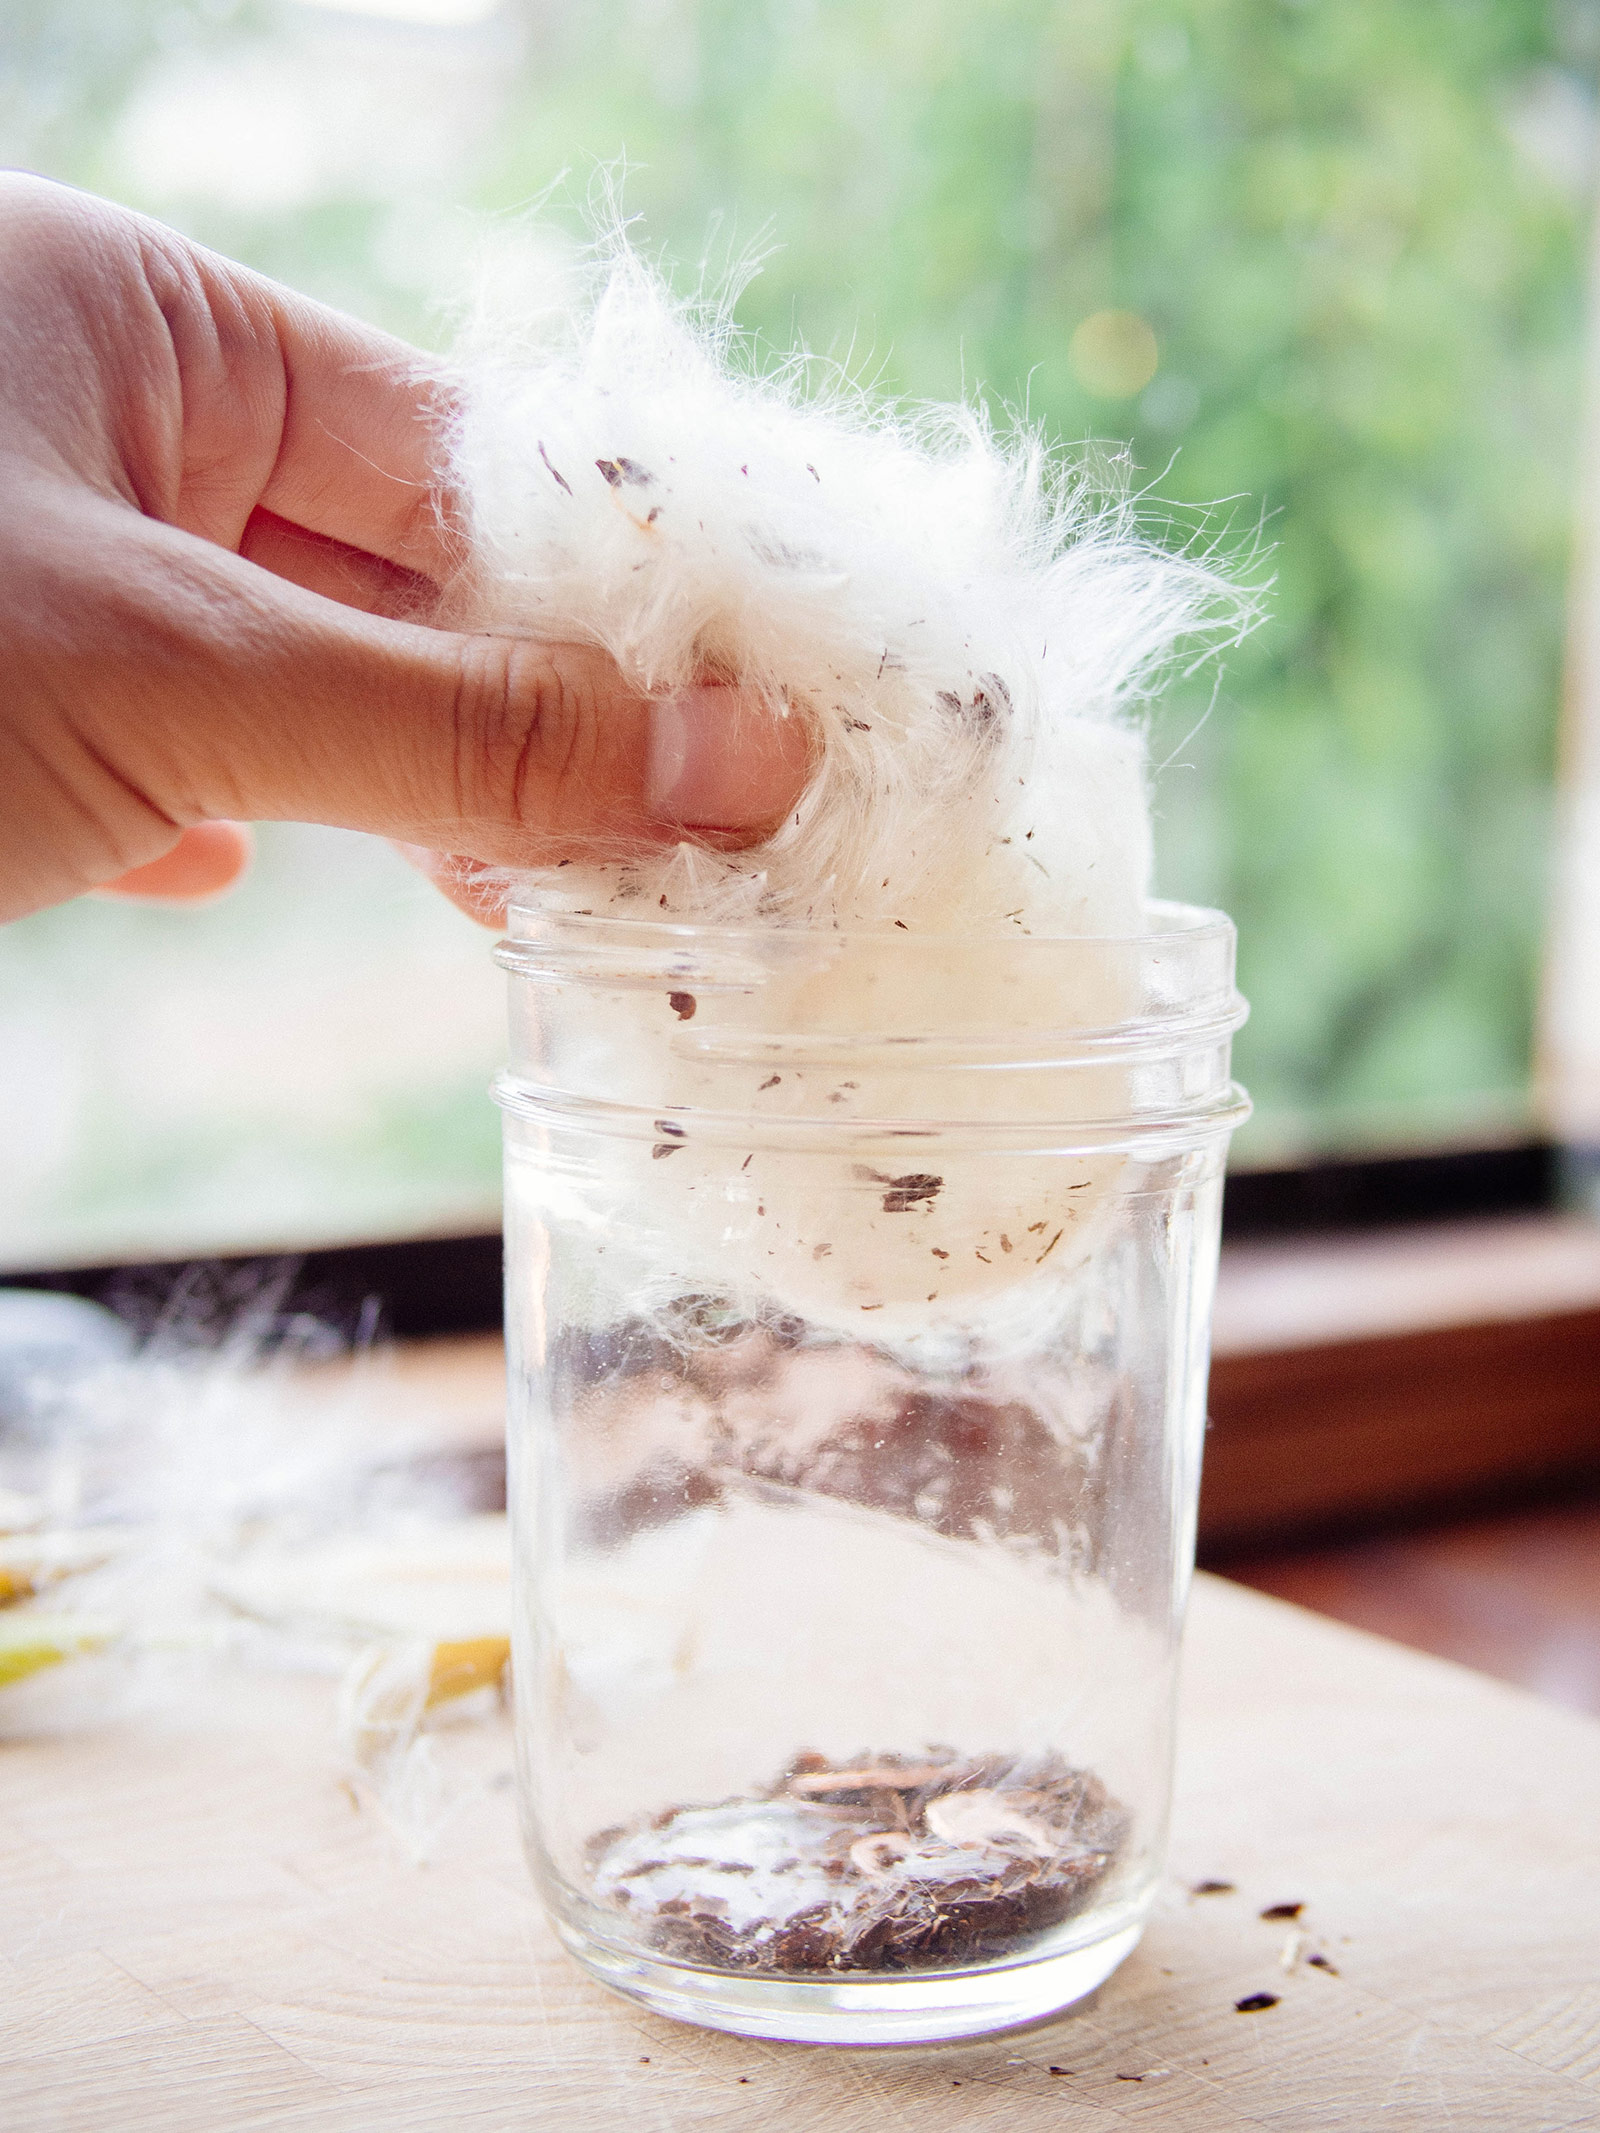
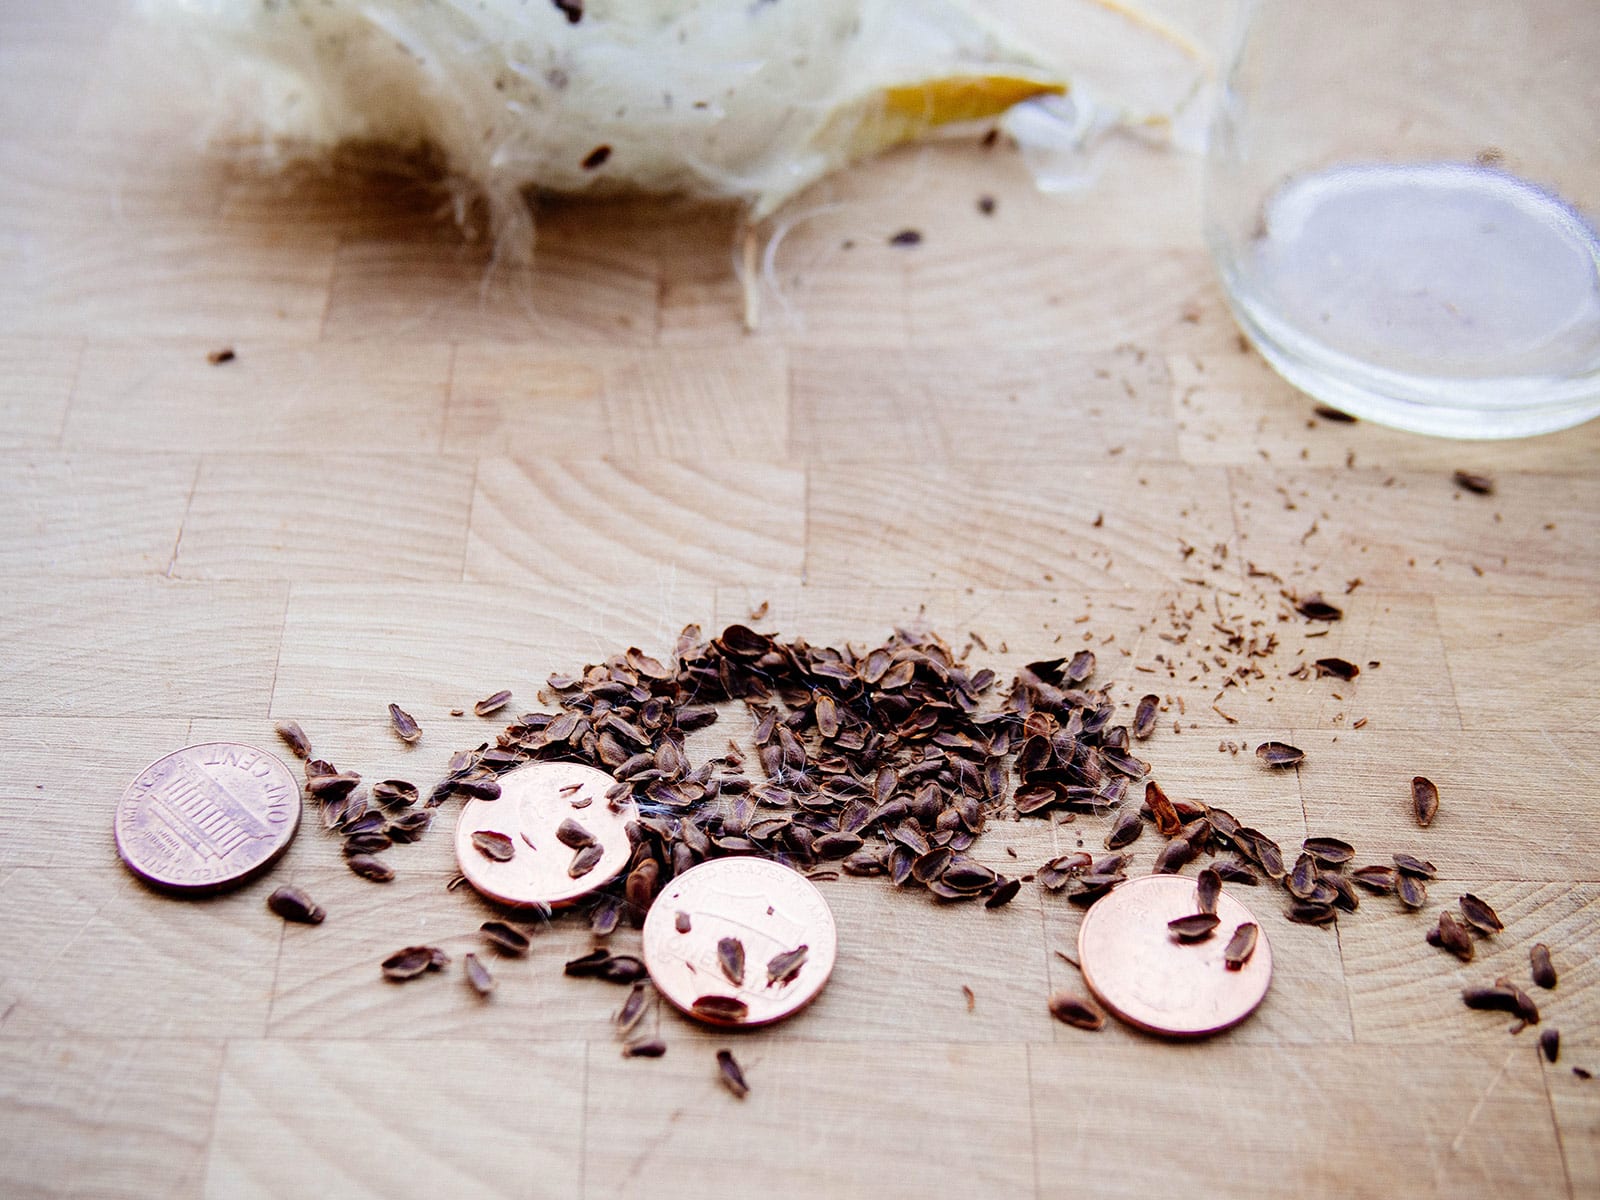
Put the milkweed floss and seeds (or the entire opened pod) in a jar with a few coins. Shake vigorously. The coins will do all the work of separating the fluff and the seeds for you!
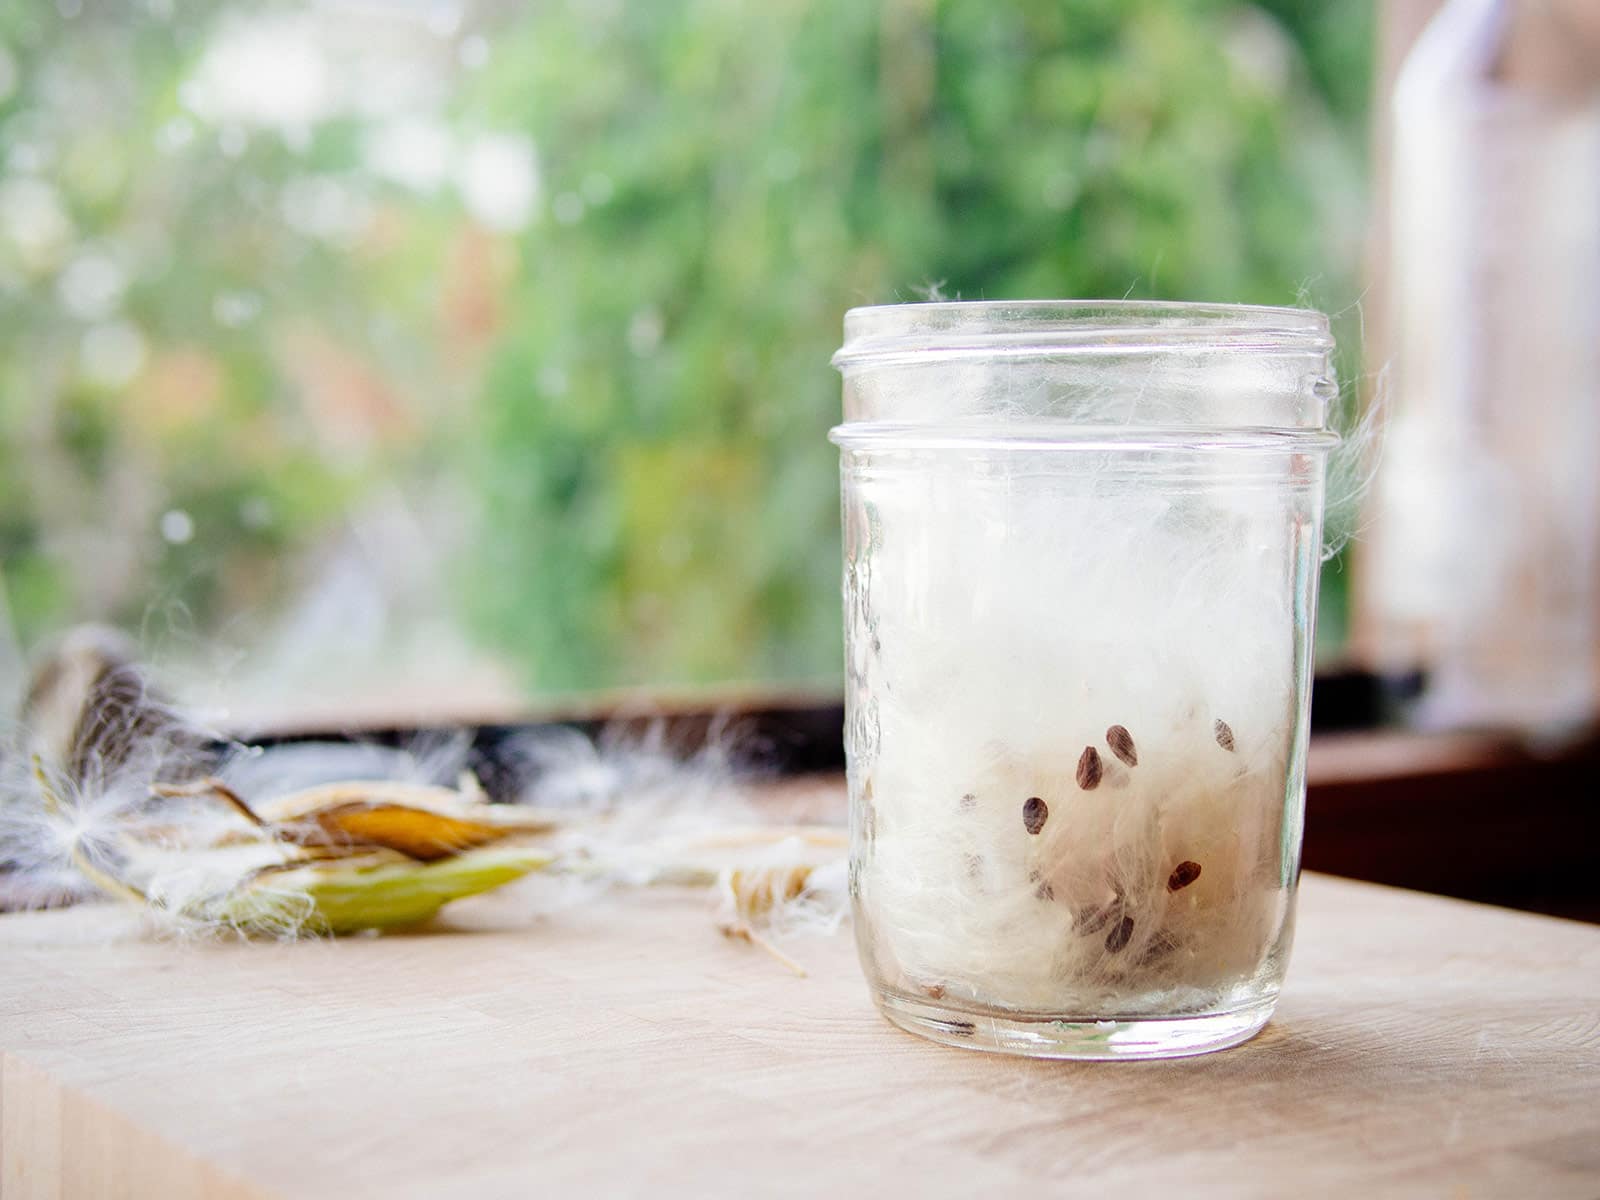
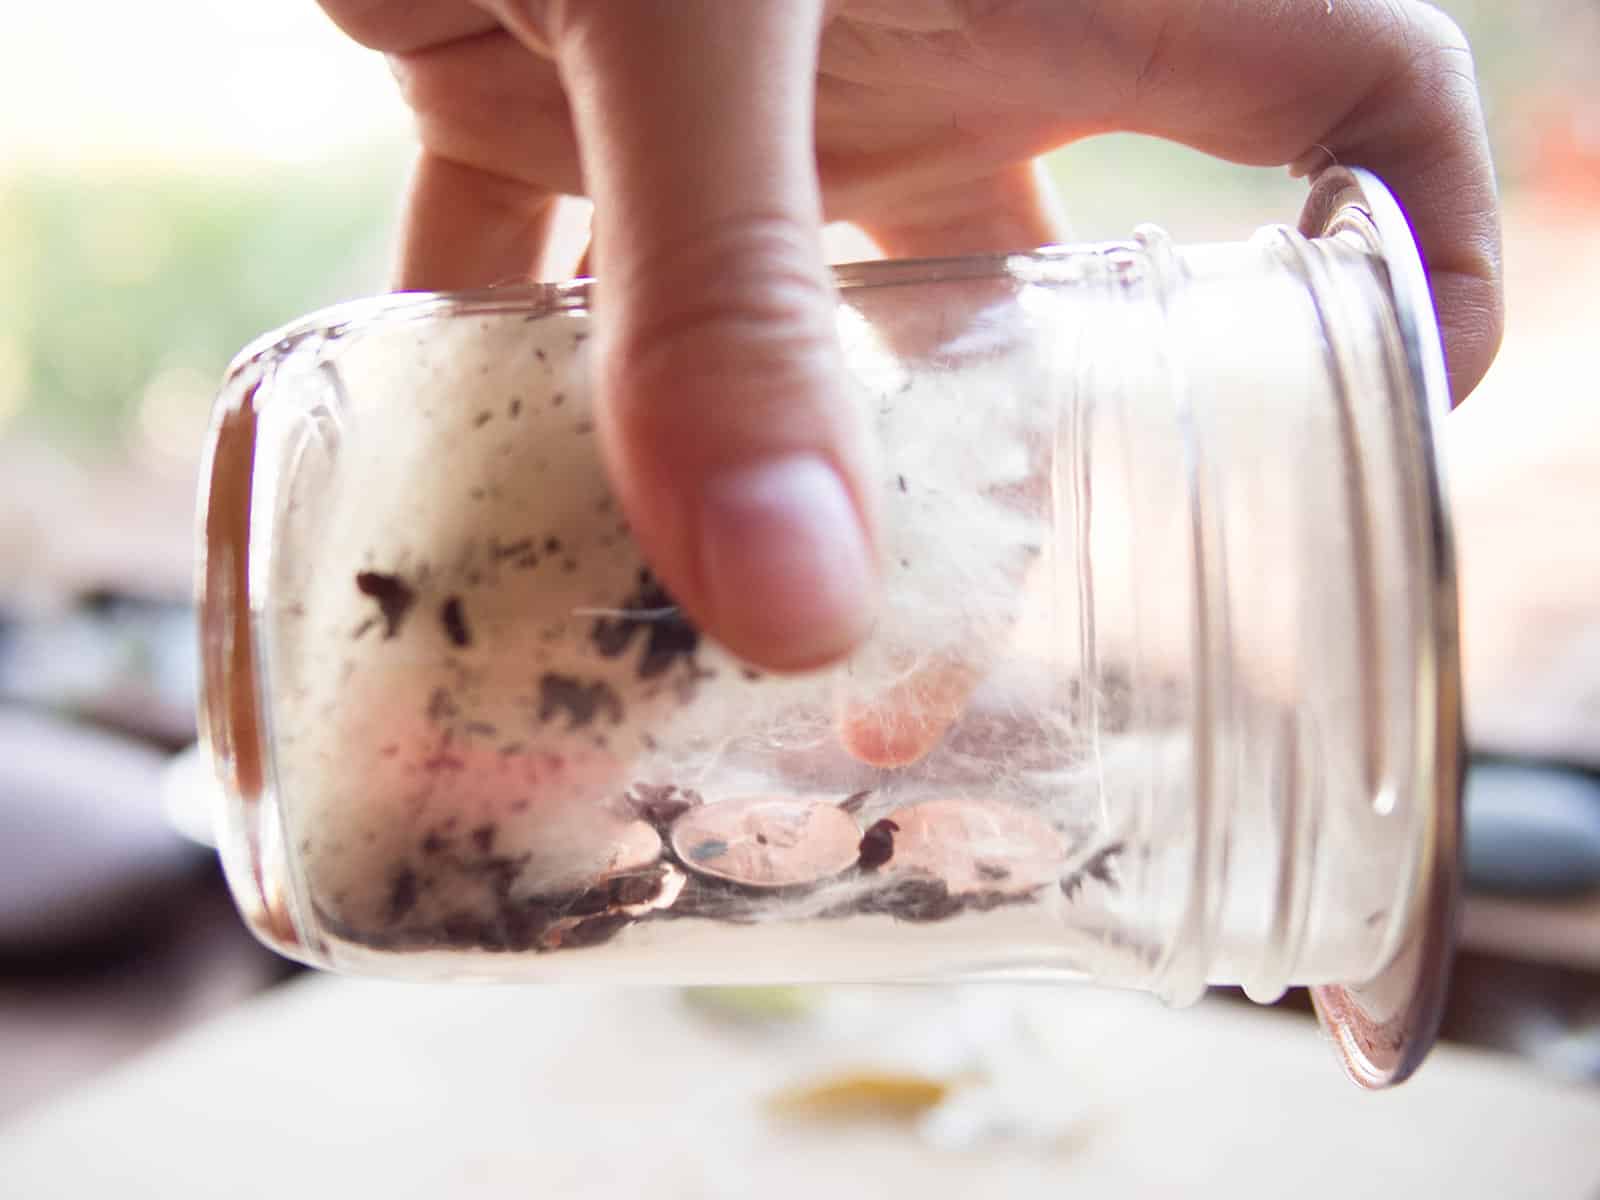
The seeds will settle at the bottom of the jar, so you can simply lift all the fluff out. (Milkweed floss can be recycled into stuffing if you’re the crafty type.) If you don’t have a jar handy, a paper bag works just as well.
Storing the seeds
After you’ve collected all the seeds, sandwich them in a damp paper towel and put them in a sealed jar or zip-top bag in the refrigerator for a minimum of 30 days (for common milkweed, swamp milkweed, whorled milkweed, prairie milkweed, and butterfly weed) or 60 days (for western sand milkweed). Note that tropical milkweed does not need this type of cold treatment.
The seeds can stay in the fridge like this until you’re ready to sow the seeds in spring. Just remember to periodically check on them through winter and spritz the paper towel to keep it lightly moist, but not dripping wet.
Why the fridge? Because milkweed seeds require exposure to a period of very cold weather (called cold stratification) in order to germinate. (This is one of the most common mistakes for people who wonder why their seeds won’t sprout.)
If you don’t want to deal with storage, you can also scatter your milkweed seeds in place in fall or winter and let Mother Nature take care of stratifying them for you.






Is milkweed good for anything? Why would you go to all the trouble to harvest the seeds? Does it attract pollinators?
Milkweed is essential for Monarch butterflies.
Perfect explanation-thanks! I just collected 13 Monarch eggs off my Swamp Milkweed to raise and release here in Kentucky–your explanation has the perfect timing and is so important!