
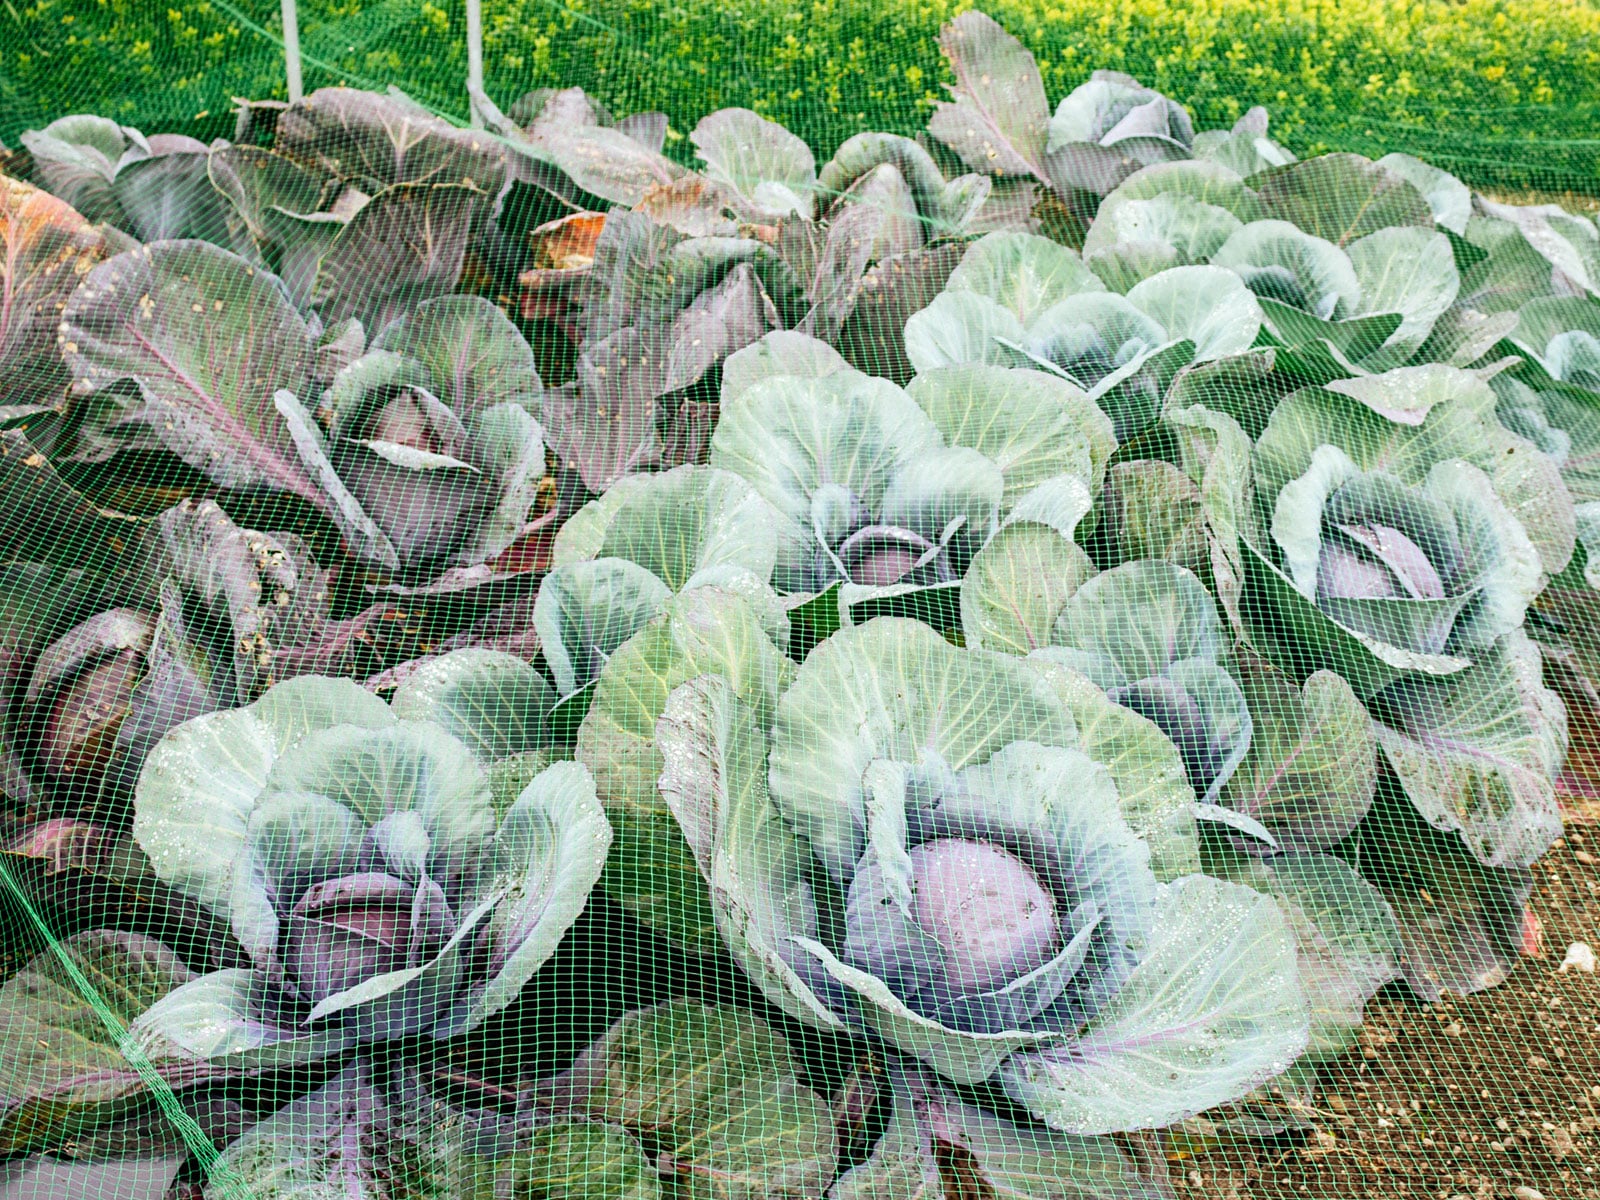
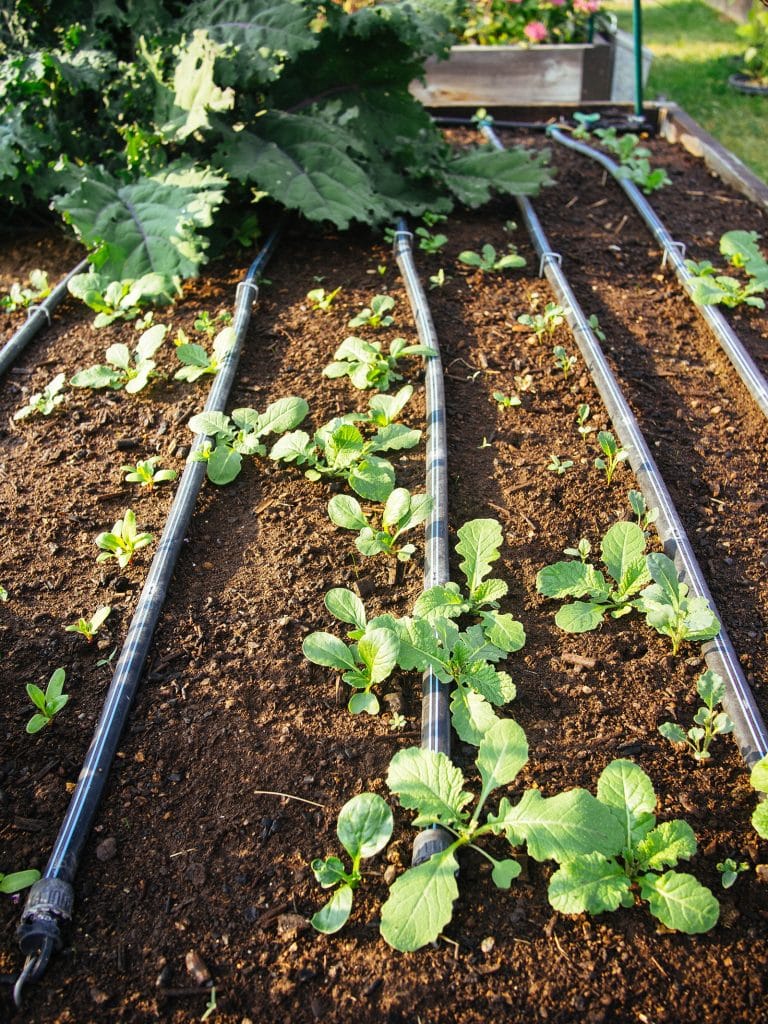
Cabbage, kale, and broccoli are cool-season crops, which means many people start planting them in spring. But while these leafy greens love the milder temperatures between March and June, what they don’t love are all the hungry pests that emerge around the same time.
Cabbageworms, cabbage loopers, and slugs are some of the small yet mighty pests that aren’t shy when it comes to devouring your tender new seedlings. And they don’t just go after cabbage, kale, or broccoli—they love any all members of the cabbage family (known as brassicas or cole crops).
Read more: Cabbageworms and cabbage loopers are not the only green caterpillars you’ll find in your garden
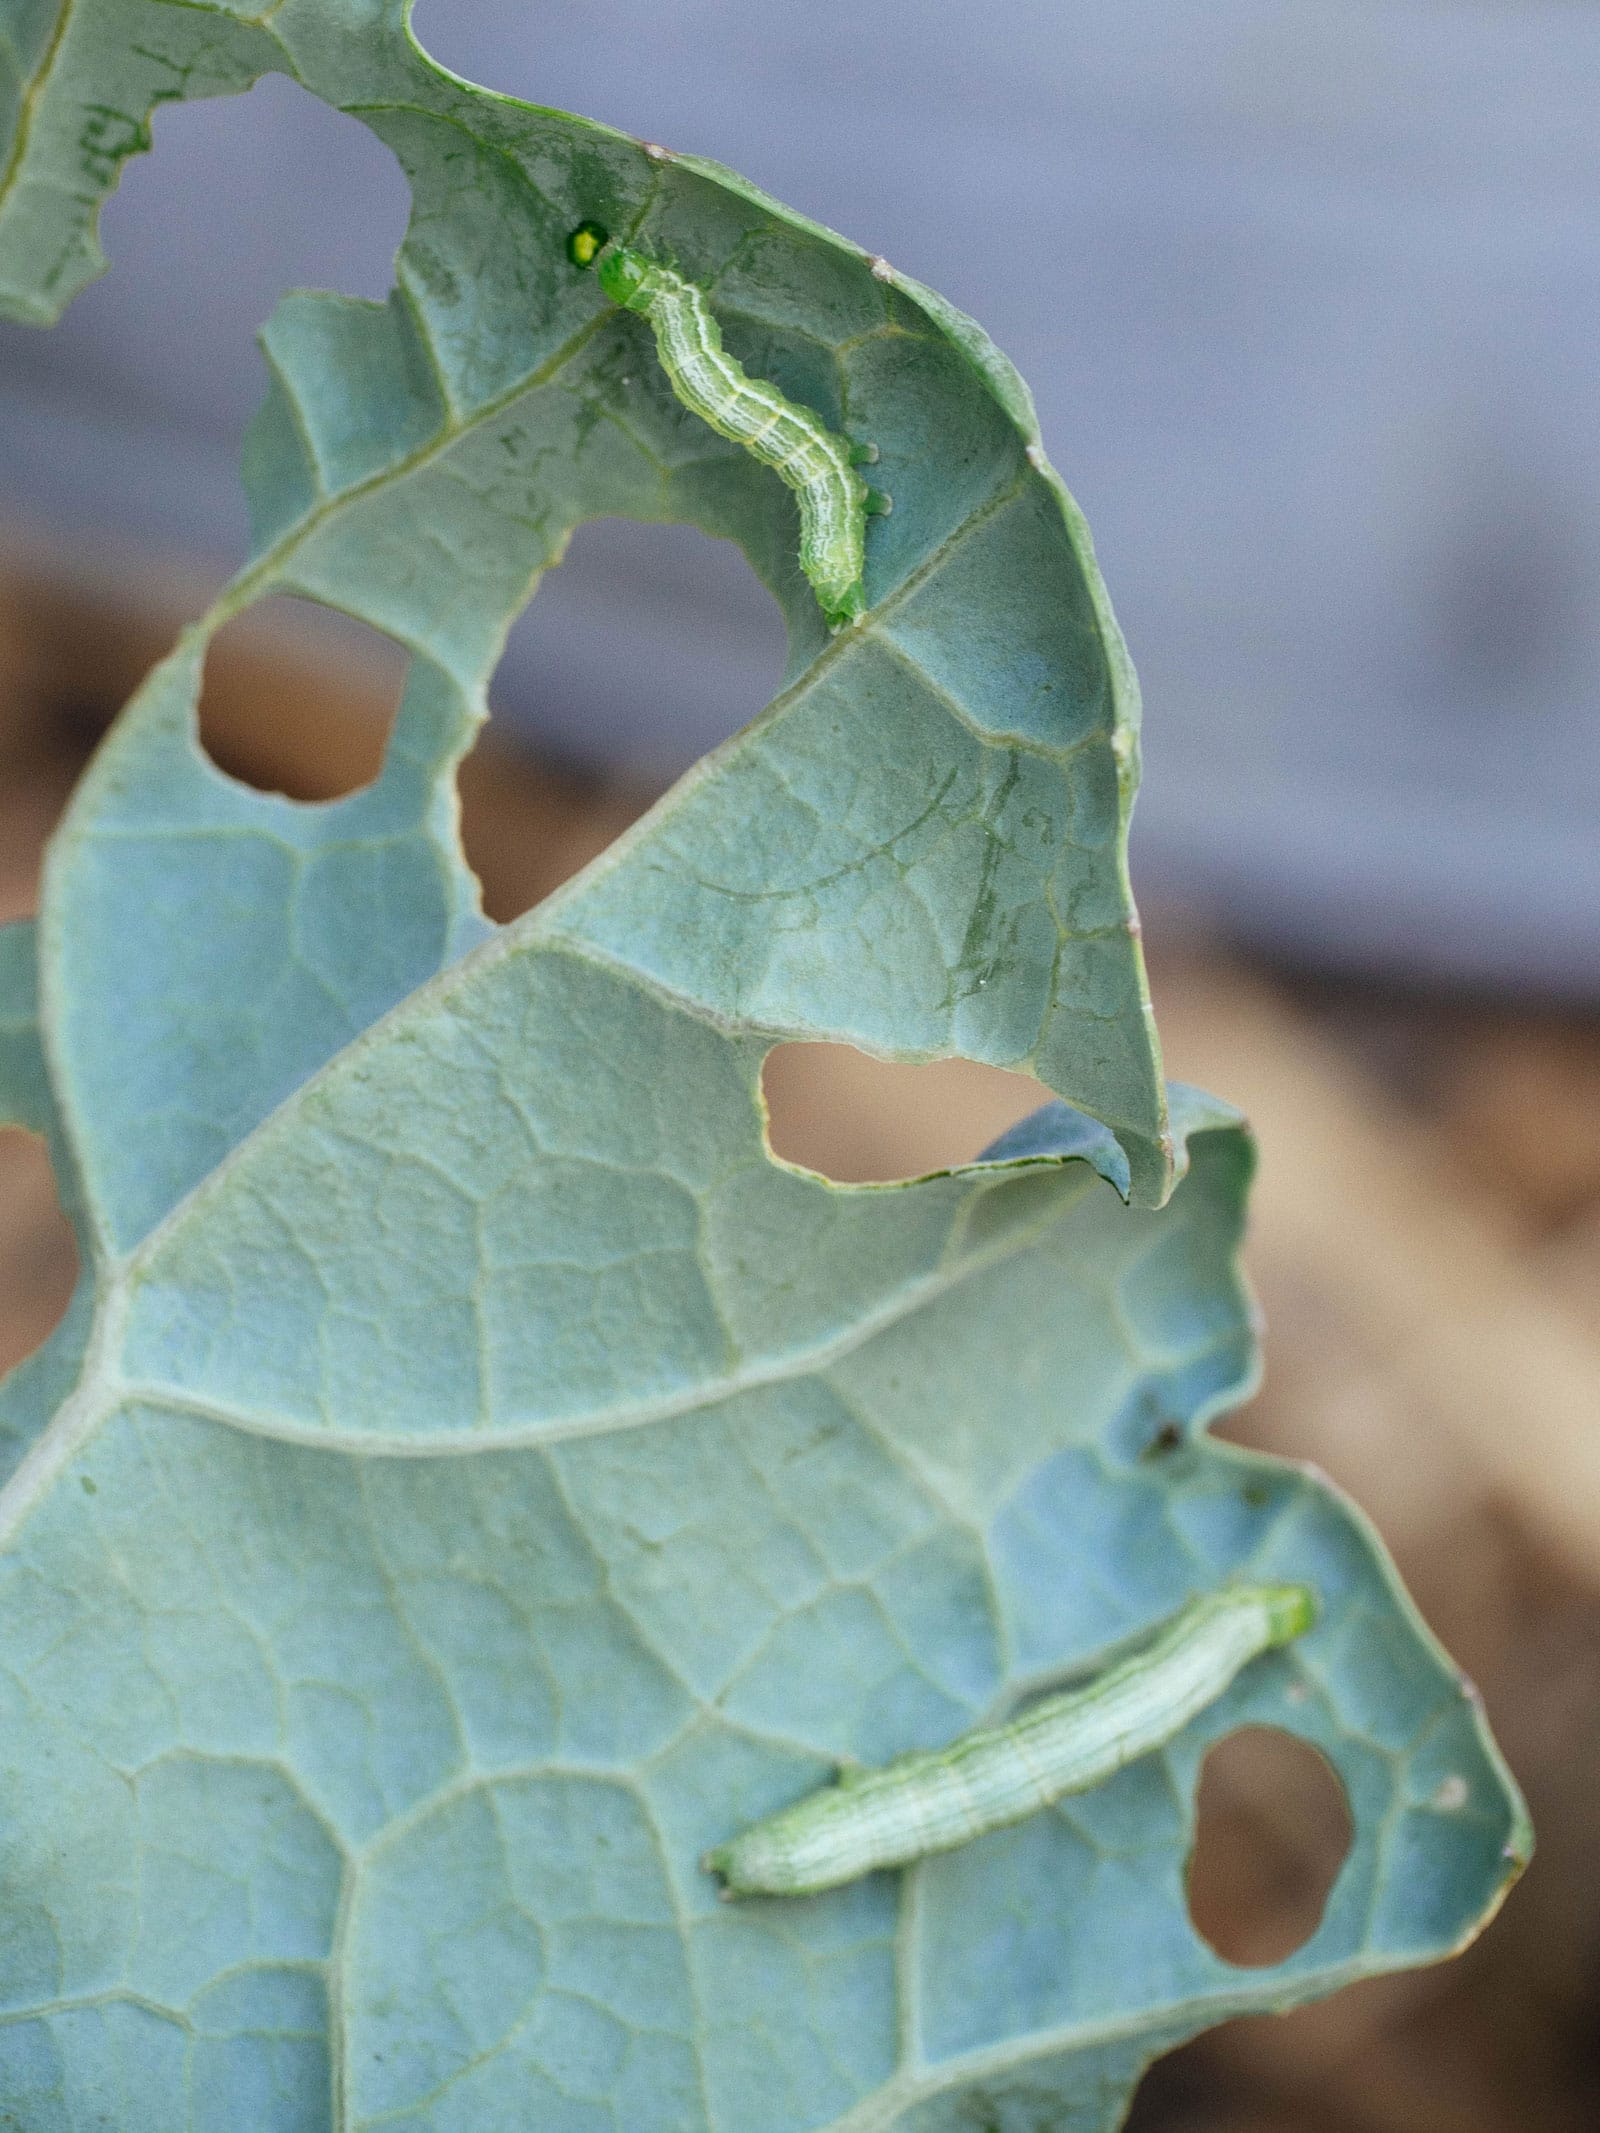
Young collard greens, kohlrabi, cauliflower, Brussels sprouts, bok choy, mustards, radishes, and turnips are also susceptible to these pests, and if there are enough of them—or they go unnoticed—they can wipe out an entire crop in a matter of days.
One of the most frustrating things about growing brassicas is the fact that they’re bug magnets in the early season they’re usually grown. Luckily, these small pests are easy to control organically—and it starts with creating a barrier between the bugs and your seedlings.
Disclosure: If you shop from my article or make a purchase through one of my links, I may receive commissions on some of the products I recommend.
Floating row cover
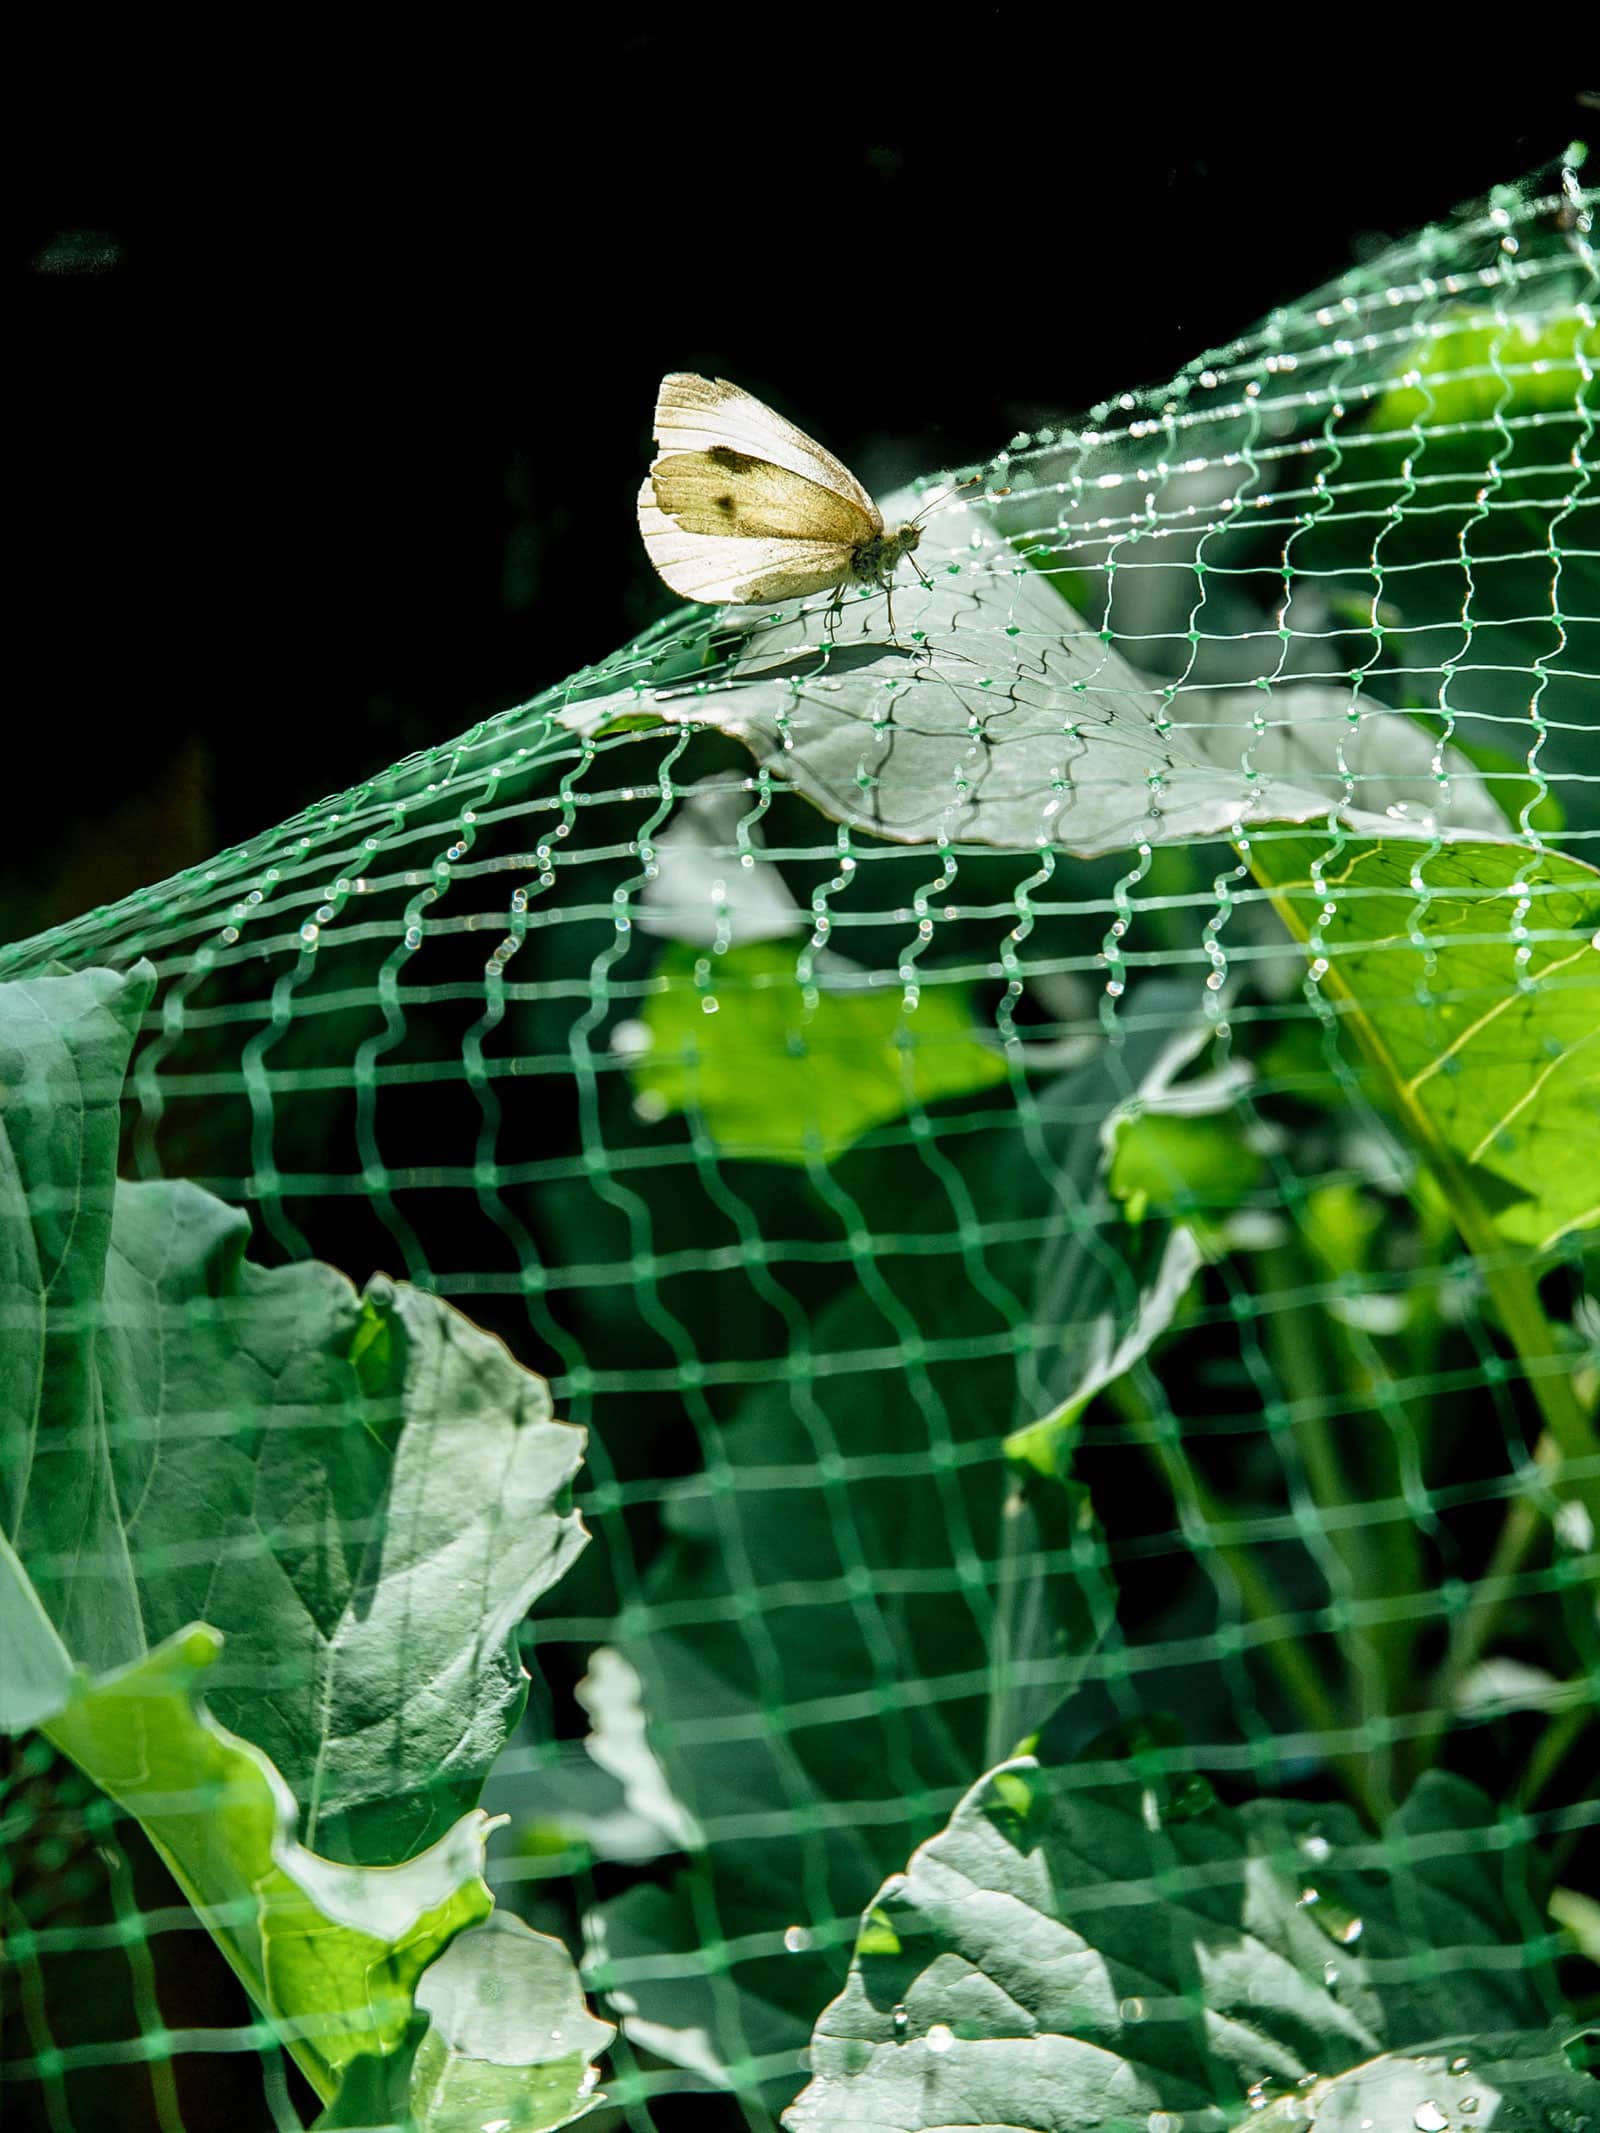
This is my favorite way to protect tender plants in spring. The lightweight fabric still lets in sunlight and moisture, but is an effective physical barrier against pests.
More specifically, it prevents cabbage butterflies and owlet moths (the adult forms of cabbageworms and cabbage loopers, respectively) from laying eggs on your plants.
Related: More ways to manage aphid infestations
Floating row covers should be placed as soon as you plant your seeds or seedlings, and they should remain in place until the plants are mature enough to withstand some pest damage (though it’s a good idea to keep your covers on the whole season, since brassicas don’t need to be pollinated).
They aren’t meant for frost protection, so don’t confuse lightweight or “summerweight” floating row covers with similar covers that offer some degree of warmth.
Learn more: All the different types of row covers, explained in layman’s terms
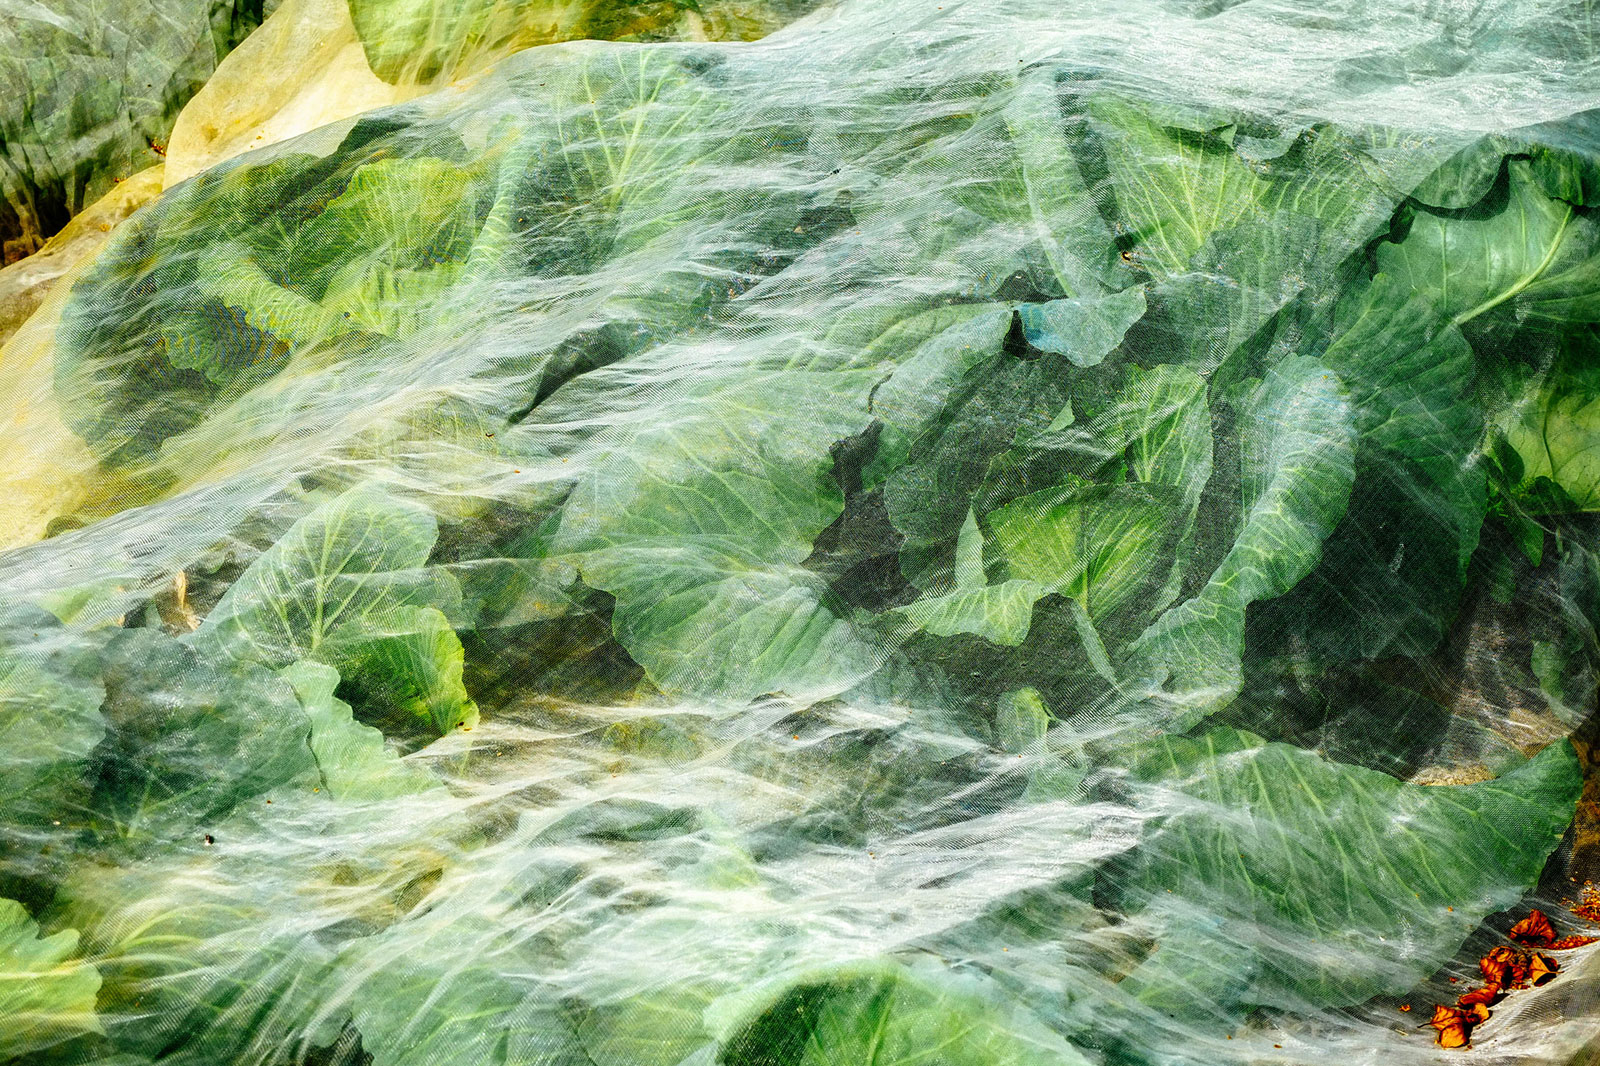
Most floating row covers are made of spun-bonded poly fabric, which can keep out the tiniest of pests (including cabbage aphids, which target brassicas). Some, however, are also made of mesh. If your only pest concerns are caterpillars, a cover with wider mesh openings (somewhere in between mosquito netting and bird netting) can work.
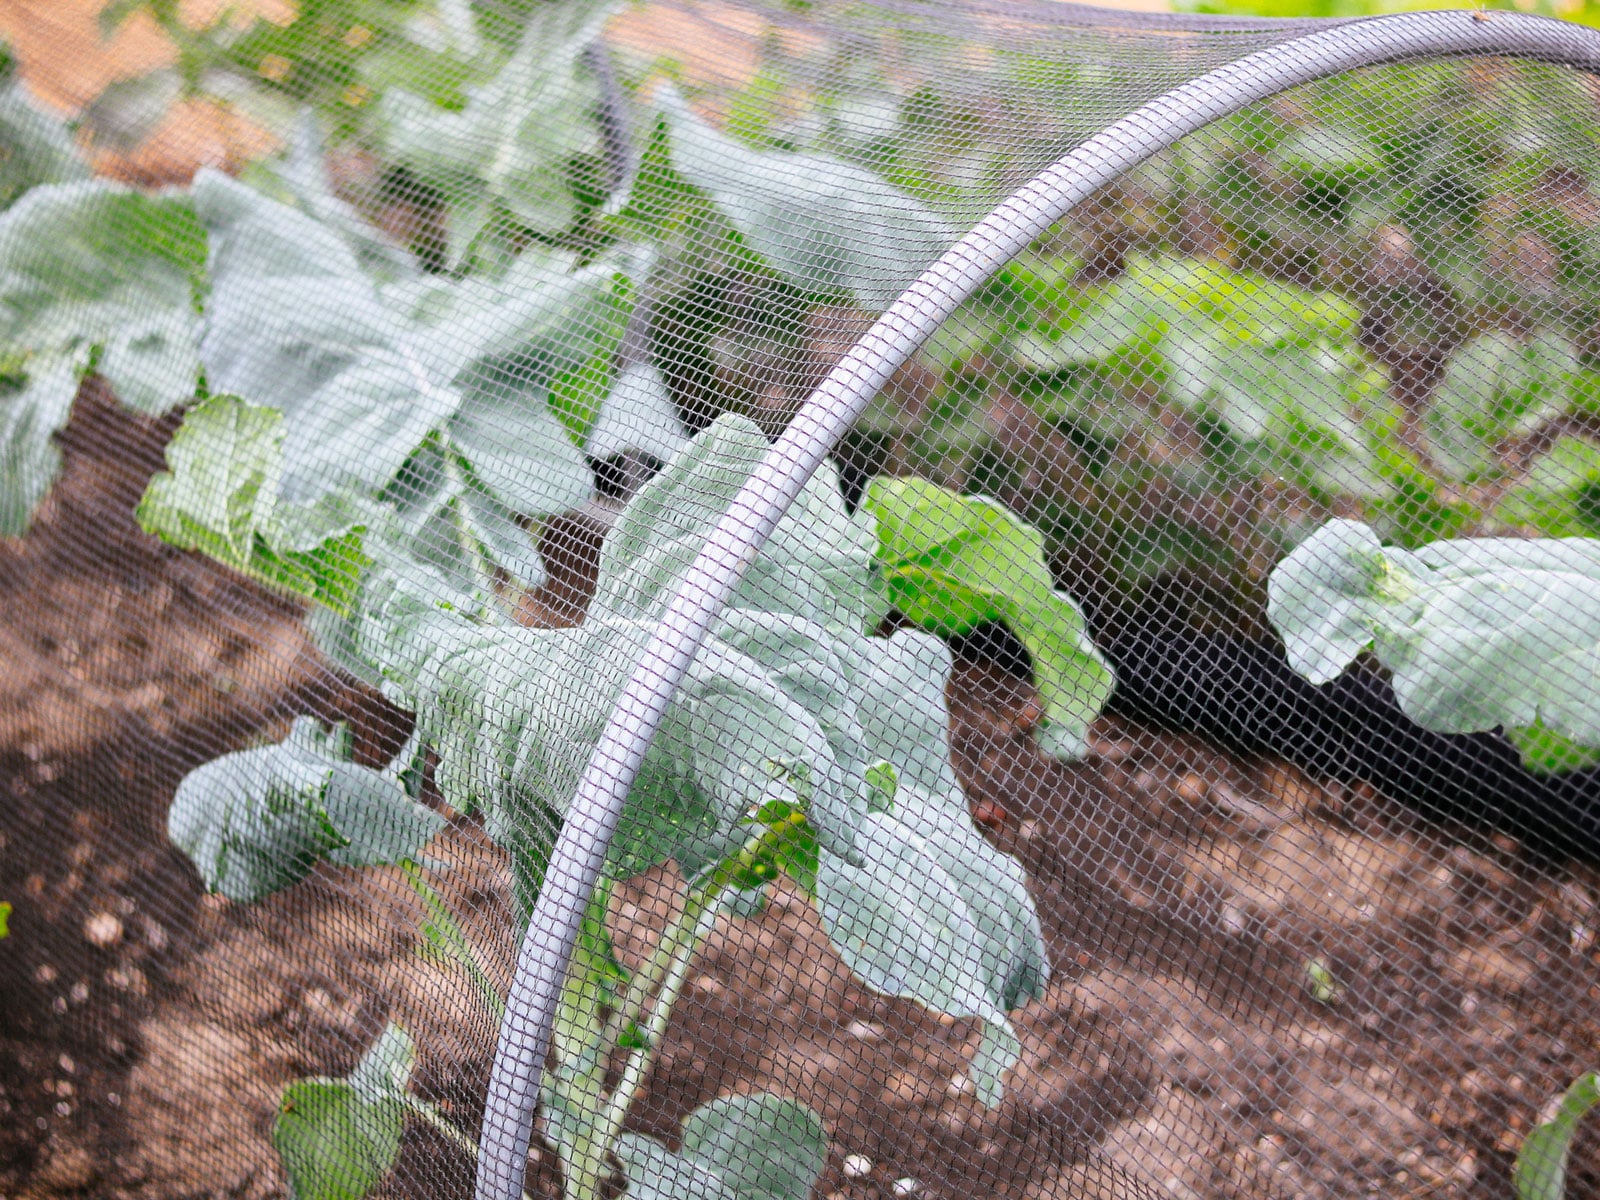
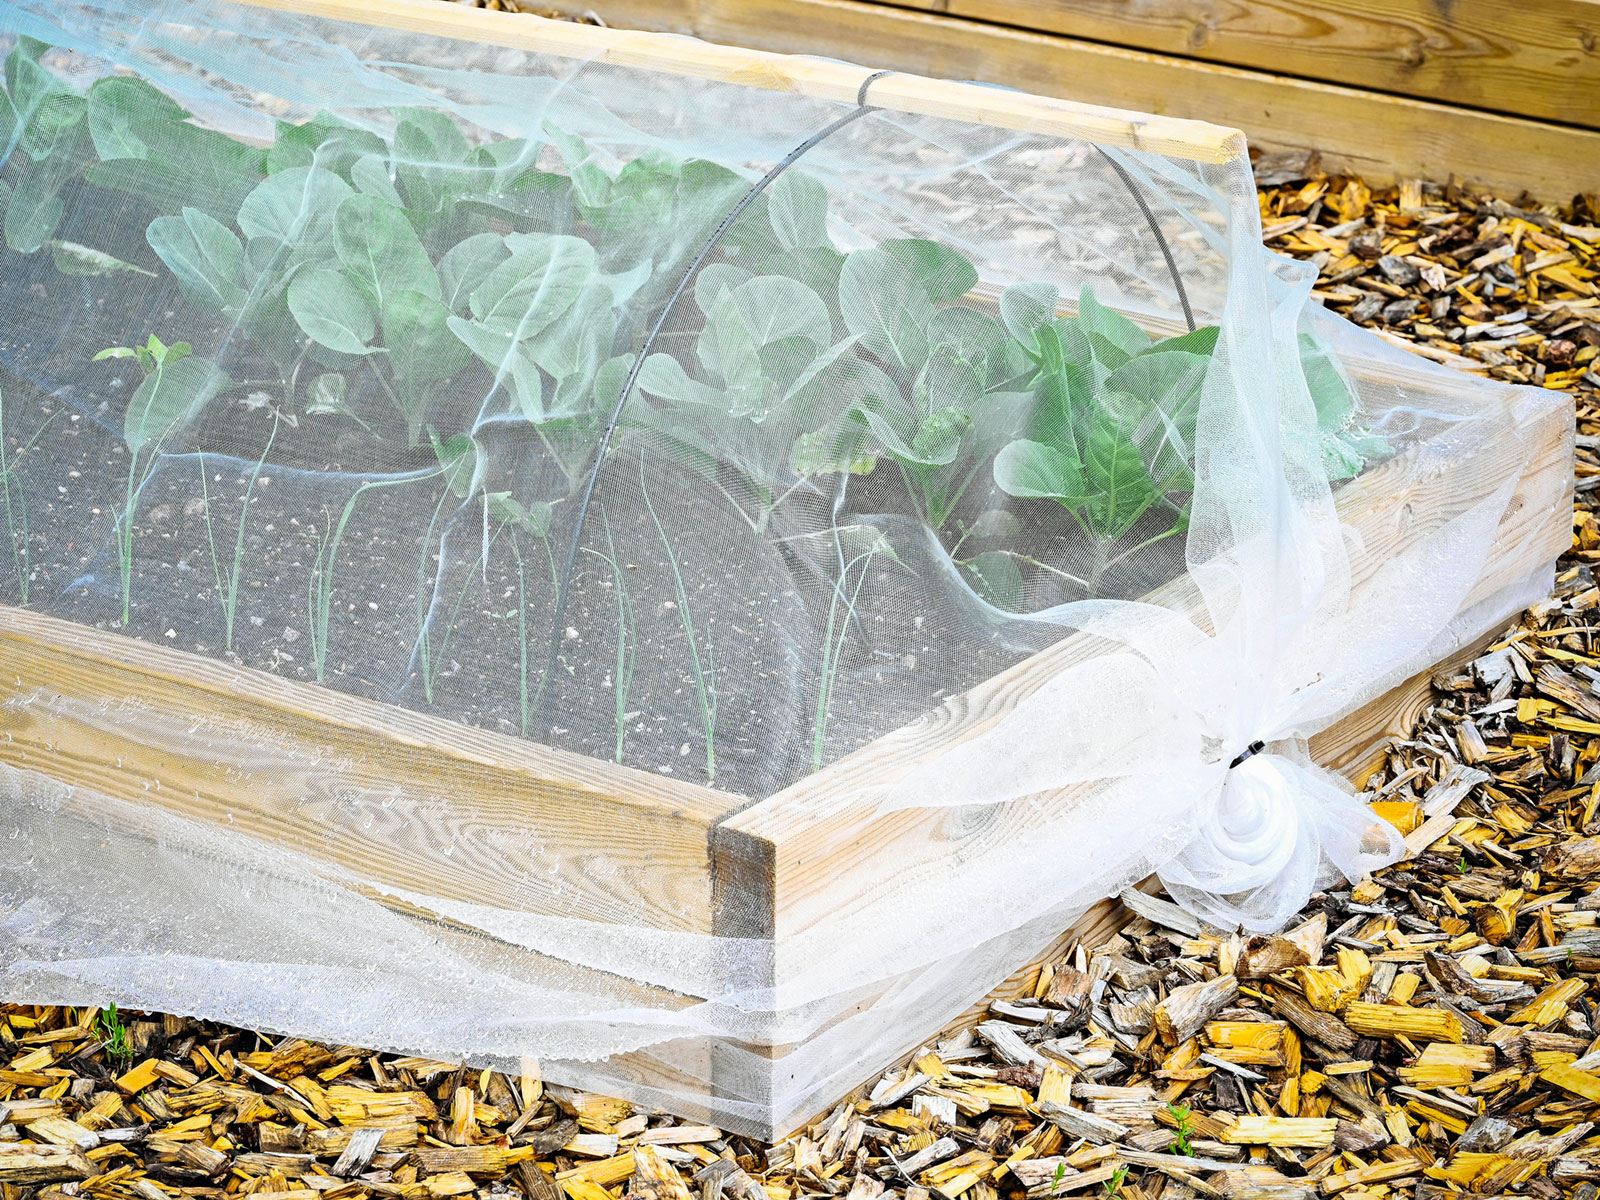
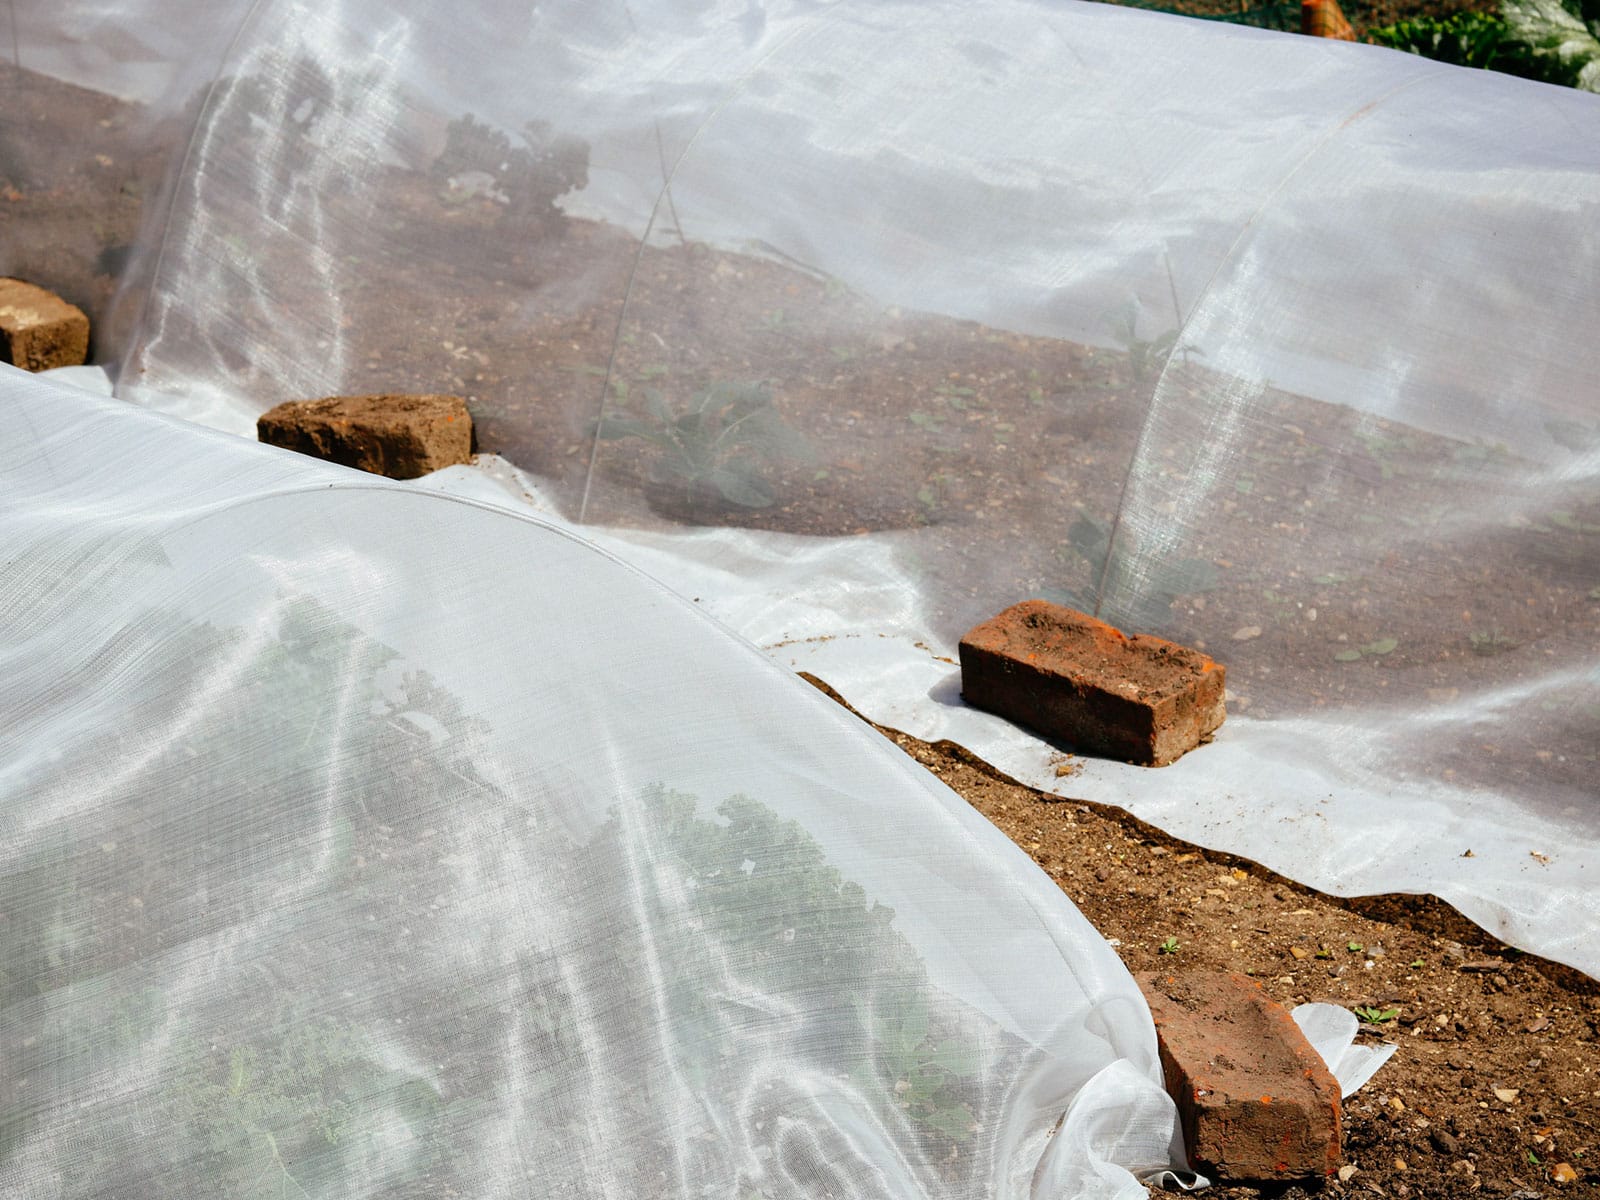
As the name implies, a floating row cover can simply be “floated” over your plants so they rest on the foliage. Weigh down the edges with bricks, rocks, 2×4 boards, or landscape pins. Plants will push the cover up as they grow (you may need to periodically loosen the cover).
Or, lay the floating row cover over a set of hoops (a low tunnel) and secure with clips or clamps. I use this method because it makes it easy to layer a midweight frost blanket over the floating row cover if there’s a late frost expected, or put shade cloth over it in summer to keep the brassicas from bolting.
Where to buy
Floating row cover
Tulle or organza
An inexpensive alternative to the floating row cover is tulle, or bridal veil netting. The open mesh tends to be slightly larger, allowing you to see your seedlings more clearly and providing better airflow. It’s also widely available by the yard in fabric and craft stores (or in bulk online), so you can buy as much (or as little) as you need to fit the dimensions of your garden bed.
Organza is similar to tulle, only it’s a stiffer plain weave fabric (not netting). Because it’s not as flexible or soft as tulle, it’s a bit more durable (or at the very least, it won’t snag as much).
Where to buy
Tulle and organza
Yeast or beer traps
If you secure the edges of your floating row cover well, that should be enough to keep slugs from crawling underneath. If they’re still somehow getting in, set beer or yeast traps near your plants.
I cover these traps in more detail in my guide to getting rid of slugs, but the basic contraption is a plastic container with a lid (like a tall deli container or yogurt container) with large holes poked in the sides about 3 inches from the bottom.
Place a very runny bread dough (made with flour, water, and yeast) or yeasty-smelling cheap beer in the container, cover with a lid, and place the trap in your garden. Slugs are super attracted to yeast; they’ll find their way through the holes, fall into the trap, and drown before they can escape.
Quick tip
Don’t use tuna cans or pie pans like other articles suggest. Slugs are adept at crawling up the shallow sides, especially if the can or pan is partially buried or has rough edges that facilitate grip.
The yeast trap method only works if you place several traps near your brassicas (no more than 3 feet apart). If you can’t round up that many plastic containers to DIY a trap, you can buy a commercial beer trap like this one.
Where to buy


I allow “Datura” to grow along side any Basilica plants to attract pests that would normally attack them.
You have so much good information, but one thing I haven’t seen is how to deal with an aging asparagus bed. Mine is about 15 years old and most of the spears are extremely spindly. Is there any way to correct this? Would appreciate any help.
Thanks, Judie
Do you fertilize your asparagus bed after you’re done harvesting? I usually add fertilizer in summer to encourage lush, healthy fronds (which send energy back down to the roots).
I love your no-nonsense, very smart approach to gardening. You have a wealth of information and I’m benefiting from it. Thank you, Linda!