After an abundant summer, my bush beans have finally bitten the dirt. I harvested the last of the beans — all 15 pounds of my Dragon Tongue, Royal Burgundy, and Beurre de Rocquencourt varieties — and after many three bean summer salads, spicy stir-fried beans, grilled beans, braised beans, and buttery bean casseroles, there’s only one thing left to do with them: pickled beans!
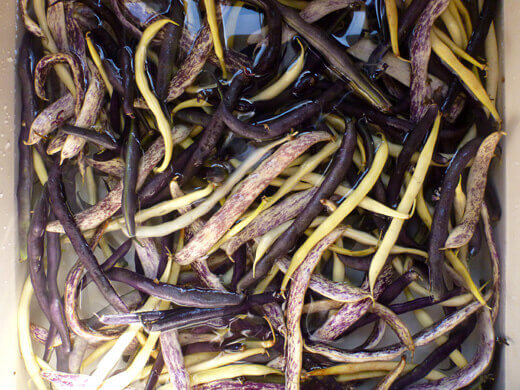
This is a classic dill pickle recipe, using a medley of beans (or any vegetable you like — try it with carrots or cucumbers too) and a heaping of dill seeds, which hold up better in a boiling water bath than fresh dill or dill weed.
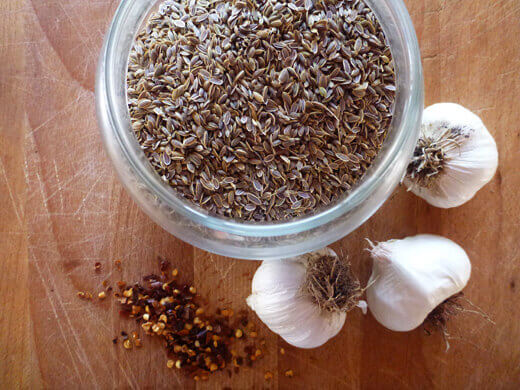
You can also skip the boiling water bath and simply refrigerate your pickles, but be sure to can only have young, tender beans in that case.
Pickled Dilly Beans
Makes 1 quart
Ingredients
Green beans (enough to fill a quart jar)
1 cup distilled white vinegar (5% acidity)
1 cup water
1 tablespoon pickling salt
2 teaspoons dill seeds
3/4 teaspoon red pepper flakes
2 cloves garlic, peeled
Making Your Pickled Dilly Beans
Rinse and dry your beans, then trim the ends and cut to fit inside a hot, clean quart jar.
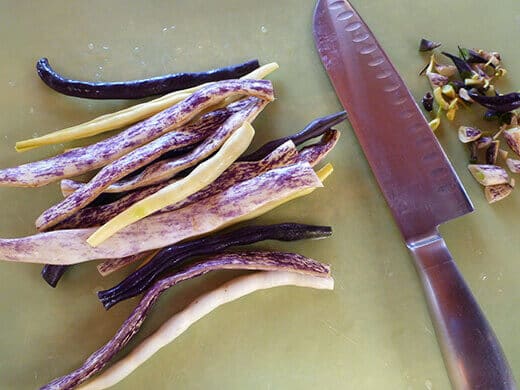
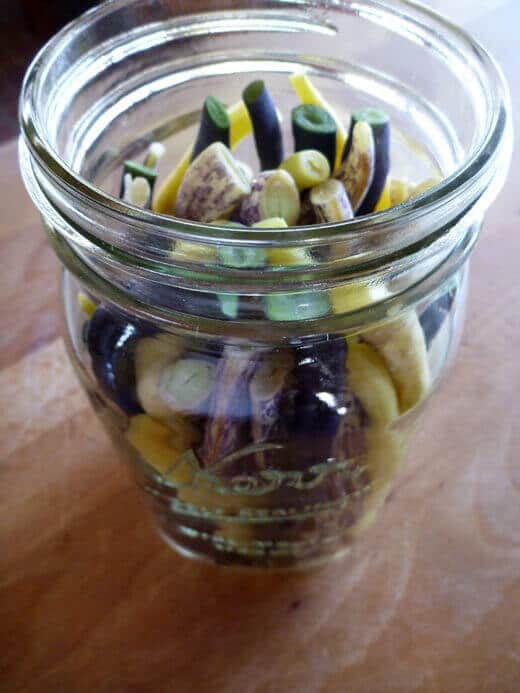
Pack them in tightly!
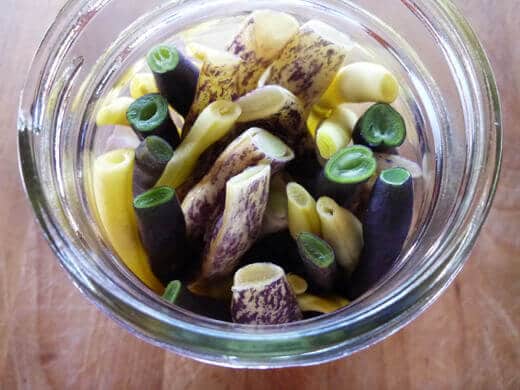
In a small saucepan, bring the vinegar, water and salt to a simmer until the salt is dissolved.
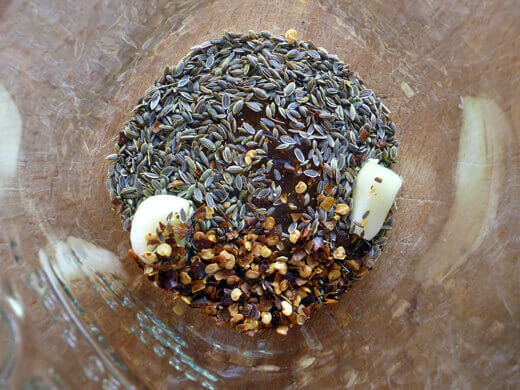
Fill your jar with the rest of the spices, then pour the hot brine over the beans, leaving 1/2 inch headspace.
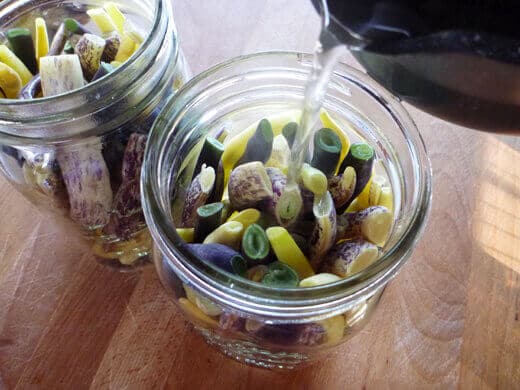
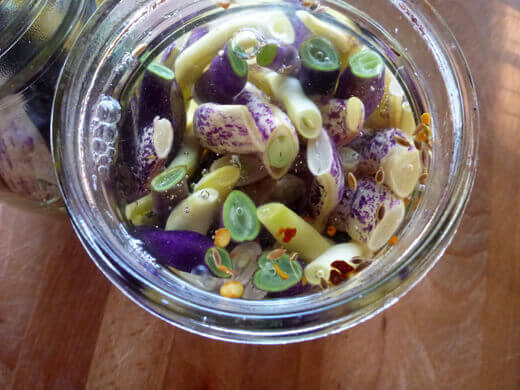
Run a chopstick around the beans to release any trapped air bubbles inside the jar.
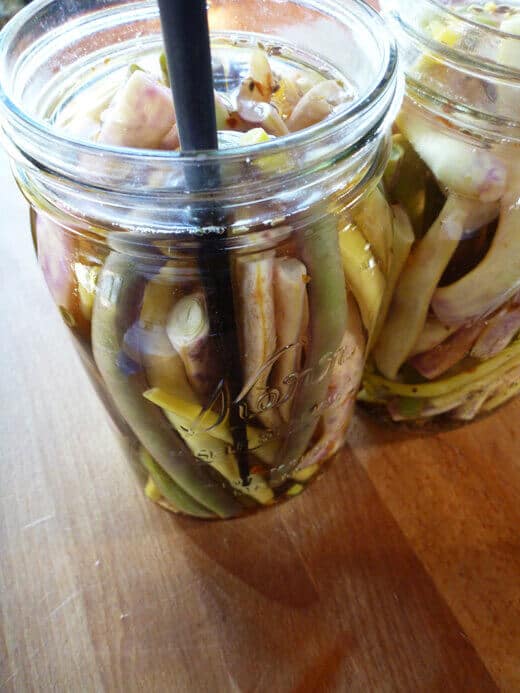
Wipe the rim clean, seal with a lid and band, and process in a boiling water bath for 10 minutes (adjusting time for altitude as needed).
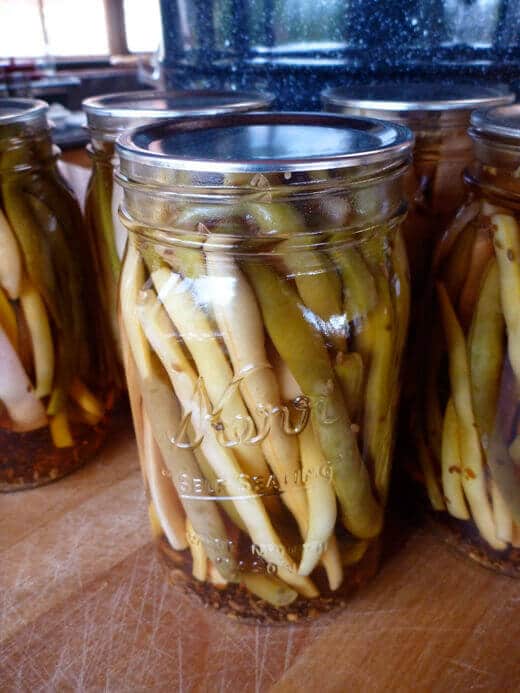
The beans get better with age and will keep for at least a year. I like to let the flavors develop over a week or so, but you can certainly eat them before that!
Pickled Dilly Beans
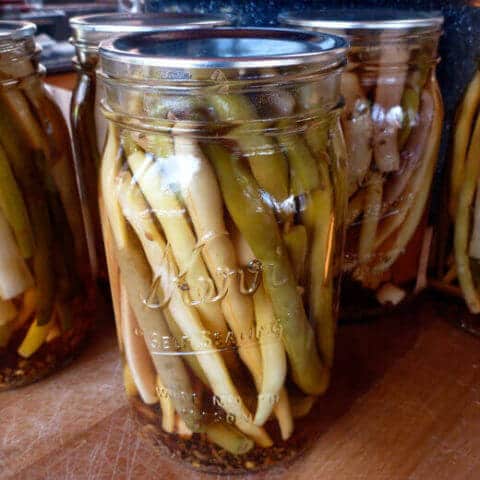
This is a classic dill pickle recipe, using a medley of beans (or any vegetable you like — try it with carrots or cucumbers too) and a heaping of dill seeds, which hold up better in a boiling water bath than fresh dill or dill weed.
Ingredients
- Green beans (enough to fill a quart jar)
- 1 cup distilled white vinegar (5% acidity)
- 1 cup water
- 1 tablespoon pickling salt
- 2 teaspoons dill seeds
- 3/4 teaspoon red pepper flakes
- 2 cloves garlic, peeled
Instructions
- Rinse and dry your beans, then trim the ends and cut to fit inside a hot, clean quart jar.
- In a small saucepan, bring the vinegar, water and salt to a simmer until the salt is dissolved.
- Fill your jar with the rest of the spices, then pour the hot brine over the beans, leaving 1/2 inch headspace.
- Run a chopstick around the beans to release any trapped air bubbles inside the jar.
- Wipe the rim clean, seal with a lid and band, and process in a boiling water bath for 10 minutes (adjusting time for altitude as needed).
Notes
The beans get better with age and will keep for at least a year. I like to let the flavors develop over a week or so, but you can certainly eat them before that!
Recommended Products
As an Amazon Associate and member of other affiliate programs, I earn from qualifying purchases.
Nutrition Information:
Yield:
4Serving Size:
1Amount Per Serving: Calories: 25Total Fat: 0gSaturated Fat: 0gTrans Fat: 0gUnsaturated Fat: 0gCholesterol: 0mgSodium: 150mgCarbohydrates: 3gFiber: 1gSugar: 1gProtein: 1g
Nutrition information isn’t always accurate.


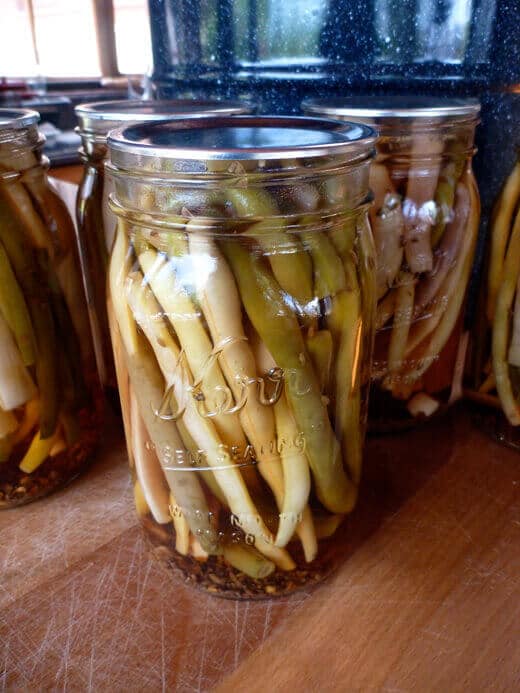






The current edition of the Ball Blue Book specifies safe processing of pints AND quarts for dilly beans.
Some canning recipes call for pints because the contents of larger jars may not heat properly in a boiling water bath. However, dilly beans can be safely canned in quart jars as long as you process the jars for at least 10 minutes, depending on your altitude, and start timing it from the moment the water is at a full boil.
This sounds great. Your beans are gorgeous. However, they should be canned in pints, not quarts. The National Center for Home Food Preservation is a good resource: http://nchfp.uga.edu/how/can_06/dilled_beans.html