It’s been seven months (almost five years now!) since I moved to Bend. When I meet new folks in town or talk to friends back home, one of the main questions I’m always asked is, What do I miss most about Los Angeles?
Aside from the obvious—our community of friends and the good fortune of having lived near the ocean — the one thing I really, truly miss about being in a big city is the variety of Asian food and Asian markets within close proximity.
Related: My 14 Most-Asked Questions After 4 Years of Living in Bend, Oregon
Before I left LA, I actually went to all my favorite Chinese, Vietnamese, Korean, and Japanese grocers and stocked up on nonperishable items I might need for the next year!
Call me crazy, but I currently have a closet that’s stuffed with my favorite brands of organic soy sauce and fish sauce, jasmine and multigrain rices, dried kelp and seaweed paper, Korean sea salt, Korean gochujang and gochugaru, and an assortment of Shandong, ramen, and rice stick noodles. If the zombie apocalypse were to strike, you can all head to my house and we’ll be able to survive on Asian food for months!
Bend certainly has its fair share of excellent foodie-type food (somewhat surprising given its small-ish population), but the closest all-you-can-eat Korean BBQ joints are hours away, as are Asian grocers selling staples that aren’t available in typical supermarket “ethnic aisles.”
But I’m not complaining. I’ll happily take the lifestyle in Central Oregon if it merely means road trips to Portland or Eugene for my Asian fix.
While kimchi can easily be found in most well-stocked supermarkets these days, it’s hard to beat the flavor and texture (and cost!) of homemade kimchi. So when I’ve got an afternoon to spare, I like to make a big batch—and it only requires a trip to my local Safeway.
Disclosure: If you shop from my article or make a purchase through one of my links, I may receive commissions on some of the products I recommend.
Authentic kimchi comes many ways
Kimchi is something we devour frequently in this house, and we use it in a myriad of ways, from traditional kimchi jjigae and kimchi pancakes to pizza toppings and quesadilla fillings. (Though it might it sound weird, a kimchi- and cheese-filled quesadilla is fantastic, as is kimchi grilled cheese.)
I usually make a large batch of mak kimchi—the easy, “carelessly” cut-up kimchi—and keep a few jars in the fridge at all times. (From what I’ve learned, mak—the Korean word for careless or rough—indicates the shortcut used in this type of preparation, whereby the cabbage is roughly chopped instead of fermented whole.)
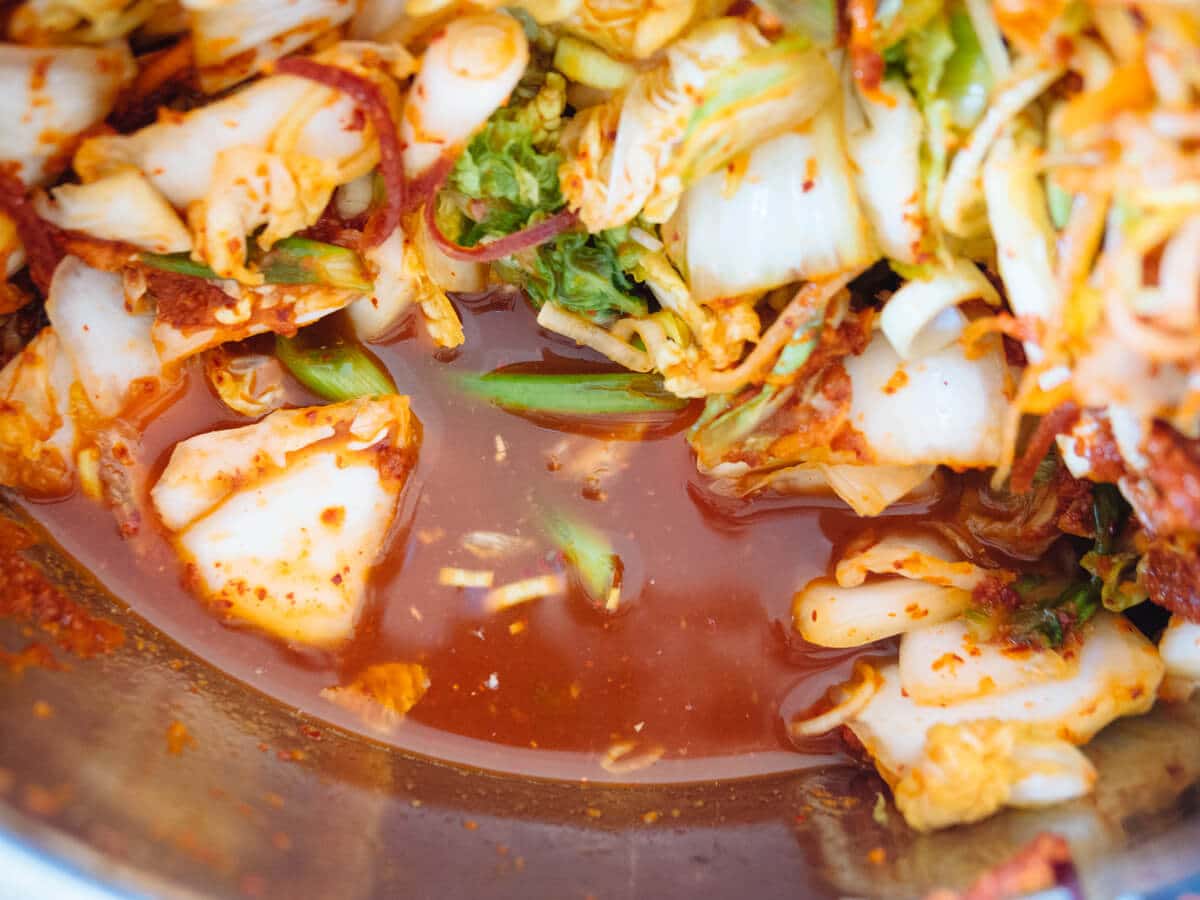
I’ve never followed a standard recipe for my kimchi. Sometimes I add fermented shrimp or anchovies, or throw in a handful of perilla leaves or mustard greens. Sometimes I make a sweet porridge for the kimchi sauce, and sometimes I puree an Asian pear for sweetness instead.
Some traditional recipes even call for squid or oysters, and the beauty of kimchi is that the flavor varies widely by region, so there is no right or wrong way of making it.
But since being in Bend, I’ve found that fermented shrimp and Asian pears are either impossible to find or very expensive, so I’ve devised a fairly simple sauce that turns out a kimchi just as delicious as my former concoctions. It can be made by anyone, anywhere, without access to an Asian market.
The only things you’ll have to buy online are the gochugaru (Korean red pepper flakes) and perhaps the fish sauce (Red Boat brand is my favorite) if your local grocery store doesn’t carry some basic Asian pantry goods. But all other ingredients are easily found in any well-stocked supermarket, or in your own garden. Perhaps this recipe will inspire you to grow some of them yourself?
(As an aside, please don’t substitute American red pepper flakes—sometimes called crushed red peppers, like the stuff you sprinkle on pizza—or cayenne pepper or chili powder for Korean red pepper flakes. None of these are even close to being similar to gochugaru, which has a unique flavor profile that’s smoky and sweet in addition to having some heat.)
Kimchi ingredients
First, we have napa cabbage. This thing was made for kimchi. Its texture (both crisp and tender at the same time) is well suited for the quick fermentation process involved in making (or “ripening”) kimchi. Use the freshest and highest quality cabbage you can find, preferably organic.
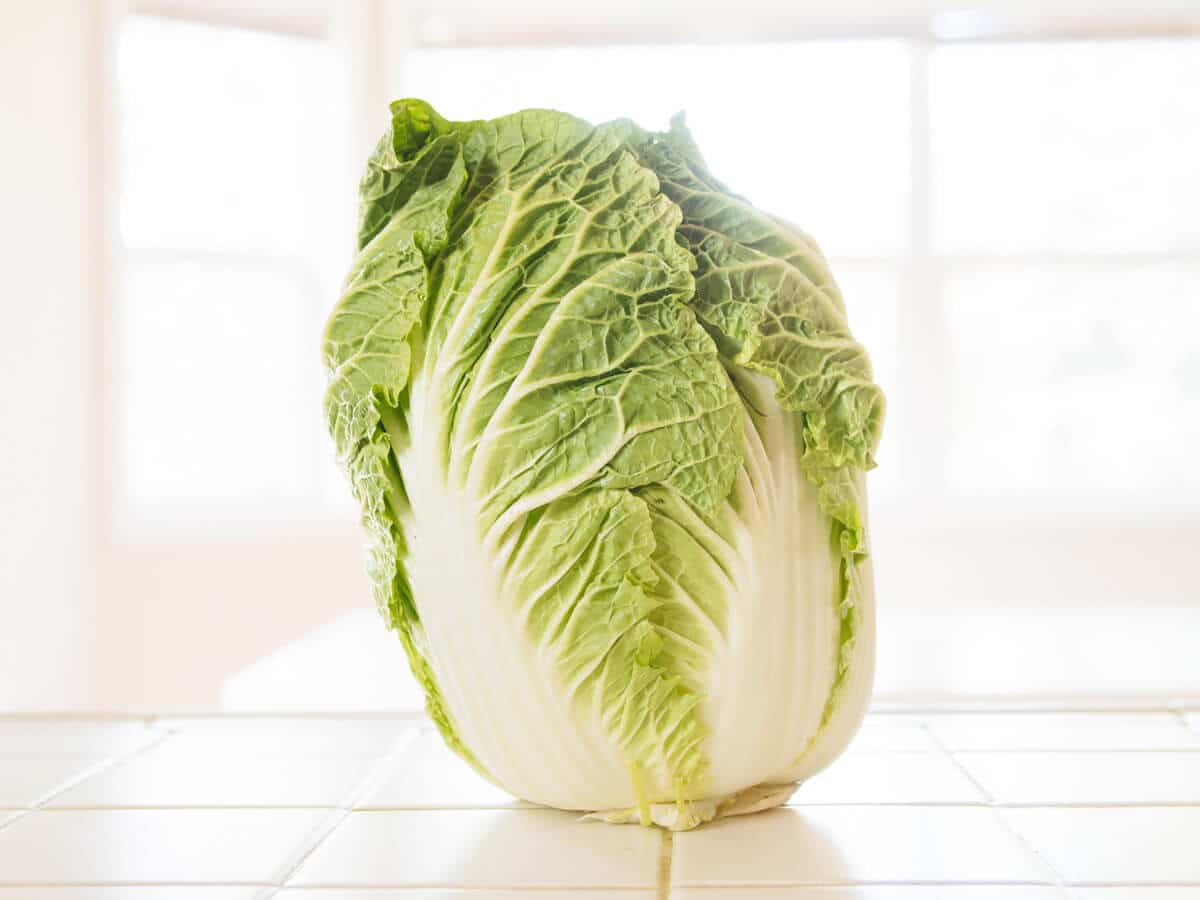
If you don’t mind a longer fermentation and slightly denser texture, you can use red cabbage for its antioxidant benefits. (I have the recipe right here for red cabbage kimchi!)
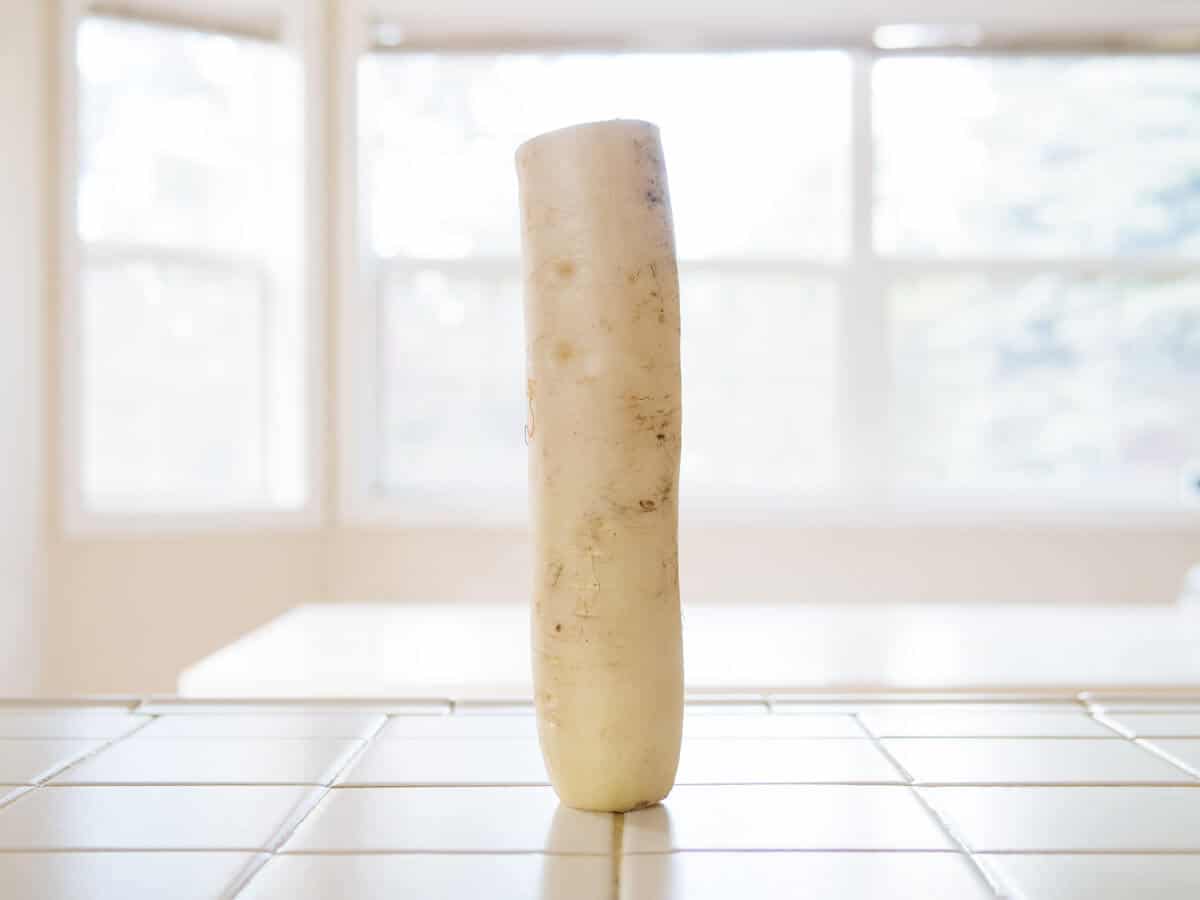
Next, daikon radish or Korean radish (which is just a type of daikon, but more squat in shape). If you can’t find daikon this time of year, you can try another mild winter radish in its place, try a completely different and mildly flavored vegetable altogether (kohlrabi is delicious), or omit it entirely. Spring and summer radishes tend to be peppery or spicy and will give the kimchi a very different flavor.
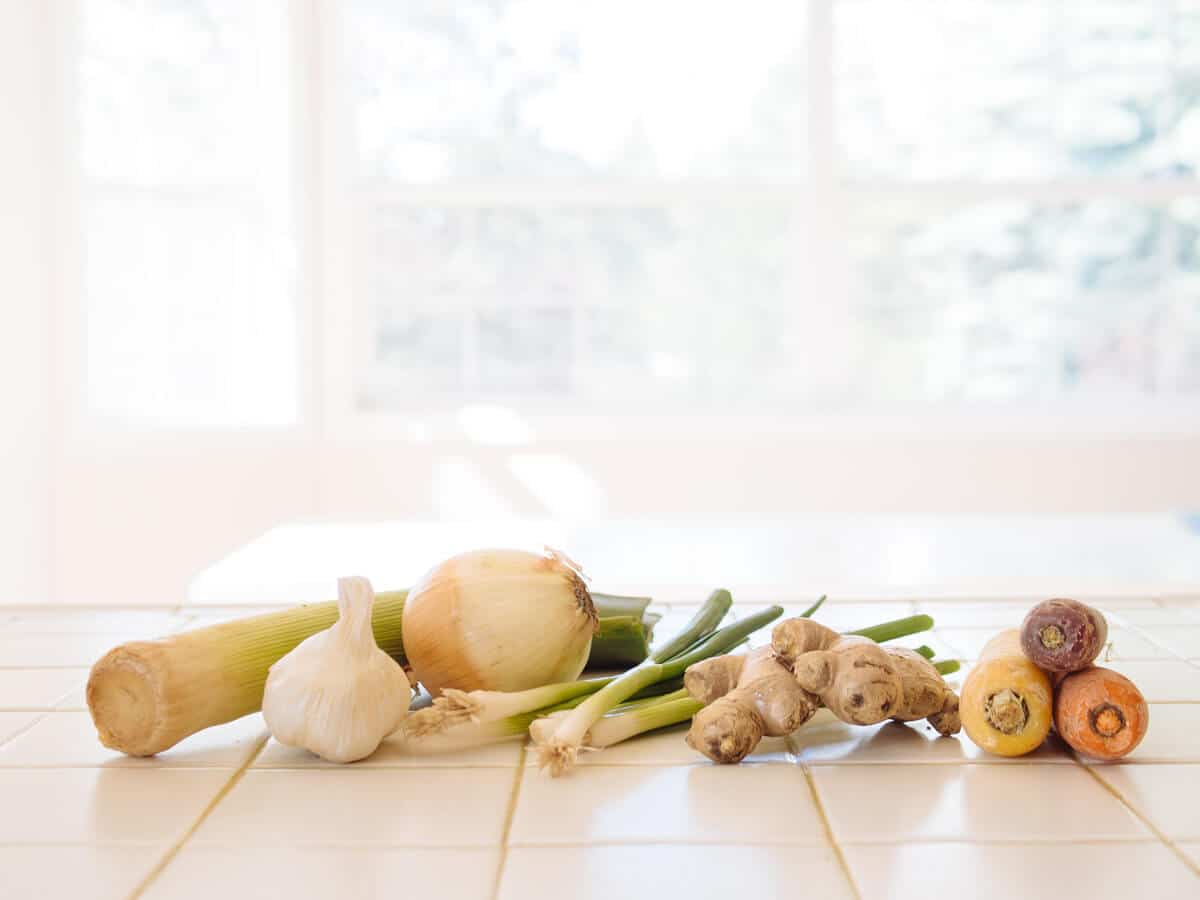
Then, we have carrots, leeks (white and light green parts only), scallions, ginger, onion, and garlic. You’ll be using almost a whole head of garlic in this recipe! (To quickly peel all the cloves, I use this time-saving method from Saveur. Or, you could save even more time by buying pre-peeled garlic cloves.)
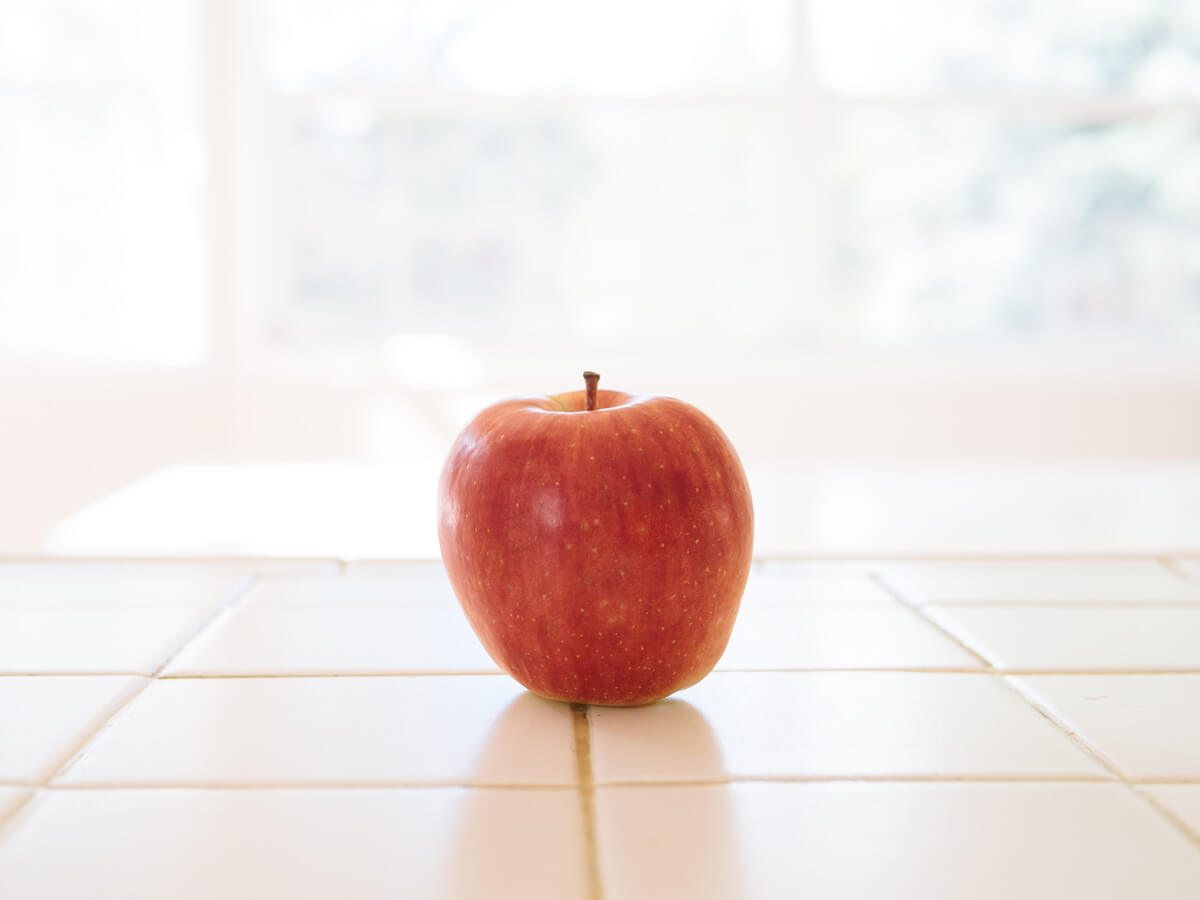
And finally, a sweet, crisp apple to tie all the spices and aromatics together. I typically use a Gala, Fuji, Honeycrisp, or Golden Delicious apple, but any variety that’s more sweet than tart will work. You can also try a pear for added sweetness.
(By the way, don’t feel intimidated by the long list of ingredients—half of them will simply be dumped into a blender to make the sauce.)
This easy kimchi recipe can be halved or even doubled. Let’s get to it!
Quick and easy kimchi recipe
Makes 6 quarts
Ingredients
5 pounds napa cabbage
1/2 cup flaky sea salt or kosher salt
1 1/2 cups julienned daikon
1 1/2 cups julienned carrots
1 1/2 cups thinly sliced leeks (white and light green parts only)
6 scallions, cut into 1-inch segments
1 apple, cored and chopped
2 cups water
1 to 1 1/2 cups gochugaru (depending on heat preference)
1/2 cup fish sauce
1/2 cup finely chopped onion
1/2 cup finely chopped garlic
1 1/2 tablespoons minced ginger
Method
Cut the cabbage into quarters lengthwise. Remove the cores and thinly slice the cores. Roughly chop the rest of the cabbage into 1-inch pieces.
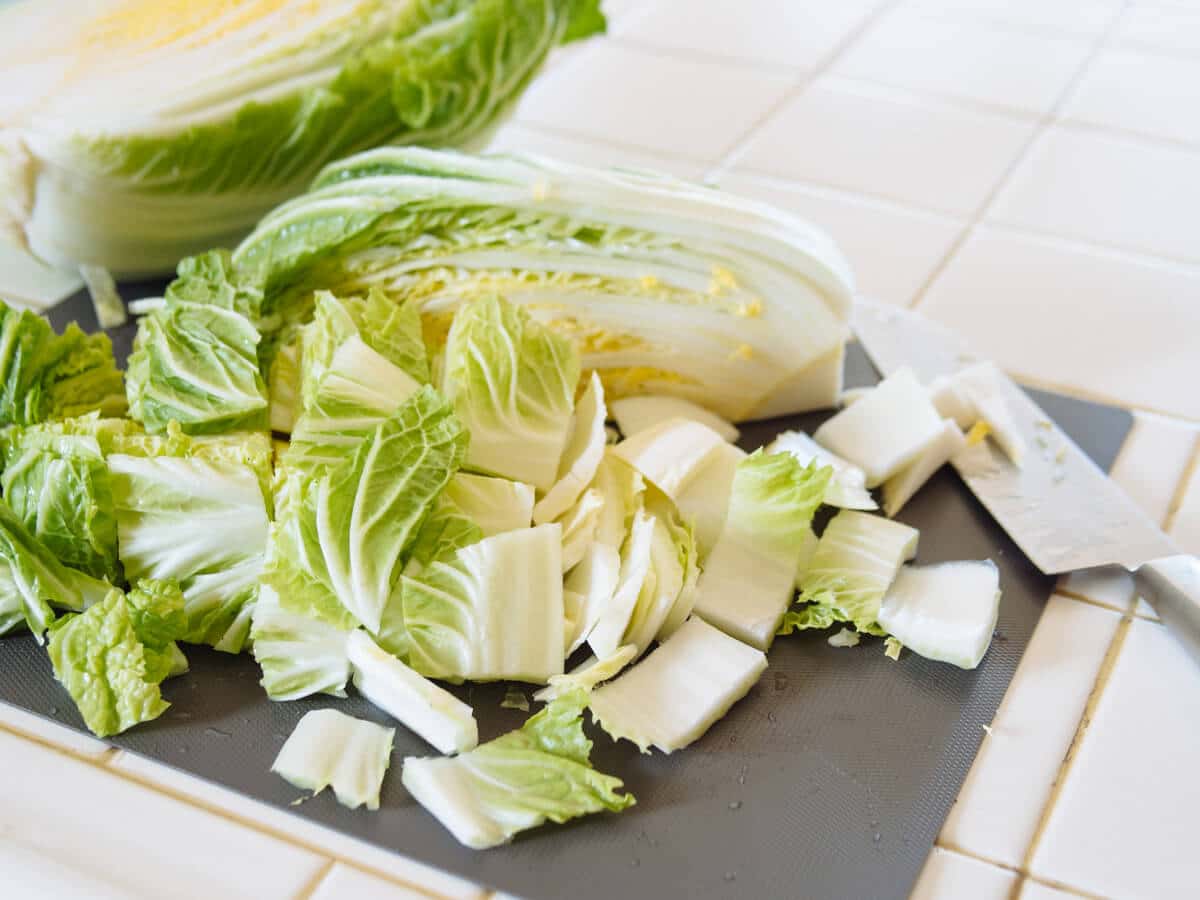
Pile all of the cabbage into a huge bowl or basin; you can also use your sink if it has a stopper. (Note: I used an 8-quart bowl in these images because my larger bowl was already in use. It’s doable but a tight fit. I’ve linked my larger, and preferred, 13-quart bowl in the recipe sources below, which I usually use for full batches.)
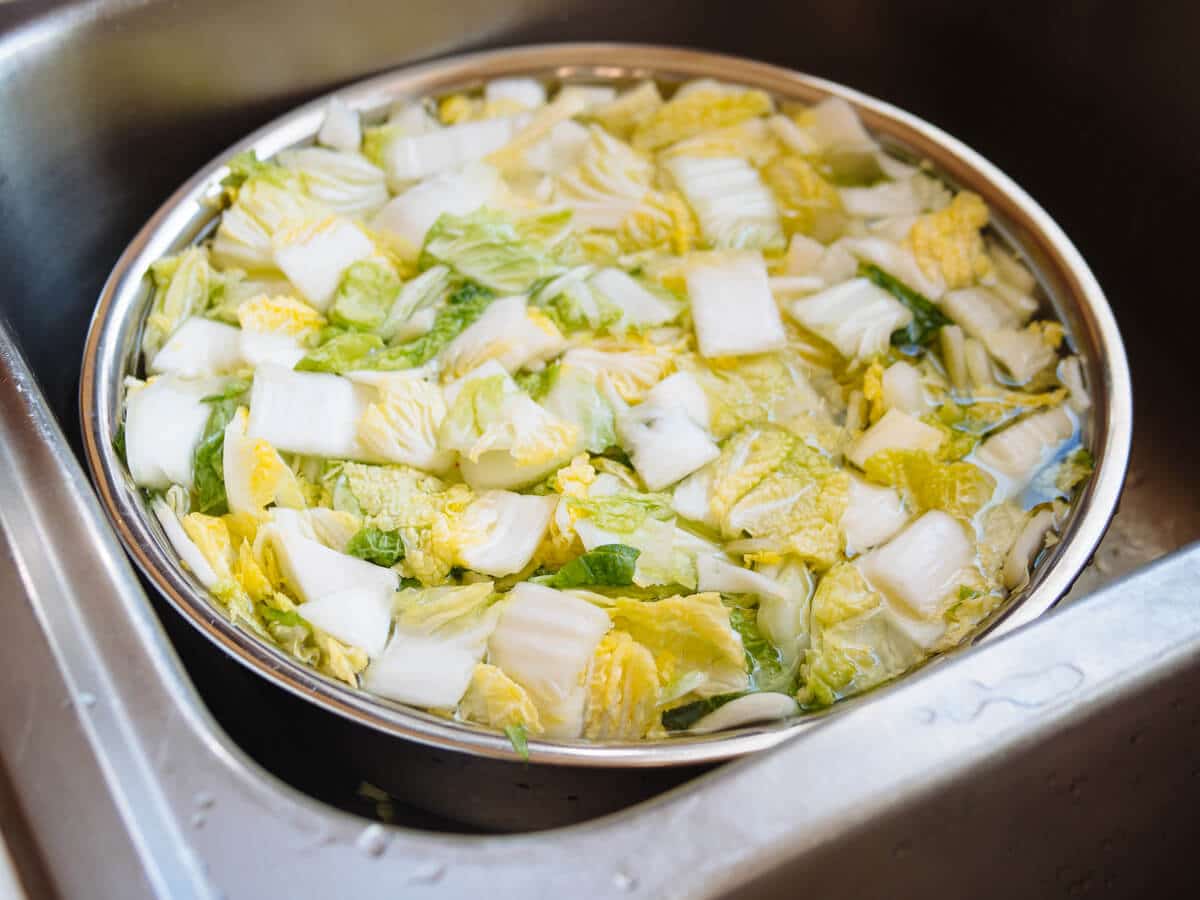
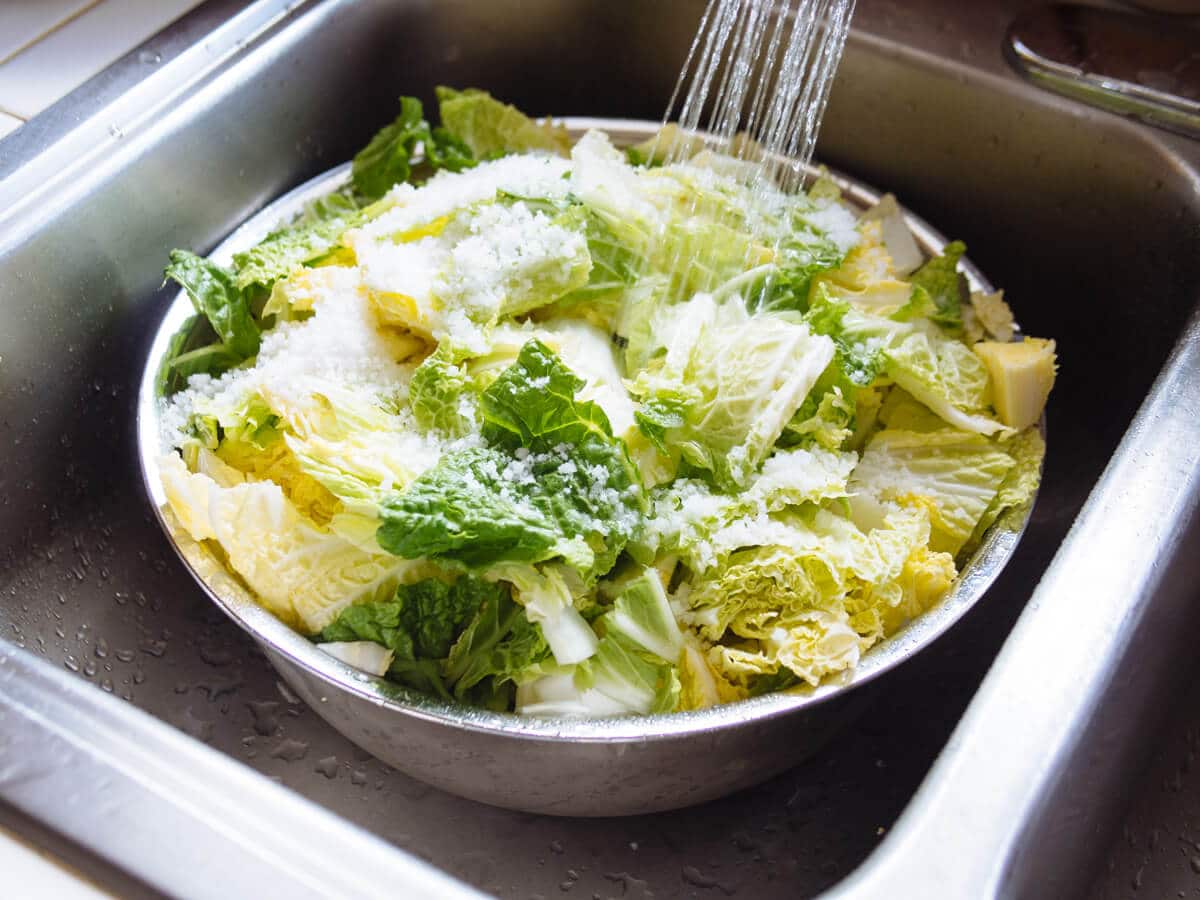
Sprinkle the salt over the cabbage and cover with cold water. Every 30 minutes or so, turn the cabbage over with your hands to distribute the salt evenly. Massage the leaves with your hands to expel more moisture each time.
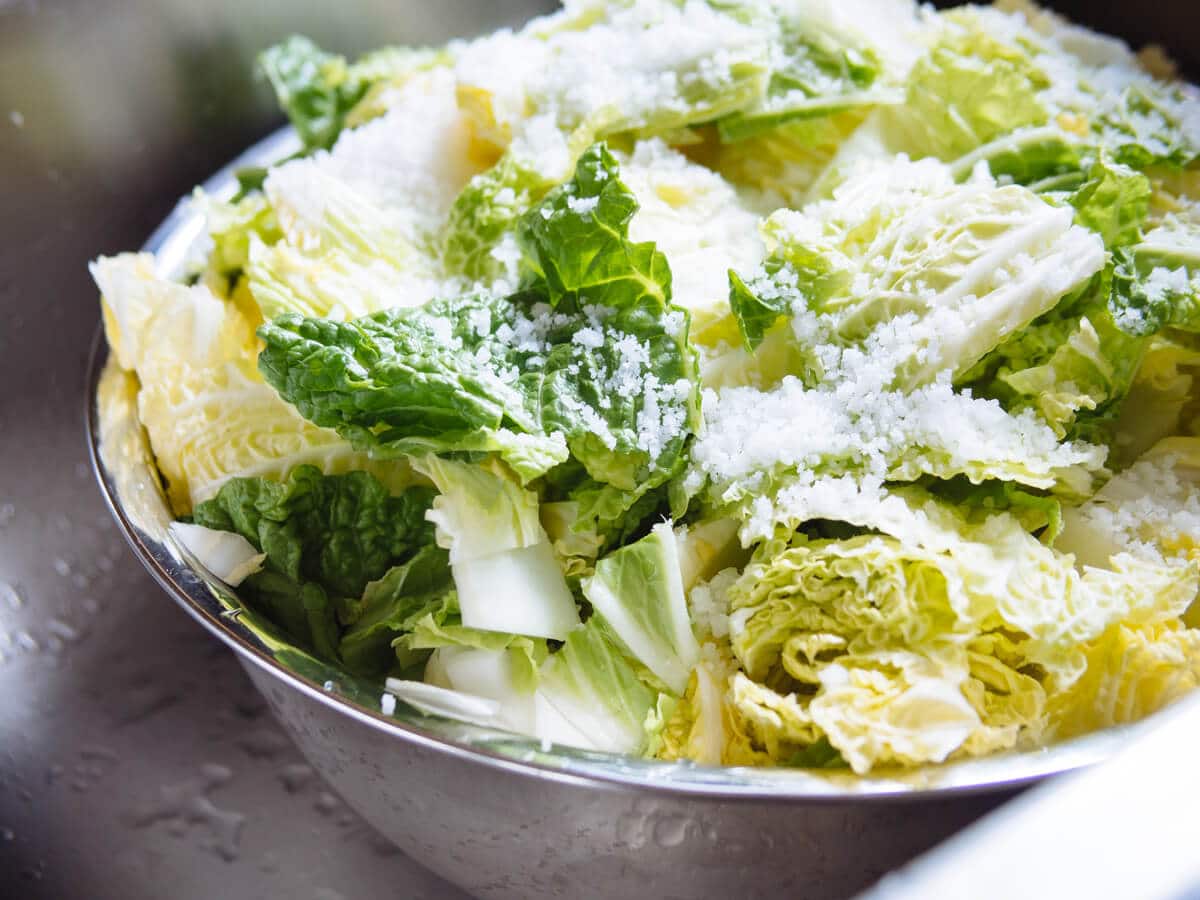
After 1 1/2 to 2 hours, strain the cabbage in a large colander and rinse with clean cold water. The leaves should be soft and limp, and the volume of cabbage reduced by half.
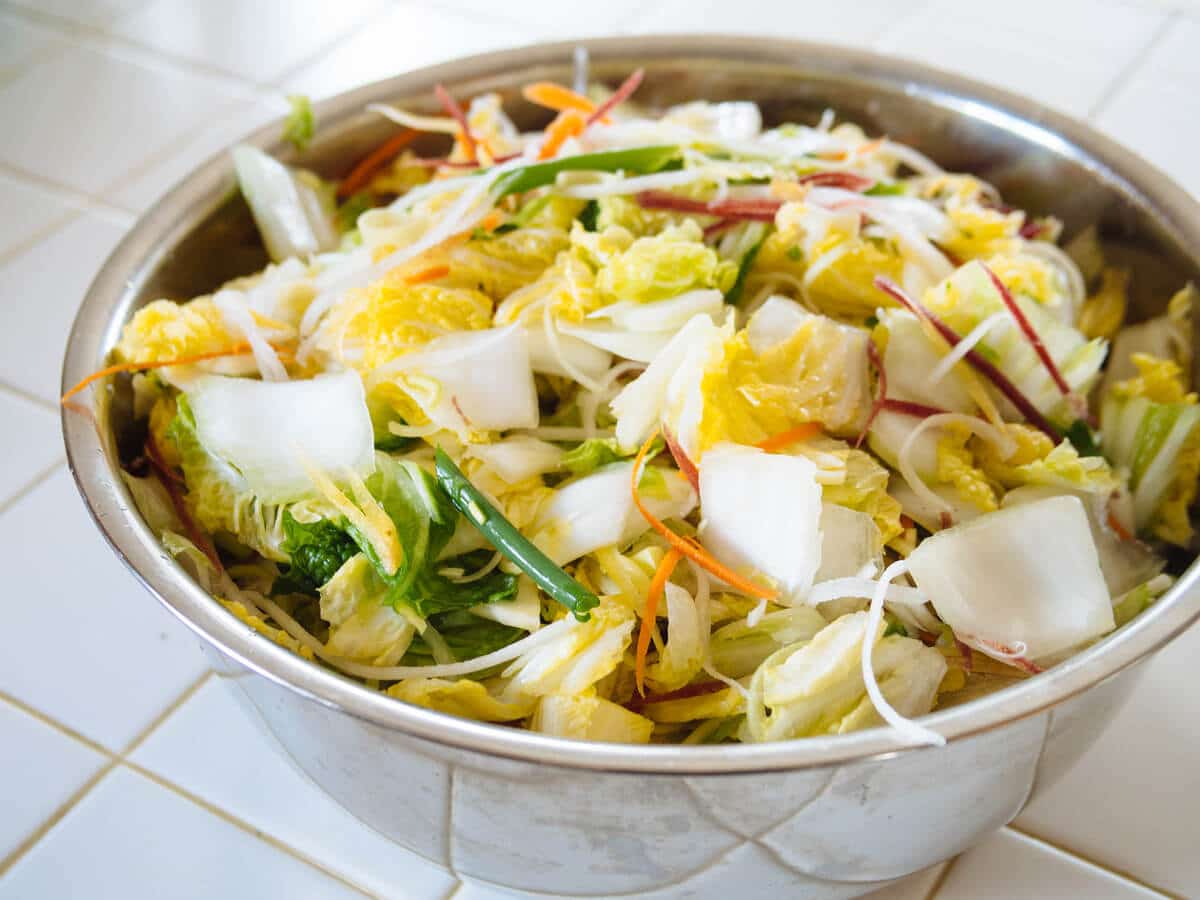
In a large bowl, combine the cabbage with the daikon, carrots, leeks, and scallions. Set aside.
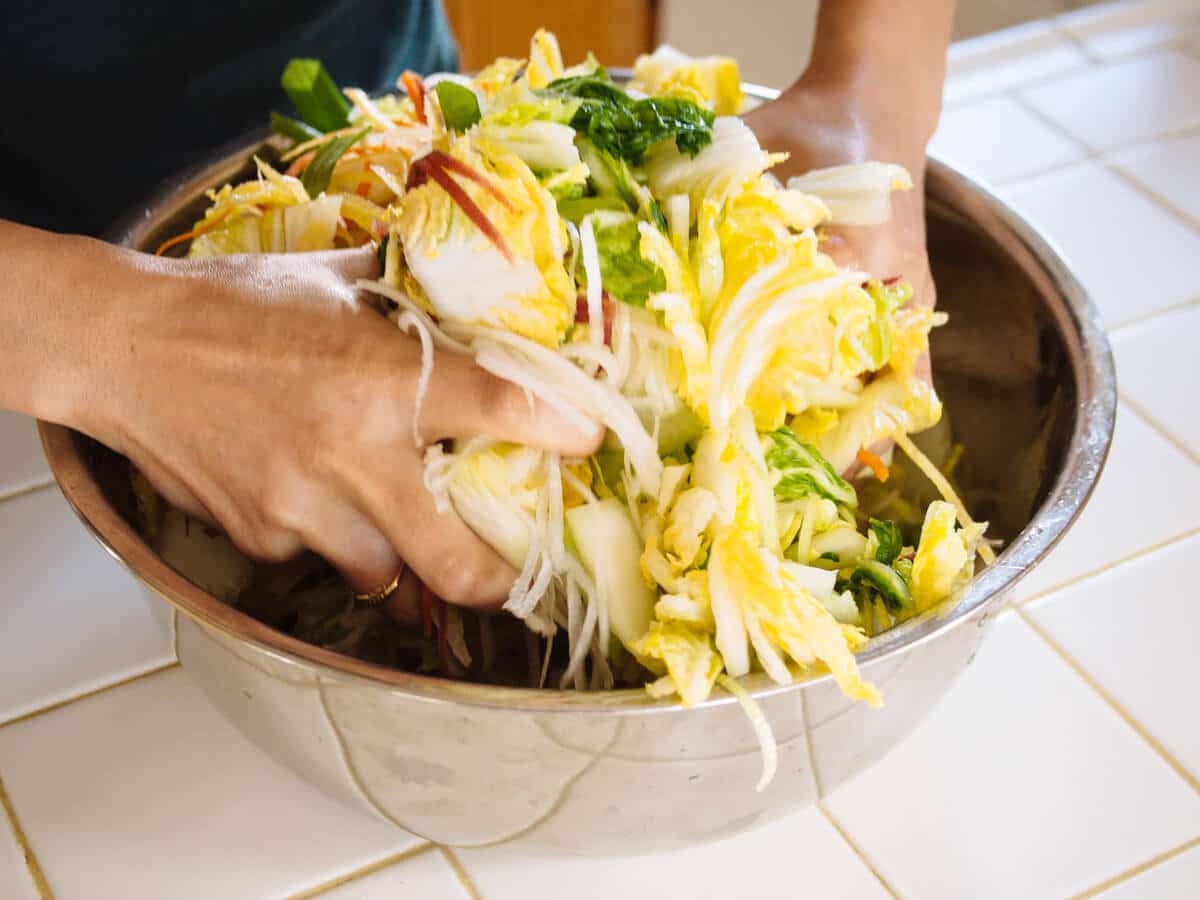
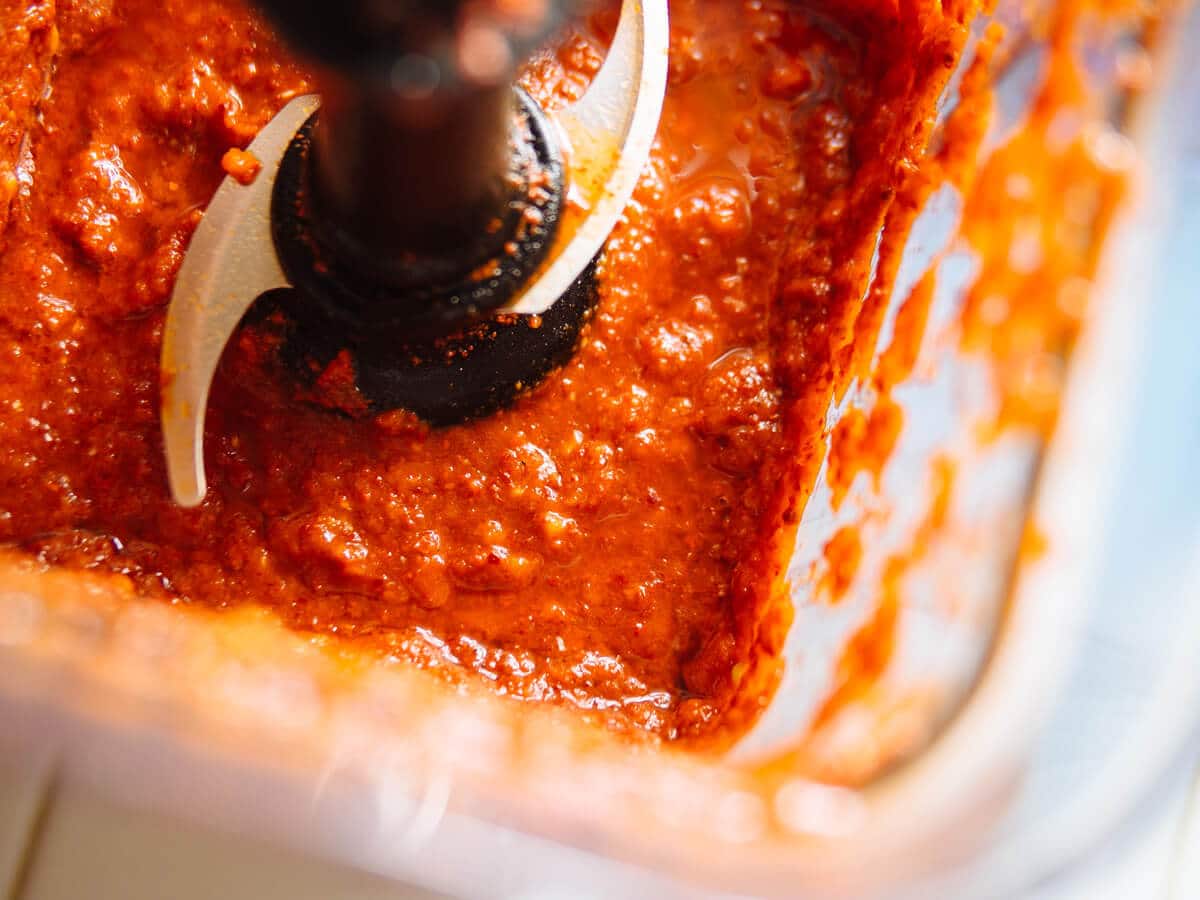
In a blender, puree the apple, water, gochugaru, fish sauce, onion, garlic, and ginger until well blended. Pour the sauce over the vegetables in the bowl, and toss to coat. I use a pair of “salad hands” for this task, but if you want to mix it all together with your hands, be sure to don a pair of gloves so you don’t get the fiery red pepper sauce on your skin!
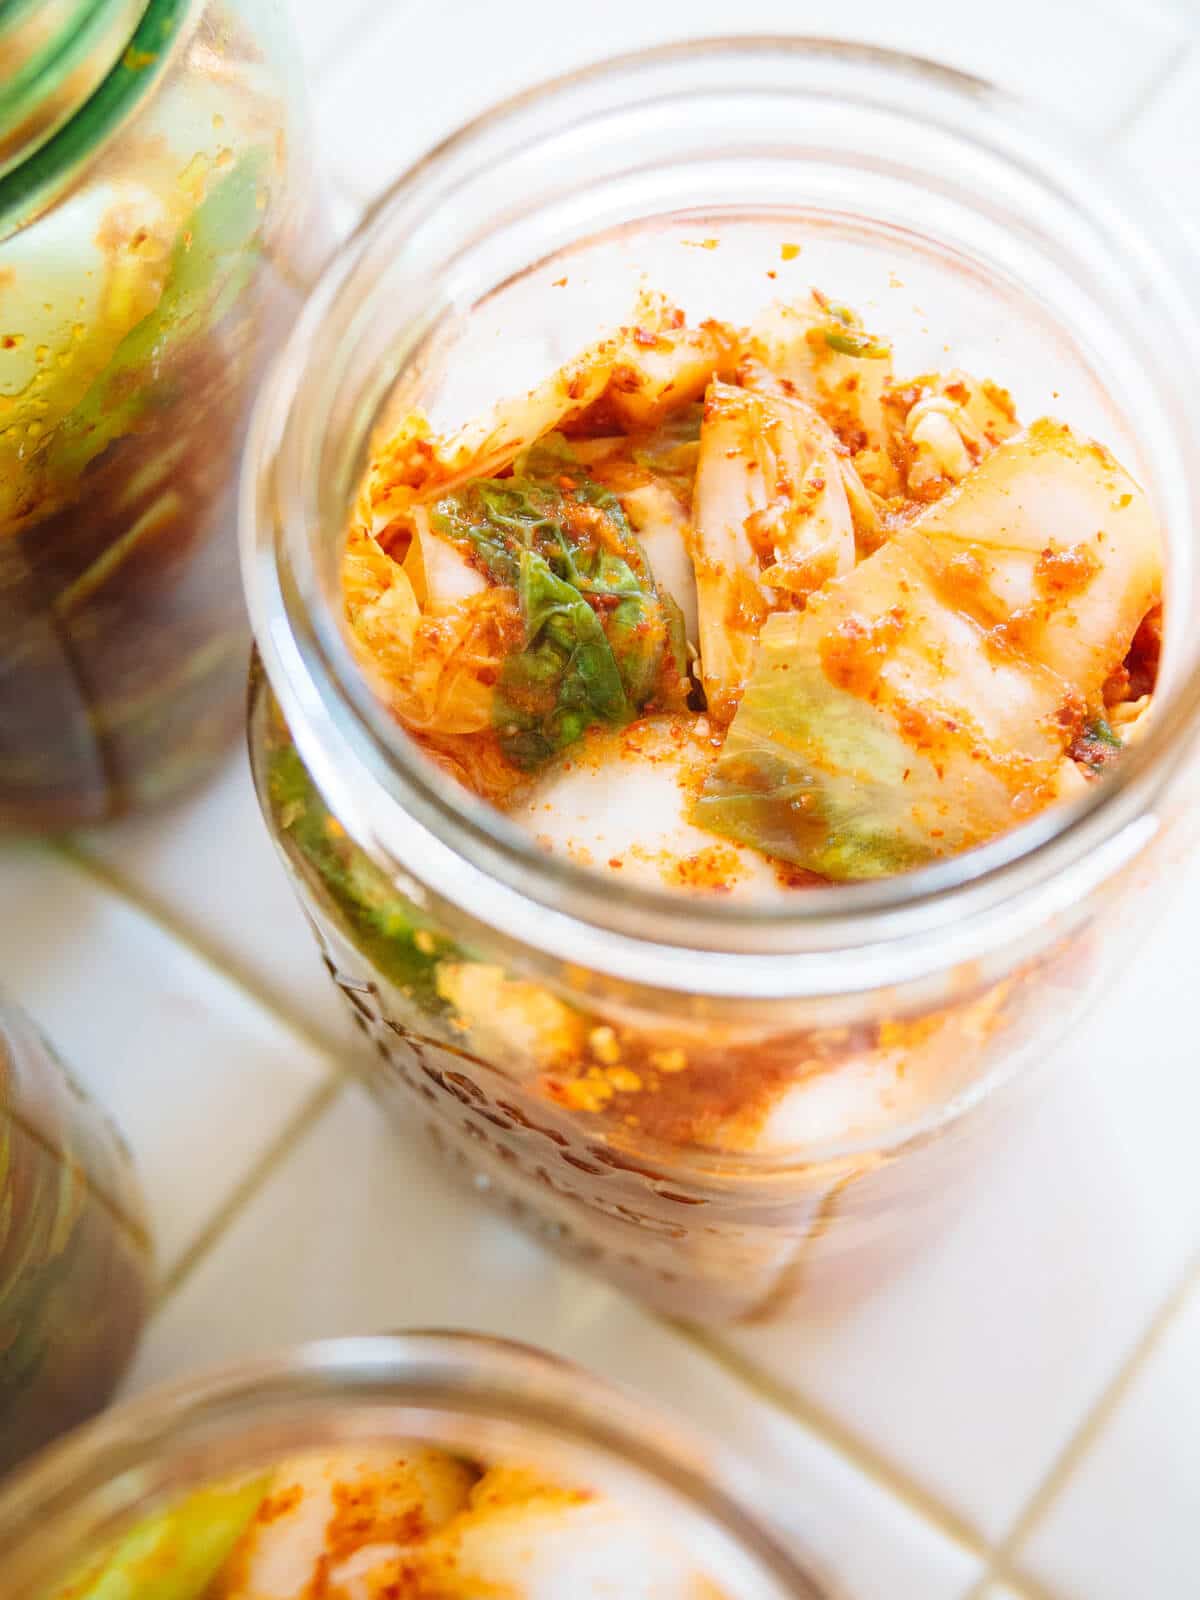
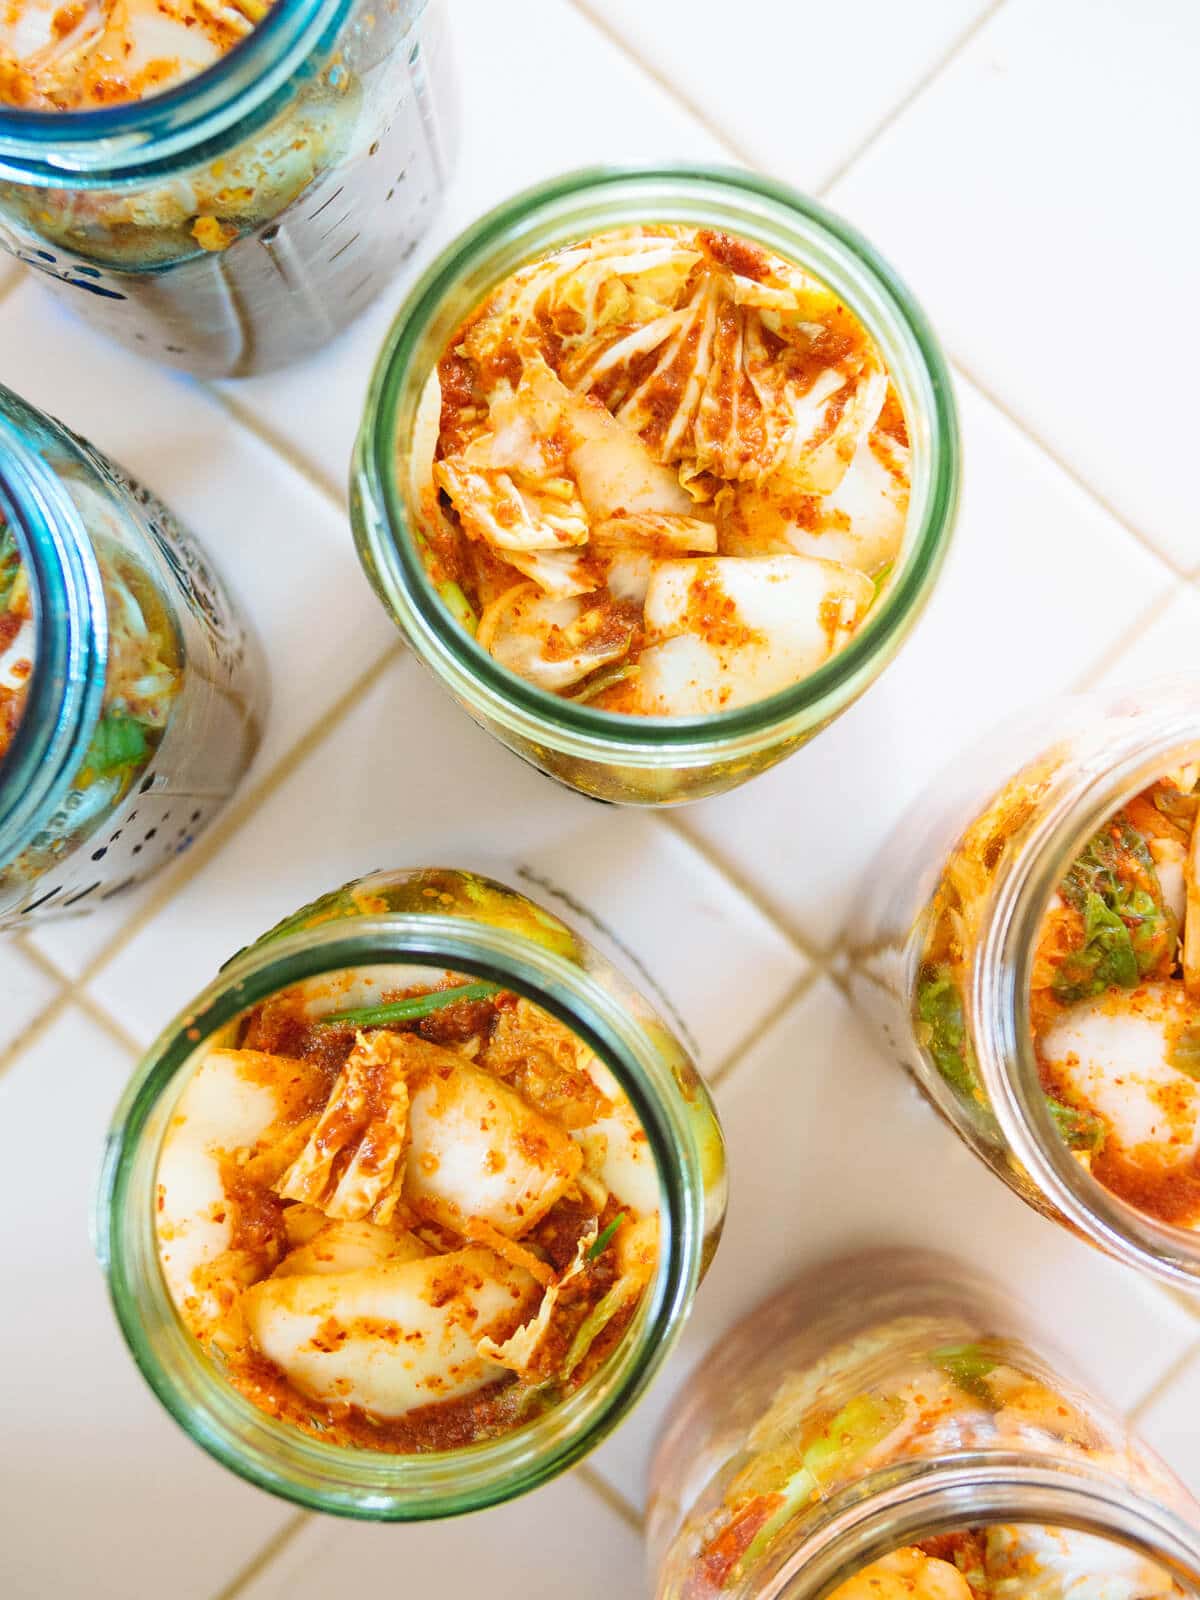
Transfer the kimchi and all the sauce to clean jars, leaving at least 1 inch of headspace in each jar to allow room for expansion. Tamp down on the kimchi with a spoon to help release more liquid from the vegetables and keep them submerged in the sauce.
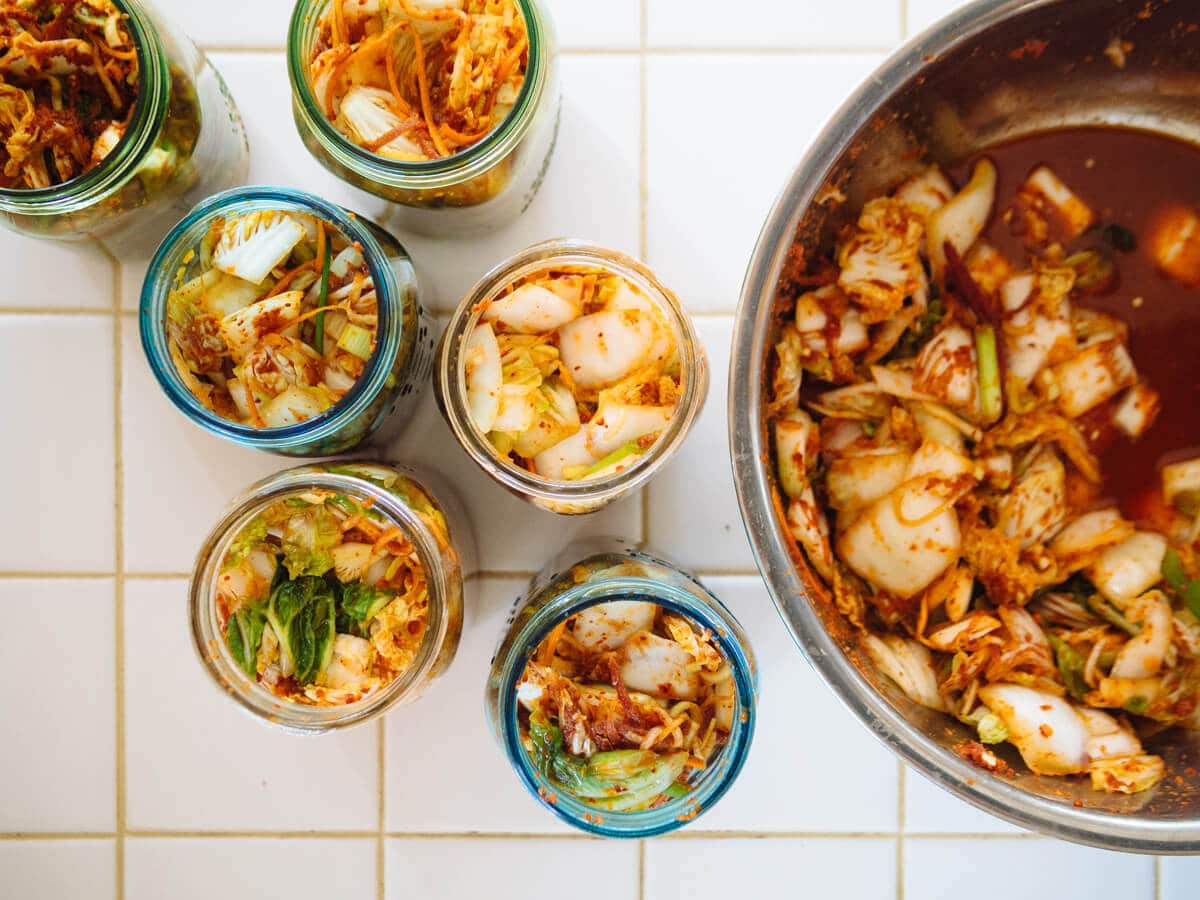
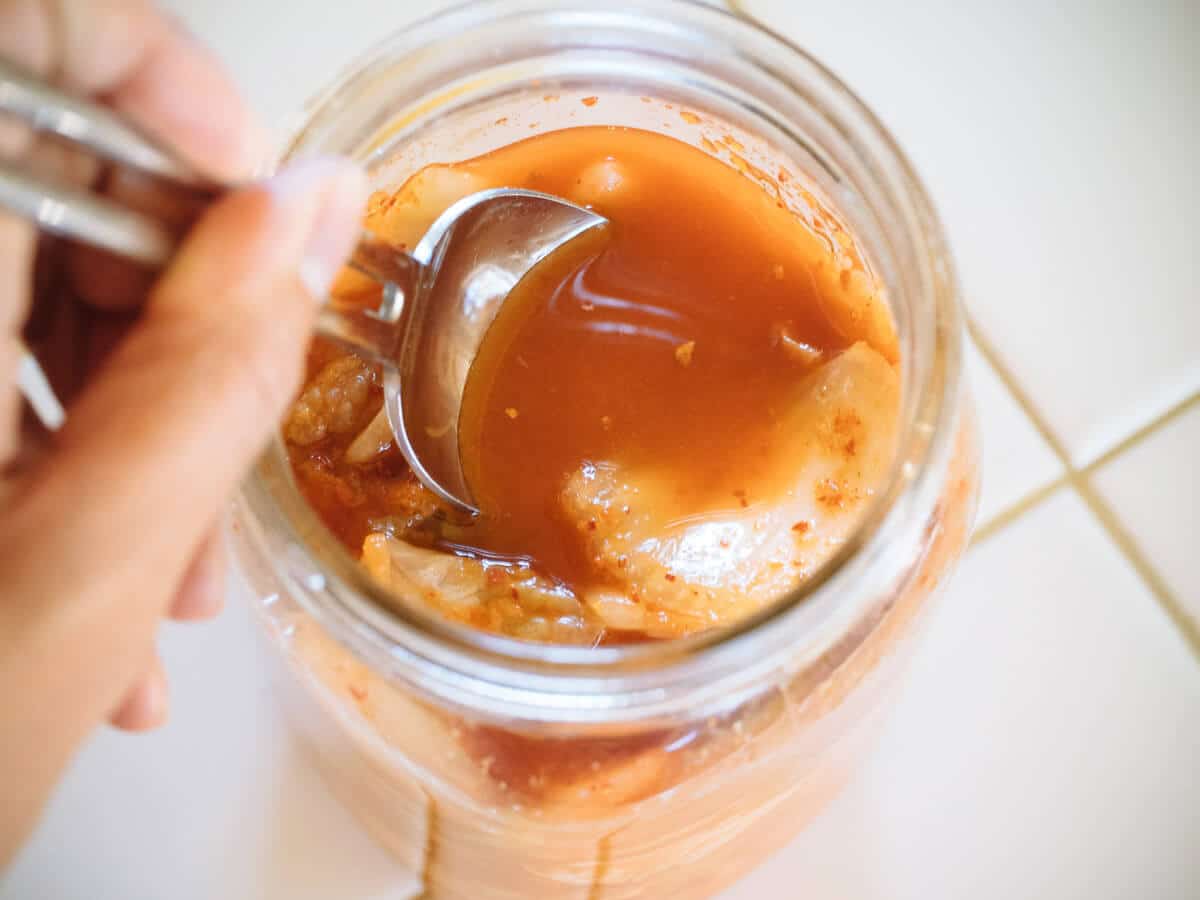
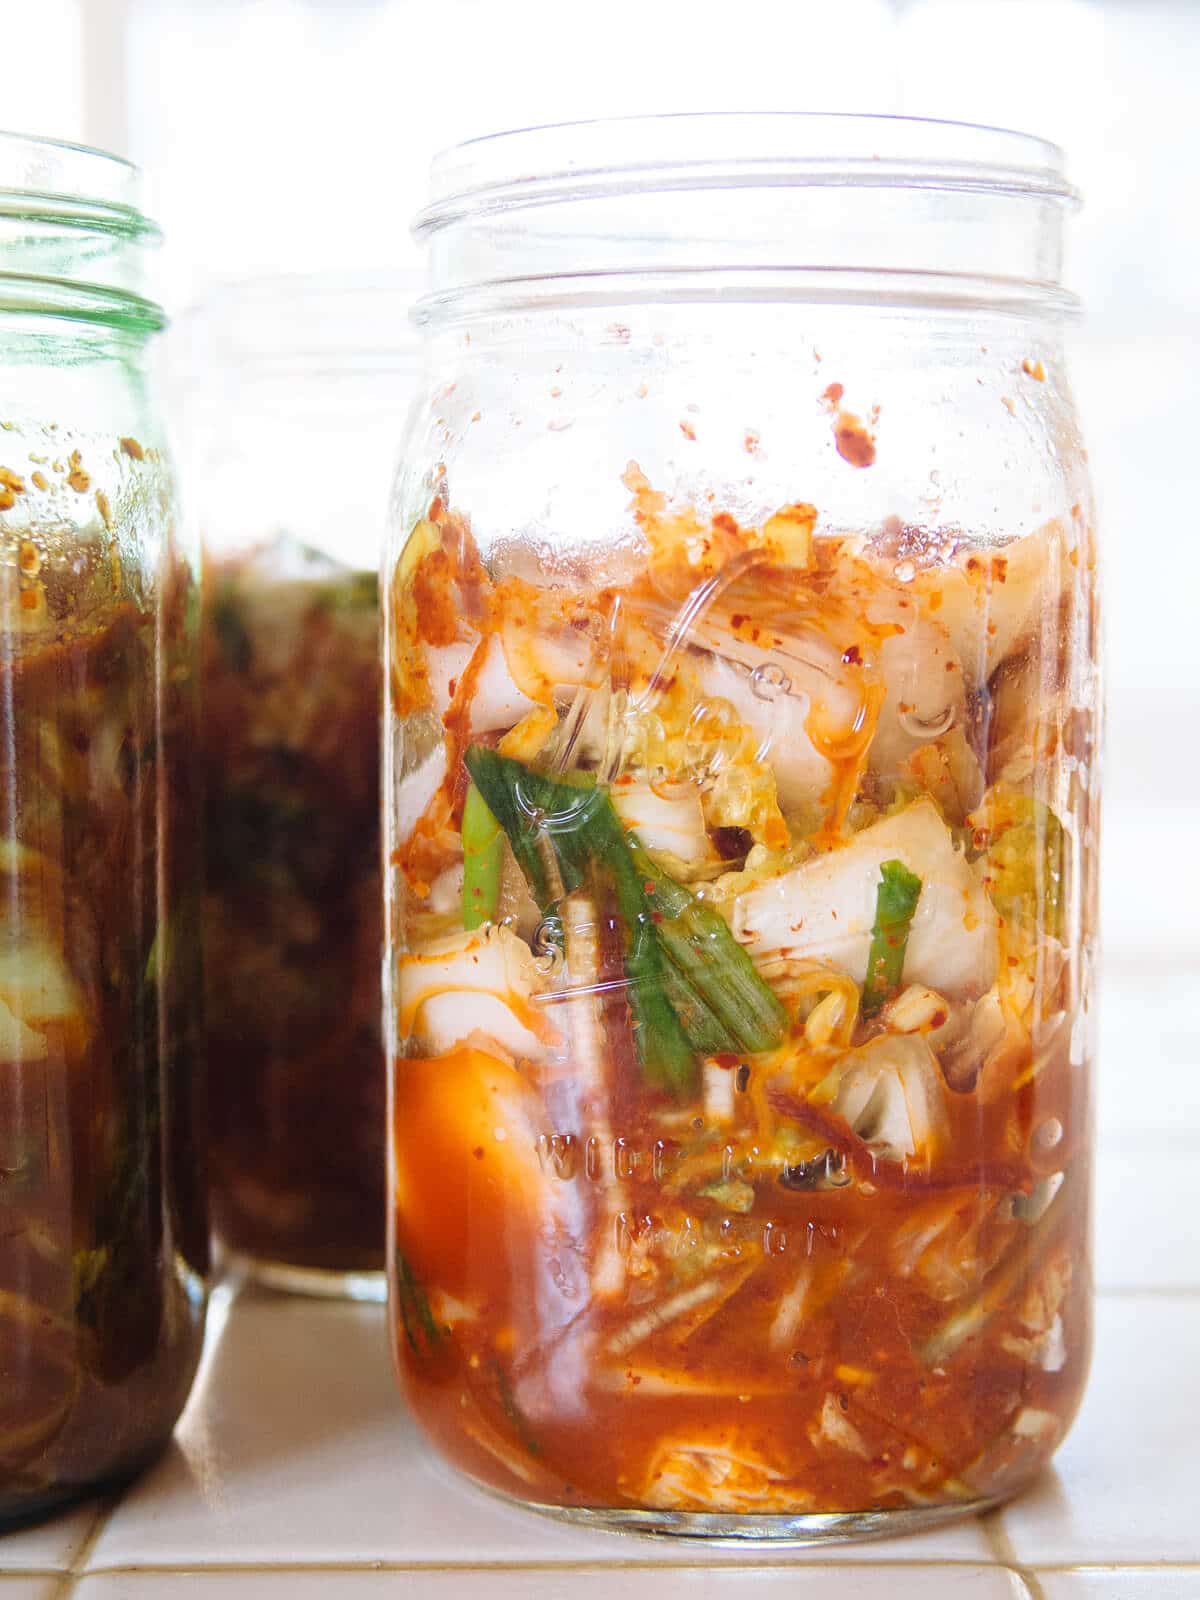
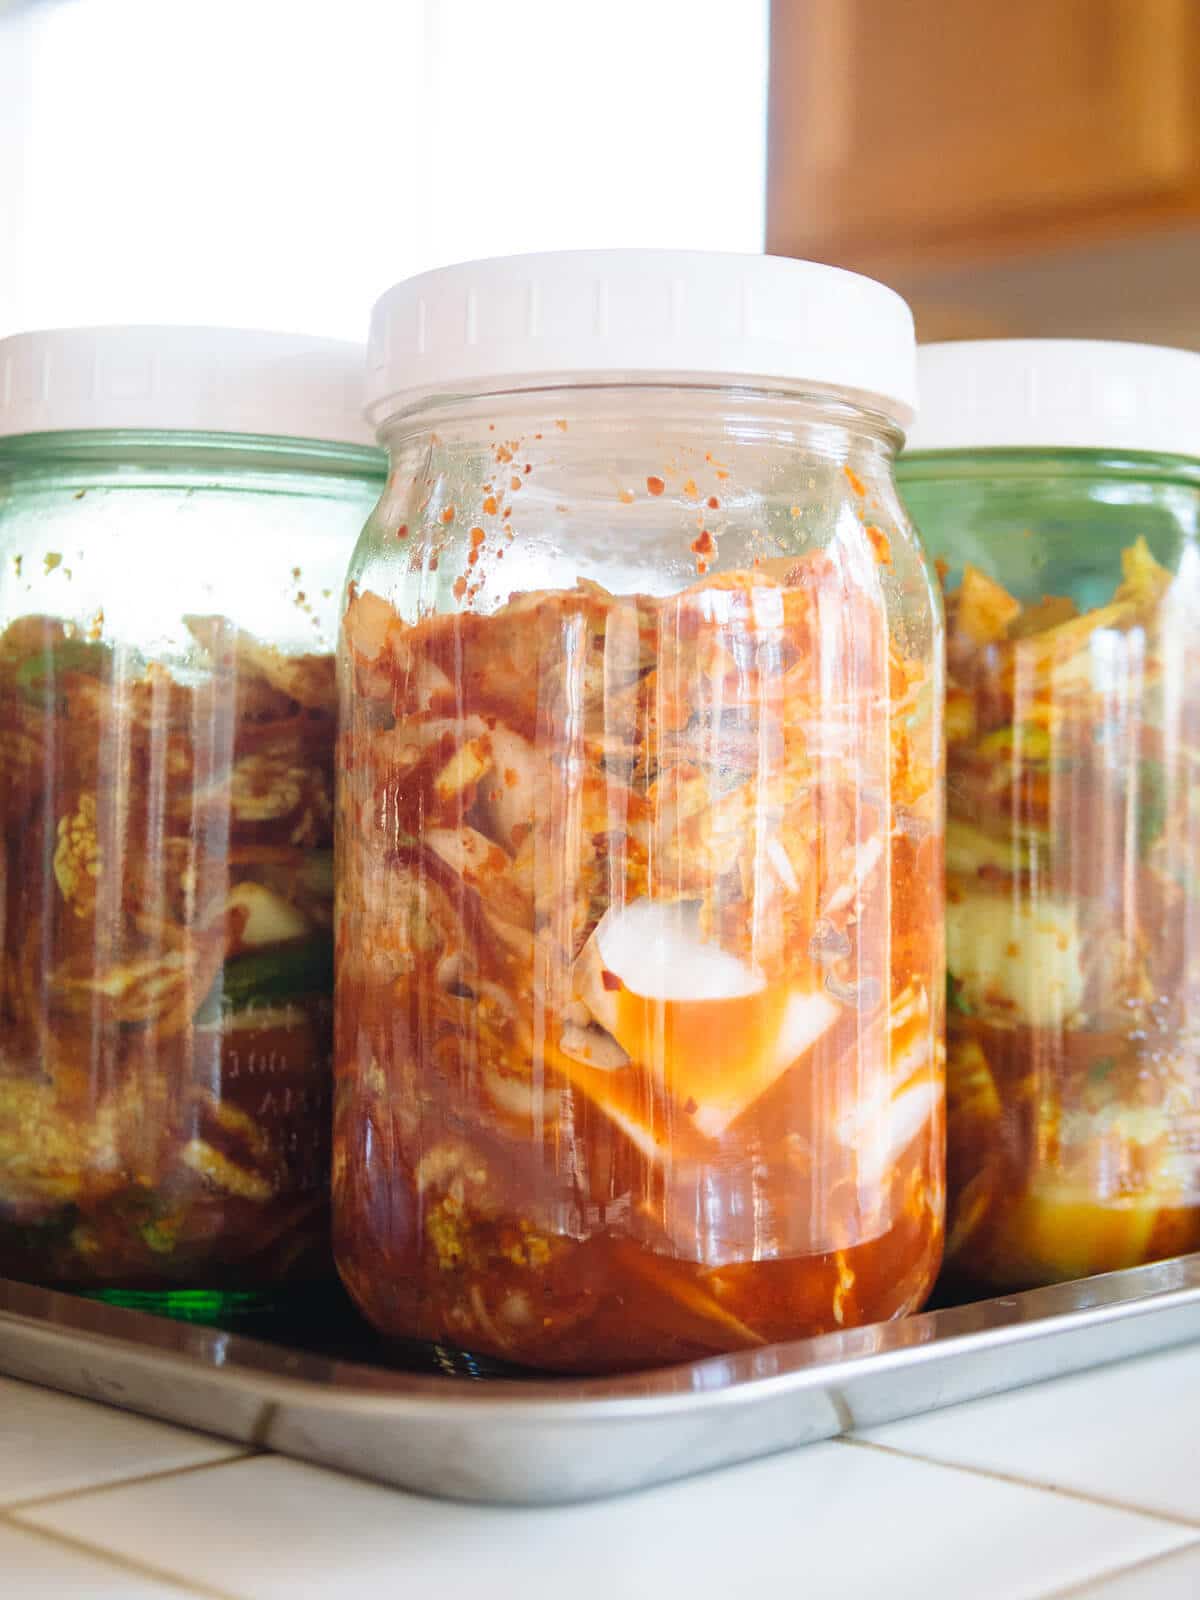
Don’t worry if it looks like there isn’t enough sauce in each jar; as the vegetables start to ferment, they’ll release more liquid overnight. Just remember to keep tamping down on the vegetables each day to expel more liquid and help them stay submerged.
Loosely cover the jars with lids (you don’t want to tighten them too much, as the fermentation gases need space to escape) and place them on a baking sheet or shallow pan to catch any overflow of liquid.
Leave the jars out at room temperature, away from direct sunlight, for three days. You’ll start to see small bubbles in the jars, signs that the kimchi is fermenting properly.
On the third day, use a clean utensil to taste the kimchi from one of the jars. If it has a pleasantly tangy taste (thanks to all that beneficial Lactobacilli bacteria brewing in your kimchi) and the flavors are balanced (not too salty or too pungent), the jars are ready to be refrigerated.
Saying “not too pungent” might seem like an oxymoron when we’re talking kimchi here, but good, fresh kimchi should be crisp, tingly, and lightly acidic with a deep umami layer. It should never have a rotten or “off” smell.
How temperature affects kimchi
Refrigerated jars will continue to ferment, but at a much slower rate, leaving you time to enjoy your kimchi. It usually lasts for three to four months before the flavor and texture start to decline (although it never truly goes “bad” since kimchi is a fermented product).
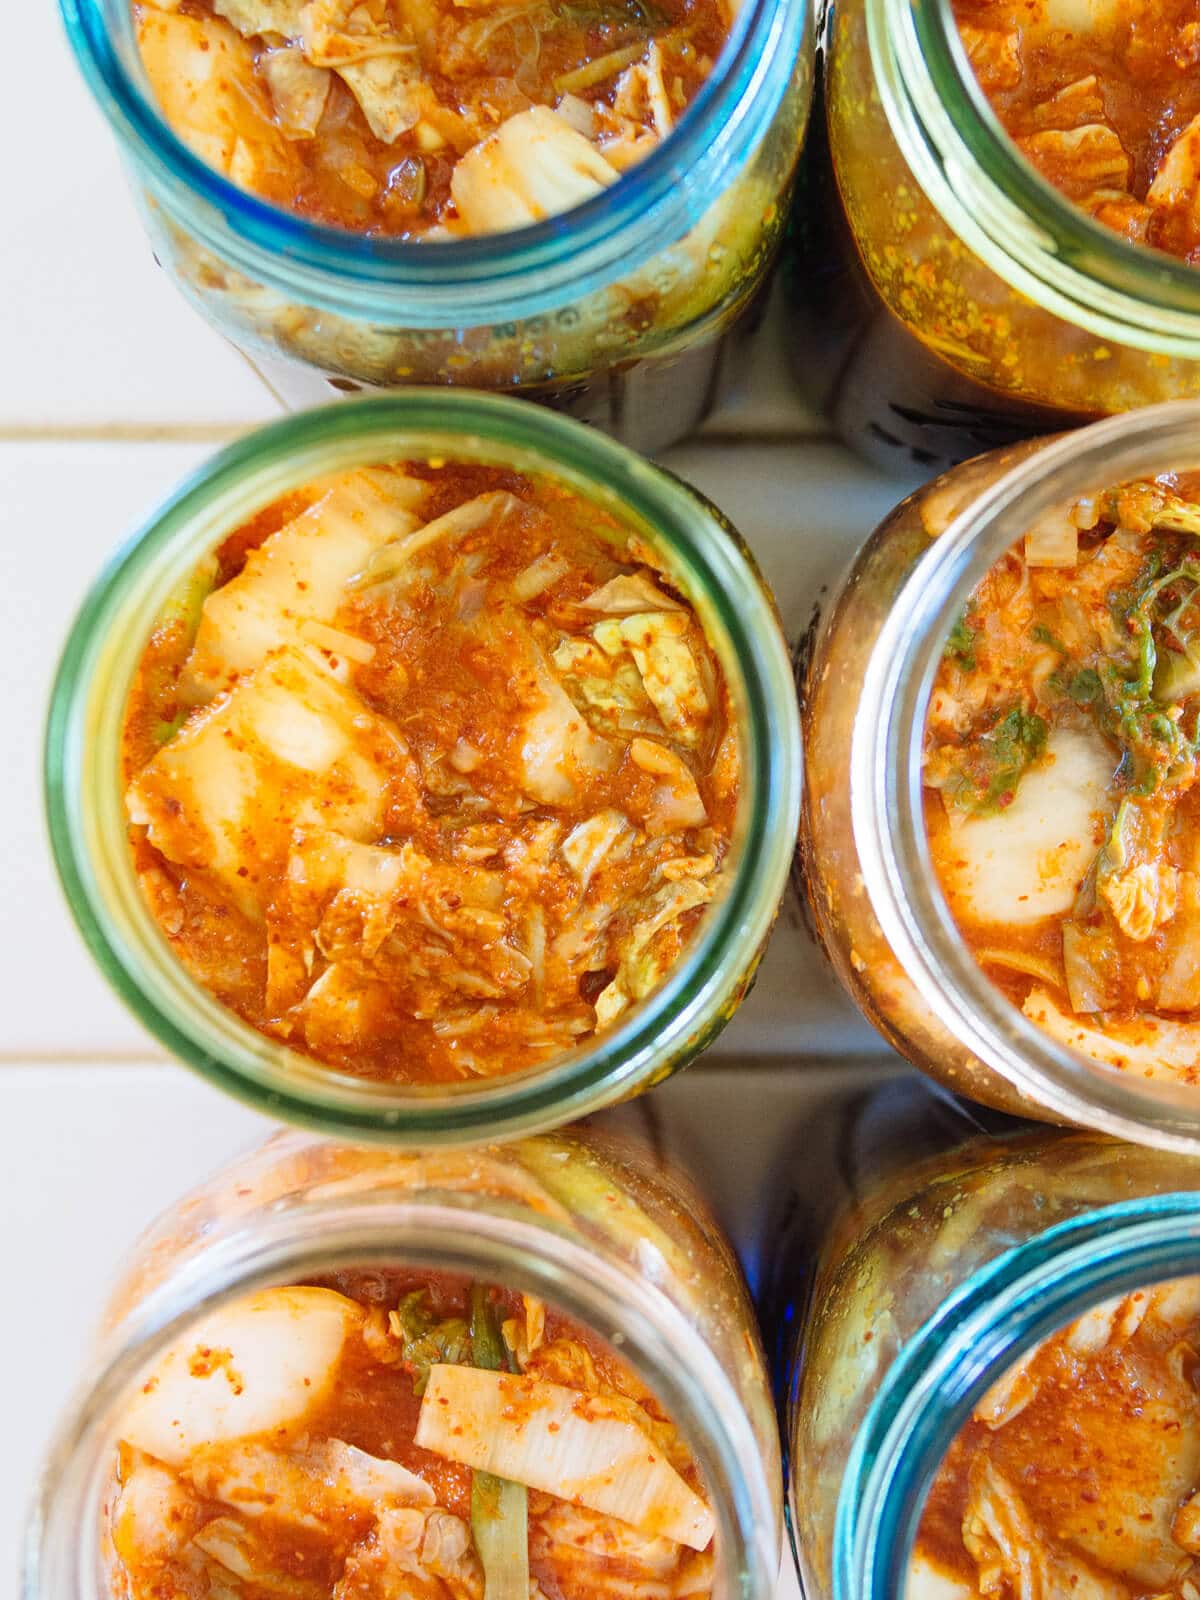
Lower room temperatures may slow the rate of fermentation, so if your home tends to stay on the cooler side, it may take an extra day or two for the kimchi to ripen.
Taste it each day and refrigerate as soon as the flavor develops to your liking. The longer you let it sit, the more sour it will turn (and some people actually prefer it this way, almost like a vinegar pickle).
On the flip side, a very warm house may speed up fermentation, so start tasting your kimchi on day two.
(If you end up with kimchi that’s turned too sour to eat fresh, all is not lost! Try my kimchi jjigae, a Korean stew that tastes amazing with aged, or overripe, kimchi.)
Essential kimchi ingredients:
- Tae-kyung Gochugaru Korean Red Chili Pepper Flakes
- Red Boat Premium Fish Sauce
What you need for making kimchi at home:
- Vollrath Stainless Steel 8-Quart Mixing Bowl
- Vollrath Stainless Steel 13-Quart Mixing Bowl
- Nutri Ninja Blender Duo with Auto-iQ
- Totally Bamboo Salad Hands
- Ball Wide Mouth Elite Collection Quart Jar
- Ball Wide Mouth Plastic Storage Cap
- TeamFar Stainless Steel Baking Pan
Quick and Easy Kimchi
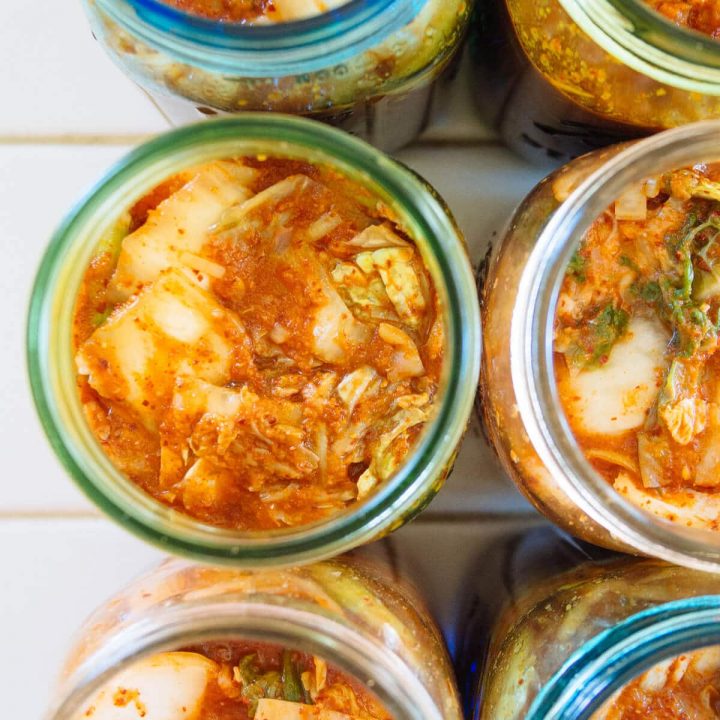
How do you make kimchi if you don't live near an Asian market? Here's an authentic homemade version that uses fairly simple ingredients and is adaptable to other ingredients you might have on hand.
Ingredients
- 5 pounds napa cabbage
- 1/2 cup flaky sea salt or kosher salt
- 1 1/2 cups julienned daikon
- 1 1/2 cups julienned carrots
- 1 1/2 cups thinly sliced leeks (white and light green parts only)
- 6 scallions, cut into 1-inch segments
- 1 apple, cored and chopped
- 2 cups water
- 1 to 1 1/2 cups gochugaru (depending on heat preference)
- 1/2 cup fish sauce
- 1/2 cup finely chopped onion
- 1/2 cup finely chopped garlic
- 1 1/2 tablespoons minced ginger
Instructions
- Cut the cabbage into quarters lengthwise. Remove the cores and thinly slice the cores. Roughly chop the rest of the cabbage into 1-inch pieces.
- Pile all of the cabbage into a huge bowl or basin; you can also use your sink if it has a stopper.
- Sprinkle the salt over the cabbage and cover with cold water. Every 30 minutes or so, turn the cabbage over with your hands to distribute the salt evenly. Massage the leaves with your hands to expel more moisture each time.
- After 1 1/2 to 2 hours, strain the cabbage in a large colander and rinse with clean cold water. The leaves should be soft and limp, and the volume of cabbage reduced by half.
- In a large bowl, combine the cabbage with the daikon, carrots, leeks, and scallions. Set aside.
- In a blender, puree the apple, water, gochugaru, fish sauce, onion, garlic, and ginger until well blended. Pour the sauce over the vegetables in the bowl, and toss to coat. I use a pair of “salad hands” for this task, but if you want to mix it all together with your hands, be sure to don a pair of gloves so you don’t get the fiery red pepper sauce on your skin!
- Transfer the kimchi and all the sauce to clean jars, leaving 1 to 2 inches of headspace in each jar to allow room for expansion. Tamp down on the kimchi with a spoon to help release more liquid from the vegetables and keep them submerged in the sauce.
Don’t worry if it looks like there isn’t enough sauce in each jar; as the vegetables start to ferment, they’ll release more liquid overnight. Just remember to keep tamping down on the vegetables each day to expel more liquid and help them stay submerged. - Loosely cover the jars with lids (you don’t want to tighten them too much, as the fermentation gases need space to escape) and place them on a baking sheet or shallow pan to catch any overflow of liquid.
- Leave the jars out at room temperature, away from direct sunlight, for three days. You’ll start to see small bubbles in the jars, signs that the kimchi is fermenting properly.
On the third day, use a clean utensil to taste the kimchi from one of the jars. If it has a pleasantly tangy taste (thanks to all that beneficial Lactobacilli bacteria brewing in your kimchi) and the flavors are balanced (not too salty or too pungent), the jars are ready to be refrigerated.
Notes
Refrigerated jars will continue to ferment, but at a much slower rate, leaving you time to enjoy your kimchi. It usually lasts for three to four months before the flavor and texture start to decline (although it never truly goes “bad” since kimchi is a fermented product).
Lower room temperatures may slow the rate of fermentation, so if your home tends to stay on the cooler side, it may take an extra day or two for the kimchi to ripen. Taste it each day and refrigerate as soon as the flavor develops to your liking. The longer you let it sit, the more sour it will turn (and some people actually prefer it this way, almost like a vinegar pickle).
On the flip side, a very warm house may speed up fermentation, so start tasting your kimchi on day two.
Nutrition Information:
Yield:
48Serving Size:
1Amount Per Serving: Calories: 16Total Fat: 0gSaturated Fat: 0gTrans Fat: 0gUnsaturated Fat: 0gCholesterol: 0mgSodium: 1431mgCarbohydrates: 3gFiber: 0gSugar: 1gProtein: 1g
Nutrition information isn’t always accurate.
This post updated from an article that originally appeared on May 16, 2018.
View the Web Story on easy kimchi recipe.








How did I miss this recipe? We’ve been getting a lot of our produce from a local organic farm this year- trying to support local as much as possible in this weird new normal. I got a head of Napa cabbage last week and immediately thought ‘kimchi’. I stressed over ingredients until I saw this. I made enough for two quart jars and used kohlrabi as you suggested instead of daikon- its on day three and tastes wonderful! I bought the EZ fermenter lids for my ball jars and they are working really well. BTW- I went out to lunch with a co-worker who is a first generation Korean-American, he took me to one of his favorite spots and I ordered the jjigae. He was impressed as hell when he found out that I not only knew what it was made with over-ripe kimchi- but that I had made it in the past!
I think it’s safe to assume there’s no access to Napa cabbage, daikon, or Korean chilli powder if you don’t live near an Asian market…
Napa cabbage and daikon are available at my neighborhood Safeway and I’m in a mountain town with a non-existent Asian population. I wouldn’t say it’s uncommon, it probably just depends on local demand. You might have better luck at a store like Whole Foods if the regular supermarket doesn’t carry them. But yes, you will need to purchase gochugaru online. If it’s not on Amazon, you can order it from hmart.com.
I am a Korean, but never made kimchi myself- probably due to my mom who visits twice a year here in Georgetown KY and make kimchi for our family. LOL . I will use your recipe to give it a try! Thank you!
You’re welcome! Let me know what you think of it! It’s also a great recipe to use as a base for your own unique creation. 🙂 (I like salted fermented shrimp in mine too, when I get a jar from a “big city” Asian market.)
What a pleasant surprise! It was very similar to my mom’s kimchi!! OMG, we are from Seoul area and dont like too salty and dry kimchi but this one (probably due to short hours in salt) was really crunchy and had that “cool” taste to it which is our kimchi style : ). Appreciate a lot! Great recipe, Linda!
You’re very welcome! I’m so glad you like it!
Is it possible to make a small batch in case I don’t prefer the flavor? I really want to try this because the ingredients look delicious but I am nervous to commit to this quantity.
Yes! You can halve or quarter the recipe as needed.