
Like many gardeners, it only takes me a year or two of (overzealous) seed shopping and (impulsive) planting to accumulate a pile of partially used seed packets in my house.
Things start to get a bit unruly in my closet or garage, but hey, I can’t help buying more! (I know you can relate.)
While seeds purchased the same year usually offer the highest germination rates, older seeds can and do stay viable for at least a couple more years (according to this seed viability chart I’ve compiled, which I recommend you download too).
The key to making sure those leftover seeds don’t become duds next year?
Proper storage. And it doesn’t have to be complicated!
Disclosure: If you shop from my article or make a purchase through one of my links, I may receive commissions on some of the products I recommend.
First, start with completely dry seeds
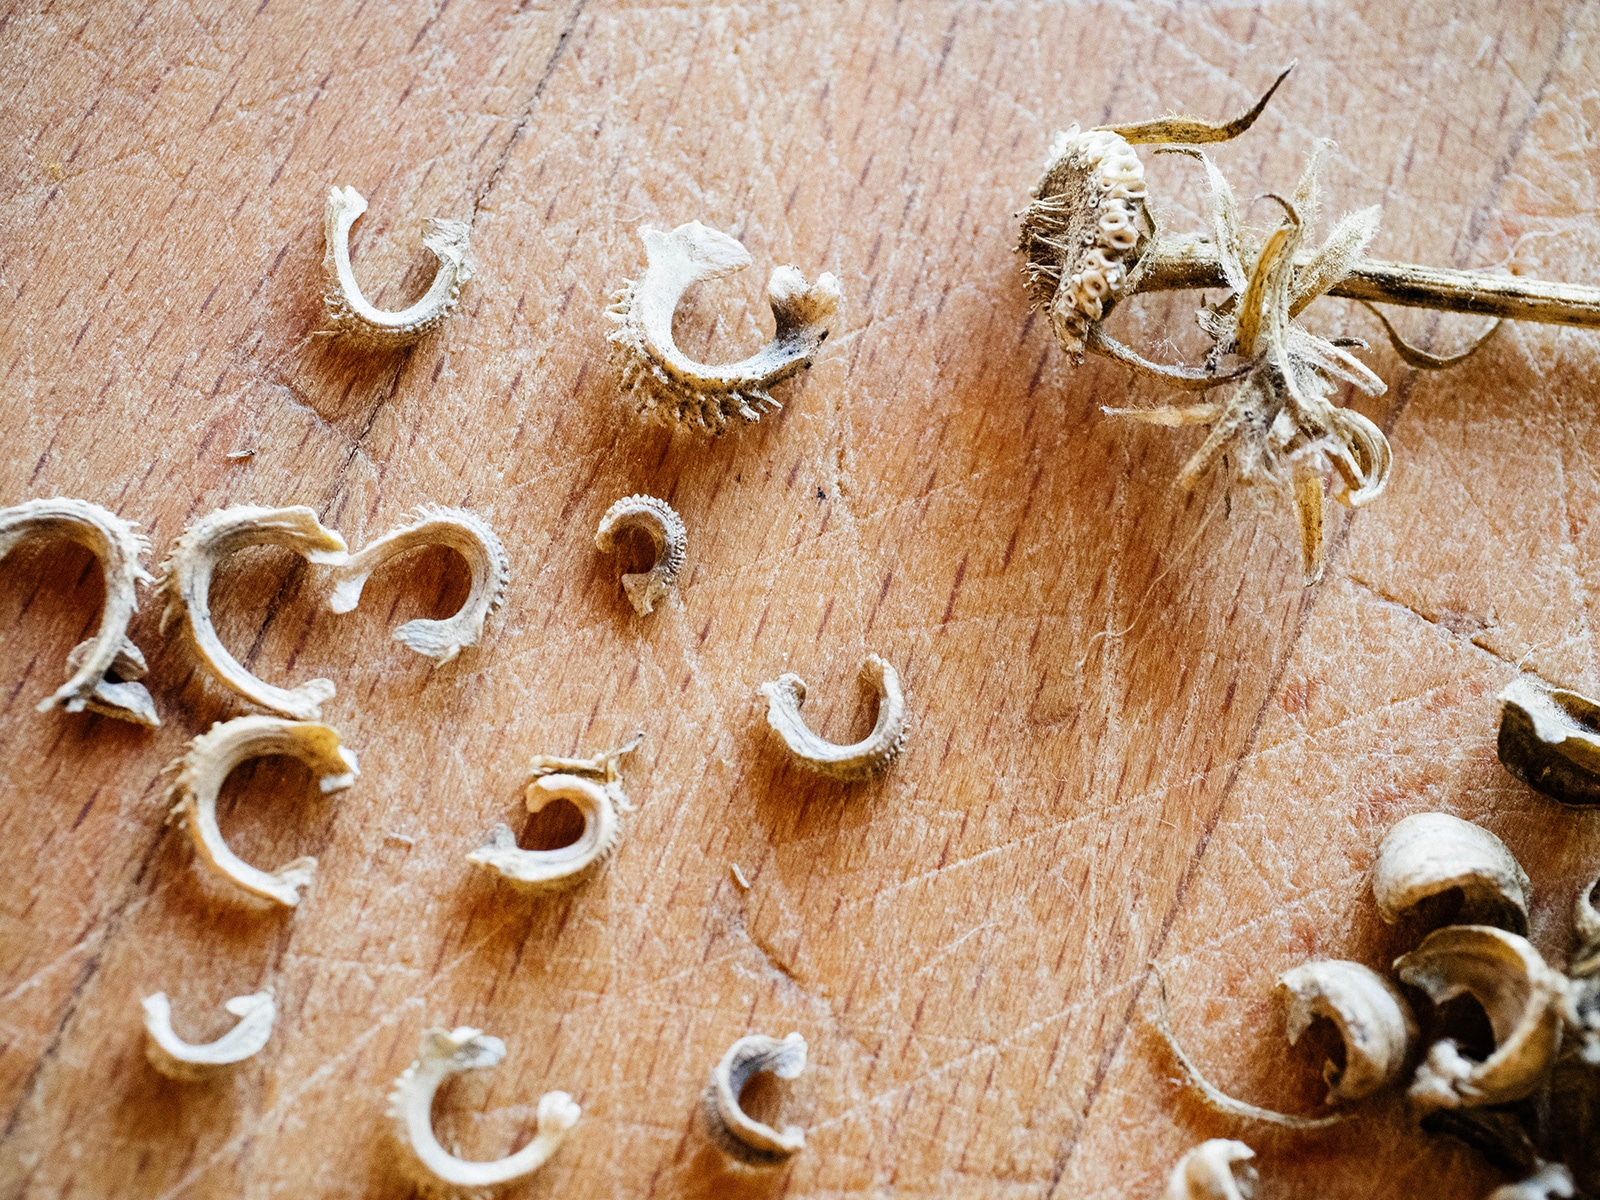
If you’re saving seeds from your own garden (or you were given seeds from someone else’s garden), make sure they are totally, thoroughly, 100 percent dry before storing them. I cannot overstate the importance of this!
That means you should wait a few days after a rain to harvest seeds from your plants. If you collected seeds that have a gelatinous coating (like squash seeds), or you fermented the seeds first (like tomato seeds), lay them out in a warm room to dry out.
Most seeds dry completely within seven days, but some (particularly thicker or larger seeds) may take up to a month, depending on how humid your room is.
How do you know when the seeds are dry enough? They’ll feel hard and brittle. They won’t bend under pressure, and if you try to snap them in half, they’ll break apart.
At this stage, the seeds are ready to pack into envelopes (which go into airtight containers) or directly into airtight containers (I’ll go over my favorites below). I like these resealable kraft envelopes with spaces for recording info about your seeds.

Ideal conditions for storing seeds
Most seeds will remain viable in storage for several years if they’re kept under optimal conditions—namely, low humidity and low temperatures (ideally 42°F or less).
A simple way to think about it is: The sum of the temperature (in Fahrenheit) and the percent relative humidity should equal less than 100.
Now, that’s not the best-case scenario, but it’s the best real-life scenario. If you keep your seeds at 55°F with 35 percent relative humidity (which is feasible for a basement), you’re right at the upper end of what’s considered “optimal conditions.” You’ll still get your money’s worth out of them, but you’ll probably be buying seeds more often.
Best-case scenario is storing your seeds below 40°F with less than 10 percent humidity, inside an airtight container in a dark environment.
Unless you have a second refrigerator or freezer to store your seeds in (or you live in an igloo), not many places inside a home can go that low in temperature.
But a few areas typically stay cooler than the rest: basements, root cellars, pantries, closets on the north side of a house, rooms with north- or east-facing windows, rooms with small or no windows, the coldest corner of an insulated garage.
Places you generally want to avoid for seed storage are laundry rooms, bathrooms, attics, rooms that get plenty of sun, and uninsulated garages or outbuildings.
Remember: The worst conditions for stored seeds are places with high moisture and high temperatures.
Best containers for seed storage
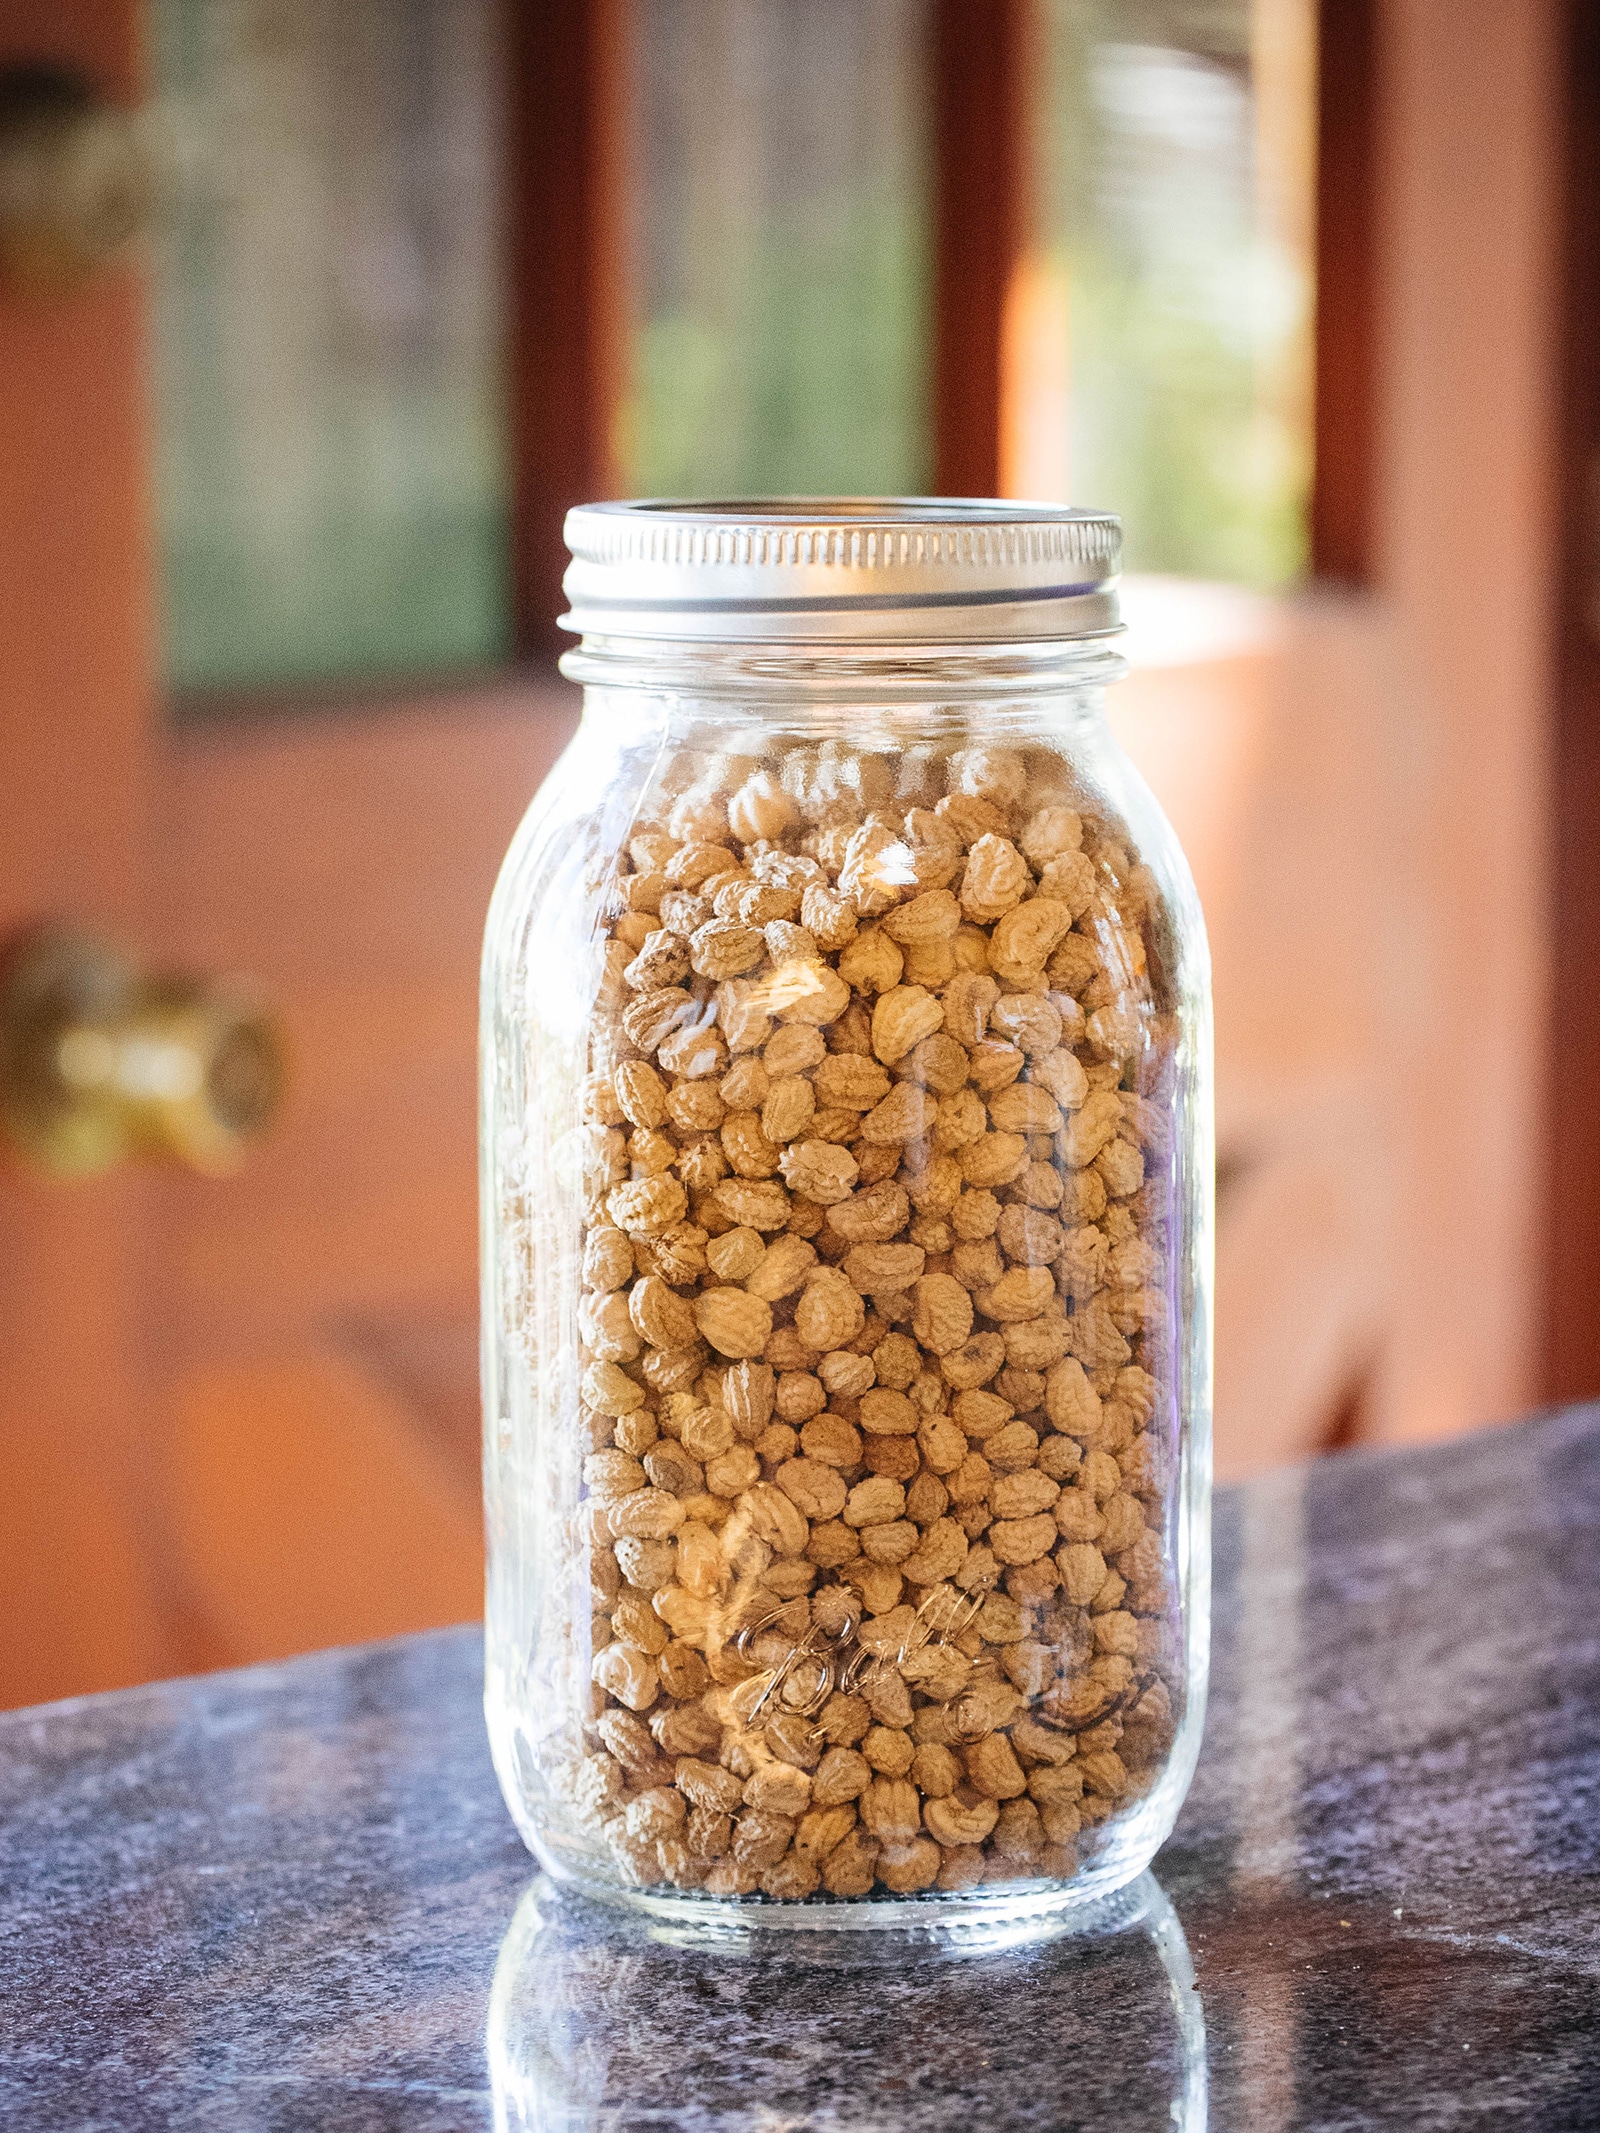
While you can use an old shoebox (or any type of container with a lid) to store seed packets, one simple feature can vastly improve the shelf life of your seeds: airtightness.
The more airtight the storage environment is, the longer your seeds will last. But you don’t have to go as far as vacuum-sealing—you just need something that will keep a reasonable amount of air and moisture out (and you probably already have it around your house). This can include:
- Mason jars and other jars with tight-fitting lids
- Old spice jars
- Plastic storage containers with snap lids
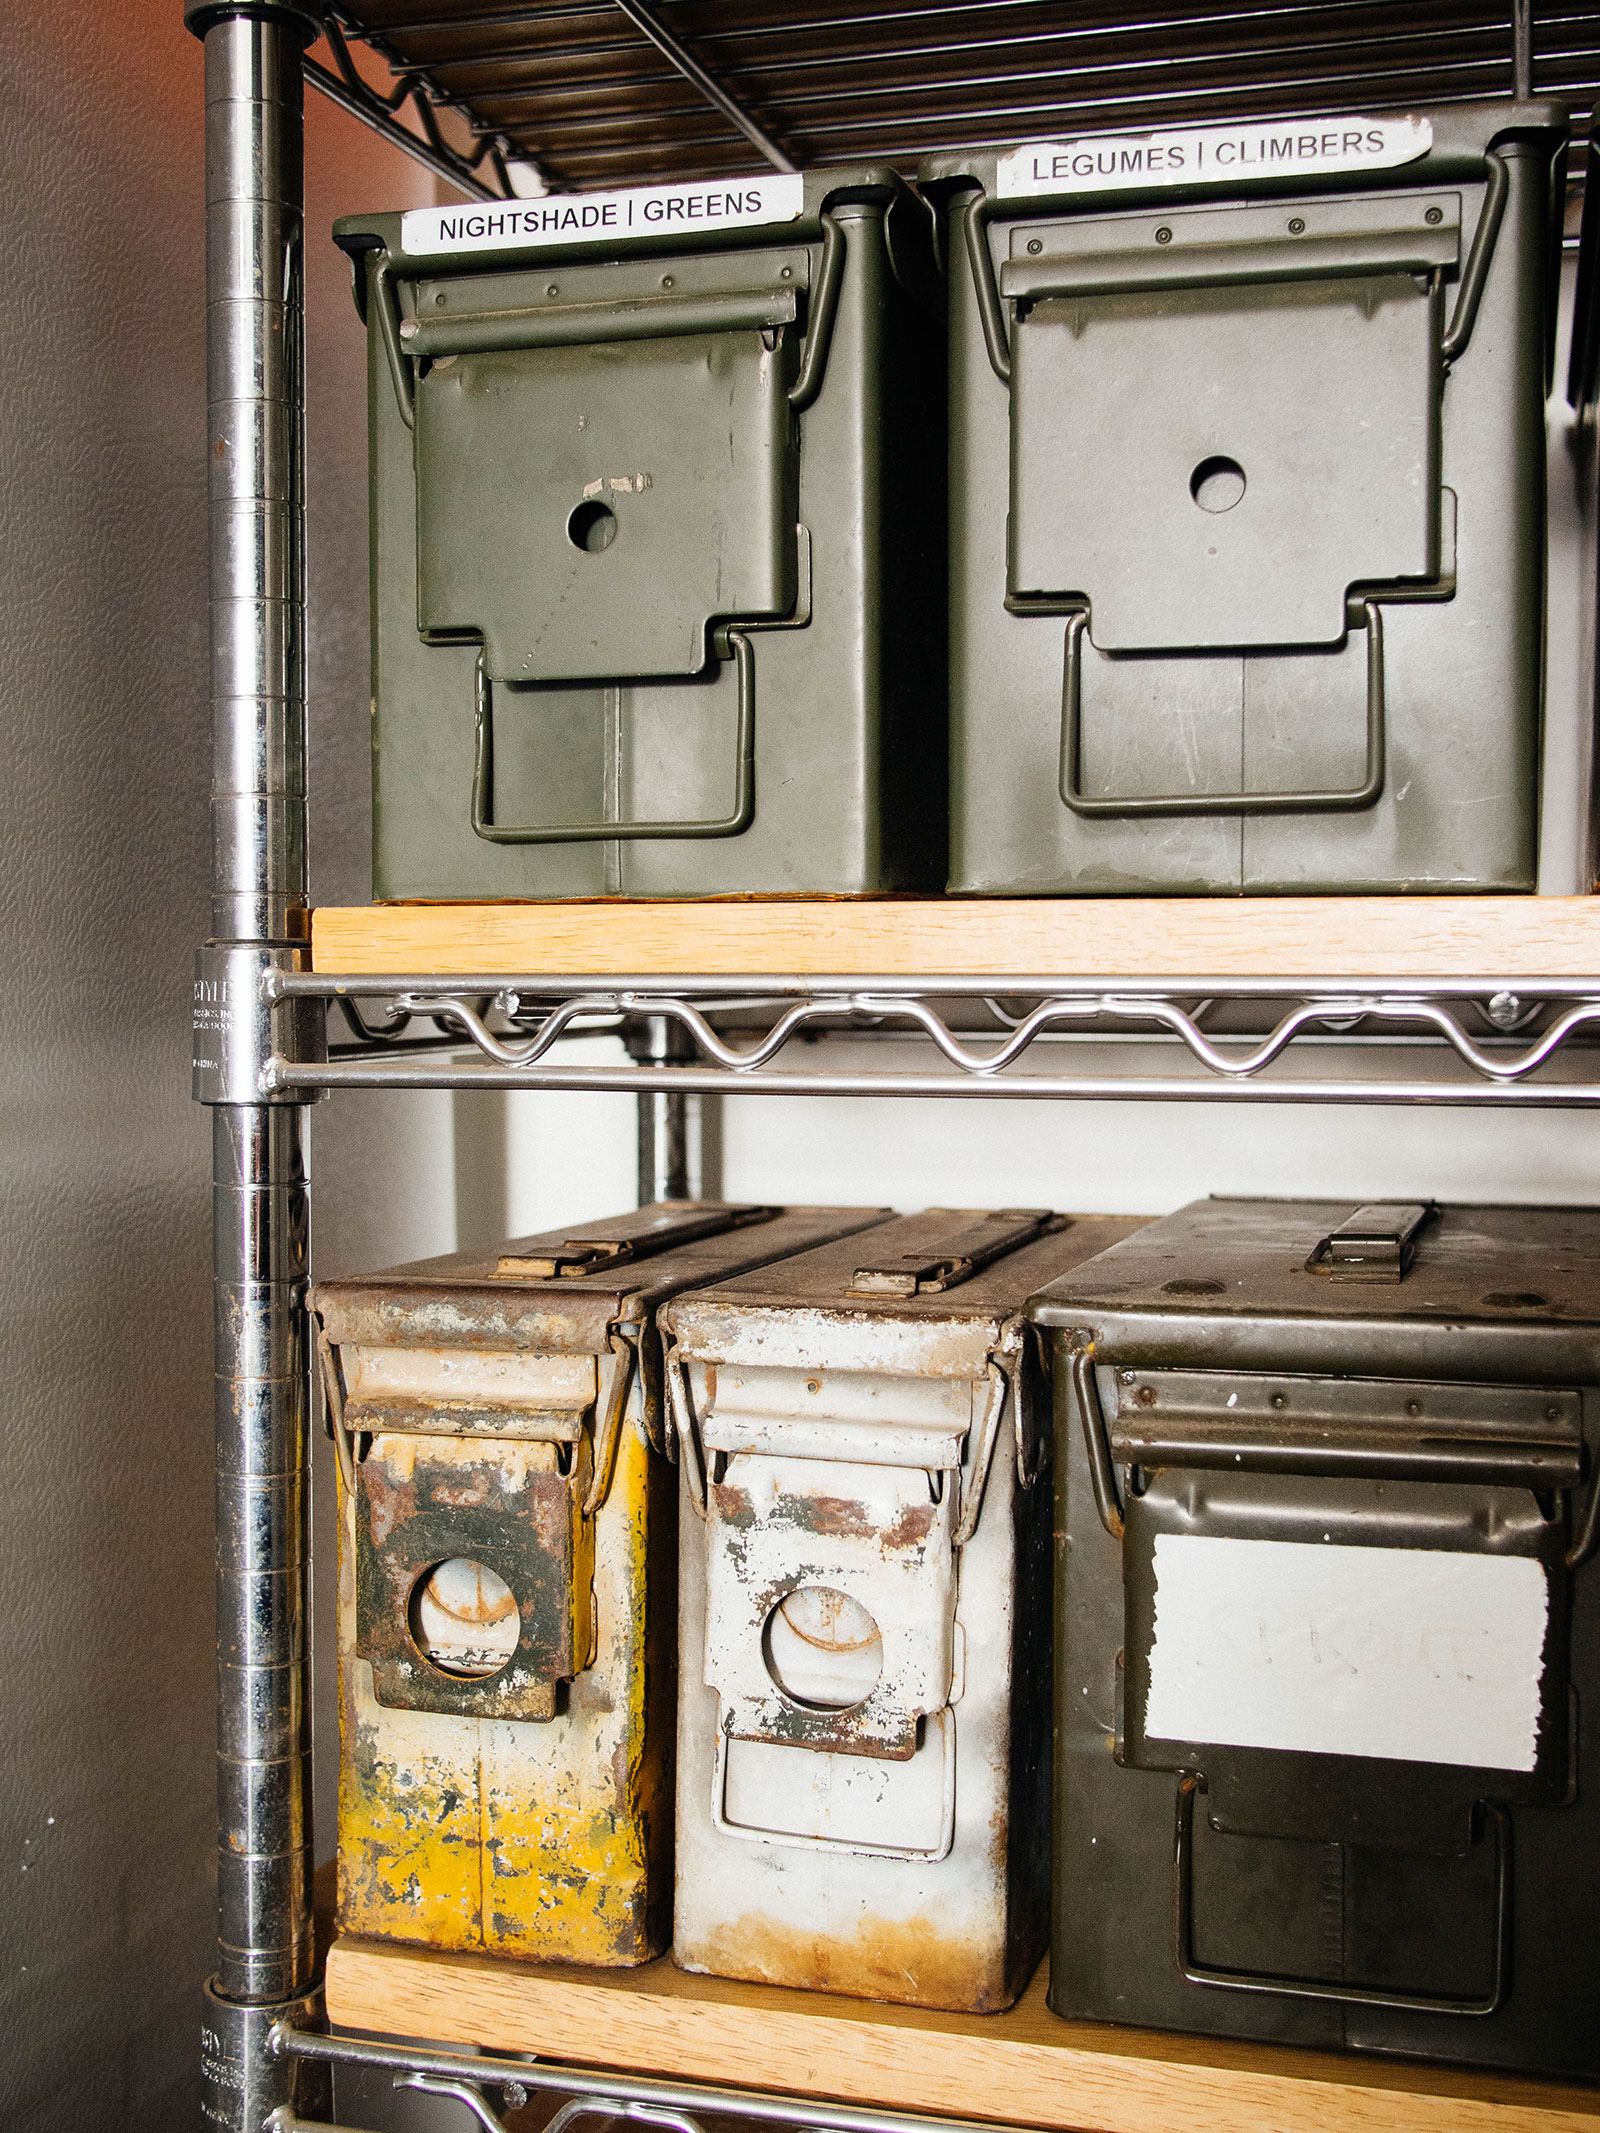
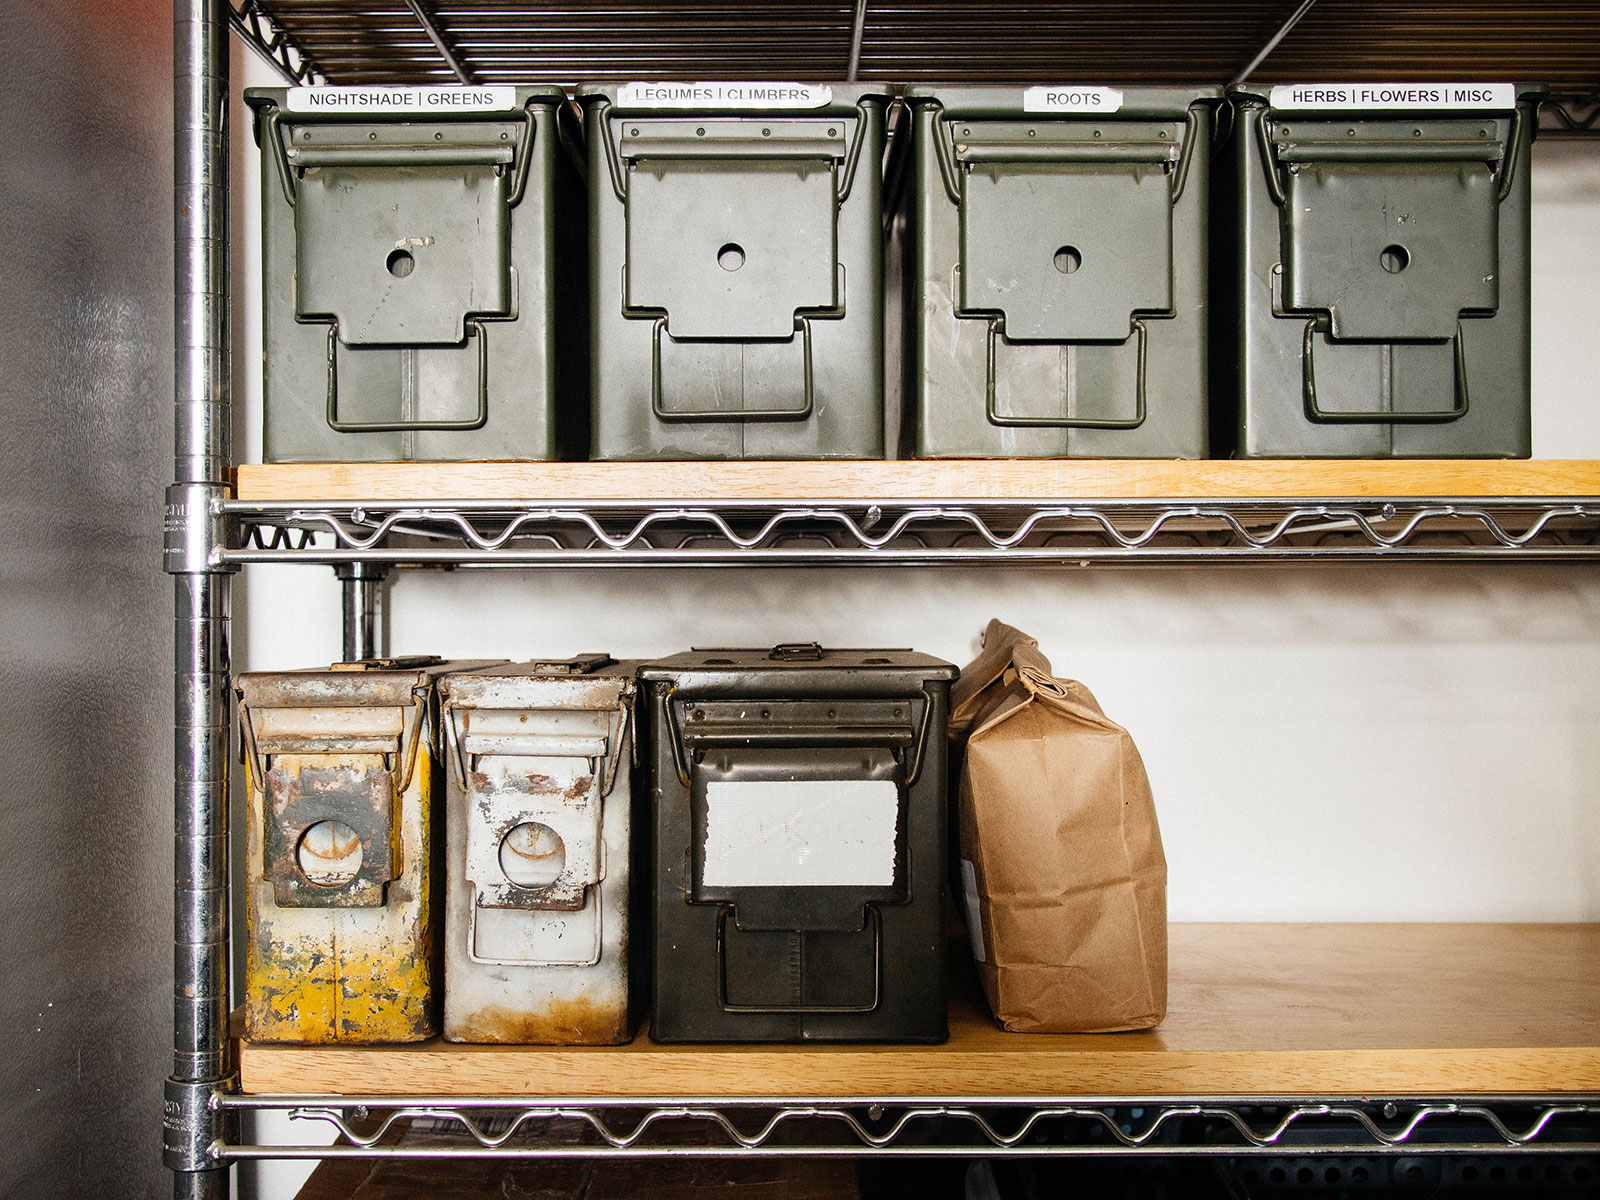
- Ammo cans
Note that if you use a clear container, the container should be stored in a dark area.
Where to buy
Seed storage containers
How to maintain low humidity
Let’s talk humidity next. This was something I struggled with when I lived on the Southern California coast, but now that I’m in the Central Oregon high desert, we’re lucky if the relative humidity inside our house gets above 15 percent. (We actually installed a whole-house humidifier to help with this.)
Humidity is a challenge for those who live in the south, and especially in summer, when you’re opening your seed container more frequently and letting all that warm humid air circulate around your seed packets.
The best and easiest way to safeguard against high humidity is to repurpose those little desiccant packets from your shoeboxes, vitamin bottles, or electronics packaging and use them inside your seed container. These desiccant packets contain silica gel, which absorbs moisture from the air.
If you don’t have any of those things lying around, they’re very inexpensive to purchase.
Where to buy
Desiccant packets
In a pinch, you can also make your own desiccant packet by filling a paper coffee filter with (raw) rice and then sealing the top and bottom with tape or staples.
Frequently asked questions
How I personally store my seeds
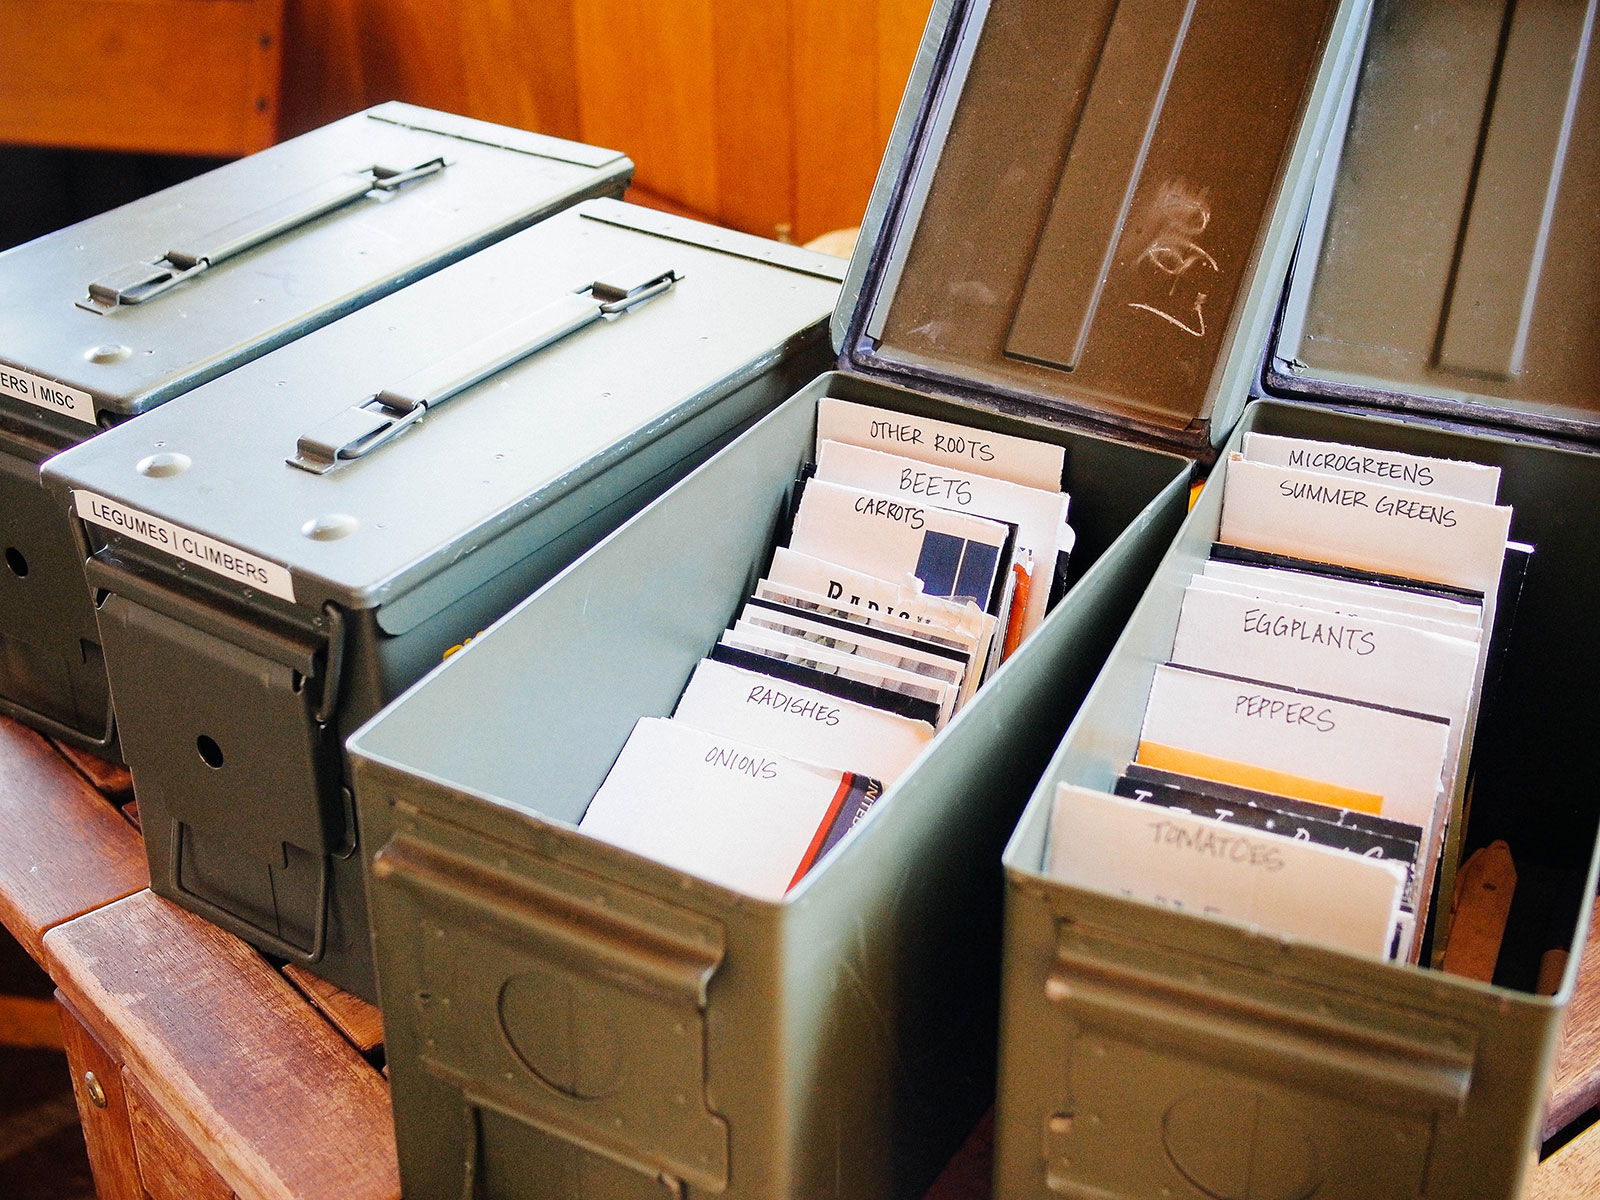
For the last 15 years, I’ve been using metal ammo cans to store all my seeds. They’re extremely durable, airtight, and watertight, and are sized perfectly to hold seed packets upright. You can find brand-new ammo cans online or old (but usable) ones in army surplus stores, in both metal and plastic. (I recommend buying plastic if weight is an issue.)
I have several ammo cans that a military friend gave me over the years, so in my case, they were free. Each ammo can holds between 75 to 100 (or more) seed packets, depending on how bulky they are. I alphabetize them by plant name, and have used anywhere from three to five cans based on the size of my seed collection at the time.
All of my seeds are stored on a small workbench in the back corner of our unheated but insulated garage (the coldest part of our property), where it usually stays between 40°F to 50°F at 10 to 15 percent humidity year-round.
I also created my own seed inventory spreadsheets to easily manage and track my 350-plus seed packets—all online! (Which helps so much when it’s time to buy new seeds.) If you’re still sorting and checking all your seed packets manually and still can’t remember what you have, get the same spreadsheets I use (in Airtable or Google Sheets format) to make inventory a breeze.
Digitize your seed inventory
Get my seed inventory templates
Keep track of the seeds you have, how much is left, and how old they are, and access your inventory from anywhere. You’ll get my custom templates in Airtable and Google Sheets formats—just copy them to your own account.
How do you know when seeds are no longer viable?
Every time a seed experiences less than ideal conditions, it suffers a decline in quality. It may not die right away, but it might take a little longer to germinate. Eventually, it will fail to germinate at all.
Read more: Here are 6 ways to germinate stubborn seeds fast
If your seeds have been sitting around for a while, using the baggie method with paper towels is an easy and effective way to test their germination rates so you know whether to buy new seeds.
By taking a sample of 10 to 20 seeds and pre-sprouting them in baggies, you can gauge how viable those seeds are before committing to starting more of those seeds or transplanting the seedlings.
A good rule of thumb is: less than 50 percent germination rate means it’s time to buy new seeds.
Can you freeze seeds to make them last longer?
Yes. All seed banks freeze seeds that are intended for long-term storage, and you can do the same at home.
The key is to start with thoroughly dried seeds (if you saved seeds from your own plants) and store them in airtight, freeze-proof containers to reduce the risk of seeds absorbing moisture. Keep the seeds in a reliable freezer that maintains consistent temperatures and isn’t opened often.
When it’s time to plant, thaw the frozen seeds overnight on a table until they reach room temperature.


