Do you grow more carrots than you can eat? Hey, that’s a good problem to have. But you’re going to need a solution to keep all those carrots fresh and crunchy for as long as possible.
I would guess that most of us don’t have a root cellar for storing a surplus of fall vegetables over winter. And where I live in Central Oregon, storing carrots right where they’re growing—in the ground—for the entire winter isn’t feasible because:
- The soil usually freezes solid for a month or two, which makes harvesting difficult.
- I don’t always want to trudge through snow to coax a carrot out of the ground.
Fortunately, there’s a simple solution that doesn’t involve root cellaring or storing carrots in a box of moist sand or peat moss, and from personal experience, it will keep your carrots crisp and flavorful for up to six months! It’s incredible because if done correctly, they won’t mold and they won’t get soft and limp.
Disclosure: If you shop from my article or make a purchase through one of my links, I may receive commissions on some of the products I recommend.
My carrot storage method
Here’s what you’ll need:
- Garden scissors
- Metal skewer
- Resealable zip-top storage bags
Step 1: Harvest after a few frosts.
Wait until there have been a few frosts in your area before harvesting your carrots. When exposed to frost, carrots naturally accumulate extra sugars to protect their cells from freezing. This results in wonderfully sweet carrots that are a far cry from the earthy, bitter carrots you often get from the store.
By November, we’ve typically had a few random nights of lows in the mid to high 20s Fahrenheit, so that’s when I start harvesting.
Step 2: Remove the greens.
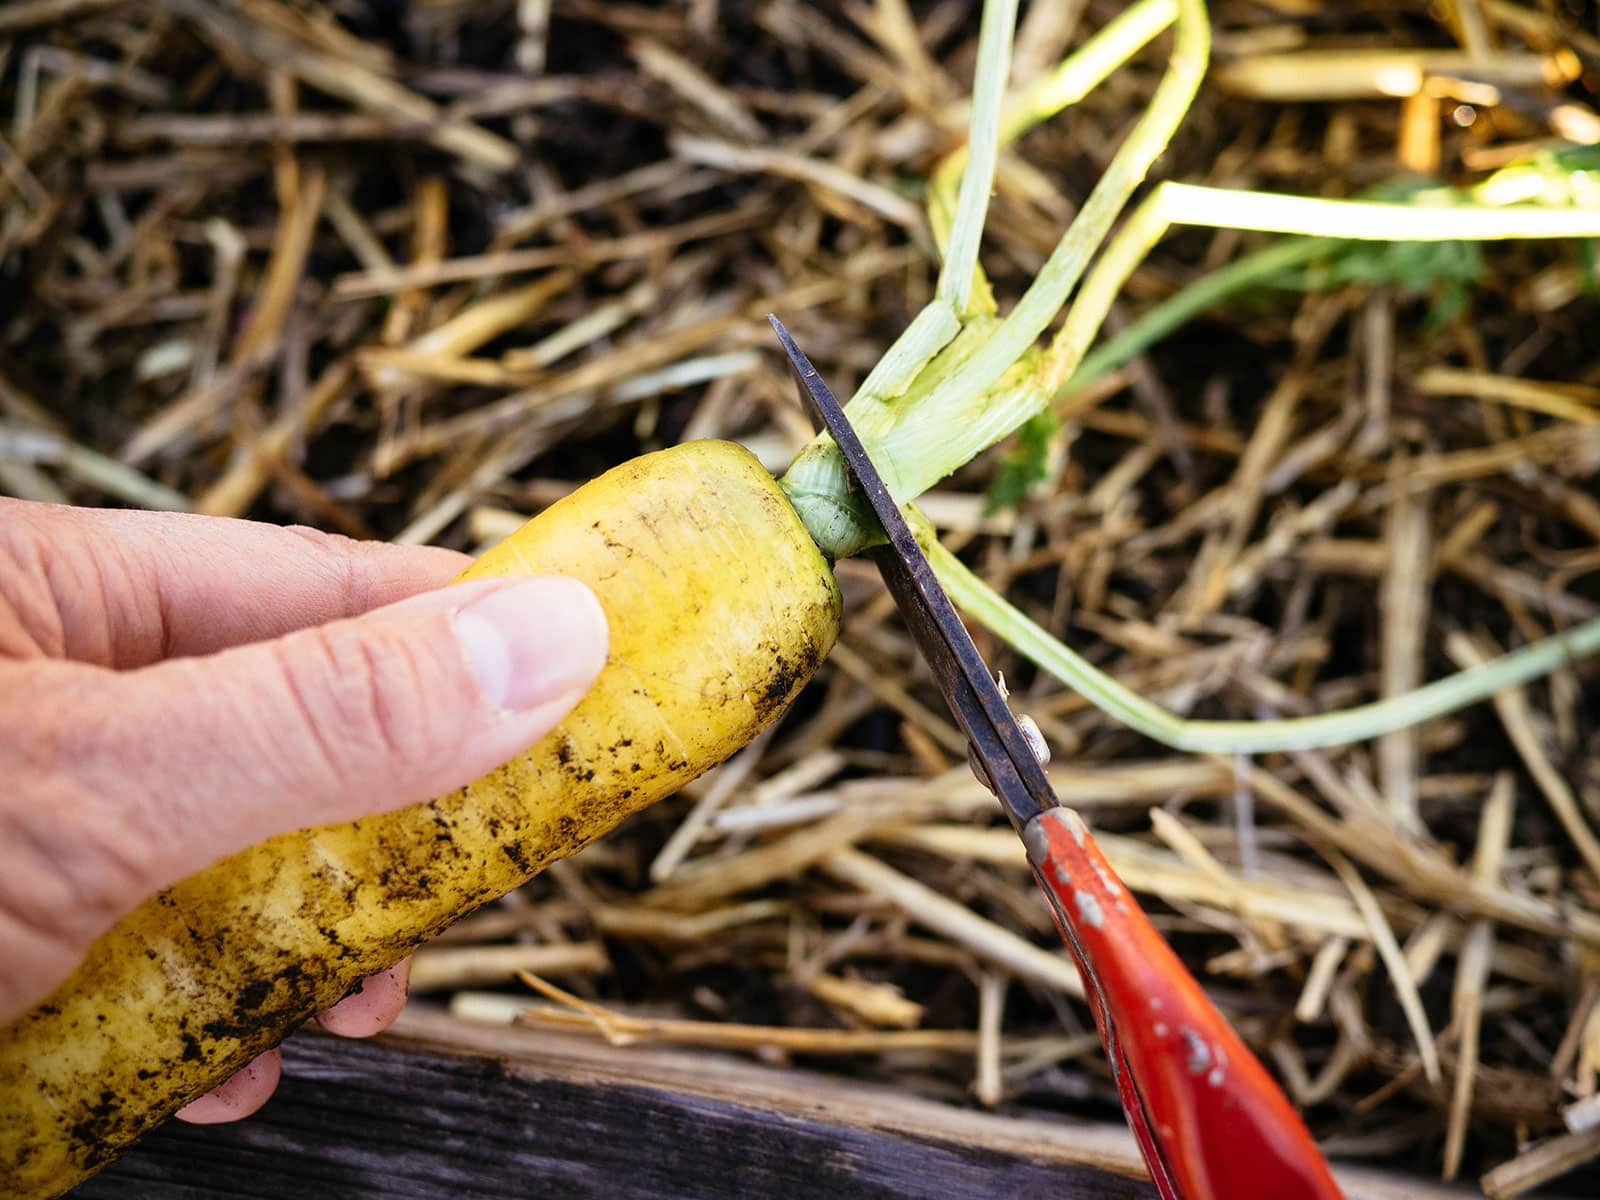
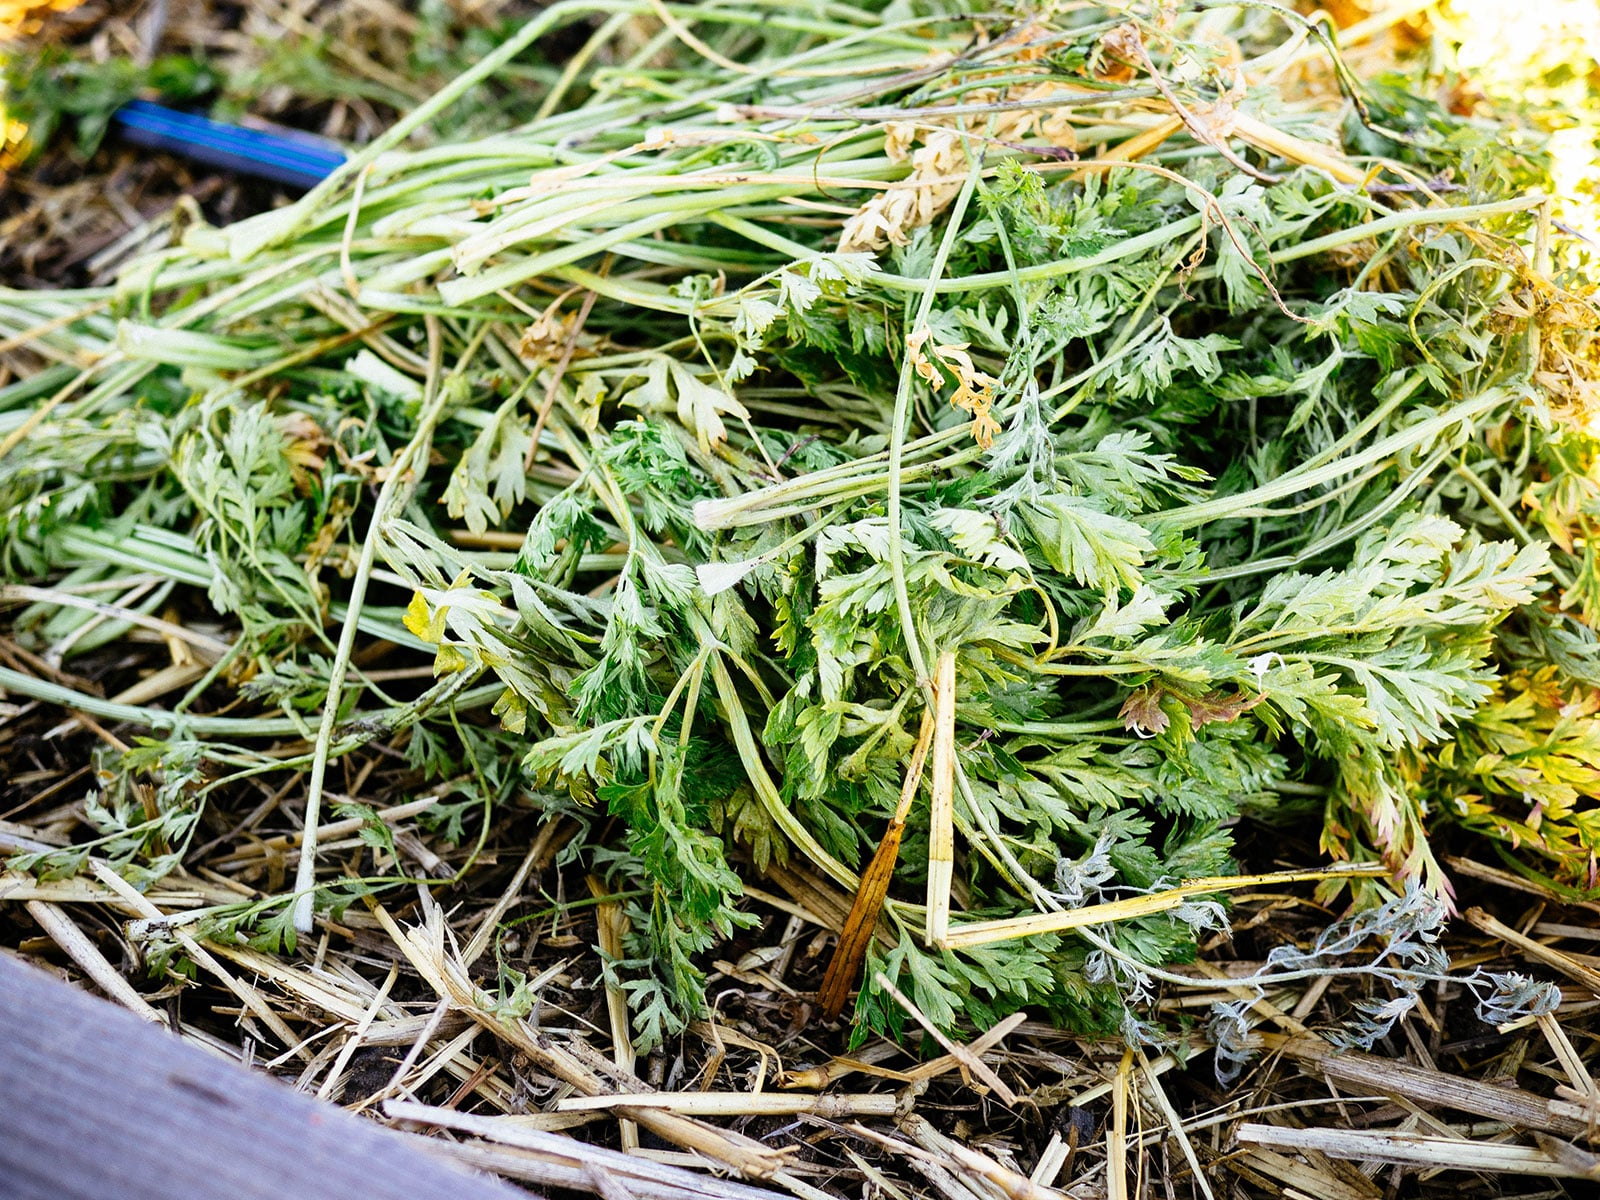
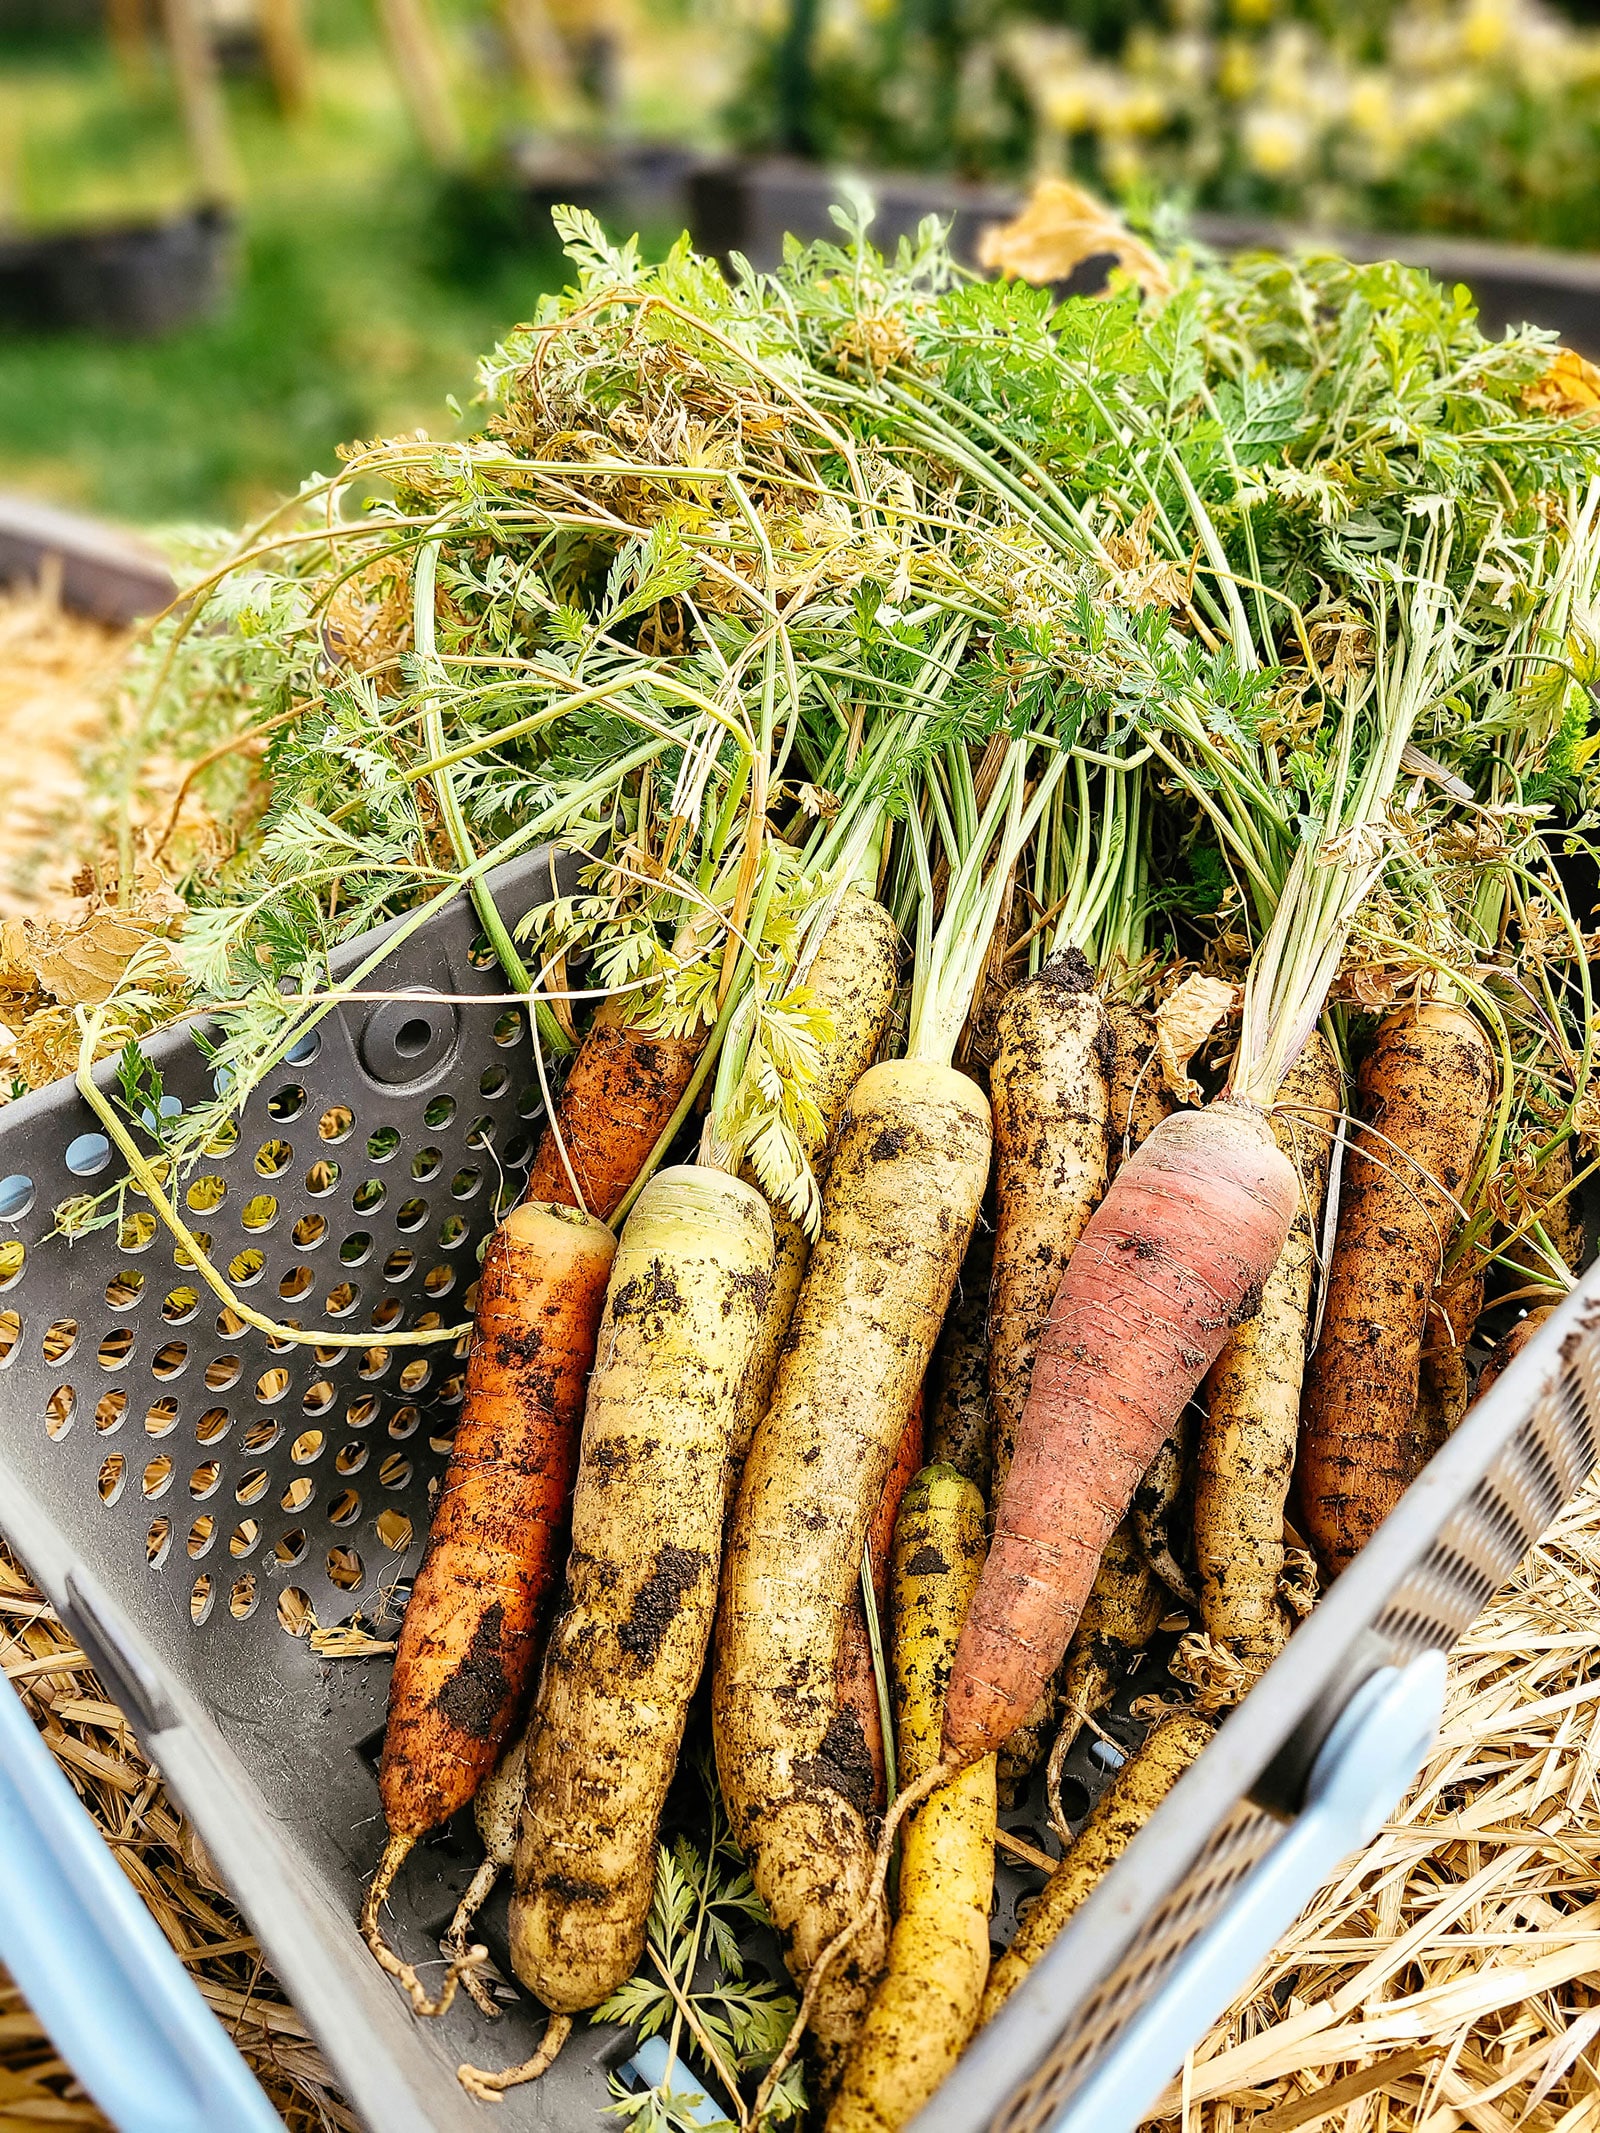
Cut the greens off and either use them as mulch for overwintering plants (what I usually do) or compost them. Leaving the greens on your carrots will allow them to continue drawing moisture from the roots, making them soft, so you definitely want to remove them.
If the frost hasn’t hit your carrots too hard and the greens are still vibrant, you can even turn them into carrot top salsa.
Step 3: Lightly rinse the carrots.
To wash or not to wash? The choice is yours, but the important thing is not scrubbing your carrots before storing. Doing so can break the skin, which risks the carrots going bad prematurely.
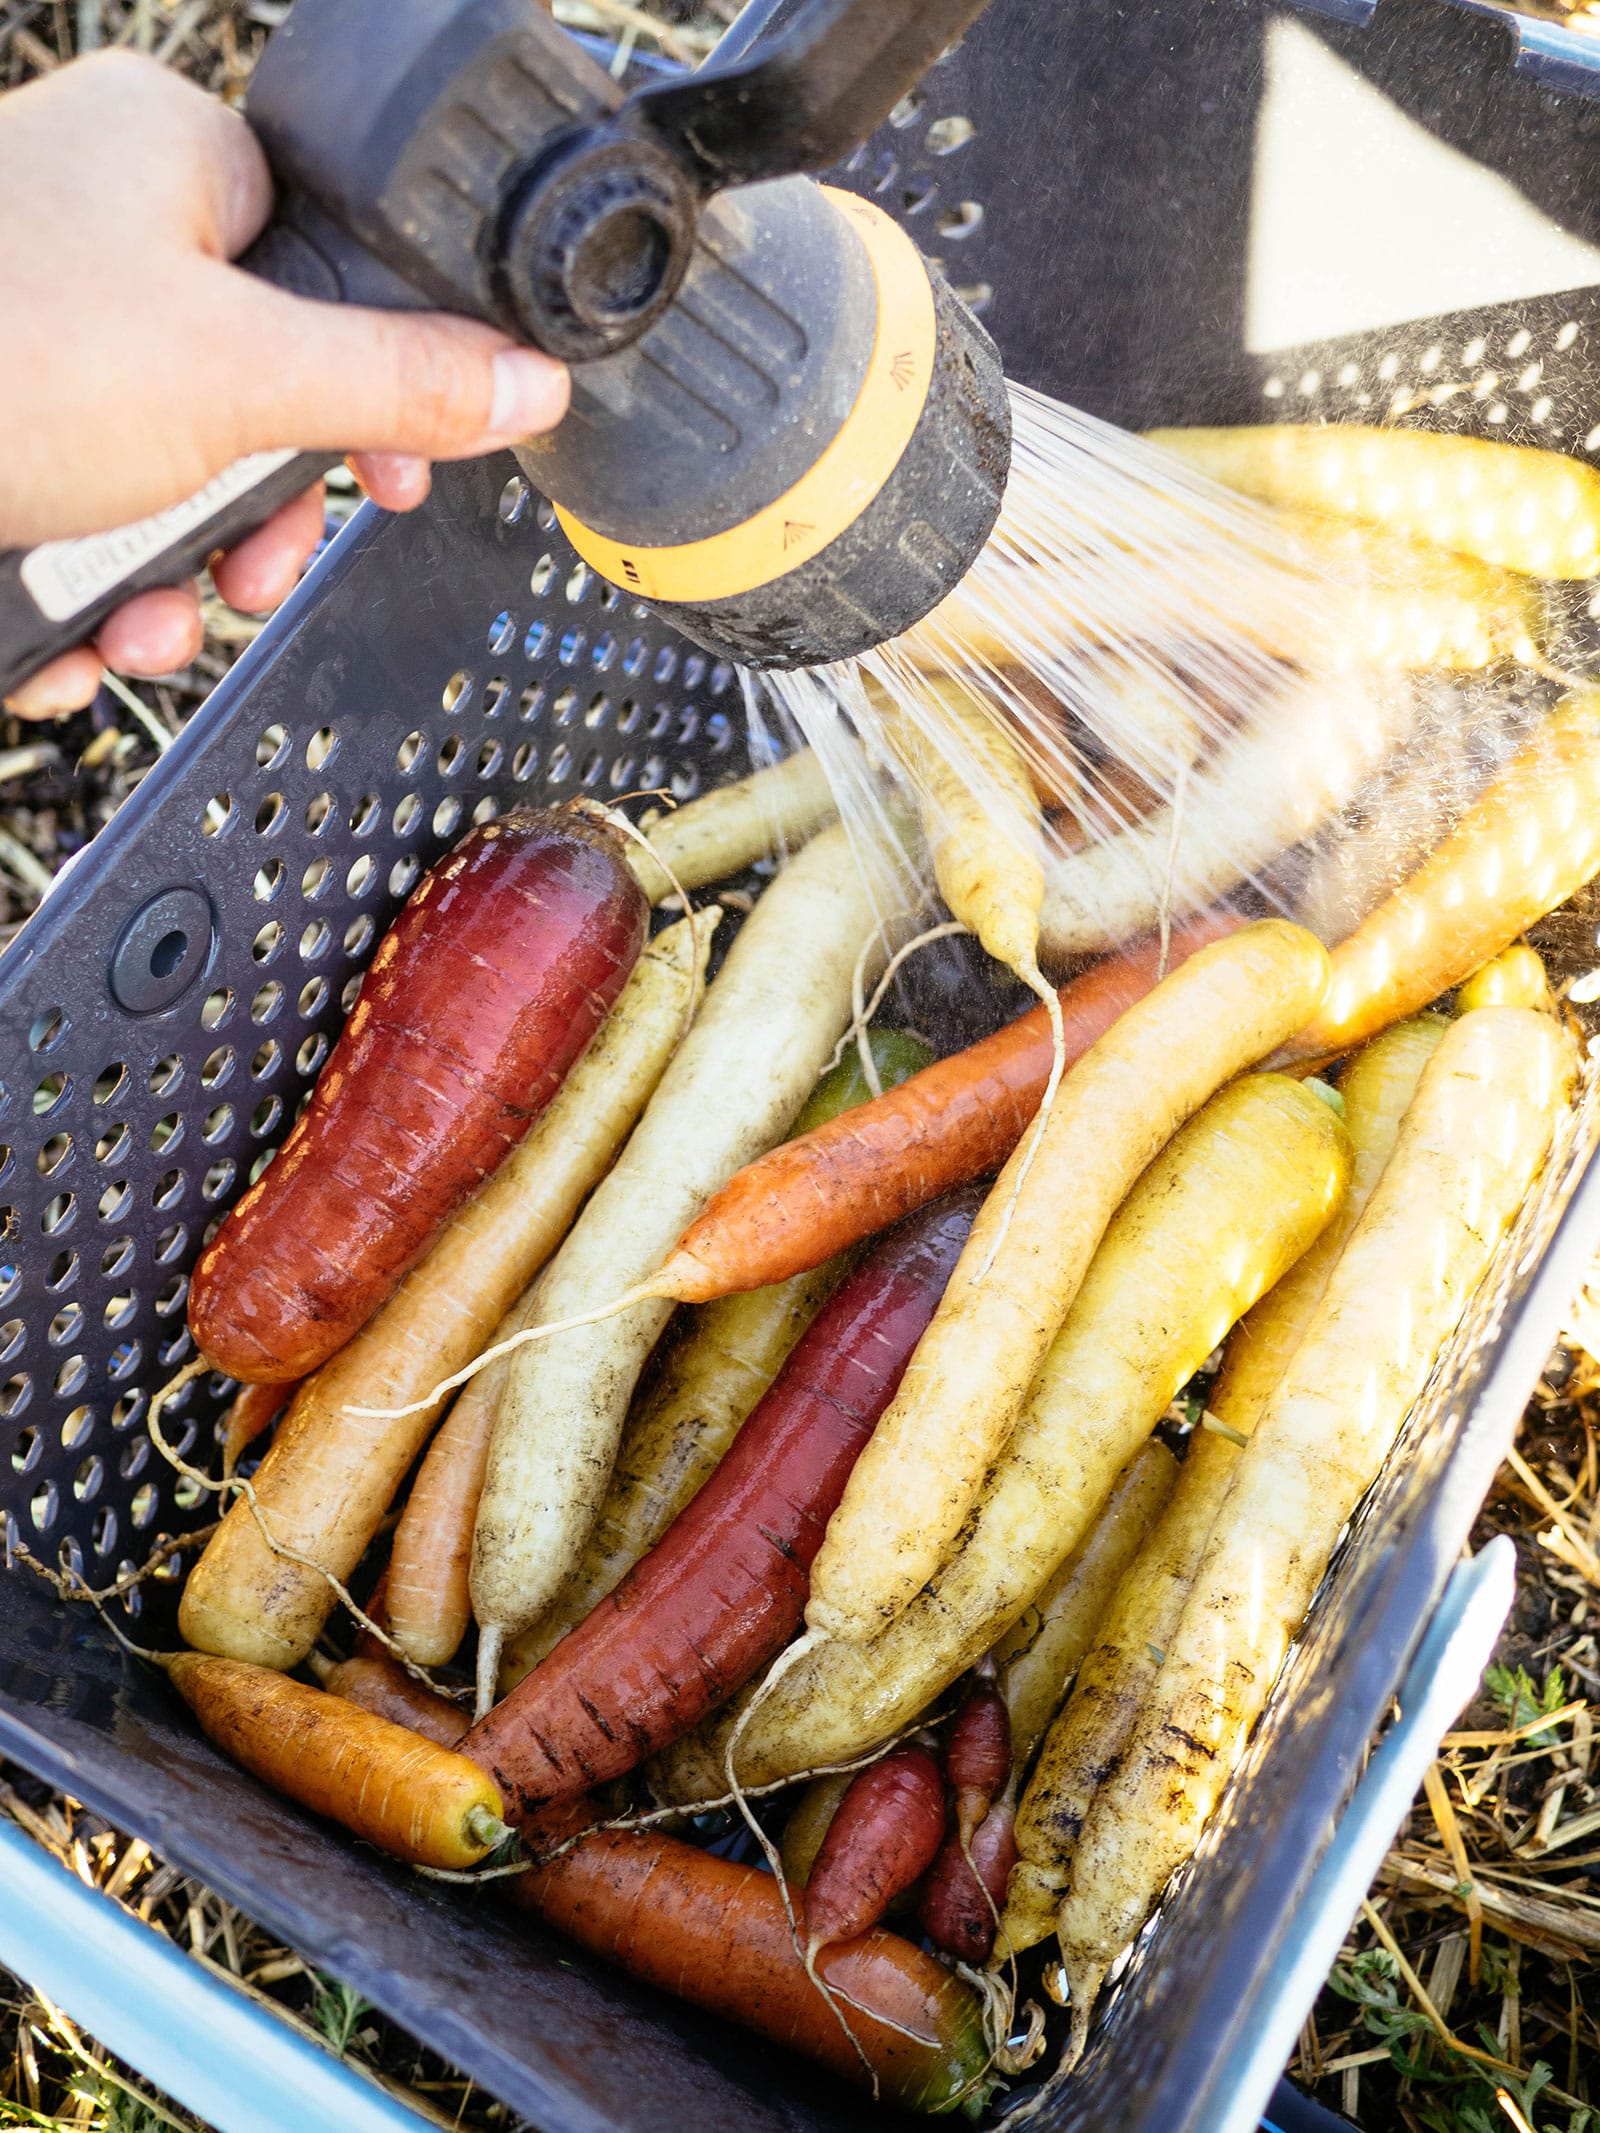
I prefer to hose them down in the garden to remove the bulk of the soil that’s clinging to the roots. I don’t want all that soil going down the drain in my kitchen sink, and I don’t really want it lingering in storage either.
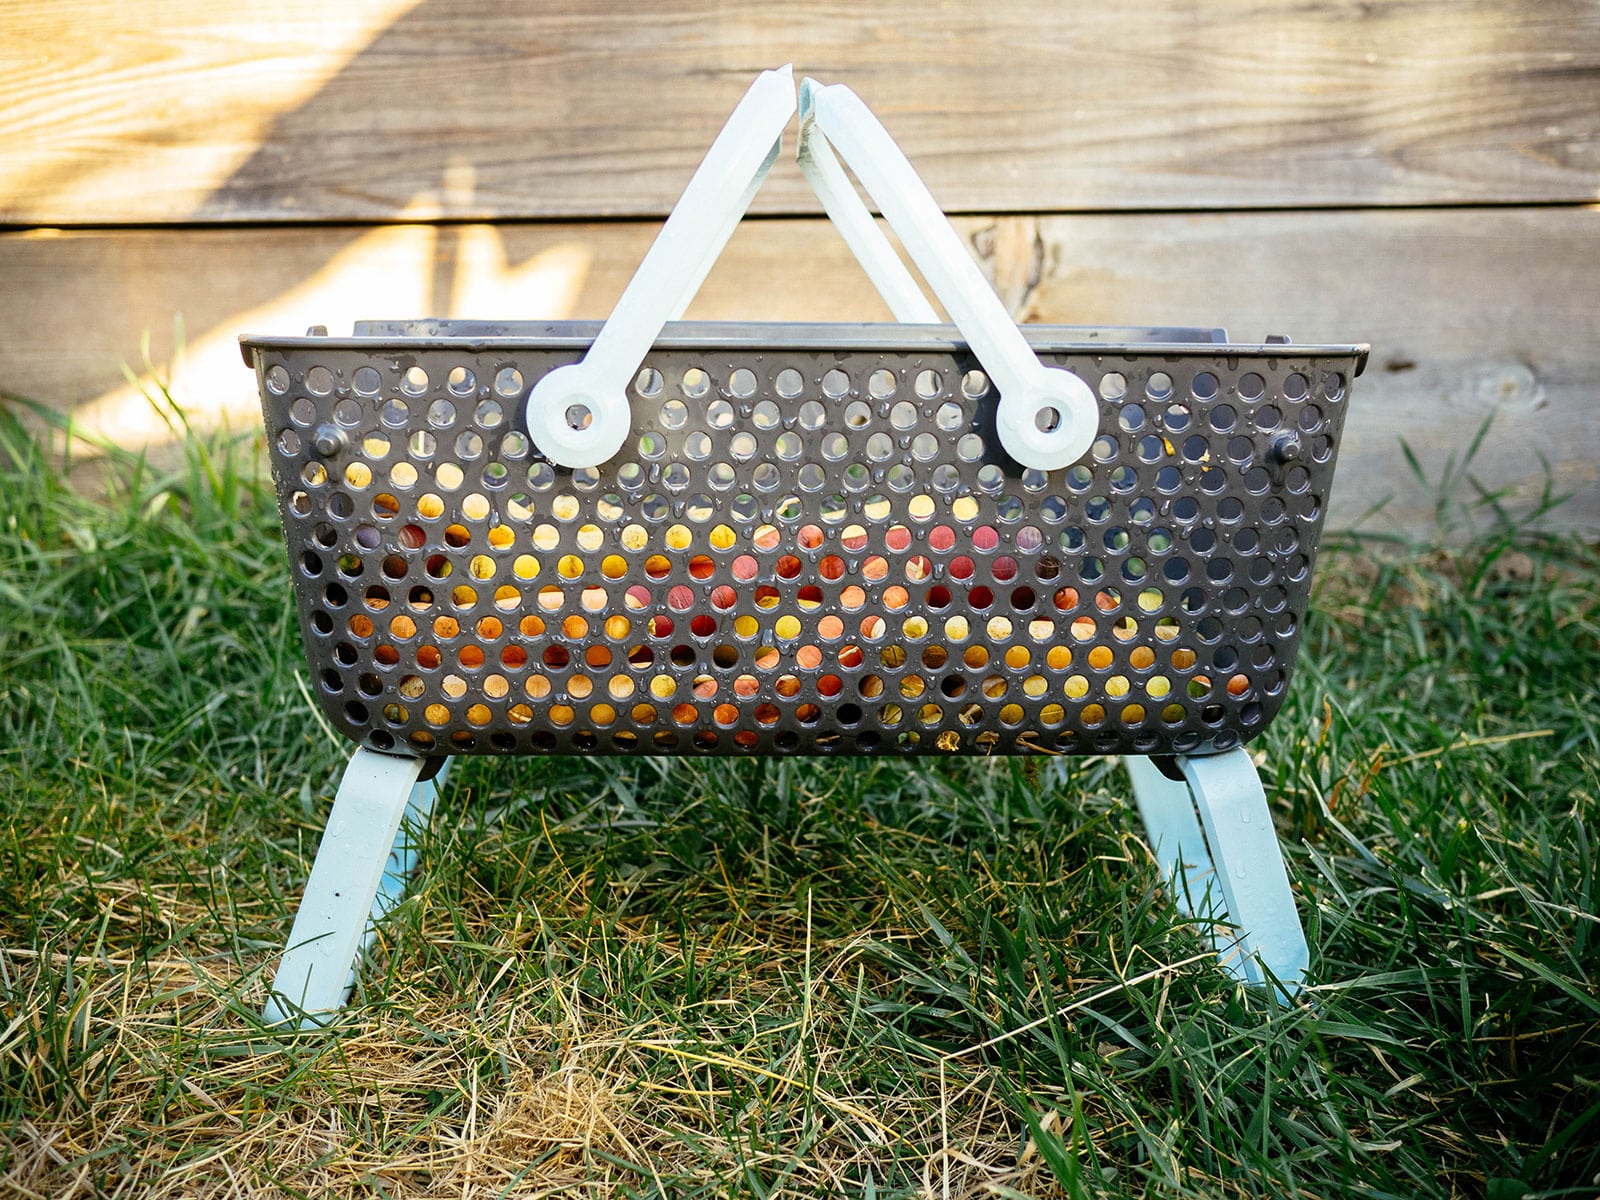
So I give a quick rinse—this harvest basket is one of my must-haves because it doubles as a colander and has foldable legs. I have these baskets in all sizes and use every single one in the garden year-round.
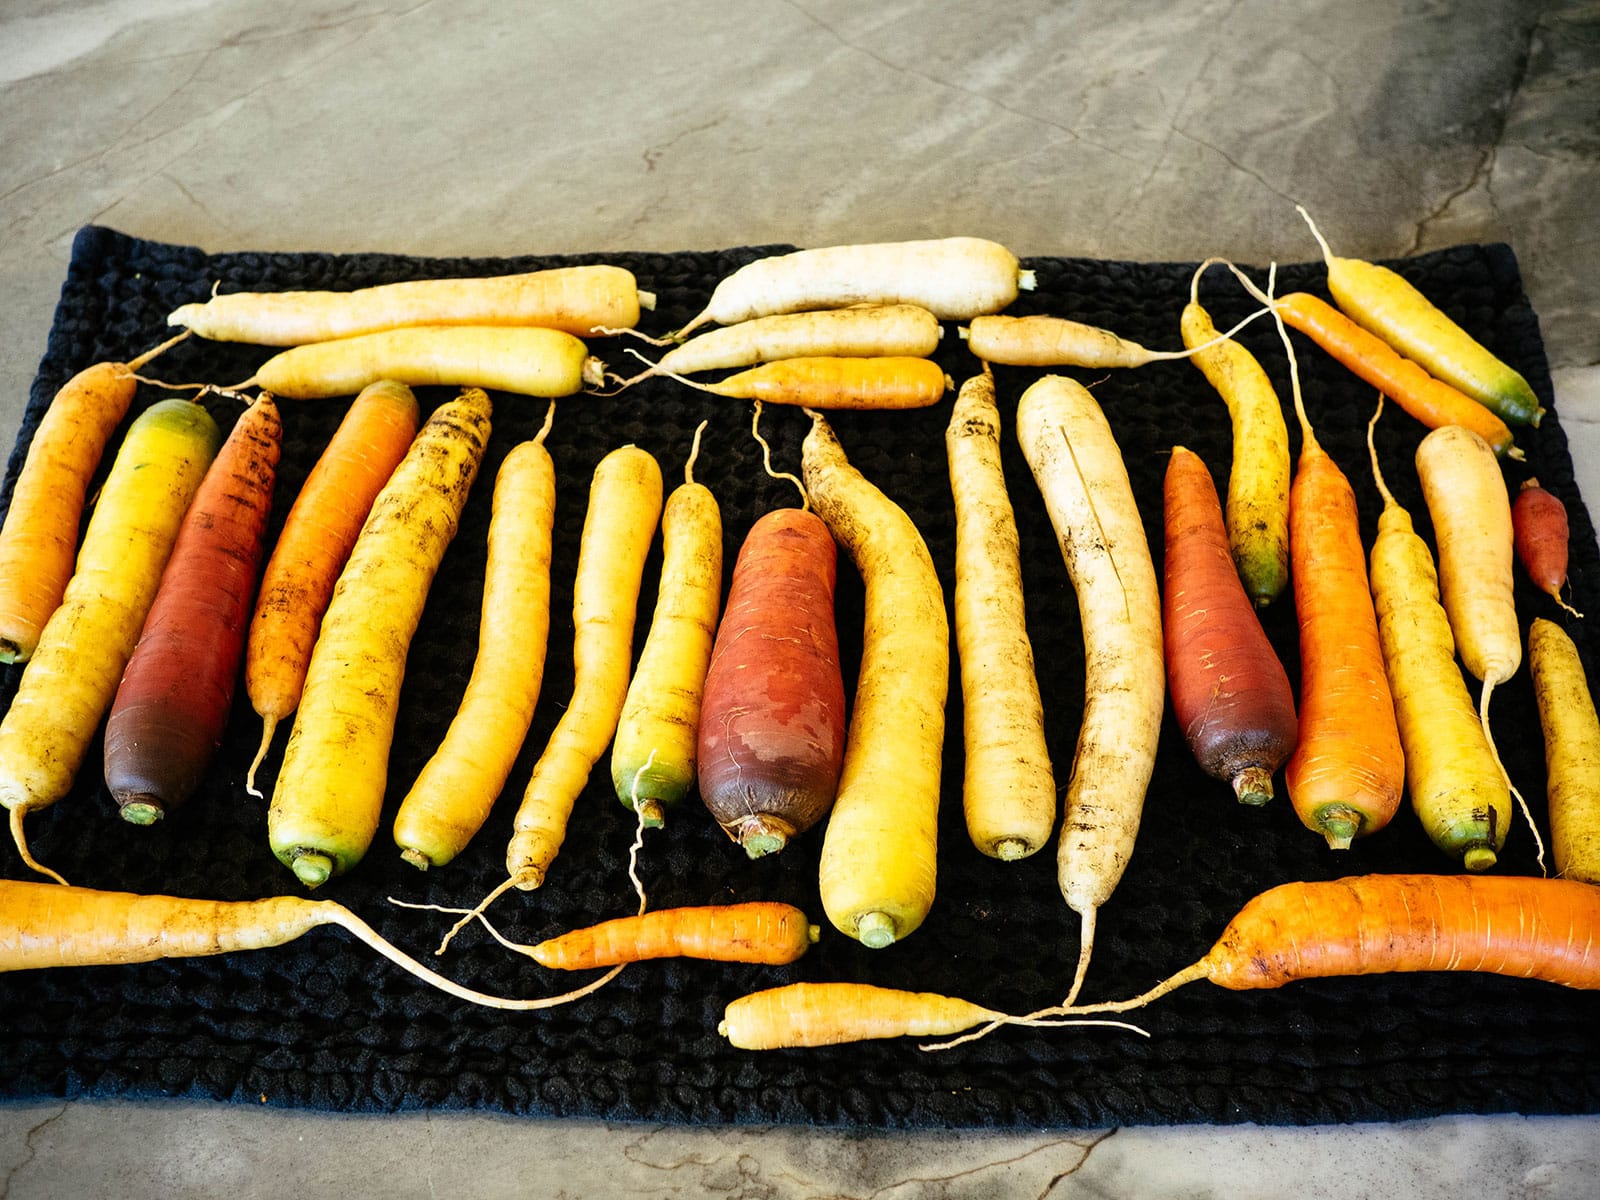
Once you’ve brought the carrots back inside the house, spread them out on a kitchen towel to dry off slightly. You don’t want all the moisture to evaporate; you just want to absorb the excess water. I usually leave my carrots on the counter like this for about 15 minutes before packing them.
Step 4: Prep your storage bags.
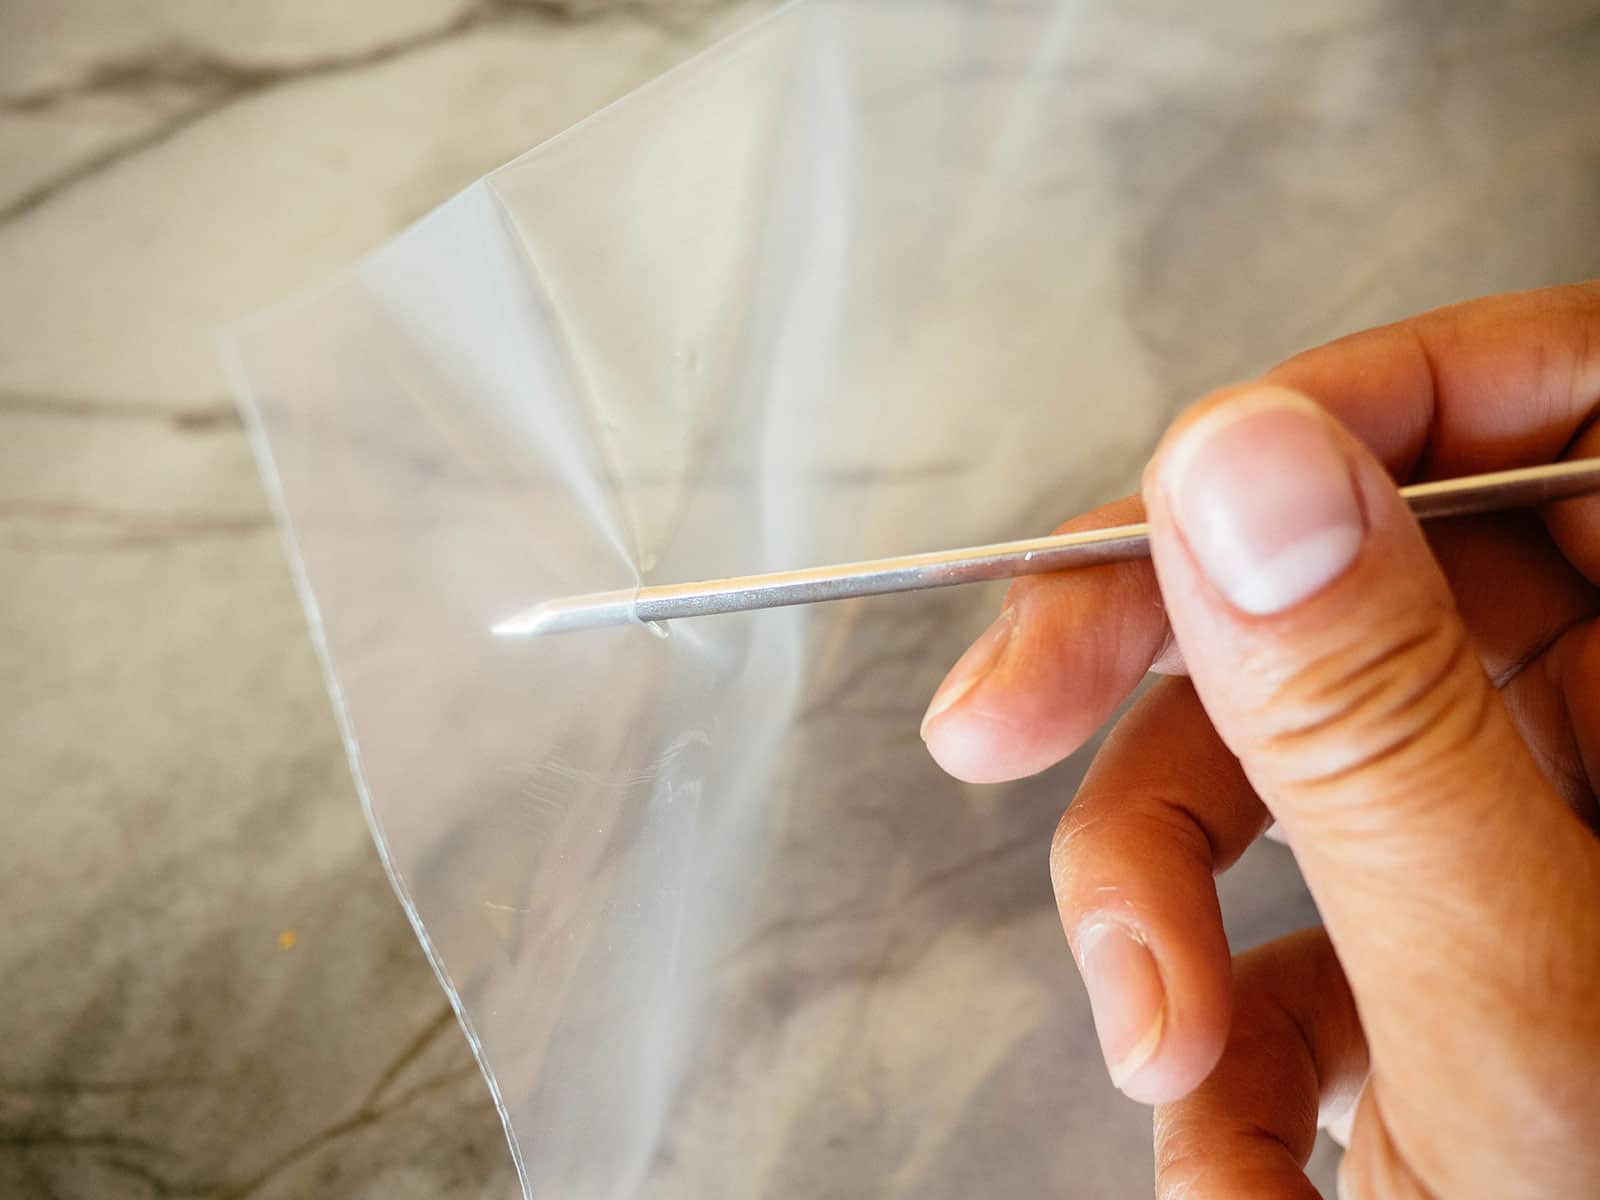
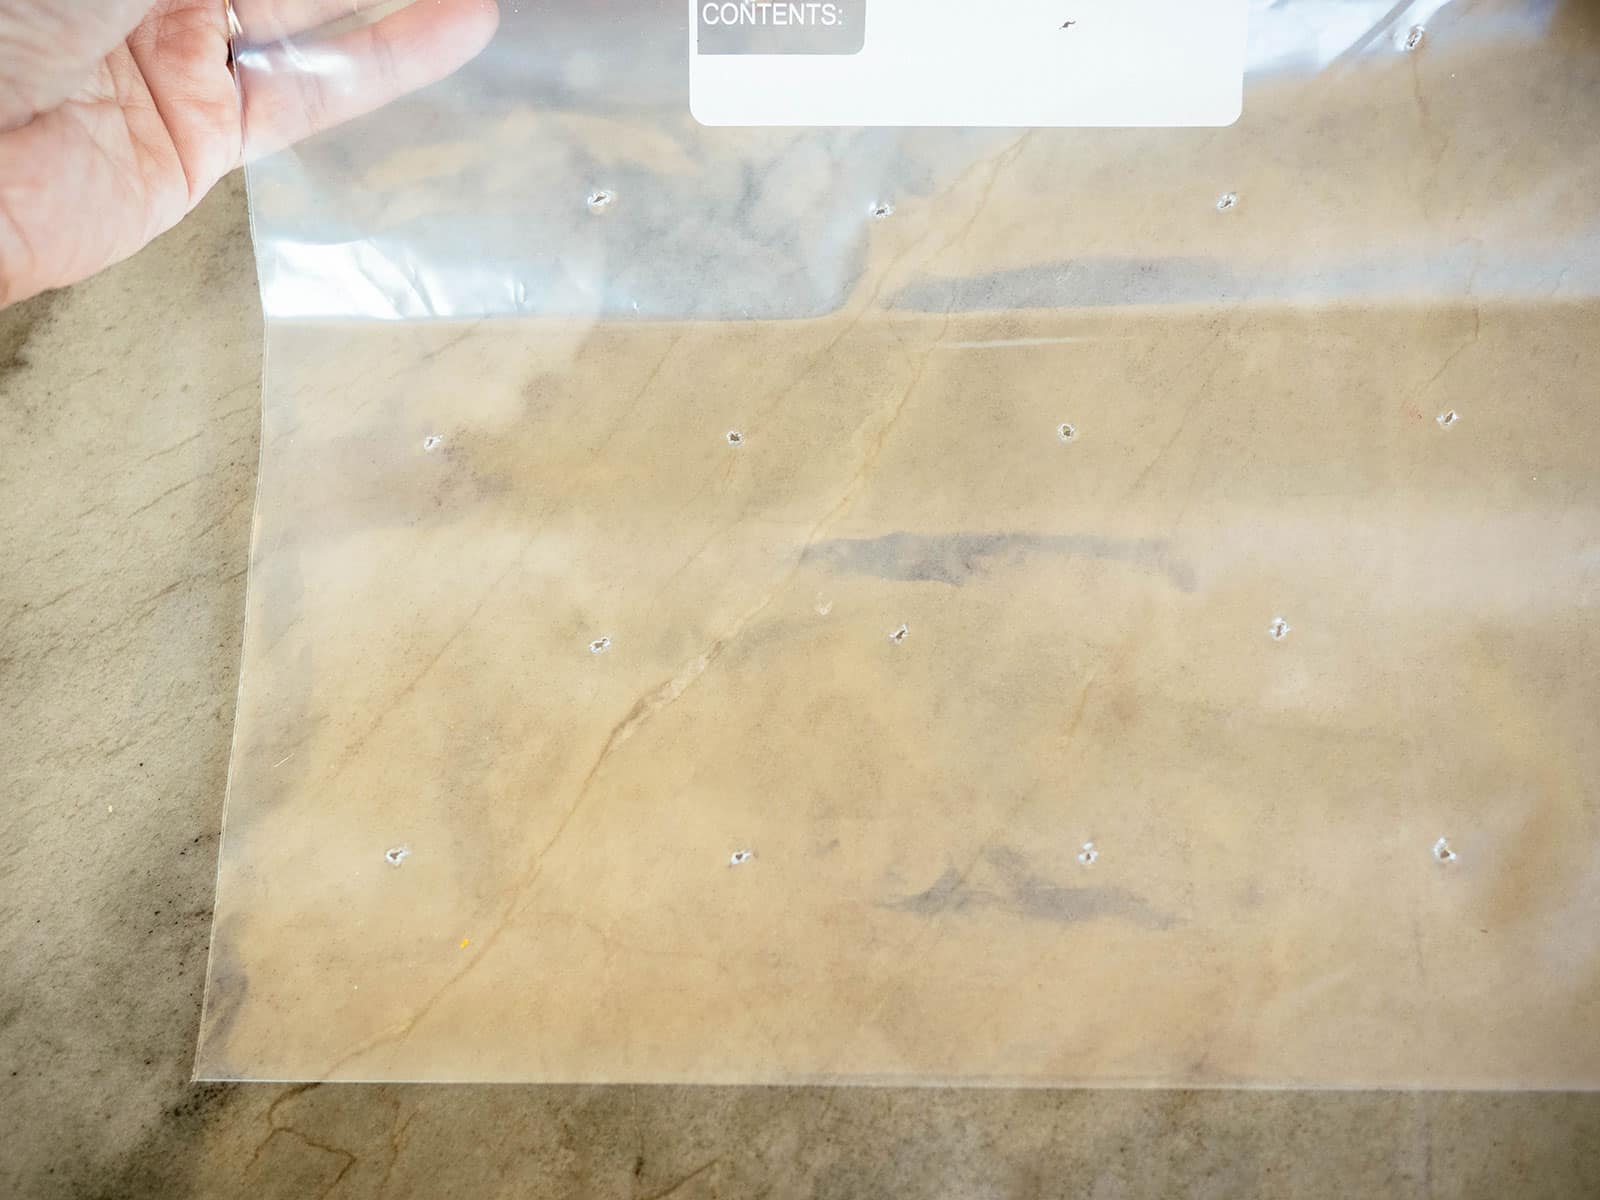
I use regular zip-top storage bags. With your metal skewer (or another similar tool), poke about 20 holes in each bag, going straight through both sides. I’ve found that this provides just enough ventilation to prevent mold while mimicking the 90 percent to 95 percent humidity of a root cellar.
Step 5: Sort carrots and fill your bags.
Sort your carrots and set aside any that are damaged, cracked, or split. These are the ones you should use first, so put them in their own bag or store them with your current week’s produce.
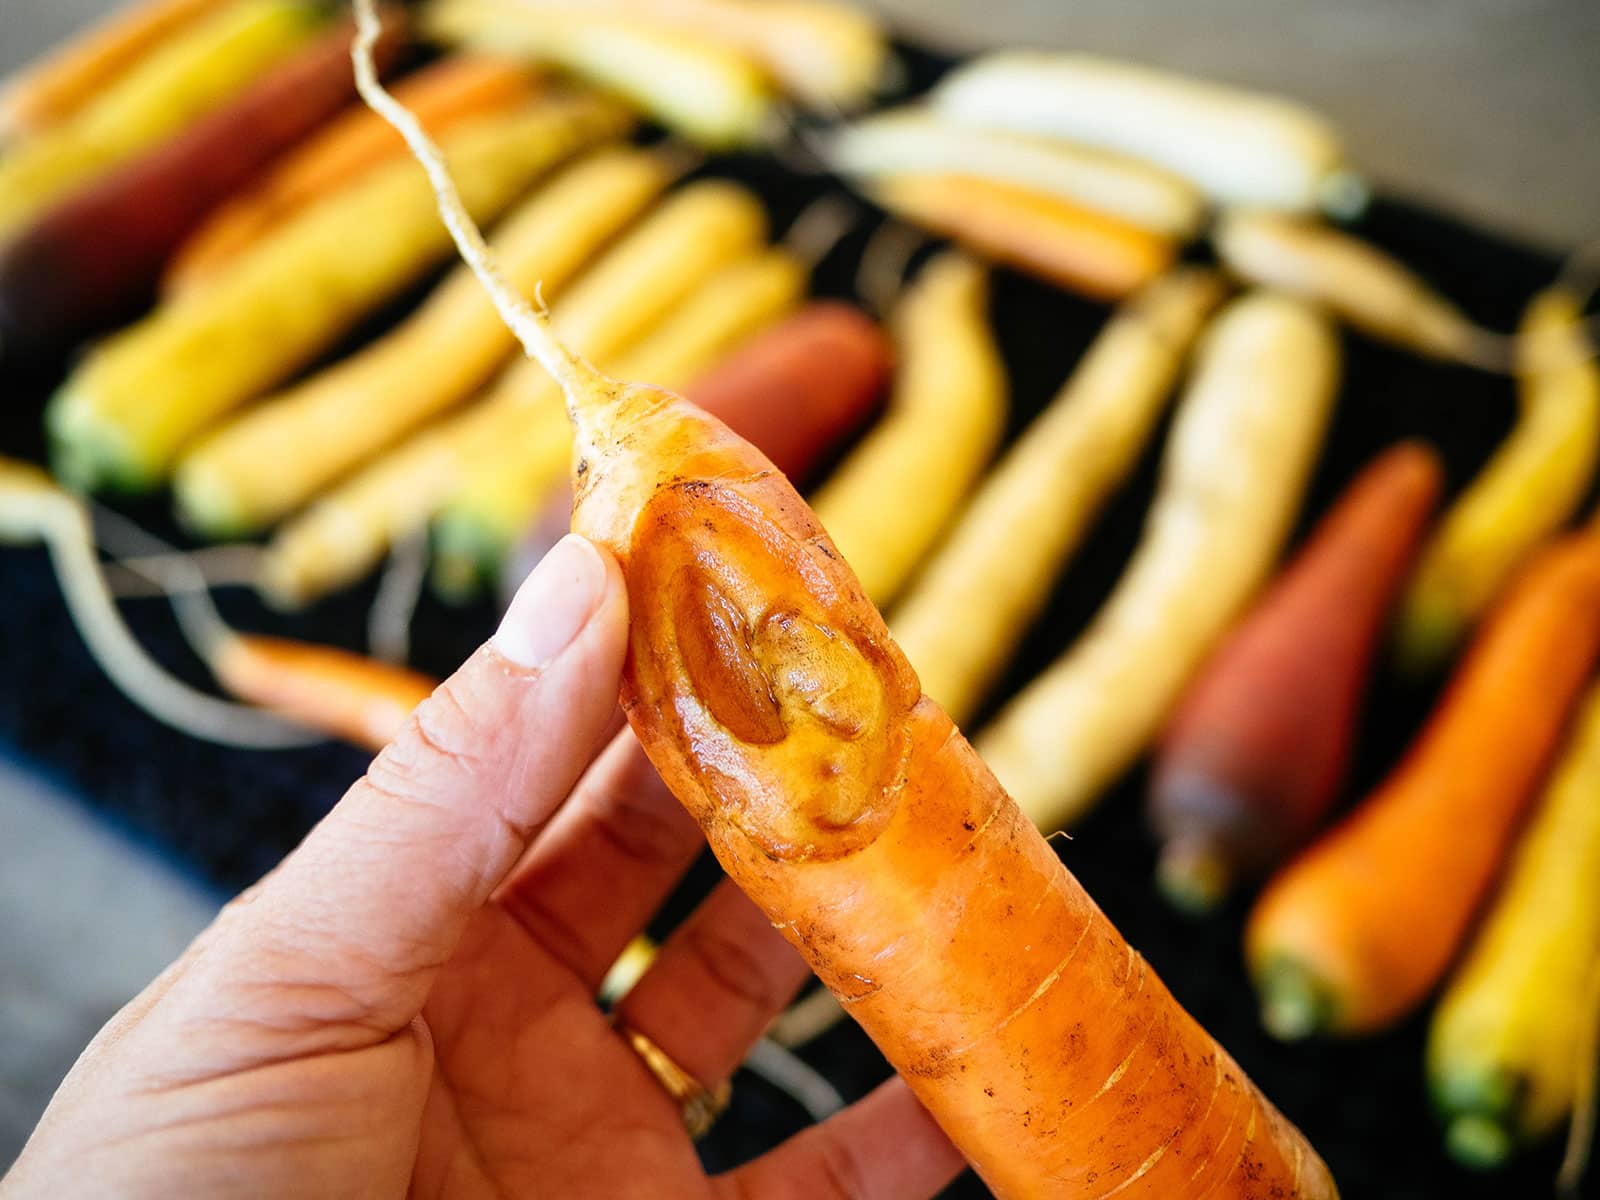
(If your carrots look deformed but are otherwise undamaged, no worries—they will still store well.)
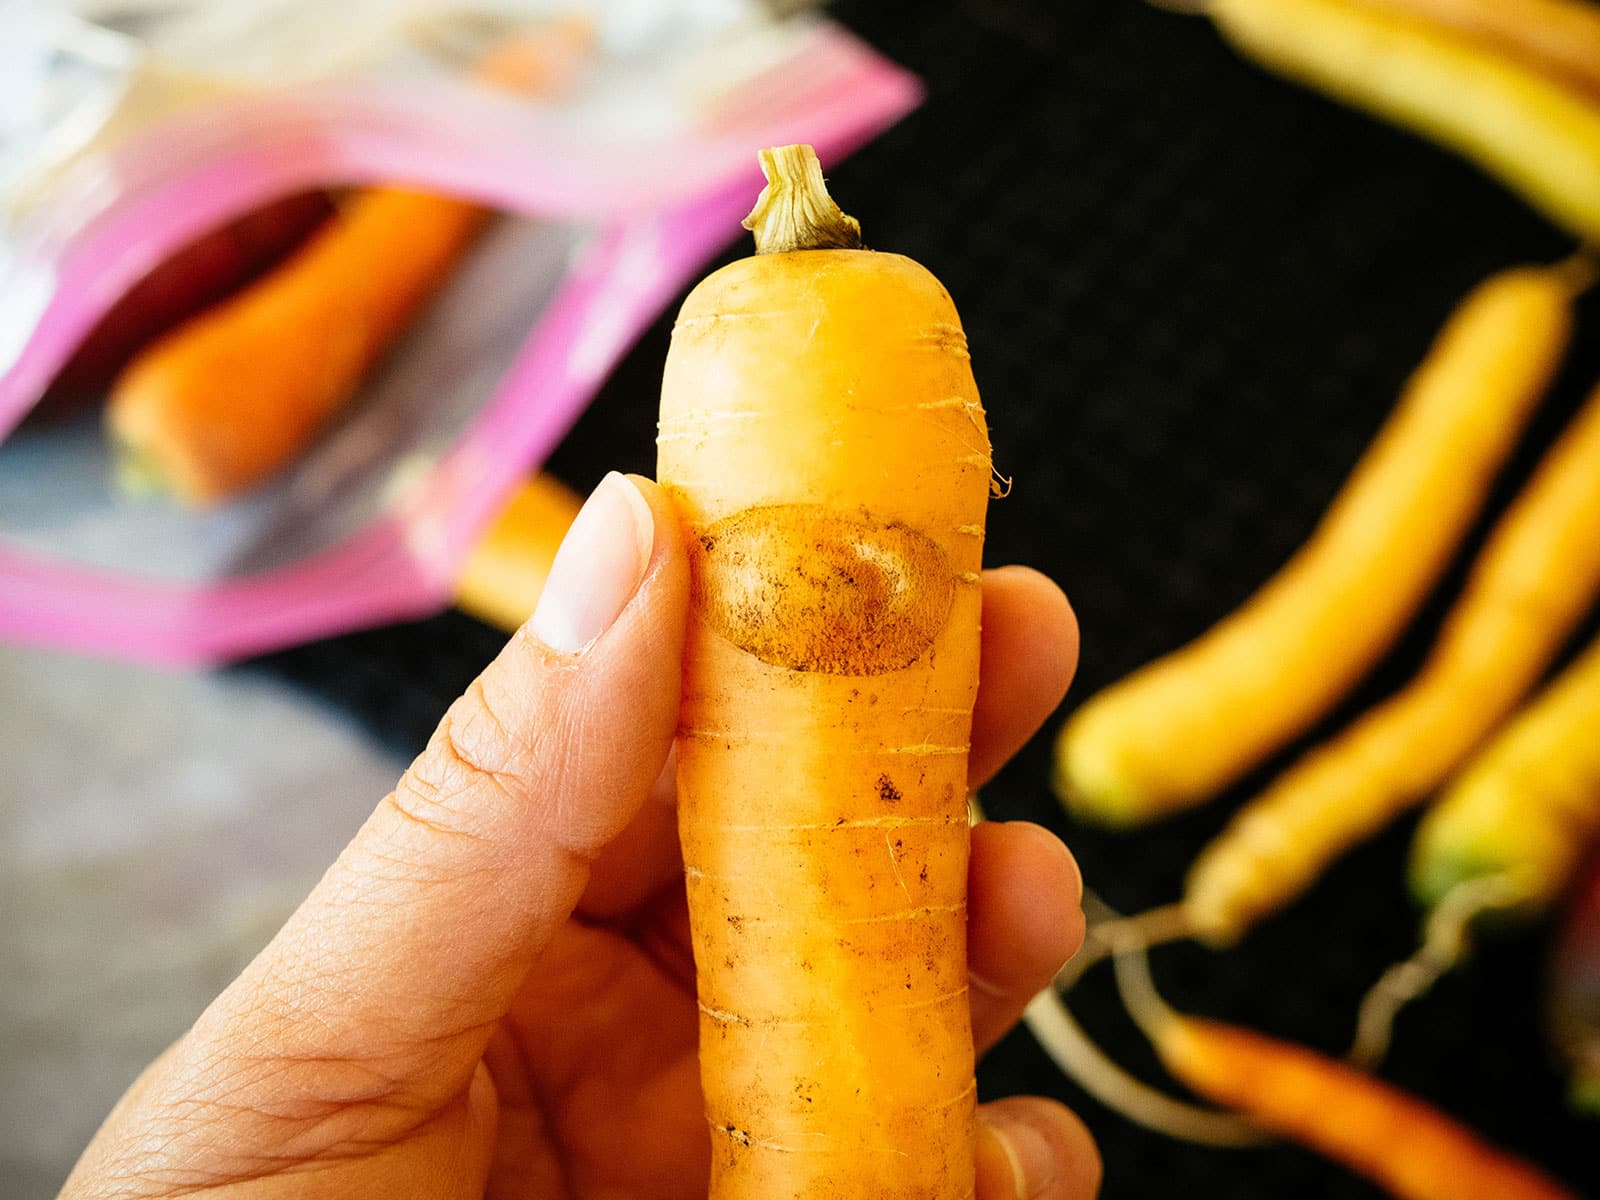
Fill your bag with the rest of the carrots and seal them up. That’s it! I can generally fit about 4 pounds of carrots in each bag.
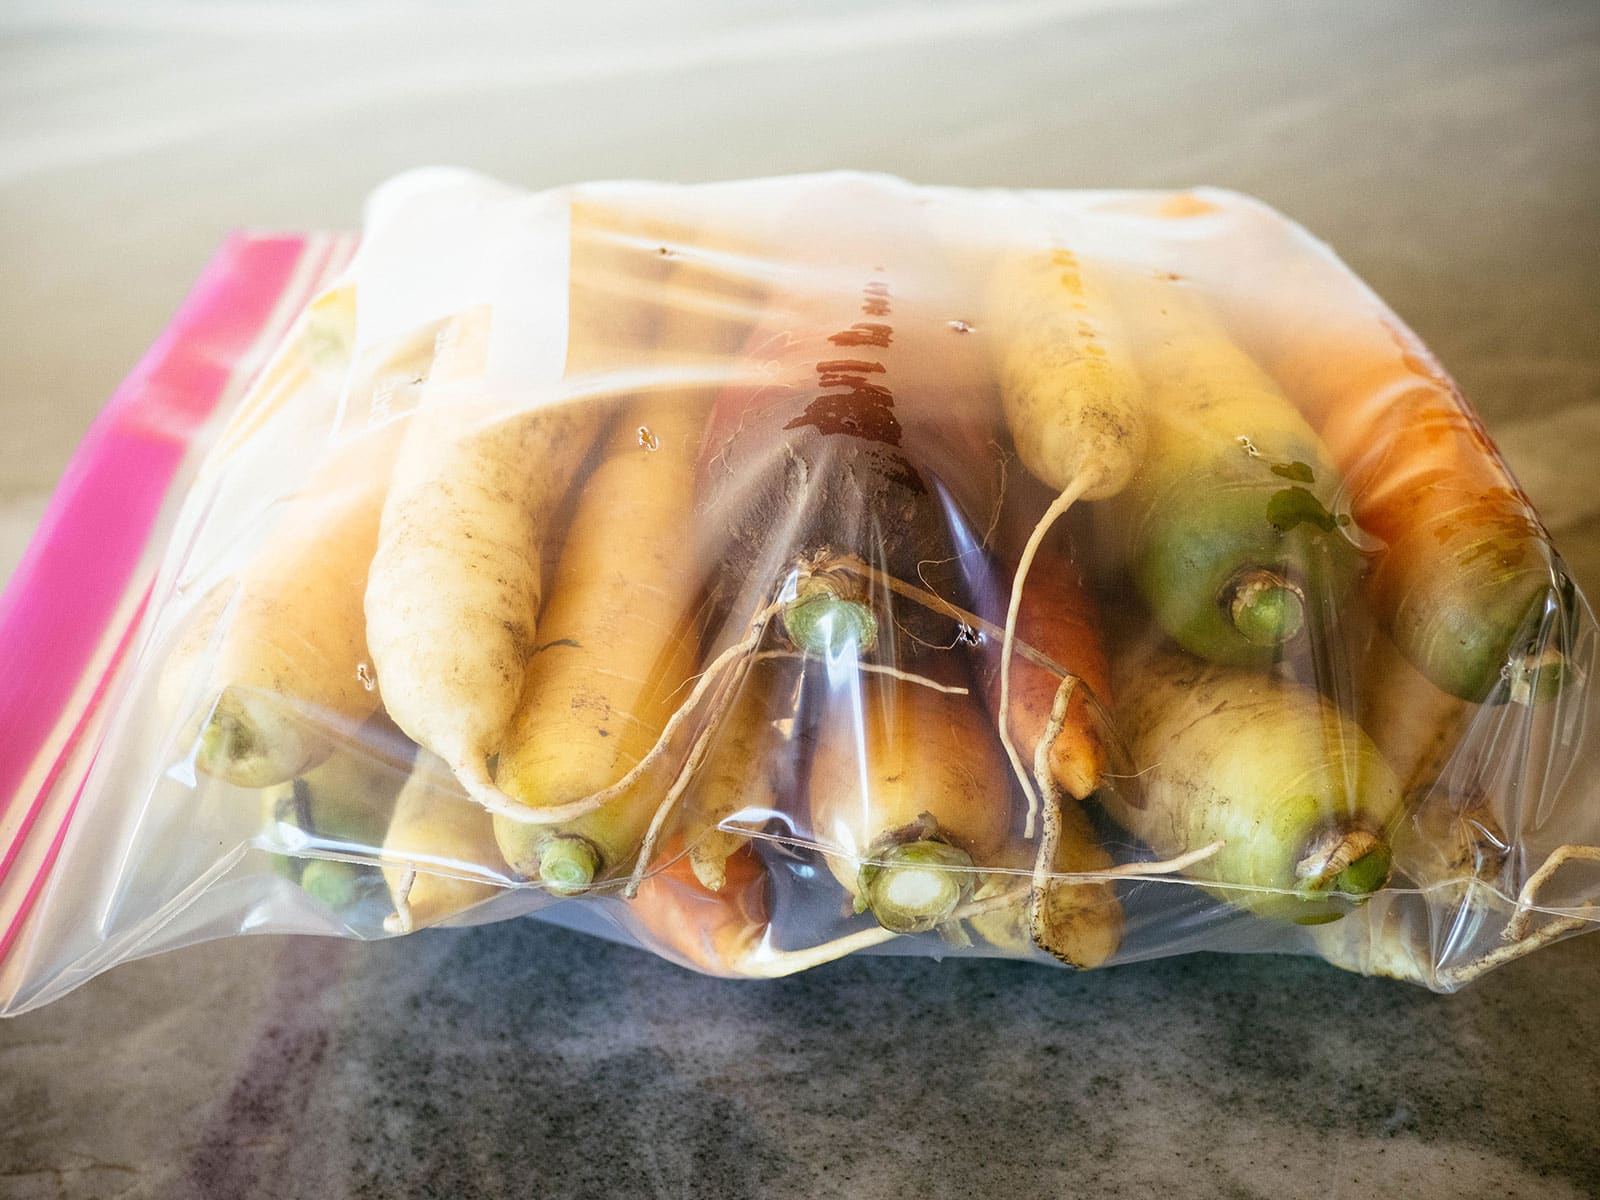
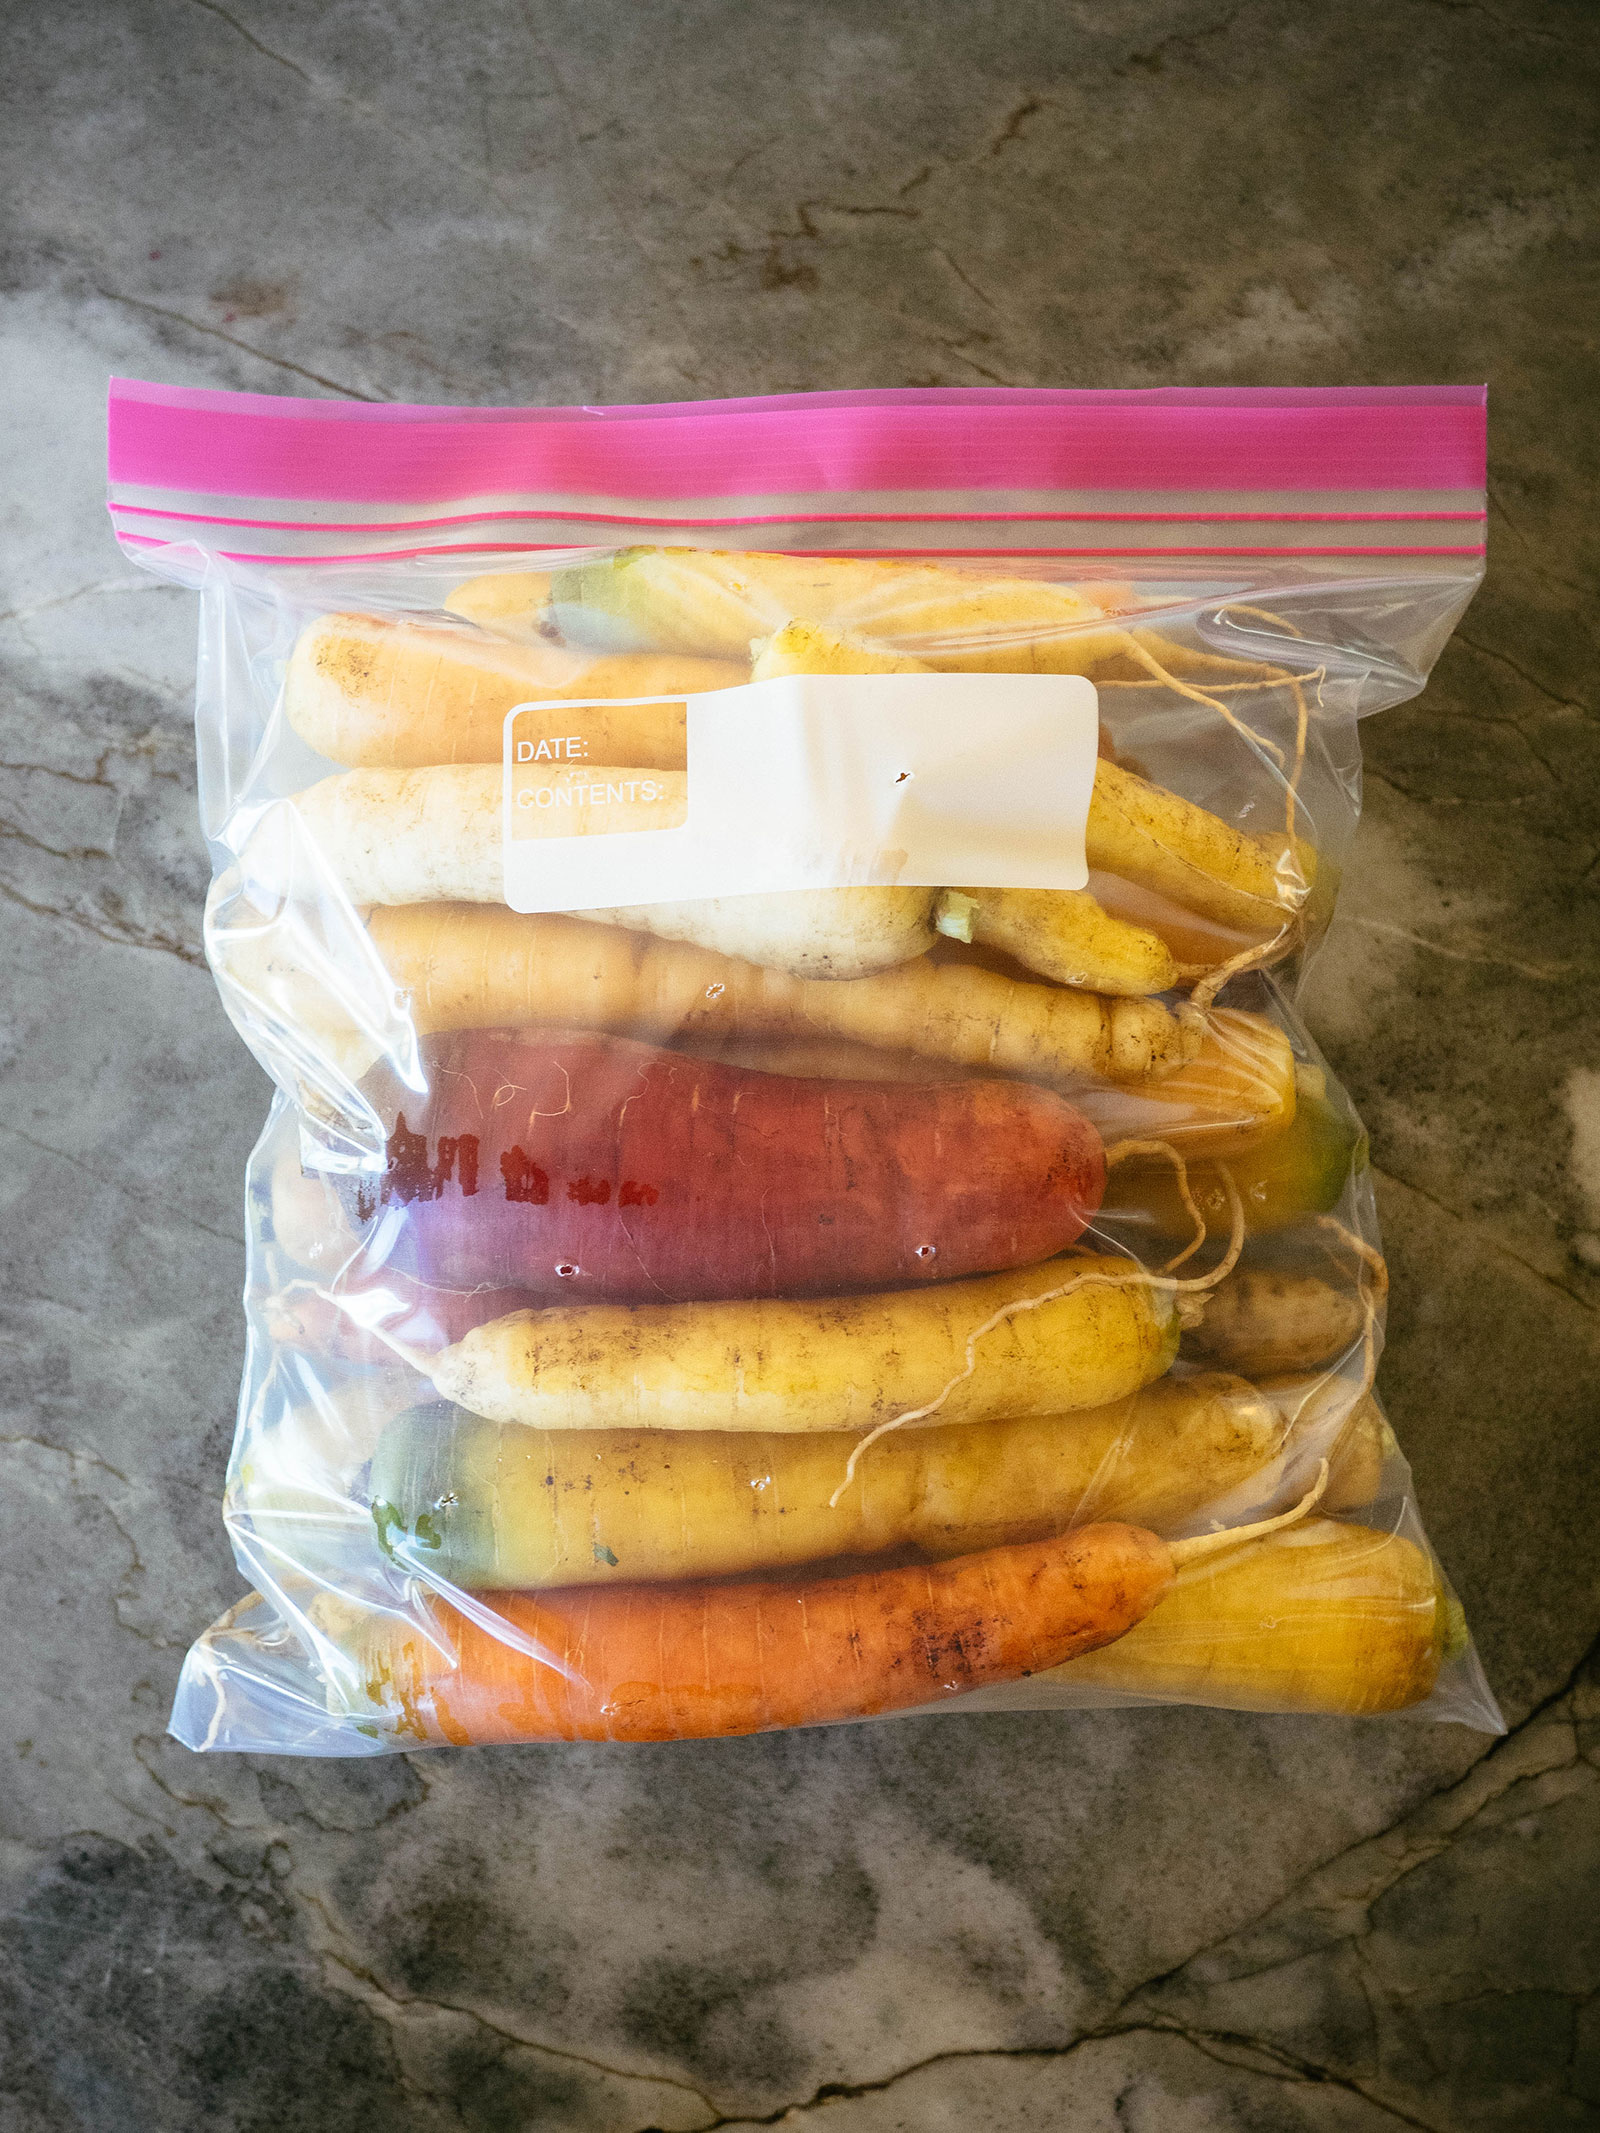
Store the bags in the fridge (with the temperature set between 32°F and 40°F) and your carrots will last up to six months this way without losing flavor or crispness.
We have a second fridge that we keep in the garage for drinks and overflow produce, but you can also just store these bags in the back of your regular fridge. If you have a non-counter depth version, this can help you organize your food so it doesn’t get lost in the back (which used to happen in our old fridge—we’d often find slimy produce or old leftovers that got pushed to the back every week).
If you don’t have a full-sized fridge with room to spare, you can also use a mini fridge. Just because you live in a small space doesn’t mean you have to give up storage for excess produce!
Periodically check your bags through winter and spring, and immediately remove any carrots that look like they’re on the verge of decay.
Downloadable booklet
Don’t let good food go to waste
Learn how to properly store all the vegetables you grow or buy with my in-depth guide on fruit and vegetable storage. Includes easy-to-read charts you can print and hang for reference!






I tried the holes in gallon bags but I got a lot of condensation and the carrots were wet inside the bag. I bought perforated ziplock bags which have lots of holes already and will see. Does anyone have problems with condensation?
I had the same issue is this going to cause mold??
Great idea! I’ve kept carrots in a root cellar when I had space to grow and a suitable basement area. I found it necessary to go through the carrots stored that way every few weeks to remove those with black spots indicating the inception of decay. Done promptly, only minor spots need removal before using. Winter is a great time for stews and carrots are almost essential in a stew. When I found more early culls than I could use this way, I made carrot pie. I used the same recipe as I used for pumpkin pie, but cutting the sugar in half. (I learned to cut back on spices: the sweet, aromatic carrot flavor didn’t need the help.) If you haven’t had carrot pie, you are in for a treat. I would make six pies at a time (the capacity of my oven), and they were available as snacks anytime for my kids. Carrots, milk and eggs are quite healthful snack food! (We had chickens so I doubled the eggs recommended in conventional cook books.)
Leaving carrots to overwinter in the ground has an additional disbenefit to the frozen ground that you mentioned. Root gnawing rodents love the sweetness of carrots. When I tried this, they were gnawed big time! Nearby parsnips were untouched, ready for early spring breakfasts of parsnips and trout.
BTW, for over winter storage I found ‘Royal Chantenay’ my carrot variety of choice, with “Lutz Winter Keeper” the best storage beet, hands down. Maybe new varieties work better, but I think that probably contemporary vegetable plant breeding does not place a high priority on root cellaring performance.
Your method for storing carrots ought to work well for beets, too. Now I’m going to sign off and go punch holes in the bag of carrots in our vegetable crisper.
I’d like to buy the harvest basket you show, but the links are bad and I can’t find it on Amazon. Please advise. Thanks!!!
Thank you for taking the time for all of the exact directions. Food storage is very important. People like me that always have to watch for sales at grocery store know how important it is not too over buy and end up throwing stuff out. With the prices being so high for groceries, we need to buy smart.
We absolutely do! I feel the same way and hate wasting food.
Thank you so much for your great storing info for carrots. I don’t have any growing this year but I hope to next year.