I was a tomboy growing up. I was always one of those kids that was fascinated with spiders, fried ants with magnifying glasses, and picked up lizards by their tails only to be left with the tails, and not the lizards.
So when I heard about the Worm Factory 360, a worm composting system that can be used indoors or out, it seemed right up my critter-loving alley. Nature’s Footprint sent me one to try, and I’ve been intrigued with it ever since!
The Worm Factory 360 bin makes vermicomposting a simple, clean, and efficient process of turning your food scraps into fertilizer for your garden. With a traditional compost pile, you wait for your scraps to decompose naturally through heat and bacteria. With vermiculture, you let your worms do all the work by digesting the scraps and pooping them out — resulting in nutrient-rich worm castings.
Worm castings (a euphemism for worm poop) can be spread directly on your soil, or used to brew compost tea. They are rich in natural humus, nitrogen, potash, phosphorous, and calcium, all of which contribute to healthy plant growth. Just like the finished compost from your food scraps, dried leaves, and animal manure, worm castings are considered “black gold” in the gardening world.
My worm bin arrived in one tidy box with all the components needed to set up my system: stacking trays, sprinkler tray, worm ladder, base with spigot, shredded newspaper, pumice, coir, rake. Everything except the worms.
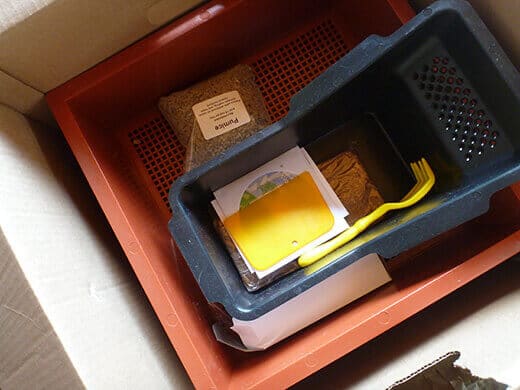
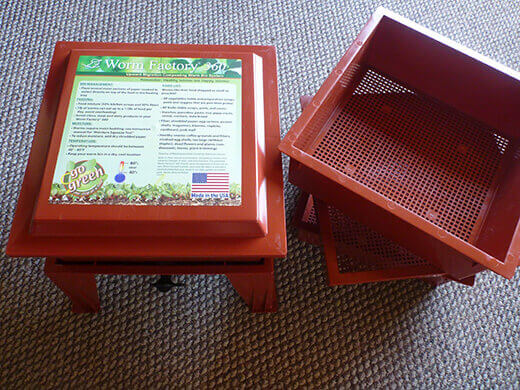
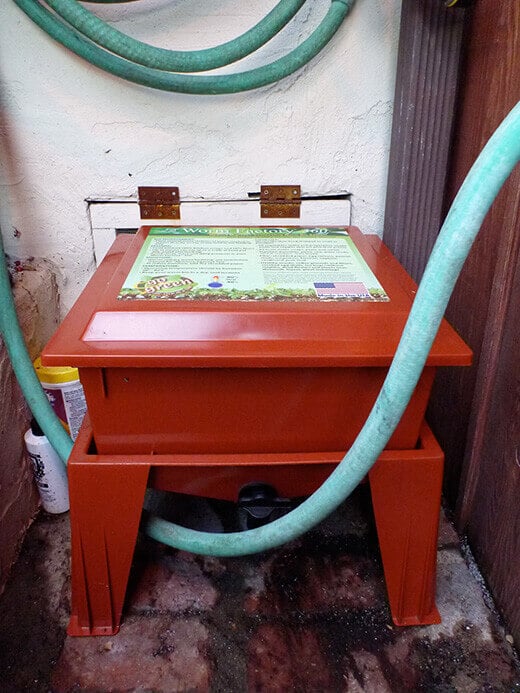
This is an expandable system, so you start with one tray and add more as needed. The initial assembly is a simple process that involves stacking up the base, worm ladder, working tray, and lid, in that order.
(Quick tip: The lid is shipped nested inside the base. It says so in the manual, but of course I chose not to read the manual first, and spent a good 10 minutes looking for the “missing” component until I finally figured out why the worm ladder wasn’t fitting over the base correctly. Duh.)
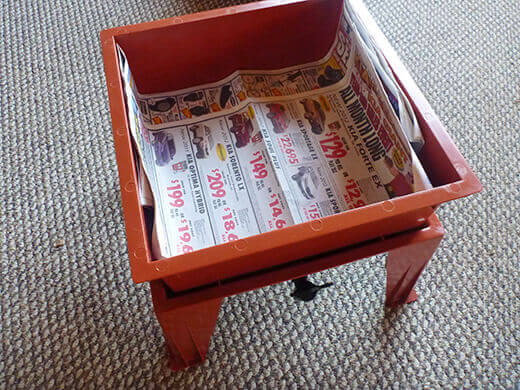
To set up the system, start by layering a few sheets of dry newspaper in the bottom of your working tray.
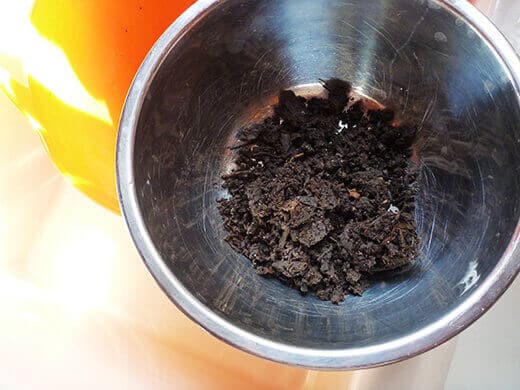
Next you have to make your worm bedding. You’ll need a cup of active compost from your existing compost pile in the garden, or a cup of decayed leaf litter from beneath the shrubs on your street. This is a quick way to bring microbes into your vermiculture bin and kick-start the breakdown of your scraps.
Soak half the brick of coir in water until the fibers expand and break apart.
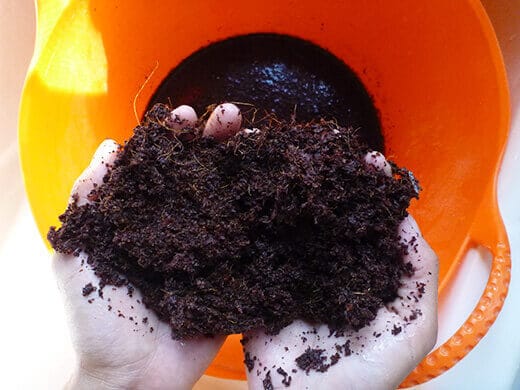
Strain the coir and squeeze out all the excess water.
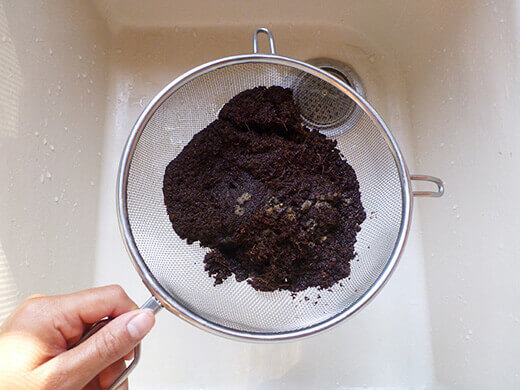
Combine the active compost, coir, shredded newspaper, and a cup of pumice. The coir helps retain moisture while the pumice provides aeration in the bedding.
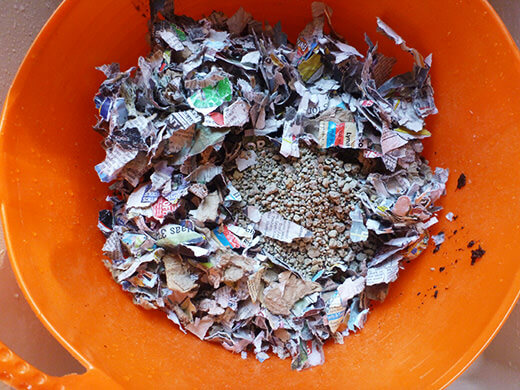
Mix it all up to make your worm bedding.
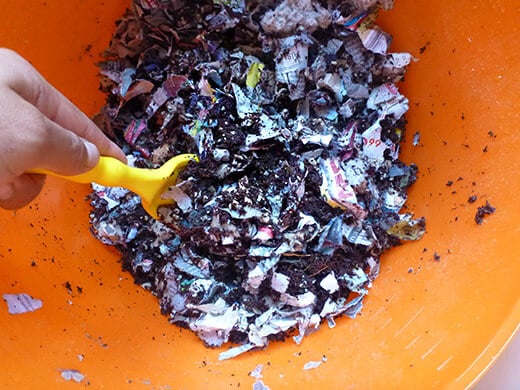
Add your mixed bedding to the worm bin, on top of the dry newspaper layers.
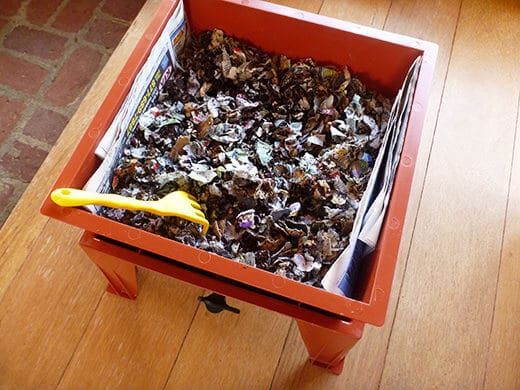
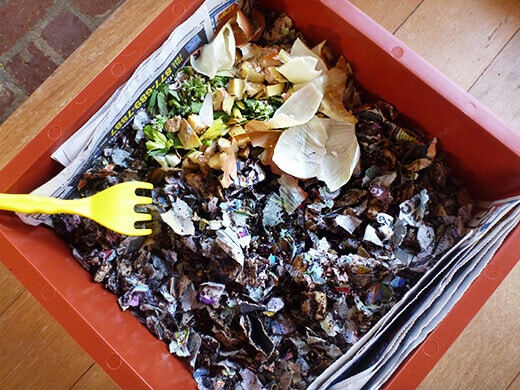
Add a couple handfuls of food scraps to a corner of the bin. The smaller or softer the scraps, the faster they’ll break down. Mine included crushed eggshells, onion wrappers, herb flowers, and some odds and ends from various veggies.
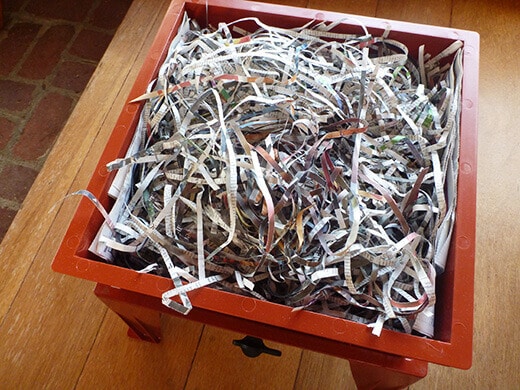
Finally, fill the bin with more shredded newspaper. I used my paper shredder to slice up a stack of newspaper, but you can also just tear apart junk mail, cardboard, catalogs and magazines.
After setting up a nice home for your worms, you have to find some to live in it. Luckily, my regular compost bin in the yard is just teeming with worms every time I open it up, but you can find red wigglers (also known as Eisenia fetida) on Craigslist or at Find Worms. As opposed to other worms, such as earthworms, red wigglers make effective composting worms because they stay relatively close to the surface and are efficient eaters and reproducers.
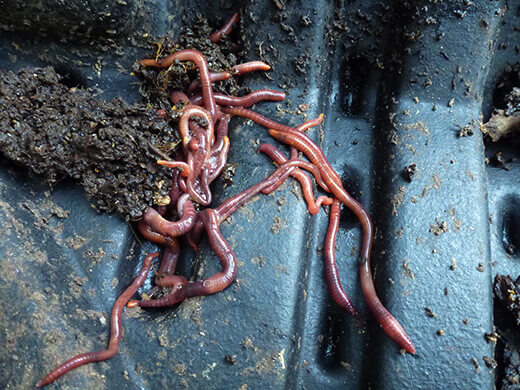
Your worm bin needs to be populated with around 1,000 worms for best productivity. That equals roughly a pound of worms, so I recruited my guy to help me hand-pick worms out of our compost bin. It was a messy job, but somebody’s gotta (gleefully) do it!
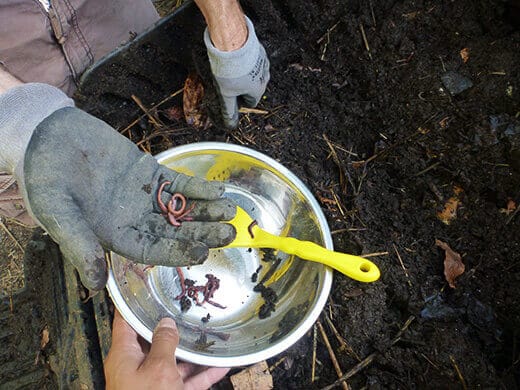
After a half hour of digging through our compost, flinging worms at each other and squealing with amusement (or at least, I was squealing), we had a bowl full of slithering, writhing, red wiggler worms.
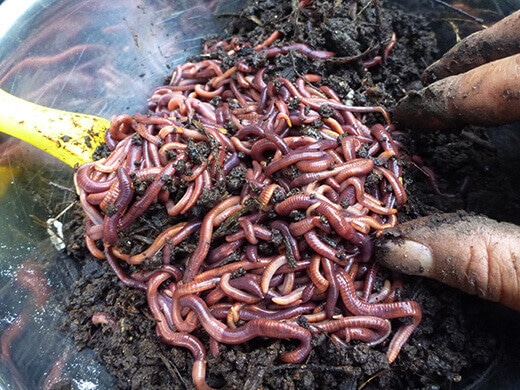
It kinda looks like spaghetti. Mmmmm.
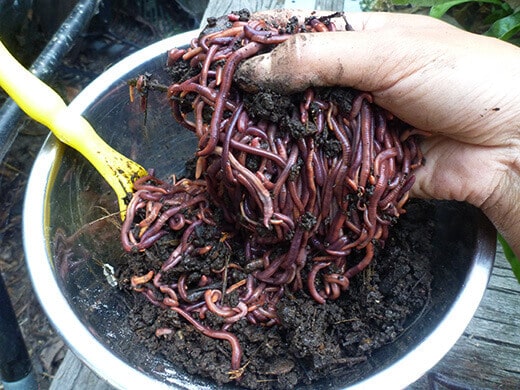
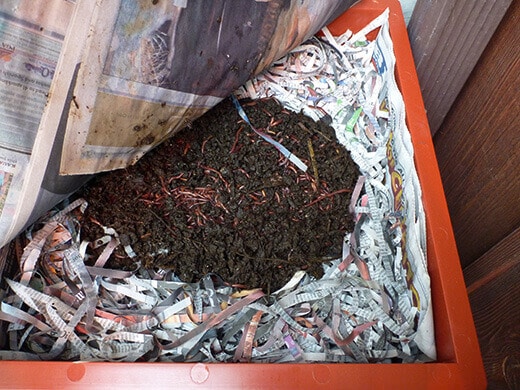
I moved my bin outside and added the worms in one big pile on top of the shredded newspaper.
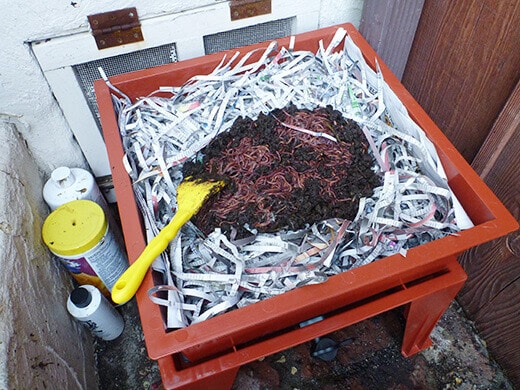
Then, I moistened a few sheets of newspaper and placed them on top of everything in the tray.
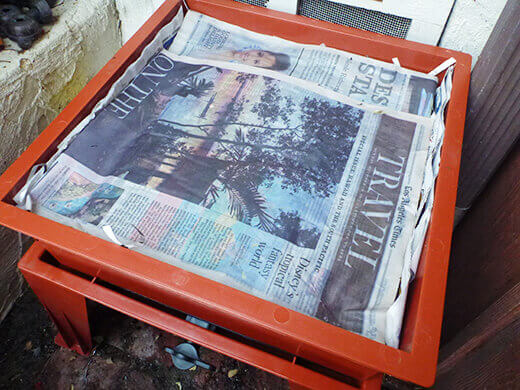
The bin needs to be placed in a sheltered area outside, away from direct sunlight and out of the rain. I put mine right outside my kitchen door, so that kitchen scraps collected in my countertop compost pail can easily be moved to the worm bin every week.
If you don’t have any outdoor space, you can also place the bin inside your home, since a healthy vermicomposter won’t emit any odors.
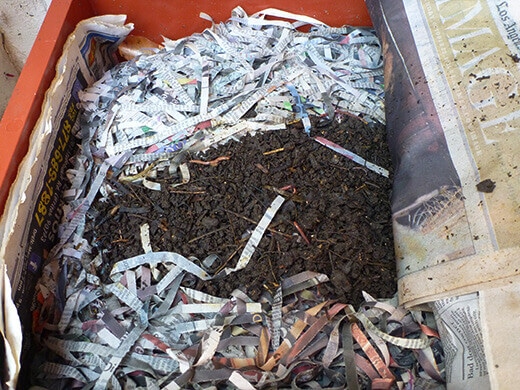
After letting the worms settle into their new surroundings for a couple days, I pulled back the sheets of newspaper and found that most of them had burrowed beneath the shredded paper layer.
I found the worms actively crawling around the food scraps, so they were already busy getting to work.
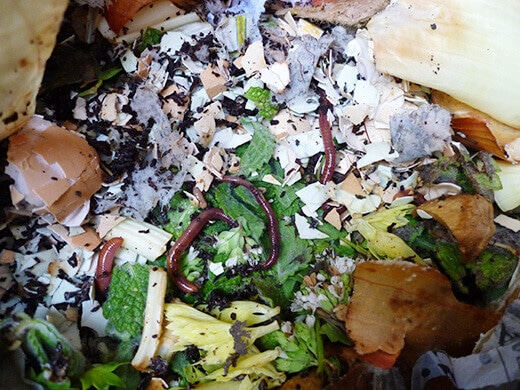
After two weeks, the food was starting to decompose, making it easier for the worms to digest.
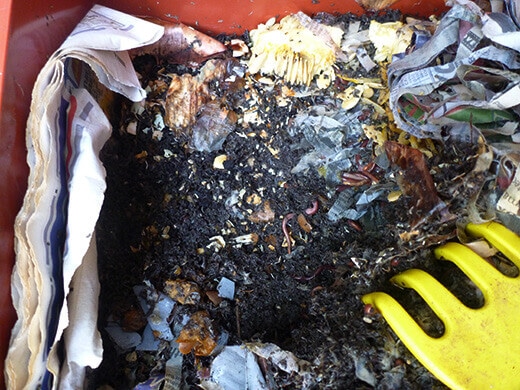
Every week I add another handful or two of kitchen scraps. They should always be added under the top layer of shredded paper.
Red wigglers can eat half their weight in food per day, so a thousand wigglers can eat half a pound of food every day. When the first tray is full with a few inches of food (usually after a month), you can add a second tray on top and your worms will naturally migrate upward.
At maximum production, the first tray will take about three months to finish. The worm population will also double every three months, so subsequent trays will be finished at a faster rate.
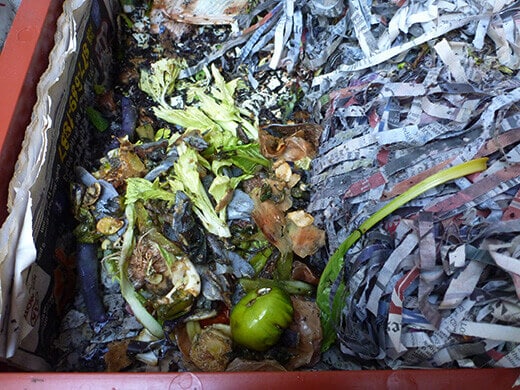
It’s important to maintain the proper level of moisture inside the bin. The top sheets of newspaper should be re-moistened when dry, and more shredded paper can be added to the bin if it gets too wet inside. Worms eat the paper along with the food, so you’ll have to check on them periodically to ensure a 50/50 ratio of brown to green matter in the bin.
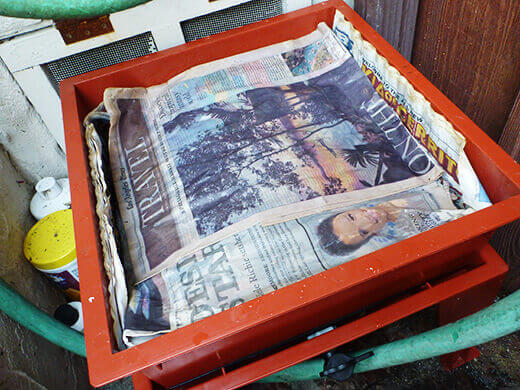
Other than that, the gig pretty much runs itself. I only check on my wormy friends once or twice a week when I feed them, and it’s more for my own fascination than to perform any real maintenance. I’m about a month or two away from adding my second tray, so I’ll post another update in the fall on how my little Wormville is doing.
In the meantime, if you’ve ever been curious about vermicomposting and want to try it yourself, I highly recommend the Worm Factory 360. It’s easy, it’s fun (especially if you’re infatuated with such creatures as I am), and it’s a flexible system that works in the smallest of spaces (like balconies) to the grandest of gardens. You can even put it in a garage or basement (which is recommended in winter if you live in a northern climate, since worms can’t survive freezing environments).
Start vermicomposting now, and you’ll have a full tower of trays filled with fertilizer for next spring!
This post is brought to you by Nature’s Footprint. Thank you for supporting the sponsors that support Garden Betty.










Well I feel dumb now. I was reading your posts about your chickens and saw that you garden and recommended red worms to you… I guess I’m a year too late
No worries. 🙂
you make me want a worm farm! (sigh) 🙂 some day….
I’ve been vermicomposting for a few years now- so easy and green 🙂
I love my Nature’s Footprint Worm Bin.