
Have you ever ordered a bunch of plants and then been surprised (or confused or disappointed) to instead find a box filled with sticks and roots?
It’s easy to miss the fine print (“Shipped bare root”) when you’re being wooed by all the exciting pictures of mature plants in your catalogs, but there’s an upside: you likely saved some money, and bare roots have many advantages over their container-grown versions.
Why I love bare-root perennials
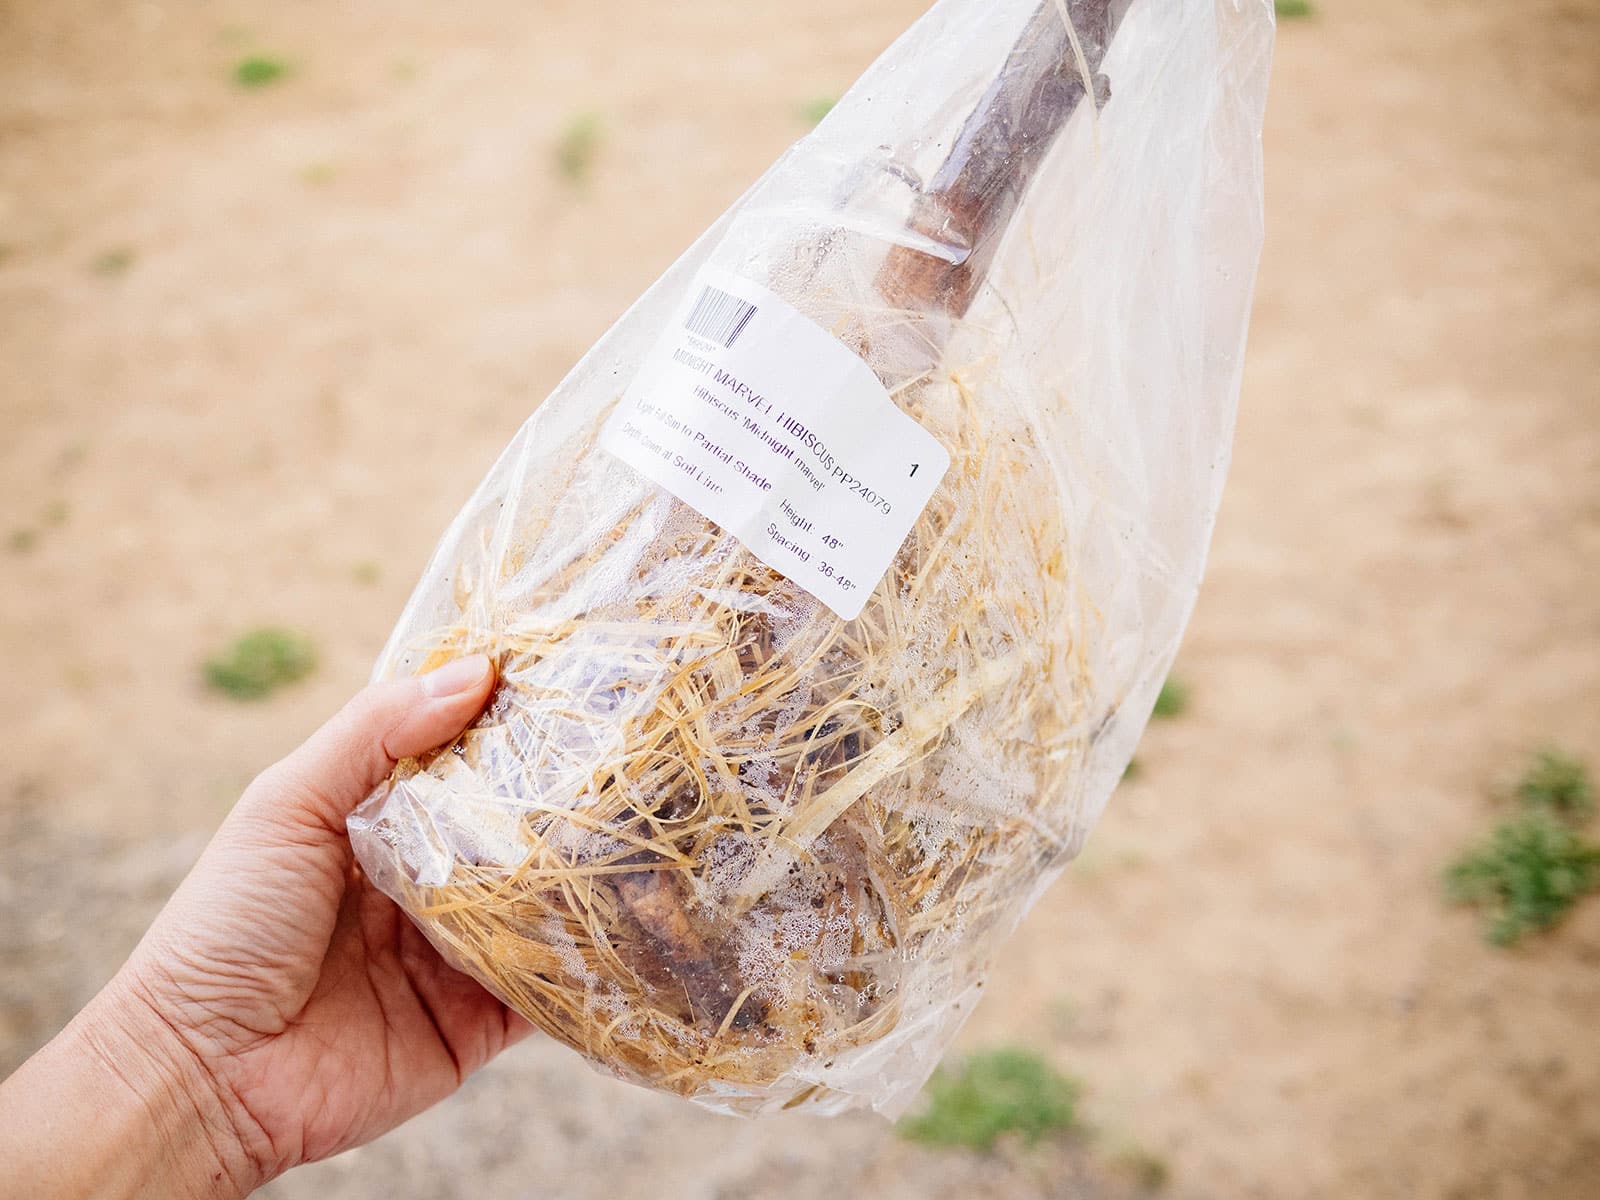
Bare roots are plants shipped without any soil or pots. They’ve been grown in a field, dug up, put in cold storage, then shipped while still in dormancy. When you get them in the mail, they’re usually in plastic bags with the roots wrapped in damp wood shavings, peat moss, or paper towels.
Just like bare-root strawberries, other bare-root perennials (including shrubs and trees) are less expensive to buy than container-grown plants. You can often find a larger selection than what’s available locally, and bare roots are quicker to establish in a garden. They arrive dormant in early to mid-spring (or just beginning to emerge from dormancy), so they don’t go through transplant shock and naturally “wake up” from their winter slumber after being planted.
How to grow bare-root perennials in pots
The most common reason to pot up a bare-root plant (instead of putting it in the ground) is control.
Maybe the weather or the soil is still too cold for the plant to go outside, or you don’t have a spot in the garden for it yet. Maybe you have an expensive or temperamental plant that you need to baby for a while to make sure it has the proper moisture and light levels.
When you’re just not ready to plant, or you plan to keep your plant in a container outside, potting up a bare-root perennial is a really simple process. Here’s how you can get yours off to a great start.
First, check your plant for problems
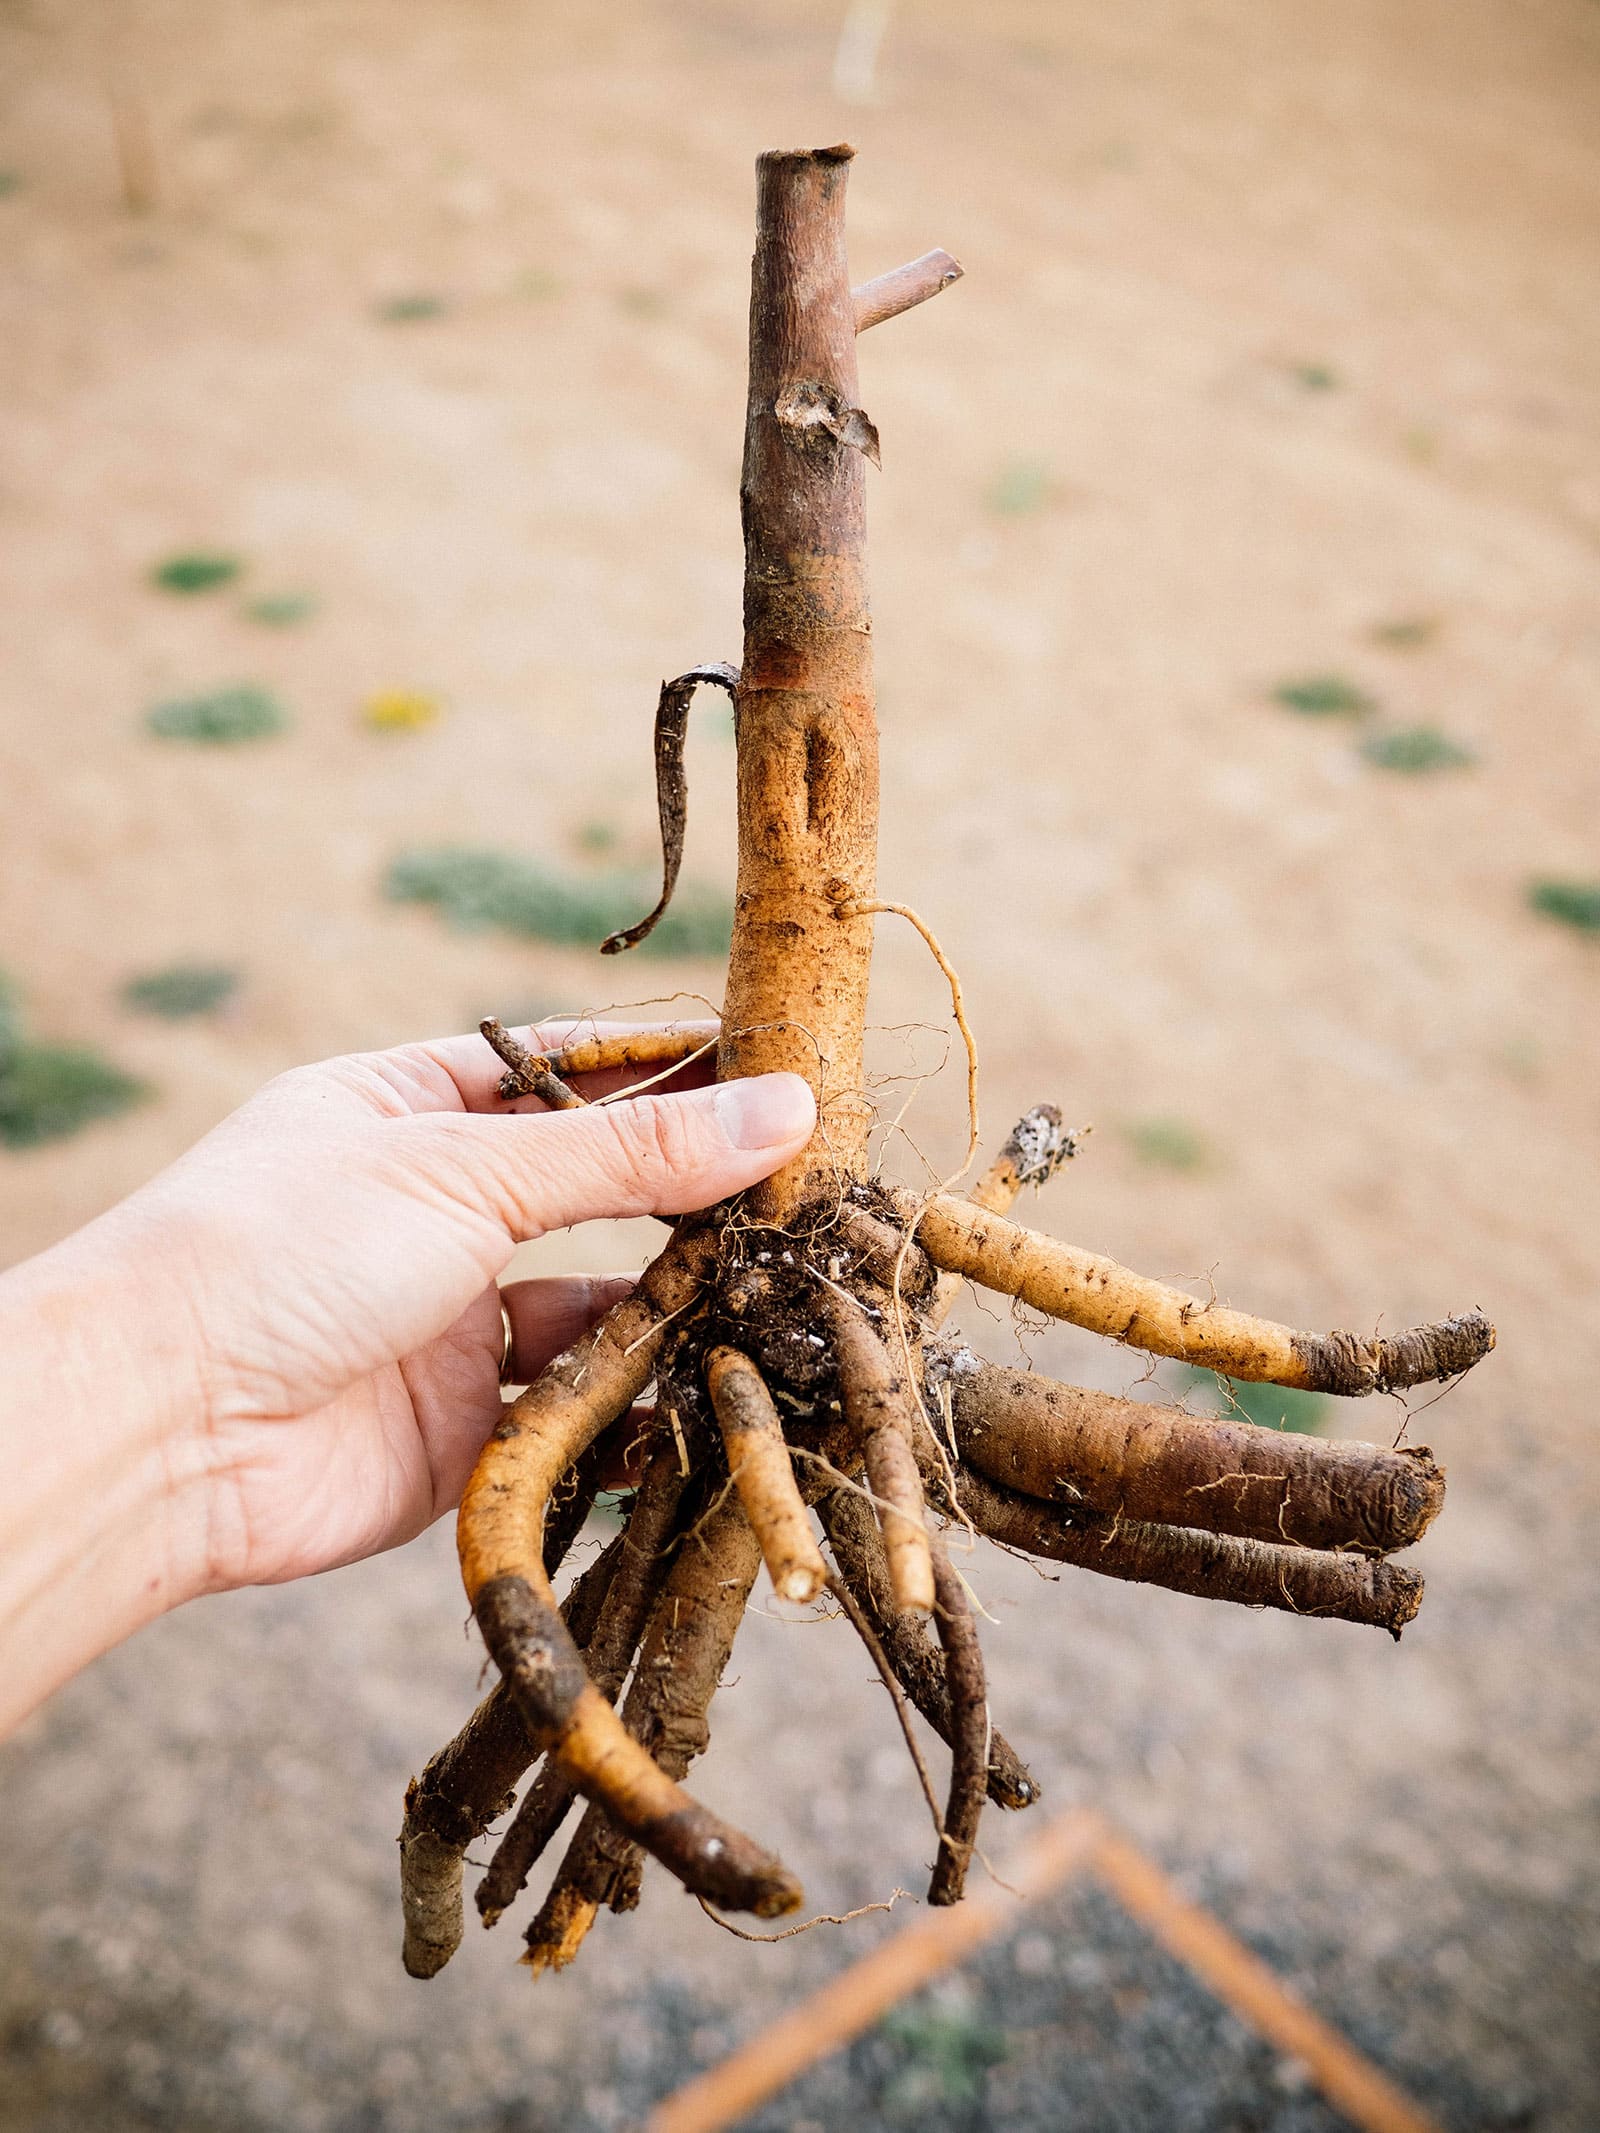
As soon as your plant arrives, look it over. While root systems vary for different plants (thin and wiry, thick and fleshy, or dense and fibrous), in general the roots should not be dry, nor should they be soft and mushy.
If the roots seem very dry and you can’t plant right away, lightly mist them and store the bare root in its plastic bag in a cool place (above freezing). While you can keep it like this for up to a week, you’ll want to plant as soon as possible!
The most important thing is making sure the roots do not dry out! If they do, the plant will die.
Prepare the bare root for planting
Check your bare-root plant for any broken roots (which aren’t a big deal) and prune them off. If the roots are extremely long (over 8 inches), you can trim an inch or two off the bottom to make planting a little easier.
Soak the bare root in a bucket of water for up to an hour to help rehydrate it. Like I do with my bare-root strawberries, I add a little bit of liquid kelp to give my plant a boost. Kelp contains natural growth hormones that aid in root and shoot development, and it also offers a host of other nutrients and trace minerals that other fertilizers might lack.
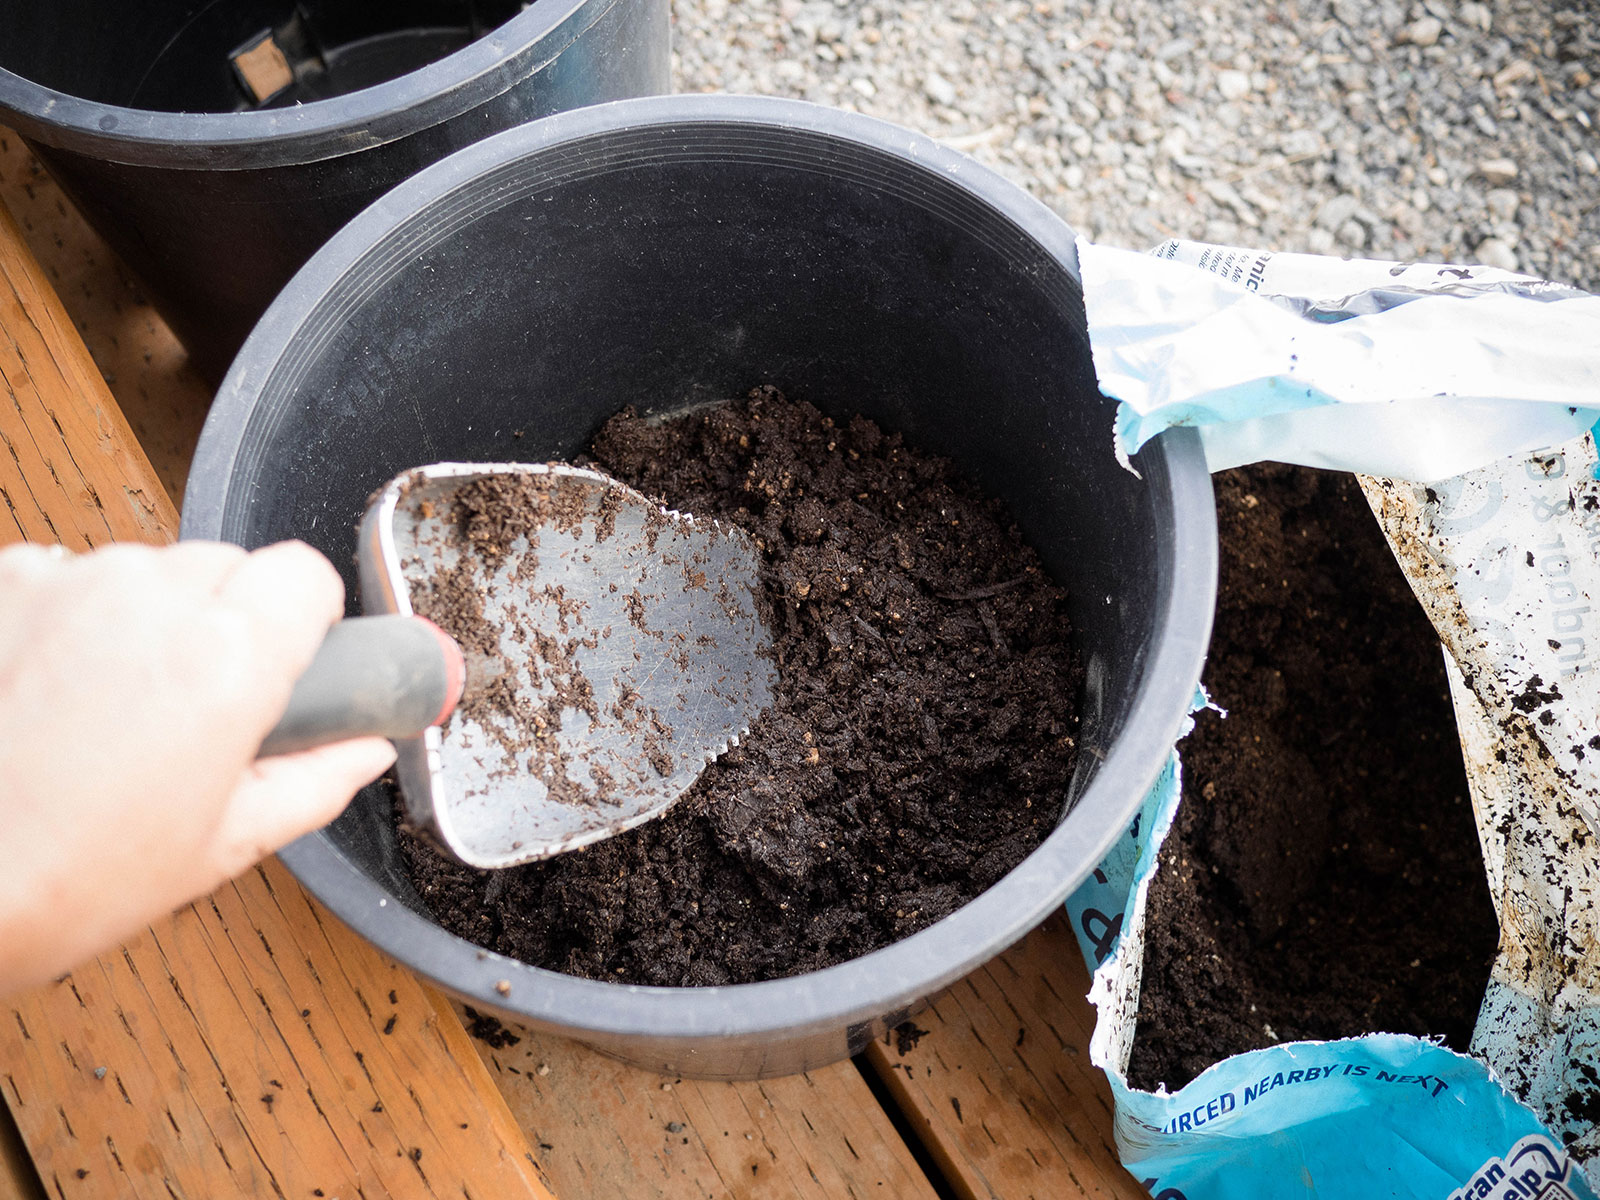
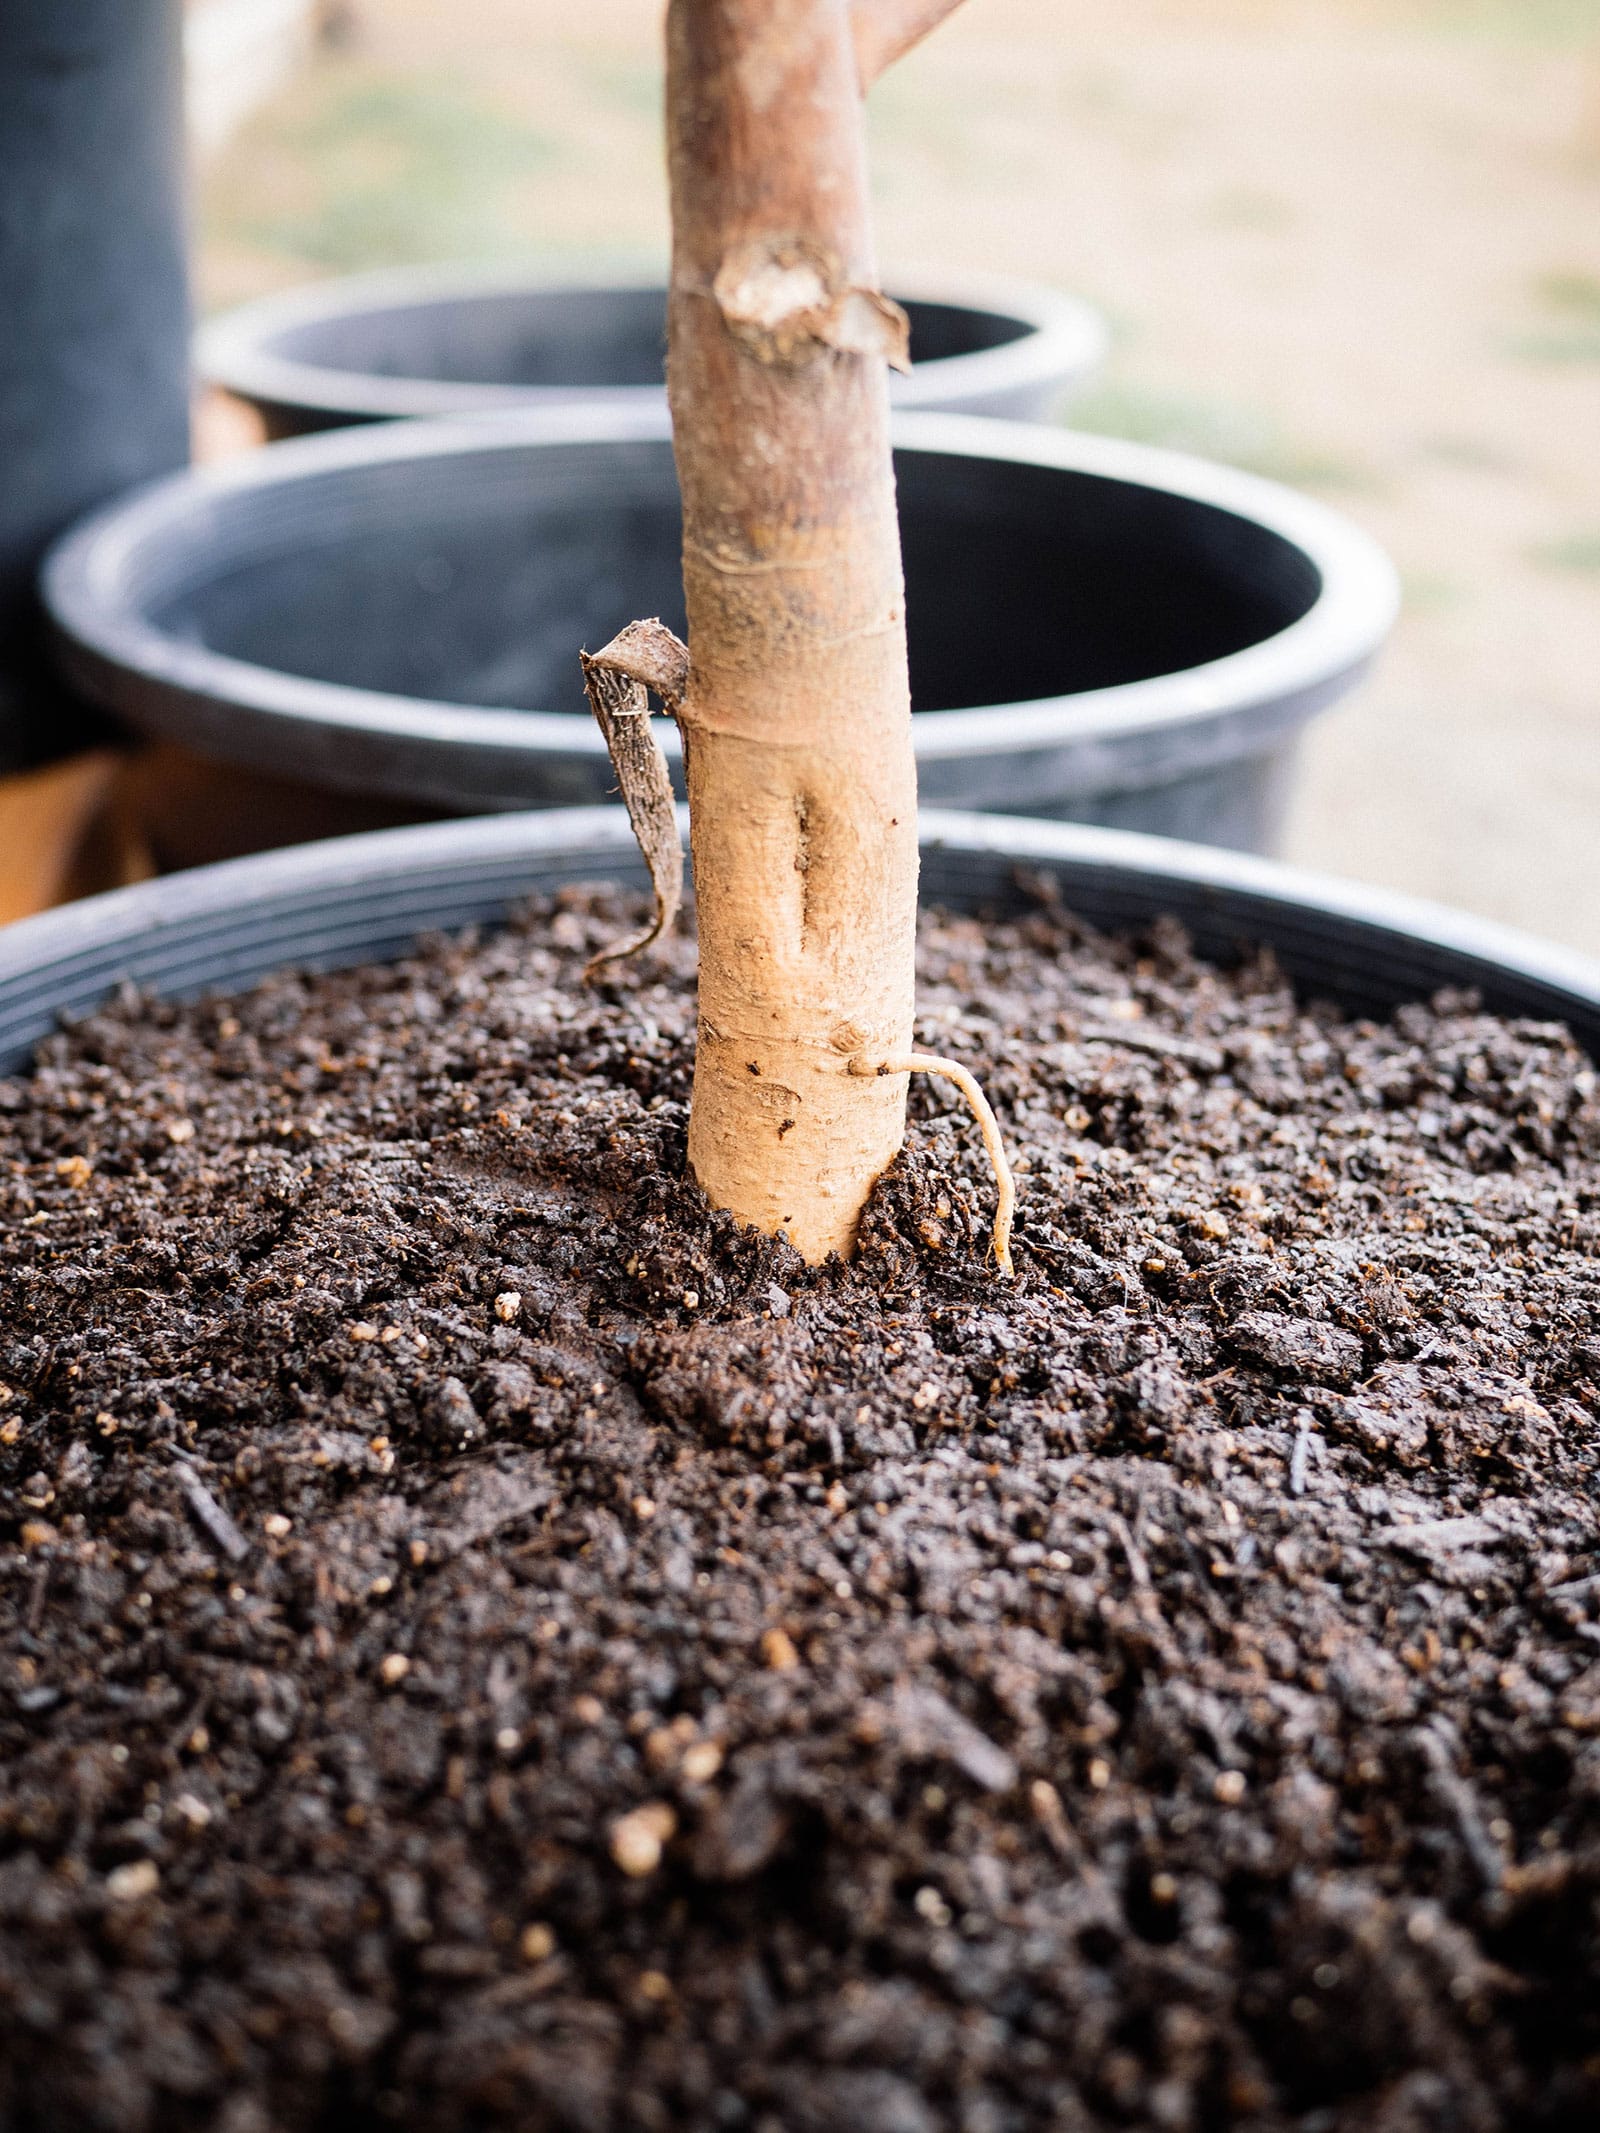
While your bare-root plant is soaking, prepare the pot and planting medium. Choose a container (with drainage holes) that’s several times larger than the root mass so the roots have room to grow.
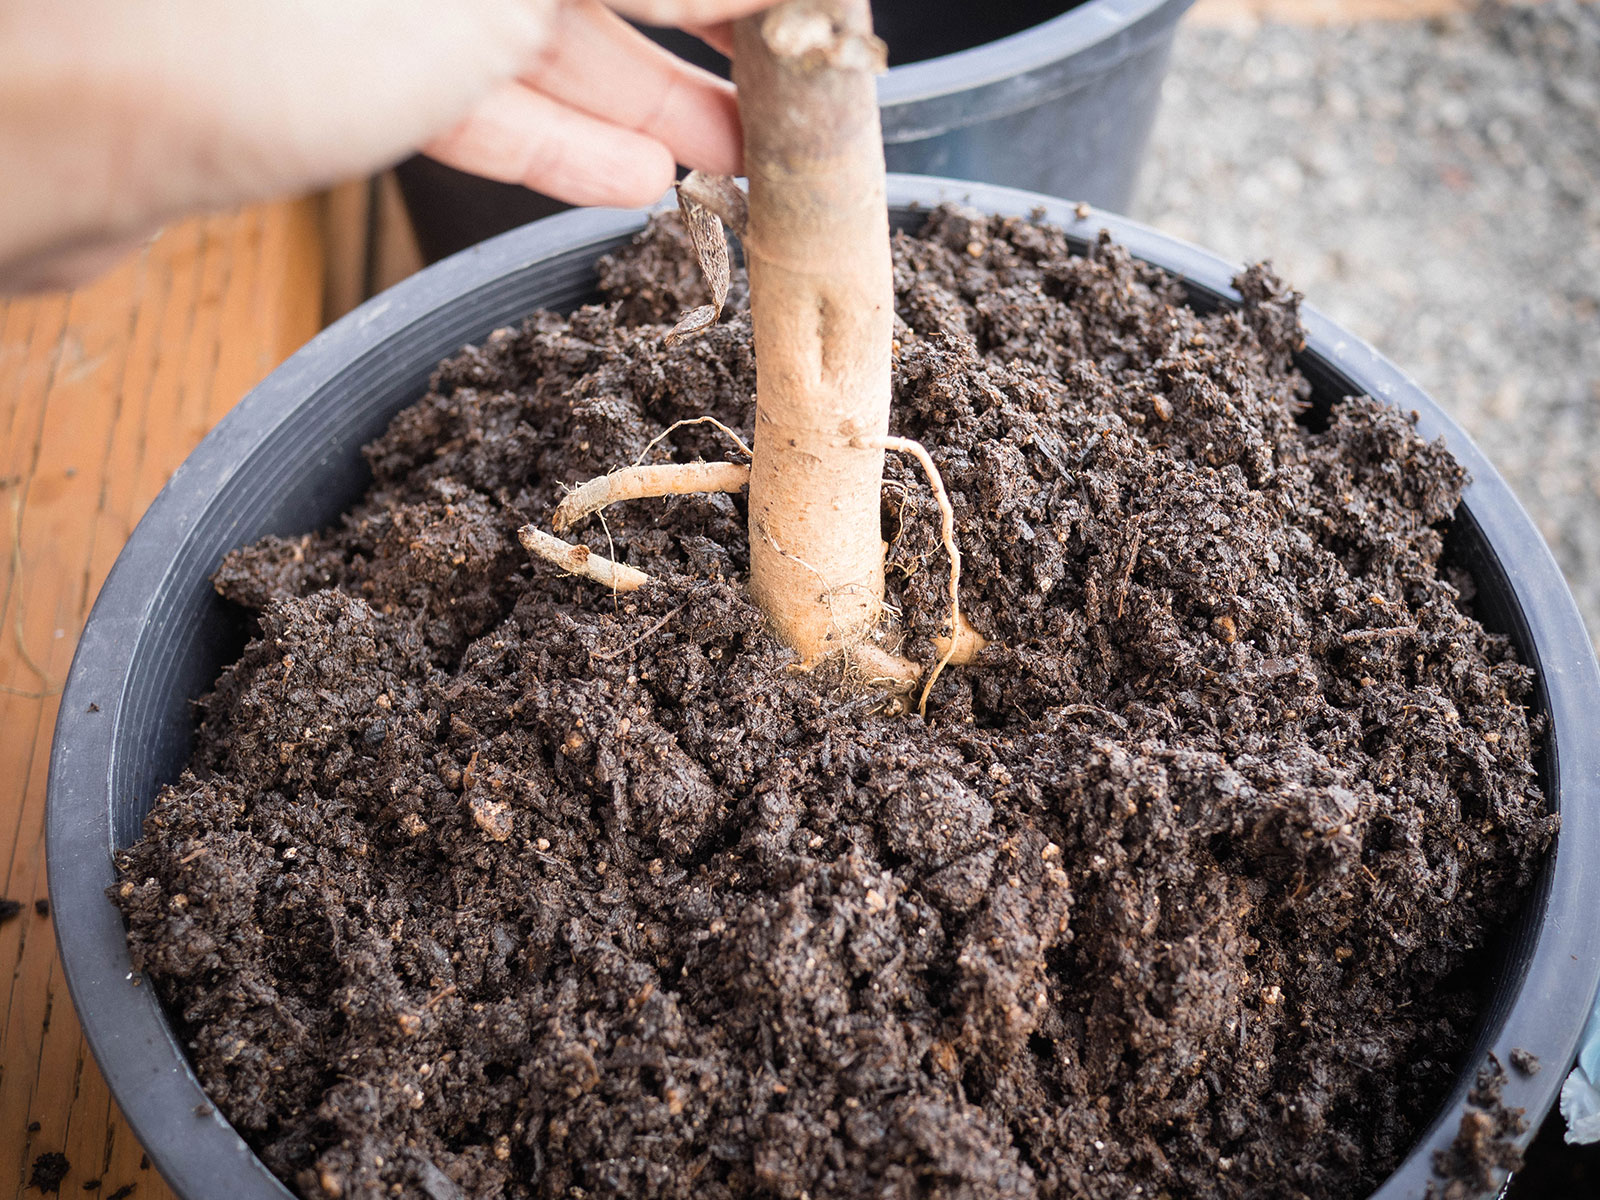
In these images, I’m planting a bare-root hardy Hibiscus with very stout roots. The key is making sure the roots (of any bare-root perennial) aren’t crowded in a container or bending upward.
Plant at the correct depth
Fill your pot halfway with high-quality potting mix or potting soil. Add your optional amendments here, such as worm castings or compost.
For most bare-root perennials, the crown (where the roots meet the stem) should be planted at or just below the soil surface. (Though this is just a general rule, and you should check your package for any specific planting instructions.)
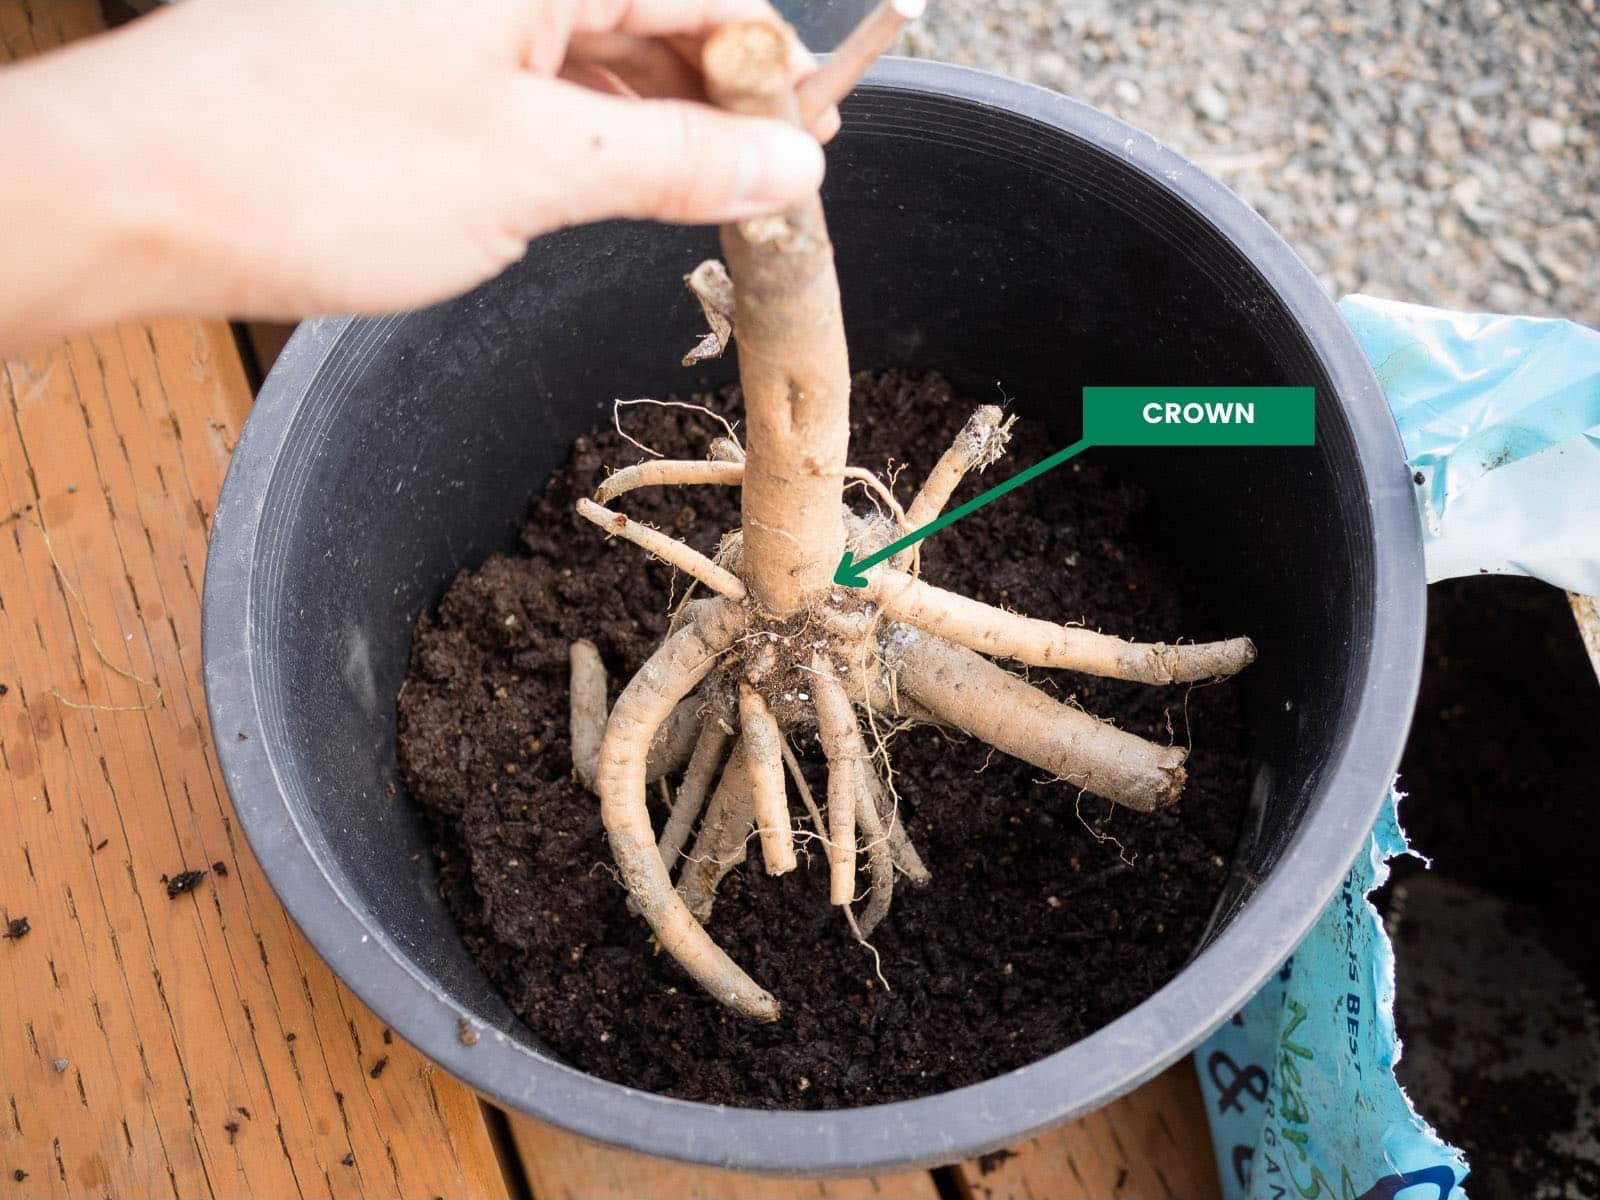
Fill the rest of the pot with potting mix or soil and give it a good shake to settle the soil around the roots. At this point, I like to sprinkle a slow-release organic granular fertilizer around the crown before watering it in.

Let it grow
You should water your new plant until water runs out the drainage holes, then wait about 20 minutes before watering again to make sure the soil is evenly moist. Keep an eye on things over the next several weeks to make sure the soil doesn’t dry out or stay too saturated (which can cause rotting).
Place your potted plant in a warm spot near a sunny window. Bare-root perennials are typically slow to get going, so it’s not uncommon to wait four or five weeks (or even longer for some plants) before new growth emerges.
Just water lightly (but consistently) until then—for me, I’ve found that a weekly watering inside my house is enough, but this will depend on other factors like humidity, room temperature, and soil composition.
Many flowering perennials need ample sun (at least 10 hours a day) to do their best, so put yours in front of an unobstructed south-facing window when it’s grown several new leaves, or move it outside once the weather is ideal.
Disclosure: If you shop from my article or make a purchase through one of my links, I may receive commissions on some of the products I recommend.
Where to buy


