This post is in partnership with 3-IN-ONE® Brand. All thoughts and words are my own.
I admit it, I’m not the best at remembering to clean my garden tools. Even with my DIY tool cleaning station to take a lot of the pressure off, there’s inevitably a tool or two that accidentally gets left outside overnight—for many nights.
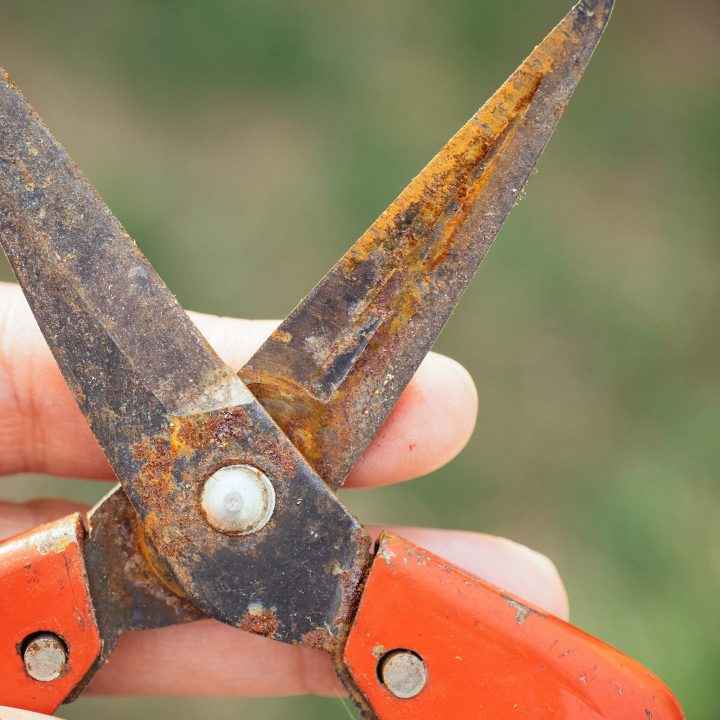
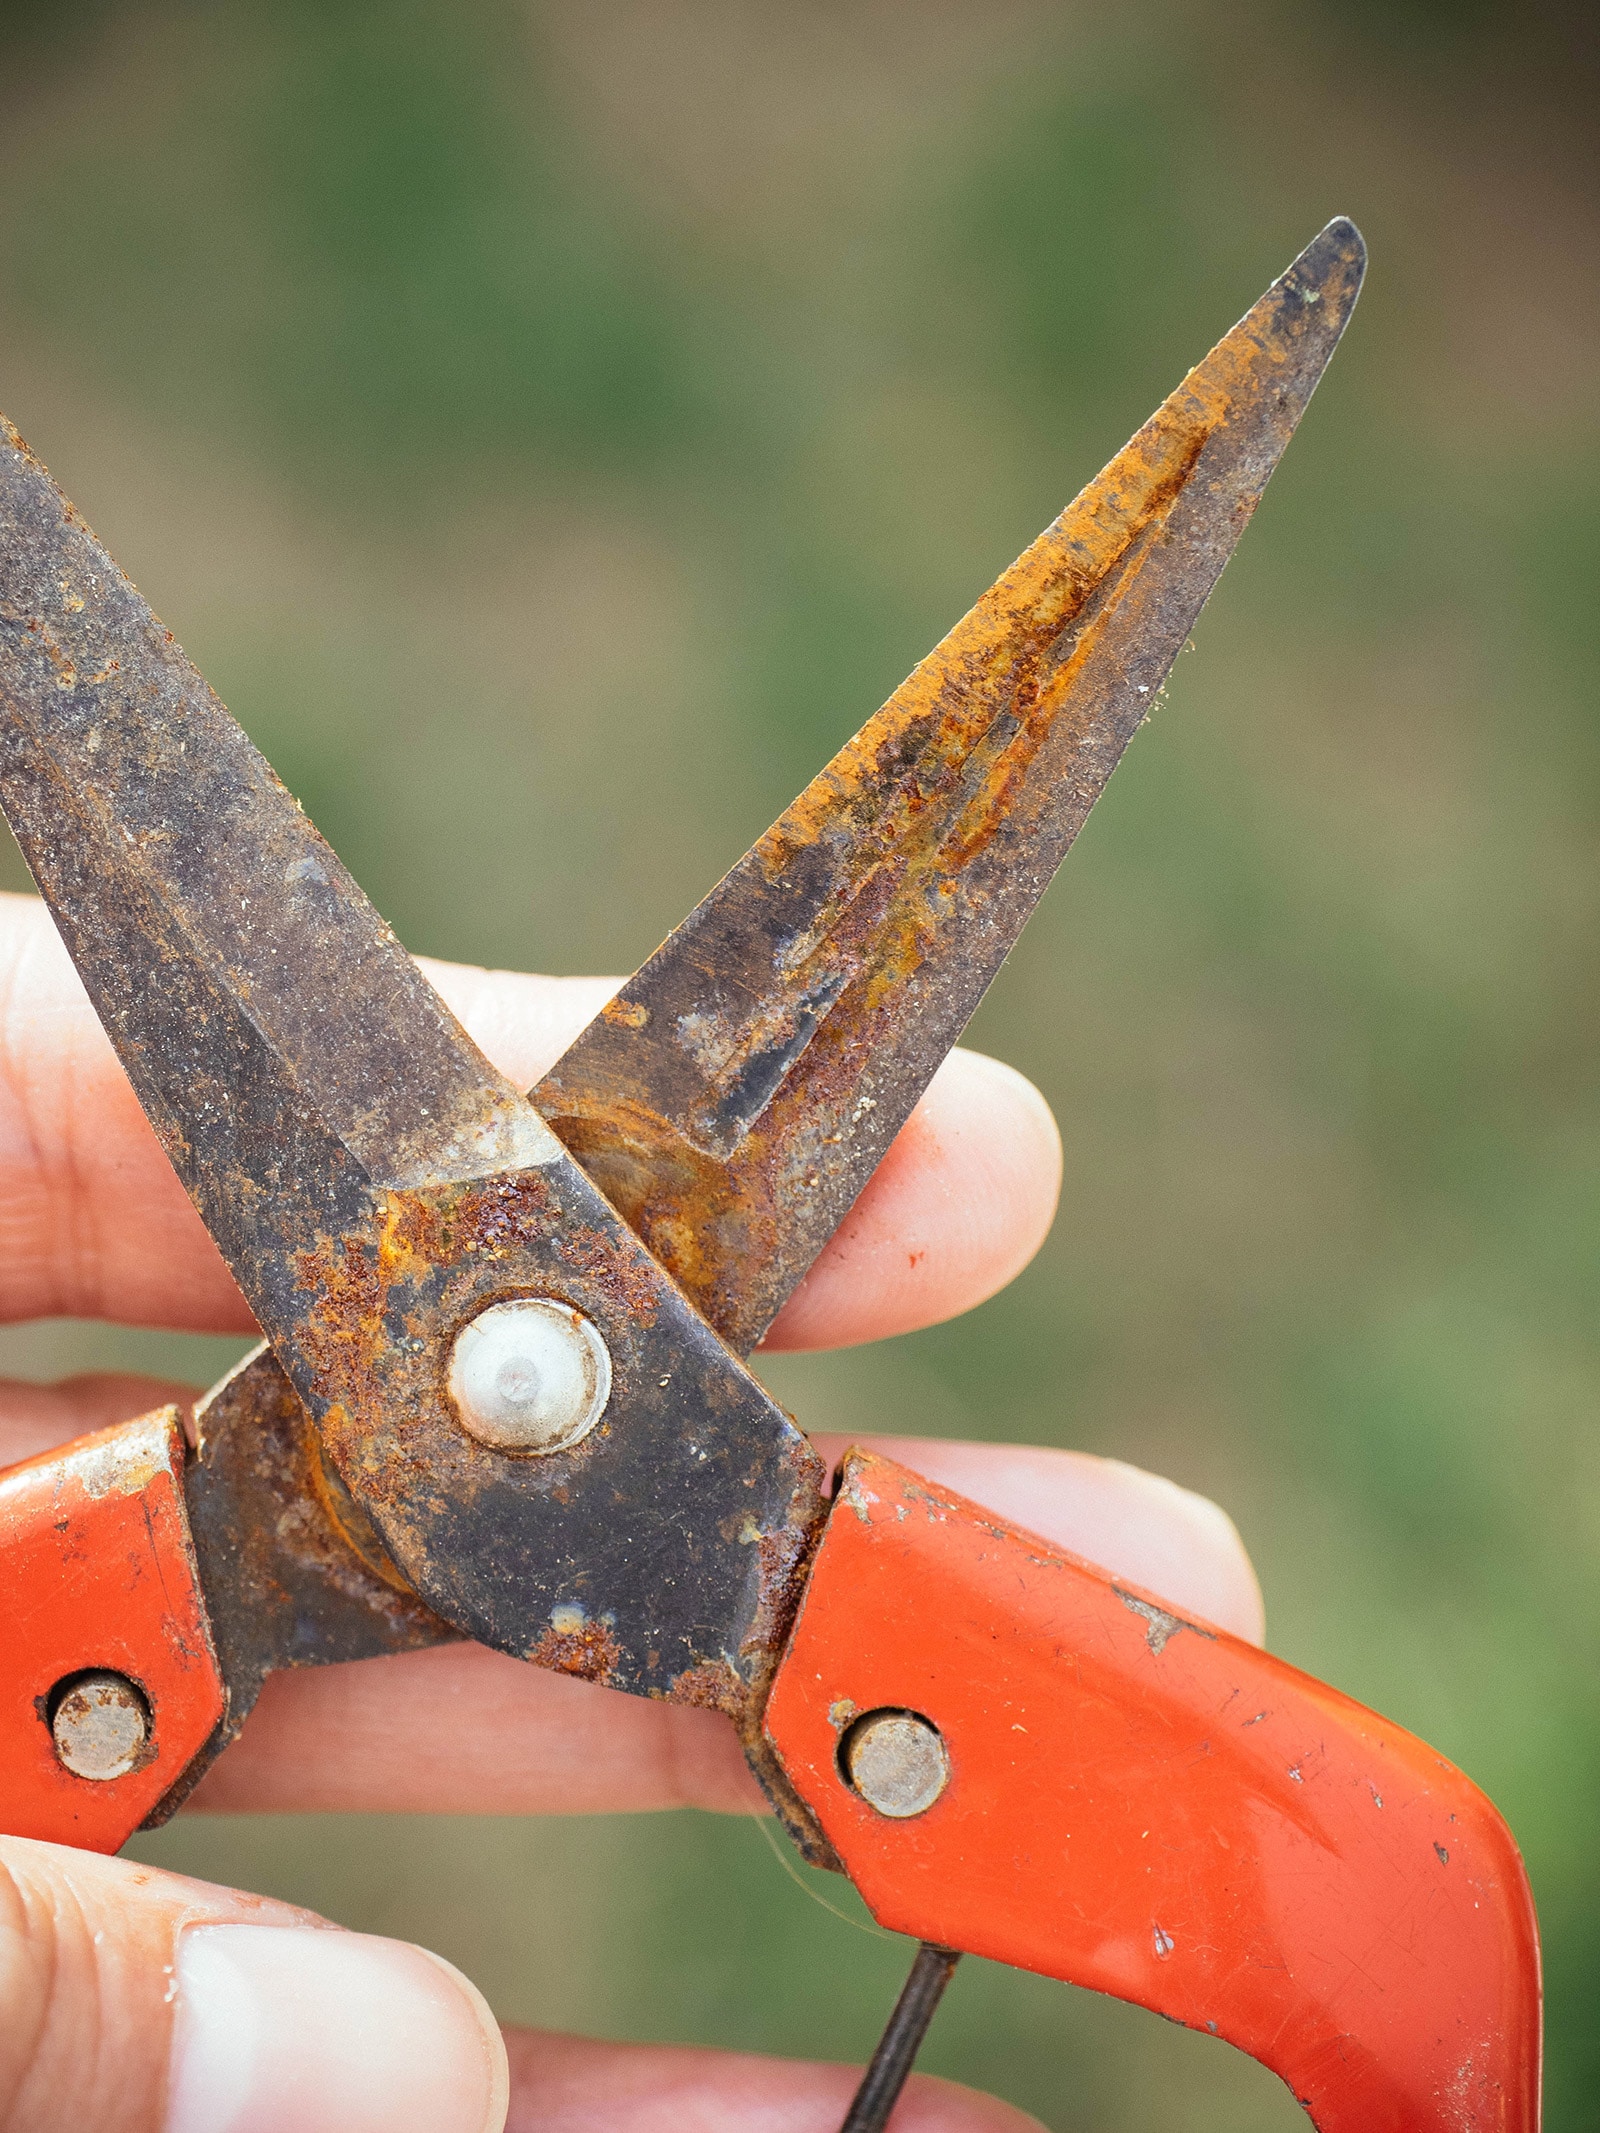
And when I find them again, this is what they look like.
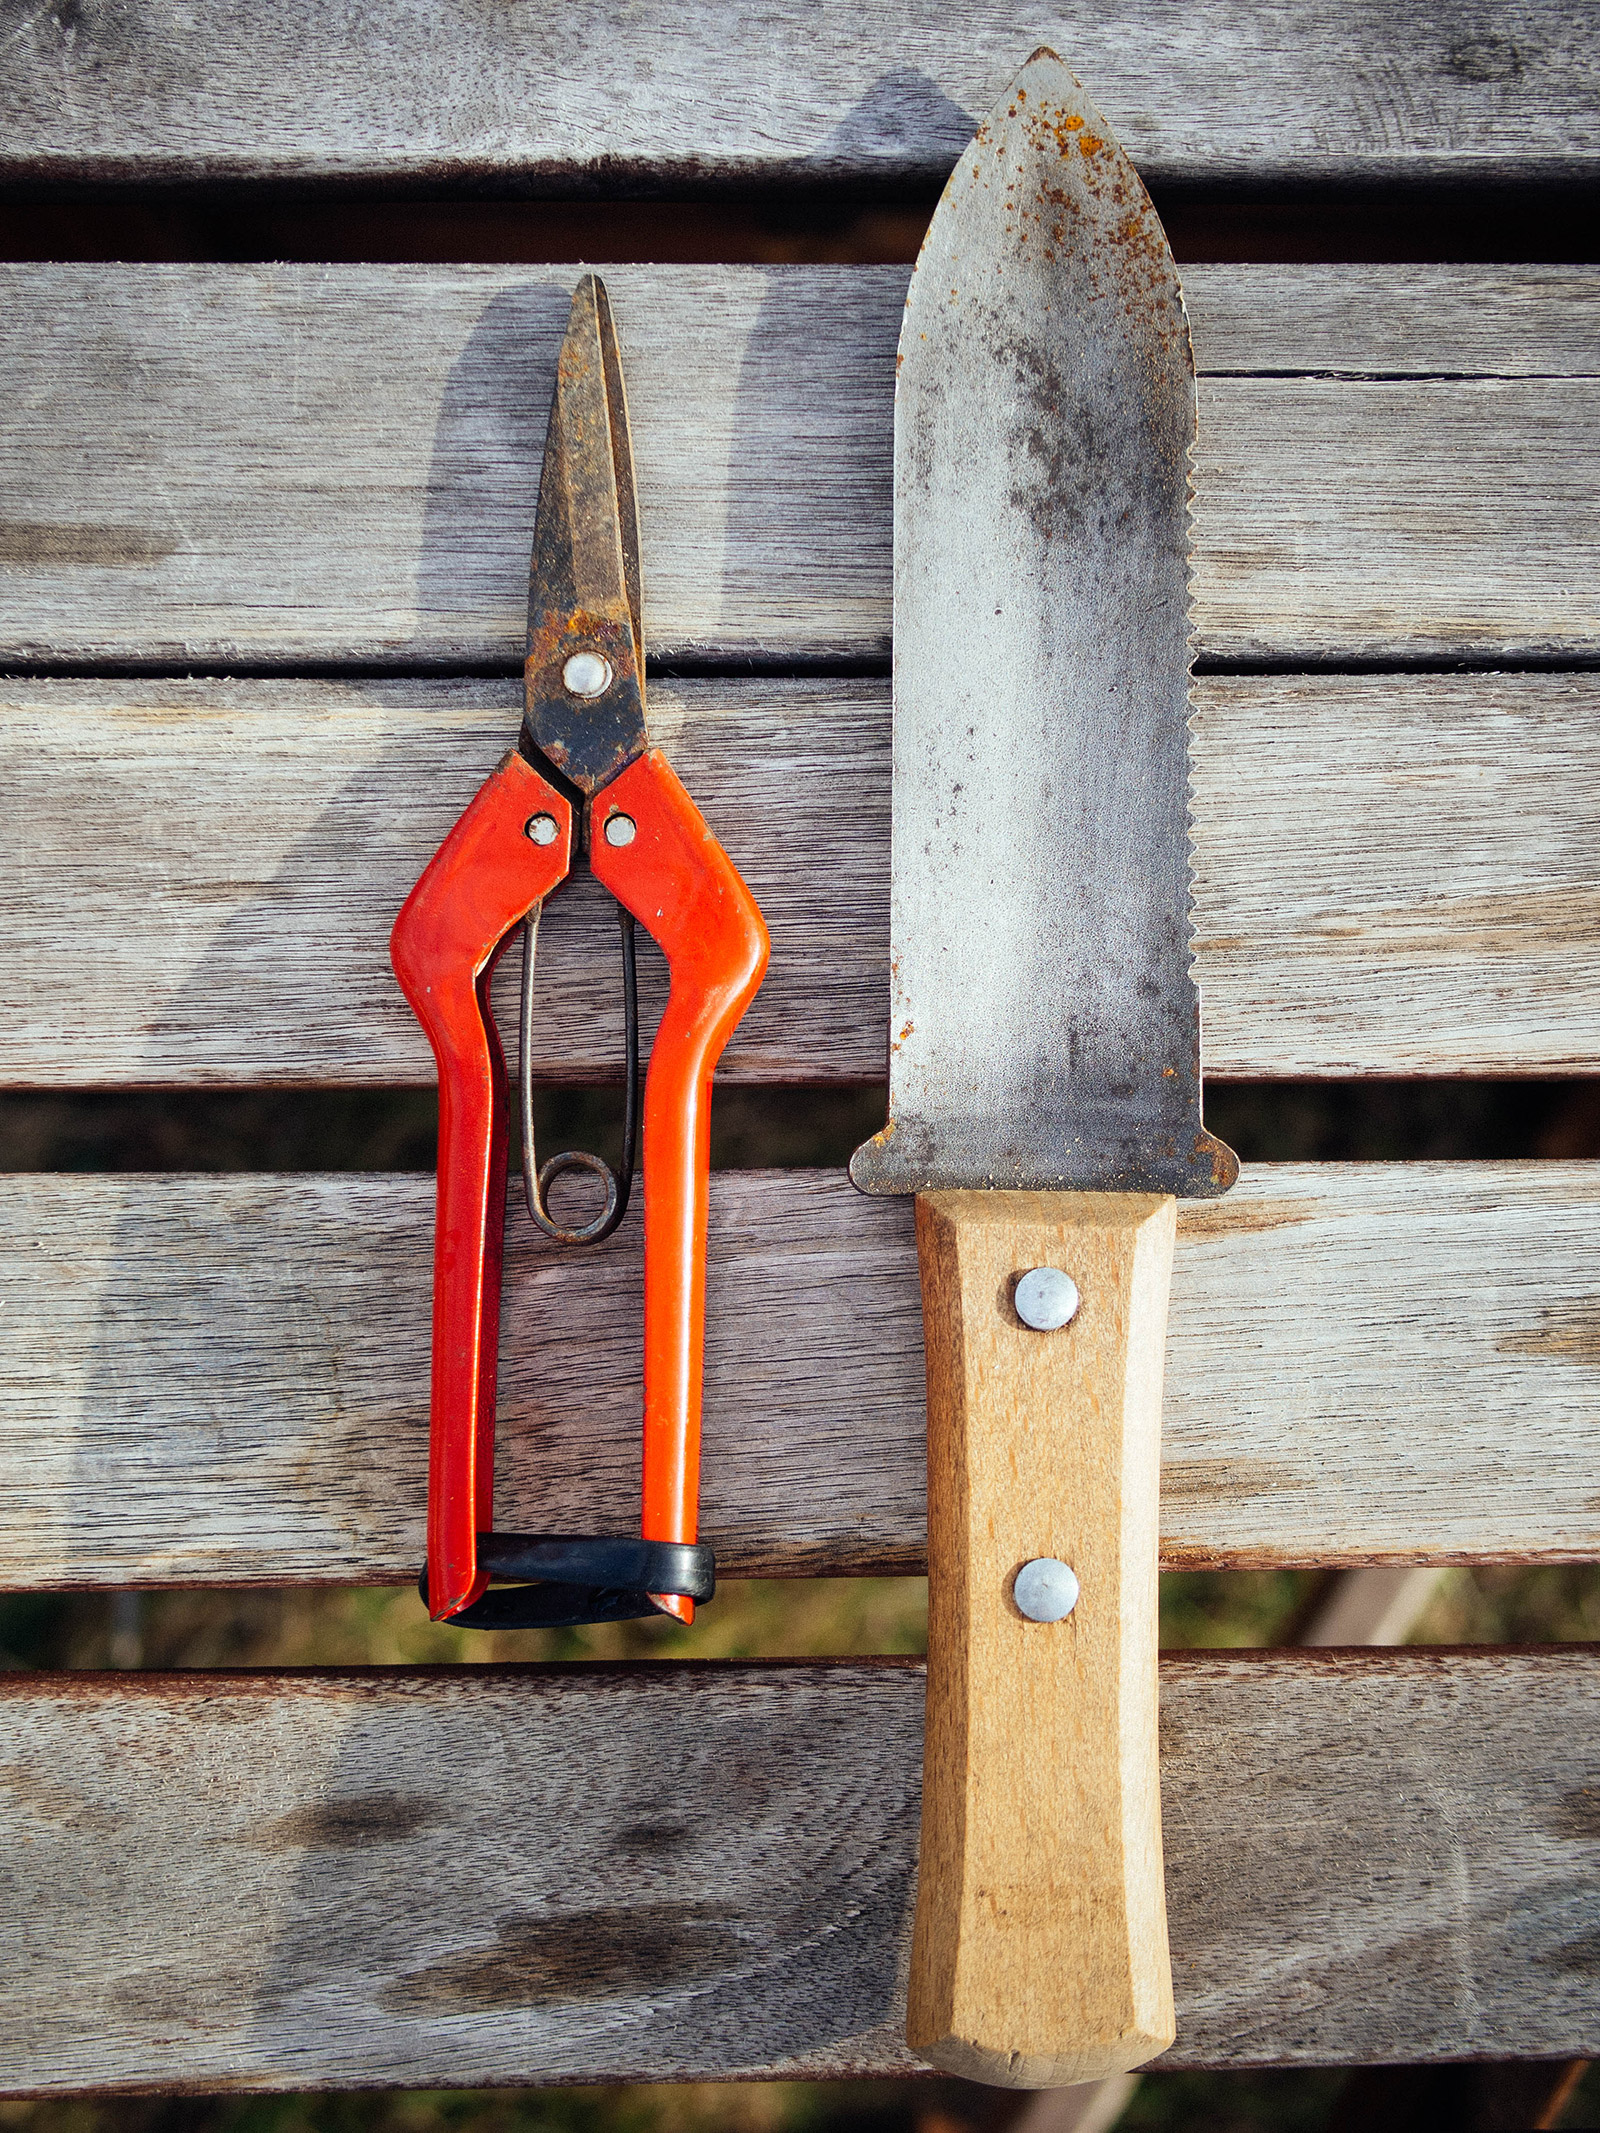
That’s a pair of needle-nose pruners and a hori hori knife—two of the most useful hand tools you can get for your garden. They’ll last you a lifetime… if you take care of them properly.
Related: The 10 Essential Gardening Tools No Gardener Should Be Without
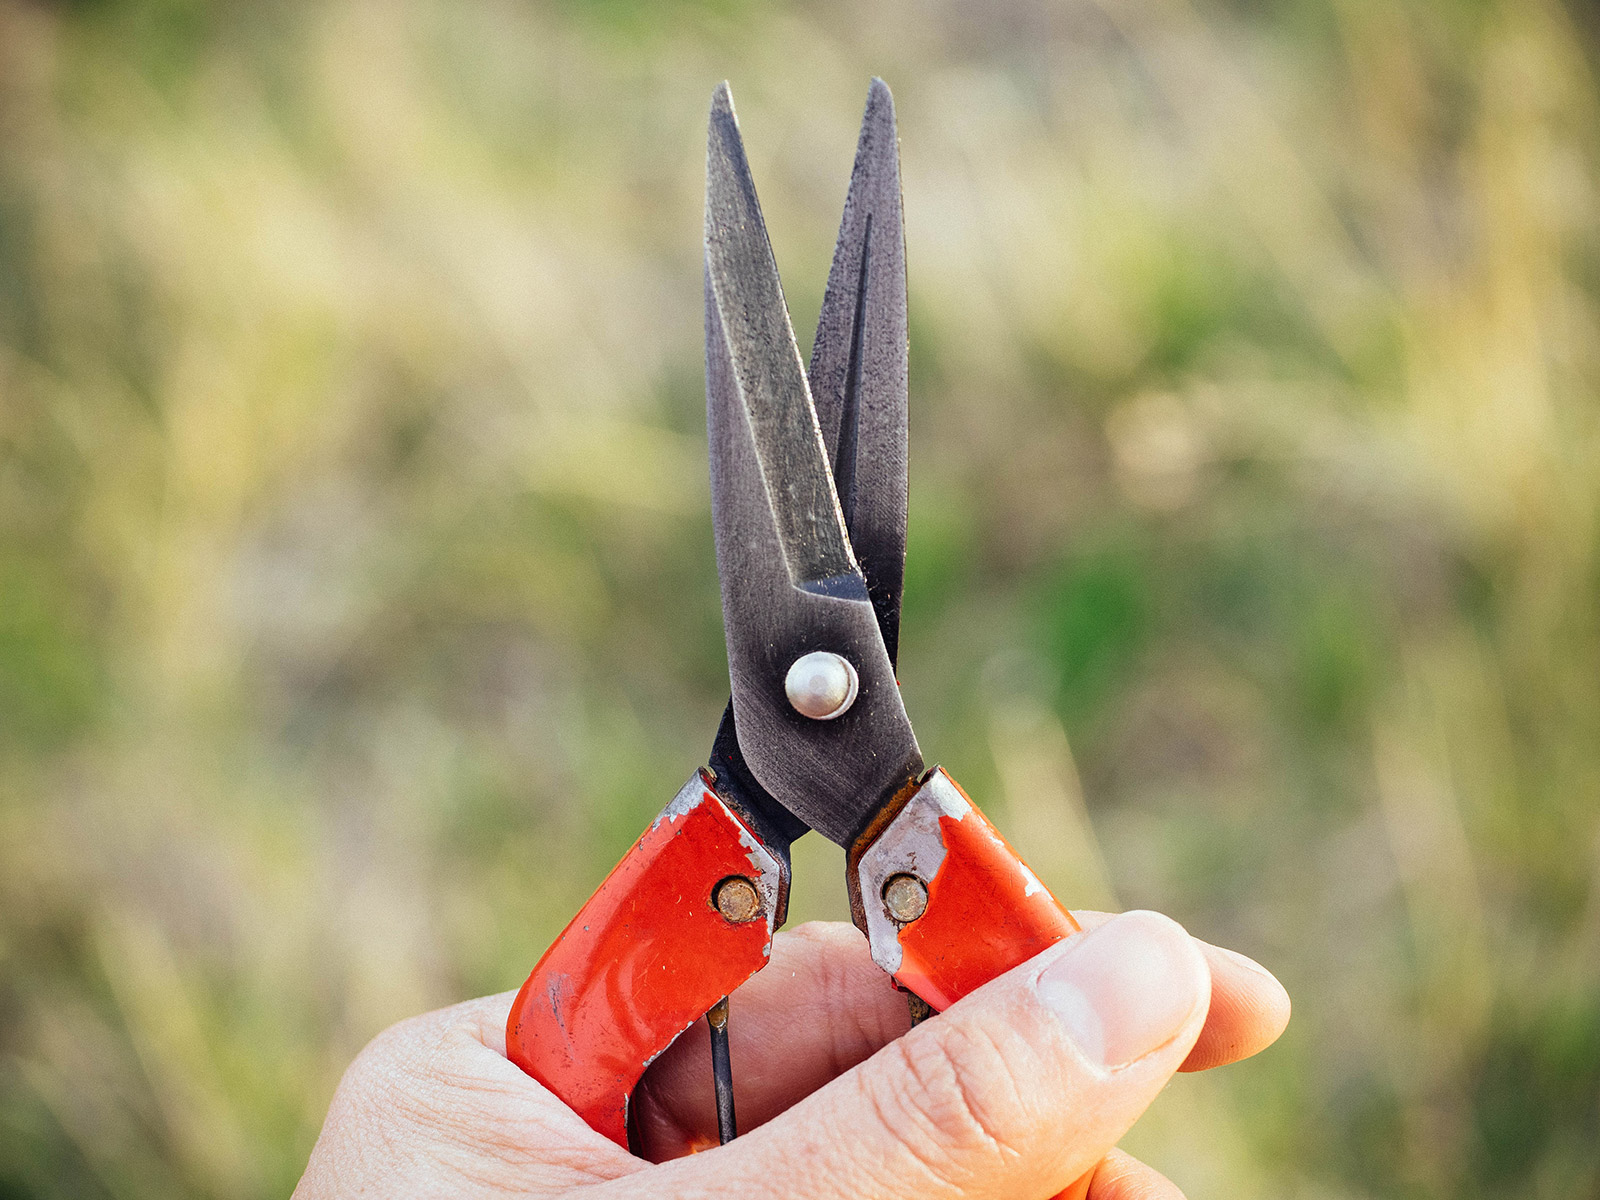
But mine were all rusty and weren’t gliding as smoothly as they should. The blades weren’t cutting well either, making it more of a chore (and a little dangerous) to prune small plants and open bags of soil amendments.
What is rust, anyway?
Rust is another name for iron oxide, a reddish-brown flaky coat that forms when iron (or an alloy that contains iron, like steel) is exposed to oxygen and moisture for a long period of time.
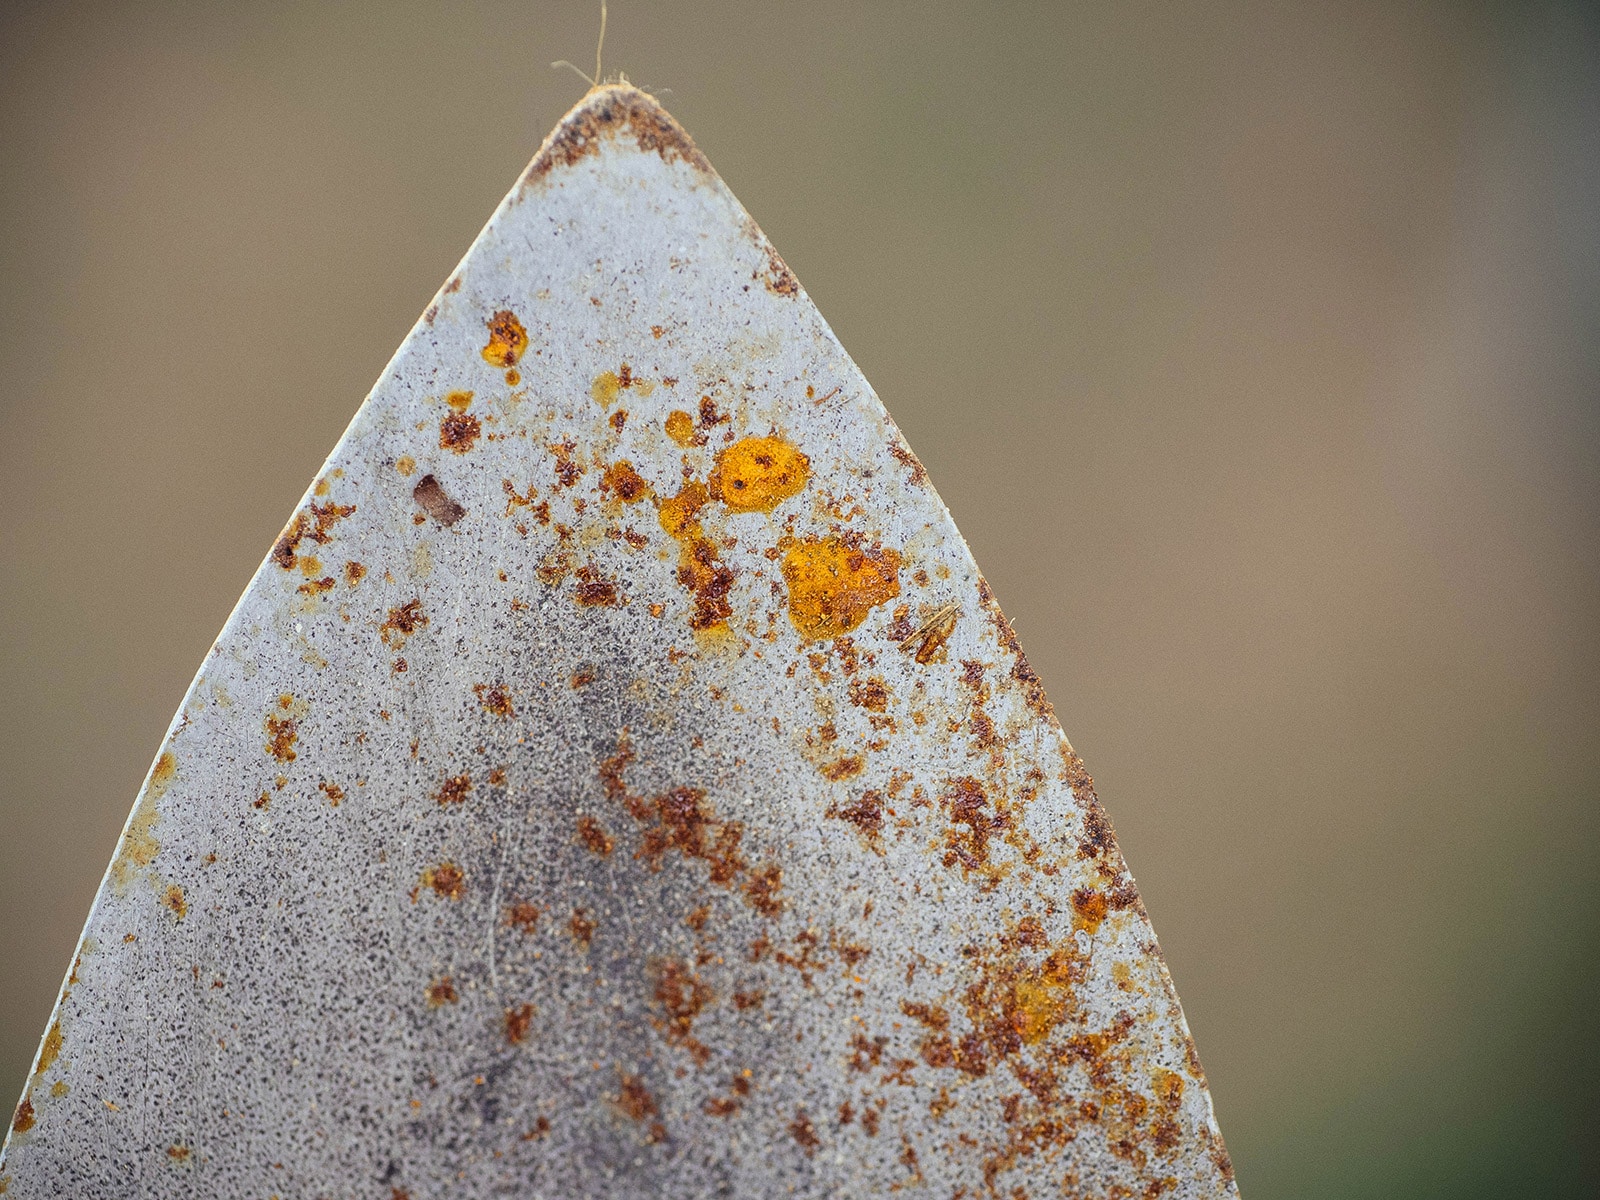
In other words: It’s evidence that I don’t always practice what I preach when it comes to cleaning my garden tools before putting them away.
At this level of corrosion, I’d have to pull out a Dremel rotary tool to sand away the rust, or put in lots of elbow grease with a wire brush or steel wool. Neither of which were appealing options!
Fortunately, there’s a way to remove rust from garden tools—and keep them rust-free—using just two simple household ingredients and zero hard labor. (And you can do this for all tools, not just gardening tools.)
What you’ll need to remove rust without scrubbing
- Rusty tool
- Cleaning vinegar or white distilled vinegar
- Empty jar, aluminum can, or small container (a large yogurt container works great)
- Heavy-duty scouring pad
- Soft clean rag
- 3-IN-ONE Multi-Purpose Oil
Step 1: Soak your tool in a vinegar bath.
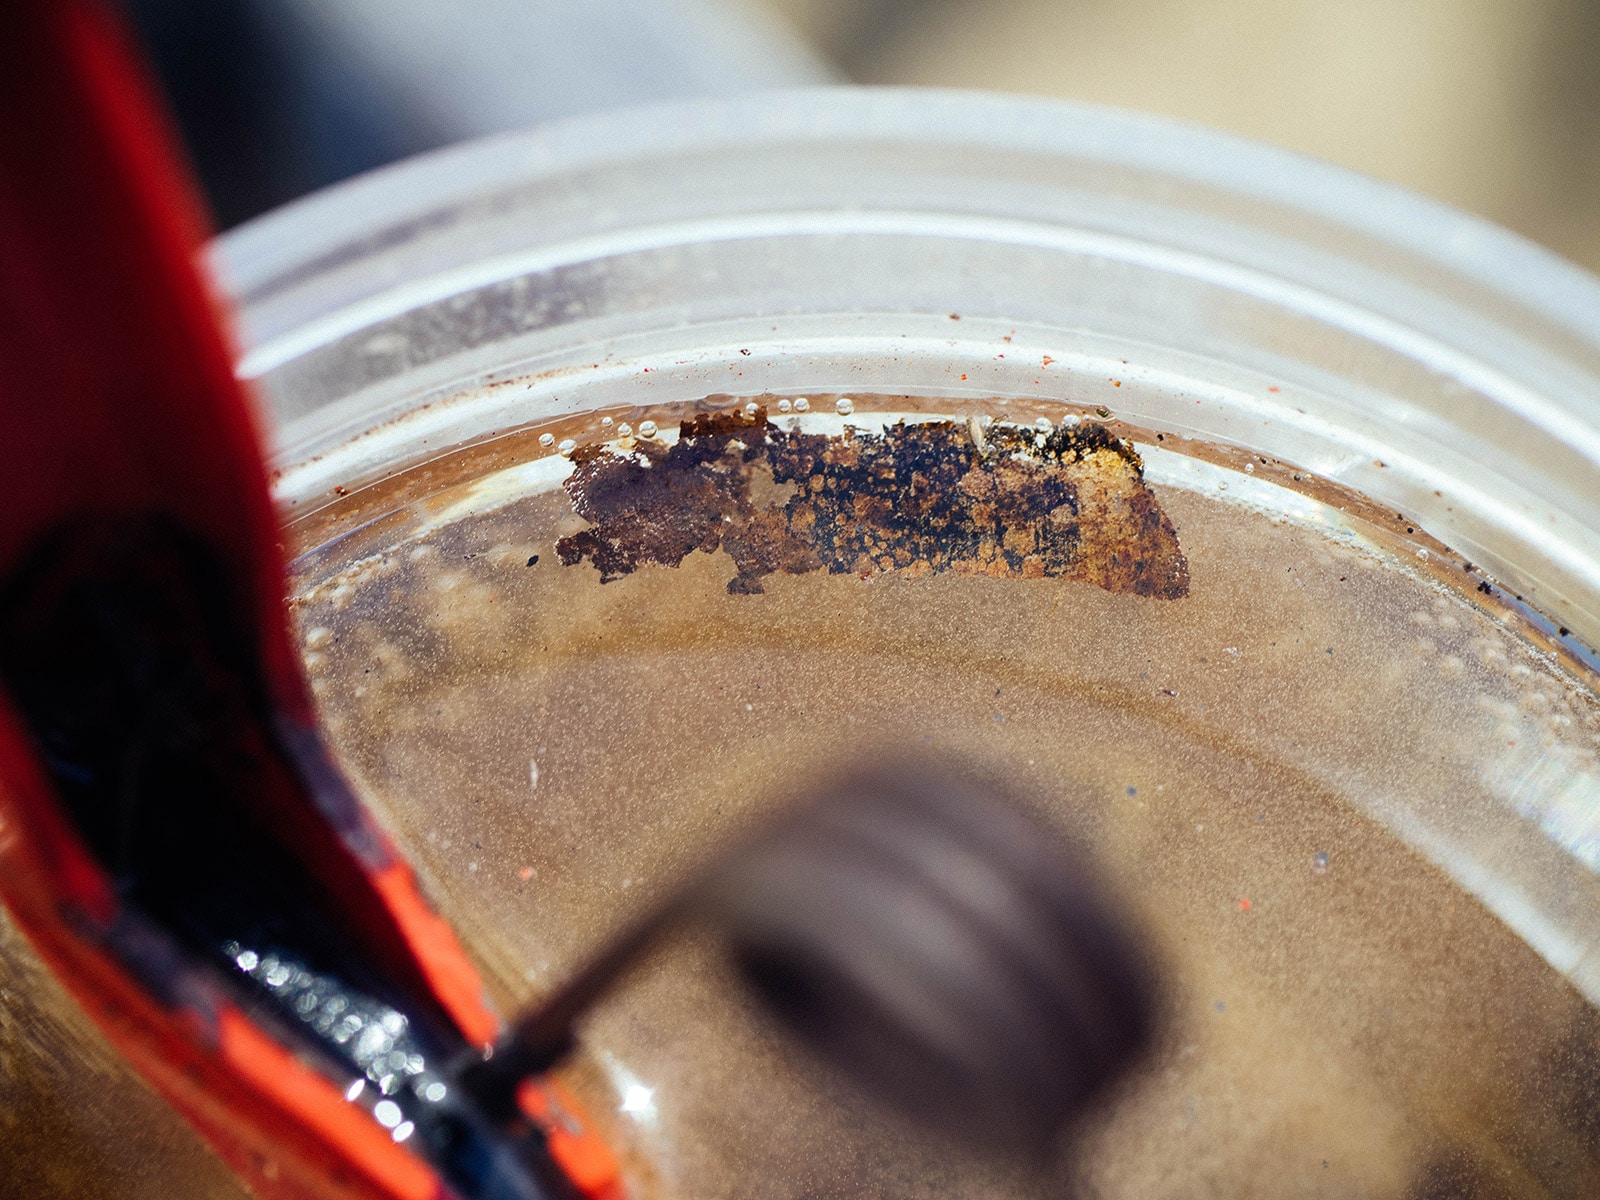
Place your tool in a jar or other container, then pour in just enough vinegar to submerge all the rusted parts. Soak the tool for 12 to 24 hours, depending on level of rust and type of vinegar used. (Sometimes, even just an hour or two will do for small amounts of rust.)
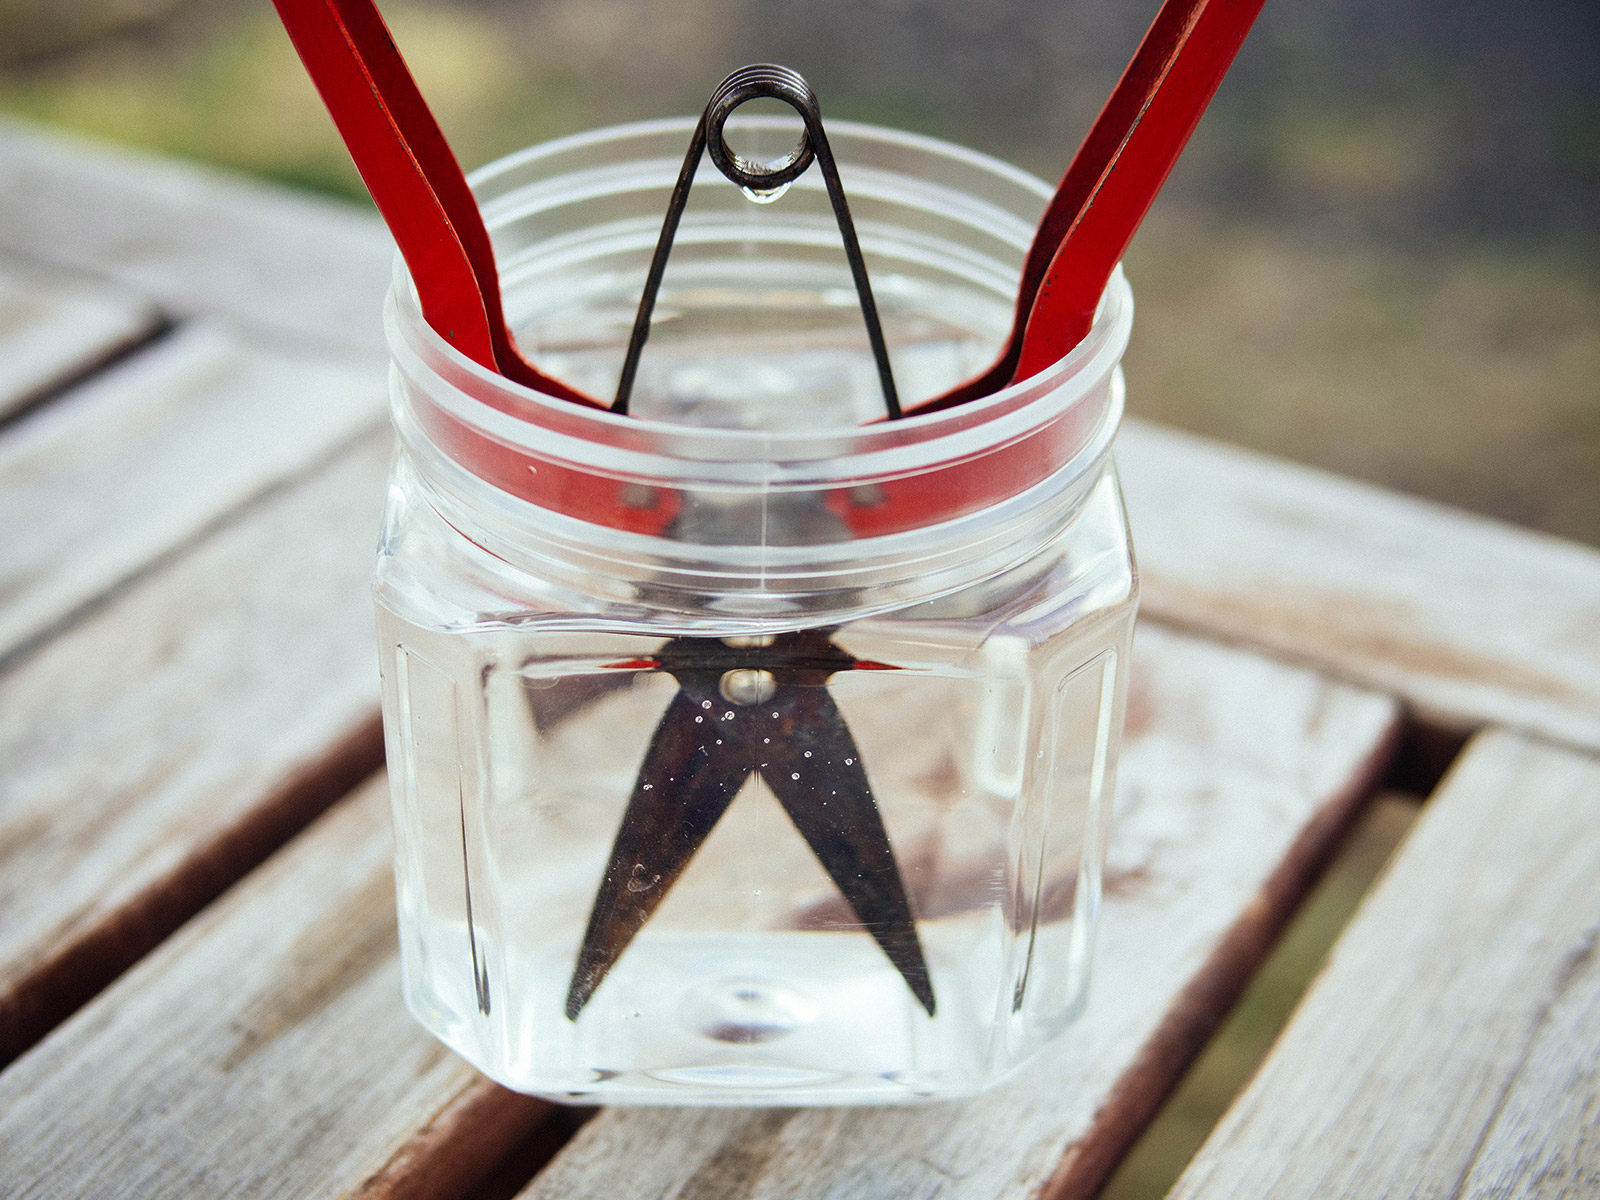
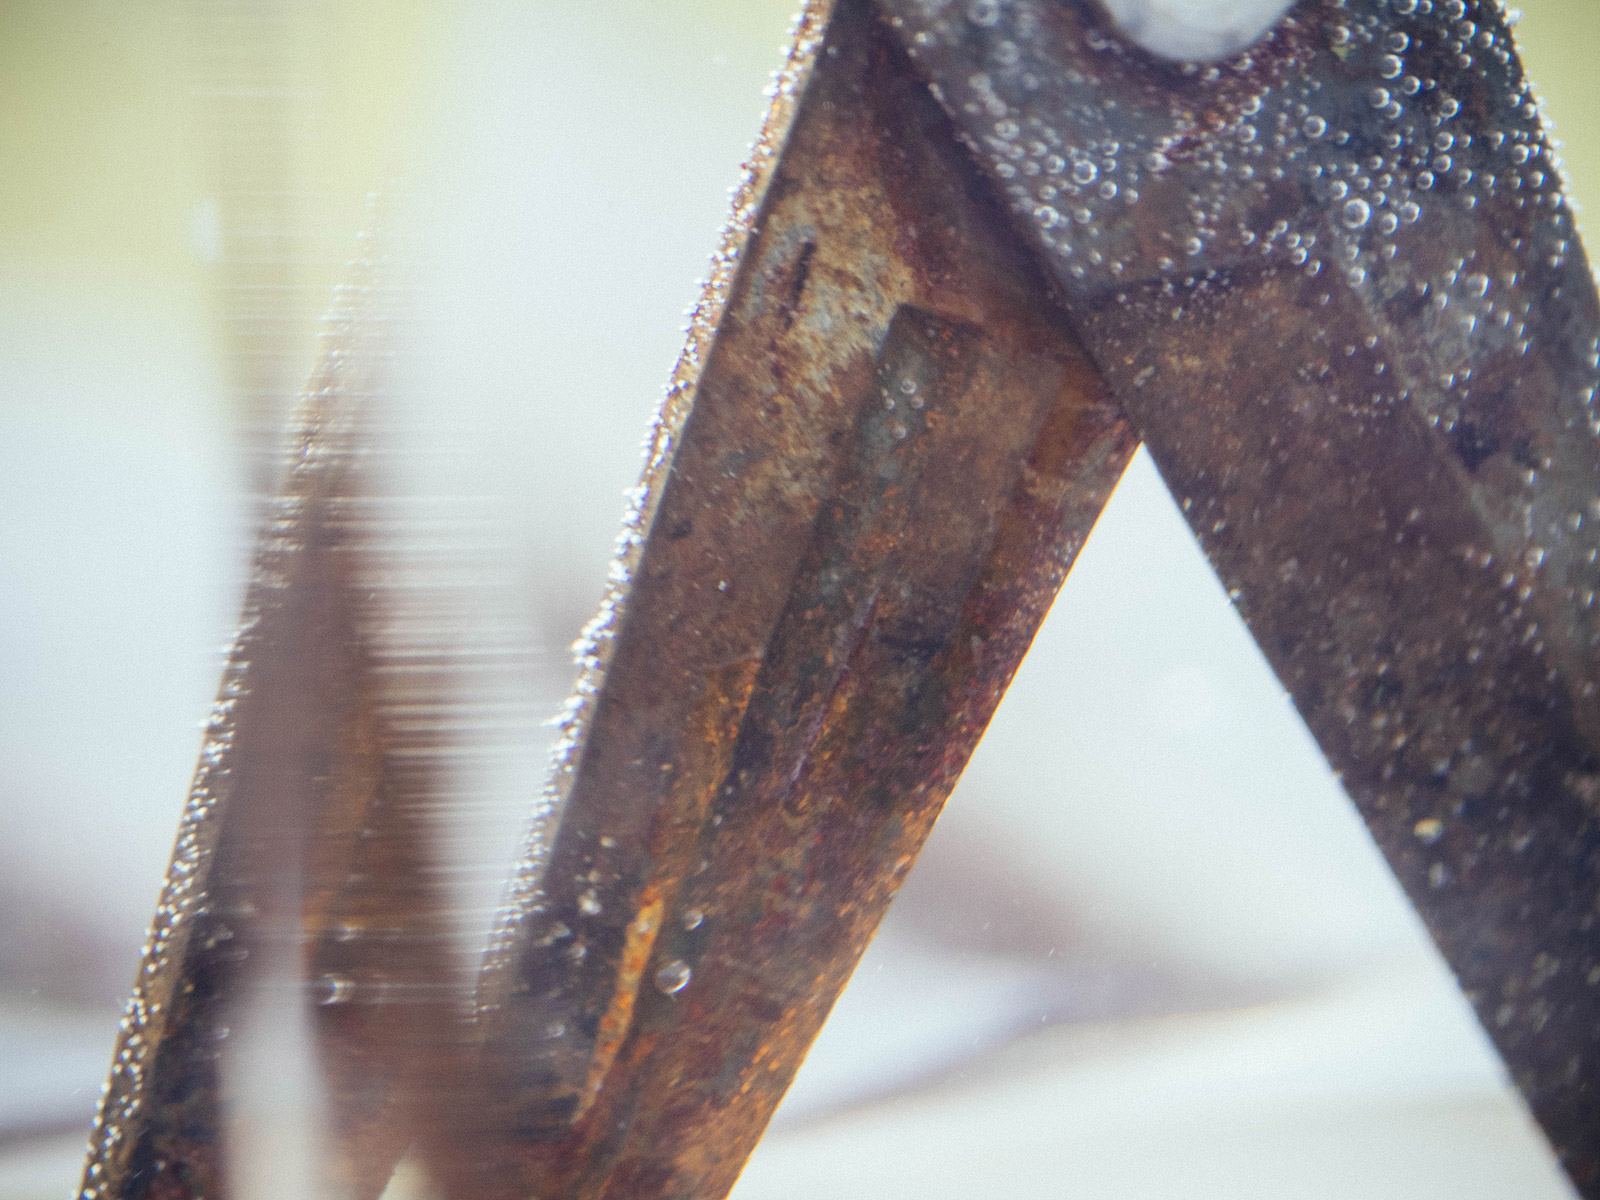
After 12 to 24 hours, the worst of the rust will have fallen off and the rest of it will be loose and easy to remove by hand.
Step 2: Scour the rust off.
Remove your tool from the vinegar bath and use a heavy-duty scouring pad (like the green Scotch-Brite) to wipe any remaining bits of rust off the metal. They should come off with very little effort.
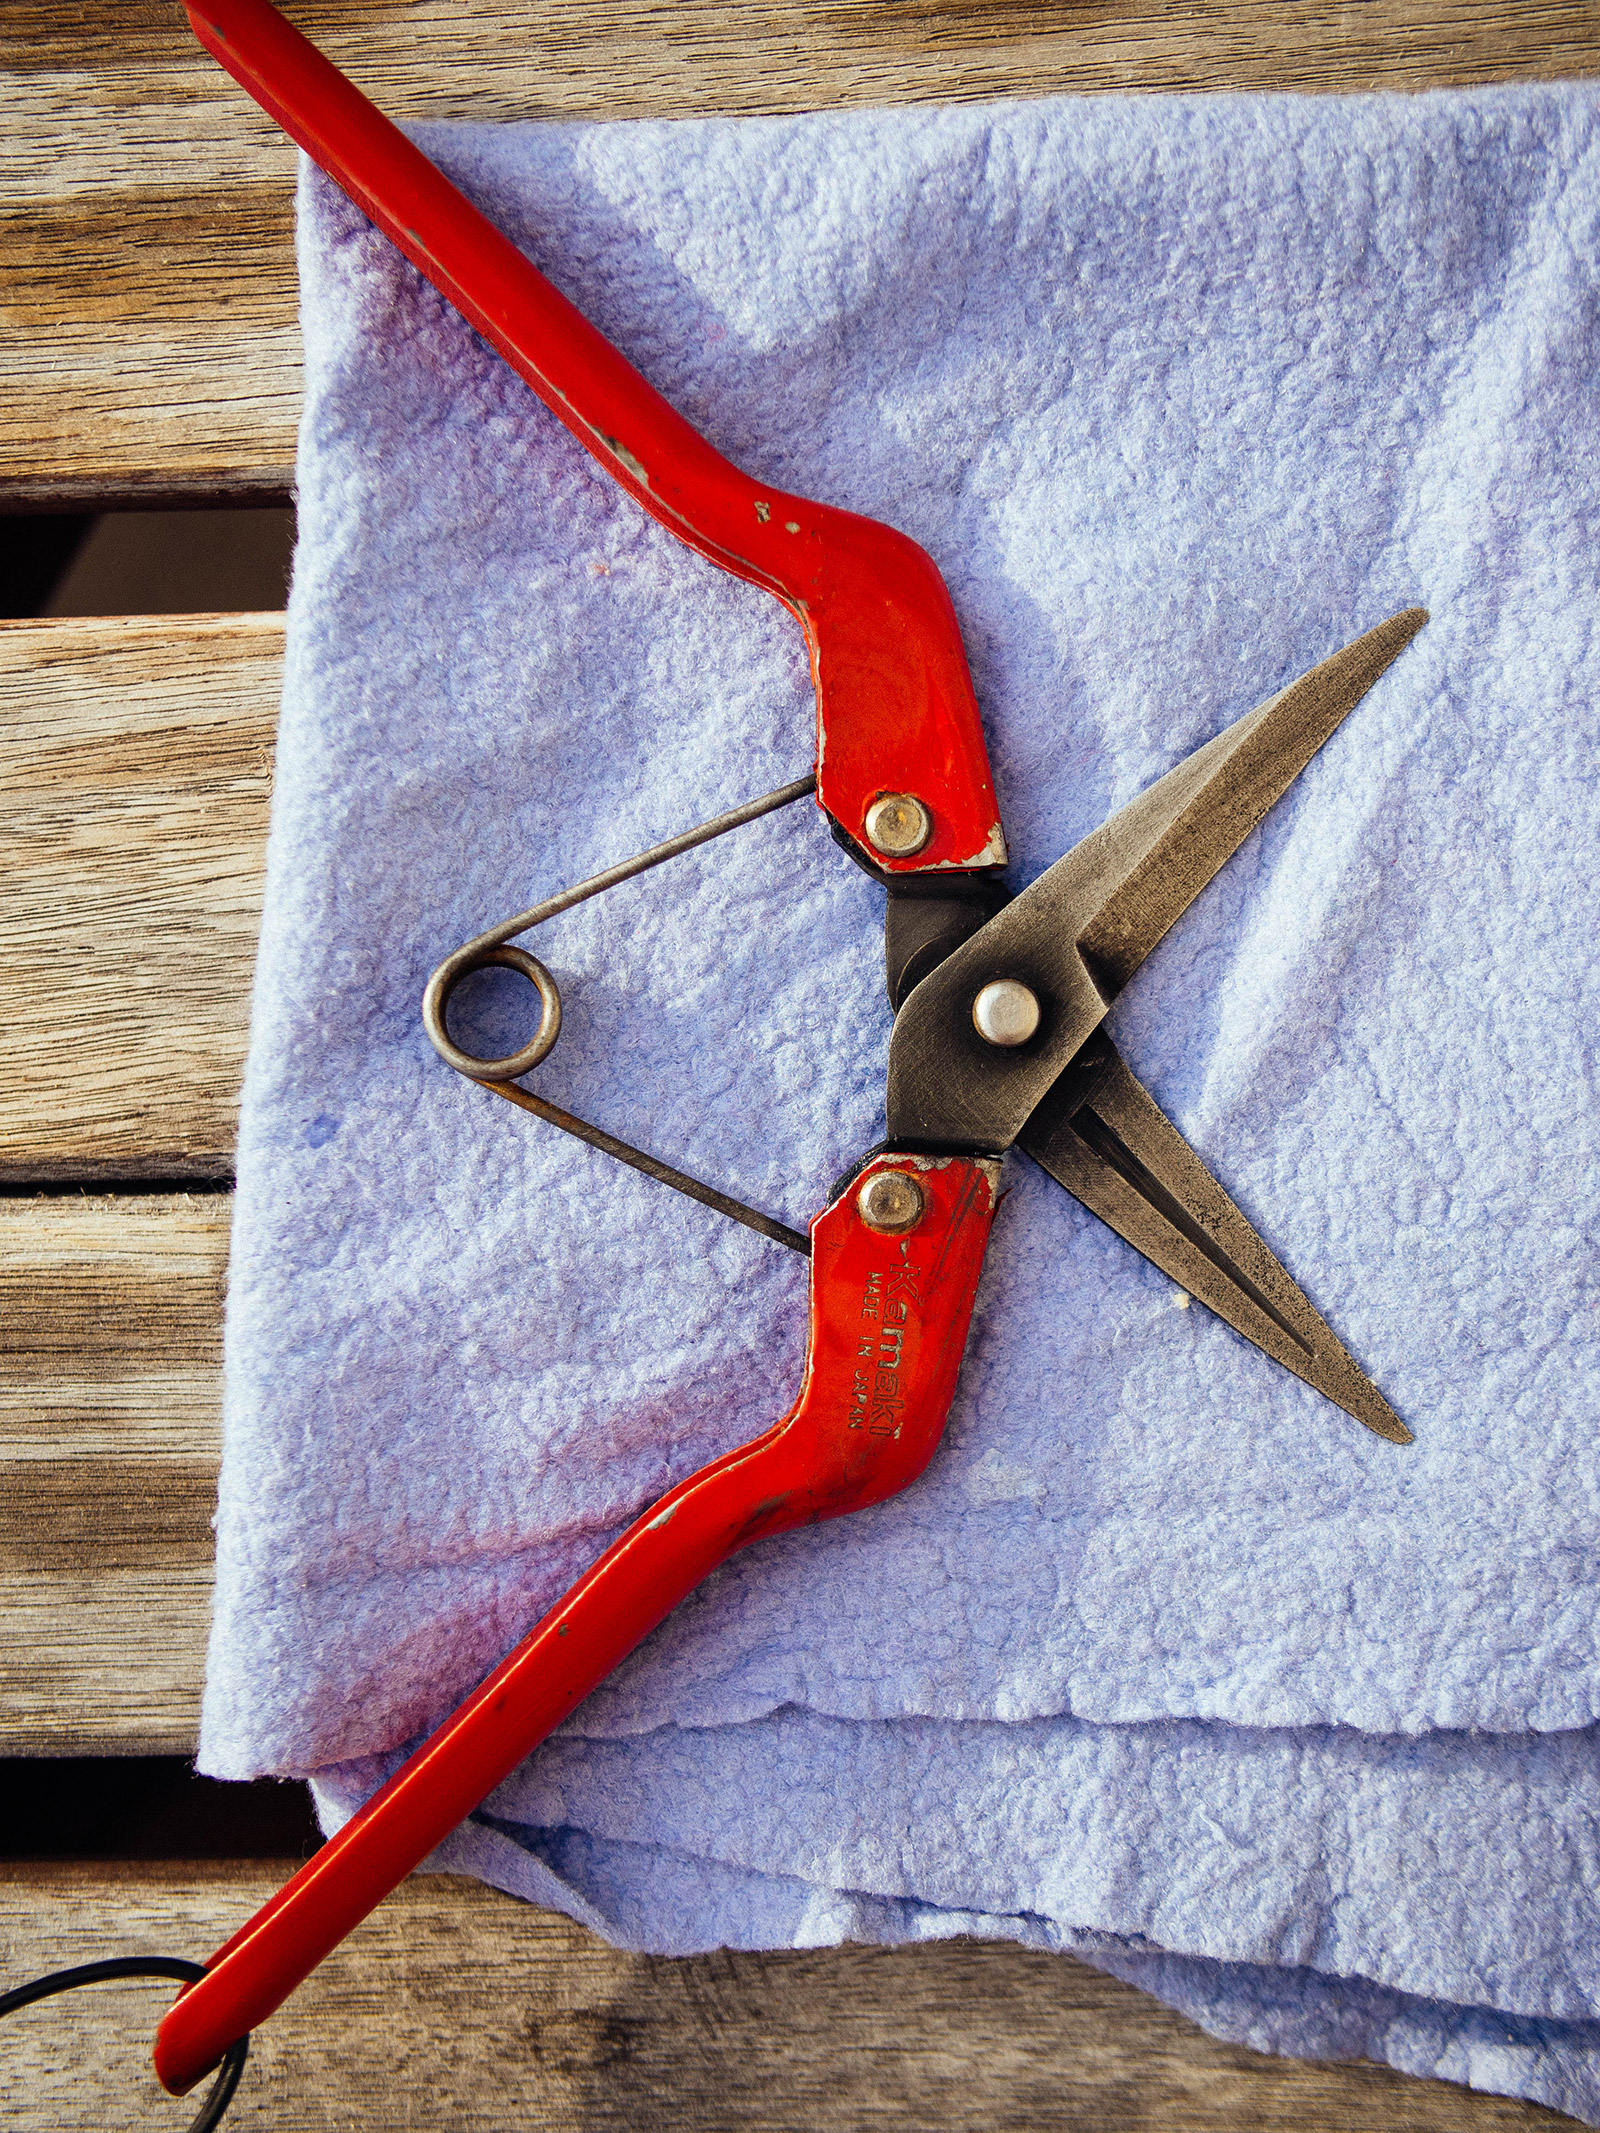
On tools that have moving parts, like pruners, be sure to get into all the nooks and crannies with the scouring pad. Rinse the tool with clear water to remove the last of the rusty flakes and any traces of vinegar.
If your tool is heavily rusted (maybe it hasn’t been cleaned in many years?) you might need to repeat Steps 1 and 2 again until you’re able to remove the rust completely.
Step 3: Dry and lubricate the tool.
Once your tool is free of rust, dry it thoroughly with a soft rag. Pay attention to pivot joints and gears where moisture collects easily, and get them as dry as possible.
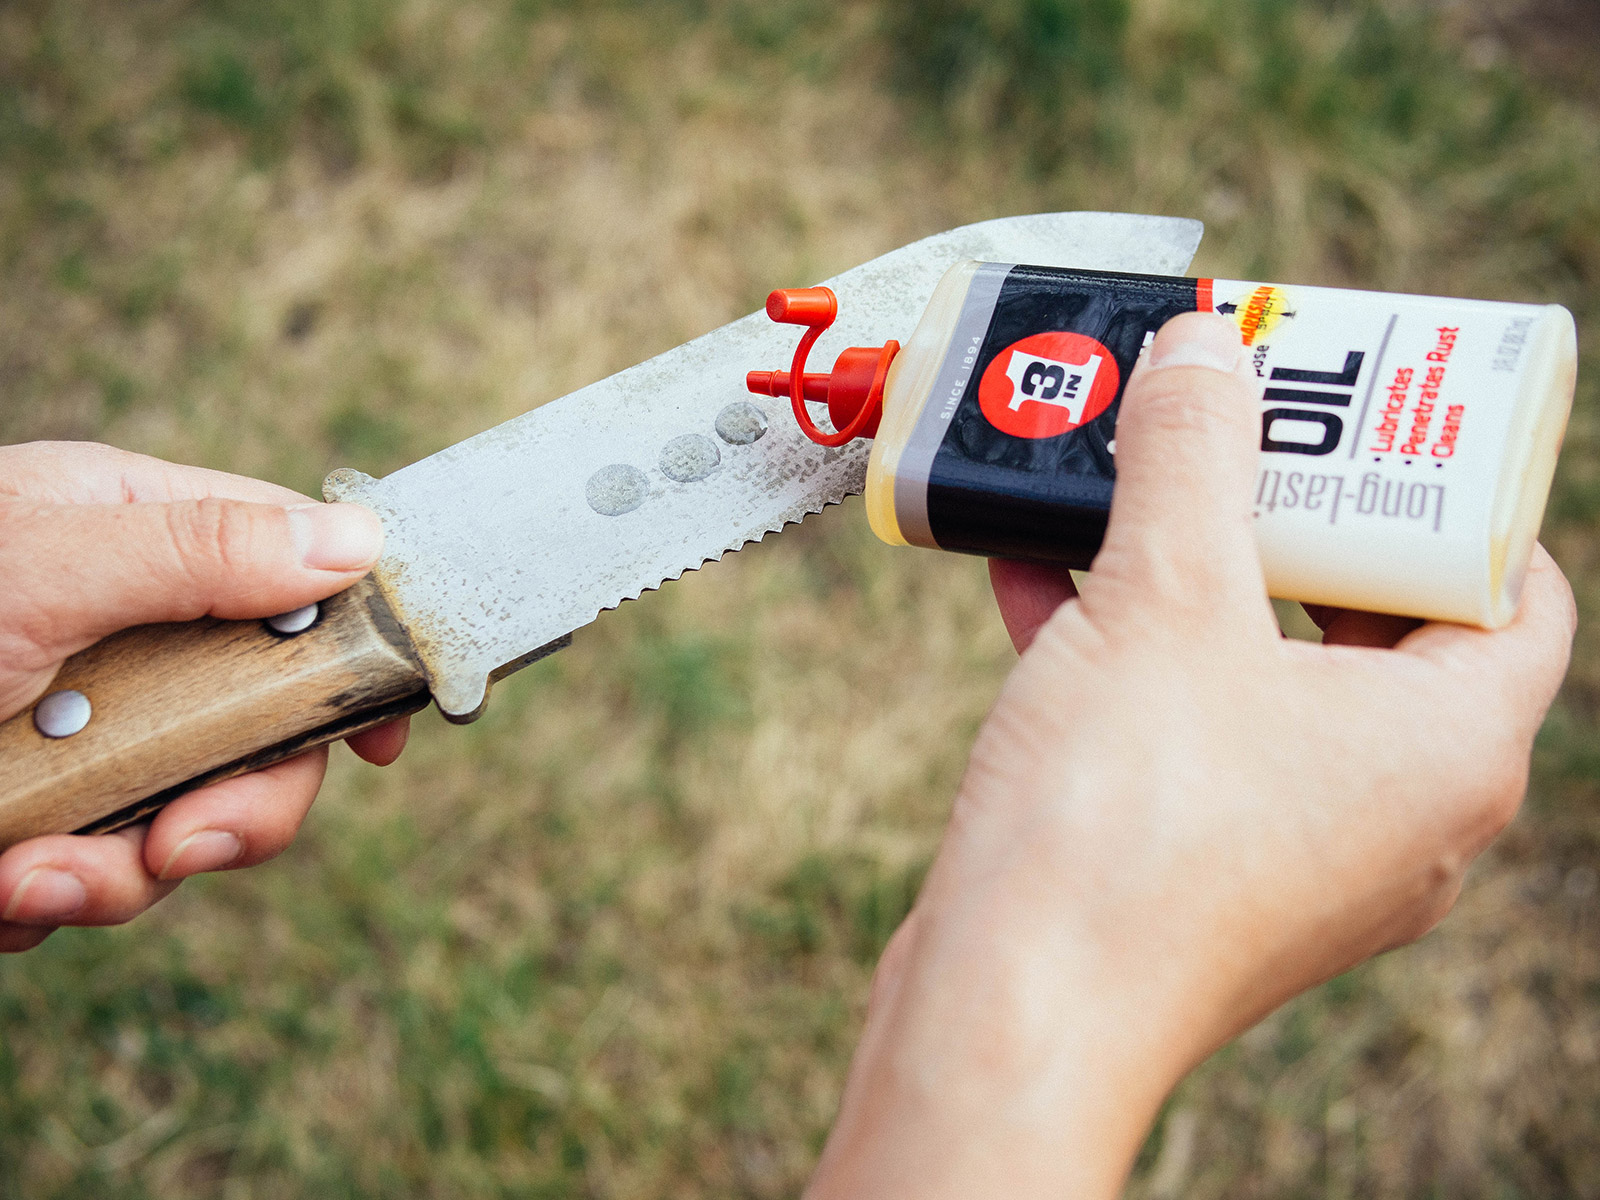
To keep new rust from forming on your tool, apply a few drops of 3-IN-ONE Multi-Purpose Oil to the blade and joints, and wipe them clean with a rag to distribute the oil.
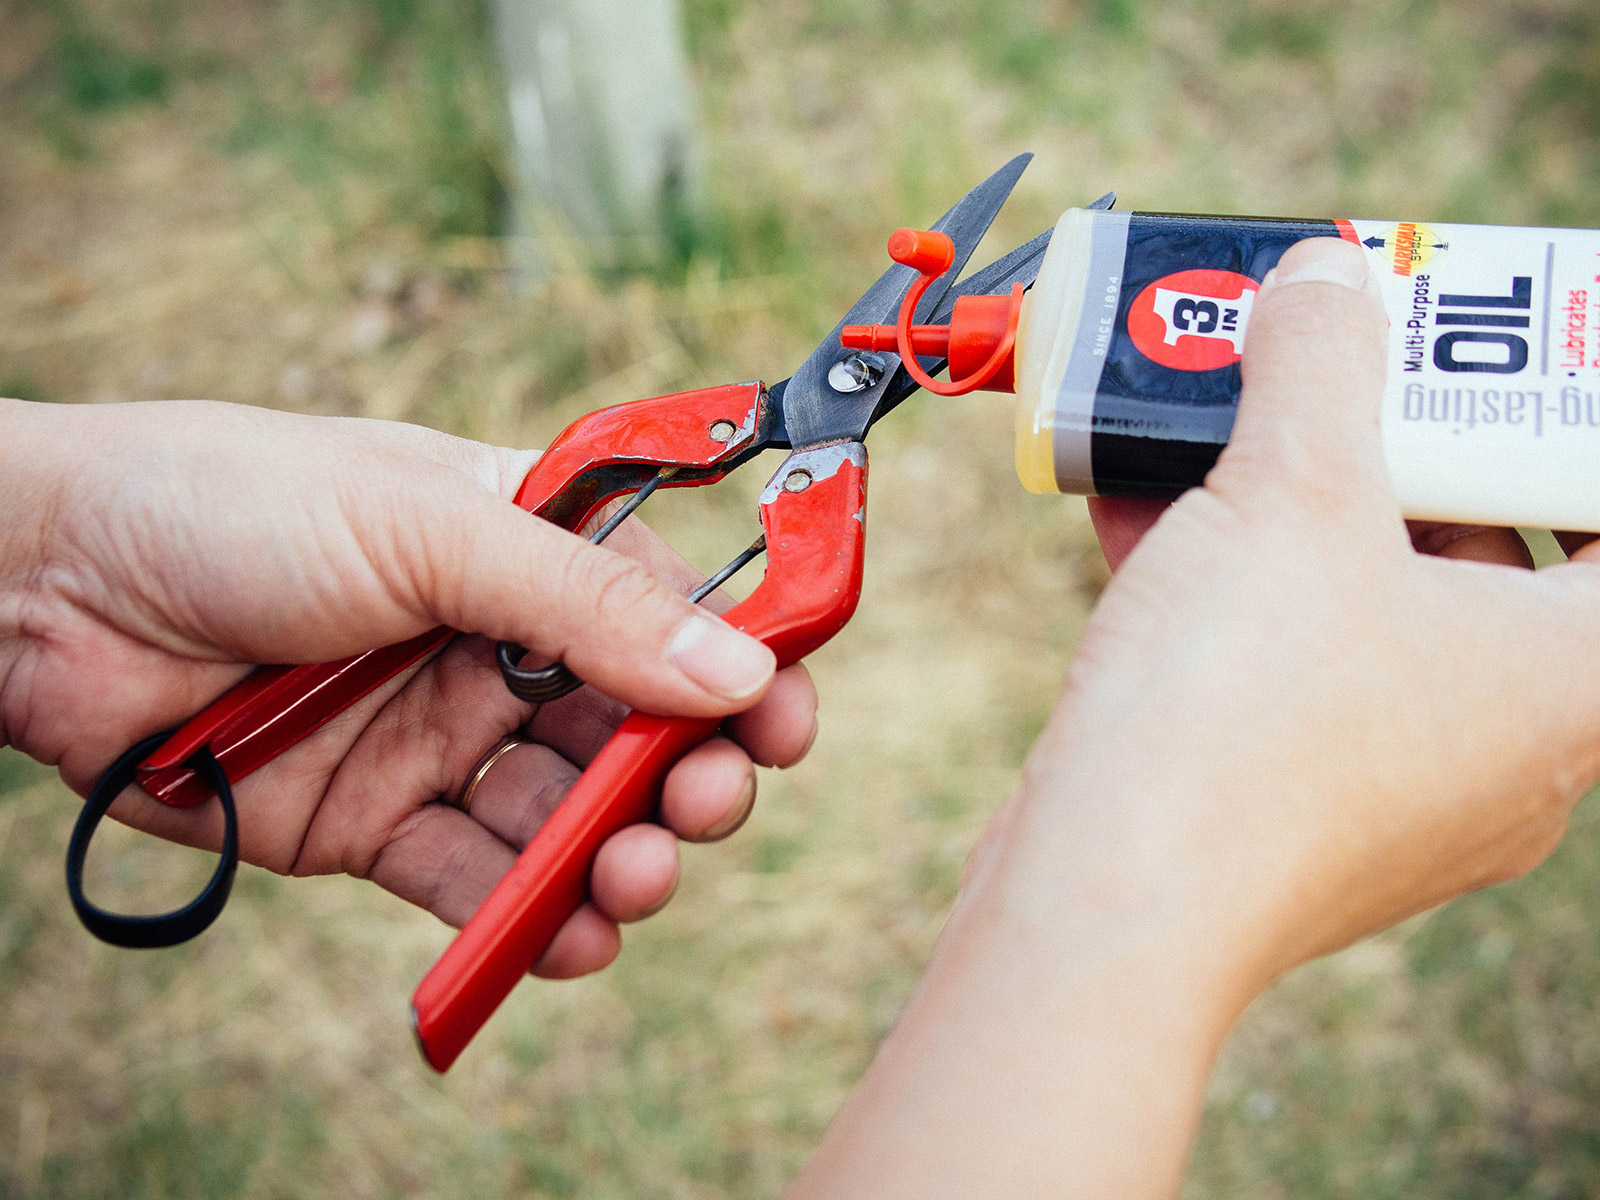
Try to make it a habit to wipe your tools with a little 3-IN-ONE Multi-Purpose Oil after each use to remove grime and add a protective coating in storage. The key to having clean tools is keeping them dry and well-lubricated.
Or, make this easy DIY tool cleaning station that does most of the work for you!
How do you remove rust from larger tools?
For tools that won’t fit in a jar, like shovels and hedge clippers, you can submerge the tool in a 5-gallon bucket filled with cleaning vinegar or white vinegar. It’s the same method as outlined in Steps 1 and 2 above, but super-sized to accommodate larger tools.
Or, you can spray vinegar on the tool, then wrap a vinegar-soaked towel tightly around the rusted part (like a shovel blade). Place the towel-wrapped tool in a plastic bag, tie it loosely, and leave it in place for 24 hours. (The bag helps keep the towel damp and prevents it from leaking all over your surface.)
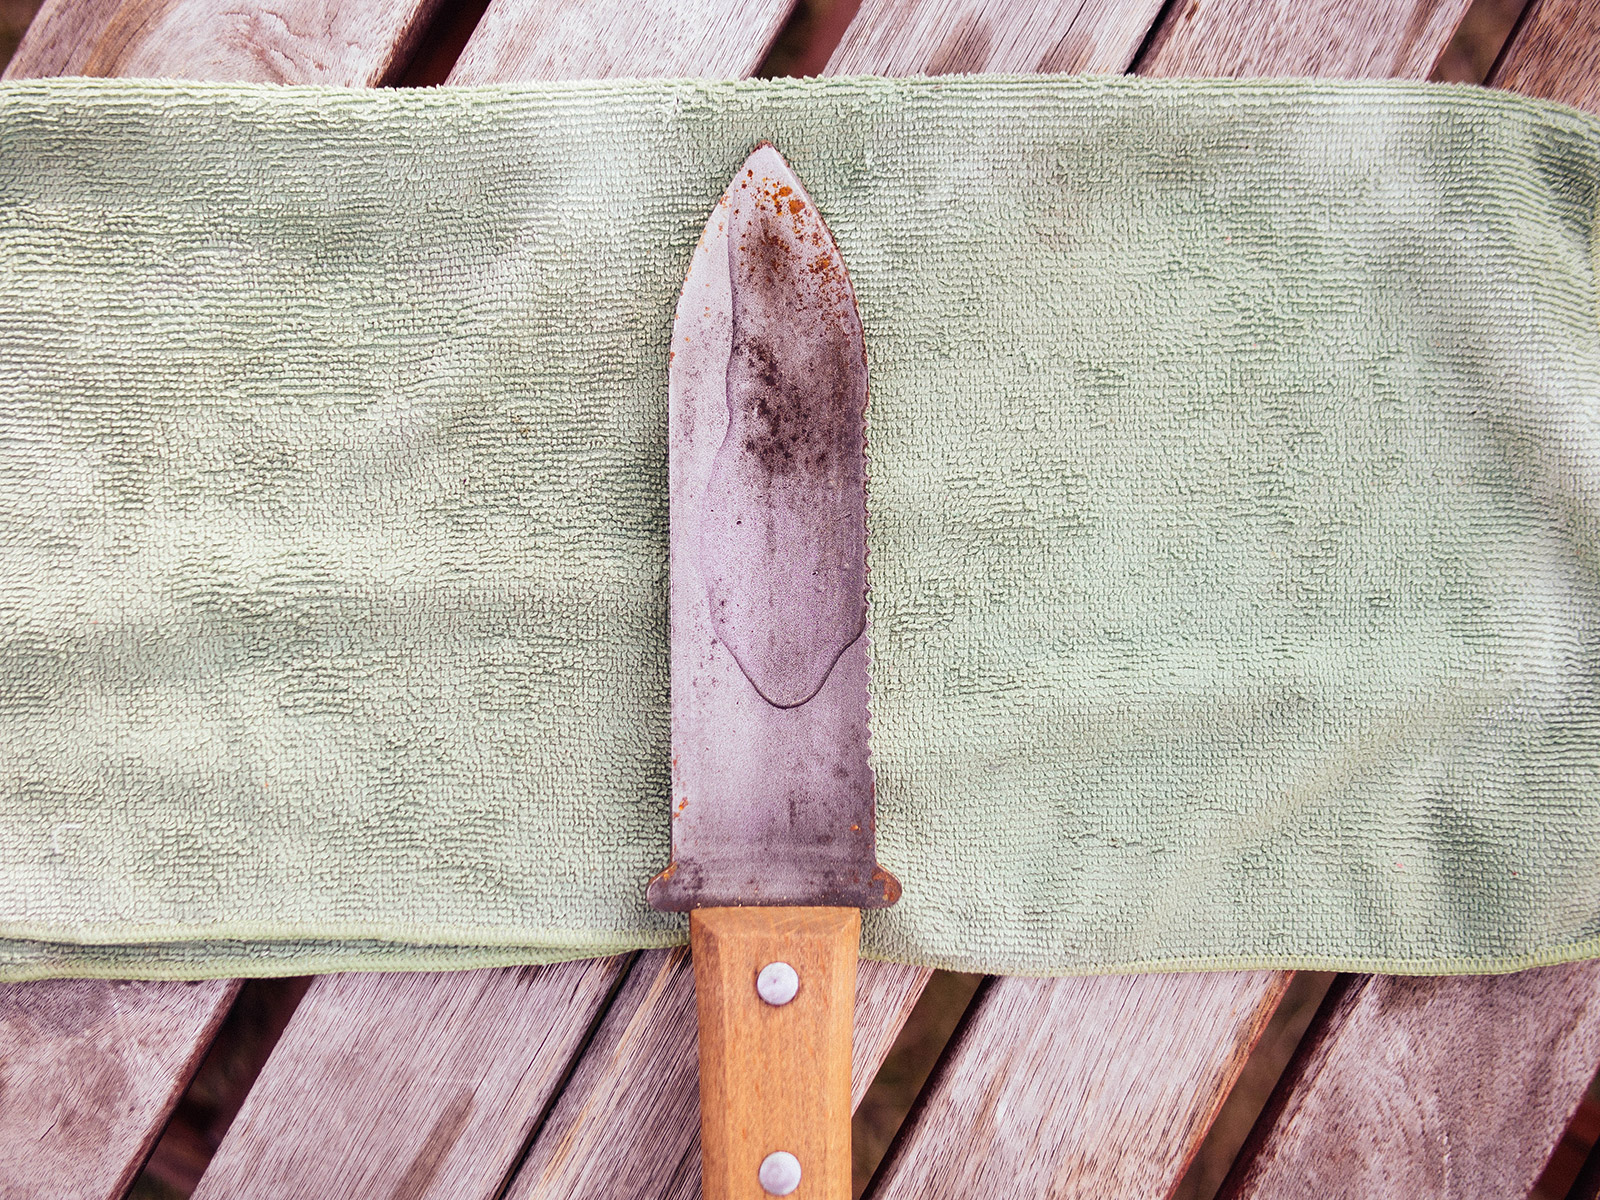
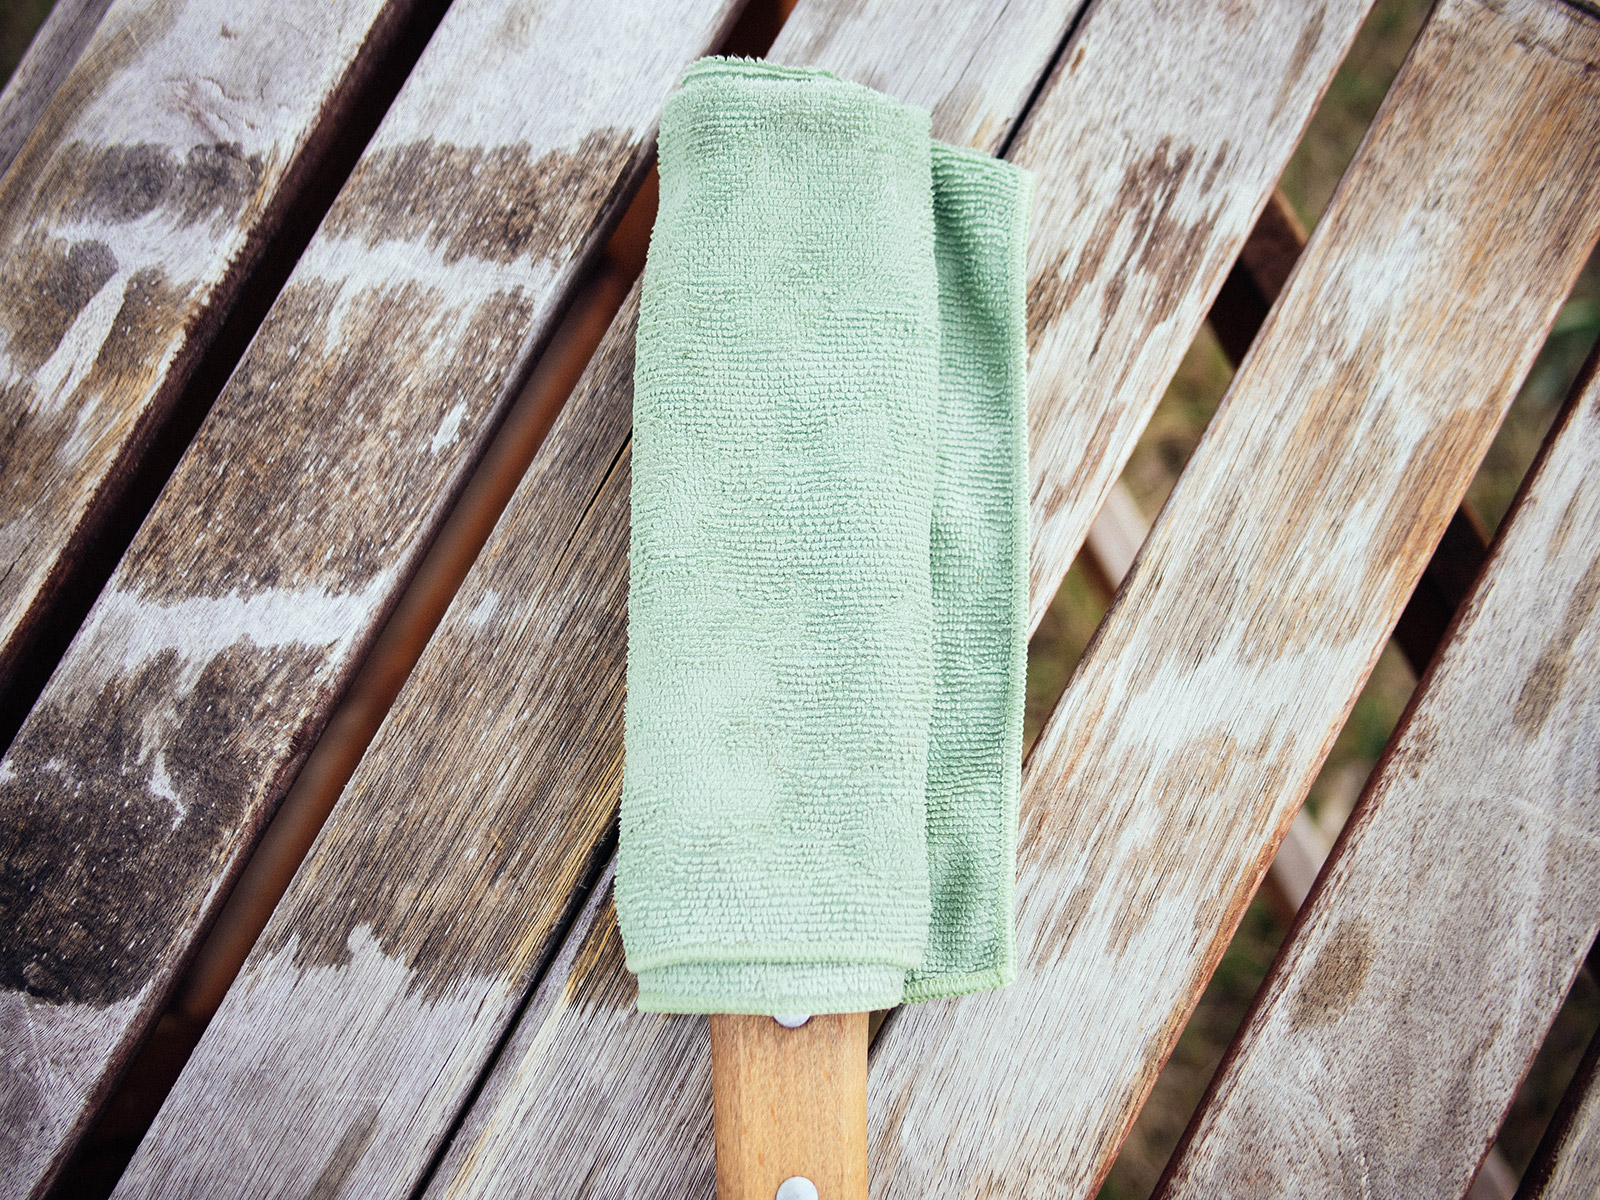
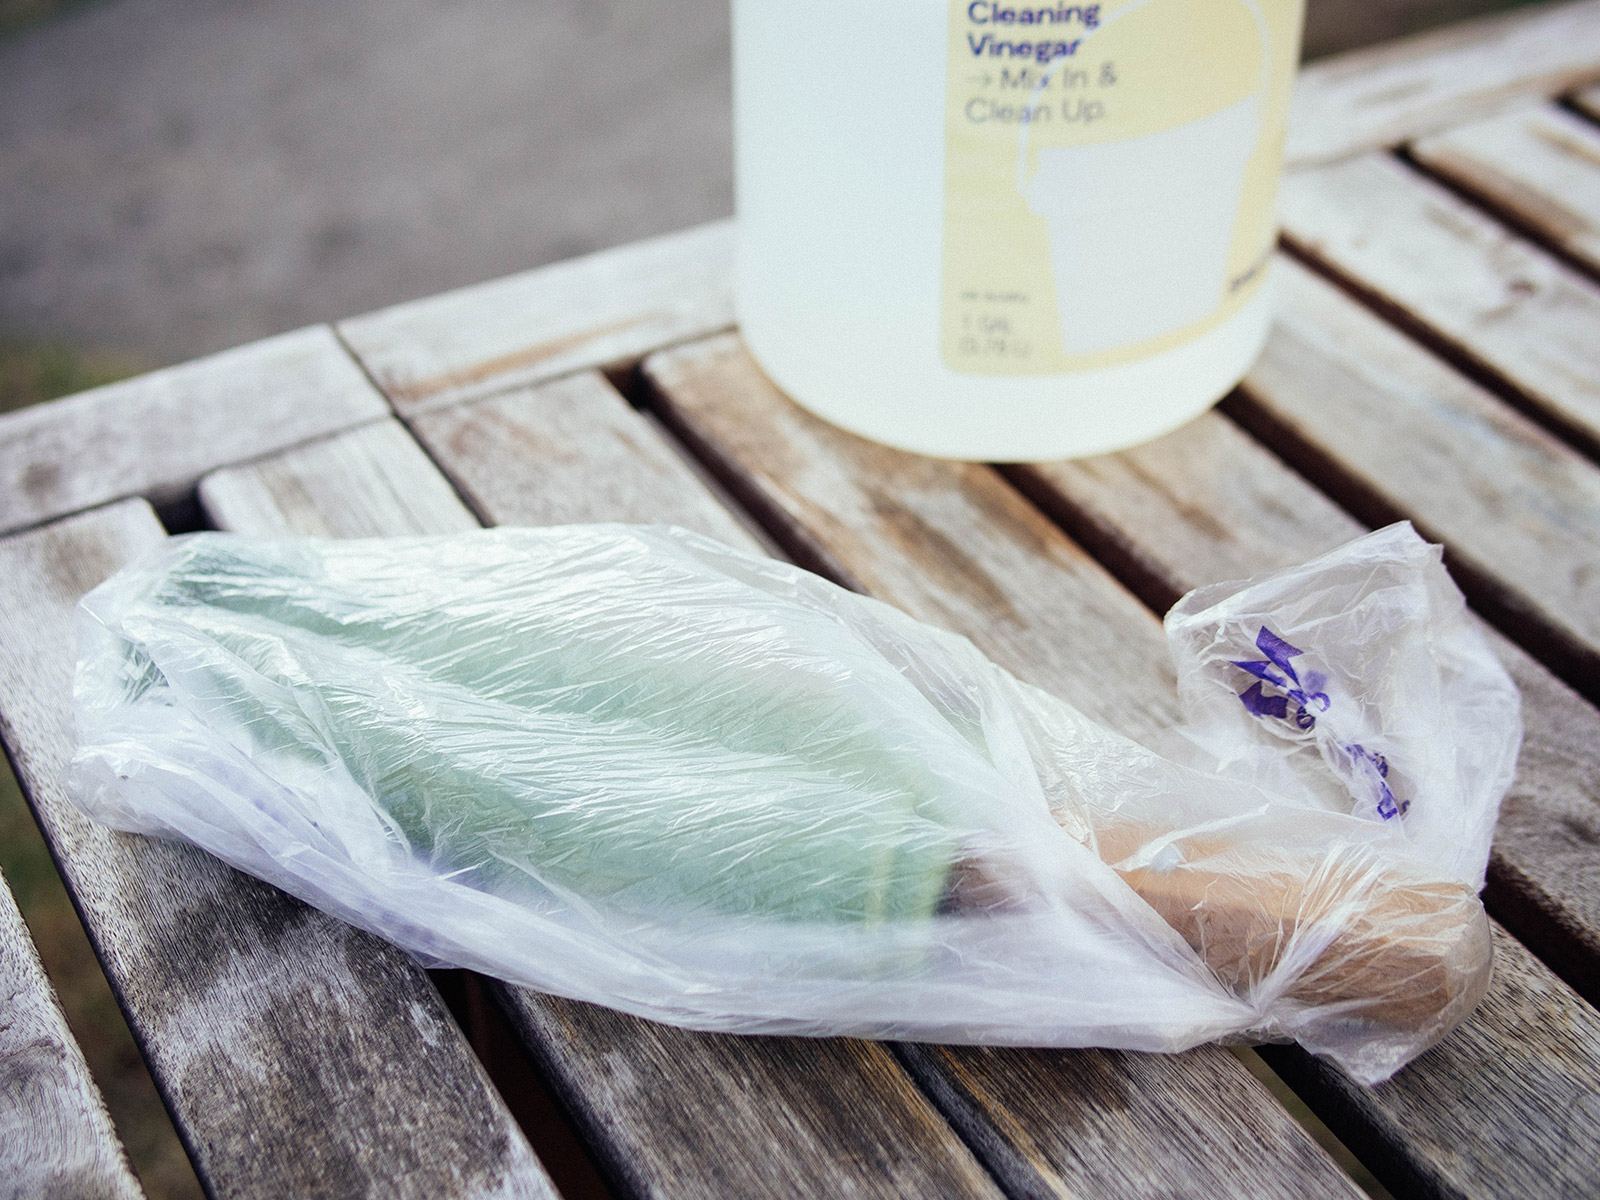
The rust should be mostly dissolved by then, and the rest can be scrubbed away easily with a scouring pad.
Be sure to hose the tool down with water to remove any lingering rust flakes and vinegar, then dry it thoroughly and apply a thin coat of 3-IN-ONE Multi-Purpose Oil before storing.
What’s the difference between cleaning vinegar and white vinegar?
Did you know there’s a type of vinegar that’s specifically formulated for removing grease, grime, and other residue on surfaces?
Cleaning vinegar, as it’s called, has 6 percent acidity, whereas white vinegar (what you use in the kitchen) has 5 percent acidity. That might not sound like much of a difference, but that extra 1 percent actually makes cleaning vinegar 20 percent stronger.
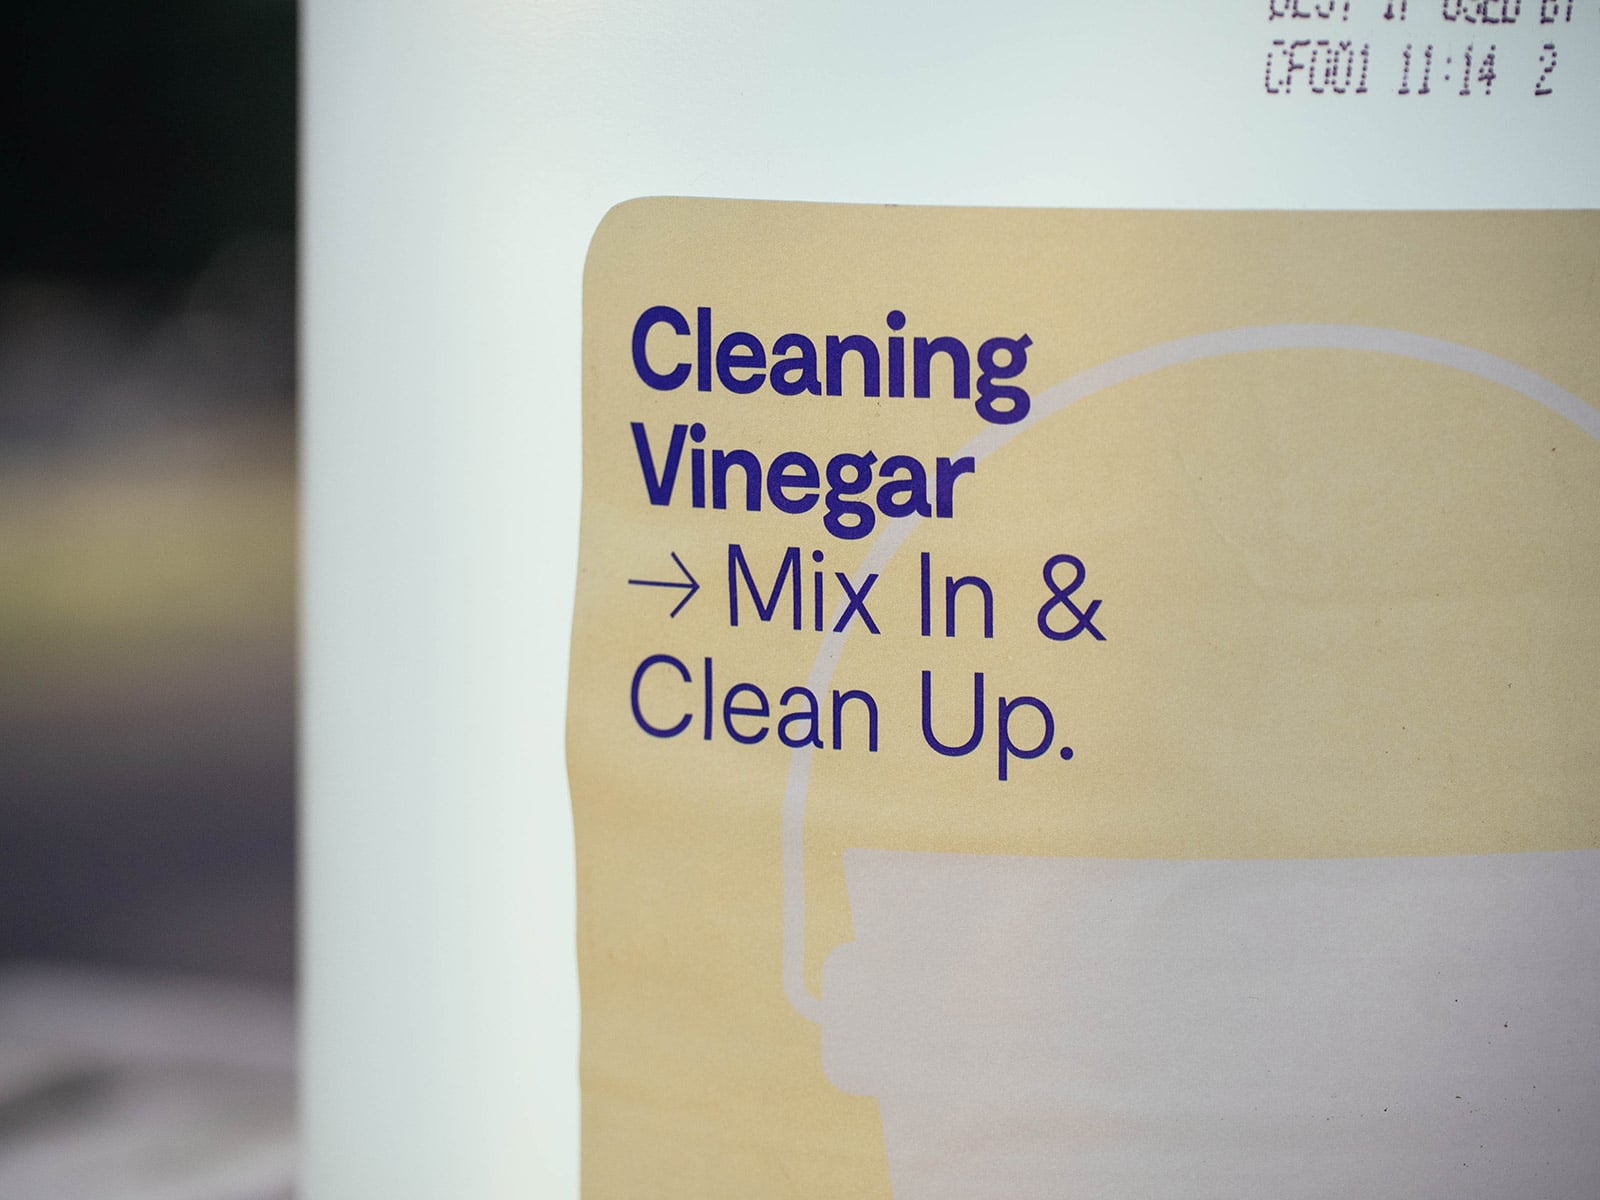
While many acids are effective at removing rust, vinegar (acetic acid) is something I already have at home and it’s an inexpensive, useful product to keep on hand.
It’s found in many home improvement and discount stores in the cleaning aisle, and in grocery stores right next to the white vinegar. At only $3 to $4 a gallon, it’s the most economical non-toxic household cleaner you can buy.
The mild acid safely dissolves rust without damaging your tools (so long as you don’t forget about them in the vinegar bath).
I like cleaning vinegar because it works harder and faster (especially on very heavy, stubborn rust), but white vinegar does a good job too. Use whatever’s available to you.
Why does vinegar remove rust so well?
So what’s actually happening when you soak your rusty tools in vinegar?
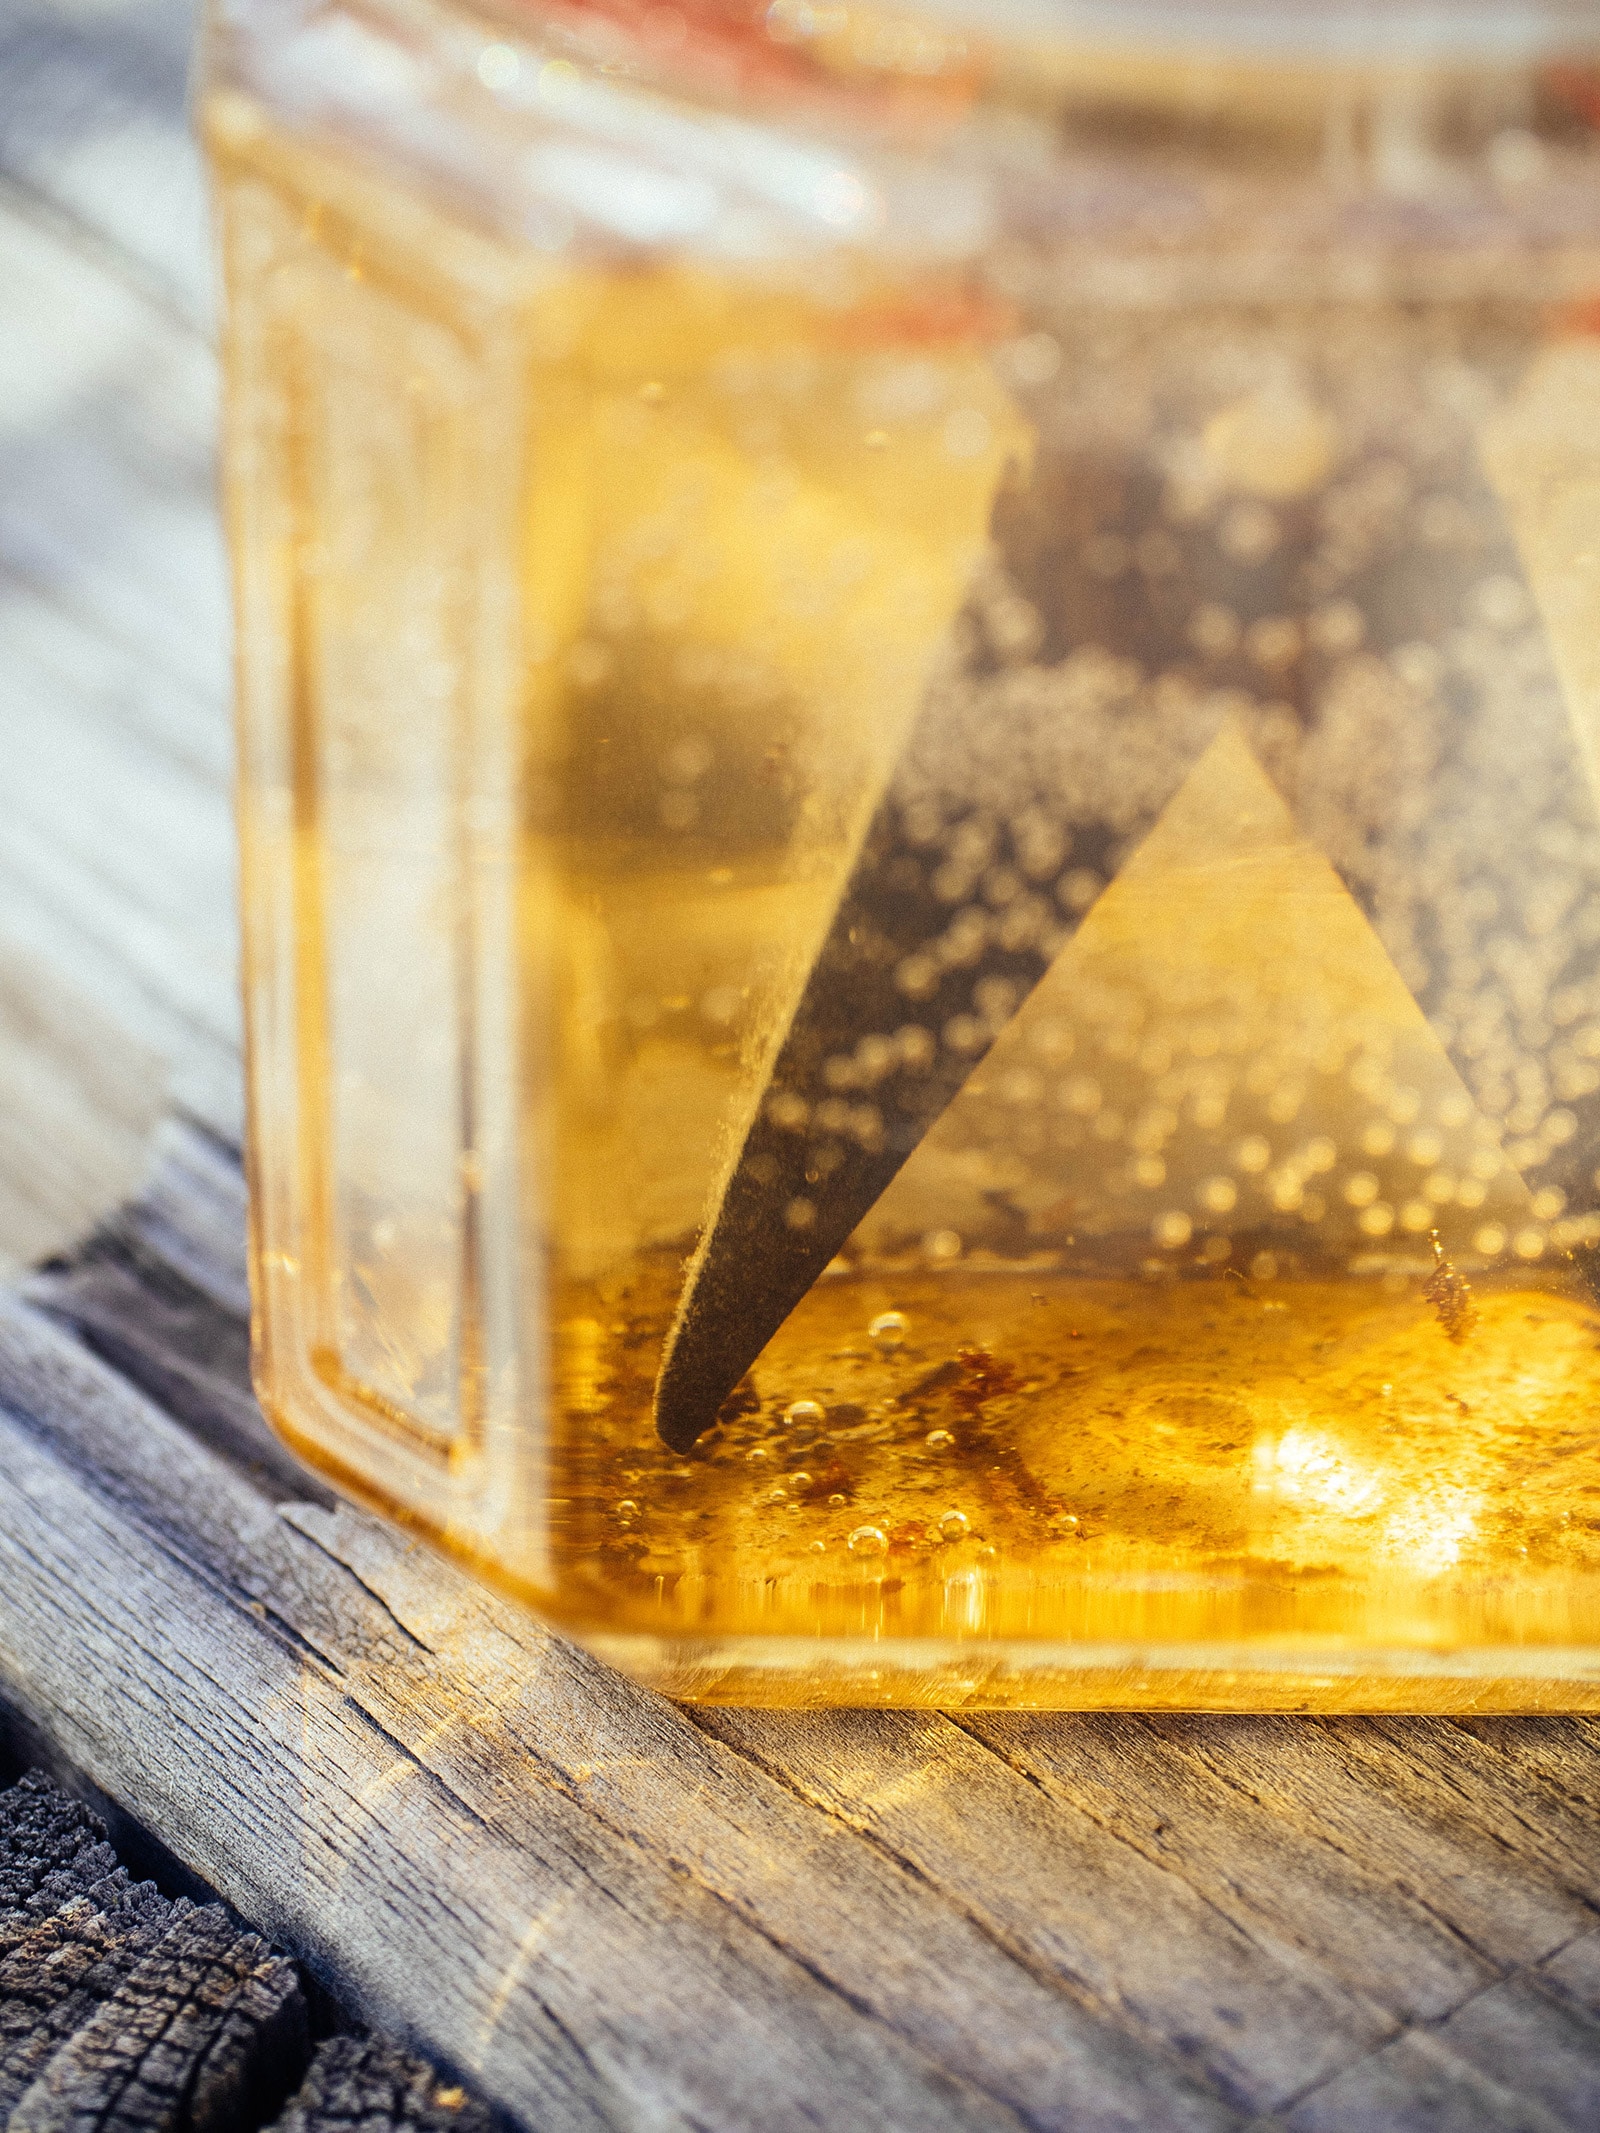
Here’s how science explains it.
3CH3COOH + FeOOH ⟶ Fe(CH3COO)3 + 2H2O
What this means is CH3COOH (acetic acid, which vinegar contains) reacts with FeOOH (rust) to form Fe(CH3COO)3 otherwise known as iron (III) acetate, which is water-soluble.
This makes it so the rust crumbles and lifts off the metal surface. If you’ve wondered why the vinegar looks so rusty after a soak, it’s because you’re seeing iron acetate floating in it.
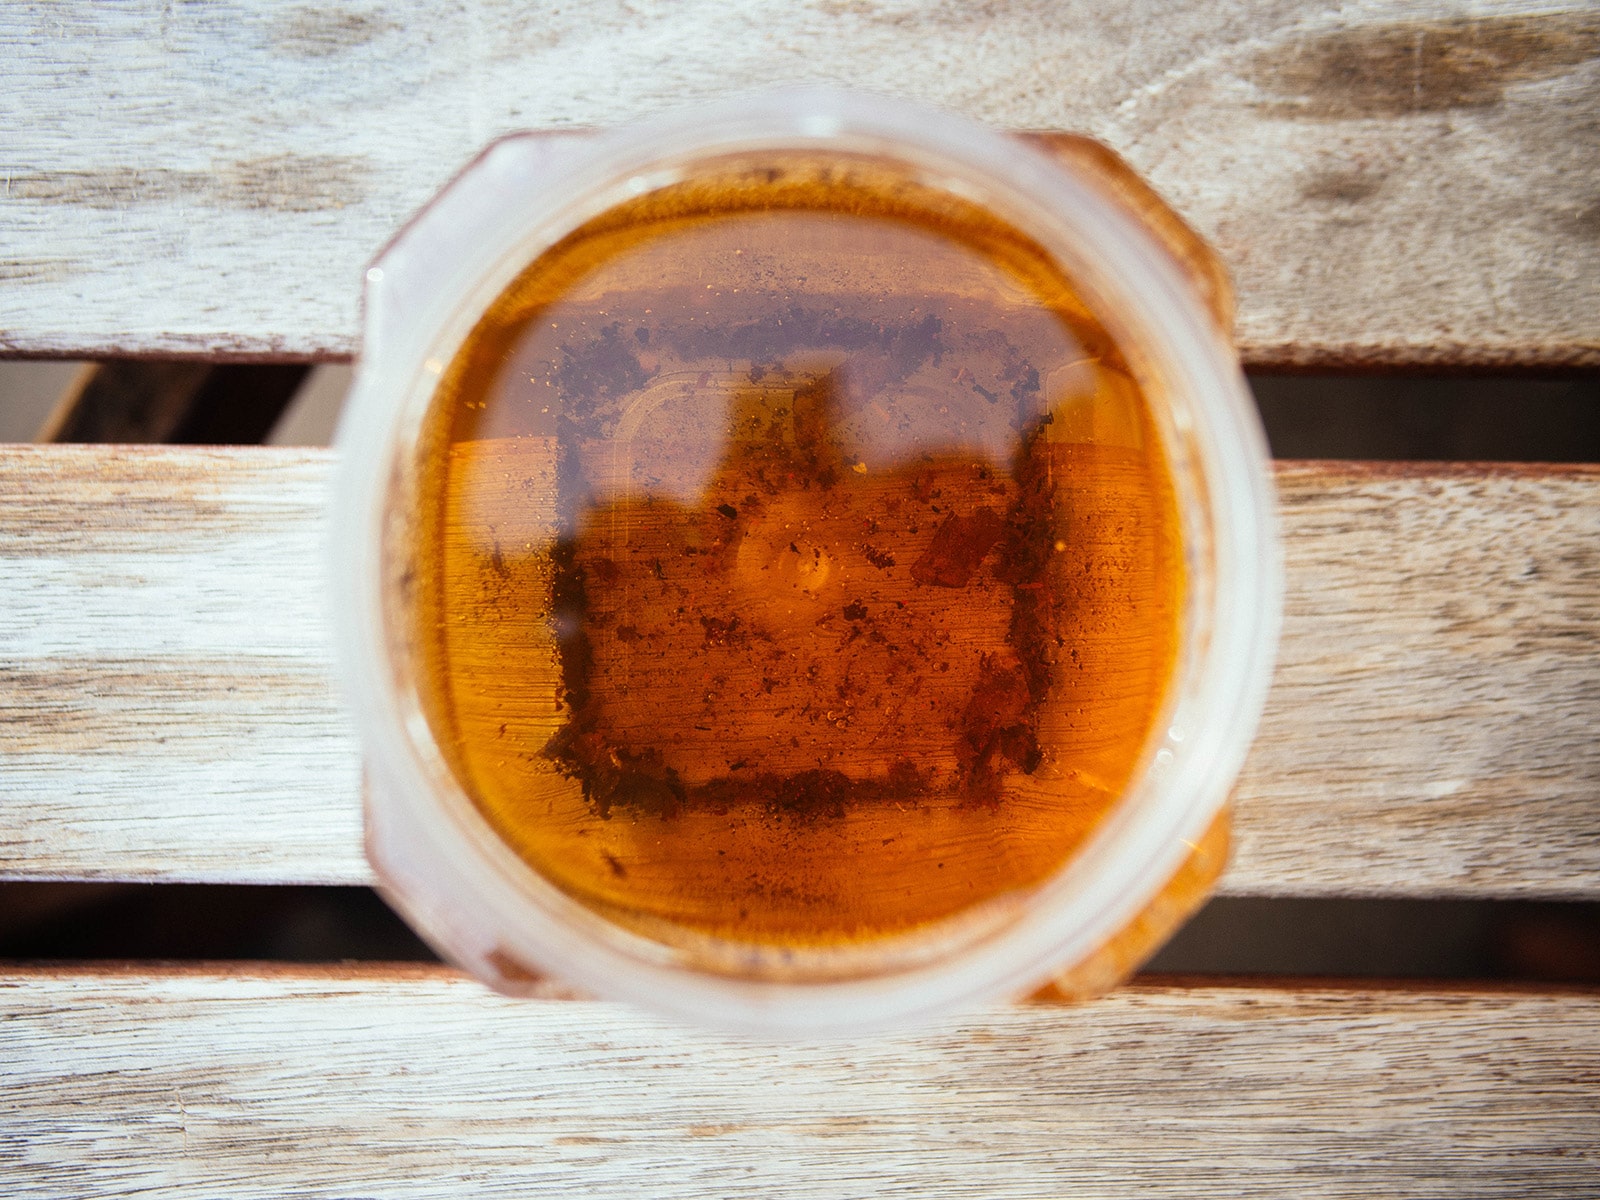
The vinegar doesn’t clean the tool per se, it merely removes the rust—which is why it’s important to use an oil like 3-IN-ONE afterward to clean and protect the finish.
The Best Way to Remove Rust From Tools—No Scrubbing Required
Even if you have years of rust and grime built up on your tools, you can clean them quickly and easily with no scrubbing at all. You just need two household ingredients to keep your tools looking shiny and new.
Materials
- Rusty tool
- Cleaning vinegar or white distilled vinegar
- Empty jar, aluminum can, or small container (a large yogurt container works great)
- Heavy-duty scouring pad
- Soft clean rag
- 3-IN-ONE Multi-Purpose Oil
Instructions
- Soak your tool in a vinegar bath. Place your tool in a jar or other container, then pour in just enough vinegar to submerge all the rusted parts. Soak the tool for 12 to 24 hours, depending on level of rust and type of vinegar used. (Sometimes, even just an hour or two will do for small amounts of rust.)
After 12 to 24 hours, the worst of the rust will have fallen off and the rest of it will be loose and easy to remove by hand. - Scour the rust off. Remove your tool from the vinegar bath and use a heavy-duty scouring pad (like the green Scotch-Brite) to wipe any remaining bits of rust off the metal. They should come off with very little effort.
On tools that have moving parts, like pruners, be sure to get into all the nooks and crannies with the scouring pad. Rinse the tool with clear water to remove the last of the rusty flakes and any traces of vinegar.
If your tool is heavily rusted (maybe it hasn't been cleaned in many years?) you might need to repeat Steps 1 and 2 again until you're able to remove the rust completely. - Dry and lubricate the tool. Once your tool is free of rust, dry it thoroughly with a soft rag. Pay attention to pivot joints and gears where moisture collects easily, and get them as dry as possible.
To keep new rust from forming on your tool, apply a few drops of 3-IN-ONE Multi-Purpose Oil to the blade and joints, and wipe them clean with a rag to distribute the oil.
Try to make it a habit to wipe your tools with a little 3-IN-ONE Multi-Purpose Oil after each use to remove grime and add a protective coating in storage. The key to having clean tools is keeping them dry and well-lubricated.
Notes
Did you know there's a type of vinegar that's specifically formulated for removing grease, grime, and other residue on surfaces?
Cleaning vinegar, as it's called, has 6 percent acidity, whereas white vinegar (what you use in the kitchen) has 5 percent acidity. That might not sound like much of a difference, but that extra 1 percent actually makes cleaning vinegar 20 percent stronger.
I like cleaning vinegar because it works harder and faster (especially on very heavy, stubborn rust), but white vinegar does a good job too. Use whatever's available to you.
This post is sponsored by 3-IN-ONE ® Brand.
You can find 3-IN-ONE Multi-Purpose Oil at Lowe’s Home Improvement and other retailers.
Follow 3-IN-ONE Brand on Facebook and Instagram for more gardening tools and
maintenance tips!
View the Web Story on how to remove rust from tools.








Hi Garden Betty!
I appreciate learning about the rust removal on my tools and plan to jump right in. My question however is– after I’ve soaked all my hand tools in a jar of vinegar, what is the most environmentally responsible way to dispose of the rusty vinegar remains?
You can dilute the rusty vinegar with water and pour it out in the yard (away from edible plants).
Here in Canada we can get 10% cleaning vinegar. Windstar House is the brand I can get at Dollarama. I’m not sure if DollarTree carries it.
Also, I believe Heinz now has 5/6/10% vinegars as well.
I love your site and over the years have referred to it often.
Cheers
How do you dispose of the used vinegar?
I’ve always just put the rusty vinegar down the drain with the water running.
There is a couple different plants appsyou can get. You get a free trail days then it is $9.99 a month & up. 3/4 of the time they are right & sometimes they are wrong. Also you can pull up google click picture then you can take a picture ,click search at the bottom, they will pulled up what they think it is.
I’ve always used royal jelly to remove rust on tools. How dies vinegar compare with it?
What’s the diff between Scrub and Scour?
As far as this article is concerned, you scour with the scouring pad to rub the remaining rust flakes off the metal. (Yes, technically this is scrubbing, but in this case it’s more like wiping since the vinegar did all the work.)
How do dispose of the rusty vinegar after the tools are done soaking?
poor on your garden, they are not toxic and break down easily.
Bad idea – you’d make the soil too acidic for it to sustain grass or plants. I’ve done it myself and ended up creating a bald patch. Lesson learned.
Hi Linda,
We have what is believed to be a shrub in our front yard that is @ 15 – 20 feet high with plenty of leaves and provides lots of shade.
Many people have asked “what it is”, but no one can I.D. it.
If I sent along a few pictures, do you think you might be able to identify it for me?
Thank You.
Wayne Moriarty