I’ve started many new garden beds over the years, and you know what? I haven’t dug a thing.
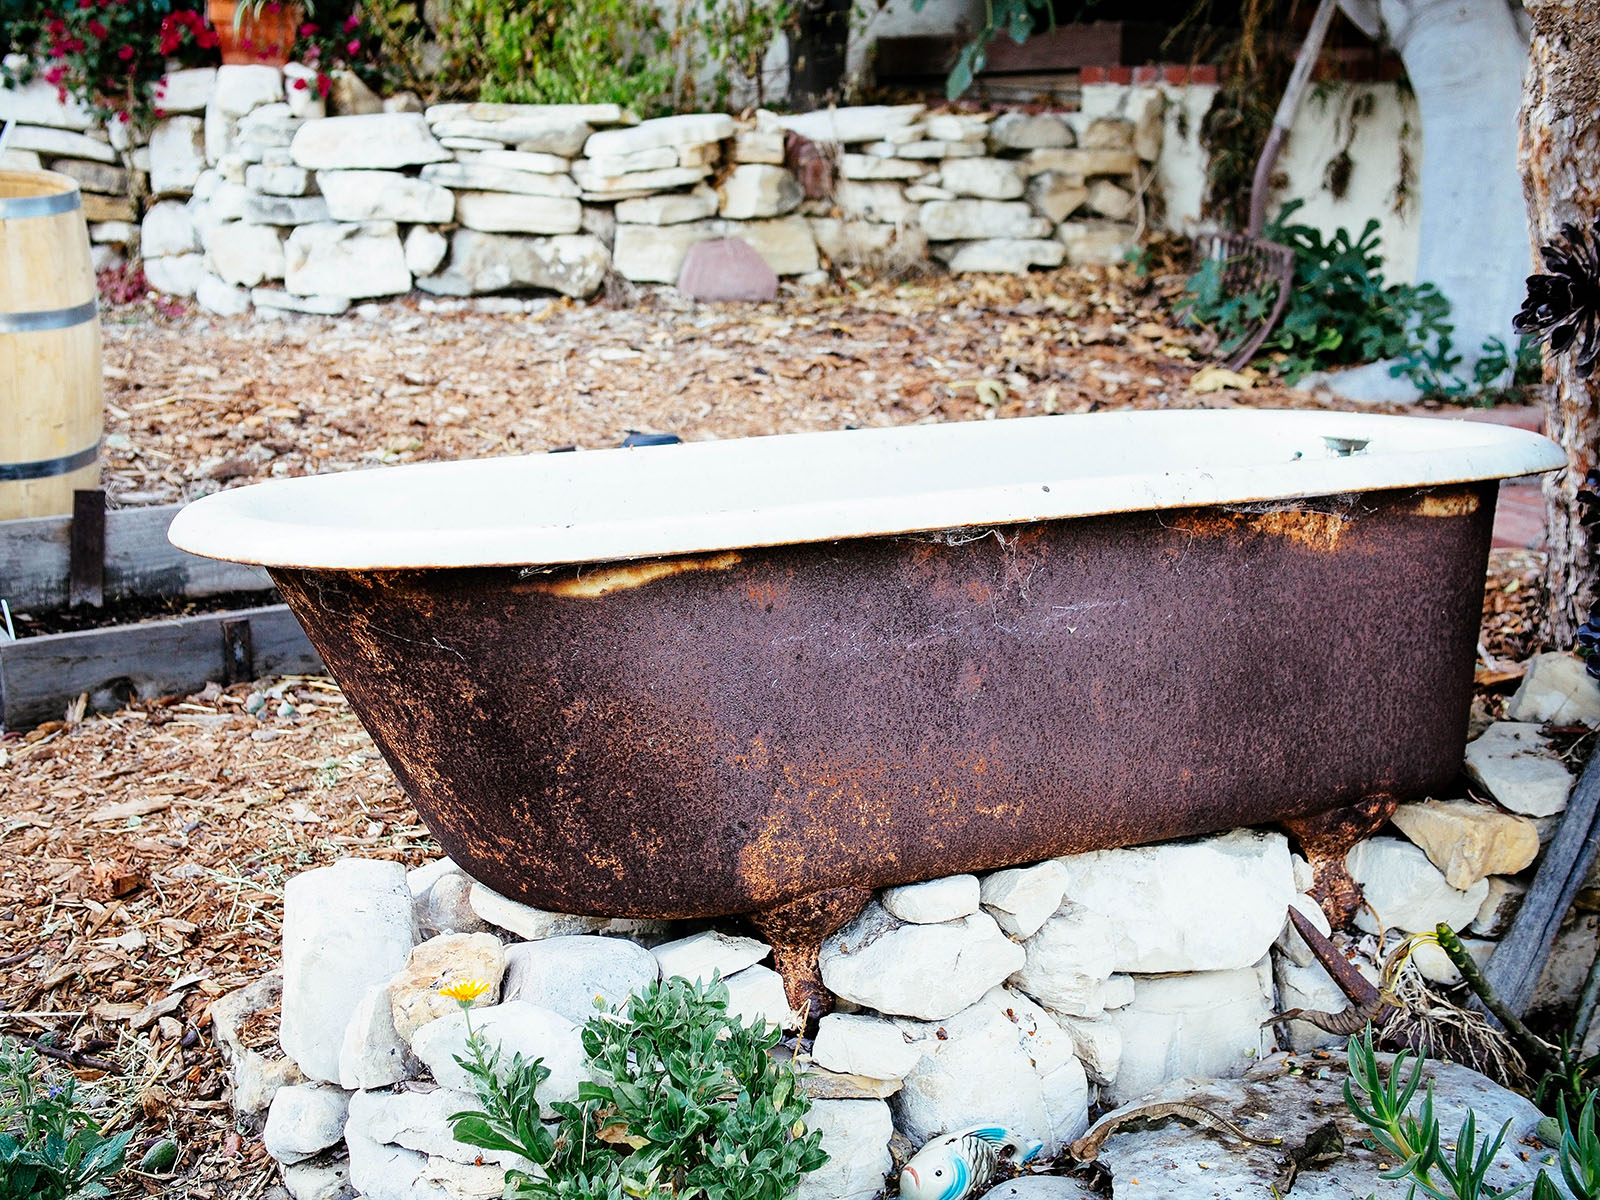
Back in my old garden in California, it actually would’ve been pretty challenging to dig anything, as I started one of my new garden beds in an old bathtub. A bathtub in my backyard!
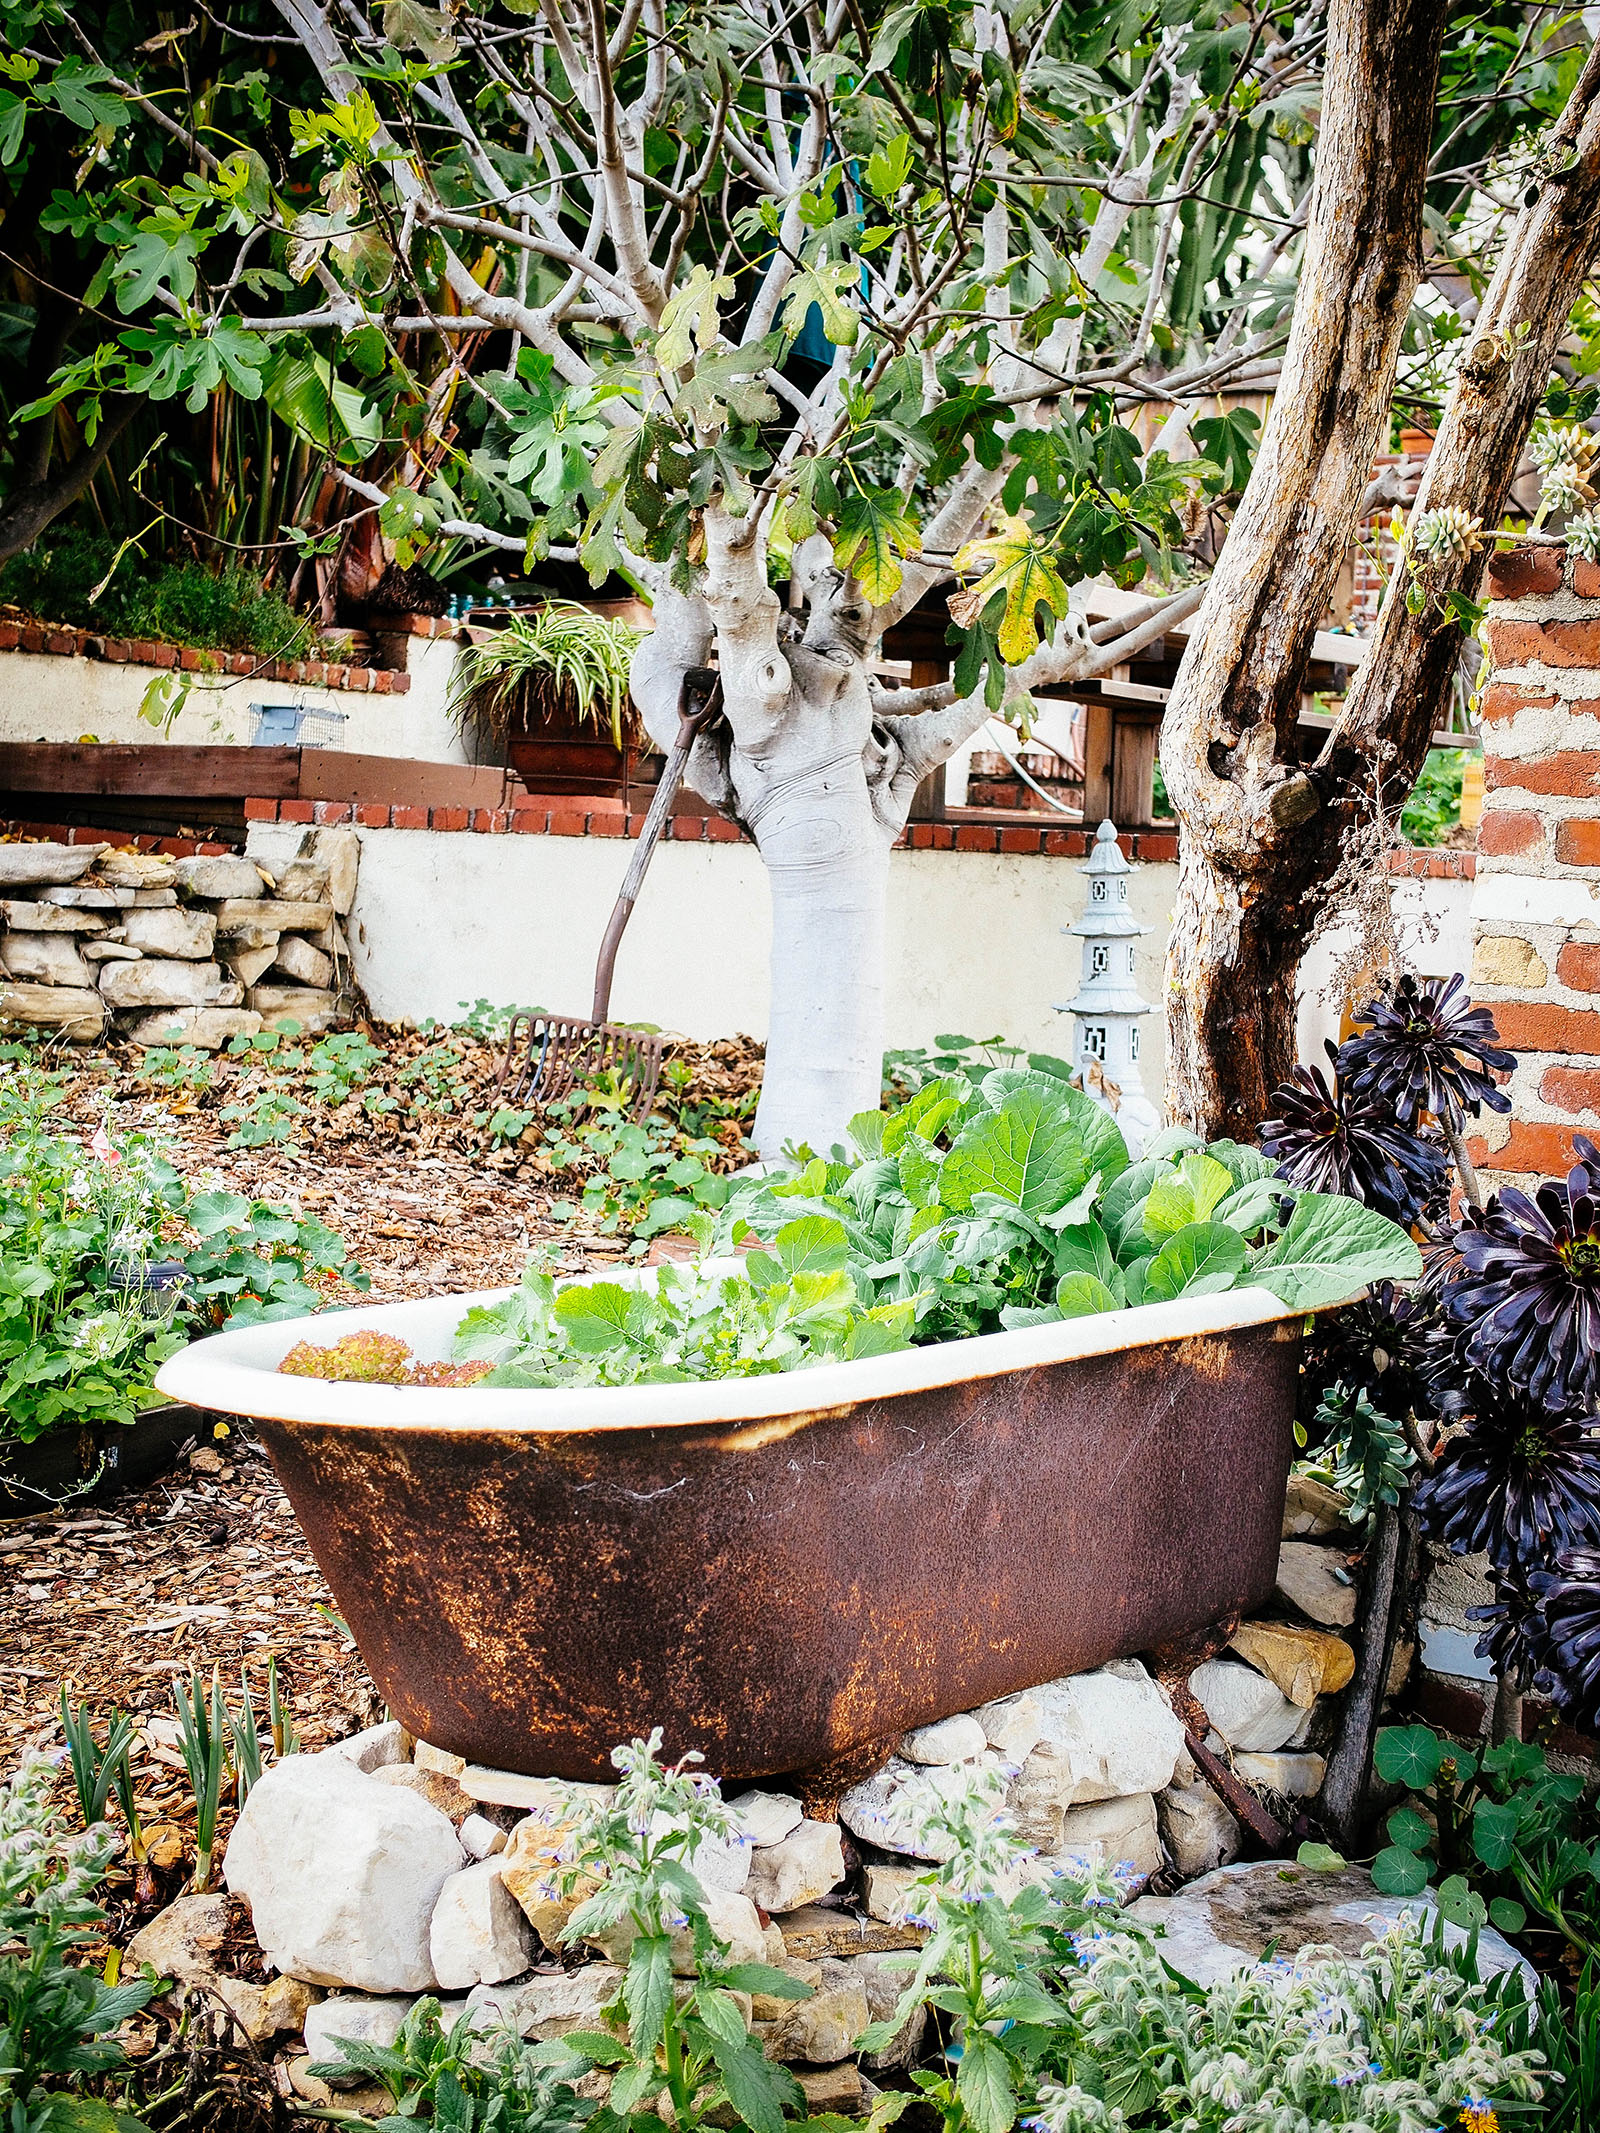
I inherited this vintage, enameled-steel clawfoot tub from the previous owners after I moved into my house. They had it propped up under the feijoa tree on a stack of stones, and for many summers it was our repurposed party cooler, filled with ice and stuffed with cold beverages.
But having the tub sit empty the rest of the year seemed silly, especially since we weren’t using it as an actual tub to wash anything in the garden.
I envisioned turning it into a planter (especially a future planter for potatoes and sweet potatoes, where the tubers could be contained), but the size made filling what was essentially a very tall raised bed with high-quality soil a little cost-prohibitive, considering we needed to top off all our existing garden beds as well.
So I started looking into no-dig methods for building raised beds—which pile on layers of organic materials that decompose over a season to create humus-rich earth—and settled on a method that’s changed the way I create new beds and make my own soil for the last 10 years.
What’s a no-dig garden?
The core of a no-dig garden is disturbing the soil as little as possible.
This is in sharp contrast to traditional methods of gardening, which promote tilling, double digging, turning the soil, or “working” compost into the soil to start a new garden plot. For generations of gardeners, tilling was standard practice for loosening and aerating the soil.
With no-dig gardening, however, you simply layer organic materials (like plant debris or dead woody matter) on top of the soil and let the soil food web break them down and, essentially, do the job of aerating the soil for you.
What happens initially is the plant debris is colonized by bacteria and fungi in the soil. Beneficial microbes begin to convert the plant debris into humus (the rich organic matter you know as compost). More soil-dwelling organisms then carry the humus deeper into the soil where the nutrients can be absorbed by plant roots.
This constant replenishment of nutrient-rich organic matter is Mother Nature’s equivalent of slow-release fertilizer, and it’s the food that keeps the soil food web stable. It allows beneficial microbes and other organisms to multiply and thrive so they can outcompete the bad microbes.
Even if you can’t or don’t always see them, an intricate web of fungi, bacteria, protozoa, nematodes, arthropods, and earthworms are always at work. If you dig, fork, till, or otherwise disturb the soil in some way, you risk killing larger organisms (like beetles and worms) and damaging the ecosystem that your own personal soil food web has been building. This may result in soil compaction, poor drainage, and/or weeds—lots of them.
That’s because digging often brings dormant weed seeds to the surface, where they’ll soak up all that sunshine and water and start sprouting by the dozens or even hundreds.
Now, does the soil food web ever recover if you’ve already tilled the soil? Yes, it does. But when the natural balance is upset, even temporarily, it’s likely to create an opportunity for weeds and pests to take hold while the soil food web works to regain balance.
No-dig vs. no-till gardening
You may have heard the terms “no-till” or “no-till gardening” brought up in agriculture, and wondered how it’s different from no-dig gardening.
There’s actually no difference—no-dig and no-till both refer to the same practice of leaving the soil undisturbed and layering organic matter on top to build up the soil structure and increase soil fertility.
So you can skip all the digging and tilling and start making healthy soil the “lazy” way, as I like to call it.
Why no-dig gardening is a better way to go
If you’ve always followed traditional gardening methods and you’re not convinced to give no-dig gardening a go, here are six reasons you should at least try it in just one of your beds this year:
1. No-dig gardens require less maintenance and manual labor.
No-dig gardens require less maintenance because, well, there’s no digging involved! You never eliminate manual tasks completely, of course, but you definitely don’t have to aerate the soil, work in compost, or any of the blisters and back pain that often go along with starting a new bed.
This makes no-dig gardens a great choice for people with physical limitations, or who simply believe in working smarter (not harder).
2. No-dig gardens save you time.
Less time spent on maintenance means more time you can devote to things you actually like doing in the garden, such as designing, planting, harvesting, or simply sitting back and enjoying the view.
Related: A guide on spacing your plants in a garden for maximum production
A lot of what goes into gardening is busy work, and what we’ve been taught to do every season—like forking compost into the soil—simply isn’t necessary in order to have a healthy, productive garden.
3. No-dig gardens need less fertilizer.
No-dig gardening builds soil fertility by layering organic matter on top (essentially mulch). The mulch breaks down and feeds beneficial soil microbes, which in turn feed your plants and help them flourish. This natural cycle reduces the amount of outside fertilizers you actually need to use, as you’re creating your own compost right inside the garden bed.
4. No-dig gardens support healthier plants.
With no-dig gardening, what’s good for the soil is good for the plants too. The lighter, fluffier soil drains excess water while retaining a proper level of moisture, promotes good air circulation, and improves the uptake of nutrients by plant roots, all of which lead to fewer plant diseases and overall healthier plants.
5. No-dig gardens have fewer weeds.
Weeds are present in every garden, but many of their seeds are buried deep in the soil, where they lay dormant until exposed to sunlight. When you dig up the soil, you inevitably bring these seeds to the surface and then provide them with all the light and water they need to germinate and grow.
Leave weed seeds where they belong—deep underground where they can’t come back up!
In a no-dig garden, the few weeds that do sneak through are easy to remove by hand or cut down at soil level, where they can be left in place to decompose (if they haven’t gone to seed) and feed the soil food web.
6. No-dig gardens require less water.
Since no-dig gardening improves the soil structure over time with its use of regular mulching, this increases the soil’s water-holding capacity (in a good way). Your garden needs less water because the roots can grow deep to reach the moisture it needs, and your plants naturally become more drought-tolerant.
Read next: How to water during hot weather and help your plants survive a heat wave
Types of no-dig gardens
There are several types of no-dig gardens, including straw bale gardens, lasagna gardens, hugelkultur, and sheet mulching, and the no-dig gardening method is often associated with organic gardeners like Charles Dowding and Ruth Stout (who each have their own methods that are worth trying).
Say goodbye to digging
Curious about hugelkultur?
This is the no-dig method I used to build out my own raised bed garden.
Join me inside Lazy Gardening Academy and I’ll show you my exact method for making amazing soil—the easy way.
After all my research into different types of no-dig gardens, I found myself intrigued with Esther Deans’ style of no-dig gardening, which appeared suspiciously simple.
Disclosure: If you shop from my article or make a purchase through one of my links, I may receive commissions on some of the products I recommend.
The Australian gardener and author promoted a type of no-dig gardening (you can still find her book online) that popularized no-dig gardens throughout the 1970s and 1980s, and inspired the ideas of permaculture designer Bill Mollison.
Deans’ method comprised a specific formula that started with newspaper and added fertilizer, alfalfa, straw, and finally compost. The layers could be built over a soft surface like grass or dirt—or even a hard surface like concrete, though the raised bed would have to be deep enough for deep-rooted vegetables to thrive.
Read more: How to find the root depth of garden vegetables (printable chart included)
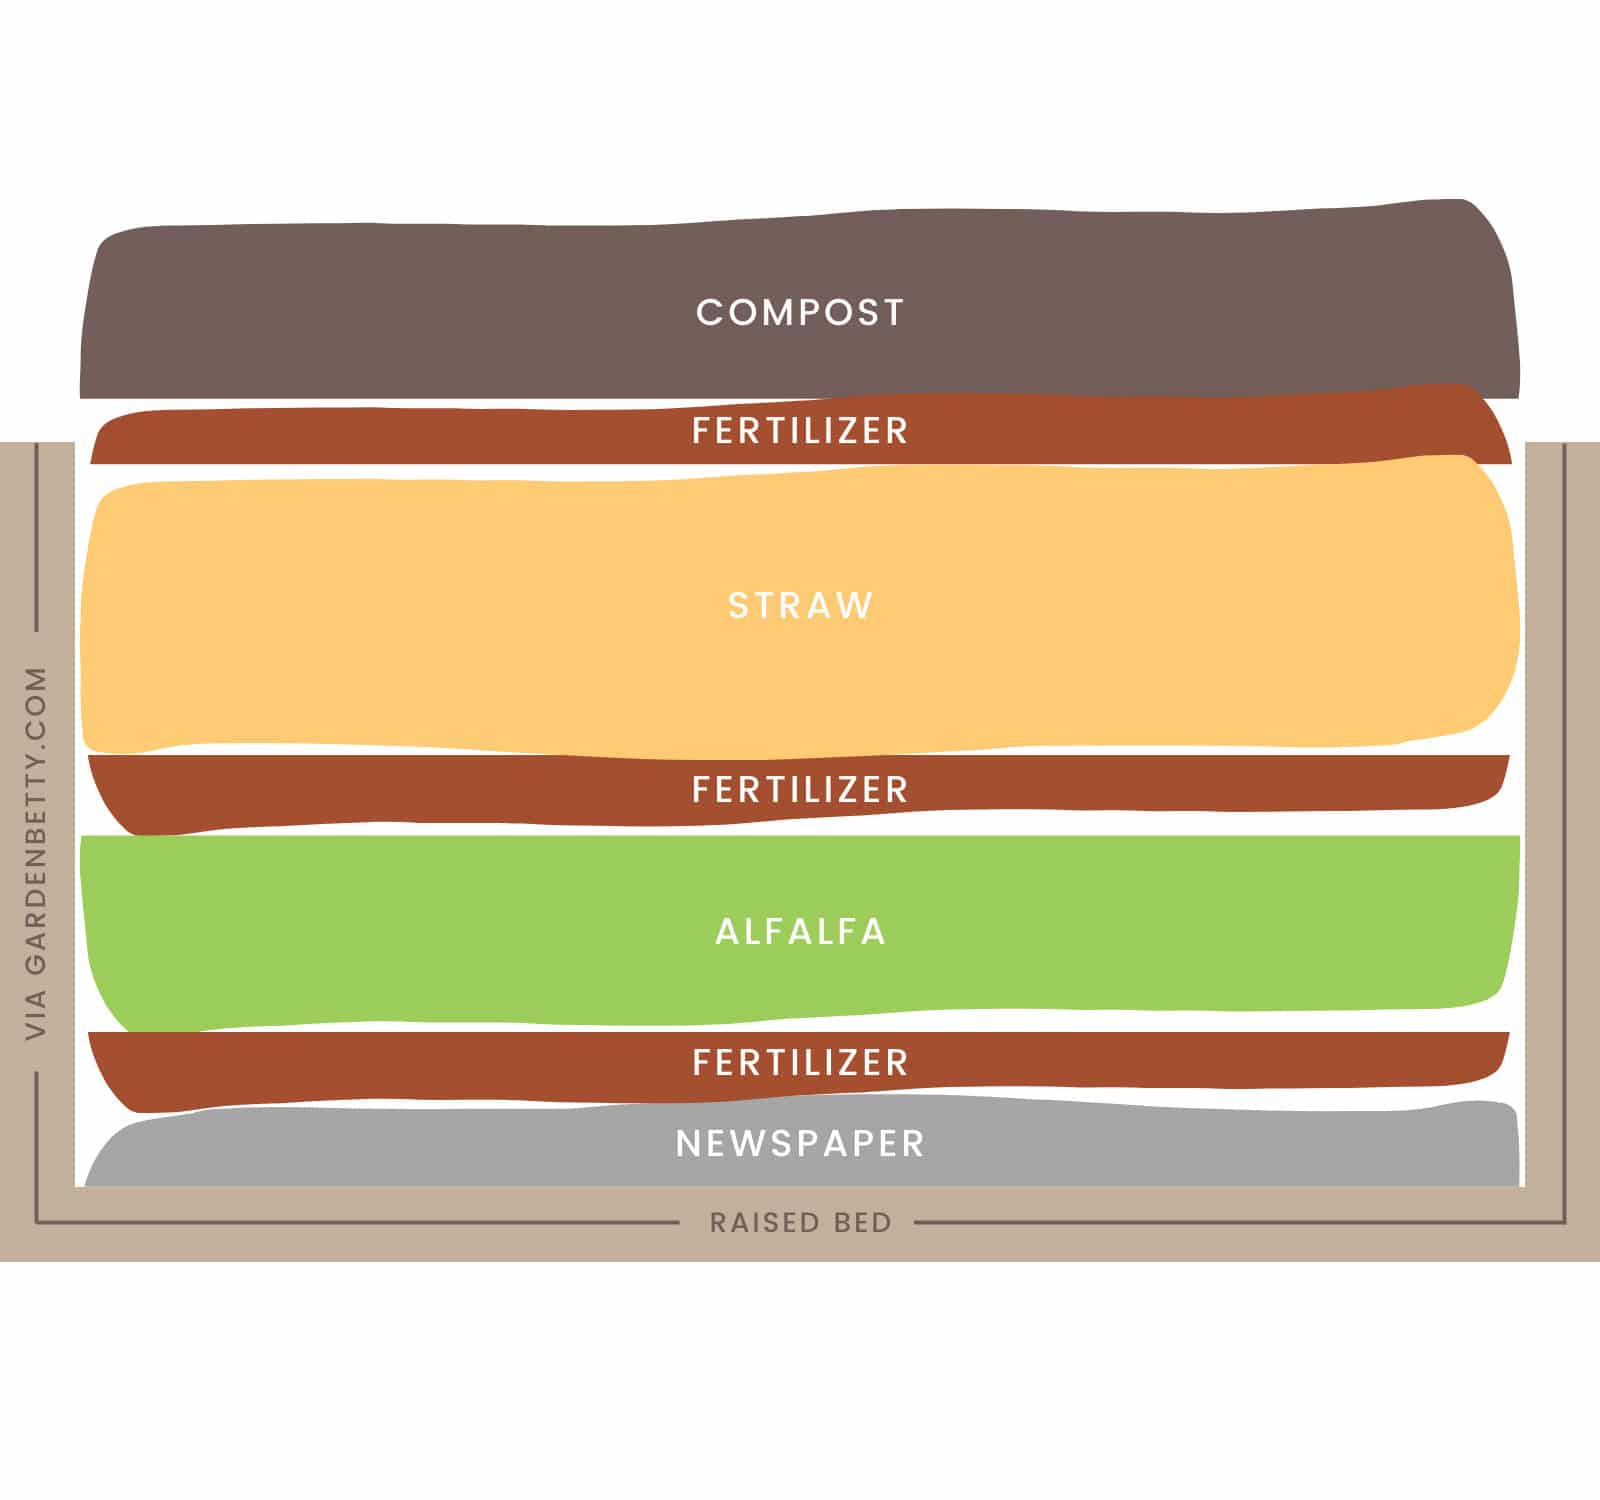
I decided to try this method for filling my clawfoot tub, since straw and alfalfa were inexpensive and easy to come by at my local feed store, and I could use them to mulch and amend several other beds in the garden.
Materials needed
- Newspapers
- Organic fertilizer (I used blood meal and bone meal)
- Alfalfa (also called lucerne hay)
- Straw (make sure it’s weed- and pesticide-free)
- Finished compost
How to make a no-dig garden bed
I started with about 10 sheets of newspaper layered in the bottom of the tub. In my case, they were less for weed suppression, and more for adding brown matter and providing food for the worms that will make their home in the tub.
Next came a generous dusting of fertilizer—I went with a combination of blood meal and bone meal, but chicken manure, rabbit manure, or any high-nitrogen organic fertilizer would work. Rather than following the suggested application on the packages, I tossed in a few handfuls of each, then watered them in well.
(A few handfuls is much more than you would typically use if you were fertilizing a bed, but in this case, extra blood meal and bone meal is added to accelerate the breakdown of the layers.)
Then came the alfalfa. Alfalfa (also called lucerne hay) is the same stuff used as horse feed. It comes in bales that pull apart in 3-inch pads and makes an excellent base for a no-dig garden.
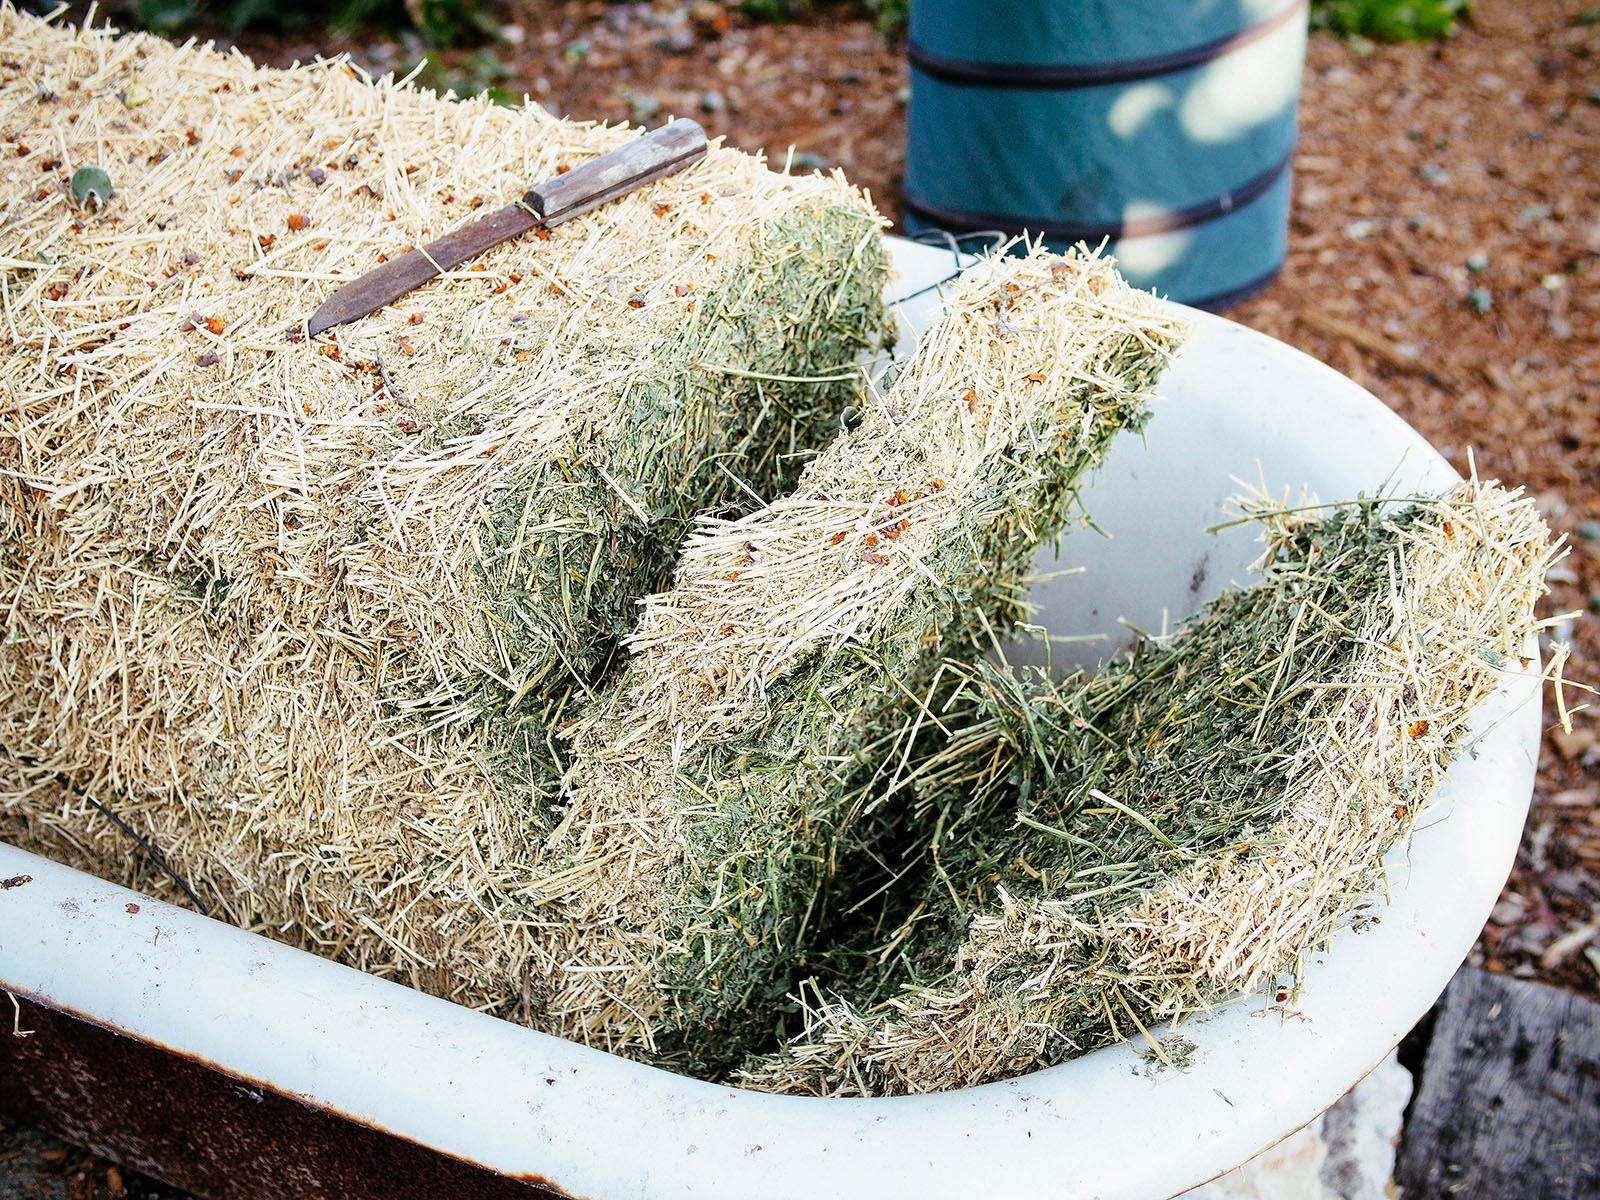
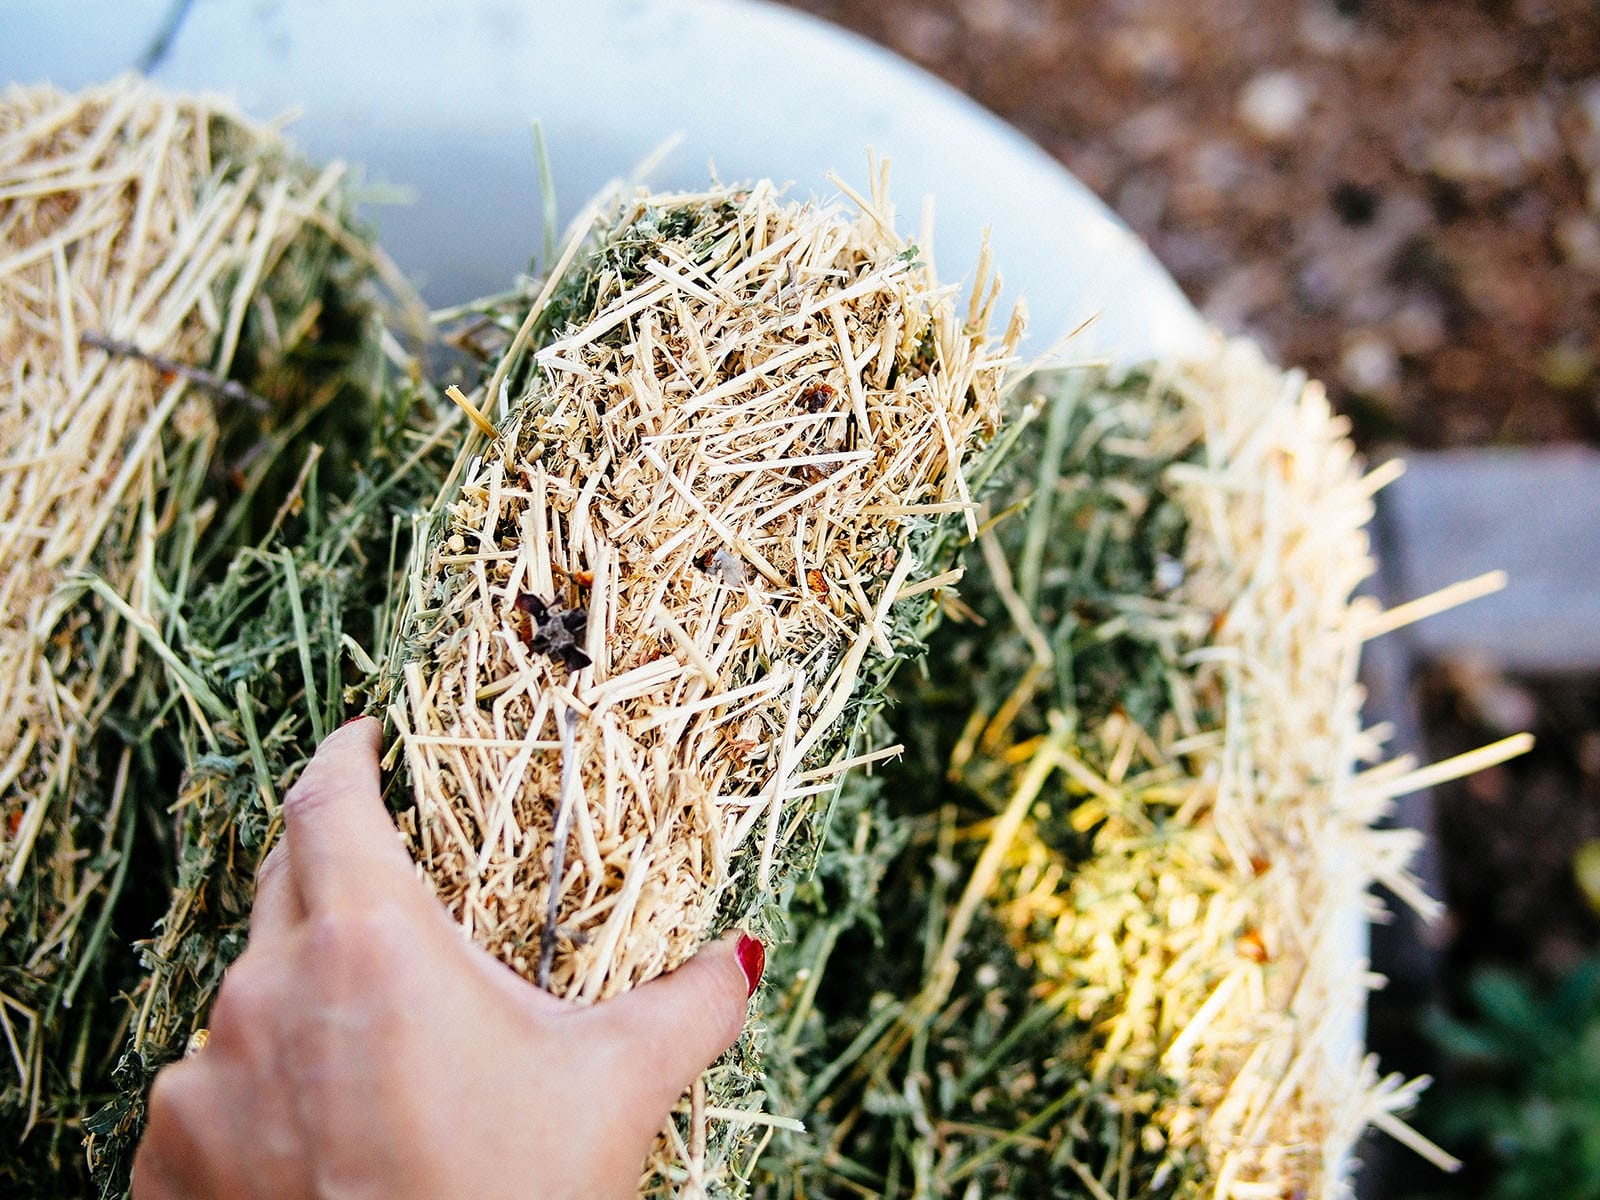
With its super nutritious and high nitrogen content, it rots quickly, providing rich organic matter for plants and helping other materials decompose. I covered the bottom of my tub with two layers of alfalfa pads (about 6 inches), a few more handfuls of bone meal and blood meal, then soaked them thoroughly with a hose.
On top of the alfalfa, I added a thick layer of straw (about 12 inches, or double my alfalfa layer). Straw is basically hay without the grains; it’s the hollow stems and dried leaves left behind after all the grains and seeds have been harvested.
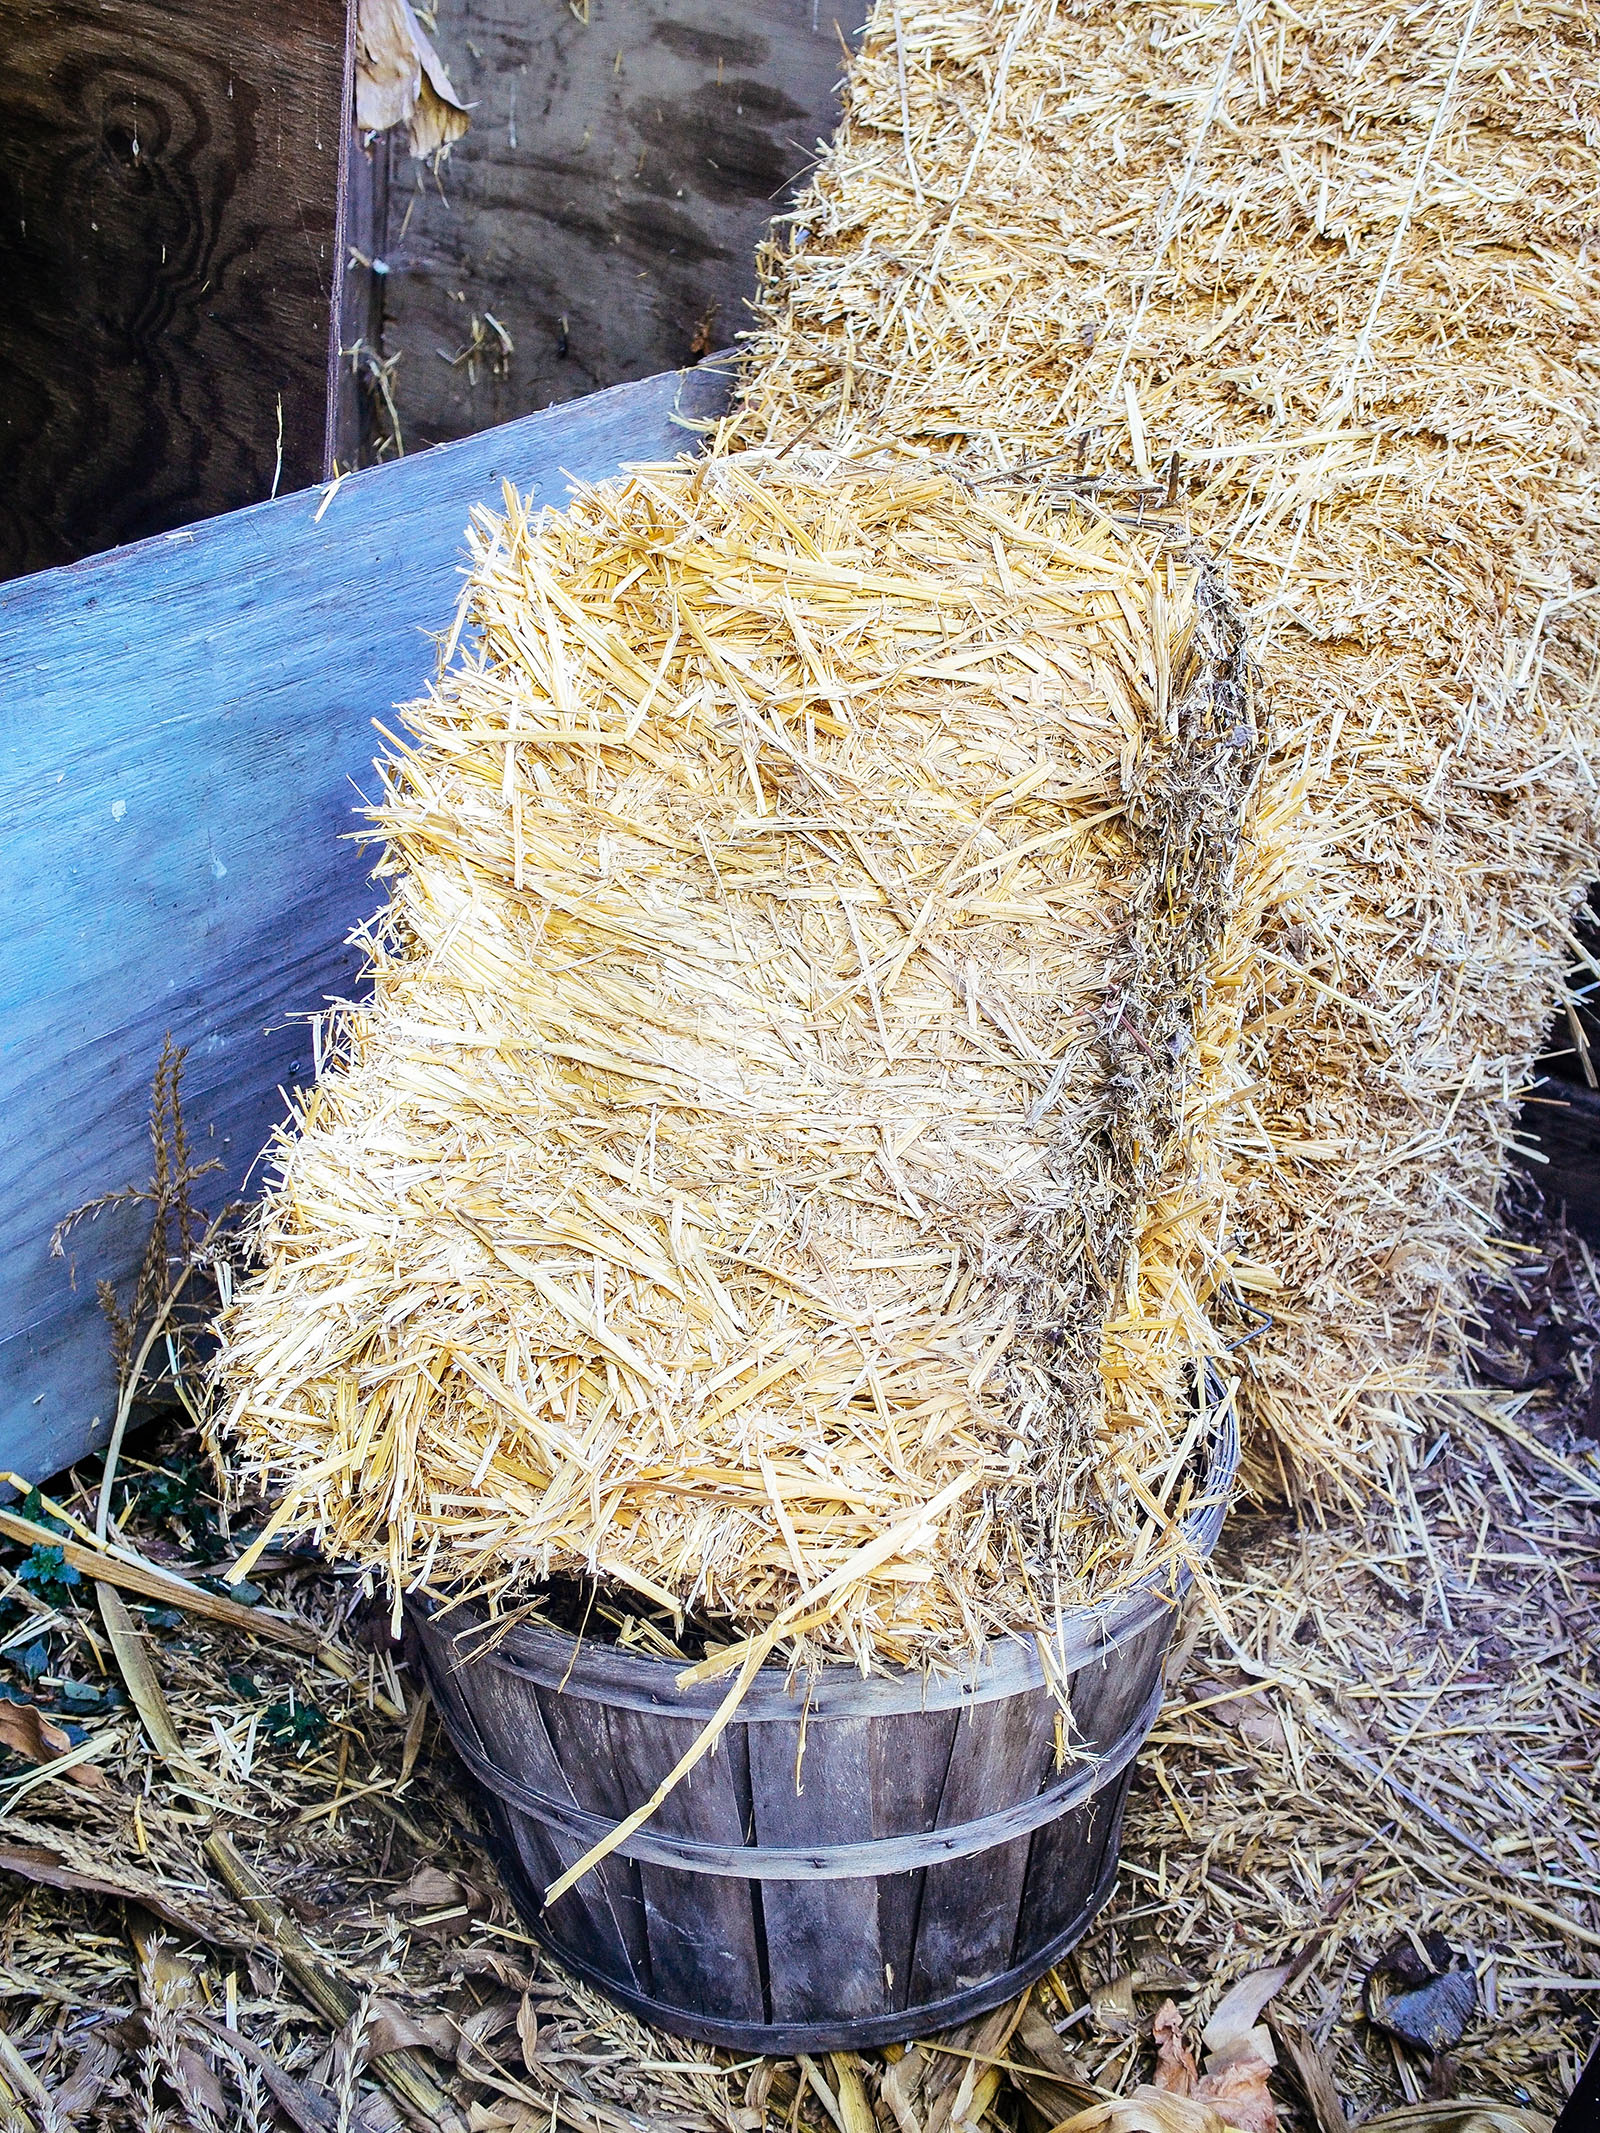
It’s not as nitrogen-rich as alfalfa, but breaks down quickly into compost and contains fewer seeds, meaning less weeds growing in your no-dig bed. Really pack in and pack down the straw in your raised bed (even building the layer up to the lip), as it will greatly compress after a couple of months.
Following the straw was another generous dusting of blood meal and bone meal, and another soak with the hose.
Finally, the topmost layer was a healthy addition of compost (about 3 to 6 inches). Whatever you use, it should be well rotted and teeming with microbes. This is the layer you’ll be seeding and planting in, so don’t skimp on the compost. Wet it down, and you’re ready to plant!
In a standard-depth raised bed, the ratio of layers would look like this from the bottom up:
- 10 sheets of newspaper
- 3 inches of alfalfa
- 6 inches of straw
- 3 to 6 inches of compost (or well-amended topsoil)
Scatter blood meal and bone meal over each layer and saturate with water before adding the next layer. It might seem like you’re piling on a mountain of materials, but the alfalfa and straw will compress under repeated watering and reduce to about half their height by the end of the season.
If you have a taller raised bed, simply repeat the layers until you reach the top (ending with the compost layer).
Reviving an old garden bed
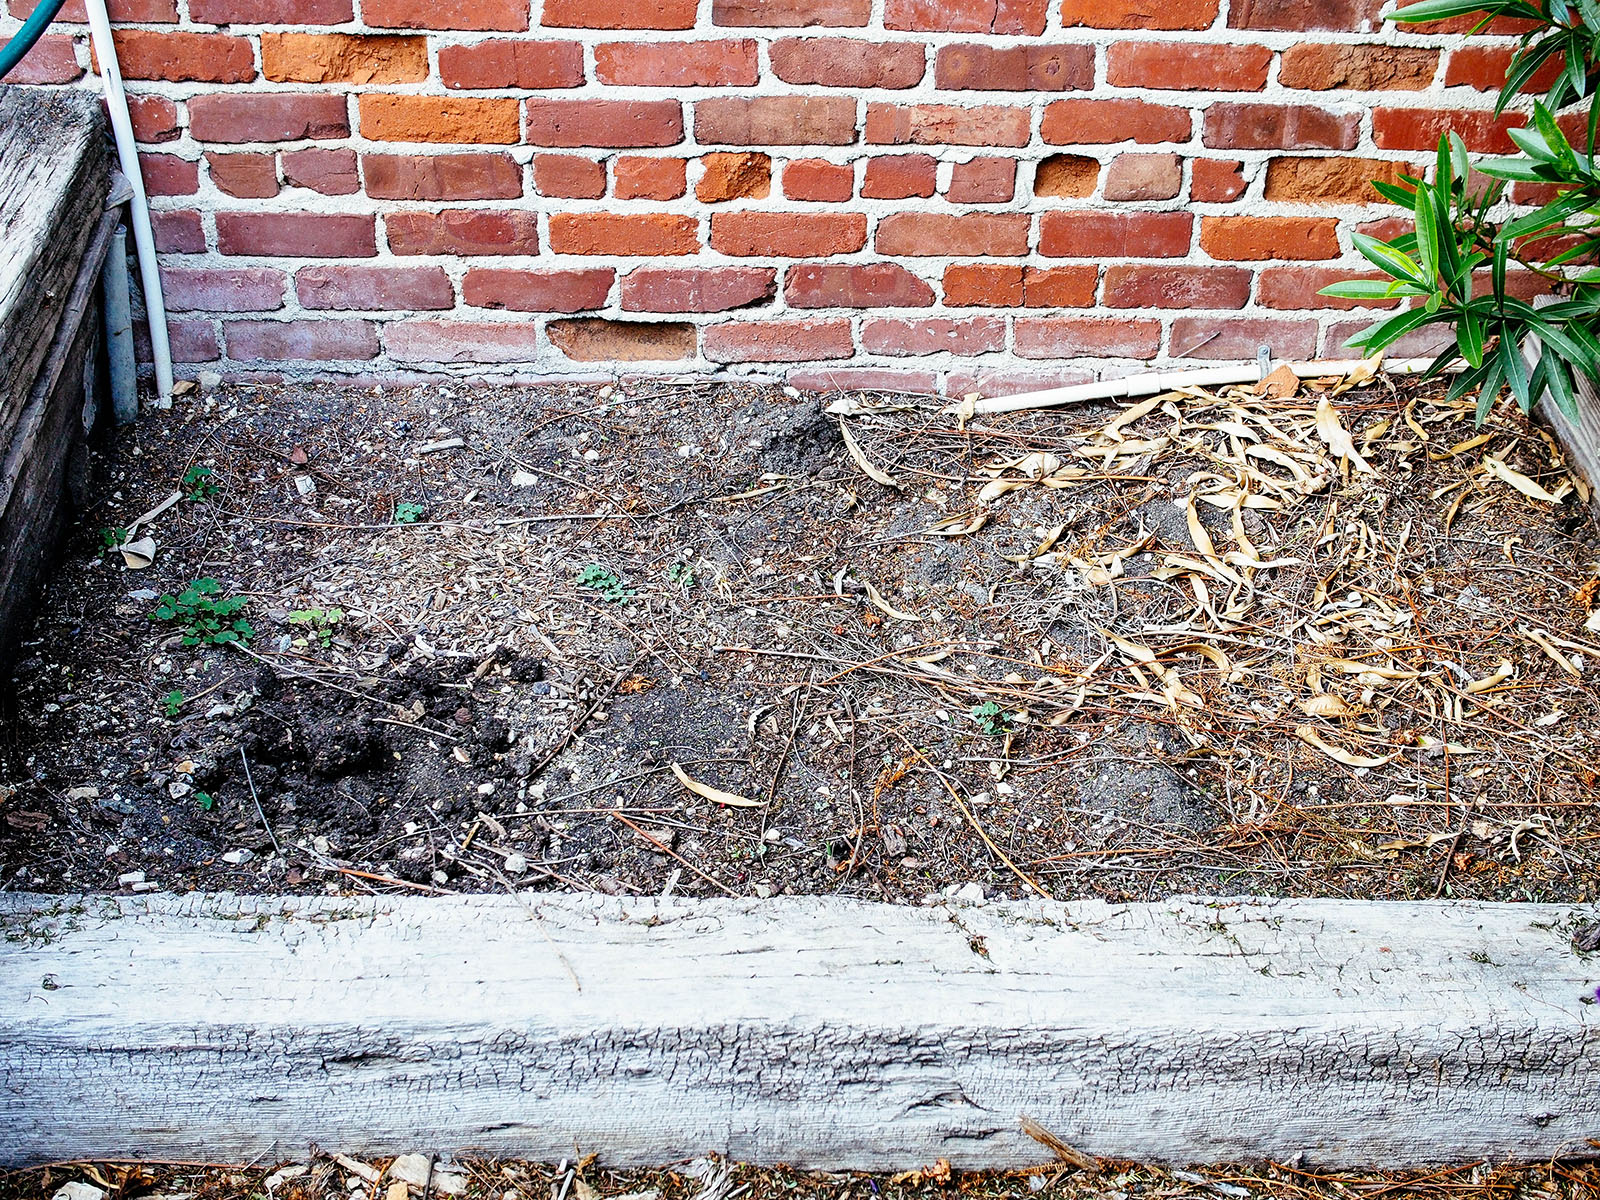
The no-dig gardening method also works for reviving an old raised bed; just omit the straw layer and add the rest on top of the existing soil.
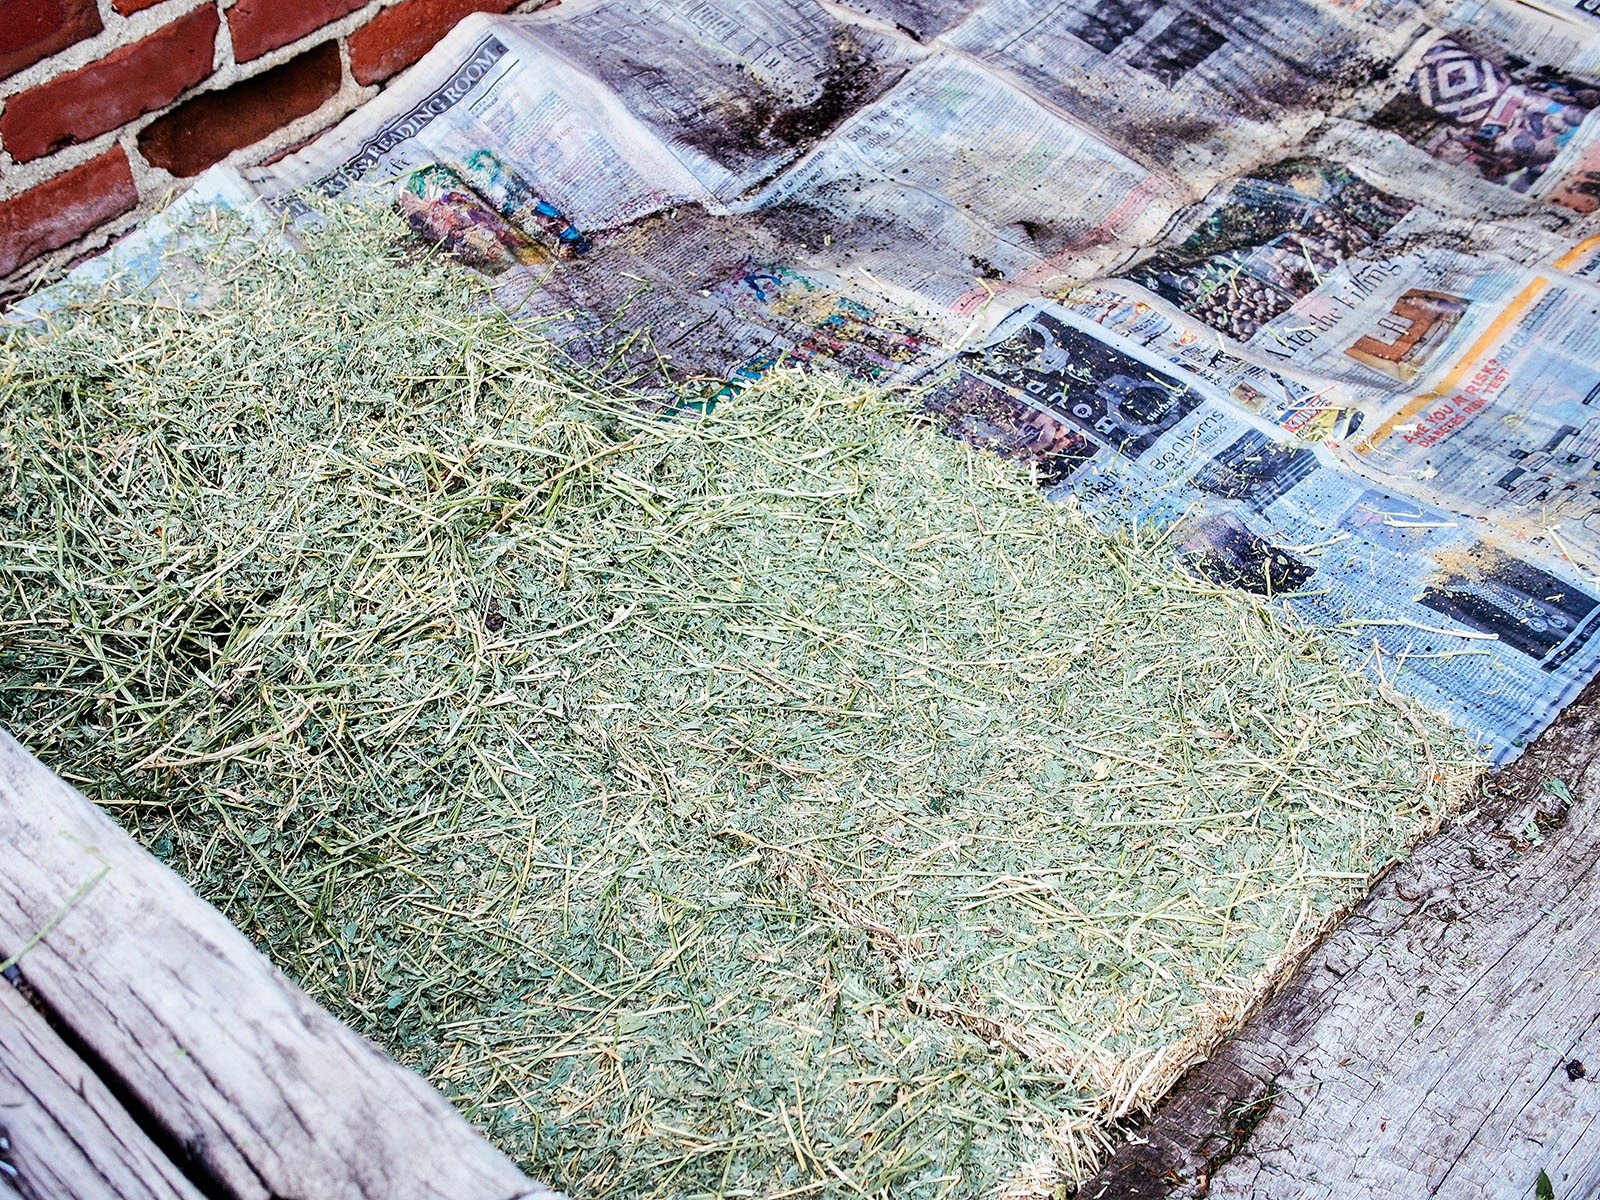
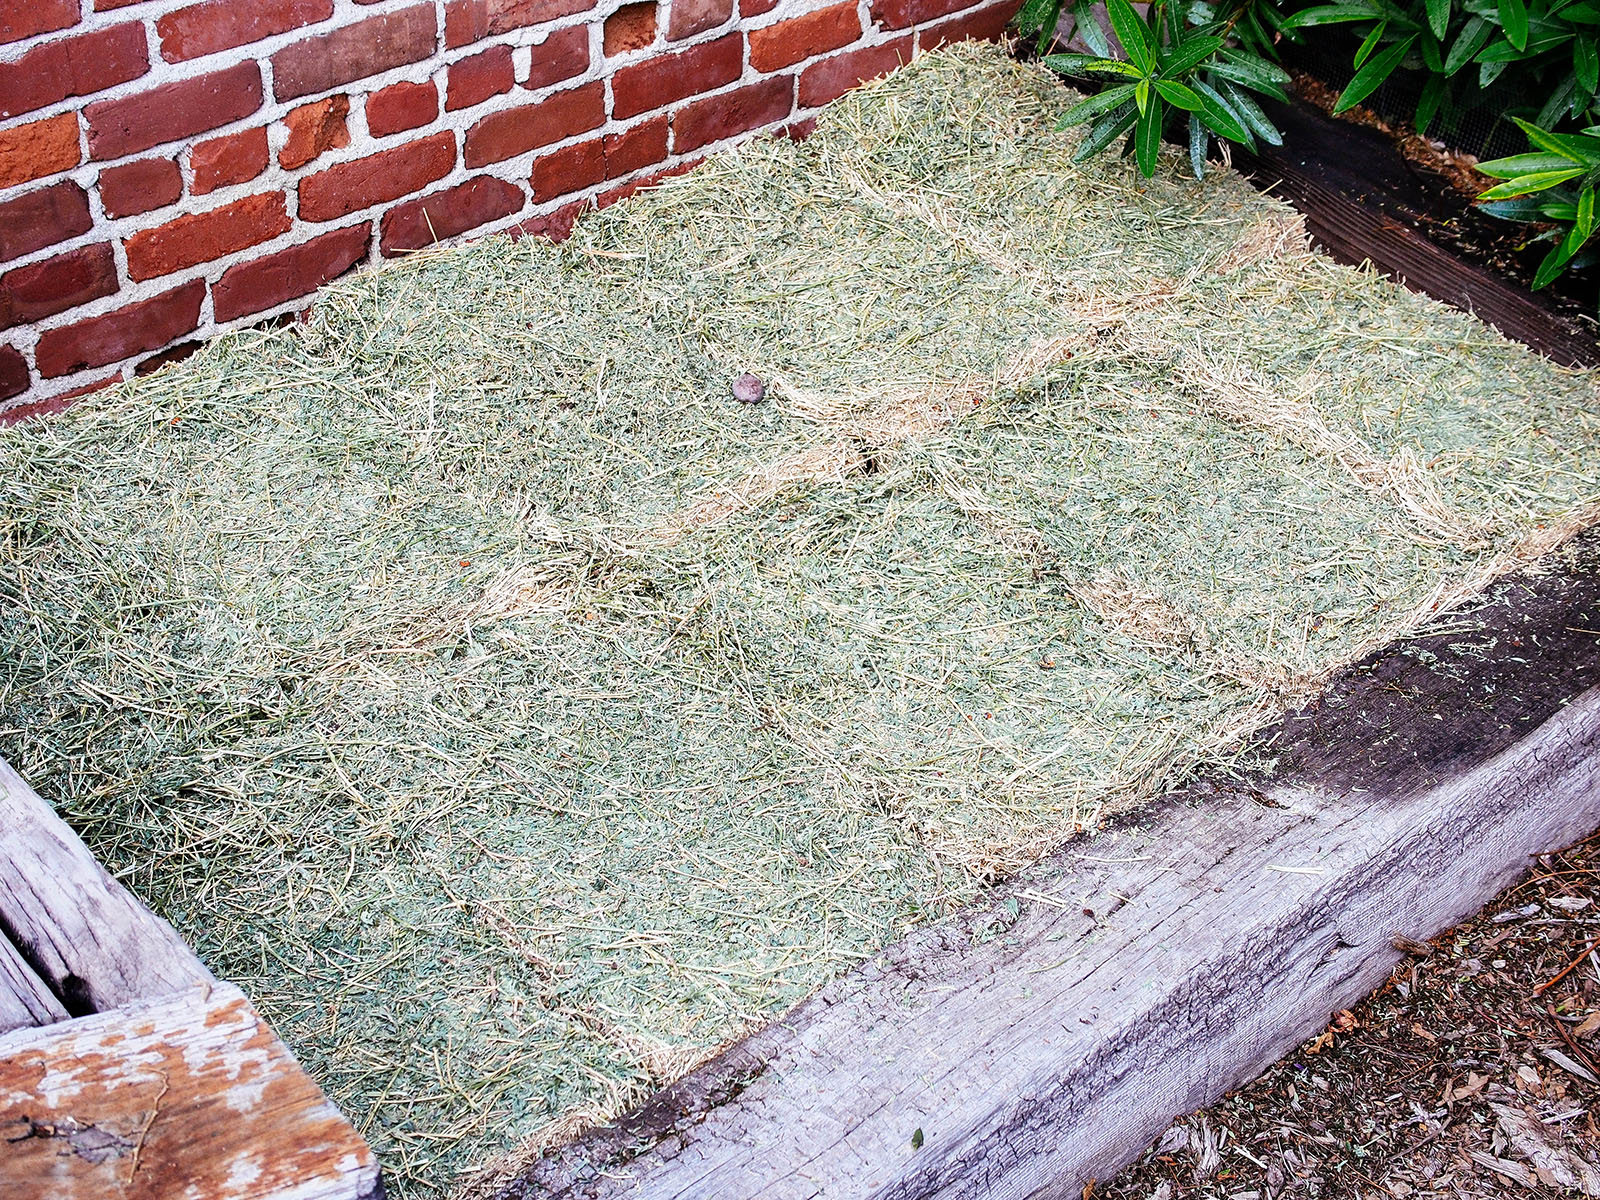
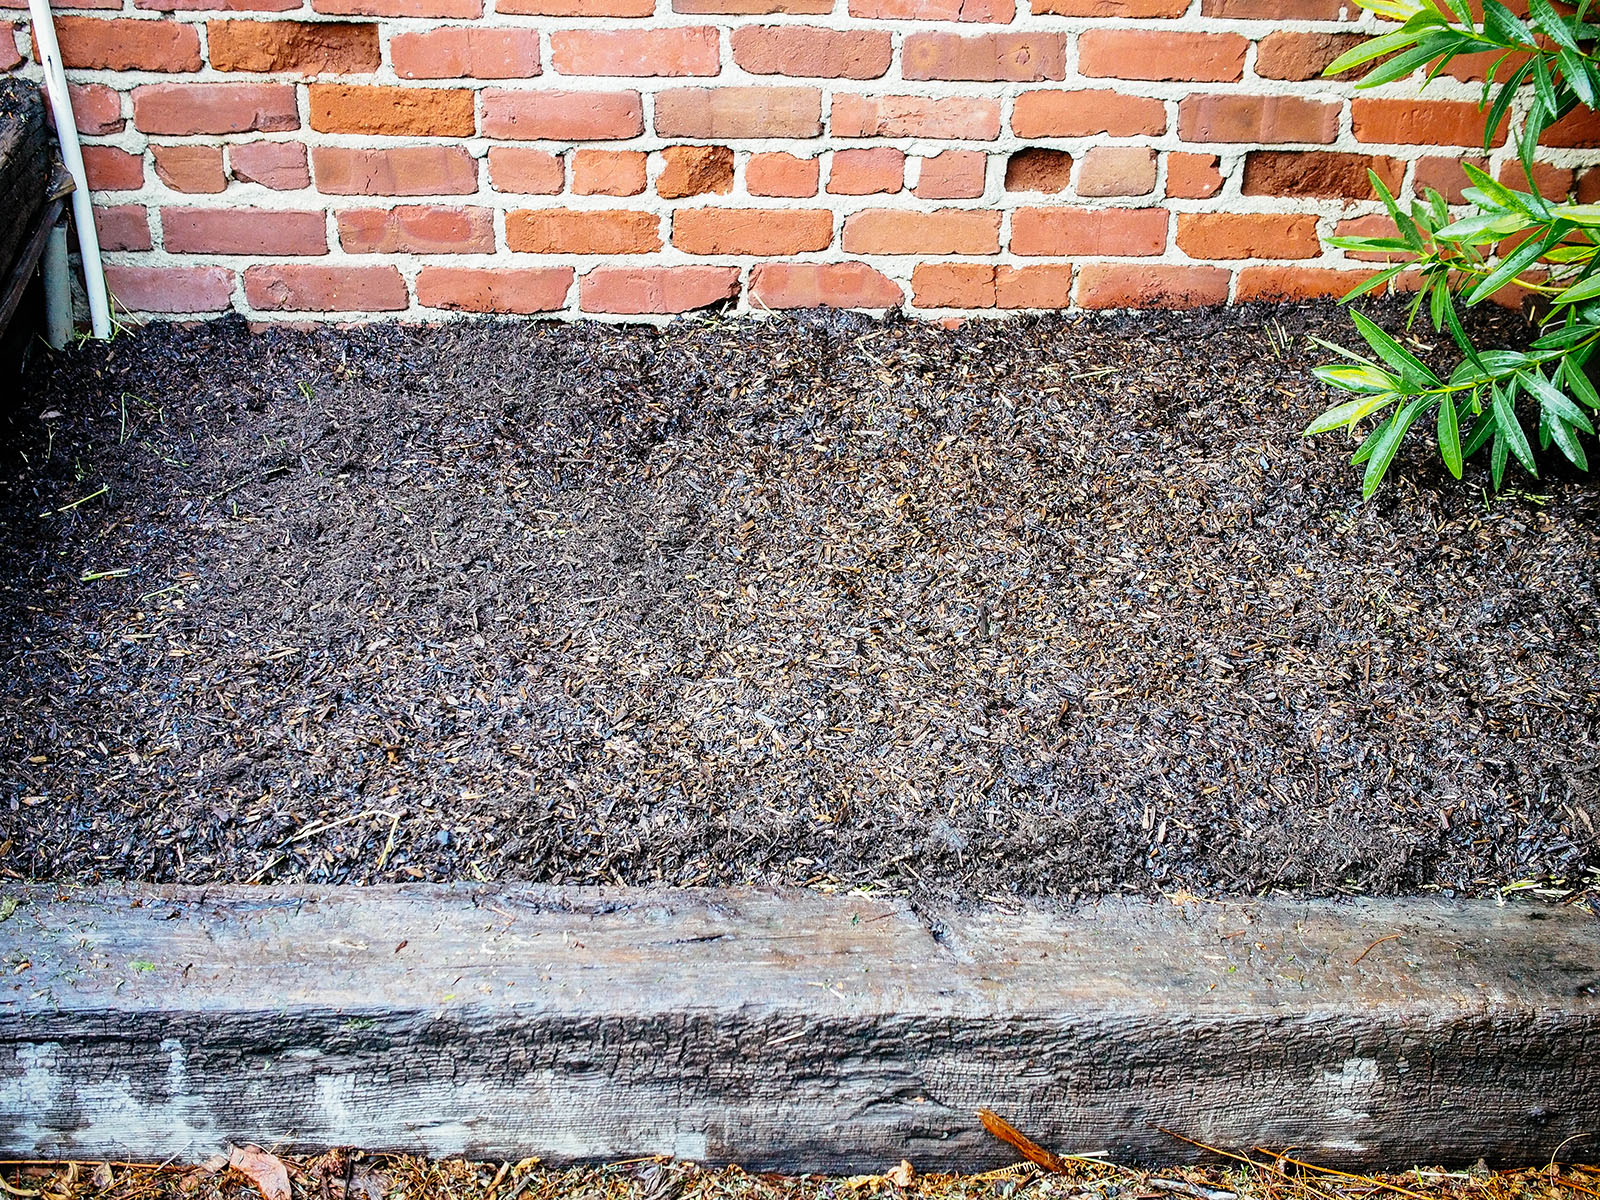
I had a garden bed sit neglected, empty, and dry for a few months, and its soil had turned into heavy, compacted earth. I stacked on the newspaper, blood and bone meal, alfalfa, more blood and bone meal, then topped off with homemade compost, and saturated each layer with water.
I didn’t plant in that particular bed, but watered it with the rest of the garden through winter and ended up with lush, rich soil to plant in spring as all the layers gradually decomposed into humus.
How to maintain a no-dig garden
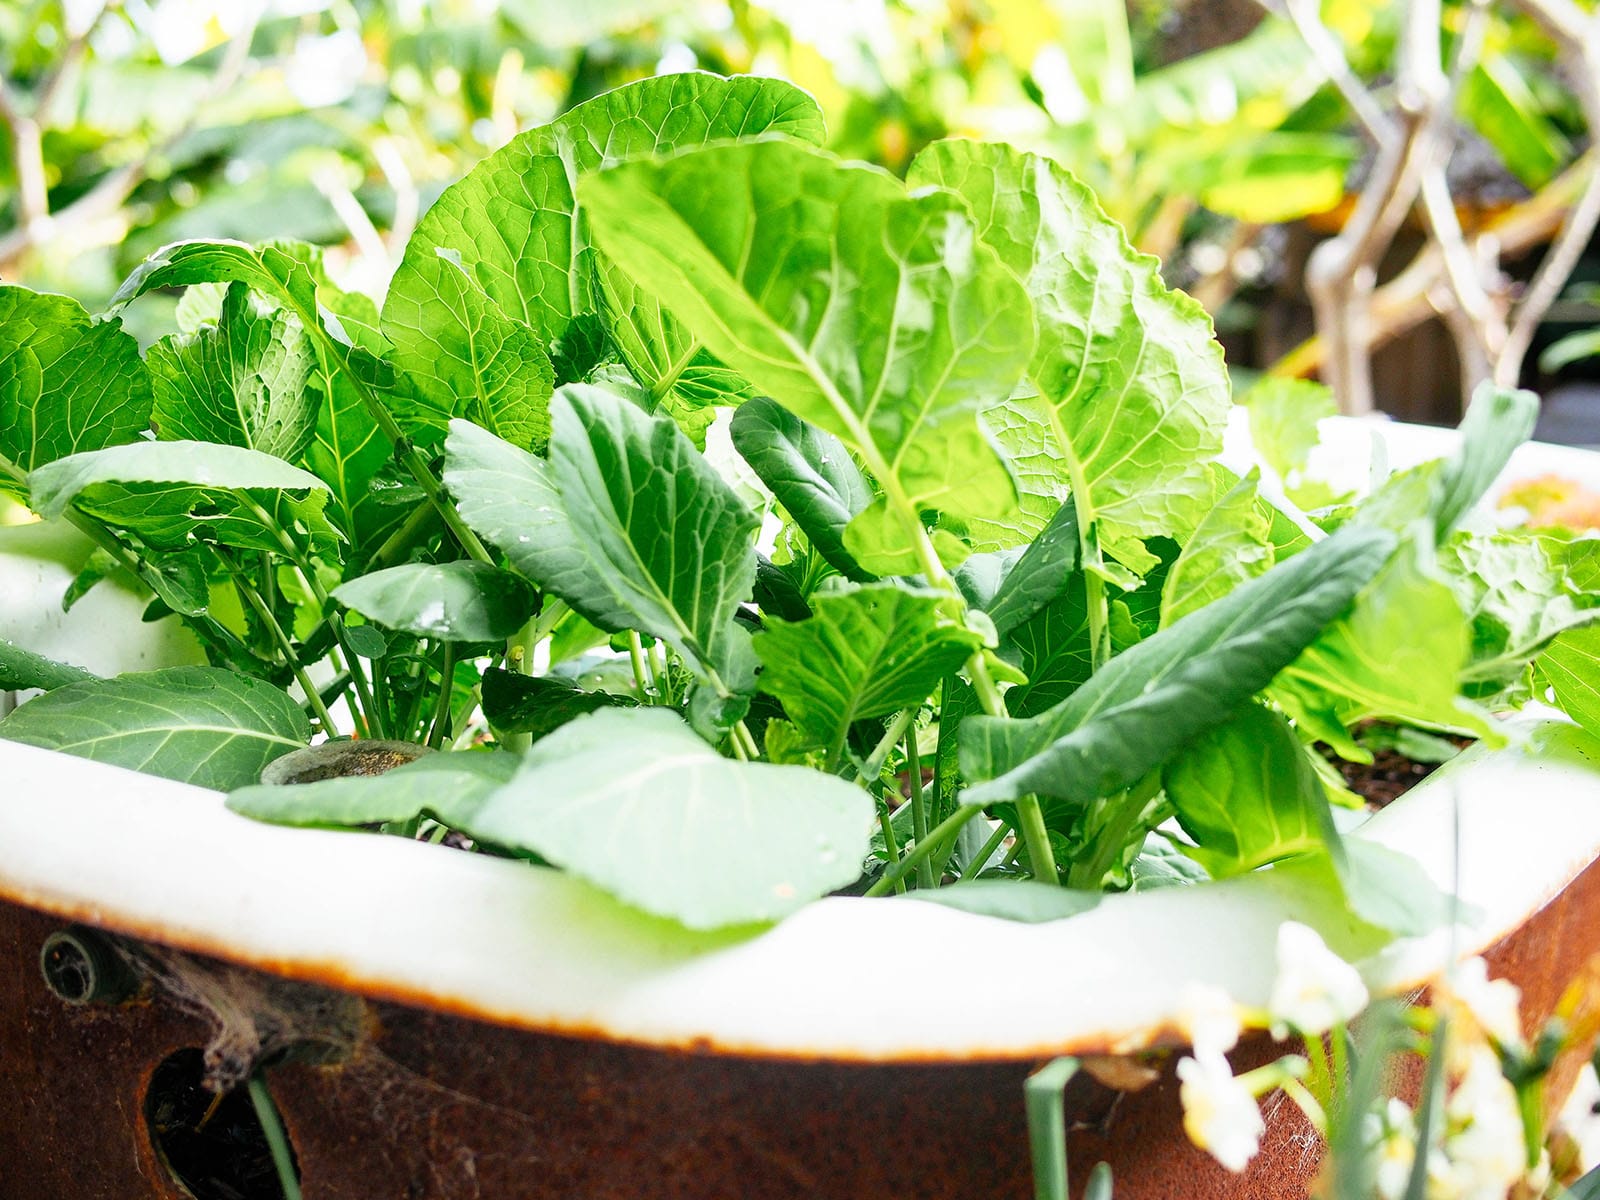
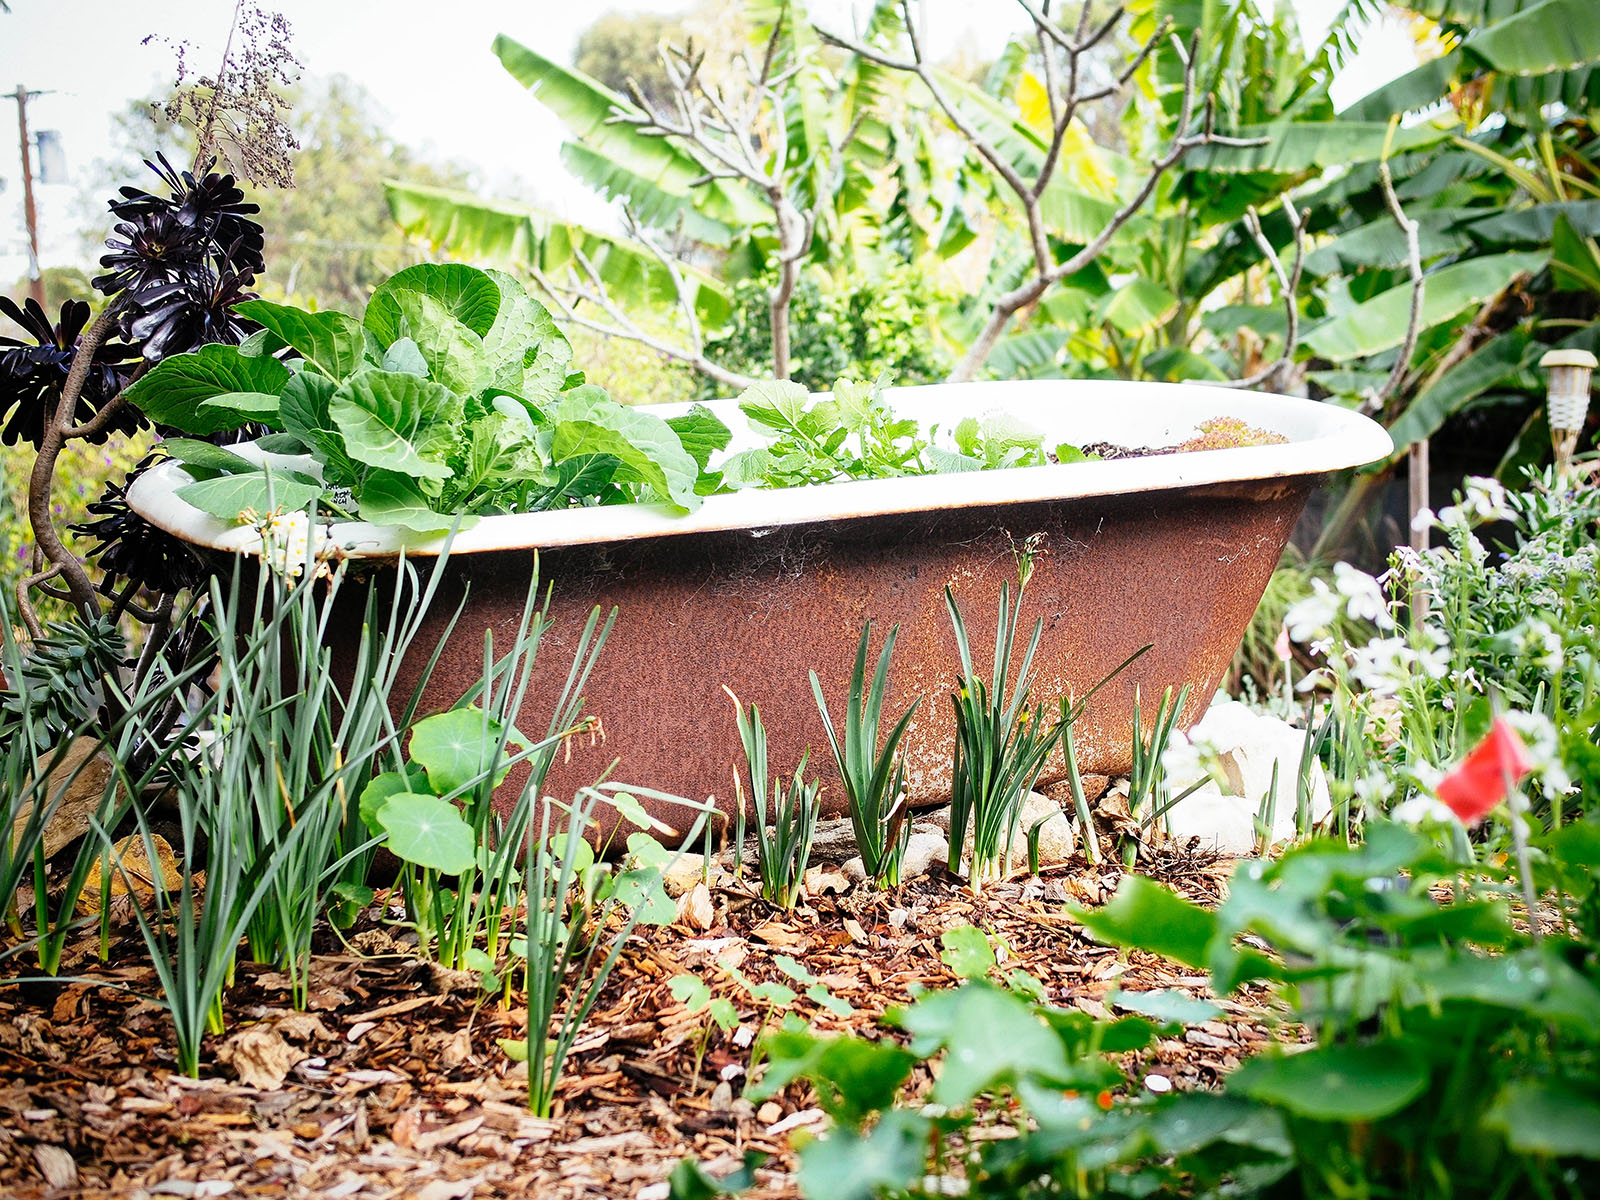
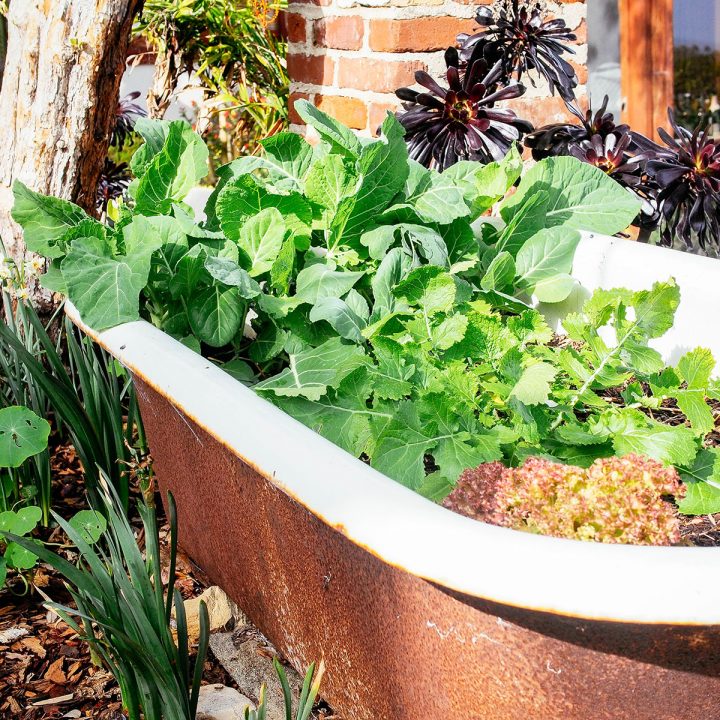
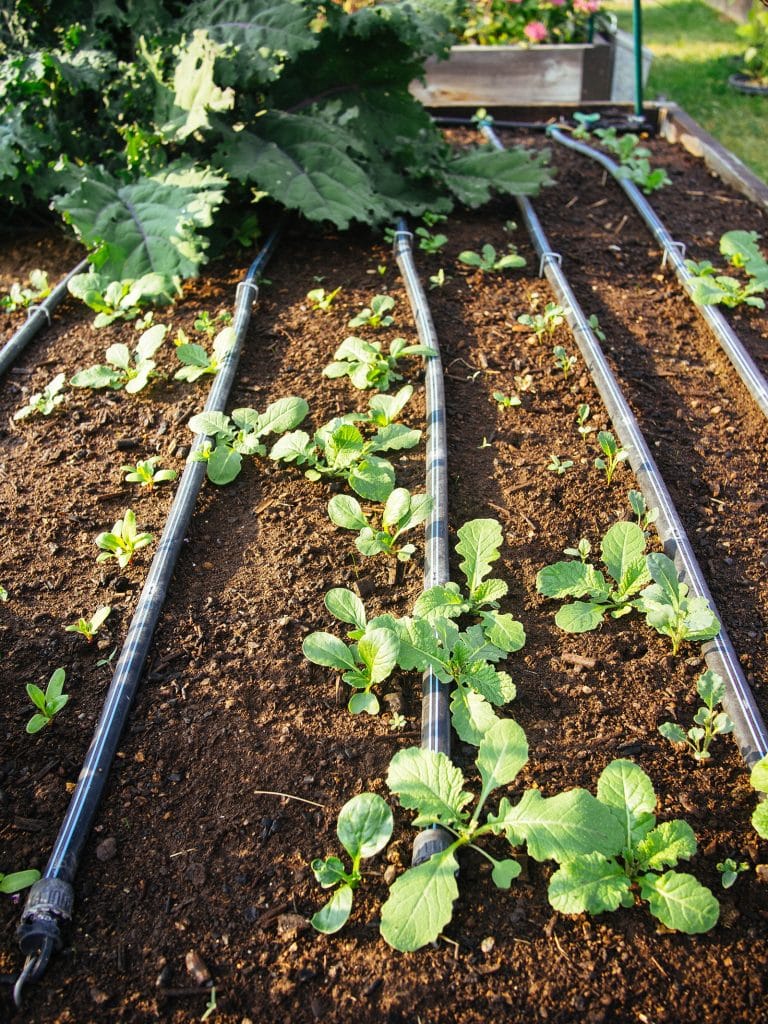
Going back to the bathtub, this is what it looked like shortly after I piled on all the layers, then planted the top layer with kale, turnip, and lettuce.
I started everything from seed and they sprouted within a week. I watered like normal and did not fertilize the bed again until mid-season.
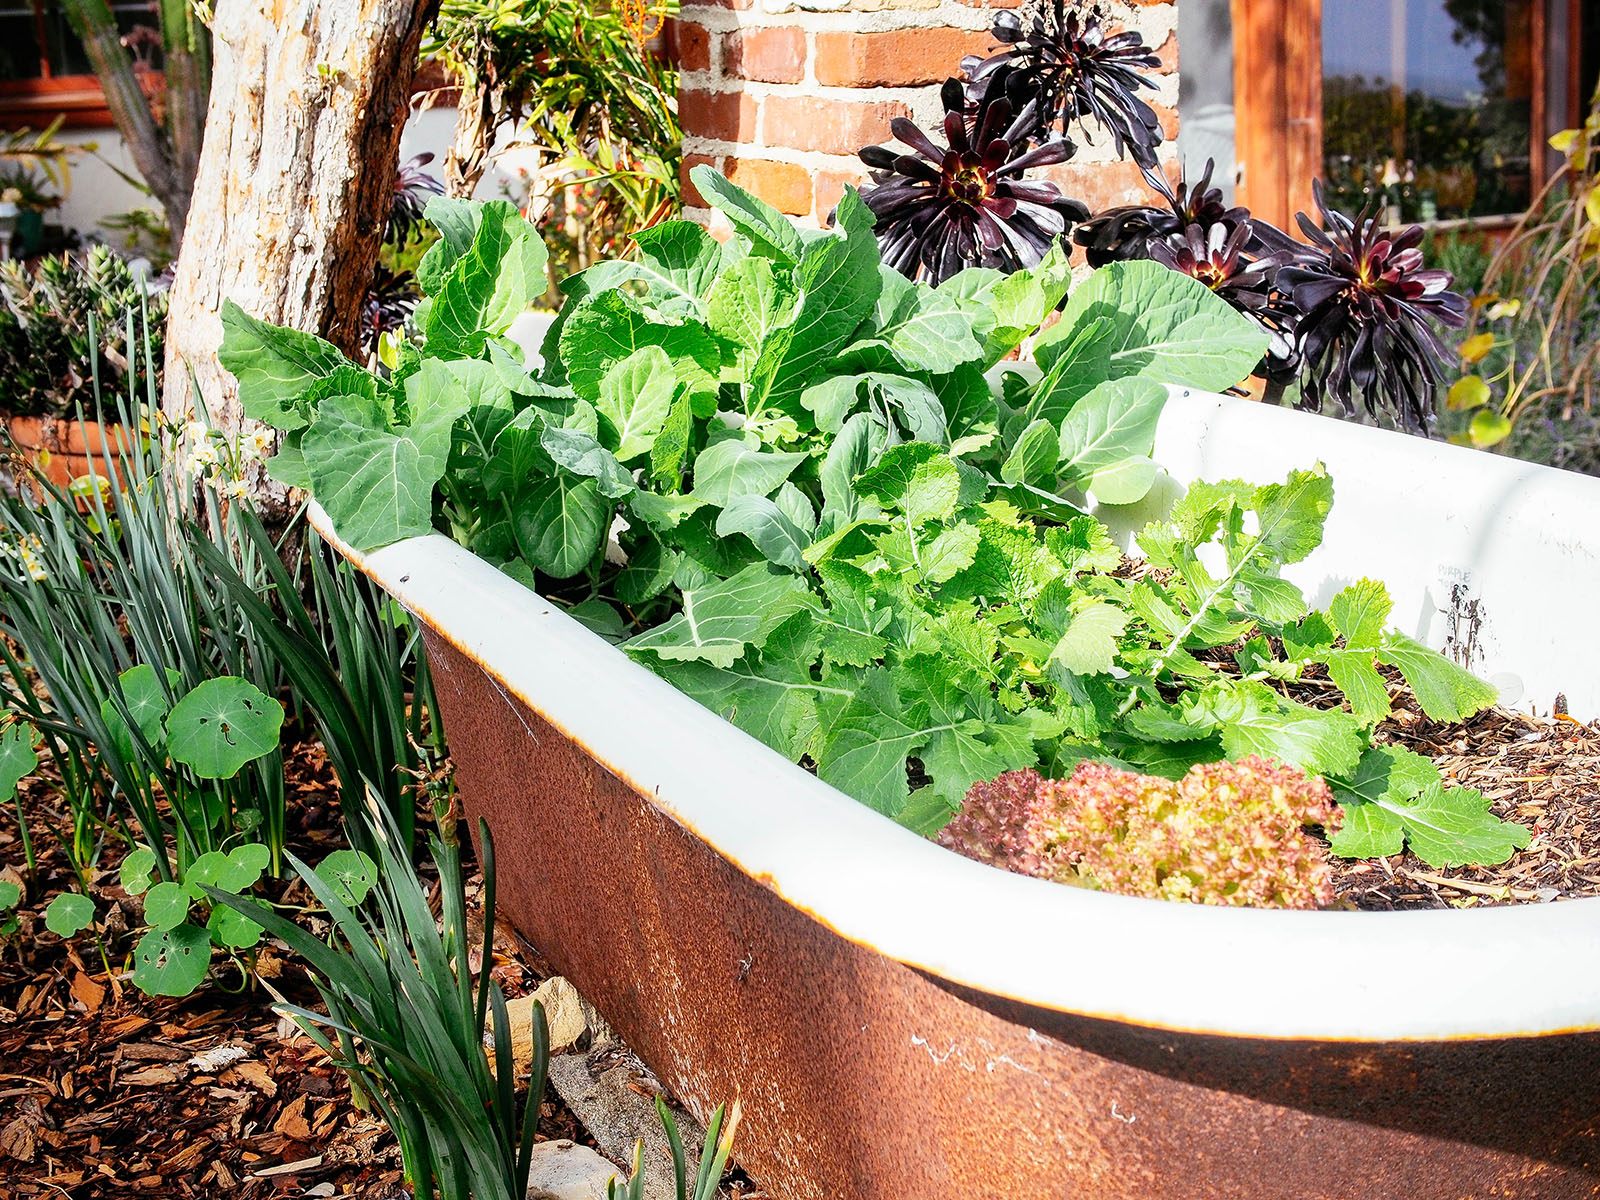
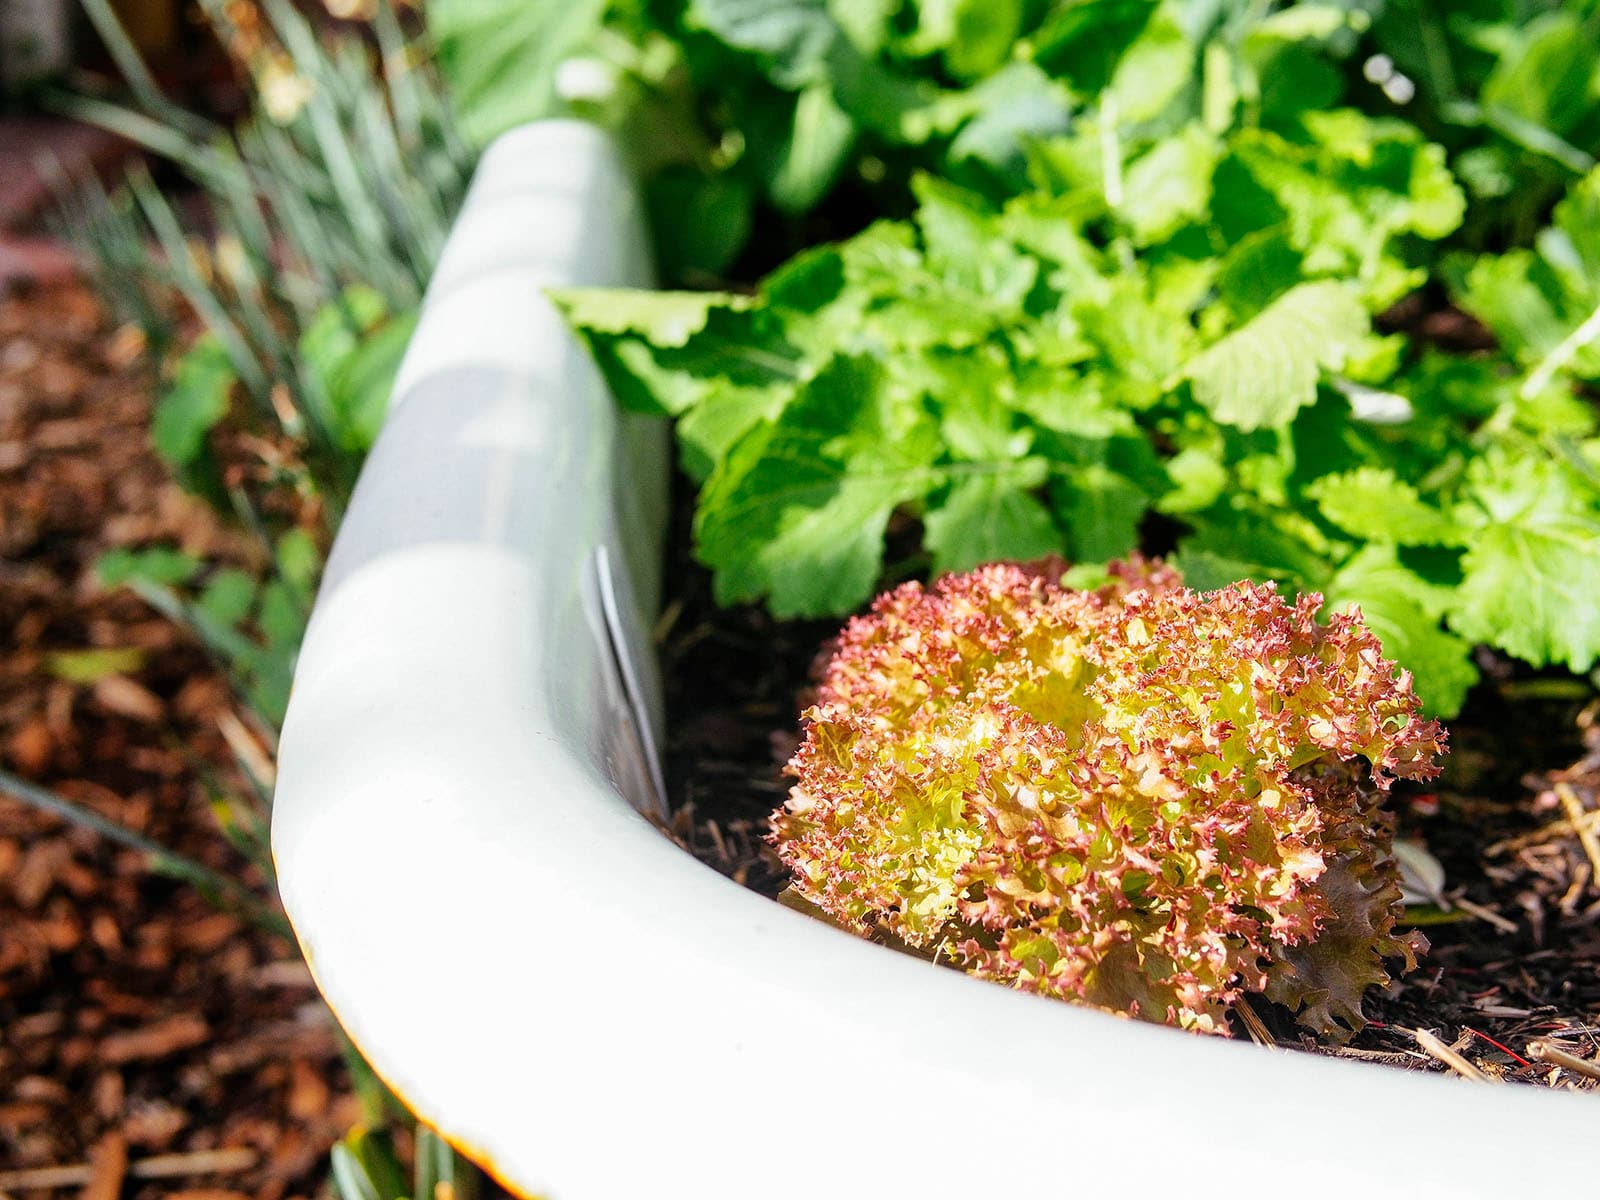
Some sources suggest that newly built no-dig beds work best with shallow-rooted plants until the layers break down into humus. But from experience, my turnips (shown here in the foreground) grew well, as did many other root crops and medium-rooted plants I’ve grown.
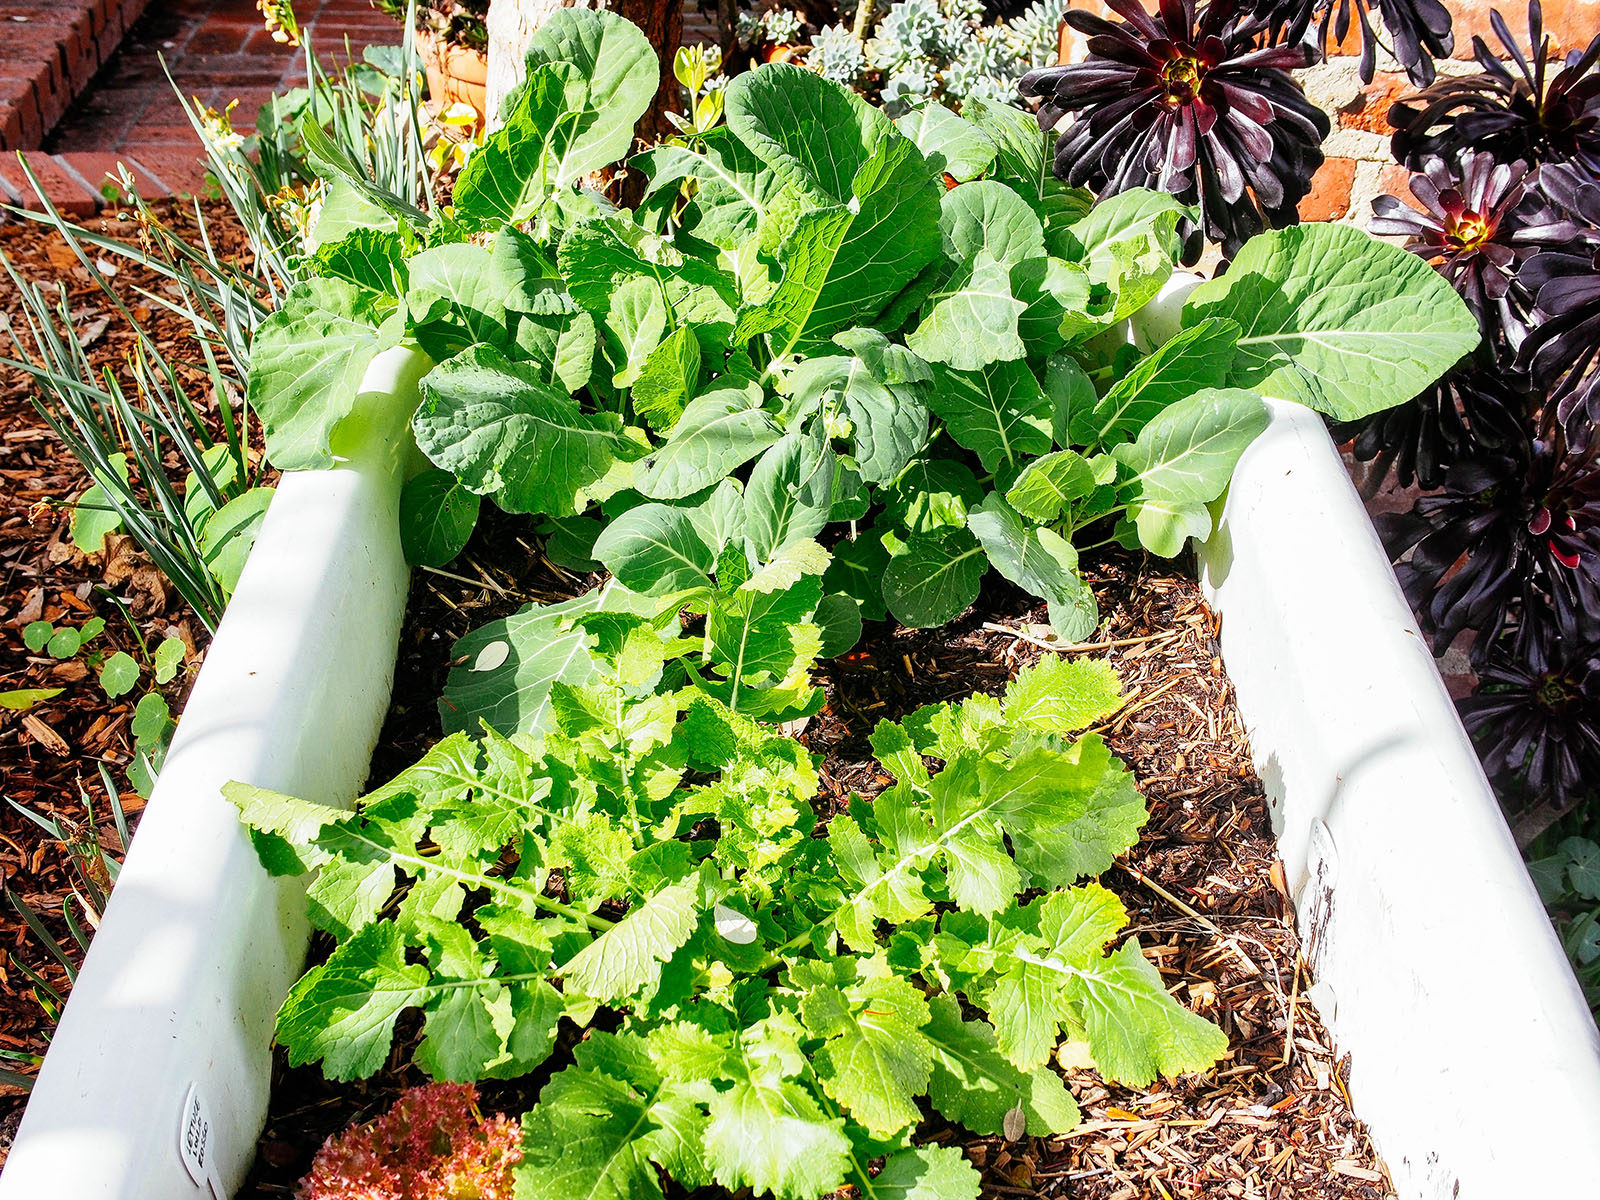
I probably wouldn’t plant, say, Imperator carrots or Japanese daikon in a first-season bed as they’re very deep-rooted (upwards of 10 inches long) and do best in deep soil. But if you have the space to experiment? I say go for it!
Like any raised bed, you should top off your no-dig bed every season with compost and mulch. These are the layers that keep the soil food web fully functioning and healthy. I aim for 2 to 3 inches of compost, then another 2 to 3 inches of mulch (like straw, shredded leaves, or pine needles) on top of that.
Remember, there’s no need to turn the soil over or work the ingredients into the soil. They just sit on top and get watered in normally. (But be sure to keep the mulch a few inches away from the base of your plants—you don’t want it to hold moisture against the stems, which will lead to rot.)
This no-dig bed is now one of my favorite “lazy gardening” strategies that I’ve used and adapted in a few different gardens, as it’s easy to implement (even in small spaces) and doesn’t require me to stockpile a ton of organic matter (like vegetable scraps) to put into a bed.
Frequently asked questions
Easy No-Dig Garden Bed
Put down that shovel and start making healthy soil the lazy way by building a no-dig garden bed. This low-effort, no-till method yields healthier plants and fewer weeds, and your back will thank you for it.
Materials
- Newspapers
- Organic fertilizer (I used blood meal and bone meal)
- Alfalfa (also called lucerne hay)
- Straw (make sure it's weed- and pesticide-free)
- Finished compost
Tools
- Trowel
Instructions
- Lay 10 sheets of newspaper across the bottom of the garden bed.
- Scatter a few handfuls of fertilizer over the newspapers.
- Layer about 6 inches of alfalfa on top.
- Scatter a few more handfuls of fertilizer over the alfalfa, then water thoroughly.
- Add about 12 inches of straw over the alfalfa.
- Scatter a few handfuls of fertilizer over the straw, then water thoroughly.
- Top off with 3 to 6 inches of finished compost, and water thoroughly.
- Now, you're ready to plant!
Notes
If you have a taller raised bed, simply repeat the layers until you reach the top (ending with the compost layer).
This post updated from an article that originally appeared on March 5, 2014.






I use a similar method but have had a lot of challenges finding material that has not been sprayed with herbicide or is a GMO crop. In fact there is literally nothing available here in Arkansas. So I use things from my own property. We recently got chickens and they are doing a great job eating bugs and worms but also literally destroying my plants and mulch. So, the one large raised bed area I keep fenced and am working to build up the sides of my other beds so the chickens can’t scratch out all the materials. I use both cardboard and paper with the first layer, alfalfa pellets and now chicken manure and shavings, shredded leaves, and then the compost with shredded leaves and hardwood mulch on top. Blood meal and bone meal have become extremely expensive and not available locally in bulk so I use those sparingly. I have had to compromise on the GMO alfalfa pellets when I use them. Clean straw is impossible to find here but I do have a local guy who harvests his clean hay before it goes to seed; I was thinking of giving that a try. We also have local saw mills that have materials like saw dust and bark so also experimenting with that.
What veggies can you plant in this and what can you not? Do you have a list, I am not sure what plants are deep rooted except for carrots and asparagus.
Hi linda, just started reading some of your articles. When you describe starting a no dig bed with the your formula and state a few handfuls of fertilizer over the different layers. What’s the size of the bed you are relating to 2×4, 3x 6. Certainly a few handfuls is aimed at a specific size. Can you advise?
Thanks
Seamus
what about Ruth STOUT American no dig farmer in poverty hollow west of New York lived into herlived livstill on line stgill on line
Yes! it’s called the Eden method of gardening. It works incredibly well for most people. There is a video on YouTube all about it by Ruth from years ago. Unfortunately, I ended up growing copperheads in my Eden garden 😂 so I had to give up the method. They took up residence under the mulch (I used old hay and straw). When I realized it wasn’t safe to walk through my garden, I had to go a different route.
Is it possible to use brown cardboard instead of newspaper as the base? I’m excited to try my hand at a no-dig garden, I just have to collect all the materials.
yes, as long as it isn’t wax coated.
glad to see this post again and just wanted to comment that I appreciate that you credit Esther Dean as the agricultural pioneer whose methods were an inspiration to Mollison. I frequently see/hear discussions of permaculture that completely leave out her contributions. Planning to buy her book, thanks for including the title.
And here it is 8 years later and your advice is still pertinent, even more so today with looming food shortages. Thanks for the tips. I shall start rounding up the ingredients to fill my bathtub.
You’re welcome Sue! Funny, I was just looking at this post recently as I plan to update with larger images and a little more info, but it’s exactly how I still do things!
thanks for sharing this very cool idea! I am wondering how expensive this is for southern california gardeners? Feed stores near me charge $12 for a bale of straw and $22 for alfalfa. Blood meal and bone meal are around $13 for a 2 lb box. The total might compare favorably to buying compost and topsoil but it still seems like a lot. What is your advice regarding getting the materials for this no-dig bed without spending a fortune? Thank you!
It costs less than buying multiple bags of bagged soil and compost, and of course your costs would come down if you’re creating more than one bed (to fully utilize all the materials you have to buy). That said, you can save some money by waiting until fall. A lot of my neighbors are happy to get rid of their straw bales after Halloween (for free) and depending on where you are in SoCal, you might be able to buy alfalfa directly from a local farm. You can also call local farms and ask if they’ll sell their “spoiled hay” at a discount. This is usually alfalfa that’s been left in the rain or otherwise sitting unused in the back of their barn, and while it’s no longer usable as horse feed, it’s perfectly fine for composting.
Hi Linda. Did you just only unplugged the tub for drainage? Or did you drill some holes at the bottom of the tub? I’d love to try this but I wondered just having a plug hole is enough?
I’ve just recently discovered your website and am absolutely loving it! Thank you!
I did not drill additional holes in the bathtub. With the depth and the type of soil created, there was plenty of drainage for my plants. (But keep in mind I don’t live in a super rainy region.)
How to go cheaper: find a neighbor with horses, and take some wheelbarrows with aged manure. Plants love it. Find a disposal site for landscapers which grinds the vegetation into compost. Ours gives free mulch, which is vegetation after the first grind. They can’t sell all the compost,, so they only make as much as they can sell and dispose of the rest of the first grind at landfills – save them some pennies by taking a few trailer-fulls of mulch. Cut your lawn with a bag attached, and throw the clippings in the raised bed,, now you have green and brown mixed. Burn your tree clippings, and use the ash for the raised bed. Four free things, that make a paradise for plants.
Anything I can do where I could plants green beans the first year? What else may be a problem the first year?
Do you have to let this sit for a whole season before planting in it? I have many chile plants (about 30) in small pots that I need to transplant into a larger growing area, and I am looking for a more cost effective way to make that happen then buying 30 large pots and all of the soil needed to fill them. Any ideas you have would be welcome!
Yes, you can plant right away. I don’t know how the chile plants would respond to all the nitrogen in the bed, as I only planted greens and turnips in the first season, but it’s worth a try.
Okay. Thank you for taking the time to reply. I’ve been very inspired by your blog. I’m a web/graphic designer, and you’ve done an outstanding job.
Thanks! 🙂
Start a garden without breaking your back: The No-Dig Vegetable Garden http://t.co/i5BVt77YQG < TY for RT! @1handedgardener @bethclose85
New garden project. 4 months later, the no-dig bed is thriving: The No-Dig Vegetable Garden http://t.co/7TvXREO84A < TY for RT! @sophialin_