The Florida weave. I have to chuckle every time I hear the name. It sounds like a bad hairpiece, maybe even a rollickin’ good dance down south (and maybe it’s both?).
But it’s actually an effective method of trellising (staking) tomatoes if you plant your tomatoes side by side in rows.
Many small-scale farmers and commercial growers employ the Florida weave method (also called the basket weave method) because it’s fast, simple to set up and maintain, and uses space efficiently during the growing season—as well as after the growing season when there’s so little material to store.
I first learned about the Florida weave over 12 years ago when I was deciding how to support my 14 tomato plants in raised beds.
That first summer, I caged all my tomatoes with the metal conical cages you typically find in garden centers. While the conical cages worked okay in the beginning, I managed to obliterate a few (mostly while uprooting old plants) and didn’t have enough for all my sprawling indeterminates that season.
I also found that my plants became too top-heavy for the cages as they grew taller—and while I’d like to think I was an awesome first-timer at growing tomatoes (haha), the simple fact was that my plants easily outgrew those small cones.
So rather than buying more cages (too much money for something that wasn’t durable) or constructing my own towers out of rebar and cattle panels (too much work), I started looking for tomato supports that were inexpensive and effortless.
That’s when I discovered the Florida weave technique!
The Florida weave used everyday supplies I already had around the yard (stakes and string), and with a little help from my handy husband (who has all the fun tools), I had all my plants neatly trellised in no time at all.
Disclosure: If you shop from my article or make a purchase through one of my links, I may receive commissions on some of the products I recommend.
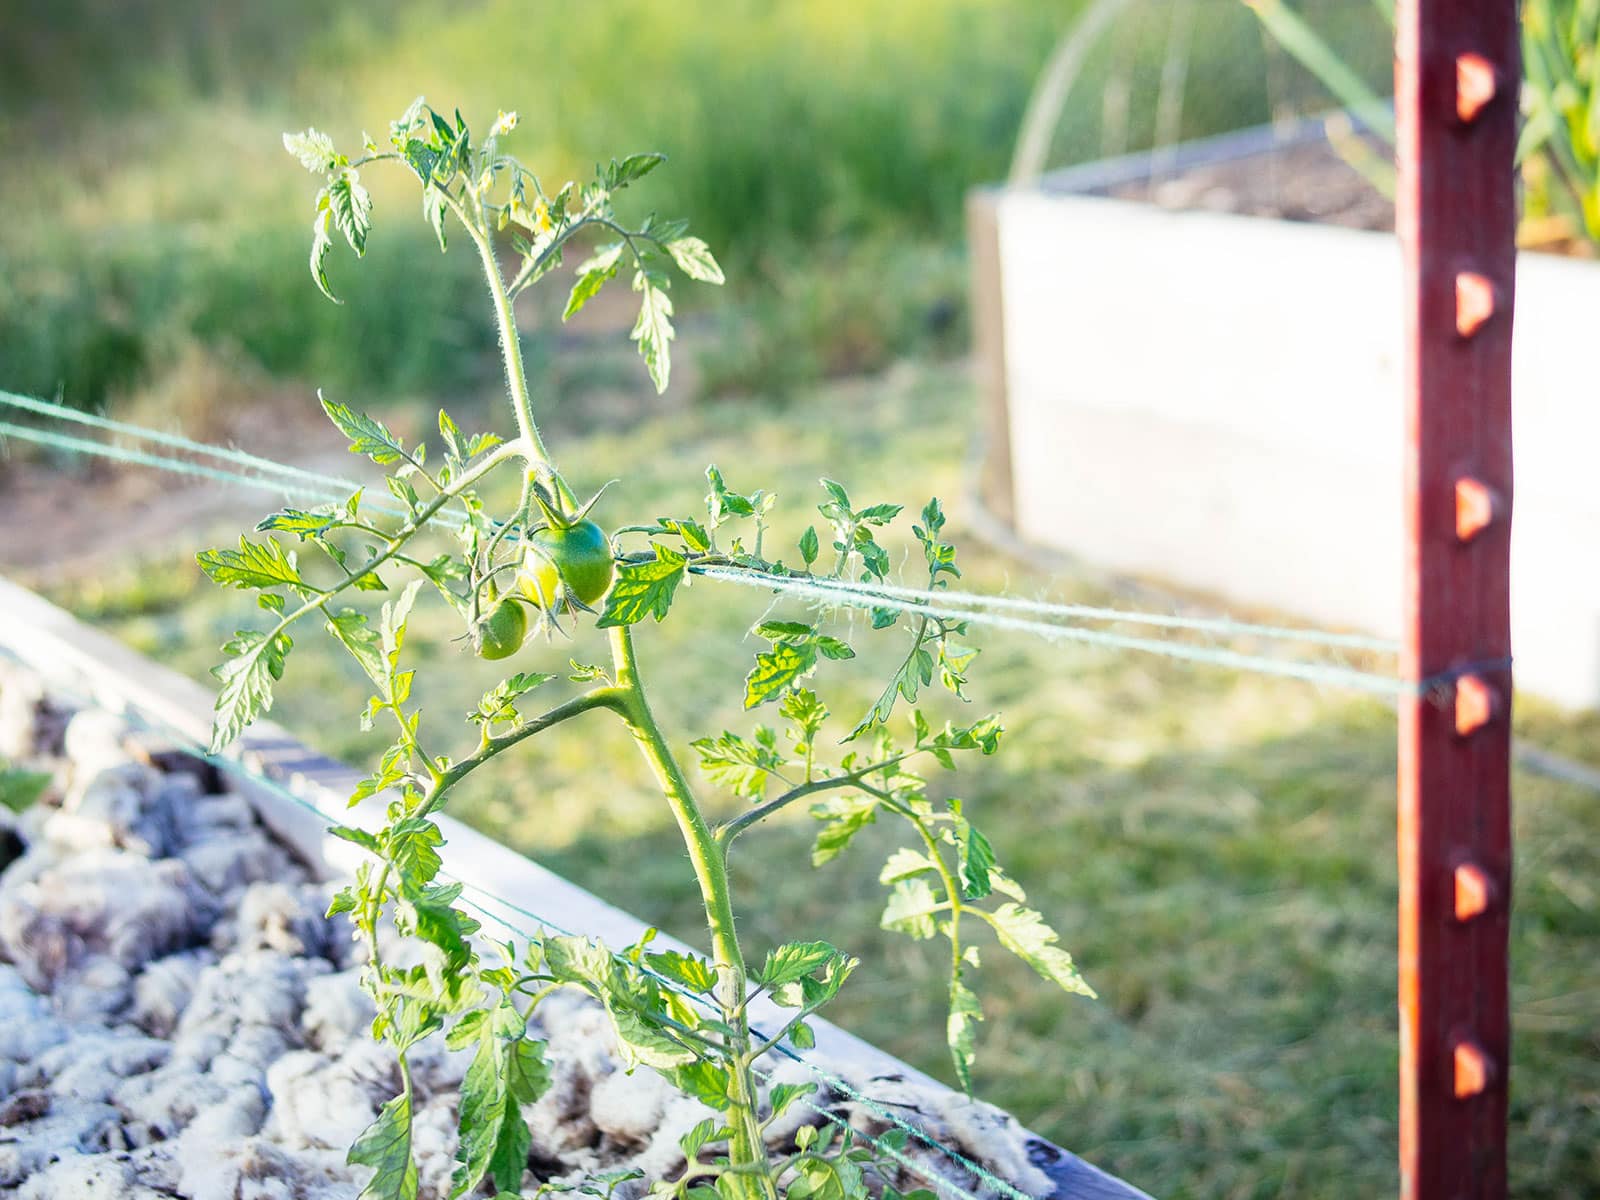
What is the Florida weave?
With the Florida weave method, the idea is to “sandwich” your plants between lengths of twine. The twine gently holds up the plants without the need for additional stakes and clips.
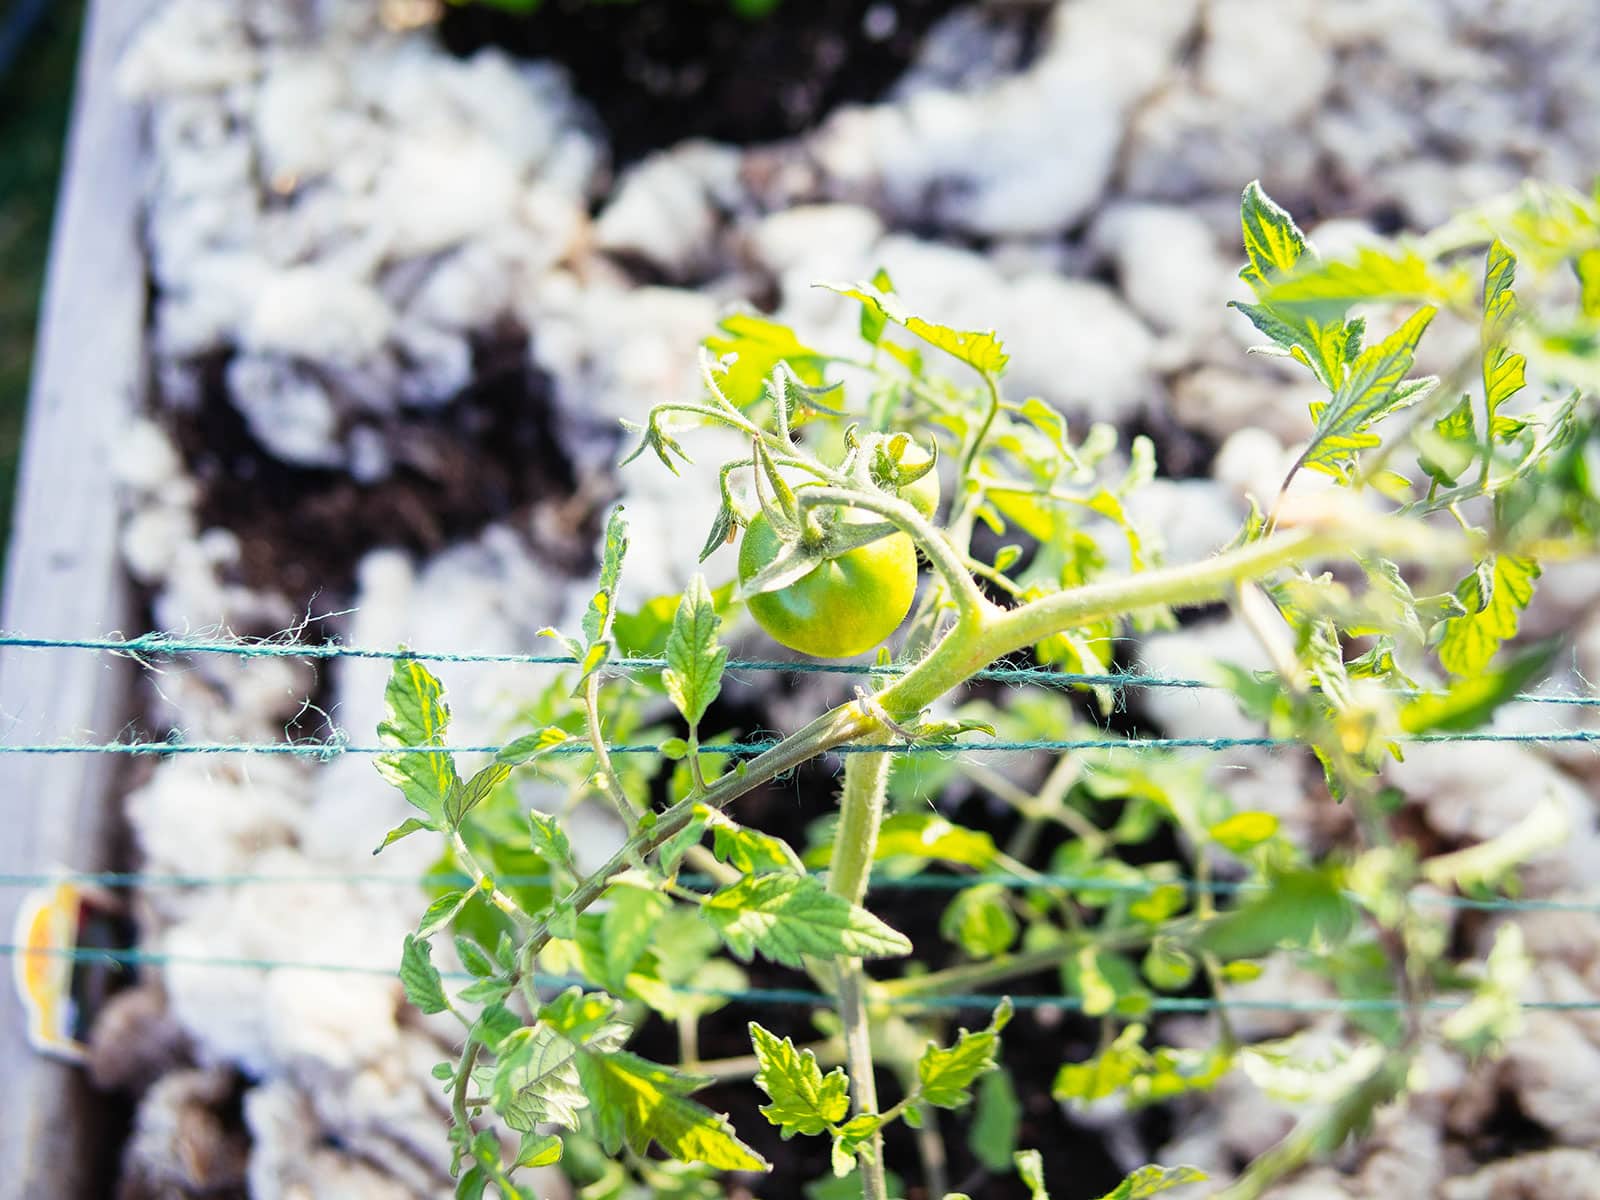
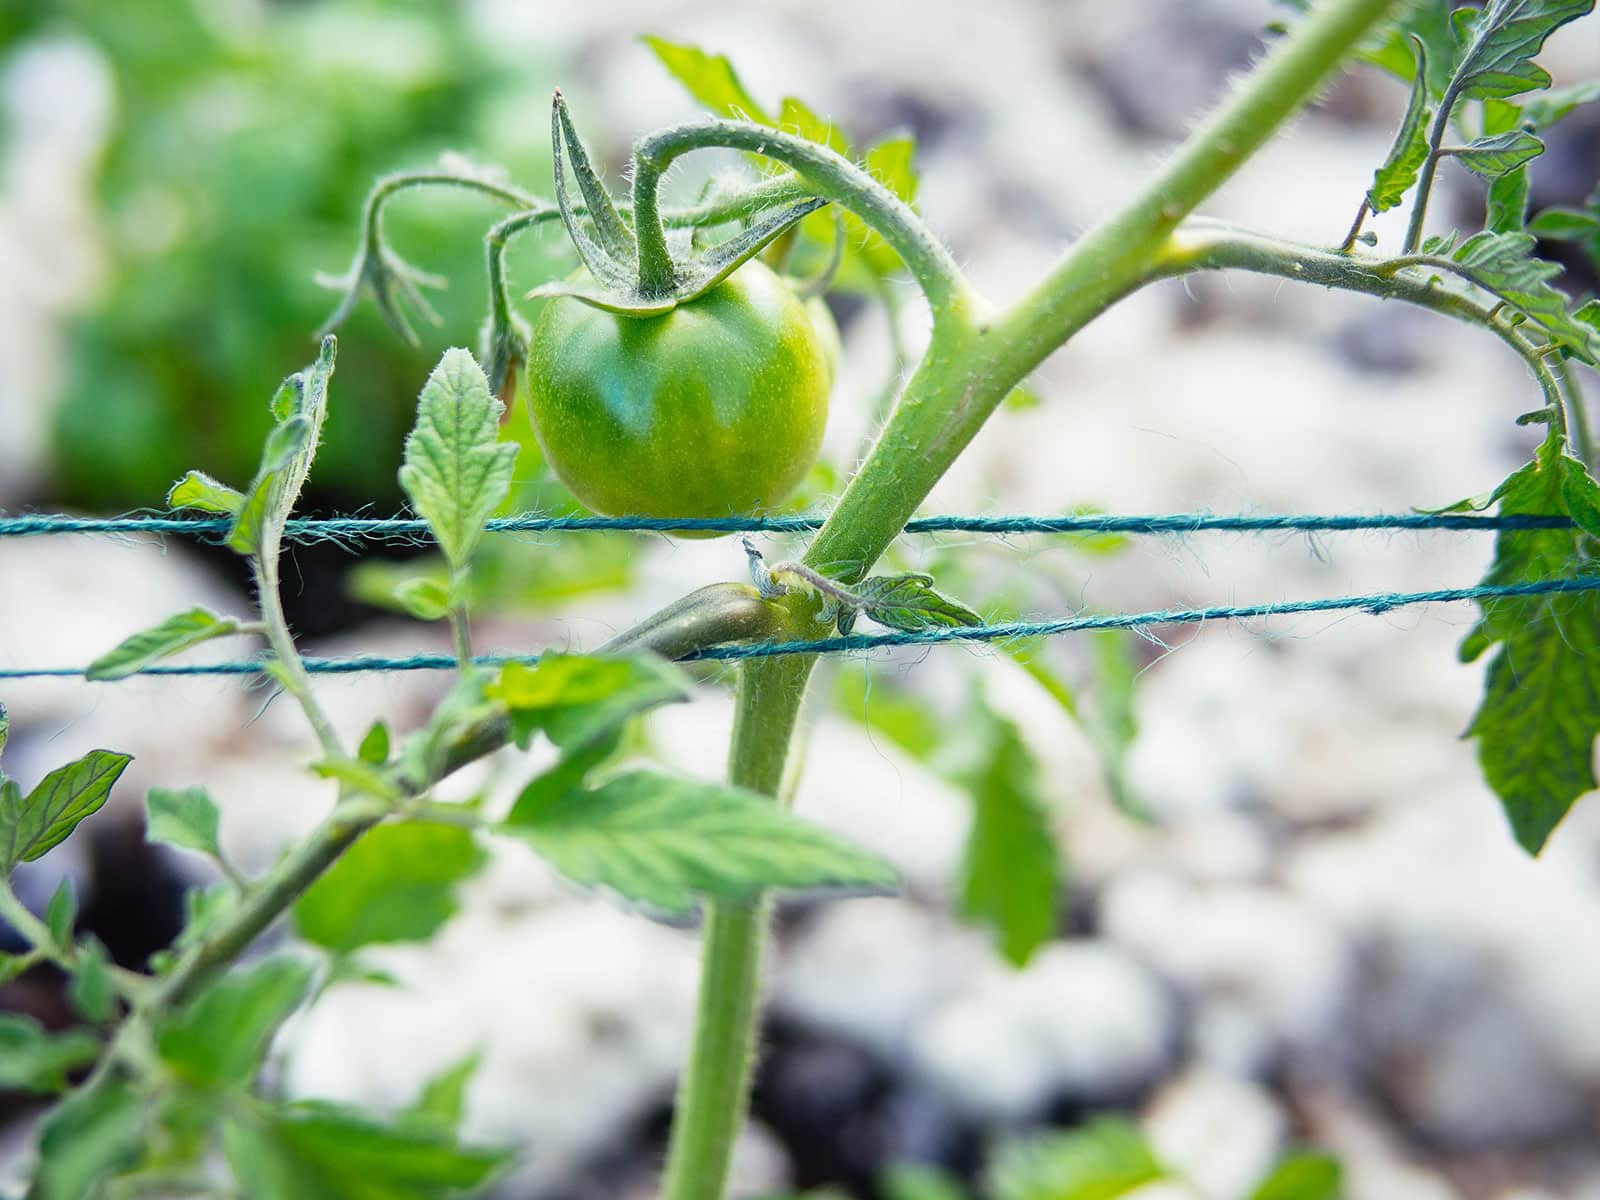
Ideally, you start trellising tomato plants when they’re under 2 feet tall and easier to manage. (I do mine shortly after I transplant my tomatoes in a trench, but before I mulch my beds.)
Larger plants become unruly and difficult to weave around the branches. You also run the risk of driving stakes into the roots of more established plants. So, start early with this system!
What kind of tomatoes can you support with the Florida weave?
The Florida weave works especially well for determinate tomatoes, since they never grow more than 5 feet in height. This makes it easy to contain the plants within the weave and have them be fully supported, especially if you’re using wooden stakes and natural-fiber twine.
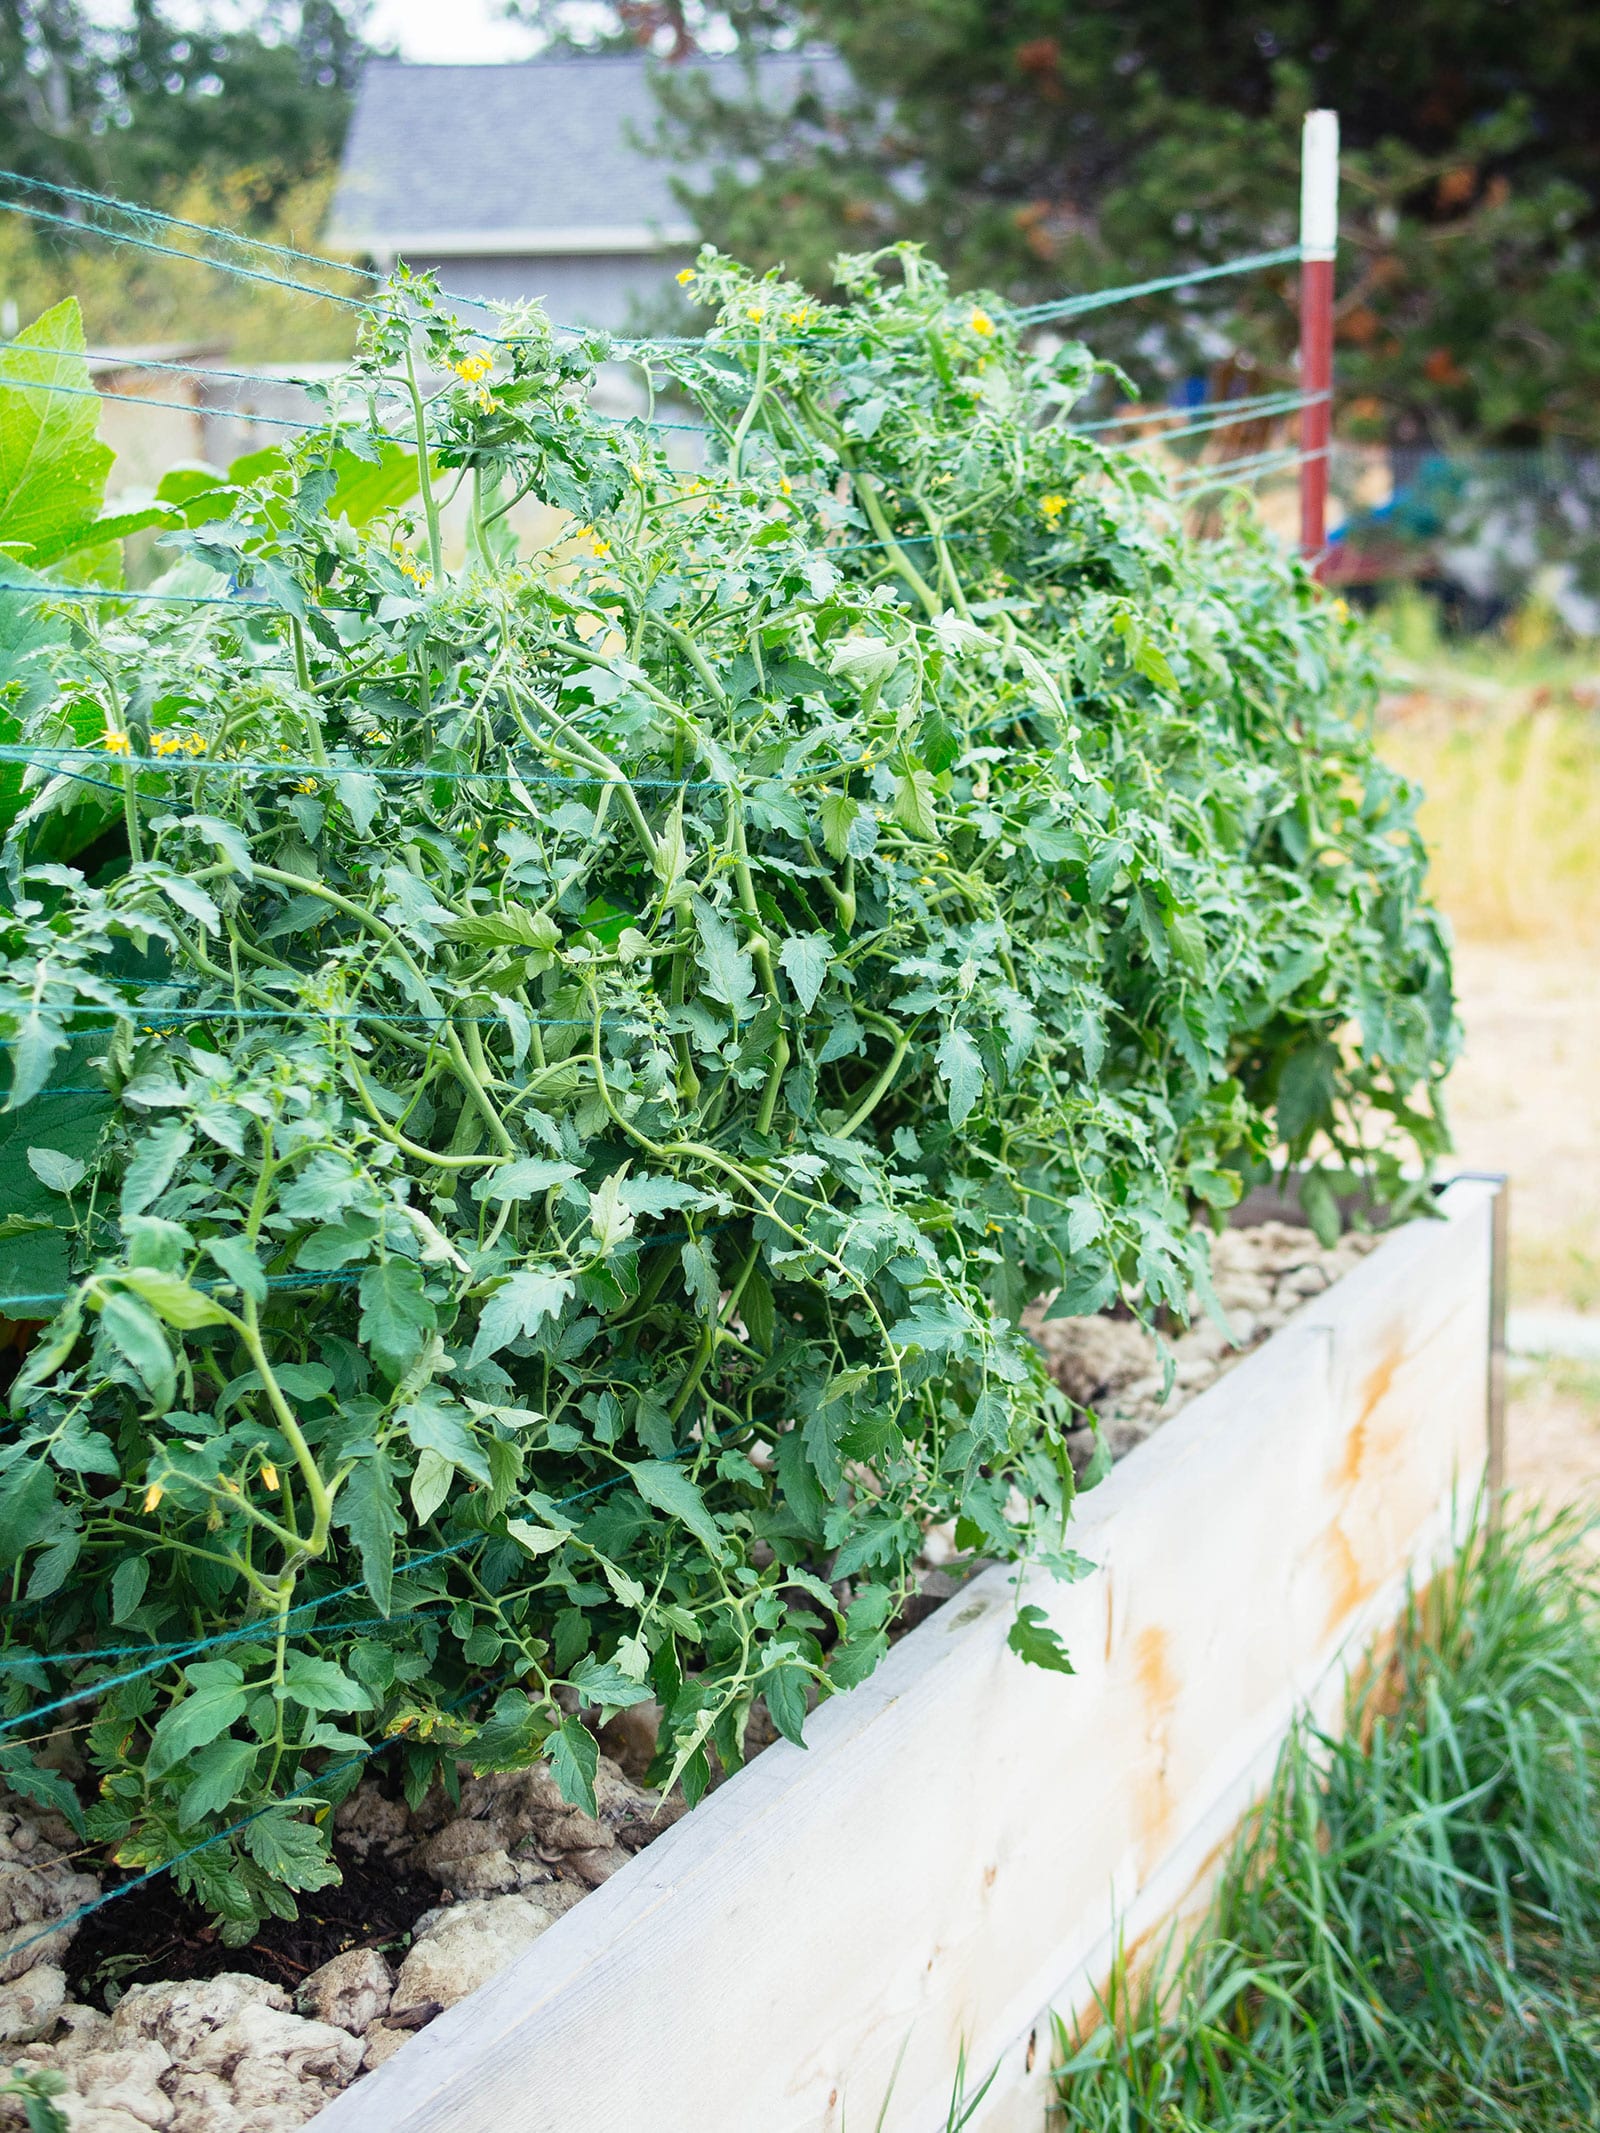
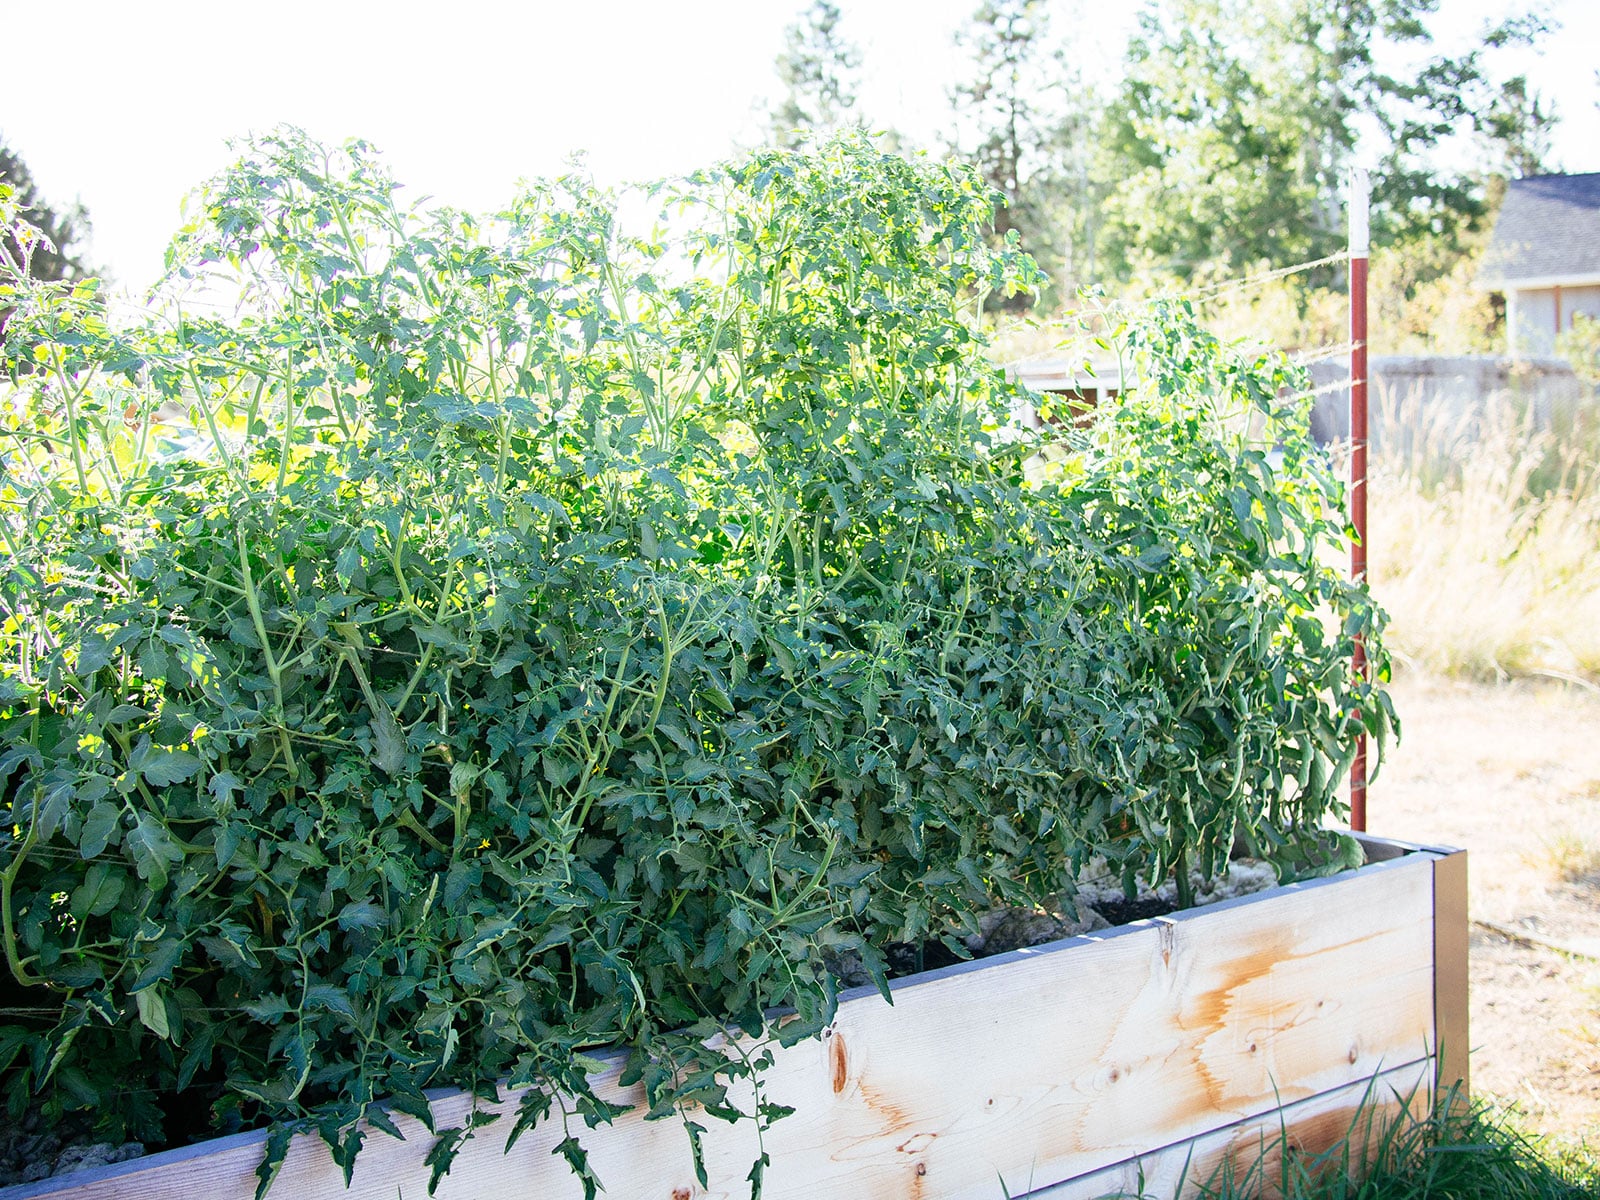
However, I’ve always trellised indeterminate tomato plants with the Florida weave and never had issues. In raised beds, my plants typically grow 8 to 9 feet tall, so any part of the vines that grow beyond the stakes simply drape over the topmost twine like a bed sheet on a clothesline.
How to support your tomato plants using the Florida weave technique
1. Choose your stakes
Start with sturdy stakes at least 6 to 8 feet tall. Depending on what you have available, these are my top choices:
Steel fence T-posts: T-posts range from 5 to 10 feet tall. The 7-foot or 8-foot T-posts are the perfect height for a Florida weave stake, and their larger diameter (1 3/4 inches) makes them sturdy enough for supporting several indeterminate plants in long rows.
While I’ve tried all the other options below, T-posts are now my go-to as they can be reused year after year, hold up well against wind, and can easily support large, heavy plants.
Rebar: If you can’t find tall T-posts, consider using rebar (which are thin metal stakes used in construction). At lumberyards and home improvement stores, they typically come in length increments of 2 feet (up to 20 feet).
A single 20-foot piece of rebar can be cut into three equal lengths to give you three stakes that are 6 feet 8 inches tall.
With their smaller diameters (3/8 inch to 1/2 inch), rebar stakes are easy to drive into the ground. If you wait until after a good rain (when the soil is nice and soft), you can even push the rebar in with your hands.
Wooden stakes: An easily available and inexpensive option, I’ve used 2×2 wooden stakes successfully for determinate tomatoes. They’ll last for a season or two, but are prone to rotting and splintering, and the tops might shatter with a forceful hammer strike.
In a pinch, you can use wooden stakes for indeterminate varieties, but they may start to bow as your plants grow taller.
Bamboo: Thick bamboo works better than wood as it’s weather resistant and has amazing tensile strength, but it’s also harder to come by unless you grow your own bamboo. (Most of the bamboo stakes sold at garden centers are more suited for light-duty staking.)
If you have a bamboo nursery nearby (Bamboo Craftsman in Portland, Oregon, is where I’ve sourced mine), choose strong, straight poles about 1 to 1 1/2 inches in diameter with thick cell walls.
2. Install the stakes
Center a stake between each plant and drive it 12 inches into the ground using a sledgehammer or T-post driver.
If you put a stake between every two to three plants, drive it 18 inches into the ground (and even deeper if your garden gets a lot of wind in the summer).
You want to keep at least 5 to 6 feet of stake above ground for trellising your plants.
(The pictures in this post show my T-posts in the ground outside of my raised bed, but if your T-posts are on the shorter side, definitely install them inside your raised bed so you have enough height.)
3. Choose your twine
Use a durable, weather-resistant twine that doesn’t stretch too much, like tomato twine (a heavy-duty poly works well), waxed twine, tarred twine, or synthetic baler twine.
A thin nylon rope also works, as does heavy-duty hemp cord, which is thick and durable, but not so burly that it’s hard to tie a tight knot with.
In a pinch, you can even use jute, sisal, or plain old cotton twine, but you’ll have to re-tighten the lines throughout the season when they start to sag.
(Hemp cord was used in these images, but I’ve tried all types of twine and my favorites right now—for strength and resilience—are poly tomato twine, waxed twine, and tarred twine.)
4. Create the “weave”
Starting about 8 inches above the ground, tie one end of the twine on the stake.
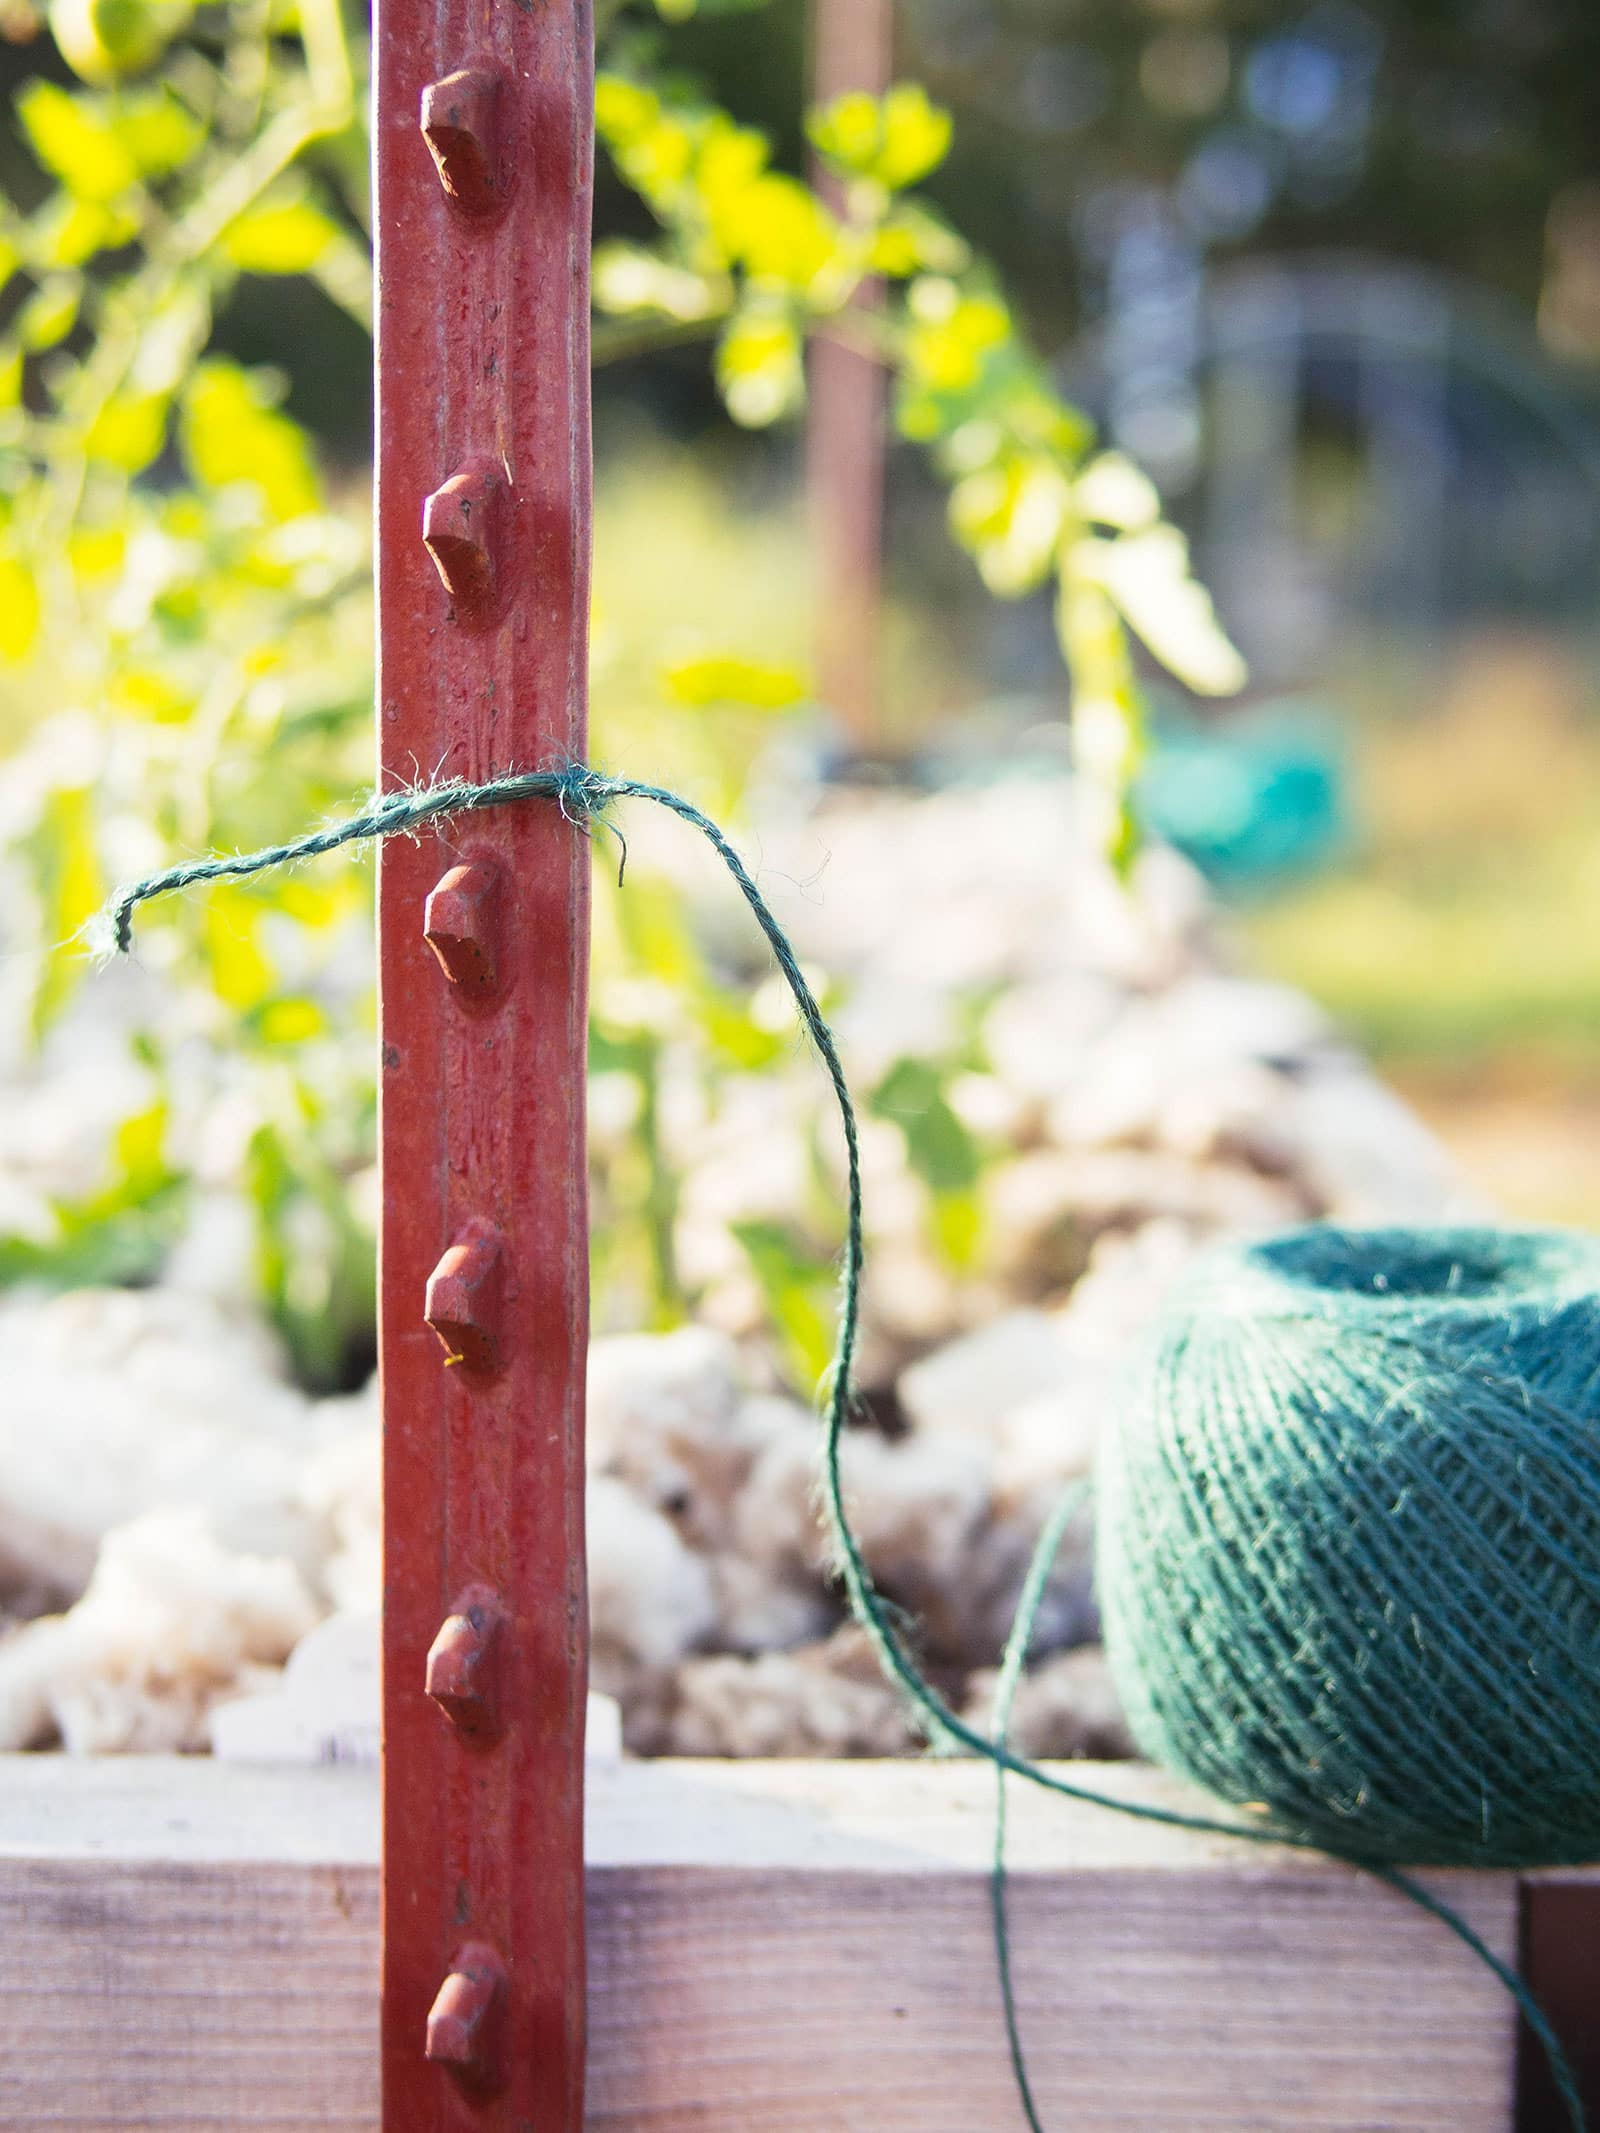
Loop the twine across the back of the tomato plant, bring it around the front of the second plant, then behind the third plant.
When you reach the last stake, loop the twine around the stake in a figure-8, making sure the twine grips the stake and the line is taut, but not pulling too tightly to damage your tomato stems.
Continue weaving the twine in and out between each plant on the other side, back to the first stake, and tie it off with a few knots.
Since that probably sounded just as confusing as it was to write, I’ll leave you with this nifty little drawing.
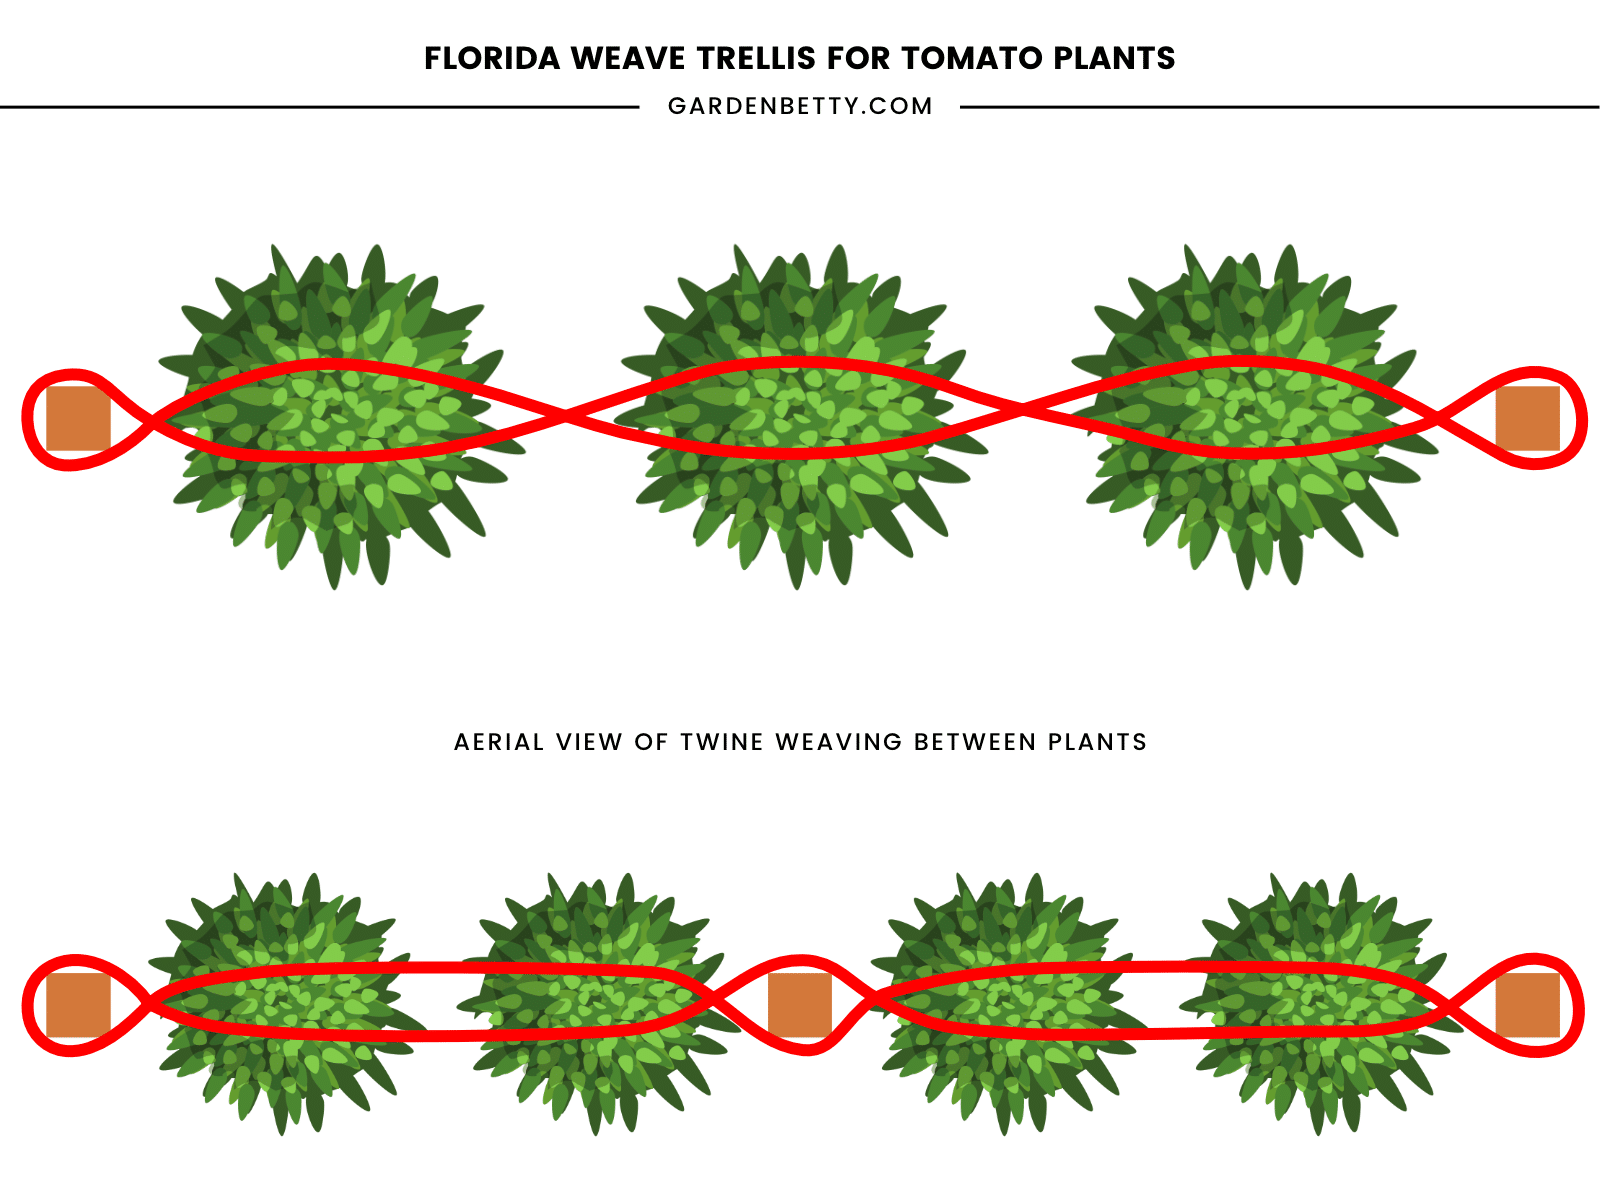
This is an aerial view of what the Florida weave method should look like.
The top illustration shows a setup with three plants across an 8-foot bed. This works best with determinate tomatoes, but can also be used with indeterminate plants if your garden is fairly sheltered from strong winds.
The bottom illustration shows a setup for indeterminate tomatoes that can be repeated for longer rows.
Here’s how that looks in real life.
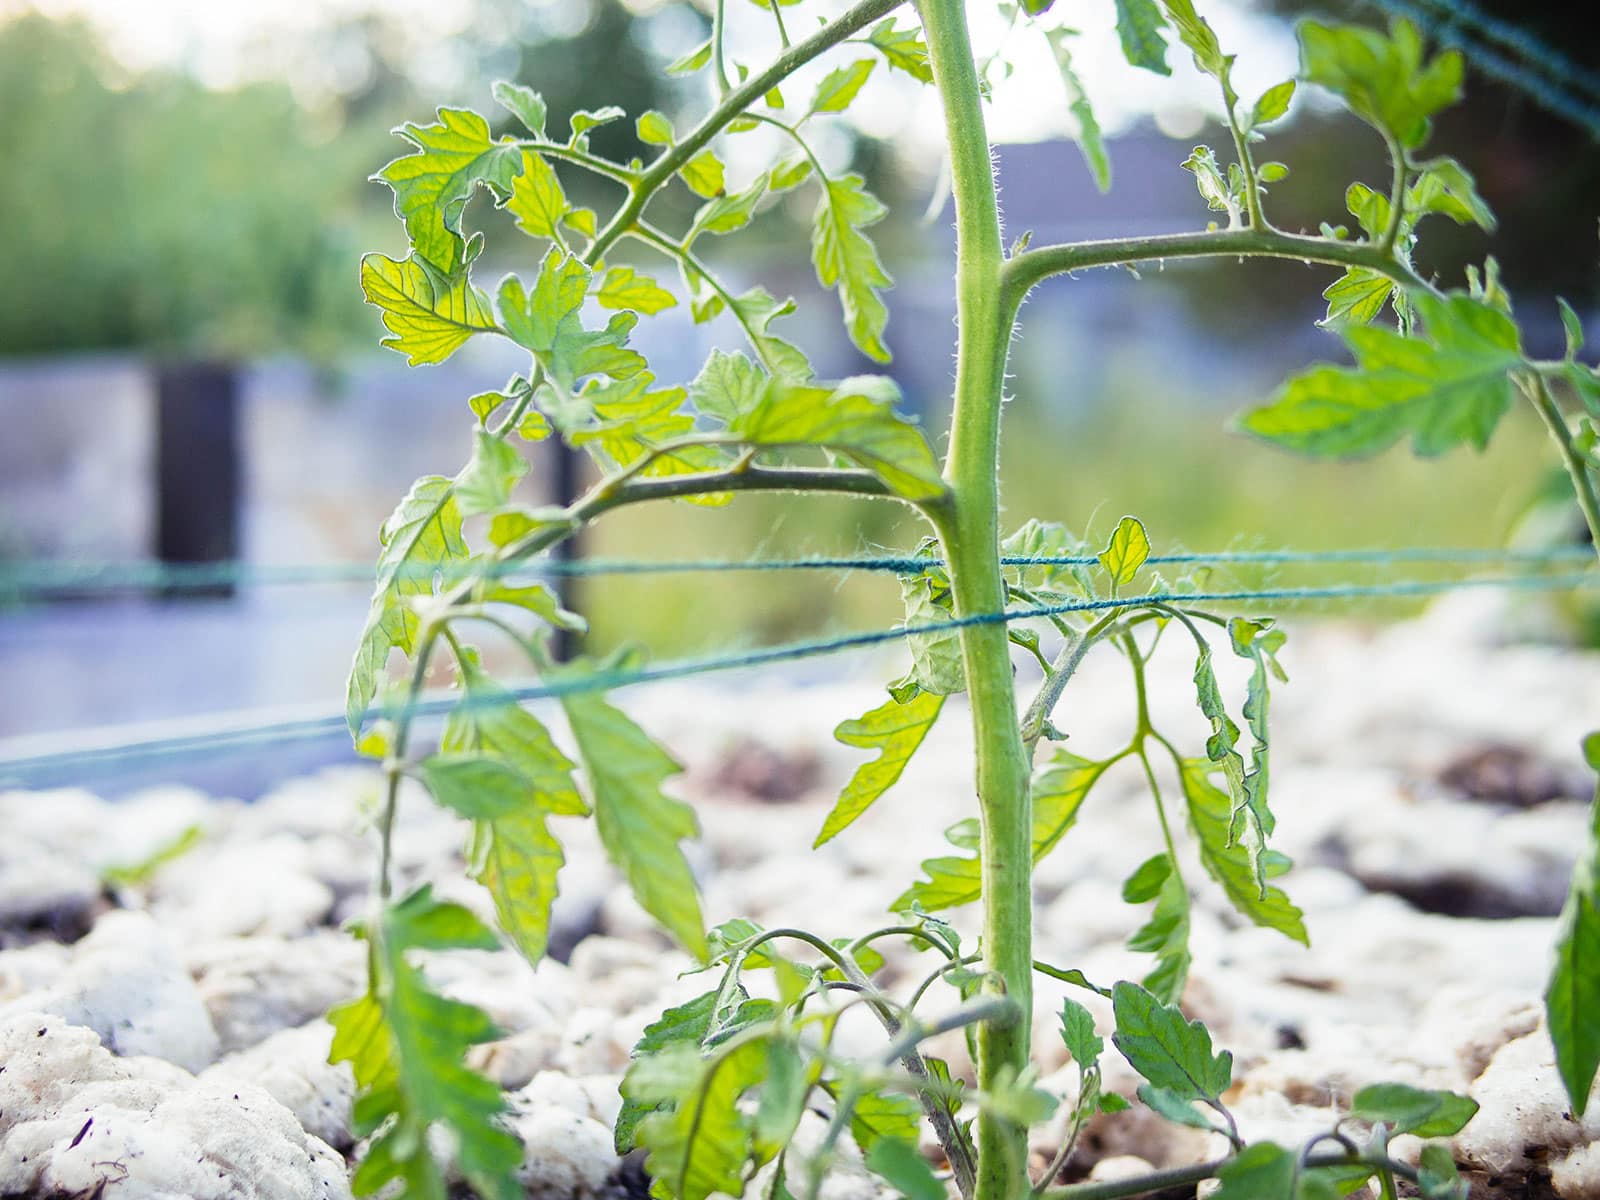
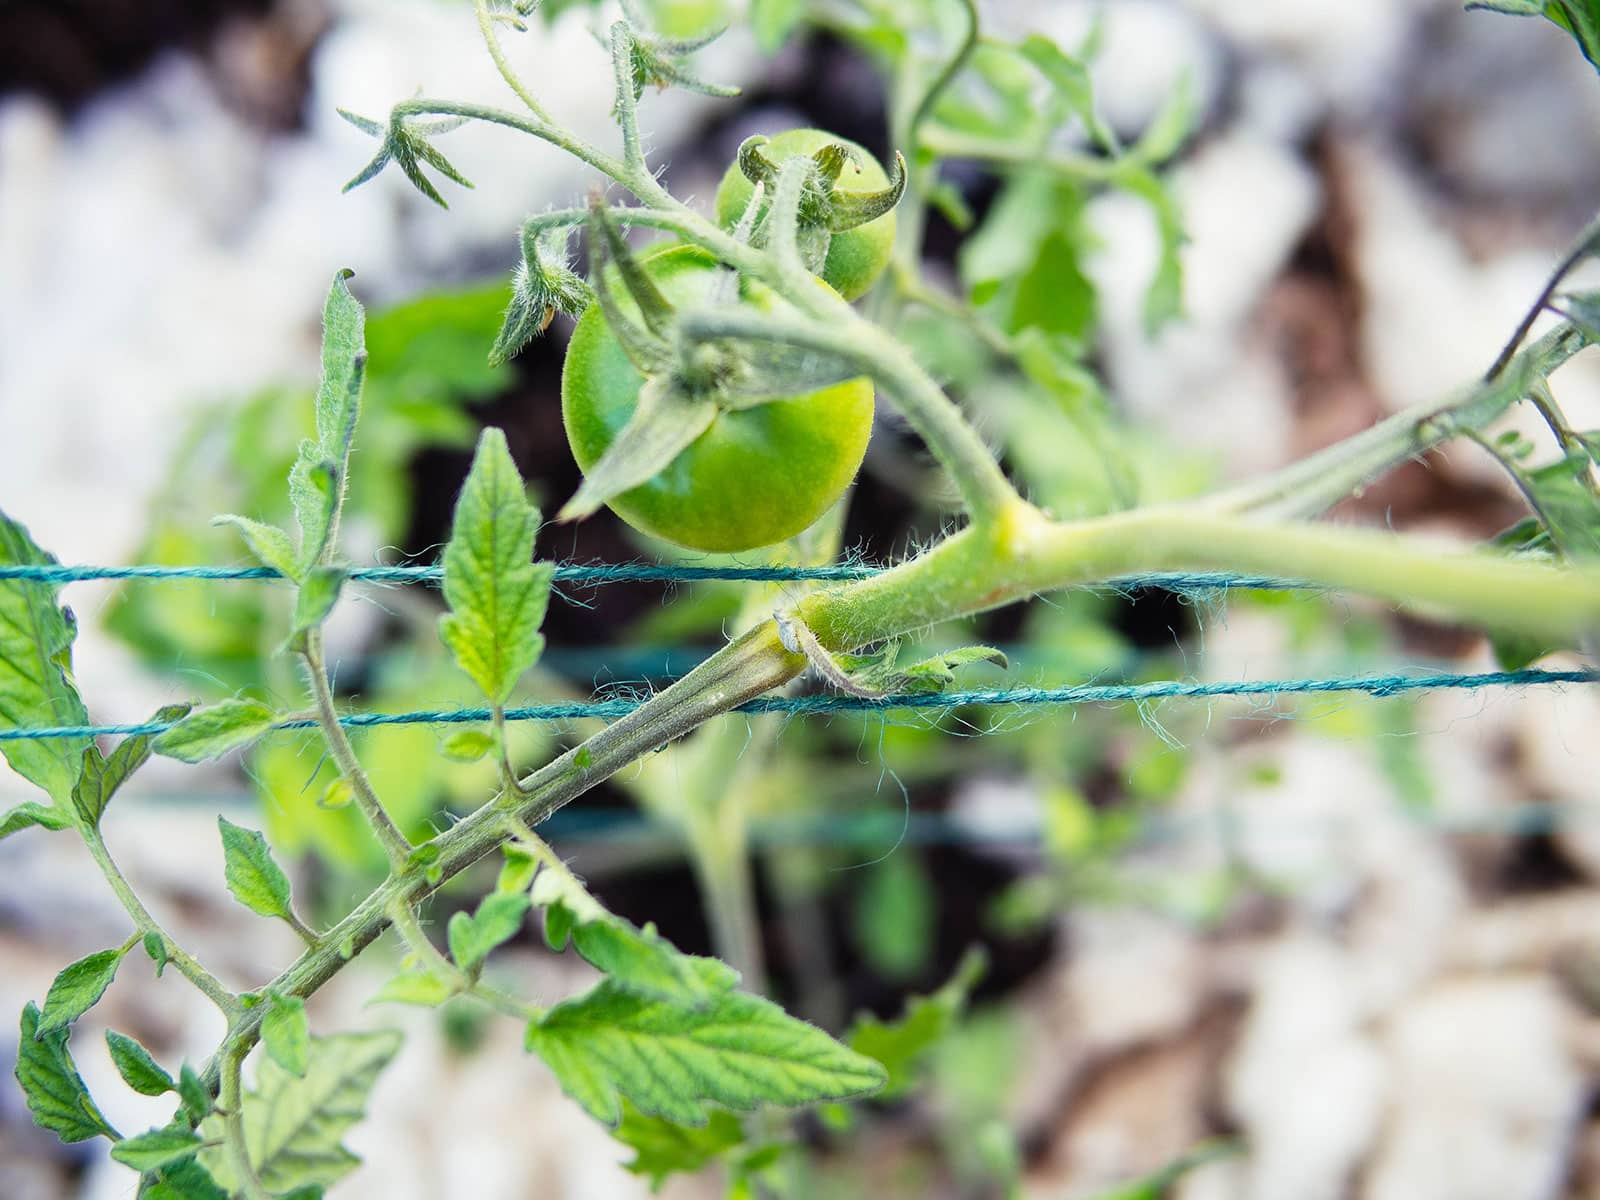
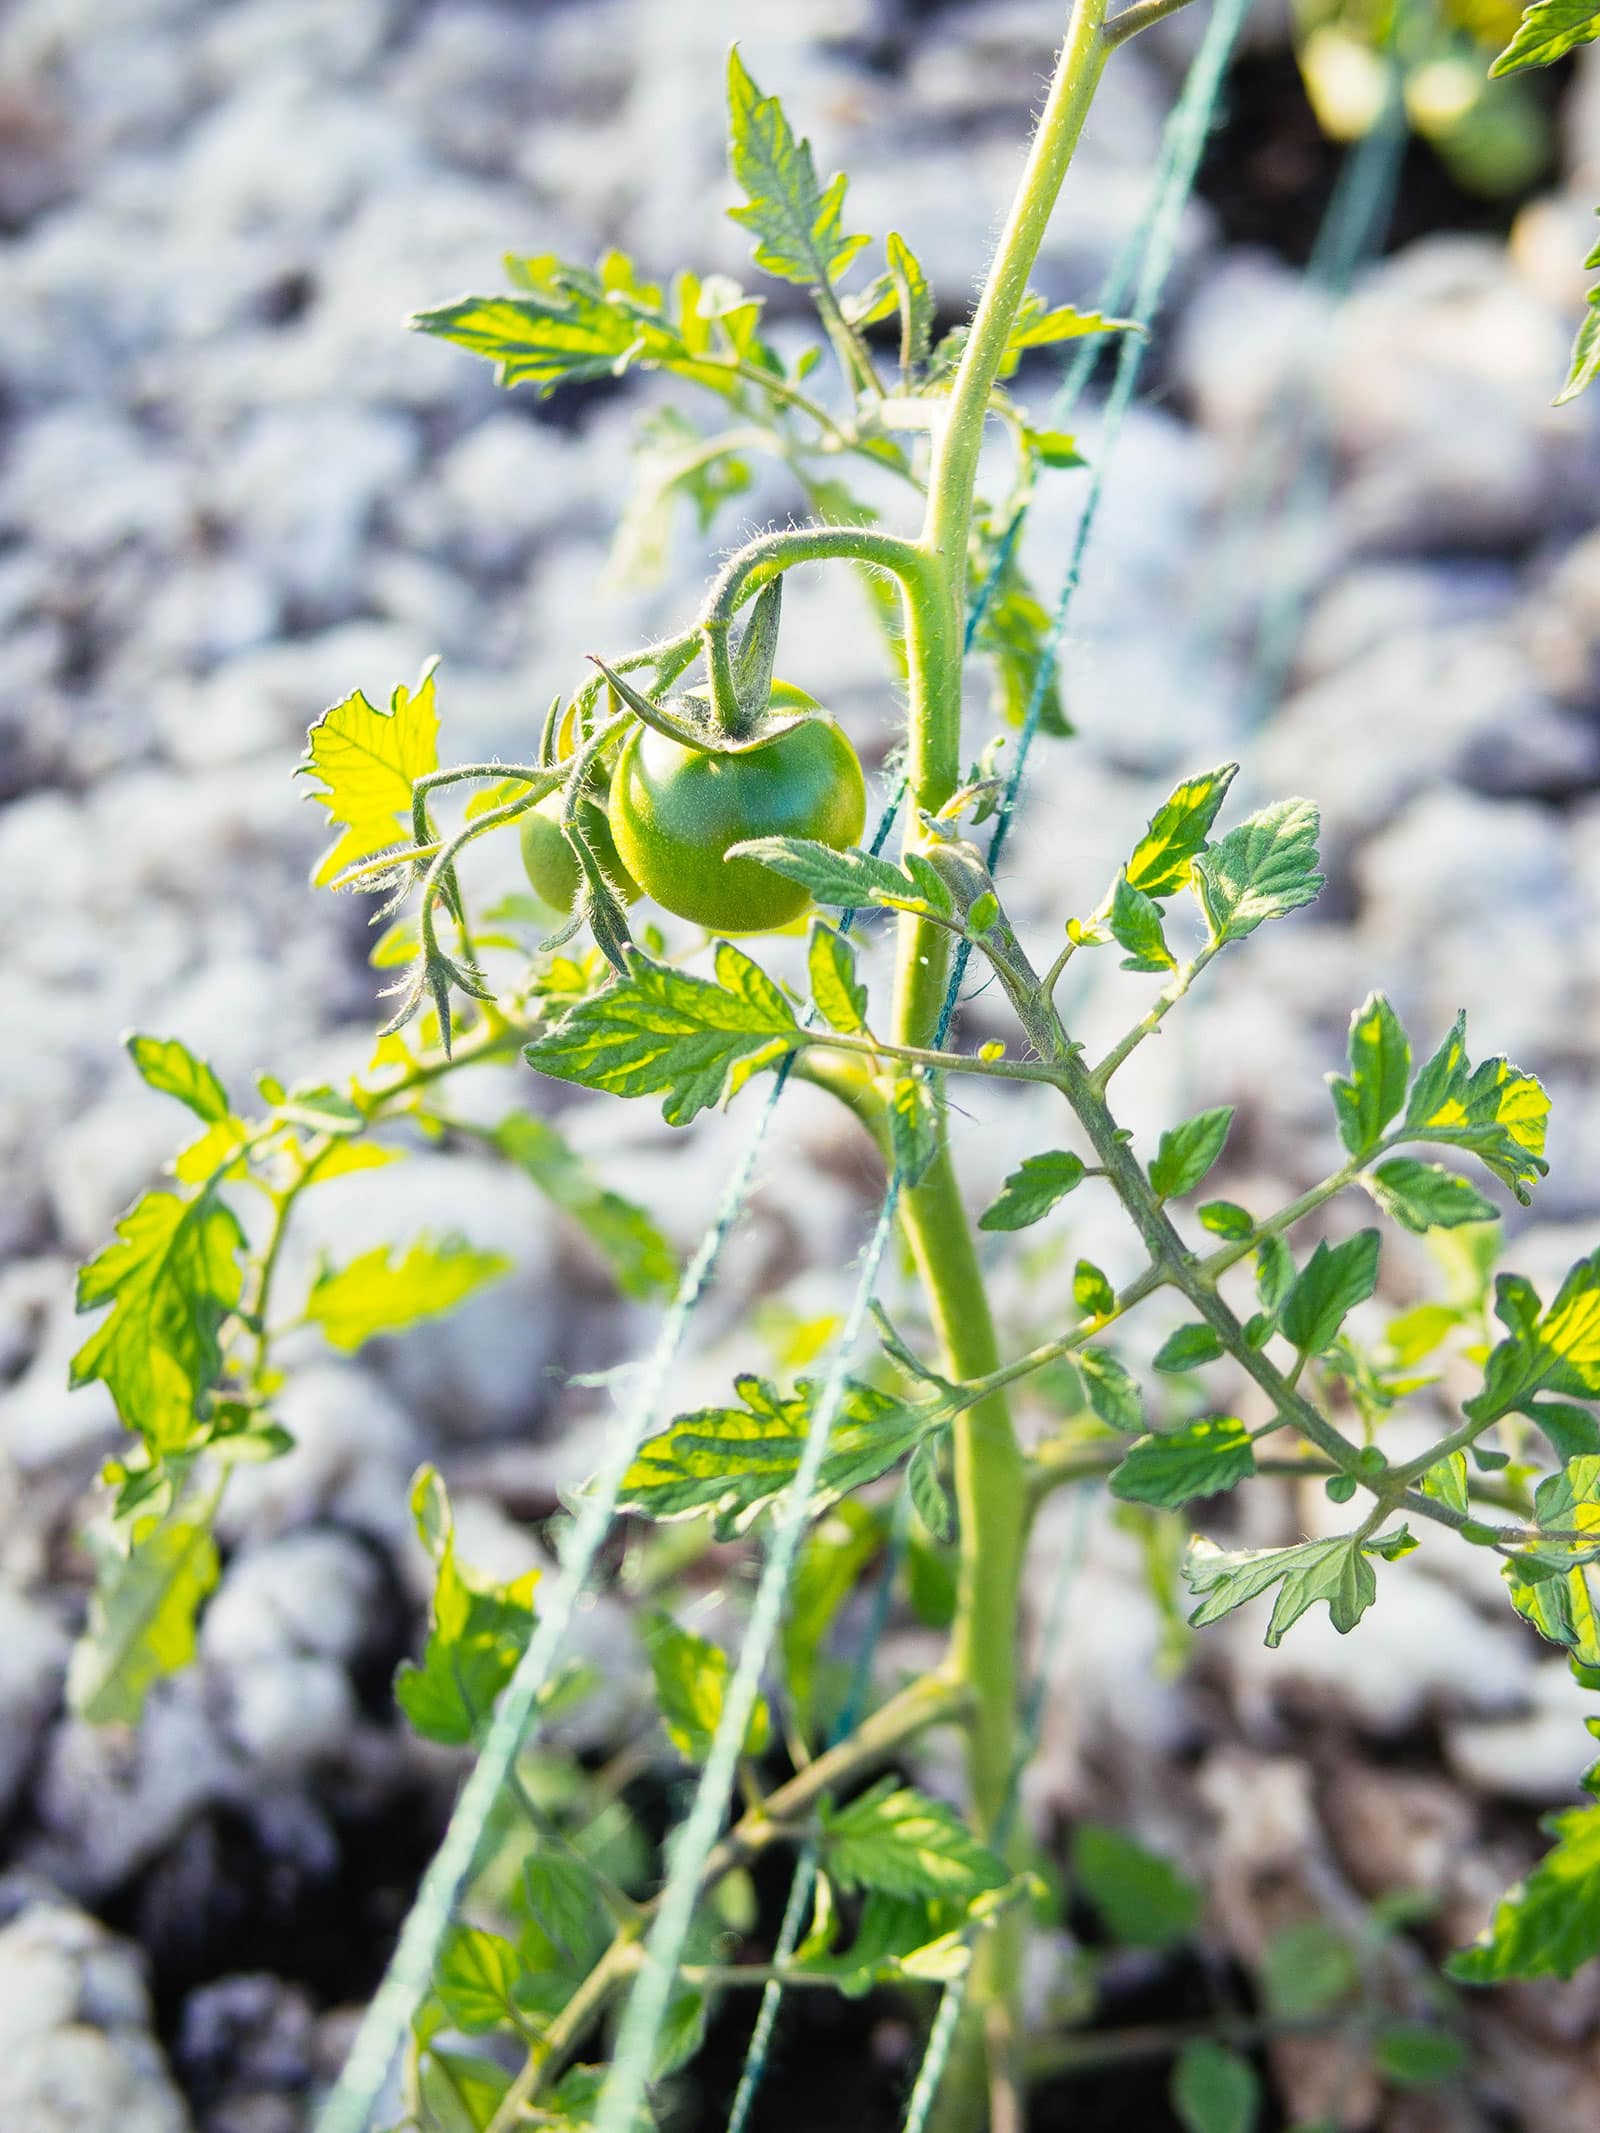
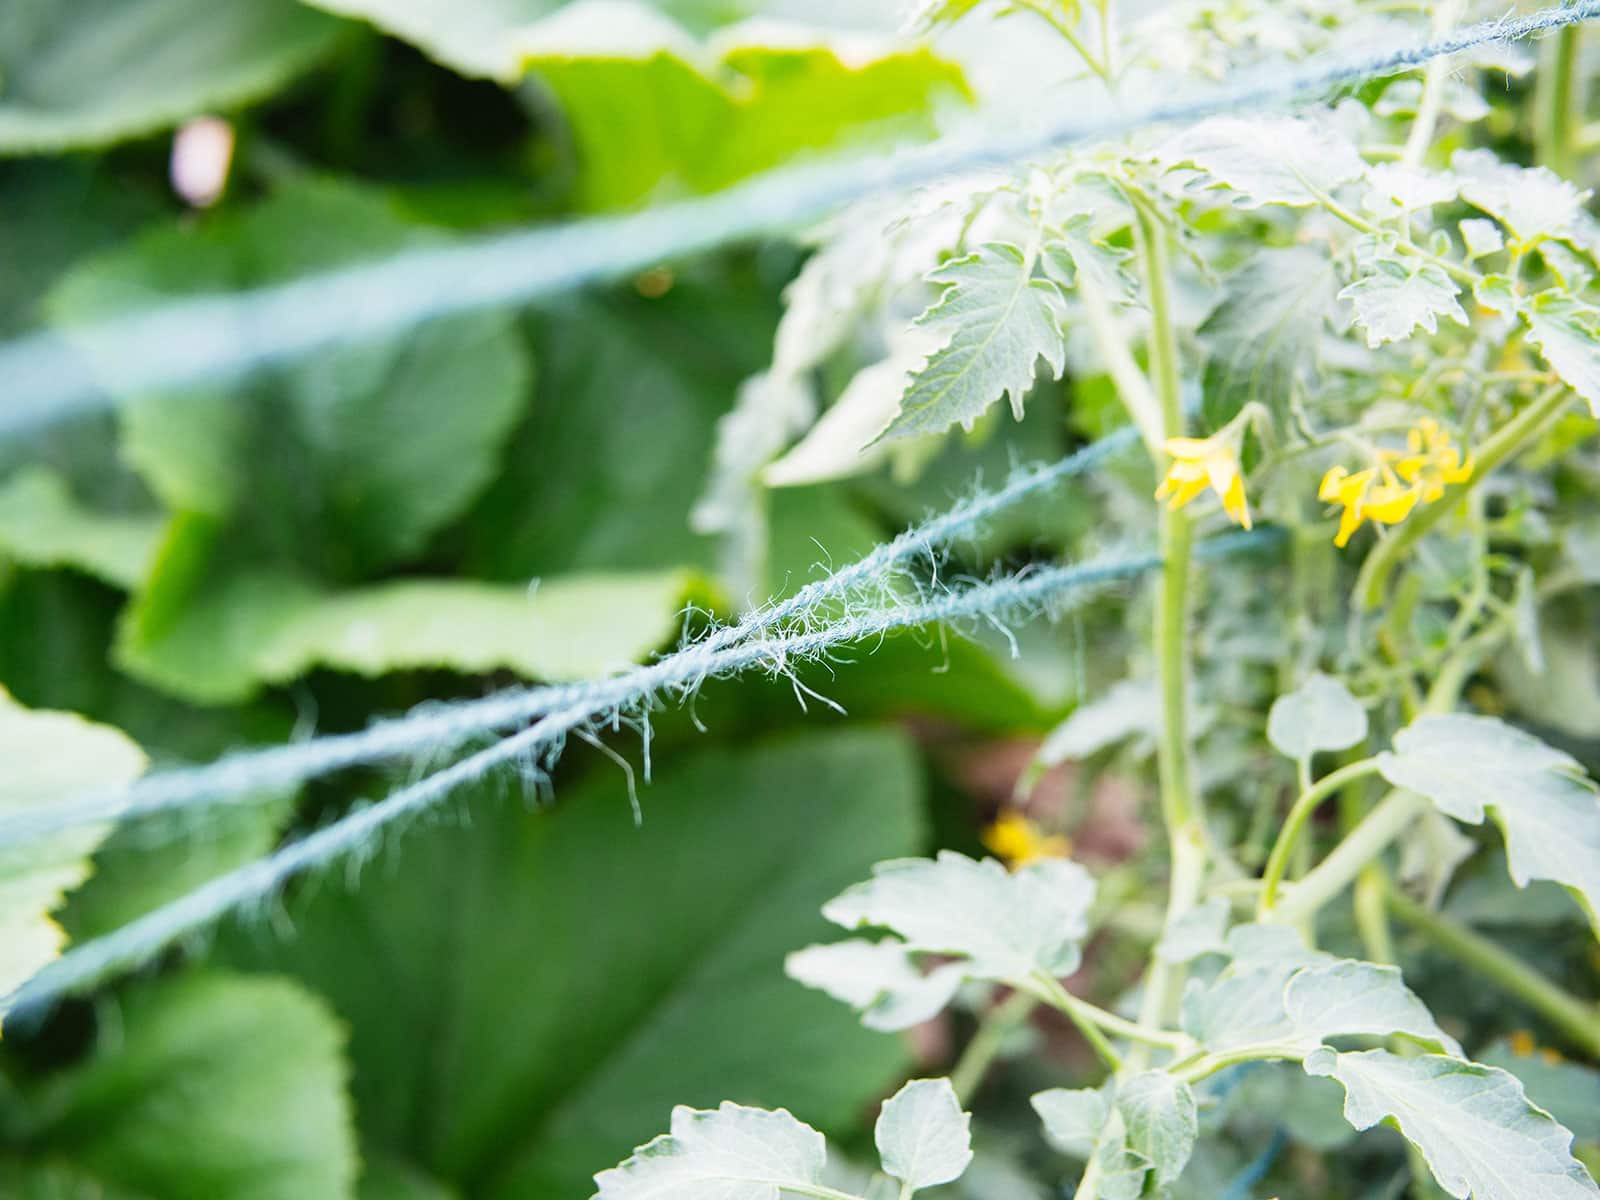
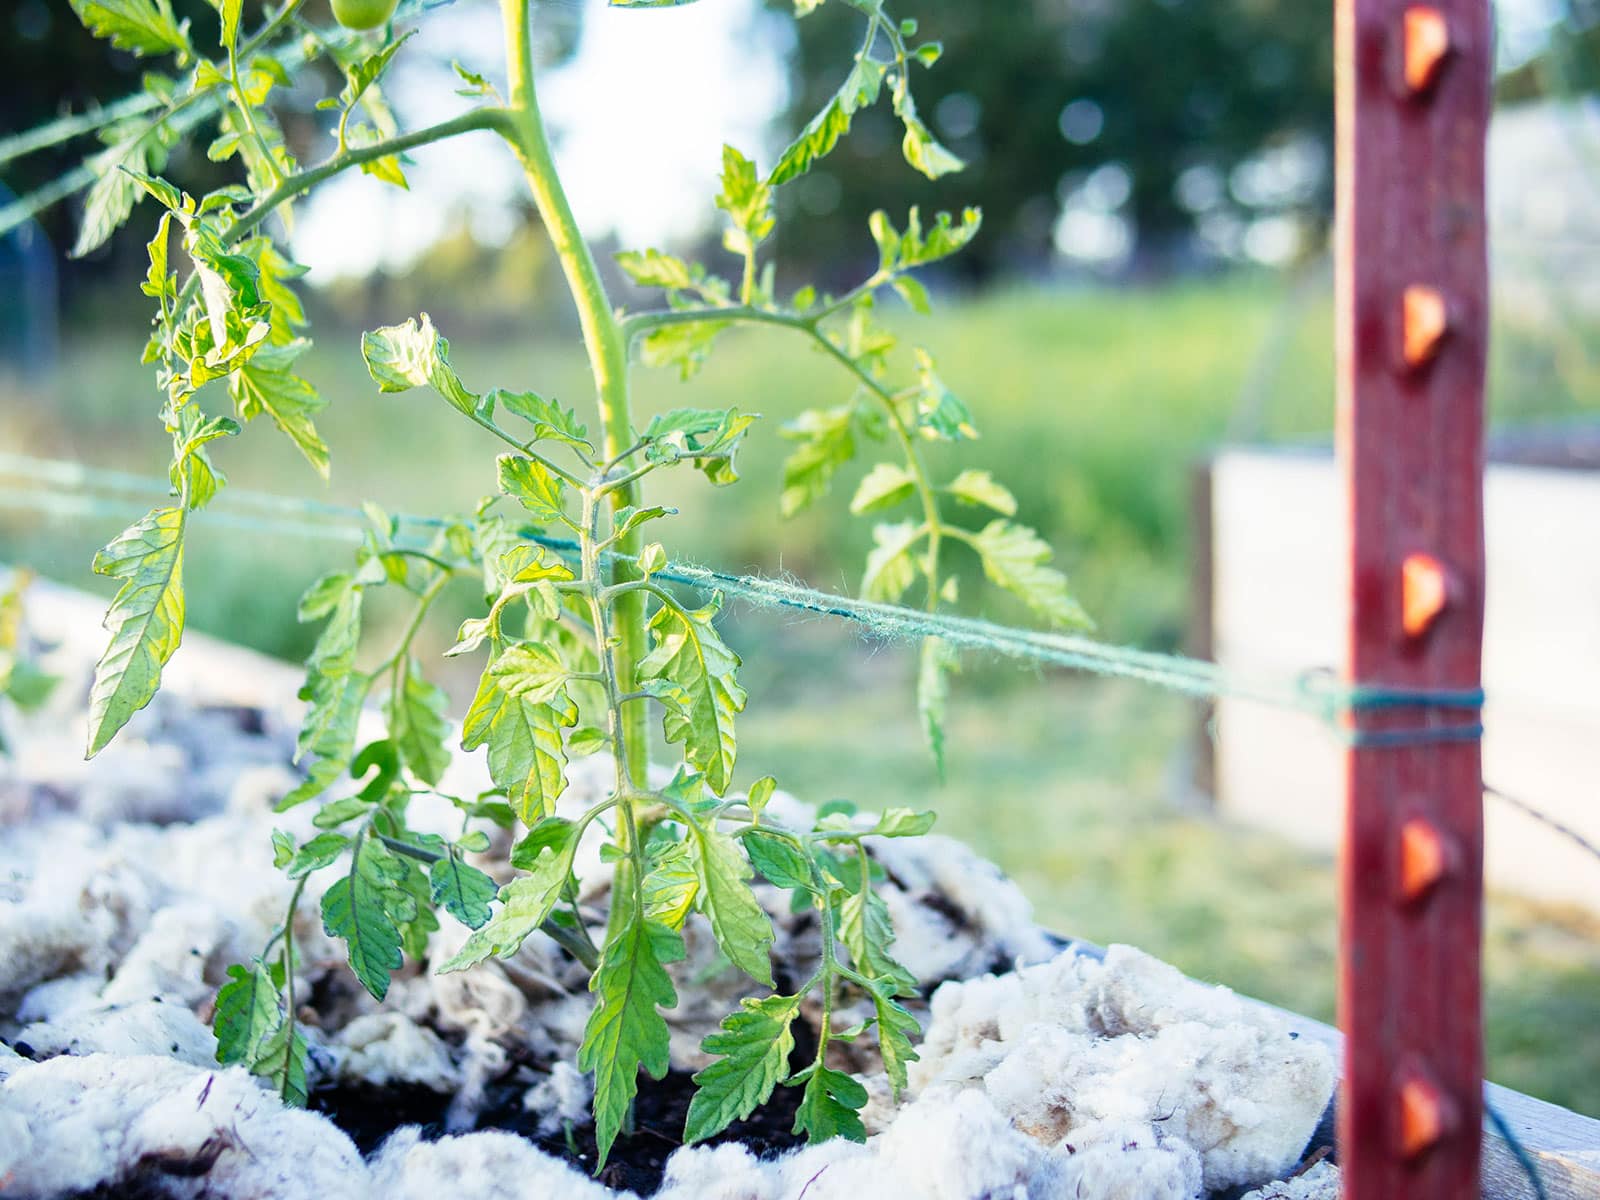
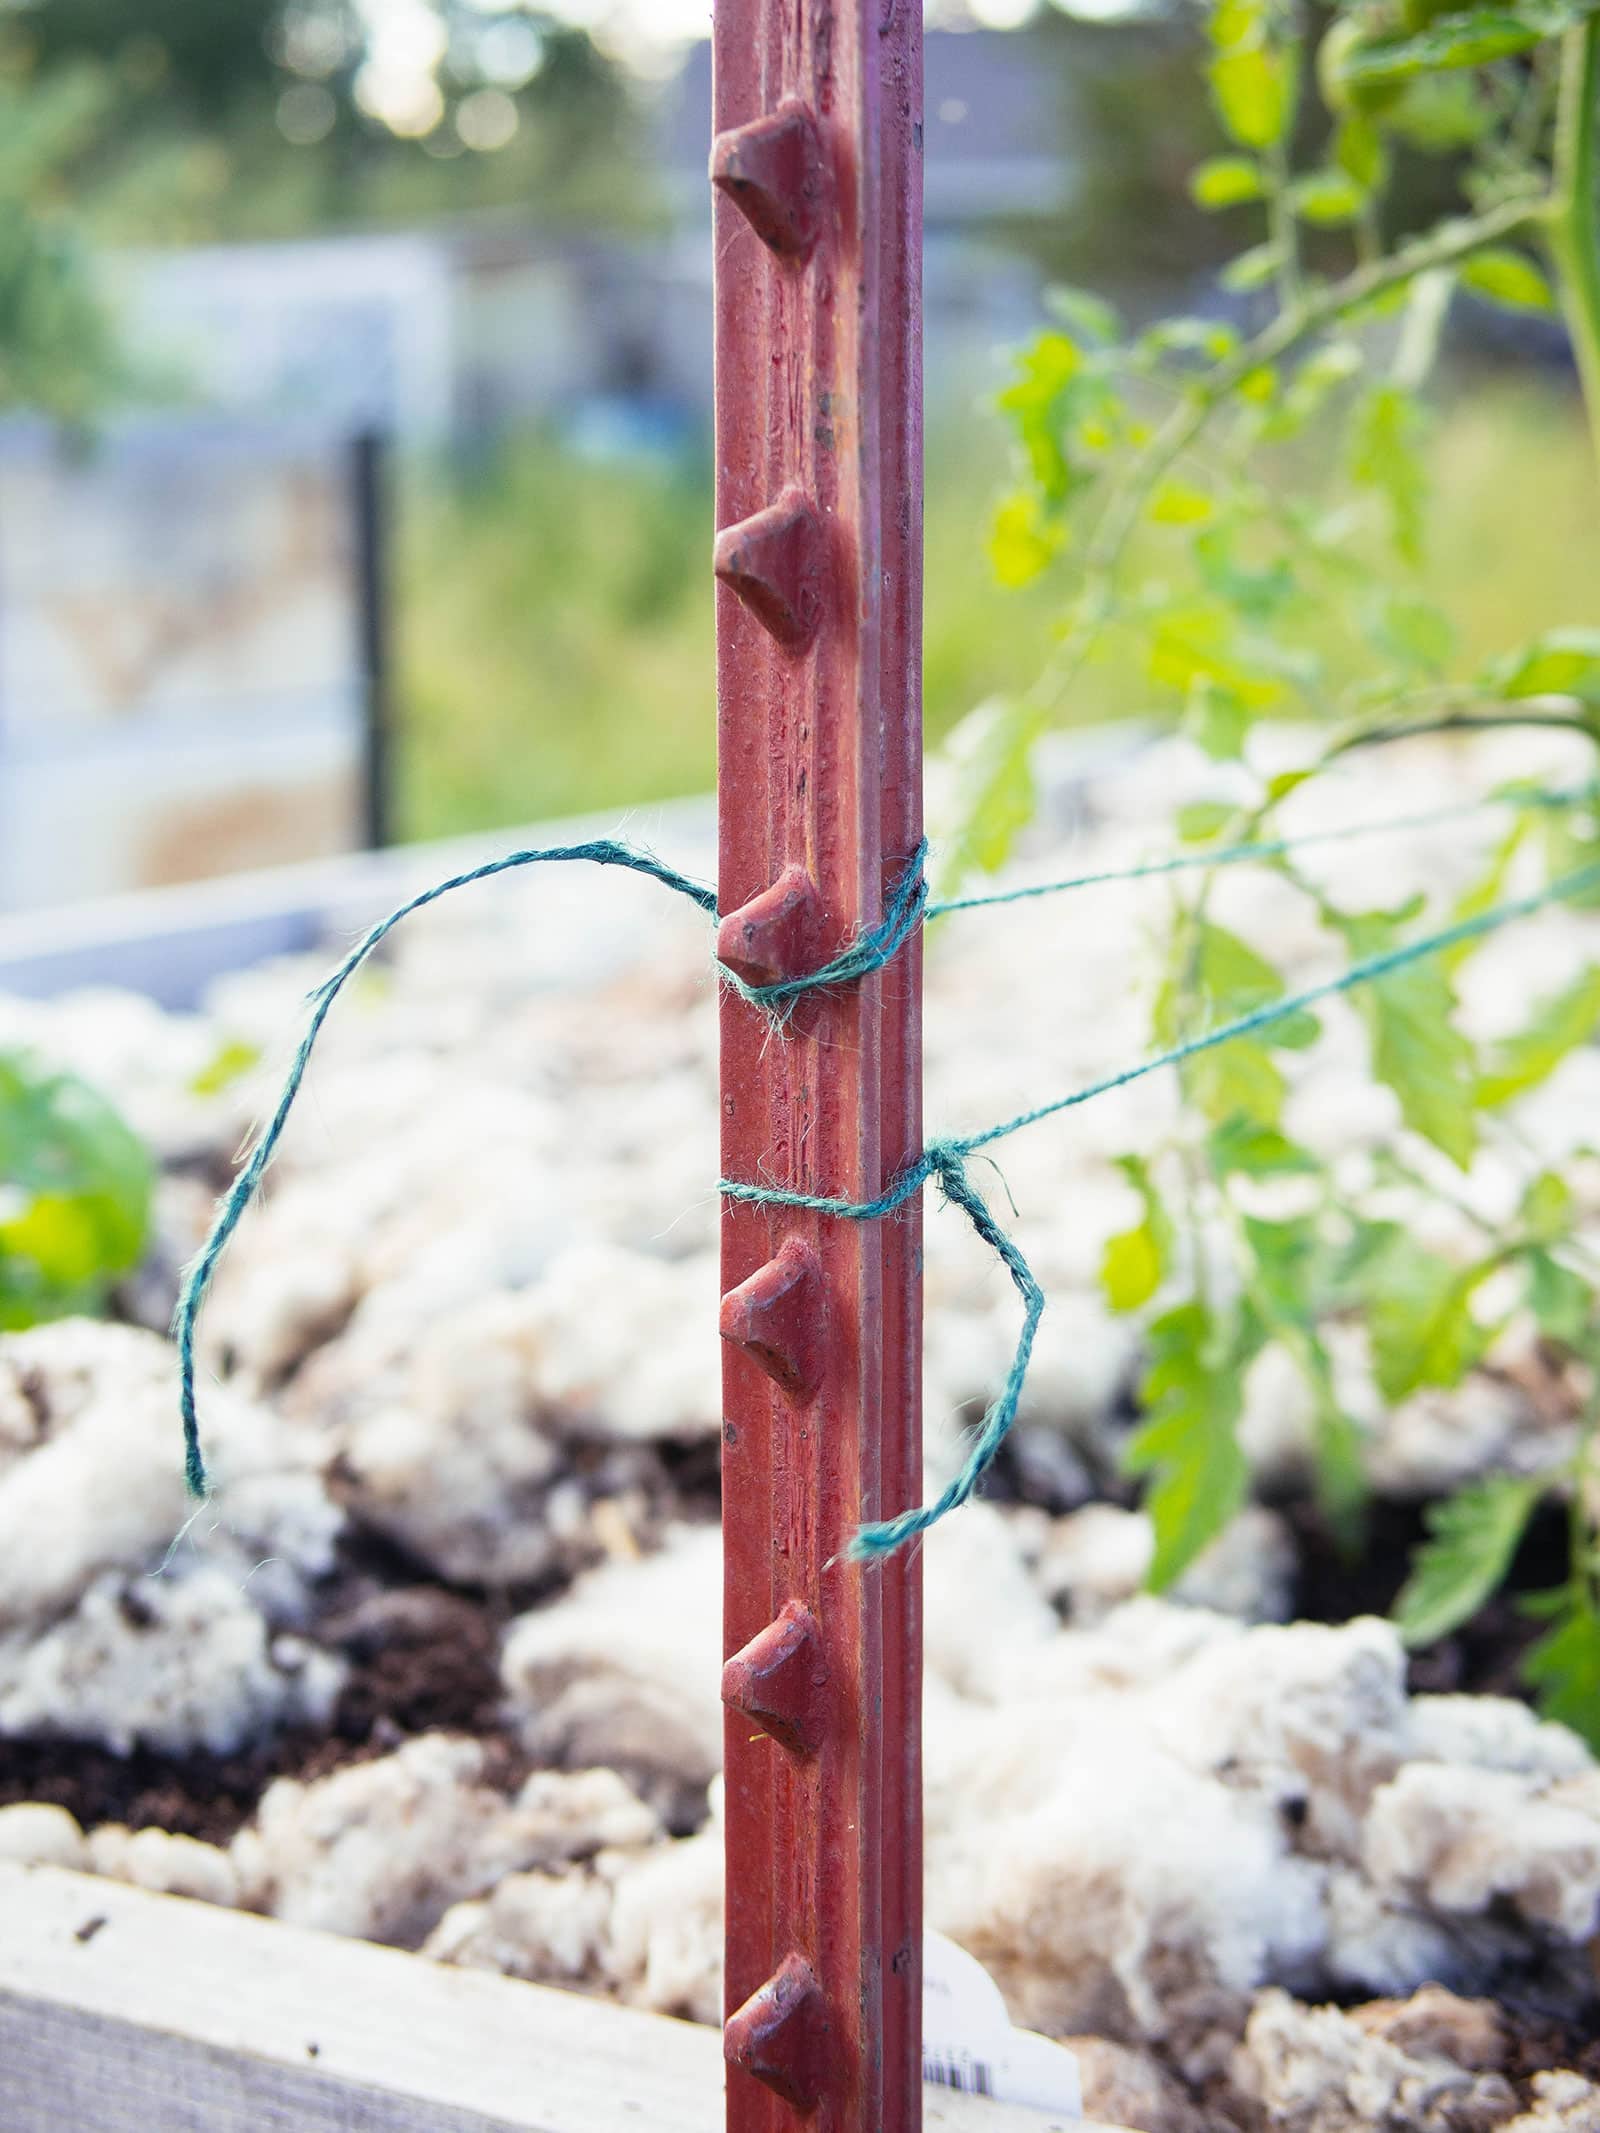
(For reference, I plant my indeterminate tomatoes about 2 feet on center, so I’m able to place three plants along one side of an 8-foot raised bed. Since the tomatoes are contained vertically, the other half of the bed can be used to grow another row of tomatoes or any other plants.)
As your tomato plants grow taller, weave additional lines of twine about every 8 inches up the stakes. Carefully tuck in any stray branches. I tend to reign in just the heavier ones, and let the smaller branches sprawl out naturally.
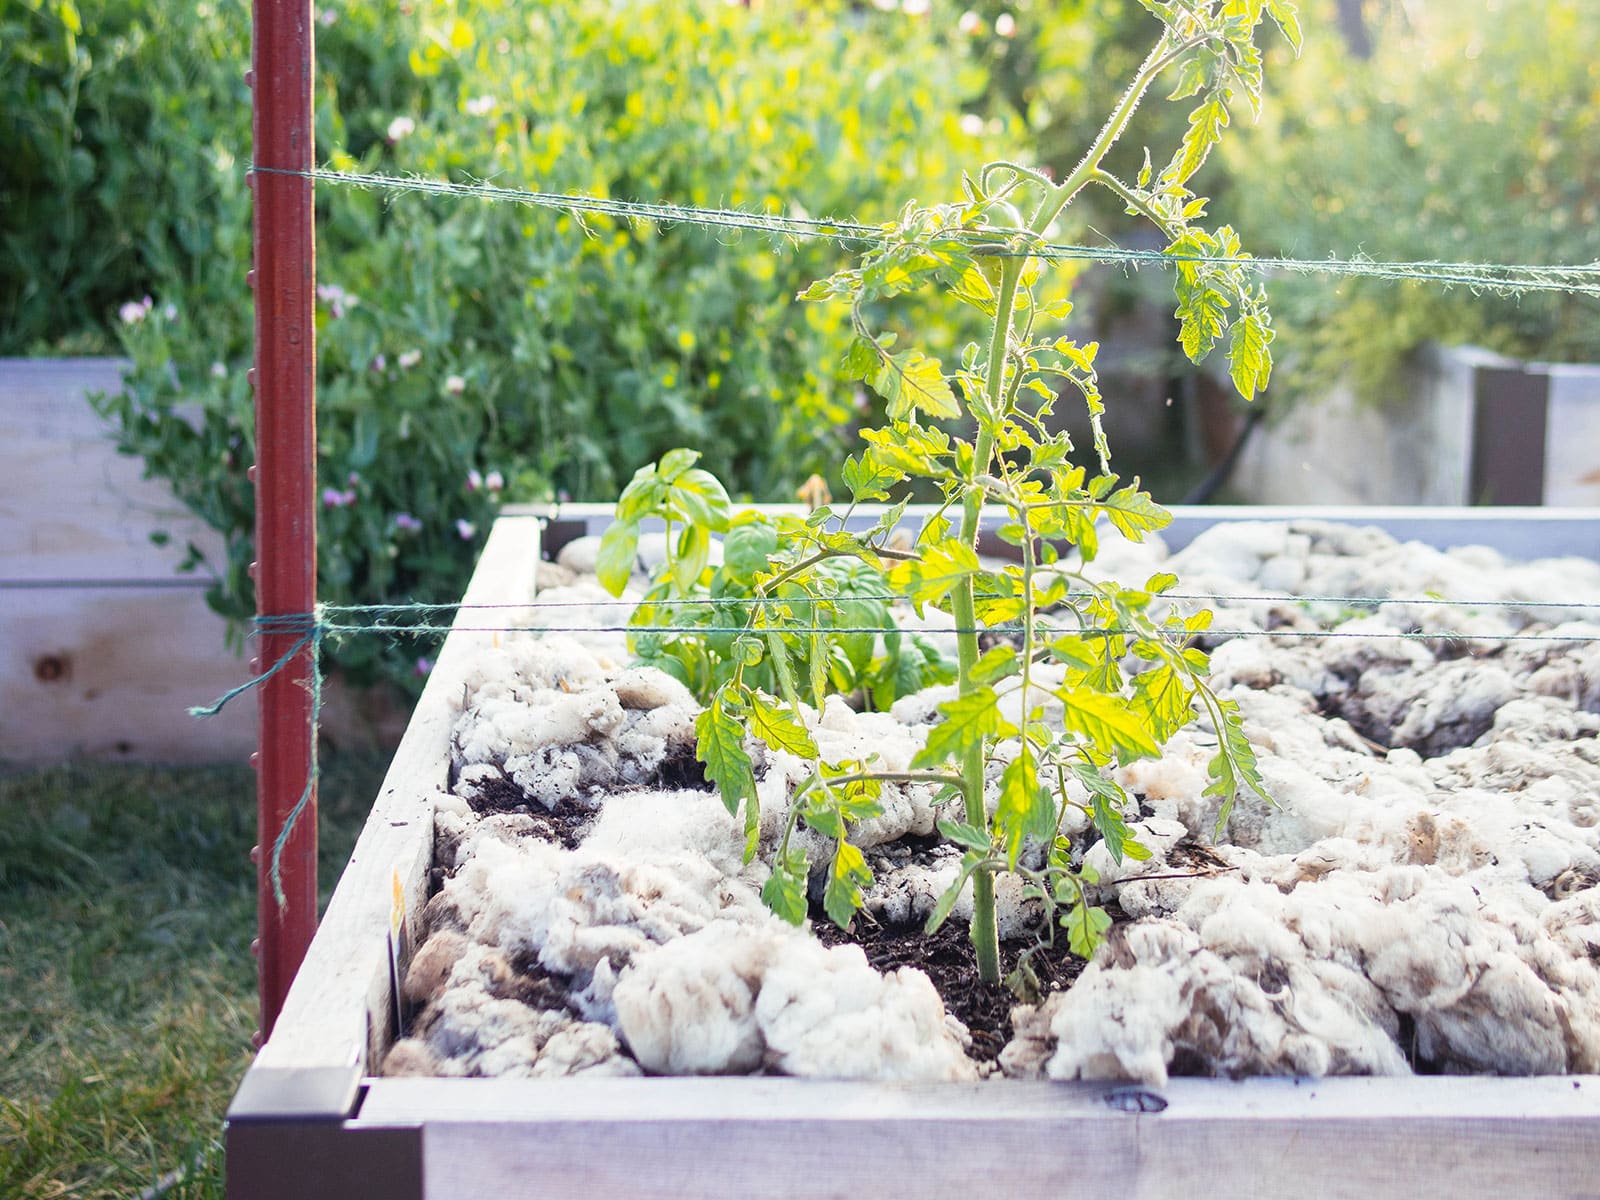
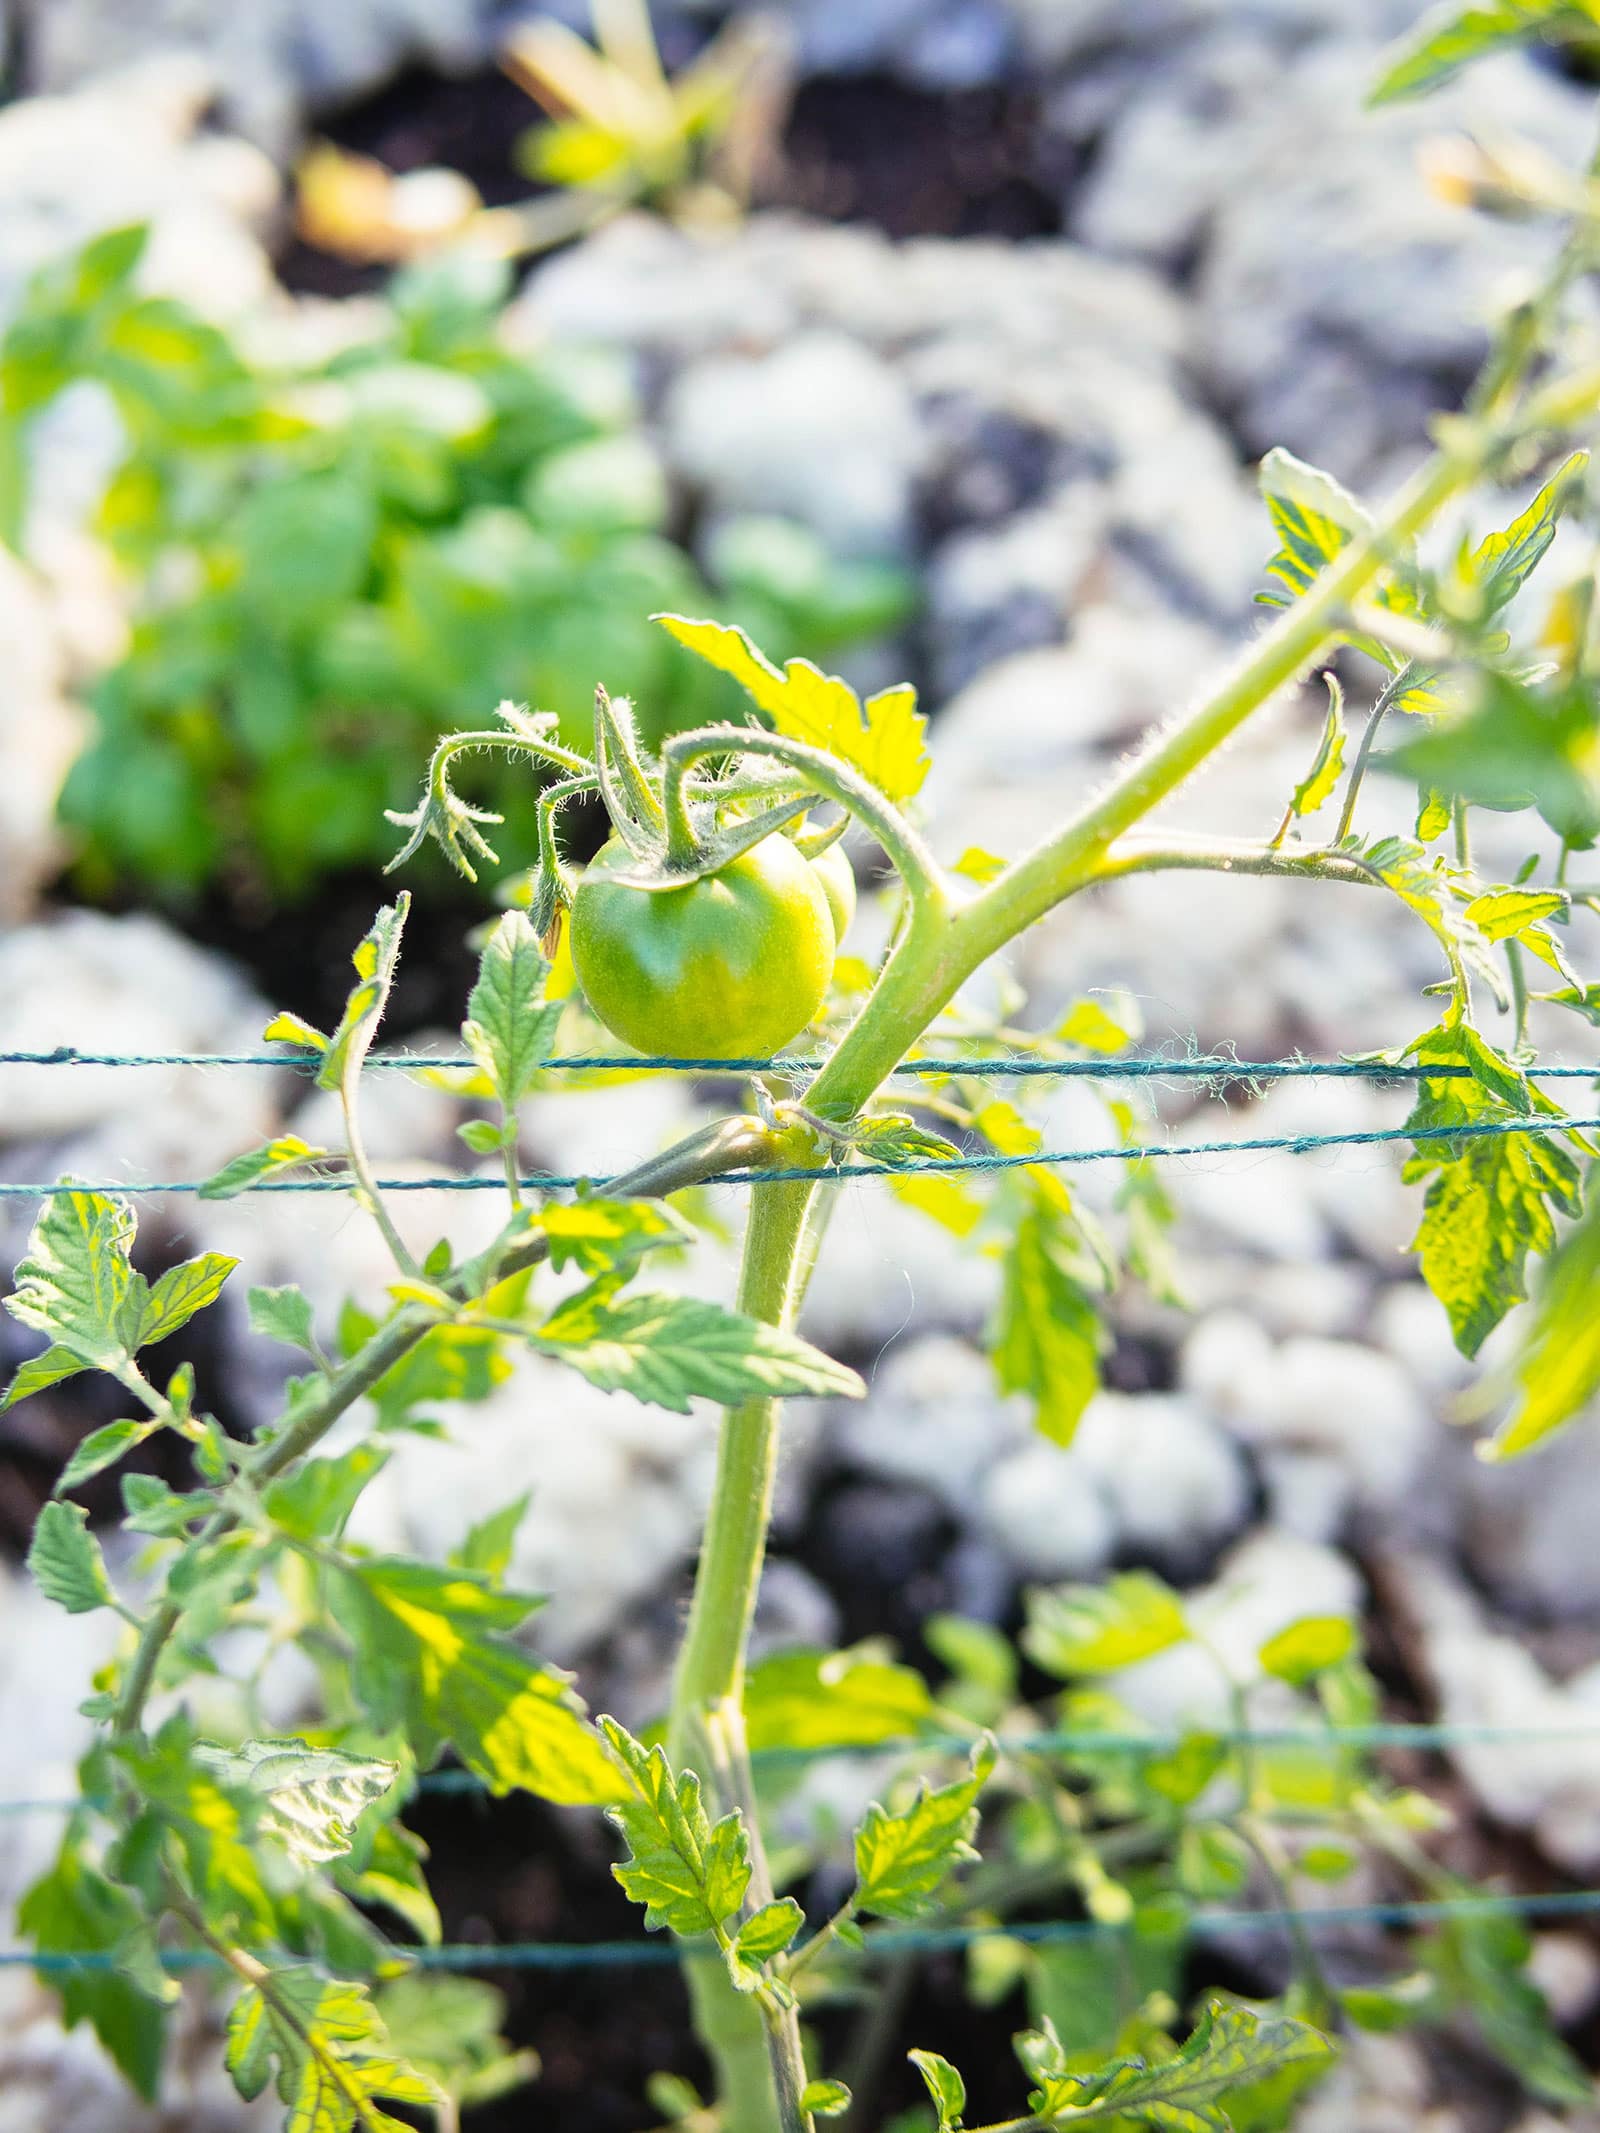
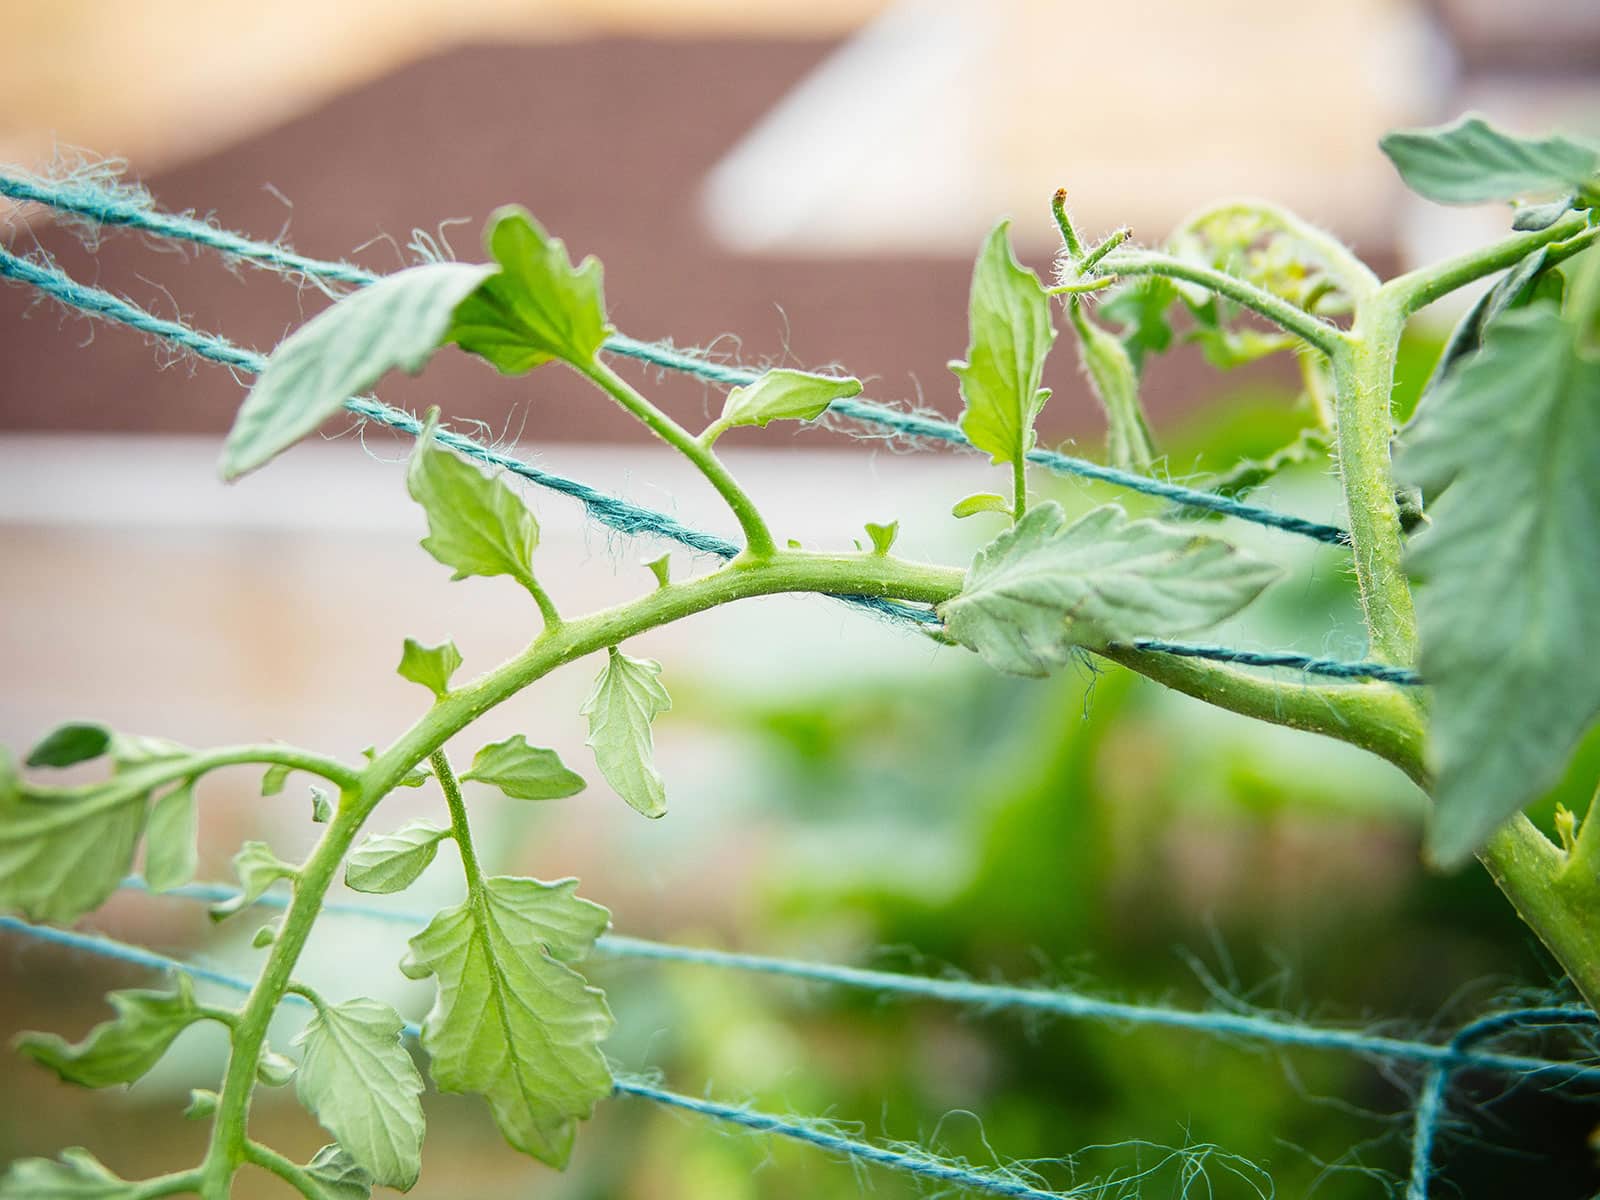
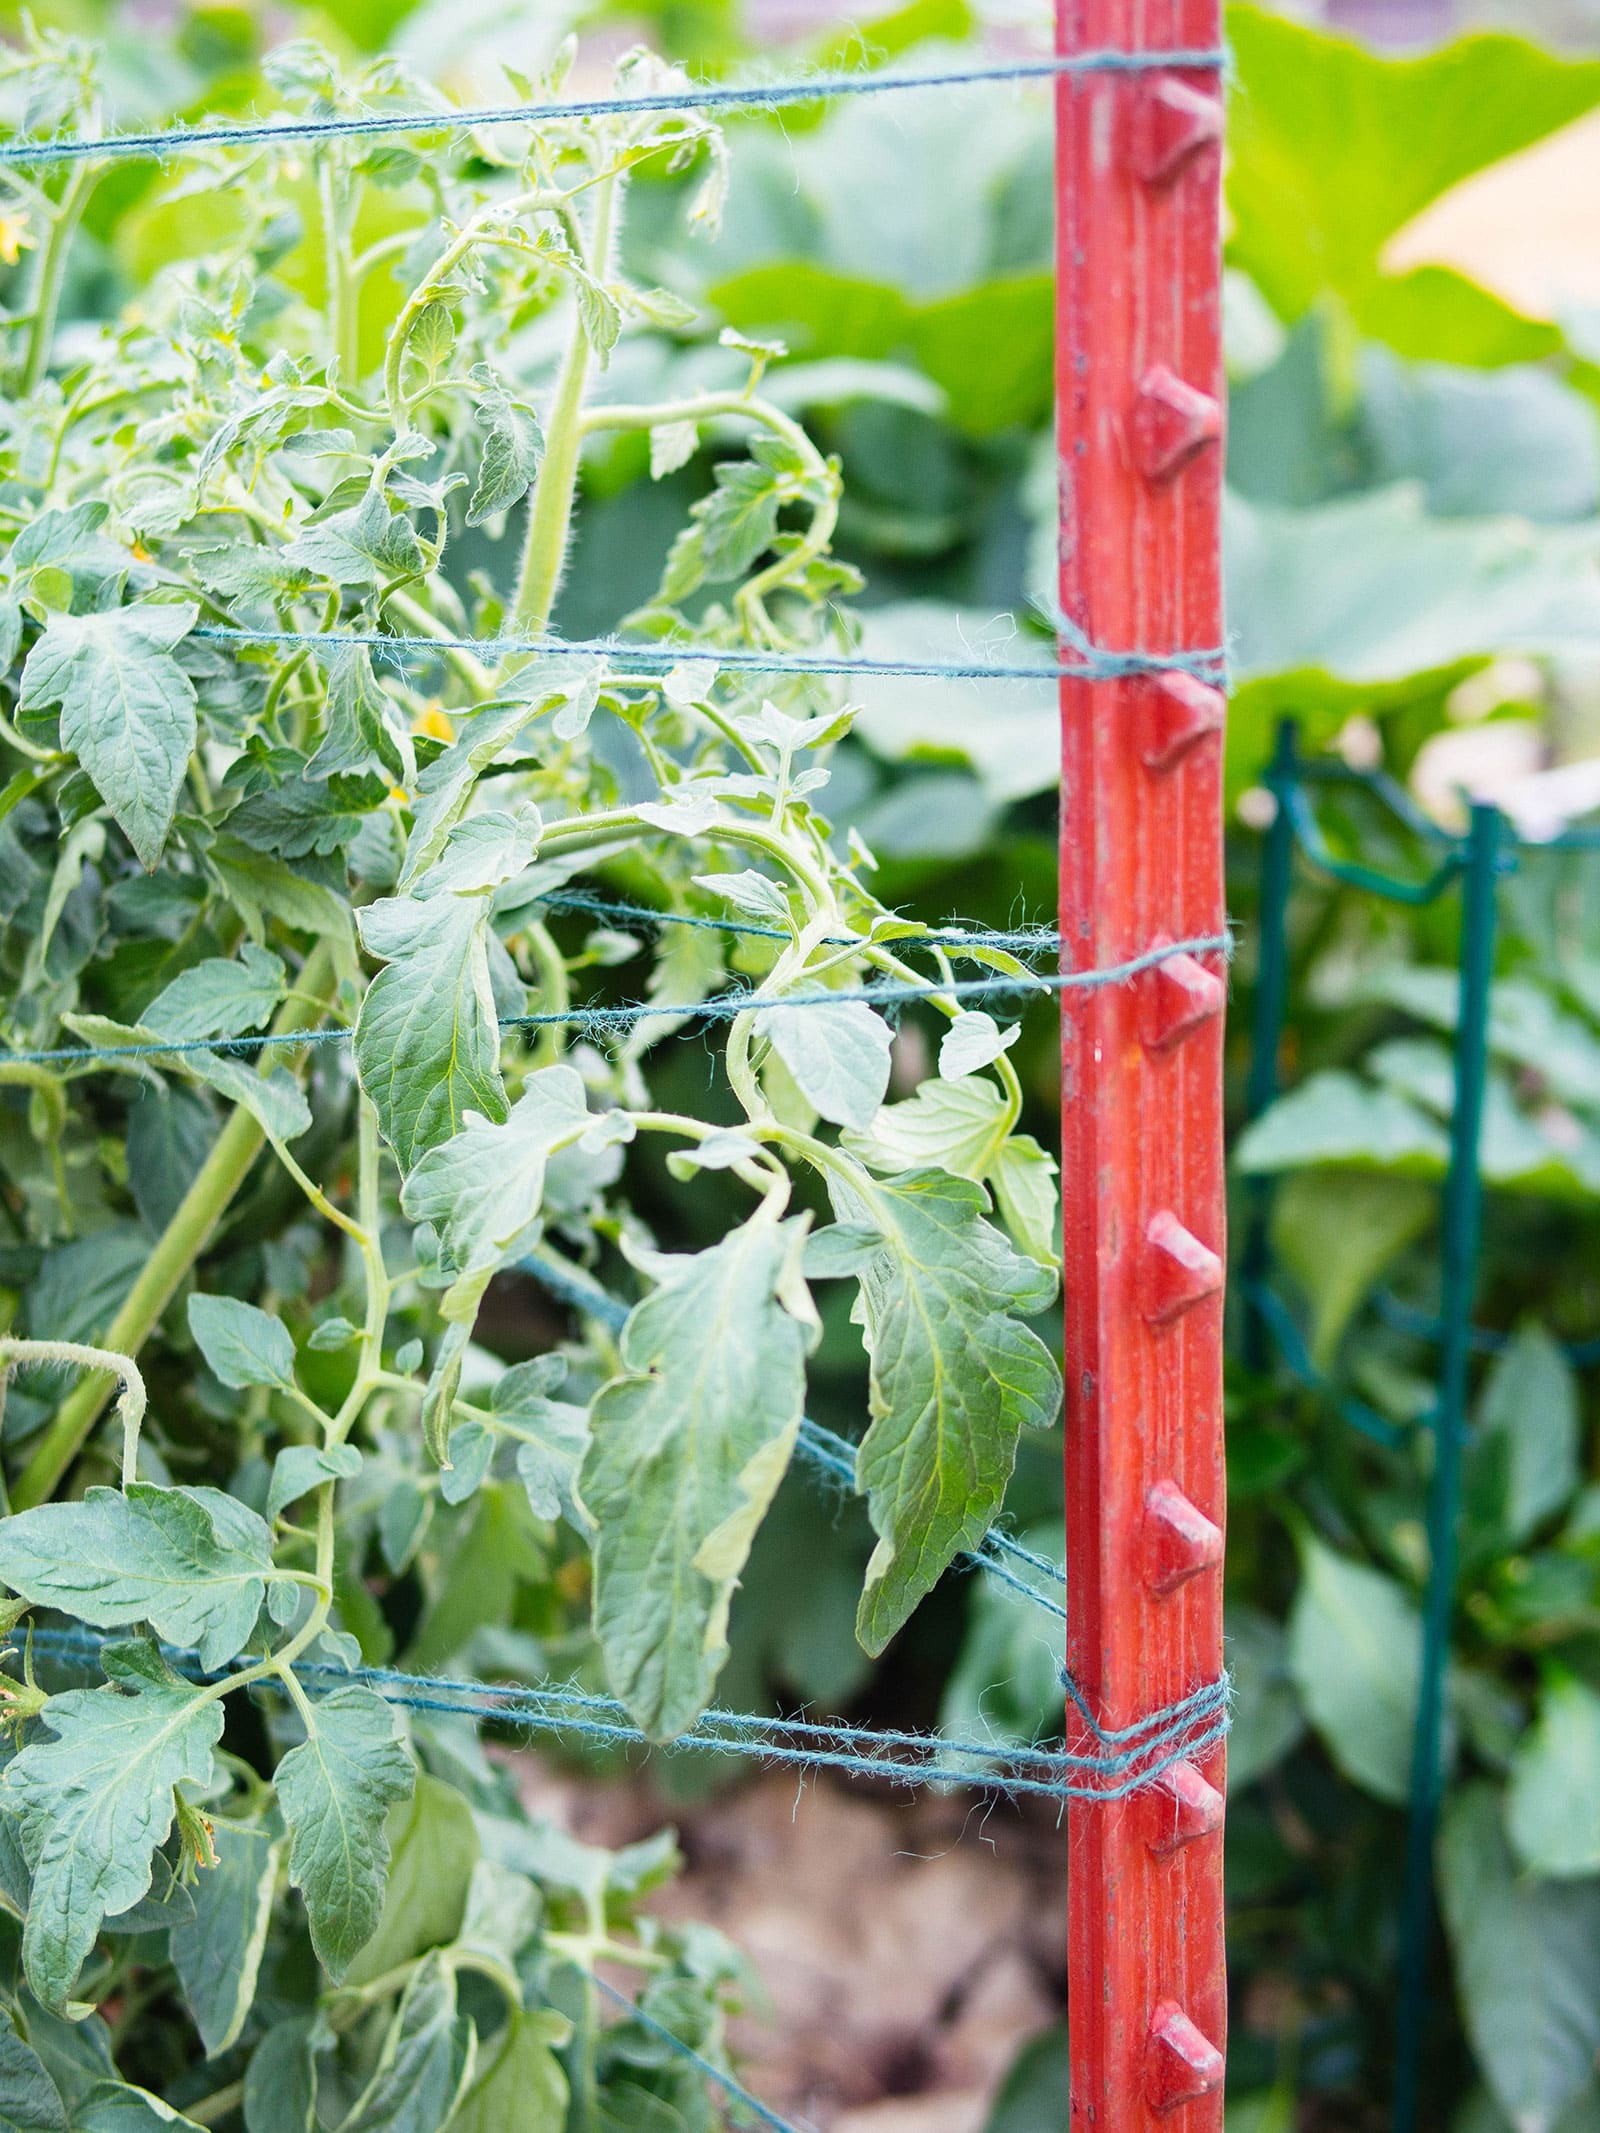
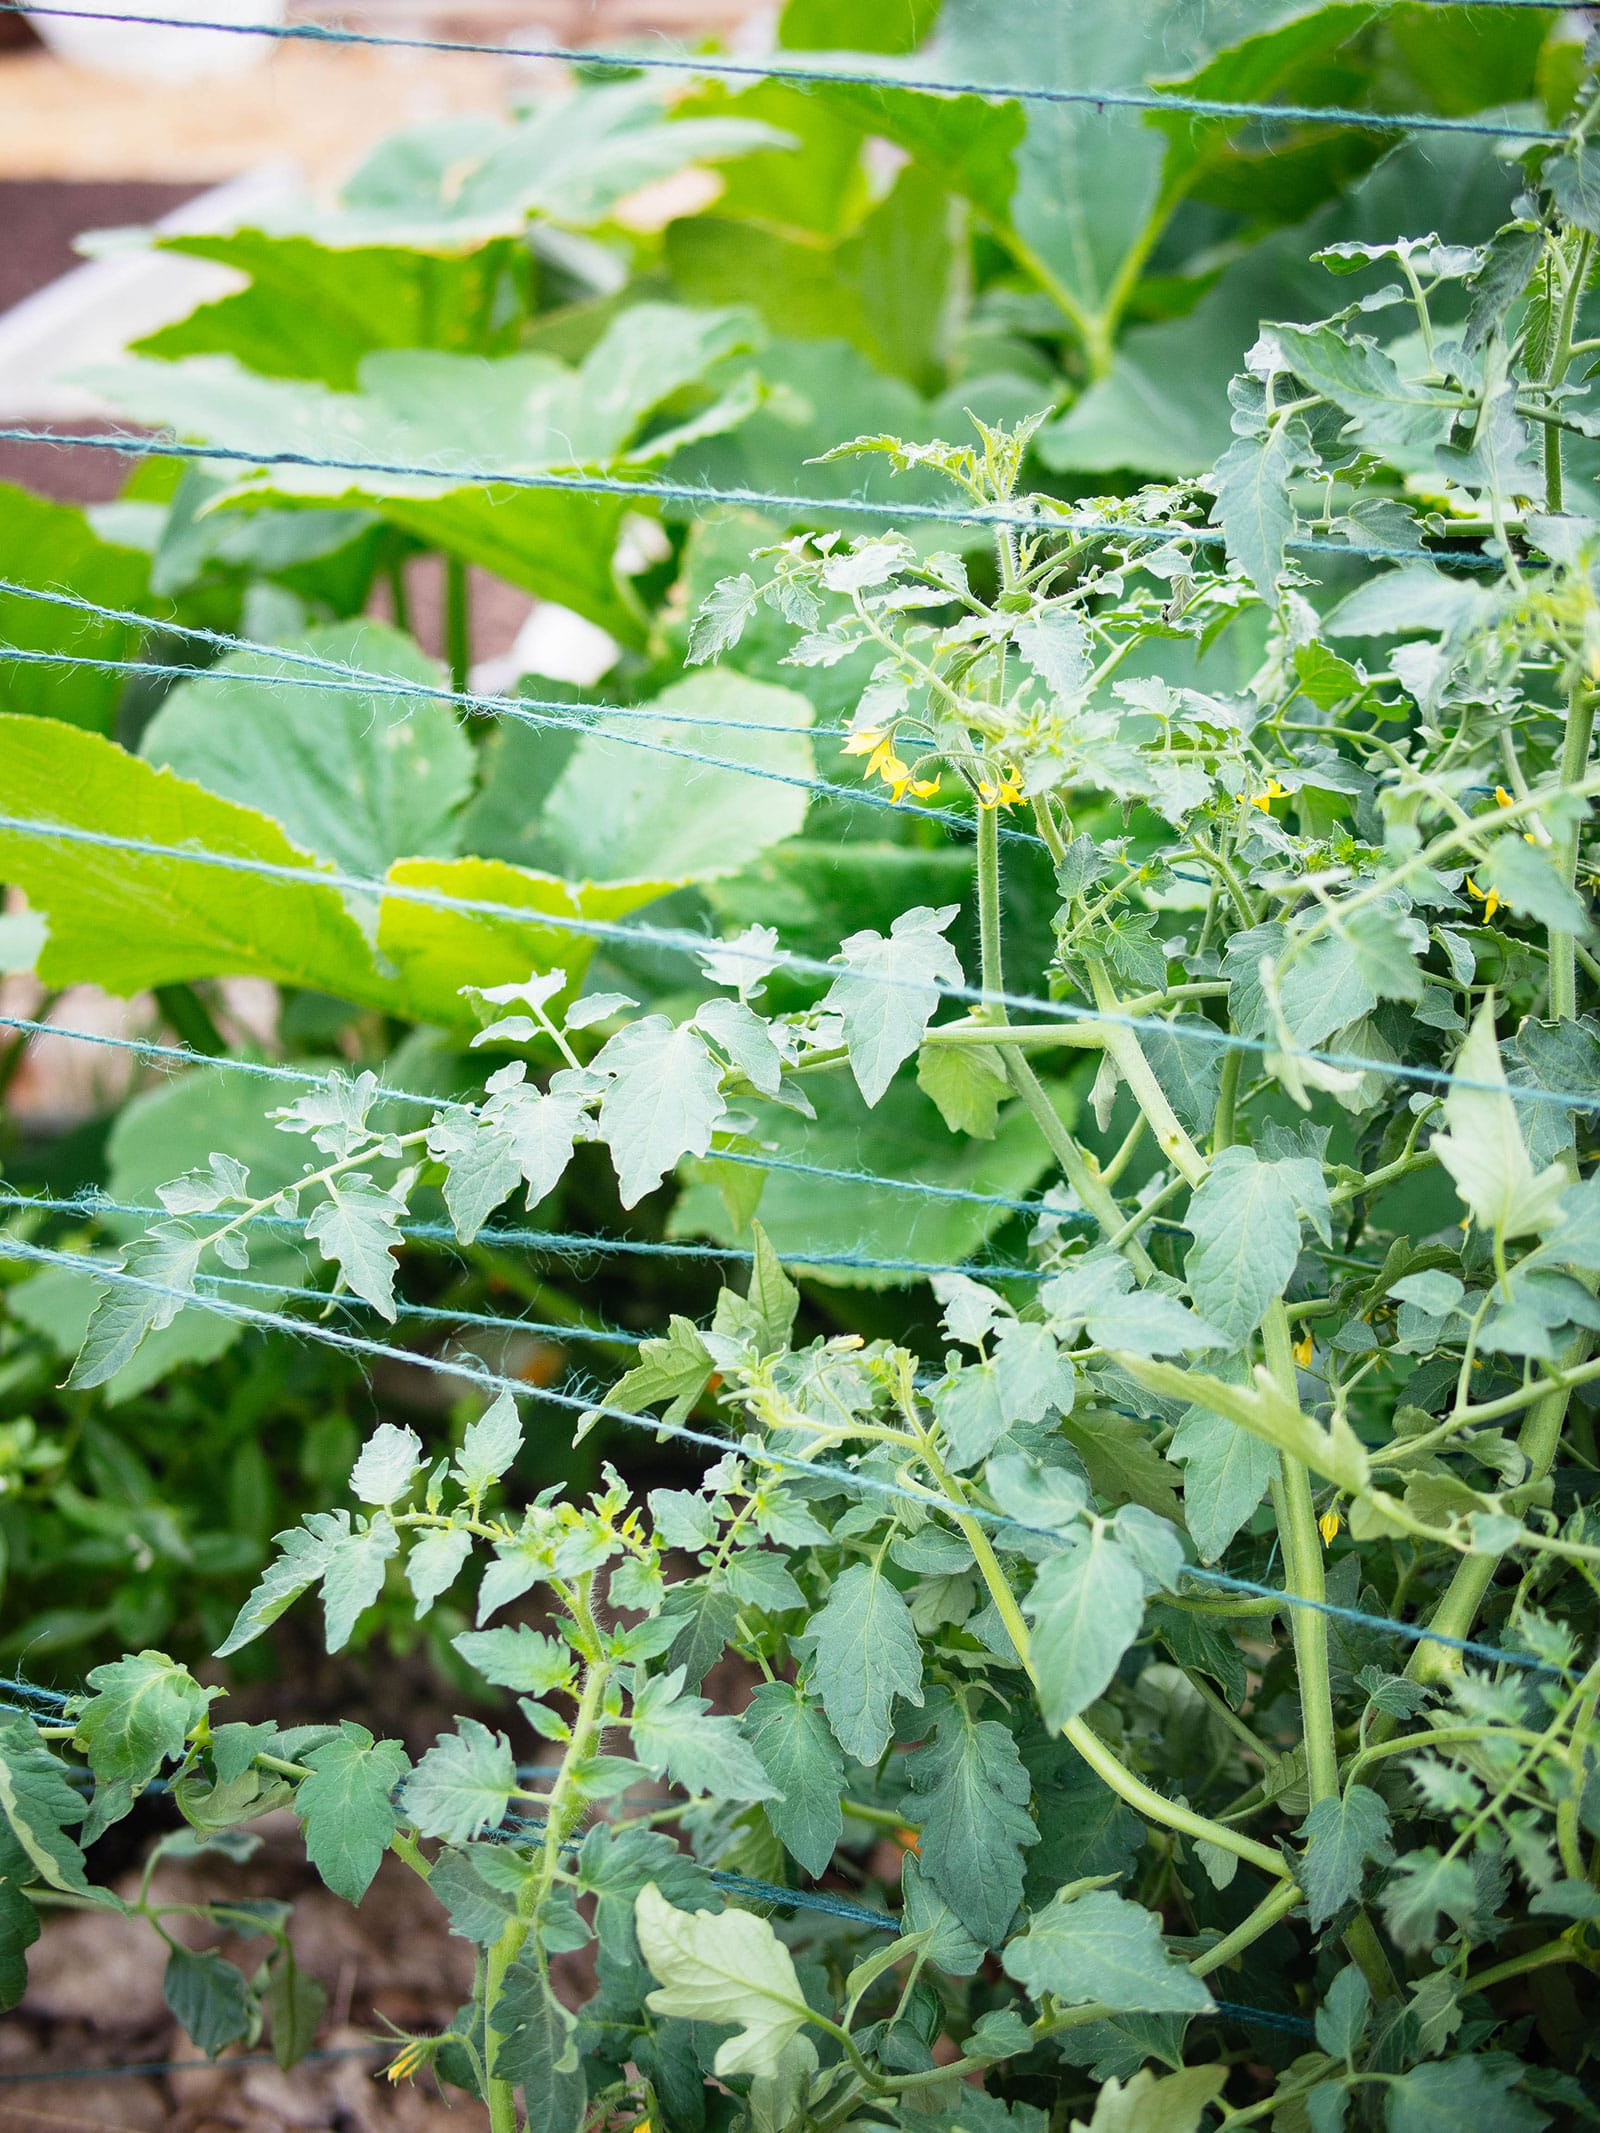
How does the Florida weave hold up toward the end of the growing season?
When your tomatoes have grown tall and bushy, you can just run the twine straight across the entire row of plants between the stakes, instead of weaving a figure-8 in between each plant.
Once you’ve added a few lines of twine halfway up the stakes, the main stems of the plants are well supported and more twine simply holds the branches all in.
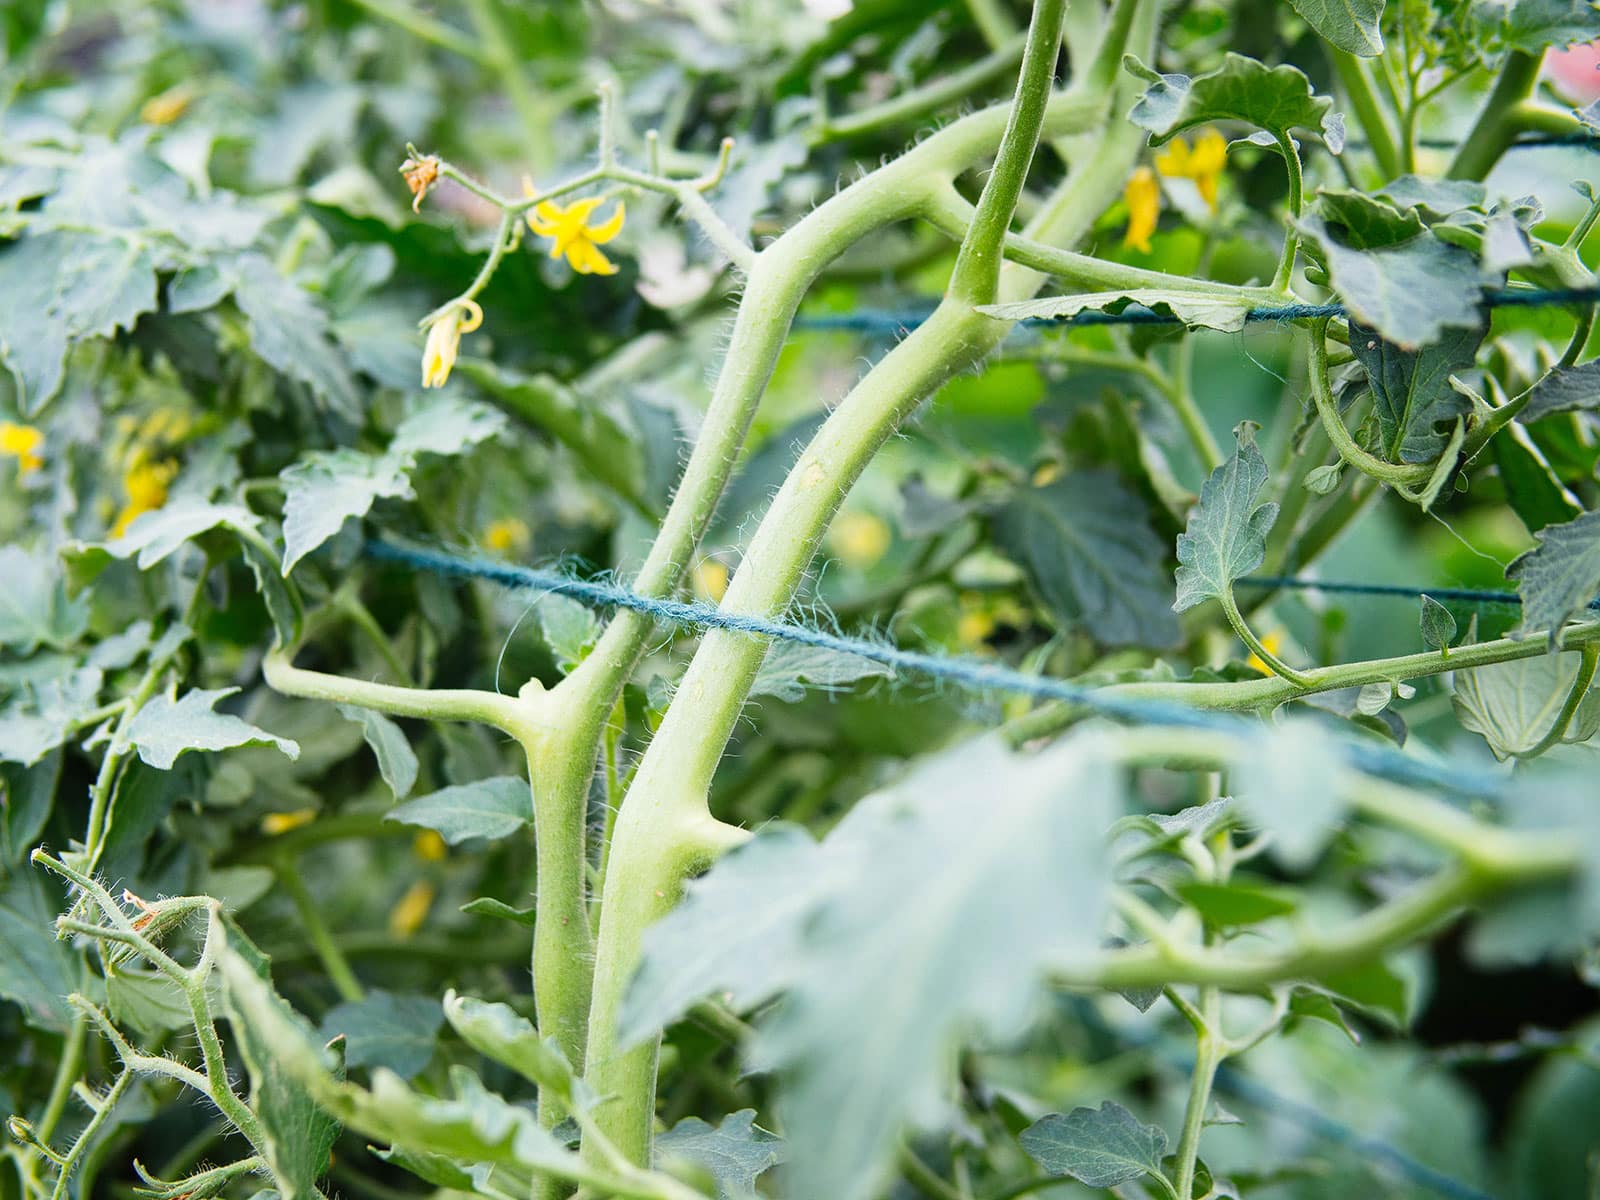
Long vines can be left to grow up and over the twine. With the “wall” of foliage that the Florida weave creates, I actually find it much easier to find and harvest tomatoes.
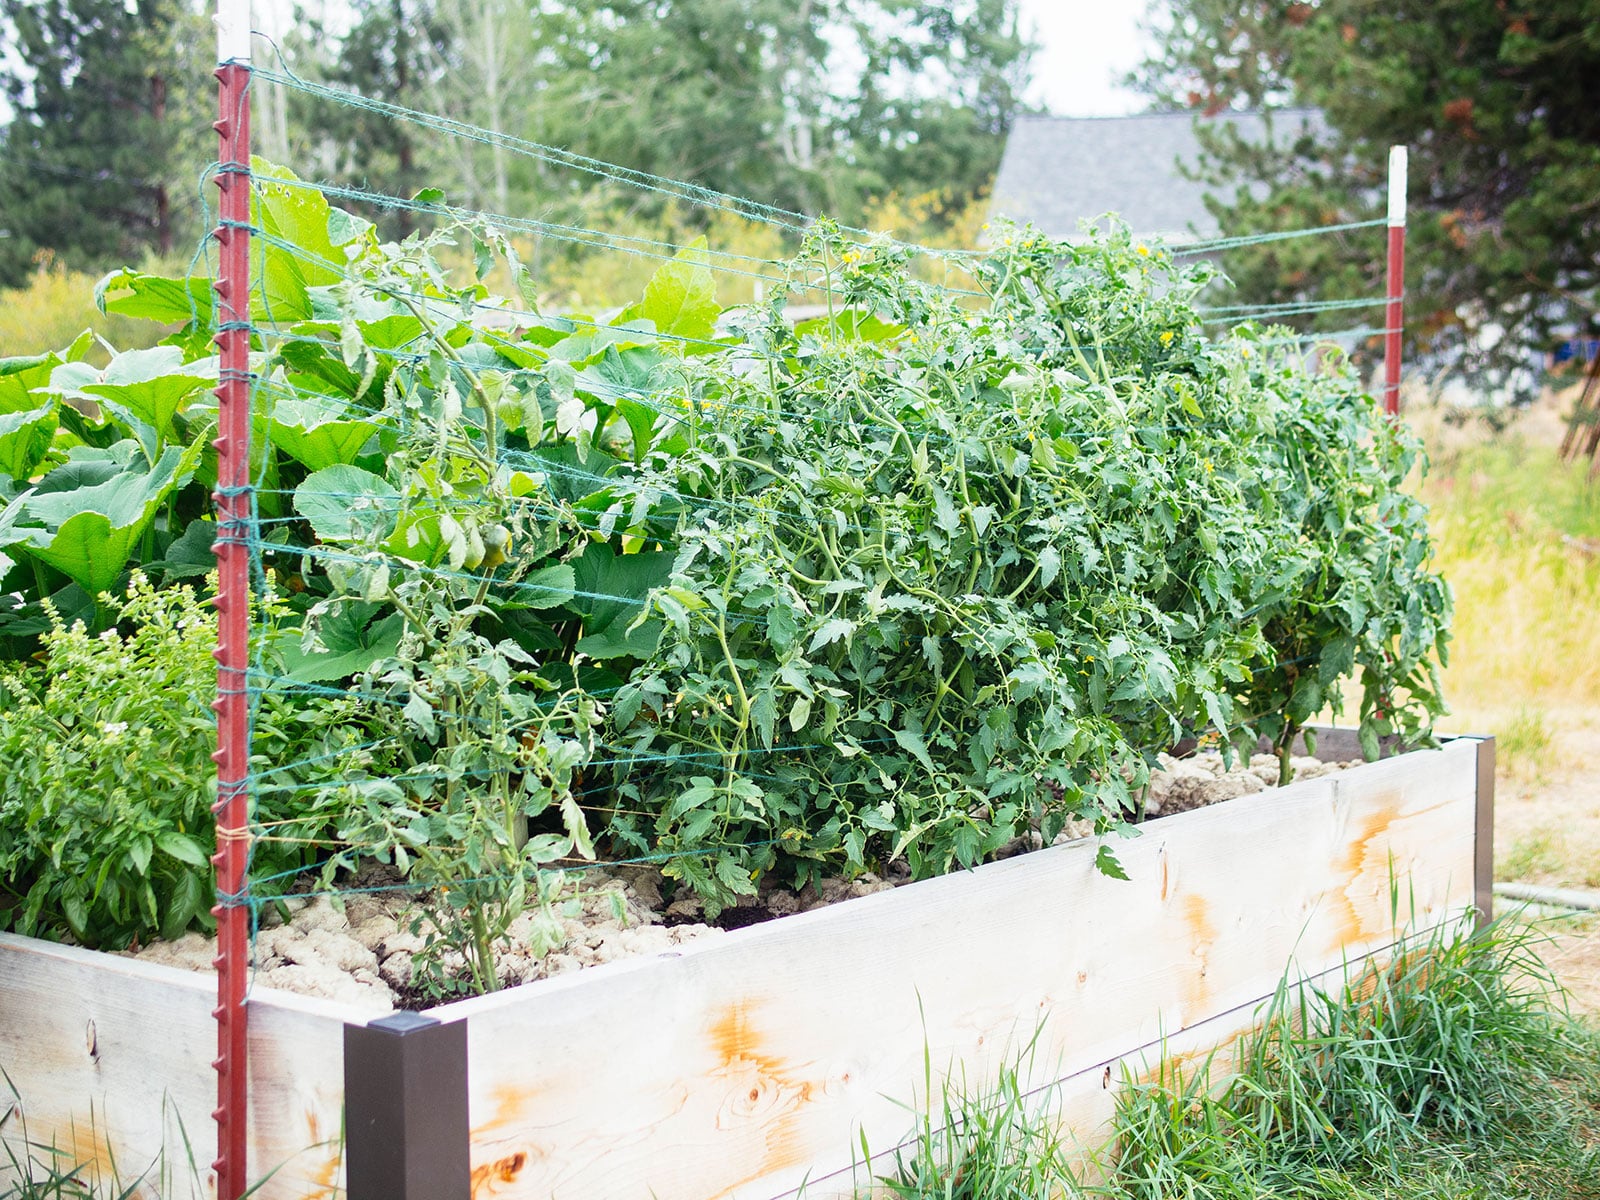
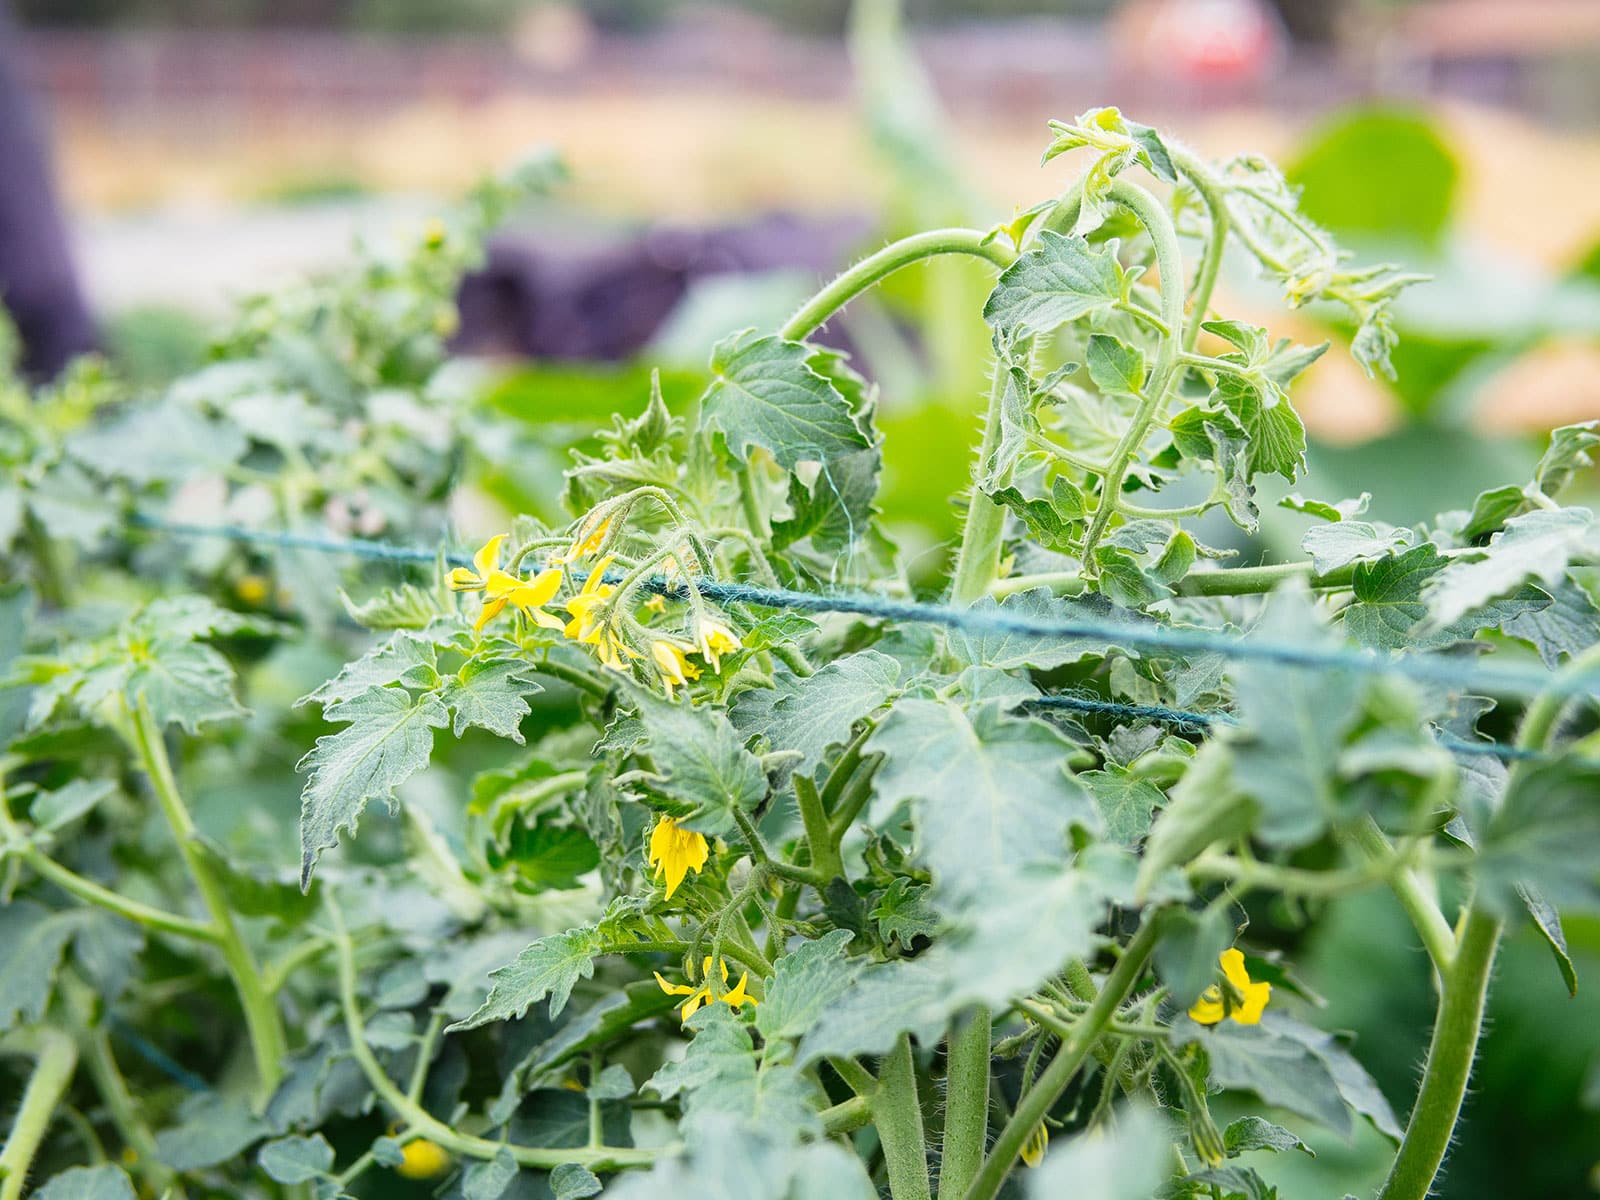
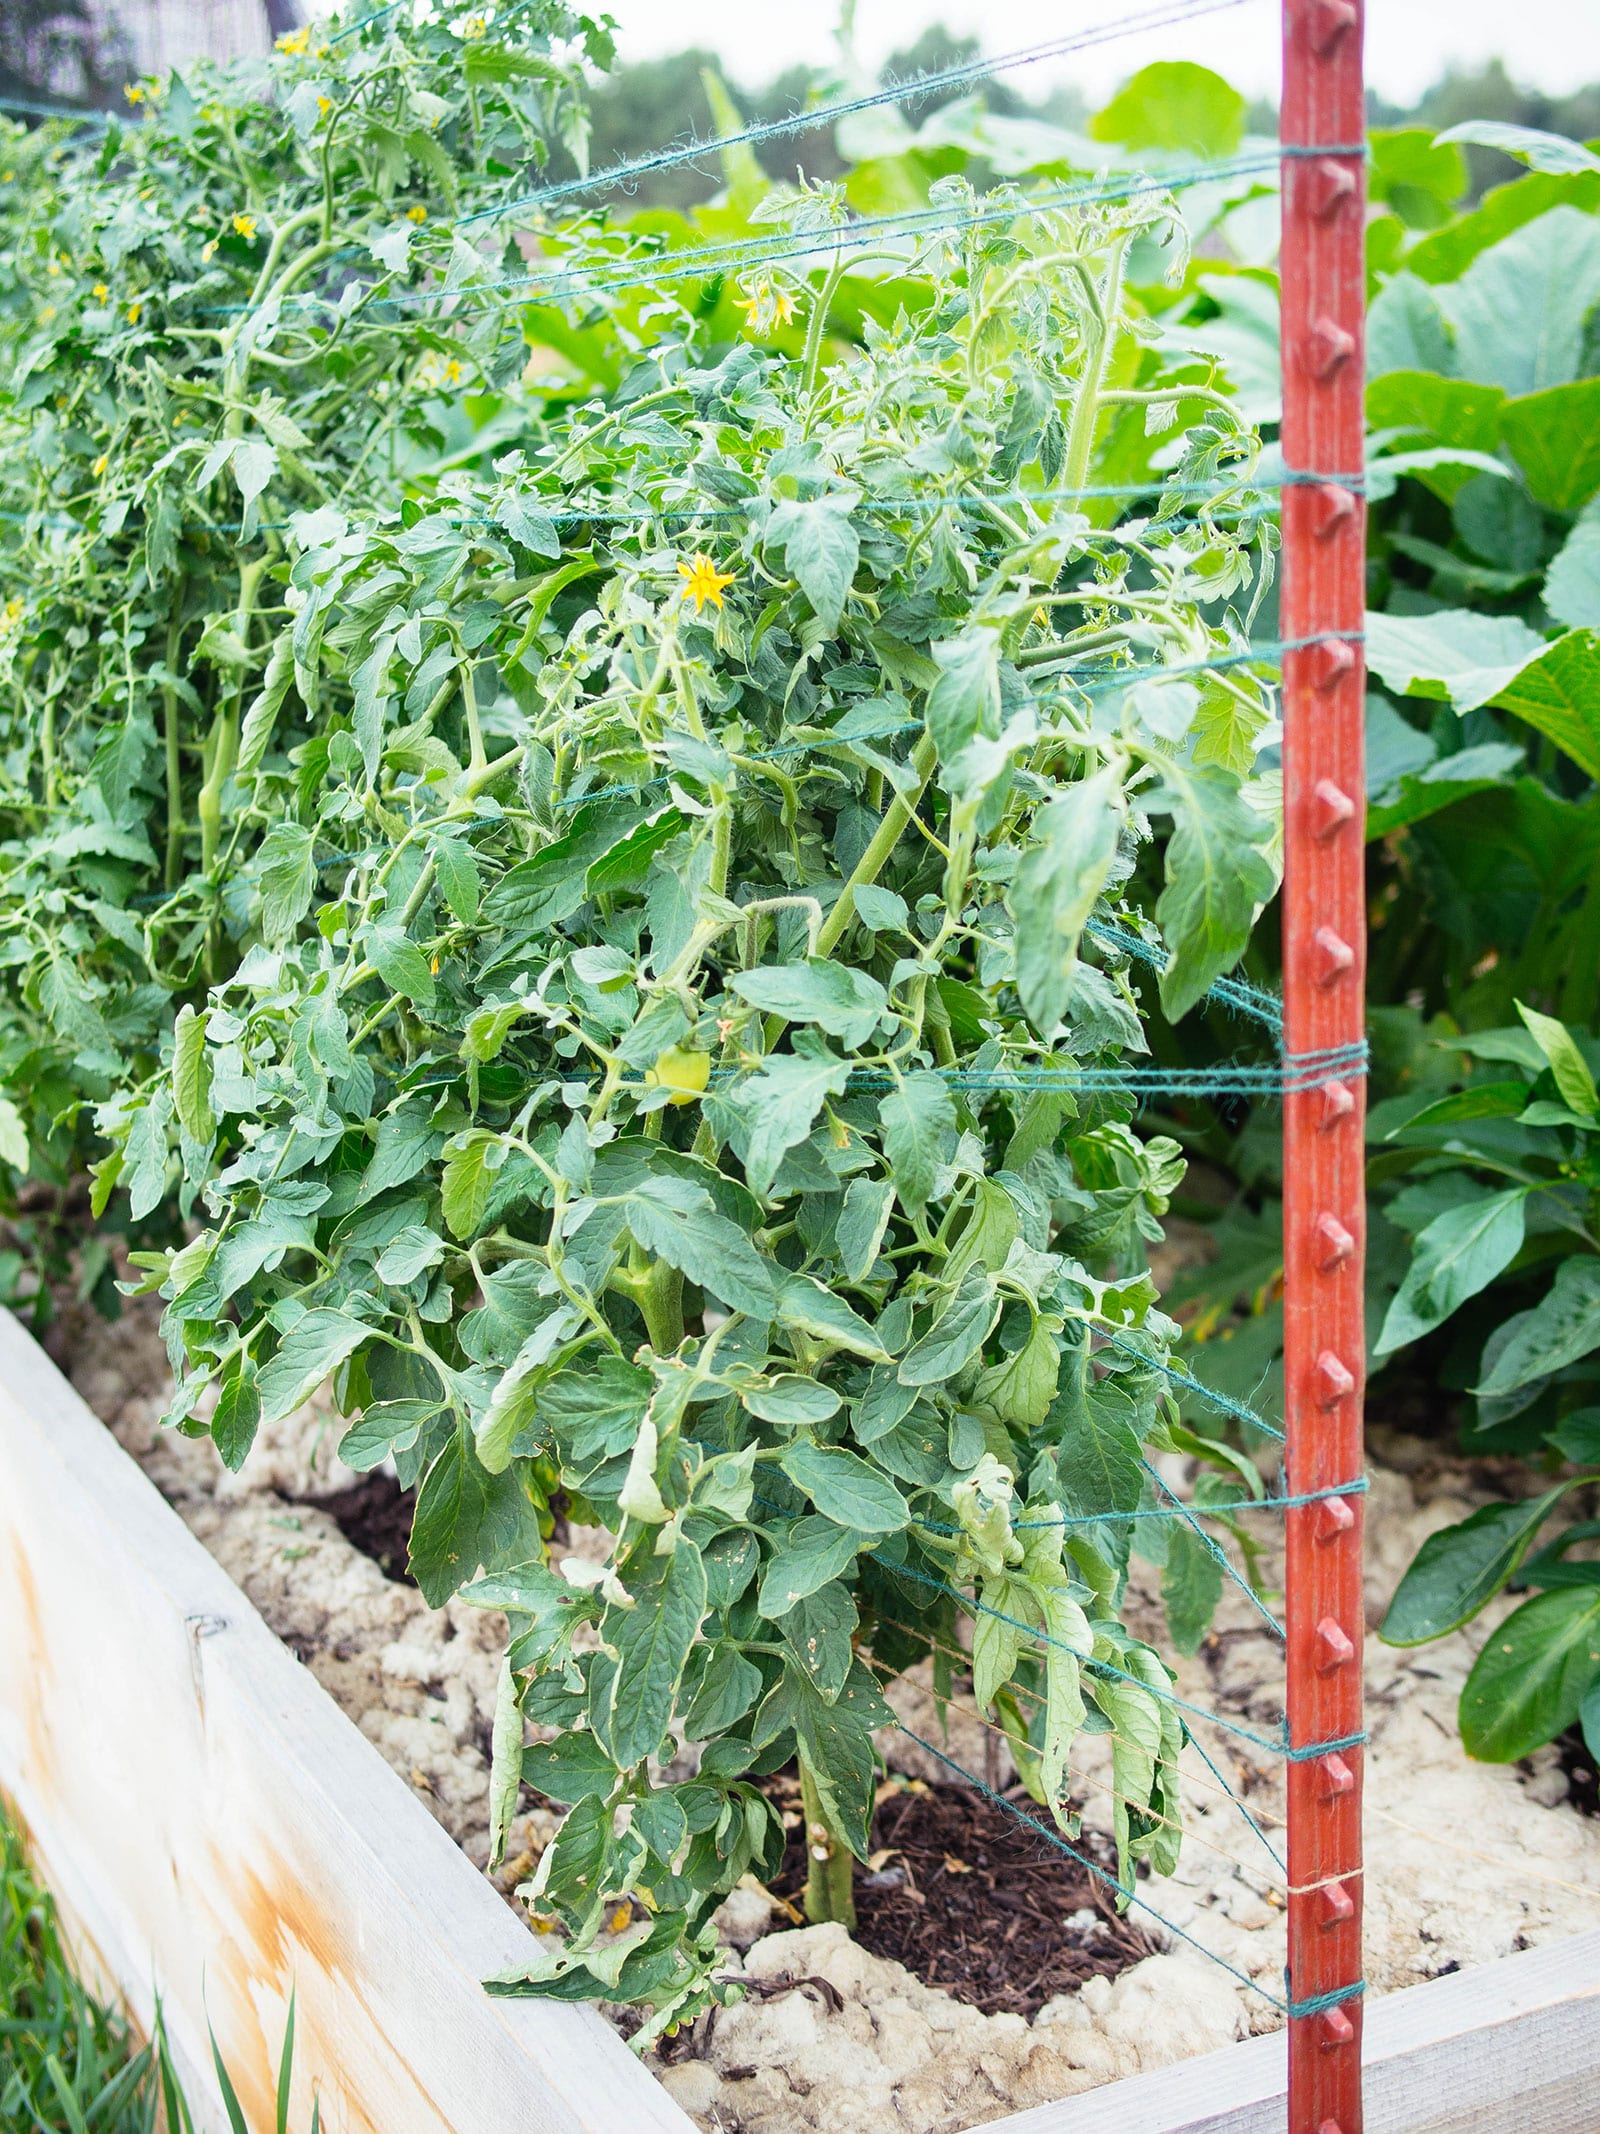
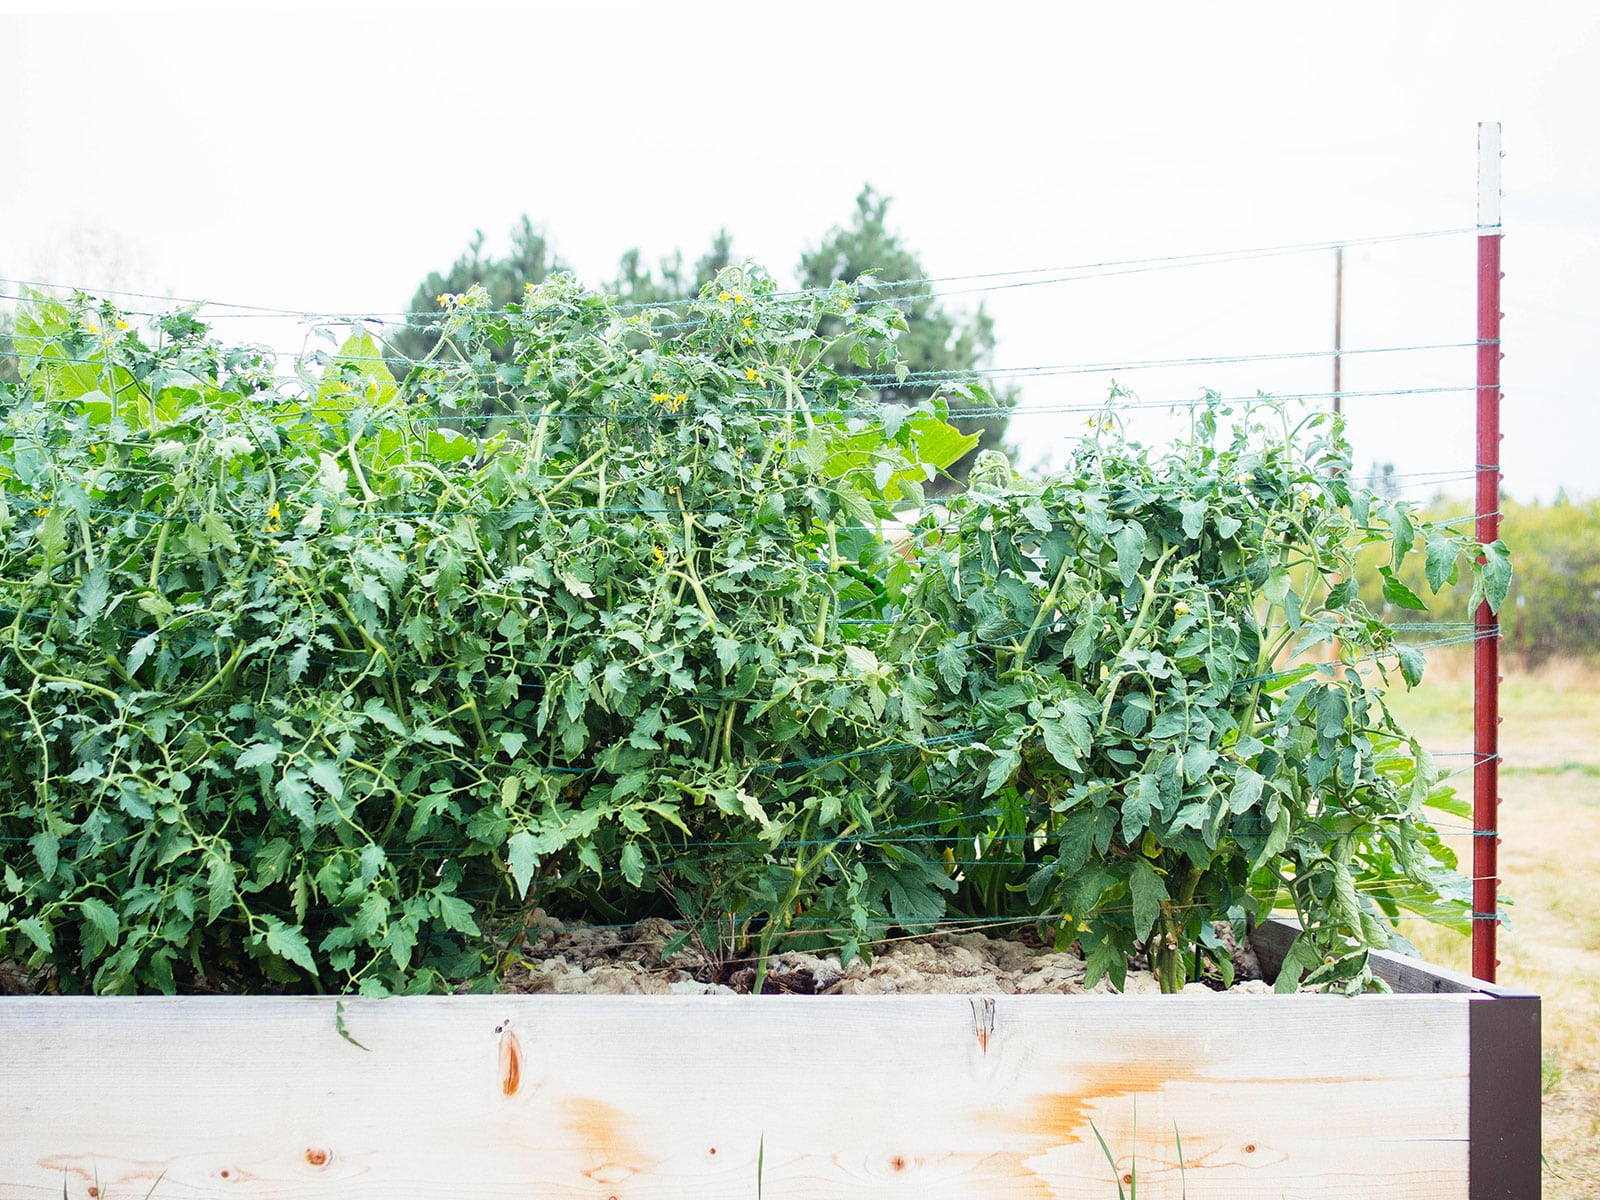
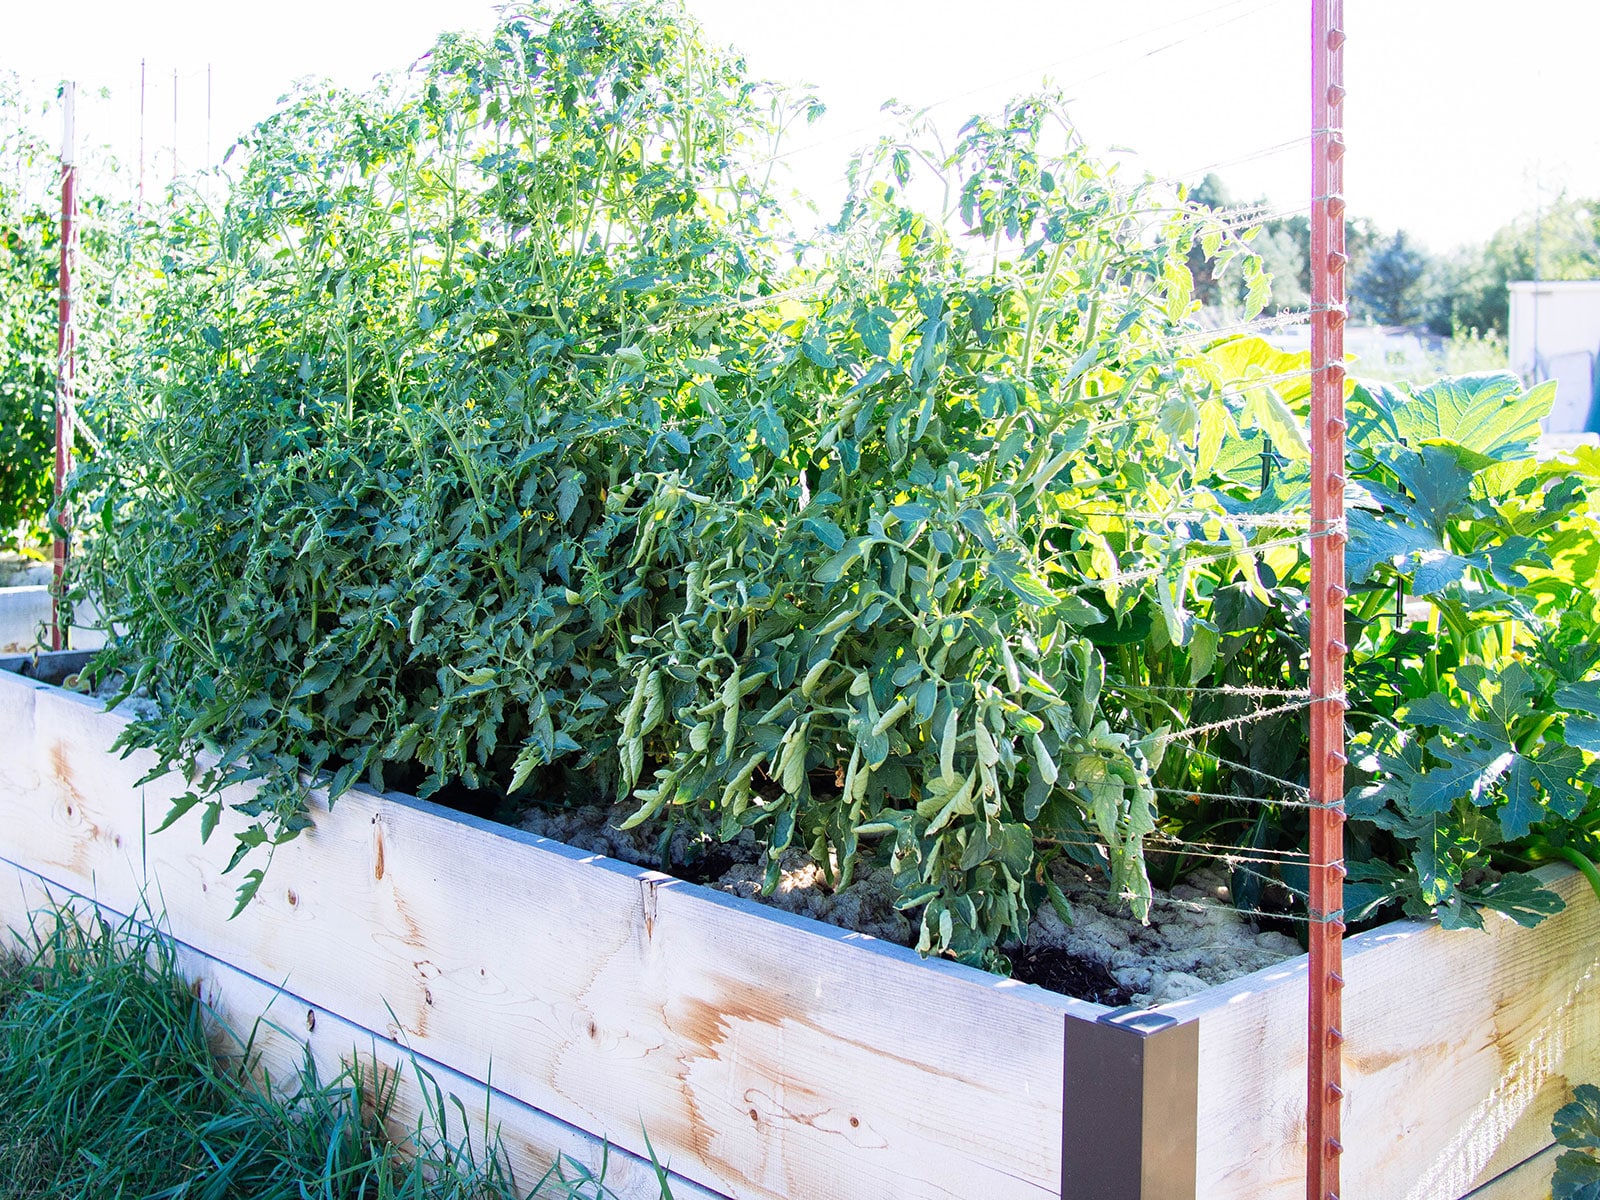
At the end of the season, you can simply cut the twine, pull up the plants, and even leave the stakes in place for the following year if they’re not in the way. (Or, you can adapt the Florida weave technique to trellis other plants like peas, pole beans, and cucumbers.)
No need to wrestle with cages and untangle masses of tomato branches—which is how I ended up with a handful of flimsy, half-broken conical cages in the first place.
Ready to make your own Florida weave trellis?
Here’s what you’ll need
Florida weave supplies
More tomato growing posts to explore:
- Grow Tomatoes Like a Boss With These 10 Easy Tips
- How to Grow Tomatoes in Pots—Even Without a Garden
- How to Best Fertilize Tomatoes for the Ultimate Bumper Crop
- How to Repot Tomato Seedlings for Bigger and Better Plants
- Why and How to Transplant Tomatoes (a Second Time)
- Planting Tomatoes Sideways: How Growing in a Trench Results In Bigger Healthier Plants
- Florida Weave: A Better Way to Trellis Tomatoes
- Conquer Blossom End Rot and Save the Harvest
- Can You Eat Tomato Leaves? The Answer Will Surprise You
- Why Tomato Leaves Have That Unique Smell
- The Power of Fermenting and Saving Tomato Seeds
- 4 Fastest Ways to Ripen Tomatoes in the Garden and Beat the First Frost
- The 30 Best Tasting Heirloom Tomato Varieties (By Color!)
- 83 Fast-Growing Short-Season Tomato Varieties for Cold Climates
- The Best Time to Pick Tomatoes for Peak Quality (It’s Not What You Think!)
This post updated from an article that originally appeared on August 19, 2011.


