In my very first year of gardening, I did what any ambitious beginner would do in a brand-new garden: I bought a bunch of seeds that looked good, threw them in the ground, and hoped at least a few of them would come up.
Some seeds did come up, but many others either took their sweet time germinating (to the point where I’d forgotten about them) or never sprouted at all, becoming a free buffet for a passing bird or beetle.
Read more: 6 Foolproof Tips to Germinate Hard-to-Start Seeds—Fast!
It took several seasons of trial and error before I mastered the tricks of seed starting, learned which varieties grew best in my climate, and figured out when to plant my seeds for a productive harvest.
Ironically, it took much less time than that to realize that patience—a somewhat necessary trait for a gardener—was not one of my strong suits, and after a winter of minimal sun and slow-growing crops, I wanted near-instant gratification in the garden come spring.
I didn’t want to wait alllll season long for my first harvest, I didn’t want to coddle seedlings or worry whether I was doing it “right.”
Related: 83 Fast-Growing Short-Season Tomato Varieties for Cold Climates
Yet, I really loved growing my own food from seed.
I just wanted it to be easy. Fun, fast, and easy.
What I’ve discovered is that many of my favorite food plants in the garden are those that come up quickly and can be harvested at any stage, and that’s why I’ve compiled this list of the best seeds to plant in spring—all from personal experience.
Disclosure: If you shop from my article or make a purchase through one of my links, I may receive commissions on some of the products I recommend.
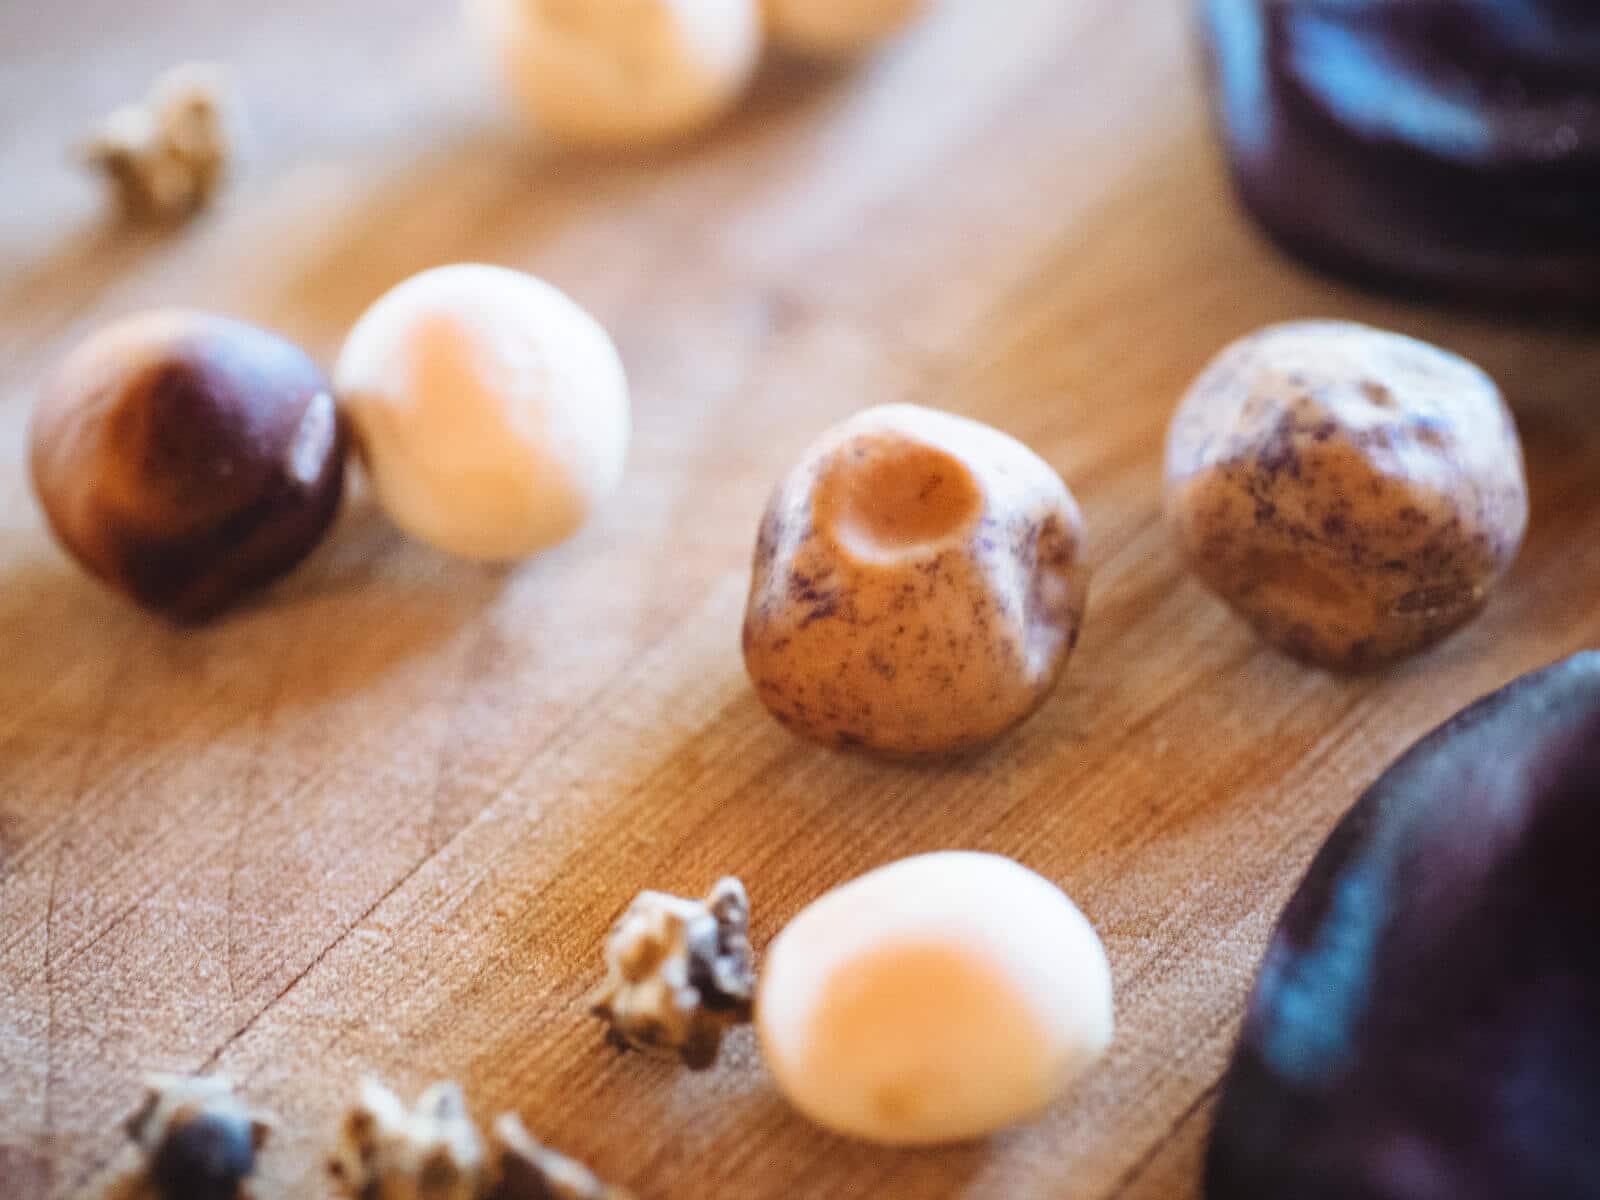
When should you start seeds in spring?
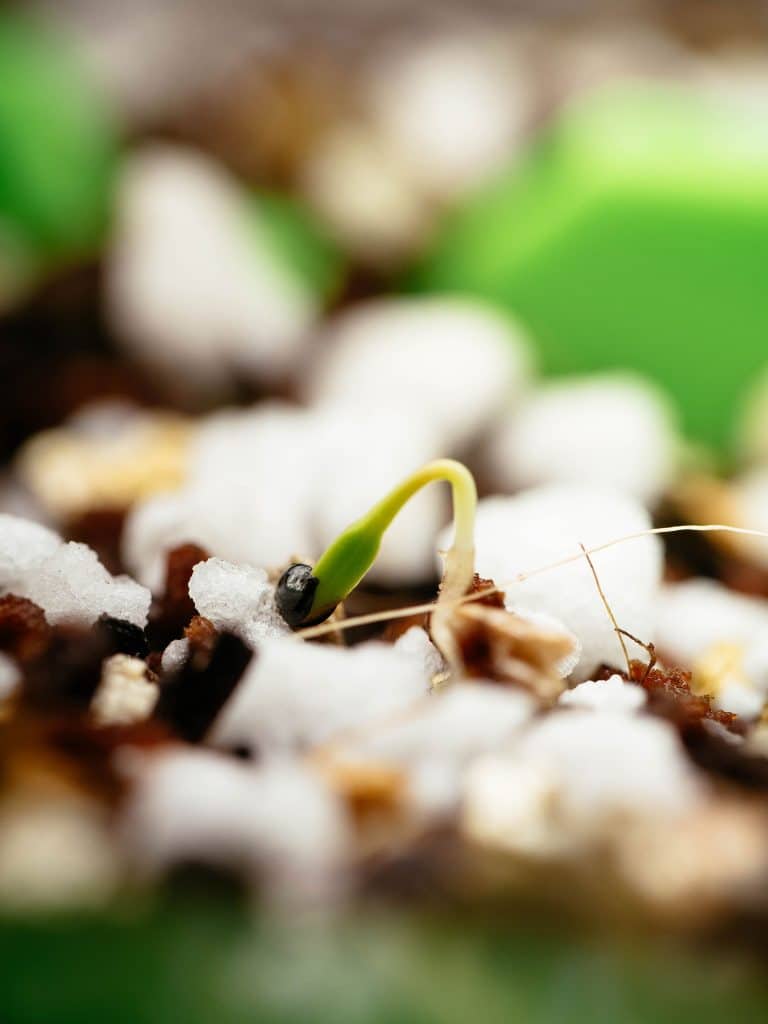
It’s encouraging to see your seeds sprout in just a few short days, and oh-so-satisfying to pick your first crop in a matter of weeks. But when should you put seeds in the ground for all of this to happen?
The prime time to start your seeds in the garden is shortly after the last frost date in your region.
Quick tip
Use my interactive seed starting calculator to easily create a printable planting chart, based on your frost dates!
Wait until the soil temperature has warmed to at least 65°F to 70°F (typically two weeks after the last frost date; I use a soil thermometer like this one to gauge when my garden’s ready) and nighttime temps are consistently above 45°F.
Read more: How to use soil temperature to boost germination
At that point, you can safely plant most vegetable seeds outside, directly in the soil, without the need for frost covers or other protection.
There are certain seeds (like peas and lettuce) that will germinate at much lower temperatures, but their growth will be slower in the beginning.
I usually like to fill up a whole plot with seeds at the same time, so I prefer to wait until it’s a little warmer to give all my seedlings a strong start.
Many of my favorite springtime crops are also the fastest plants to grow from seed. These varieties are perfect for new gardeners, impatient gardeners (like me!), and kids who want to help, since many of them are larger seeds that are easier to handle.
Easiest seeds to plant in spring
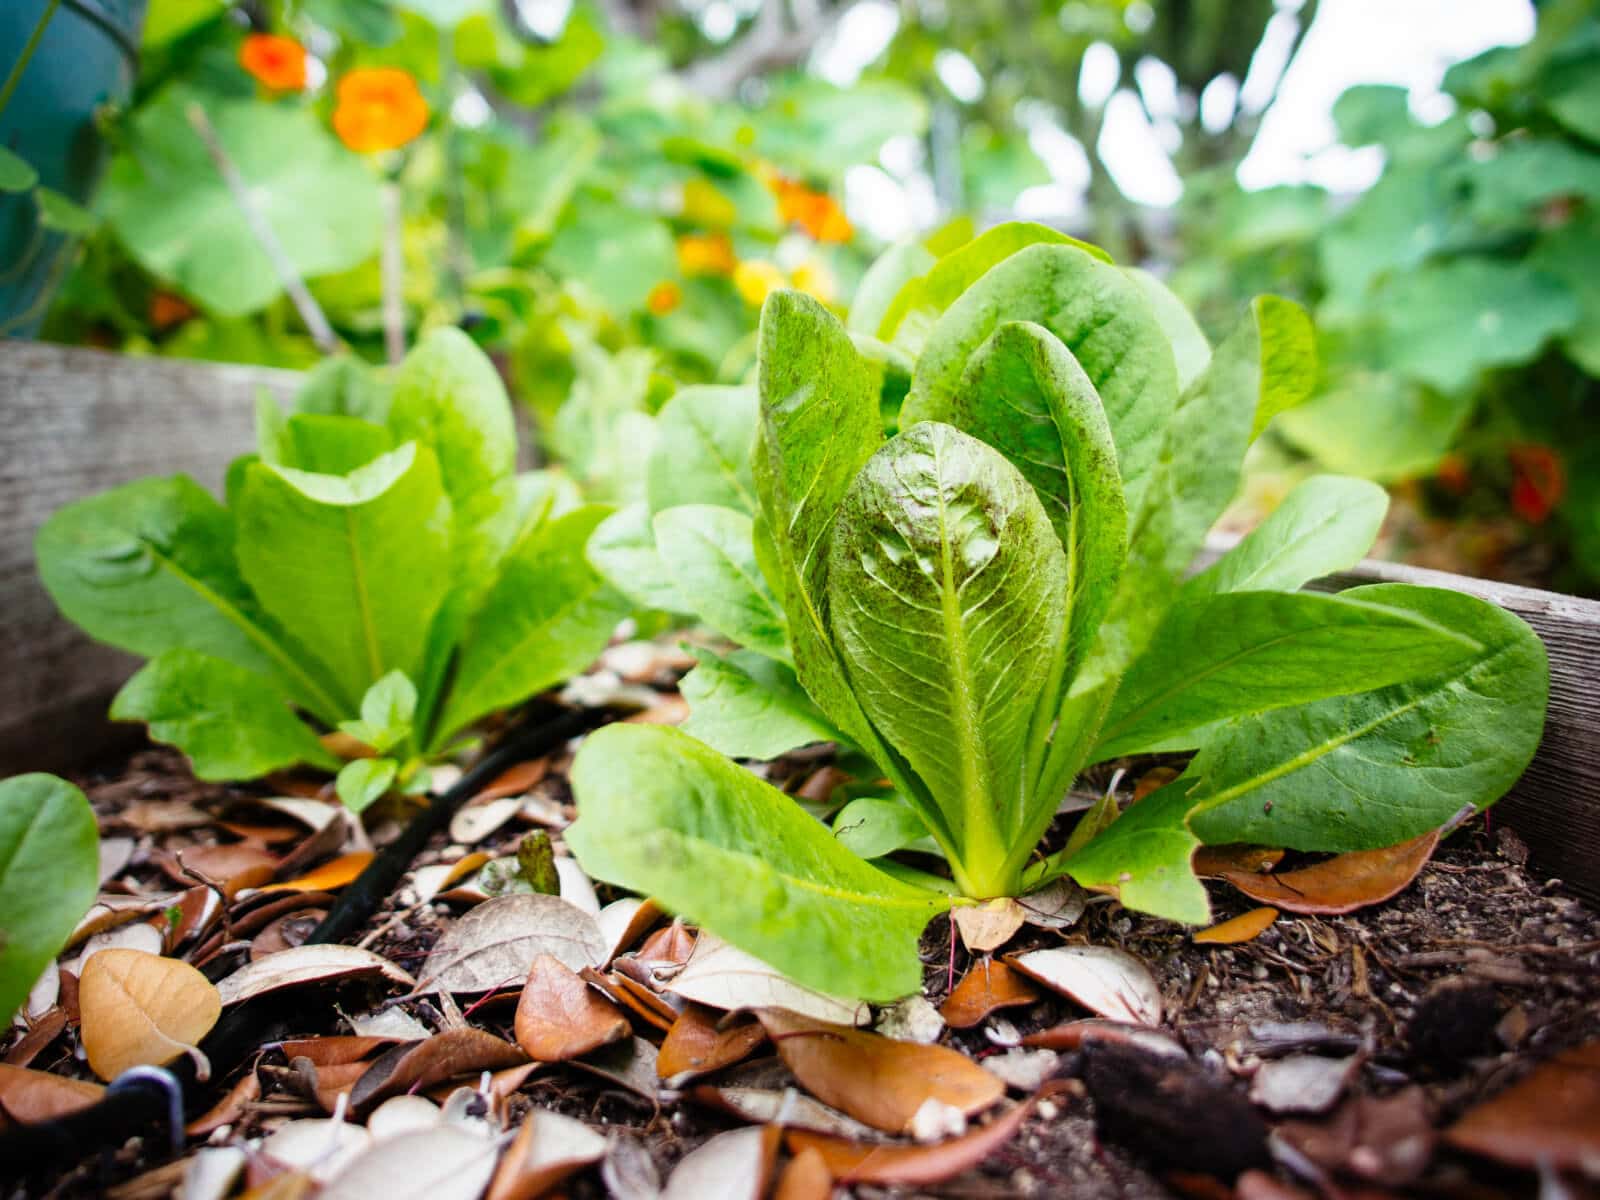
1. Lettuce
Fast-growing lettuce is a springtime staple, as the leafy greens thrive in cool weather. Varieties include iceberg (the sturdiest and longest-keeping lettuce, but also the blandest), romaine, butterhead, and leaf lettuce.
Butterhead lettuces are further categorized as Boston or Bibb types, and their soft, supple leaves are ideal for lettuce cup recipes. (Butterhead lettuce is also one of the most heat-tolerant lettuce types, if you want to keep yours going through summer.)
Leaf lettuces come in red, green, and oak types, and the tender leaves are often found in bagged baby salad greens (usually labeled as mesclun or spring mixes).
Lettuces mature about a month after germination, but can be picked earlier in the baby stage. With the sheer variety of lettuces available, it can be overwhelming trying to choose what to grow.
I like to buy packets of “salad mix” seeds that sometimes include mustards, arugula, kale, or cress for a complementary blend of colors, textures, and flavors.
Tiny, delicate lettuce seeds require light for germination, so they should be scattered lightly across the soil and watered in (with no soil covering them). Sometimes I rake them in with a hand cultivator (like this one) to make sure they’re embedded in the soil and won’t fly or wash away.
The best practice for growing lettuce—and maintaining a consistent harvest all season—is to sow a hefty pinch or two of lettuce seeds every other week.
Because they grow so quickly and are one of the most tolerant plants you can grow in partial shade, they’re great for filling in empty spots in your garden beds or interplanting between rows of slower-growing crops like carrots and peppers.
Favorite lettuce varieties
2. Brassicas
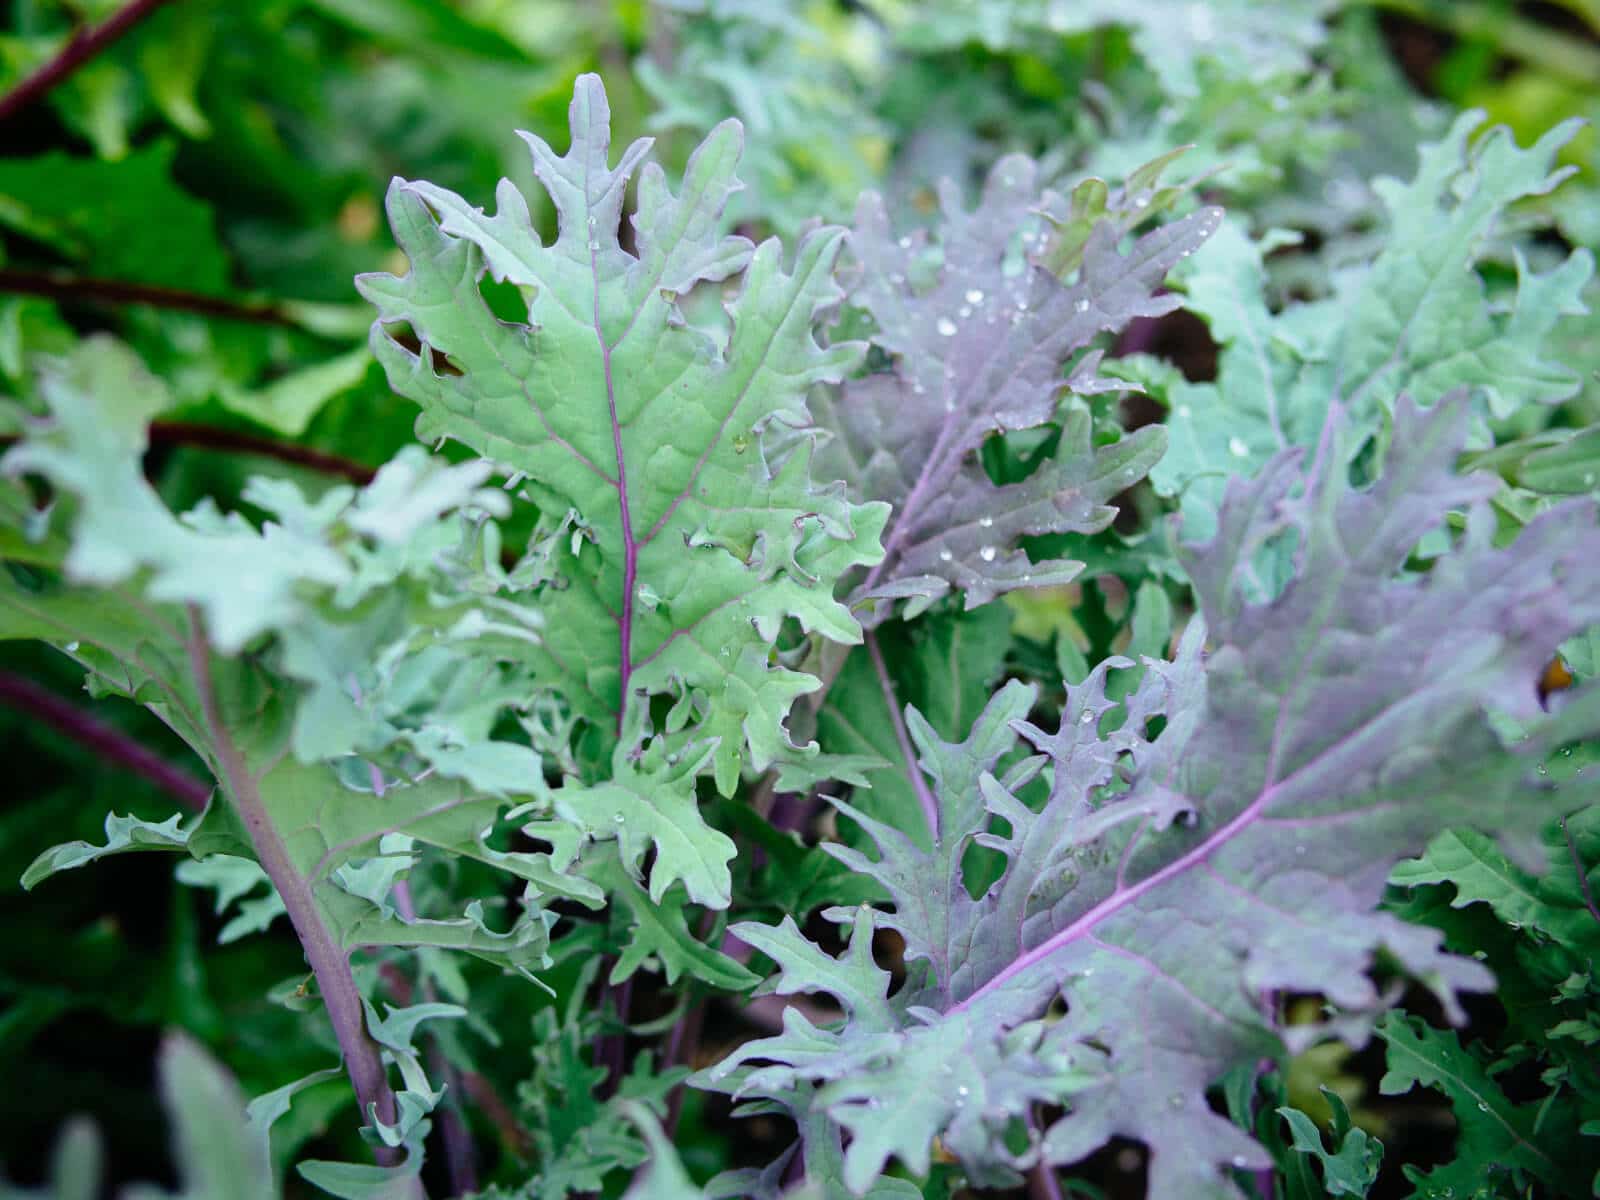
This broad category of leafy greens (also known as cole crops or cruciferous vegetables) is one of the first crops to go in my garden every spring.
They include common bitter greens like kale and collards (side note: here’s an interesting post I wrote about the “bitter genes” that some people lack), as well as my personal favorites, tatsoi and bok choy, which have a milder flavor.
I usually don’t recommend broccoli, cauliflower, or brussels sprouts for beginners, as it can be a little tricky getting heads or sprouts to form properly. (Sometimes, they form too loosely or never produce at all.)
But if you aren’t worried about that, go ahead and plant them—broccoli leaves on their own are edible, mildly earthy, and delicious, giving you a “bonus” vegetable while you wait for the heads to form.
You can actually eat the leaves from all brassicas, including kohlrabi, cauliflower, and cabbage (those big outer leaves, not just the tightly formed heads).
Read more: Stop tossing them out—you can eat these surprisingly edible garden vegetables
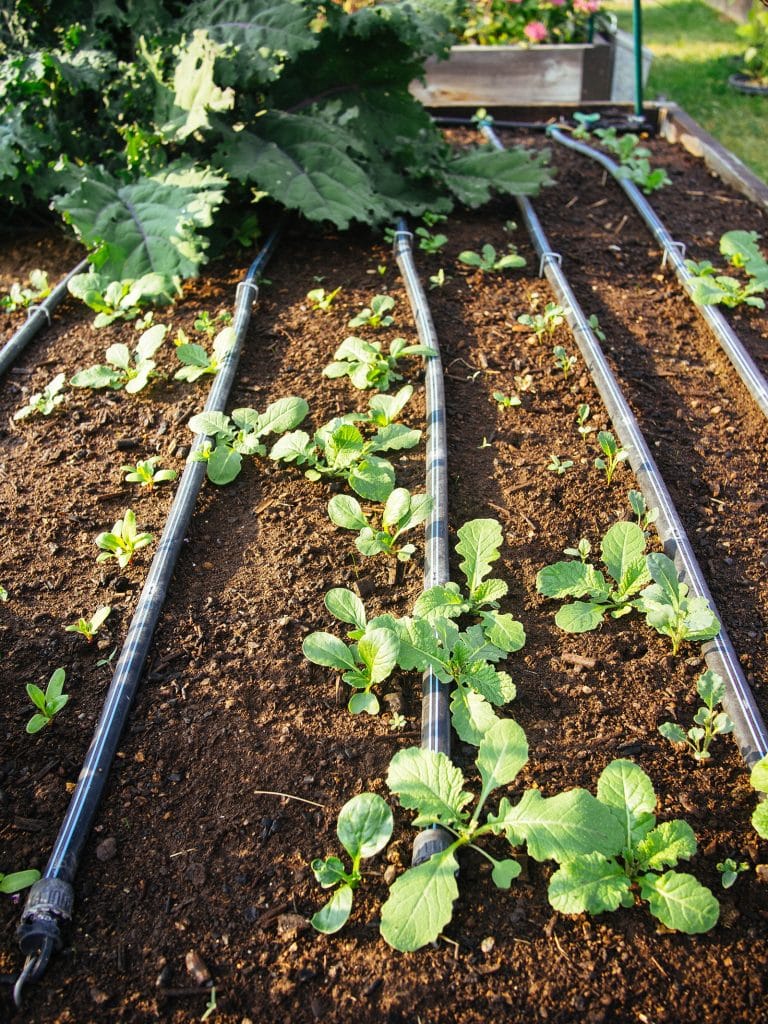
Brassicas are cut-and-come-again crops, meaning you can harvest a few leaves at a time from each plant, every few days, and it will continue to grow.
This means you can also begin picking the plant before it’s fully mature (like baby kale for salads), giving you the first harvest within a month of sowing seeds.
The seeds are smooth, round, and tiny, and best sown with a dibber (like this lovely copper one), or scattered lightly across the ground and covered with 1/4- to 1/2-inch of soil.
Favorite brassica varieties
3. Spring radishes
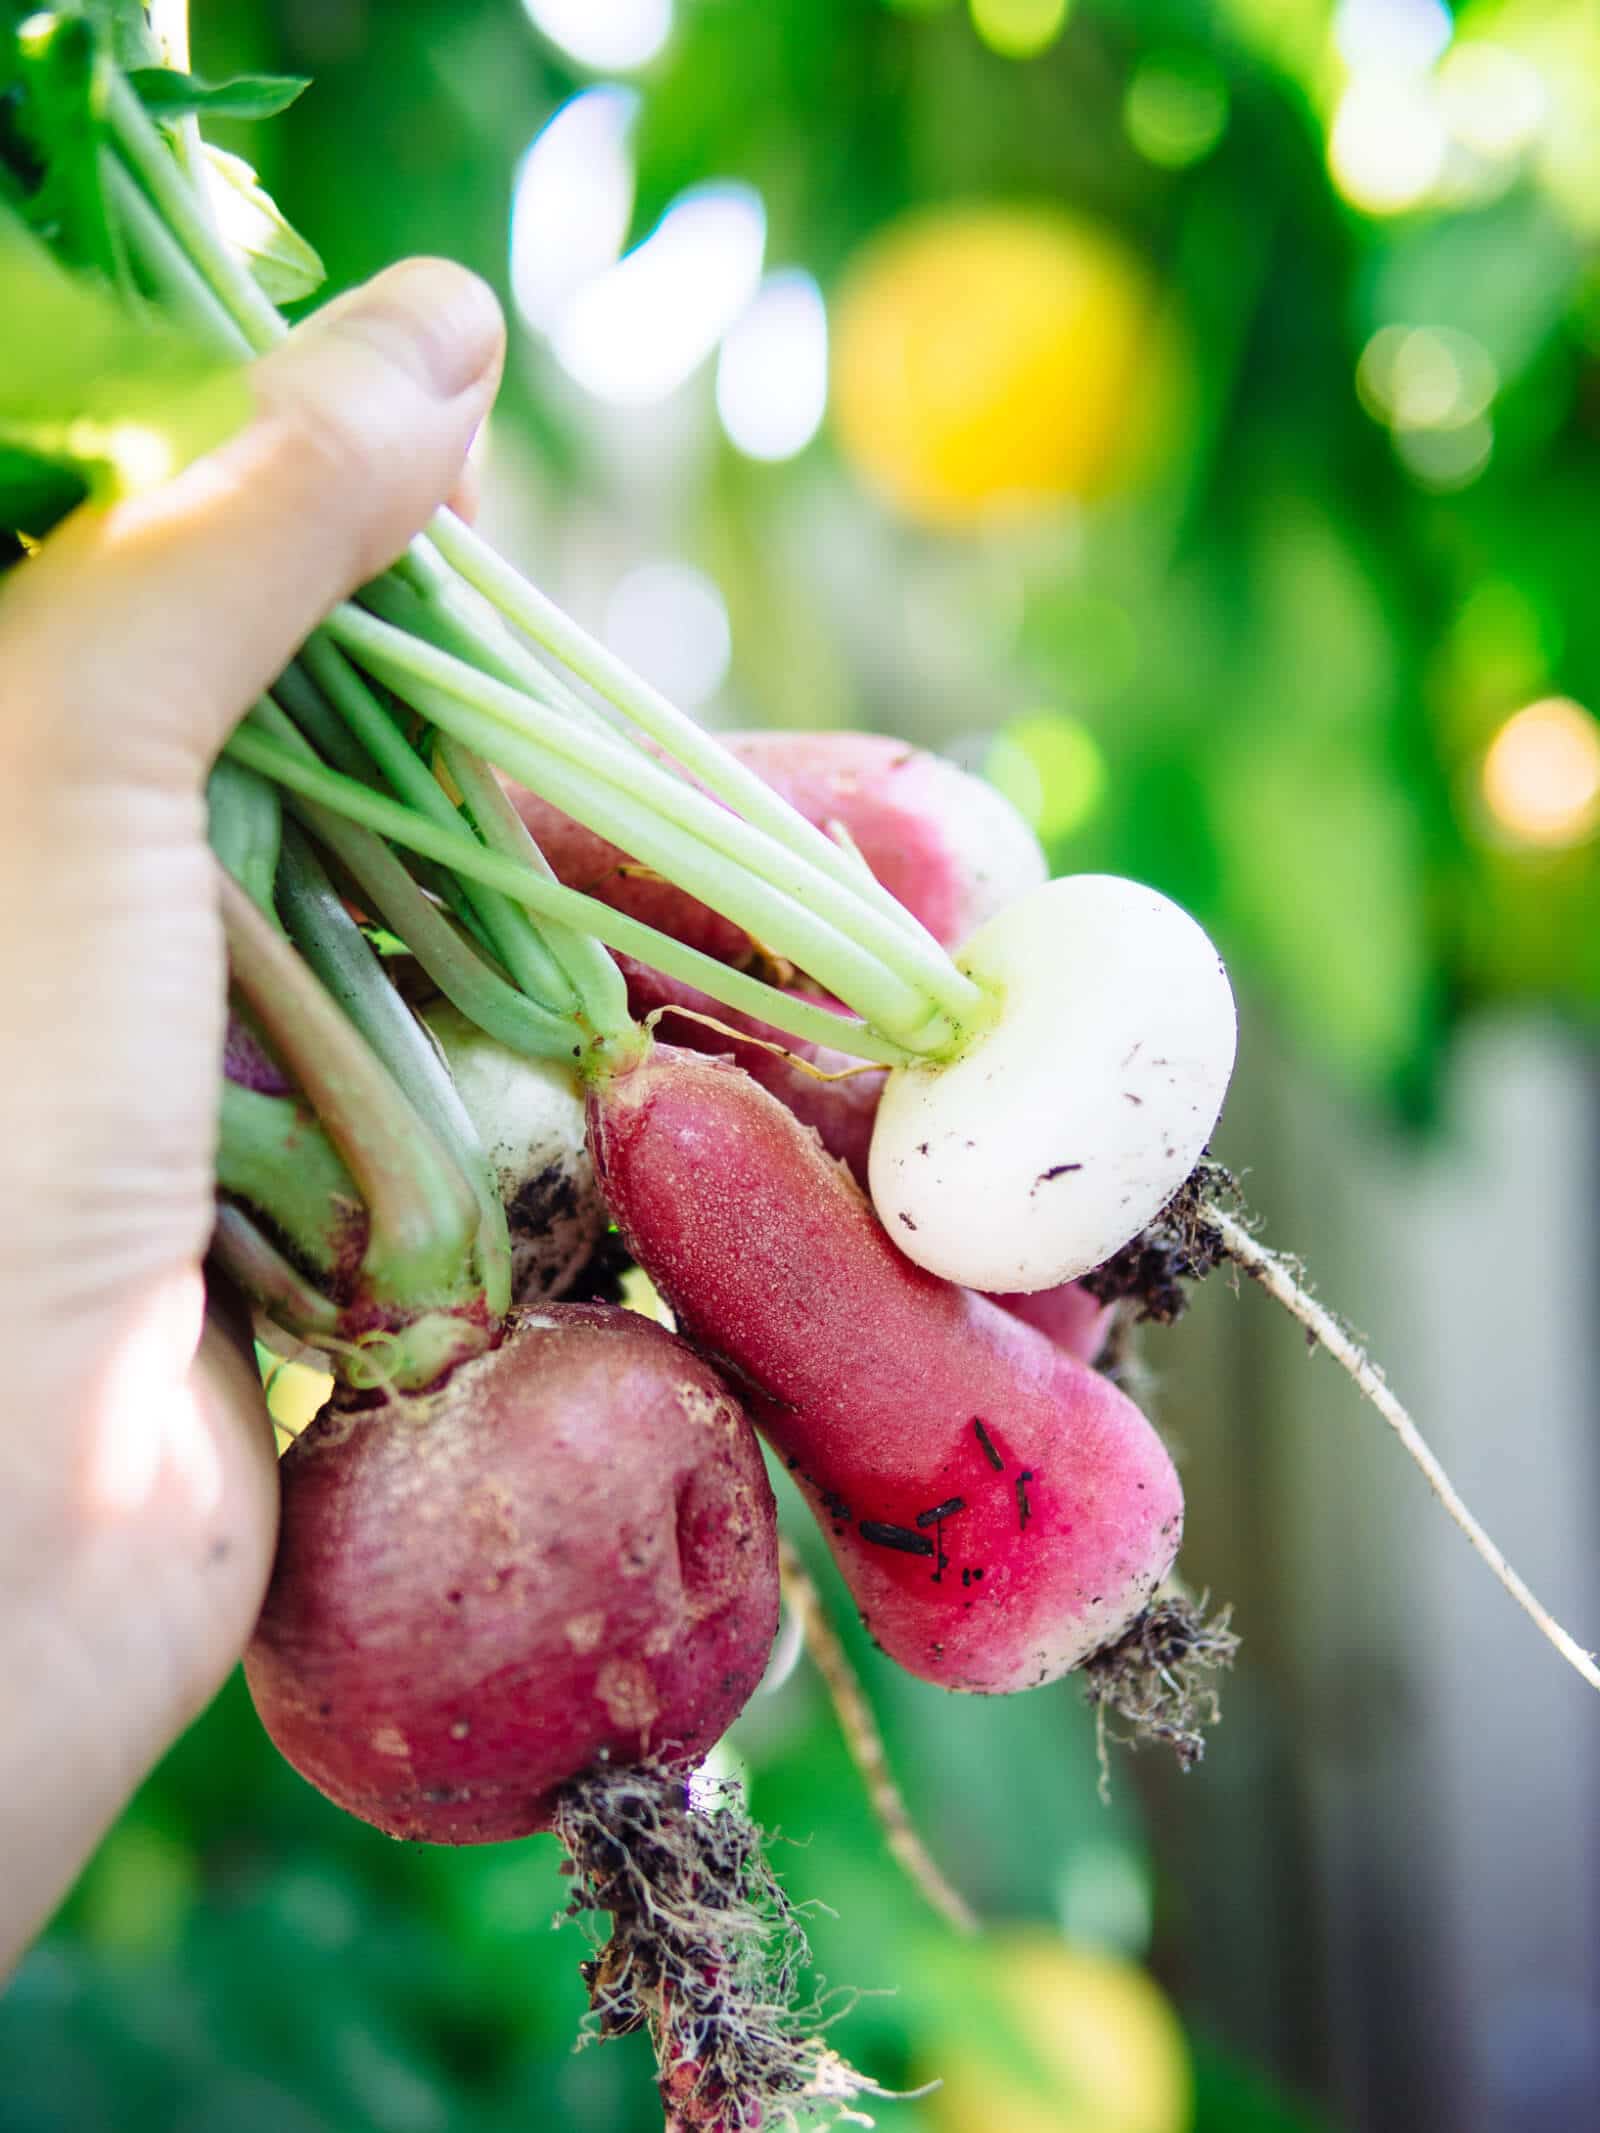
Believe it or not, there are actually three different types of radishes (spring, summer, and winter) that determine their days to maturity, with winter types being the largest varieties and also taking the longest to grow.
Spring radishes are the babies of the group, and what we commonly know as salad radishes. They’re usually eaten raw and known for having a peppery kick, but they can also be roasted, braised, or sautéed, which mellows out their spiciness.
The roots, leaves, and seed pods are all edible, so not to worry if you left a few plants in the ground too long—you can harvest and eat radish seed pods and use them for salads or pickling.
(There’s even a special cultivar of radish called Rat’s Tail radish that’s grown specifically for the seed pods, as it doesn’t produce an edible root.)
As one of my top picks for a foolproof beginner crop (and my favorite crop to interplant among slower-growing vegetables), spring radishes sprout within a couple of days and mature in as little as three weeks.
They will turn spongy or woody if left in the ground too long, so it’s best to pull them as soon as they’re ready.
The seeds are small and round-ish, which make them easy to sow. Simply poke a pencil or chopstick (or similarly-sized dibber tool) into the ground about 1/4- to 1/2-inch deep, drop in a seed, and cover lightly with soil.
You can also make a shallow trench with a tool like this one, then drop in a seed every inch or so. (Check out my plant spacing guide to learn how I use biointensive planting to maximize my harvest from every garden bed.)
Favorite radish varieties
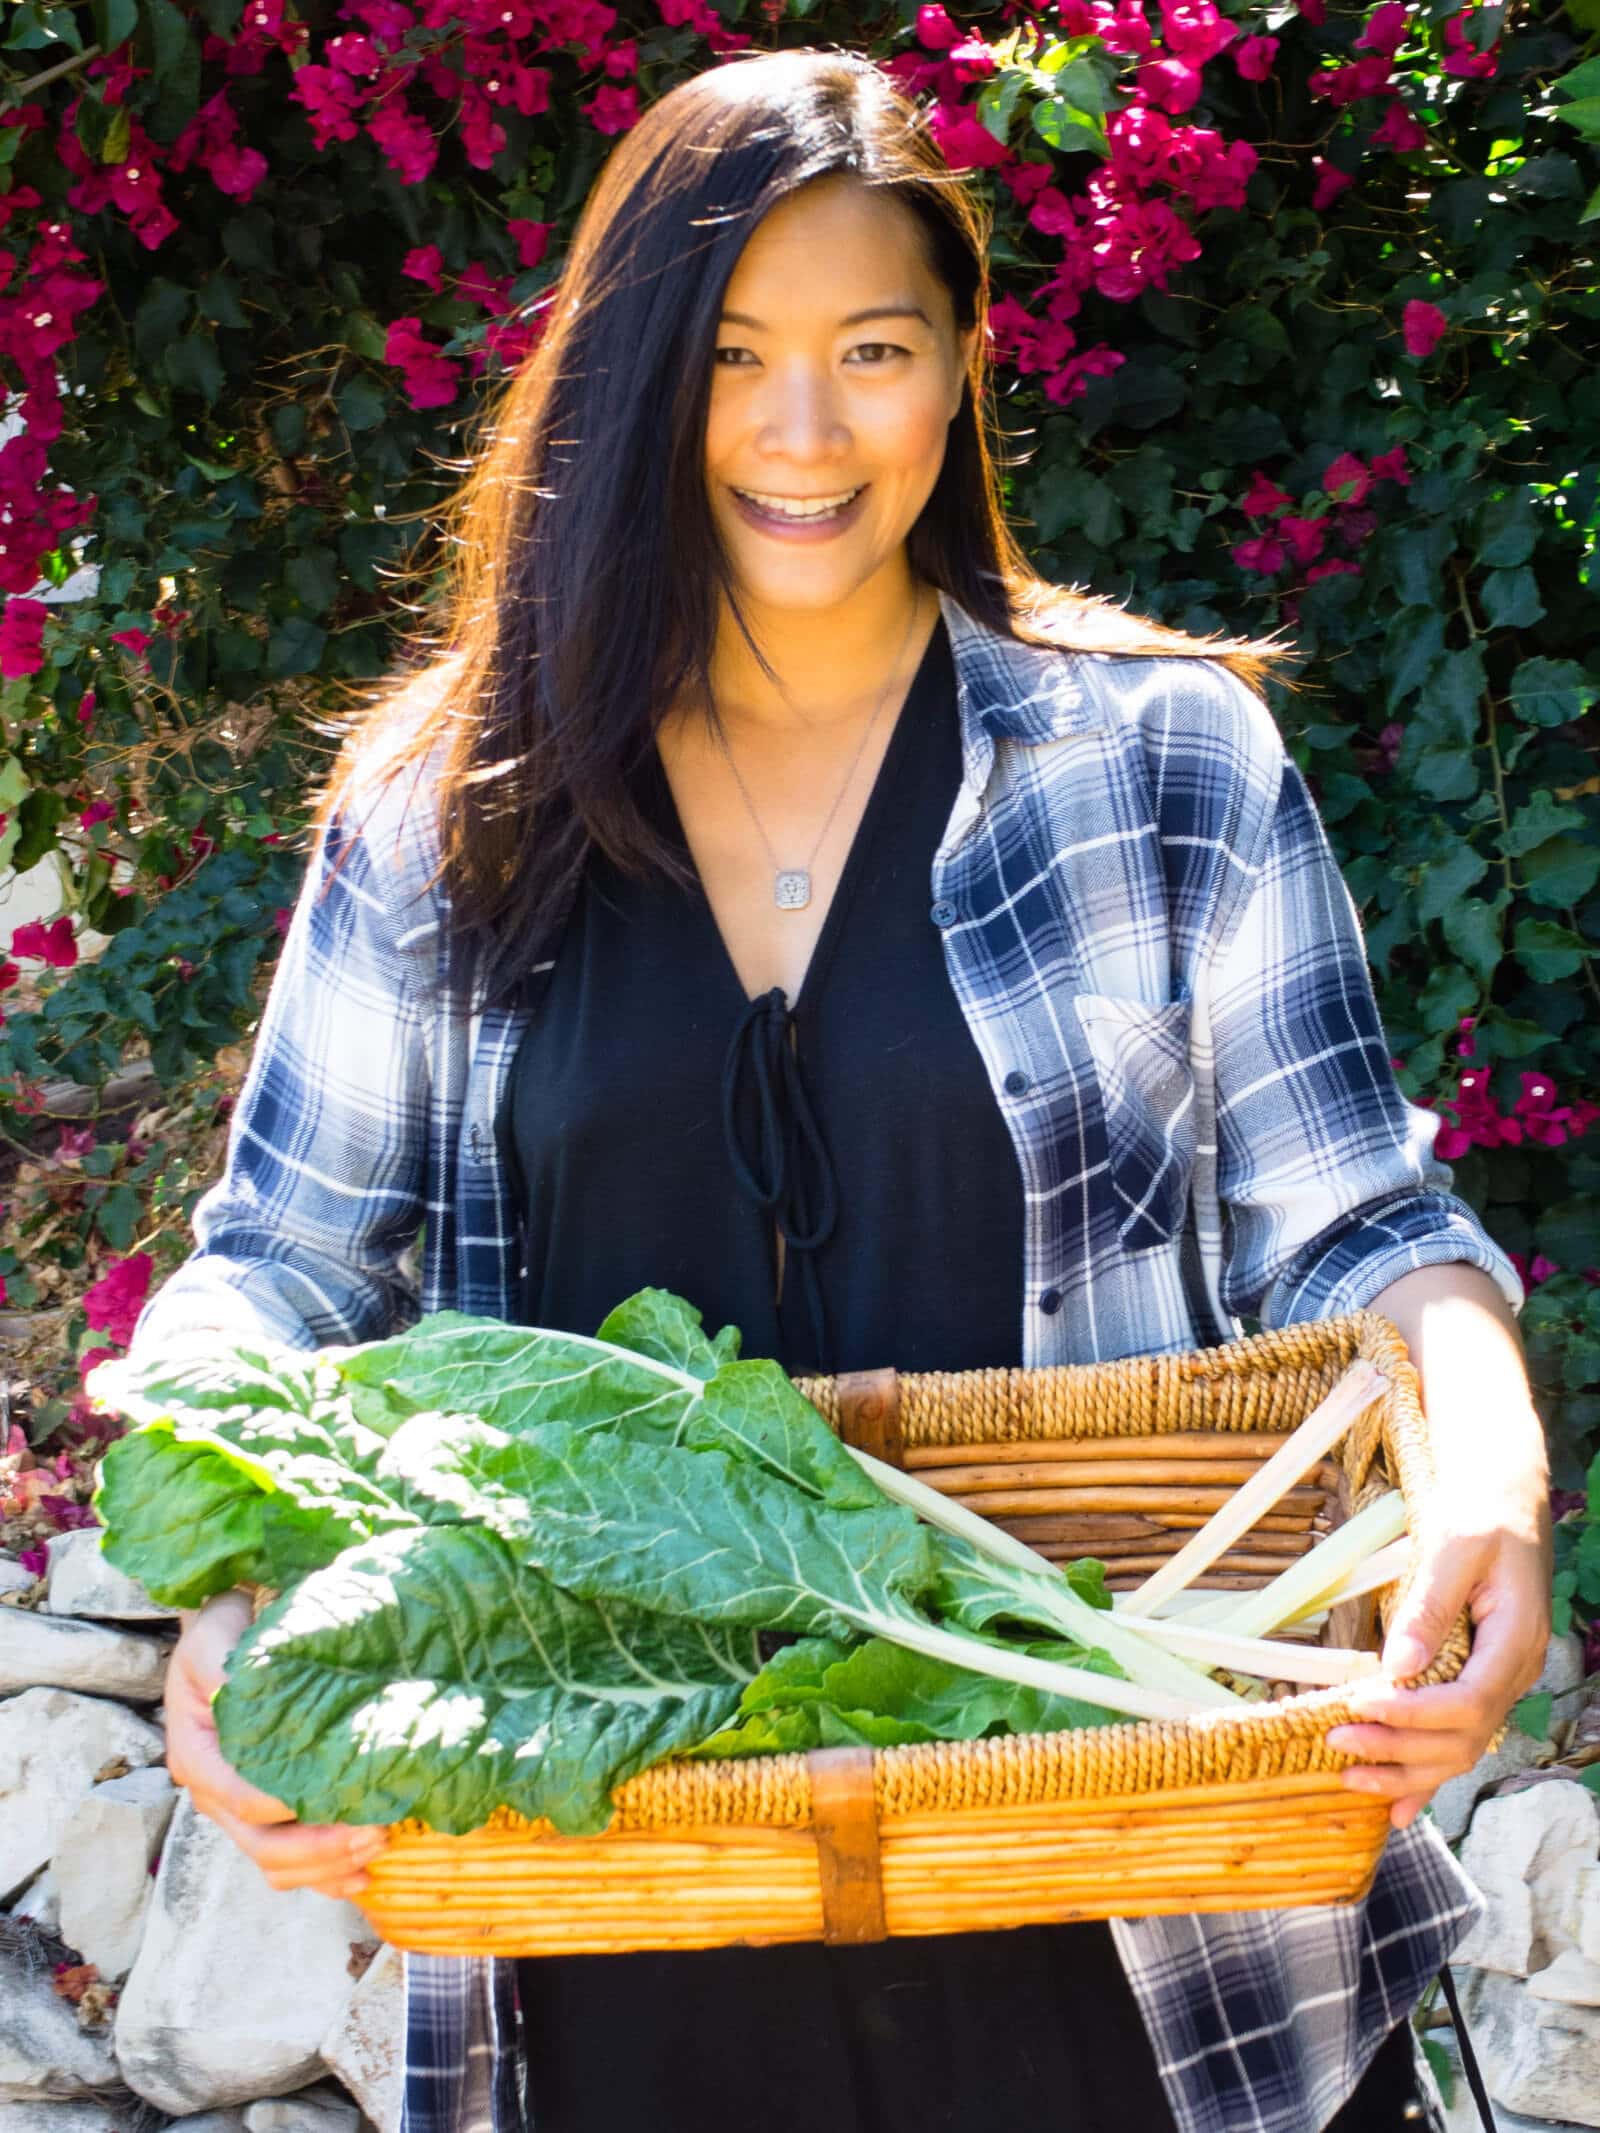
4. Chard and beets
I put chard and beets in the same heading because while they are different varieties of plants, they come from the same plant family (Beta vulgaris) and share a similar flavor profile.
During growth, it’s also hard to discern one from the other as the leaves look very much alike (and overgrown chard root isn’t too far off from beet root). Some people even sow beet seeds specifically for microgreens, so they never make it to full maturity.
Baby beet greens and baby chard are delicious in salads, while baby beets can be peeled and sliced thin with a mandoline and eaten raw.
Chard and beet seeds are known as multigerm seeds; that is, they are clusters of flowers that end up producing clusters of seed balls. Each seed that you get in a seed packet is actually several seeds fused together, resulting in multiple seedlings sprouting from the same seed ball.
Chard and beet seeds germinate in less than a week and the plants mature in 50 to 65 days, though either can be picked early.
To sow, make a trench in the soil about 1/2- to 1-inch deep and space the seeds 3 to 6 inches apart. Cover with soil.
Once the seedlings are at least 4 inches tall, thin them to one plant every 6 to 12 inches (and save the plant thinnings for salads).
Favorite chard and beet varieties
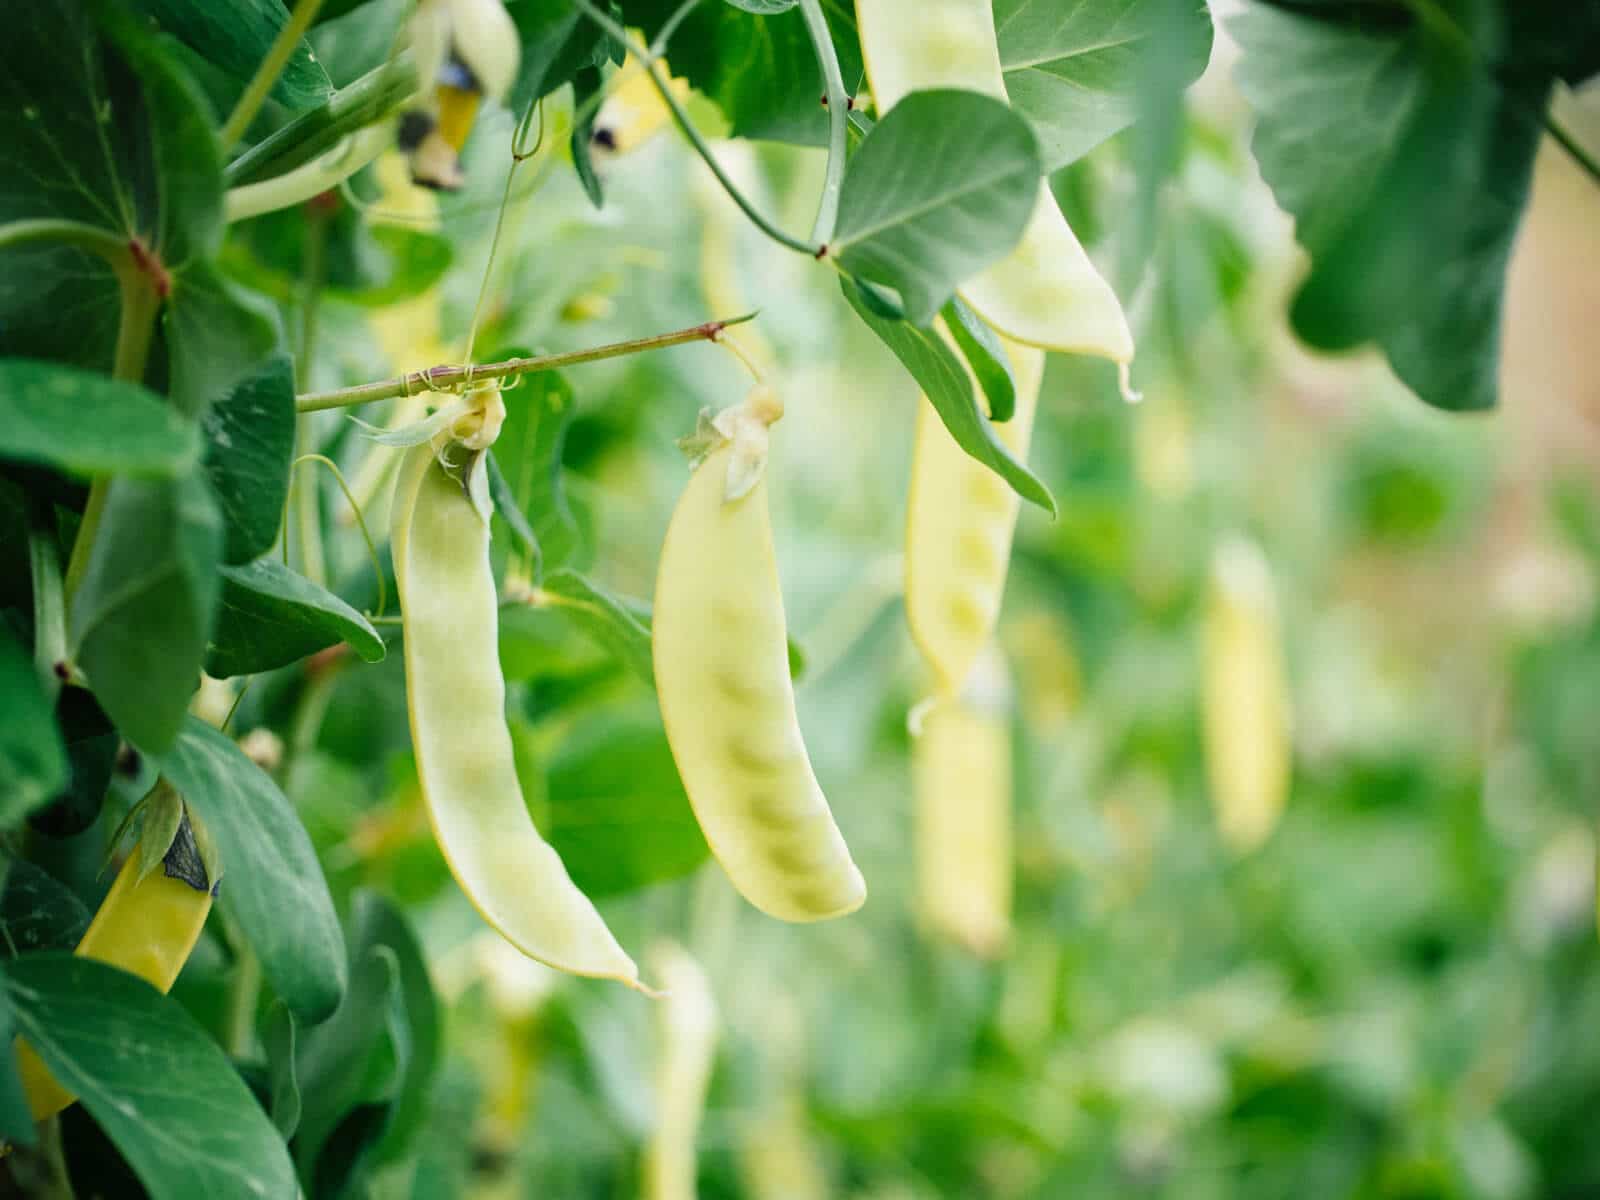
5. Legumes
This category of easy-grow beginner-friendly crops includes snap peas, snow peas, shelling peas, fava beans, bush beans, and pole beans, all of which are incredibly satisfying to plant because the large seeds are easy to handle.
It’s a nice change from the teeny tiny seeds that like to stick all over your fingers and before you know it, you’ve gone through a whole packet without meaning to!
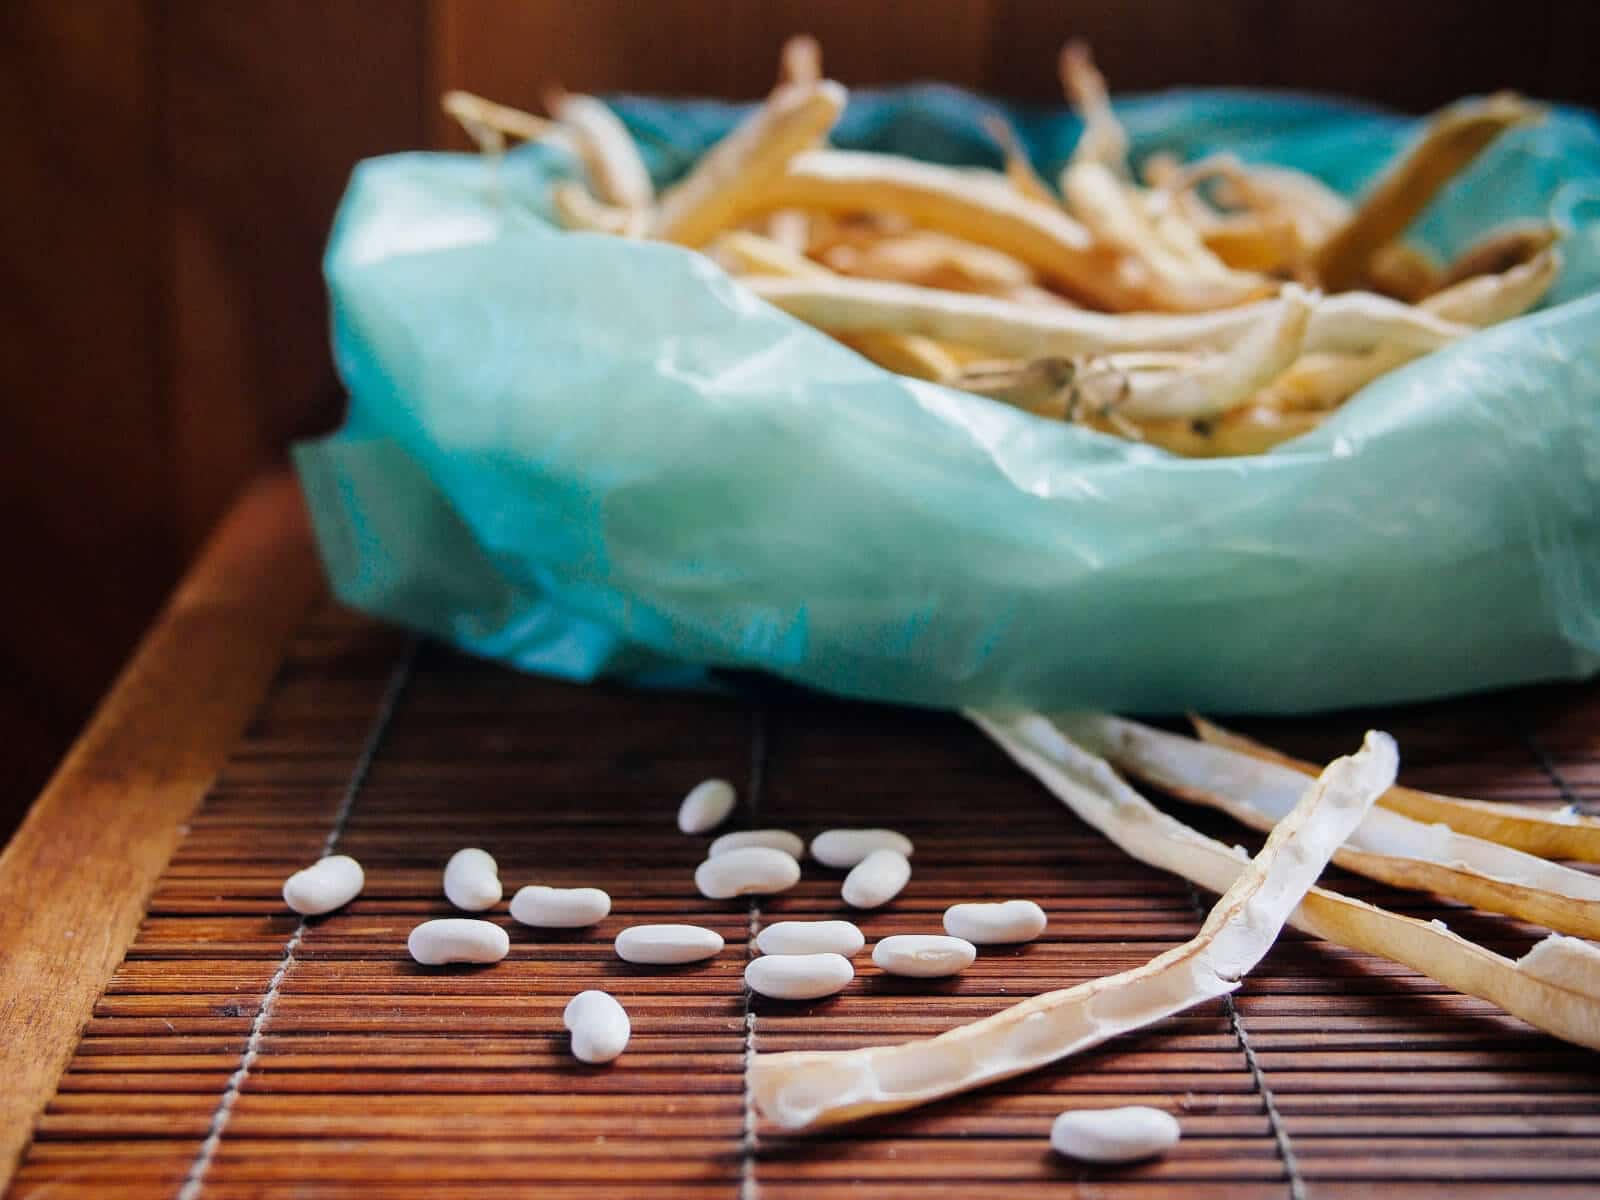
Legume seeds germinate within a couple of days and the plants mature in 60 to 70 days. Maturation, in these cases, is the point at which the pods are ready for harvest.
However, you can harvest the young shoots and leaves from your pea and bean plants long before the pods appear, as they’re edible and make great salad greens.
(Yes, you can eat bean leaves! Using fava leaves in salads is one of my favorite ways to eat them, since they’re very mild and tender.)
All peas, as well as fava beans, should be planted as soon as possible in spring to take advantage of the cool weather they prefer.
This is one variety where you can even start seeds before your last frost date, when the soil is at least 45°F—but I usually don’t recommend it, as excessive moisture from snowmelt or spring rains can cause your seeds to sit in soggy soil and rot.
The seeds also take a little longer to germinate in these colder temperatures. I recommend soaking seeds to speed up germination time and planting them when the soil is warmer.
Bush beans and pole beans are warm-weather crops that can be planted from spring into summer. I sometimes sow another round of bush bean seeds mid-season to ensure a steady harvest.
Even if you choose to grow pole beans, it’s always worth planting a small row of bush beans because they mature a little quicker (in about 50 to 55 days).
Sow seeds about 1-inch deep and cover with soil. Peas and pole beans will need a trellis to climb, as the vines can reach over 6 feet long.
Fava beans benefit from stakes or small cages to keep the plants from tipping over, while bush beans are compact plants that don’t need any support at all.
Favorite legume varieties
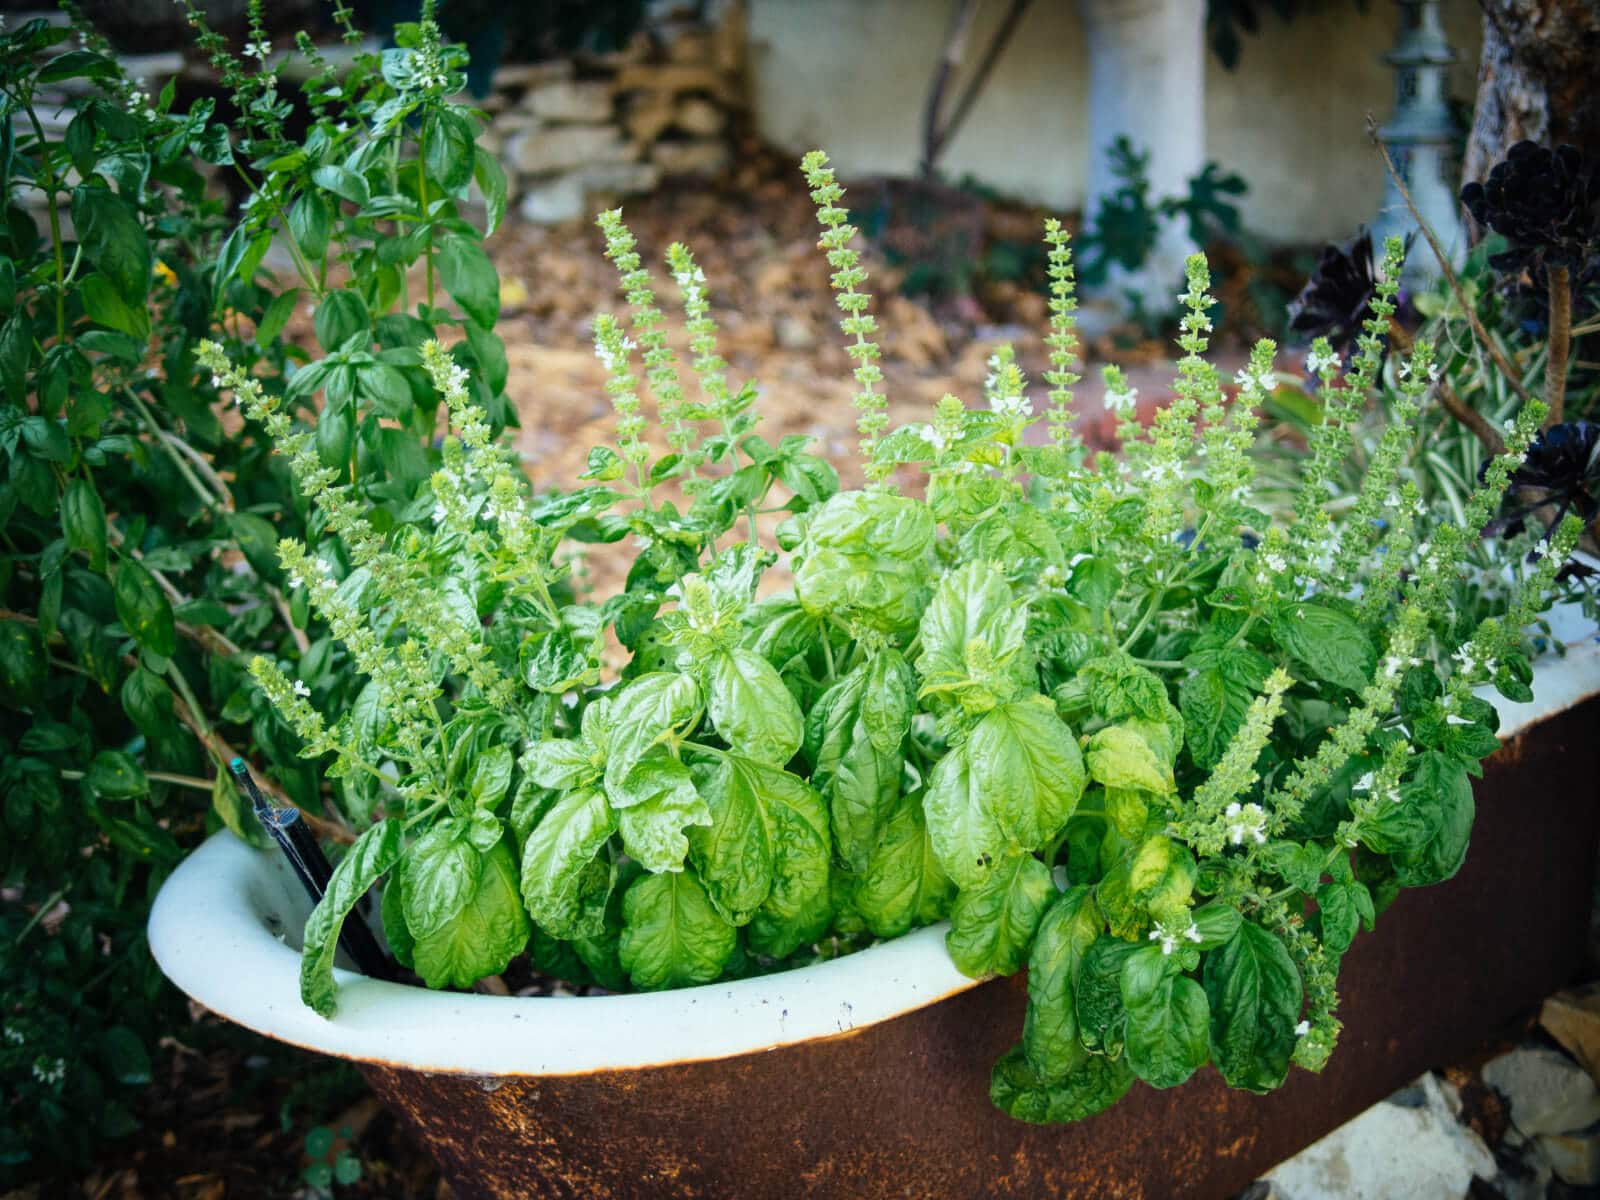
6. Basil
Fragrant basil is one of the easiest herbs to start from seed (see my prior post about the challenges of germinating parsley seeds) and, once planted, self-seeds freely if you let it.
It’s also super easy to take cuttings and regrow basil from the stems, so you can divide a single plant into multiple plants without having to start more seeds.
When left to flower, basil is highly attractive to pollinators, making it an excellent choice as a companion crop among cucumbers, squash, and fruit trees.
I usually keep one of each type of basil plant in my kitchen garden (sweet, spicy, citrusy, a specialty variety like cinnamon, and my perennial African Blue basil), and scatter a few more around the yard in my ornamental beds, just for their flowers.
Basil planted in walkways will release an intoxicating aroma when you brush against them. (This same aroma also helps to repel flies, gnats, and mosquitoes, so plant some basil near your windows too.)
For all these reasons, this multi-use herb makes an appearance in my garden every year as a staple crop. If you’re stuck on which variety to grow, try a “basil blend” packet that includes a mix of seed cultivars and foliage colors.
To sow, scatter the seeds and cover lightly with soil. In my experience, they take 5 to 10 days to germinate (the warmer the soil, the faster they’ll germinate).
Plant maturity is reached in 60 to 80 days, and while basil seedlings develop slowly and steadily in cooler spring weather, they really go bonkers once daytime temperatures soar into the 80s°F.
Favorite basil varieties
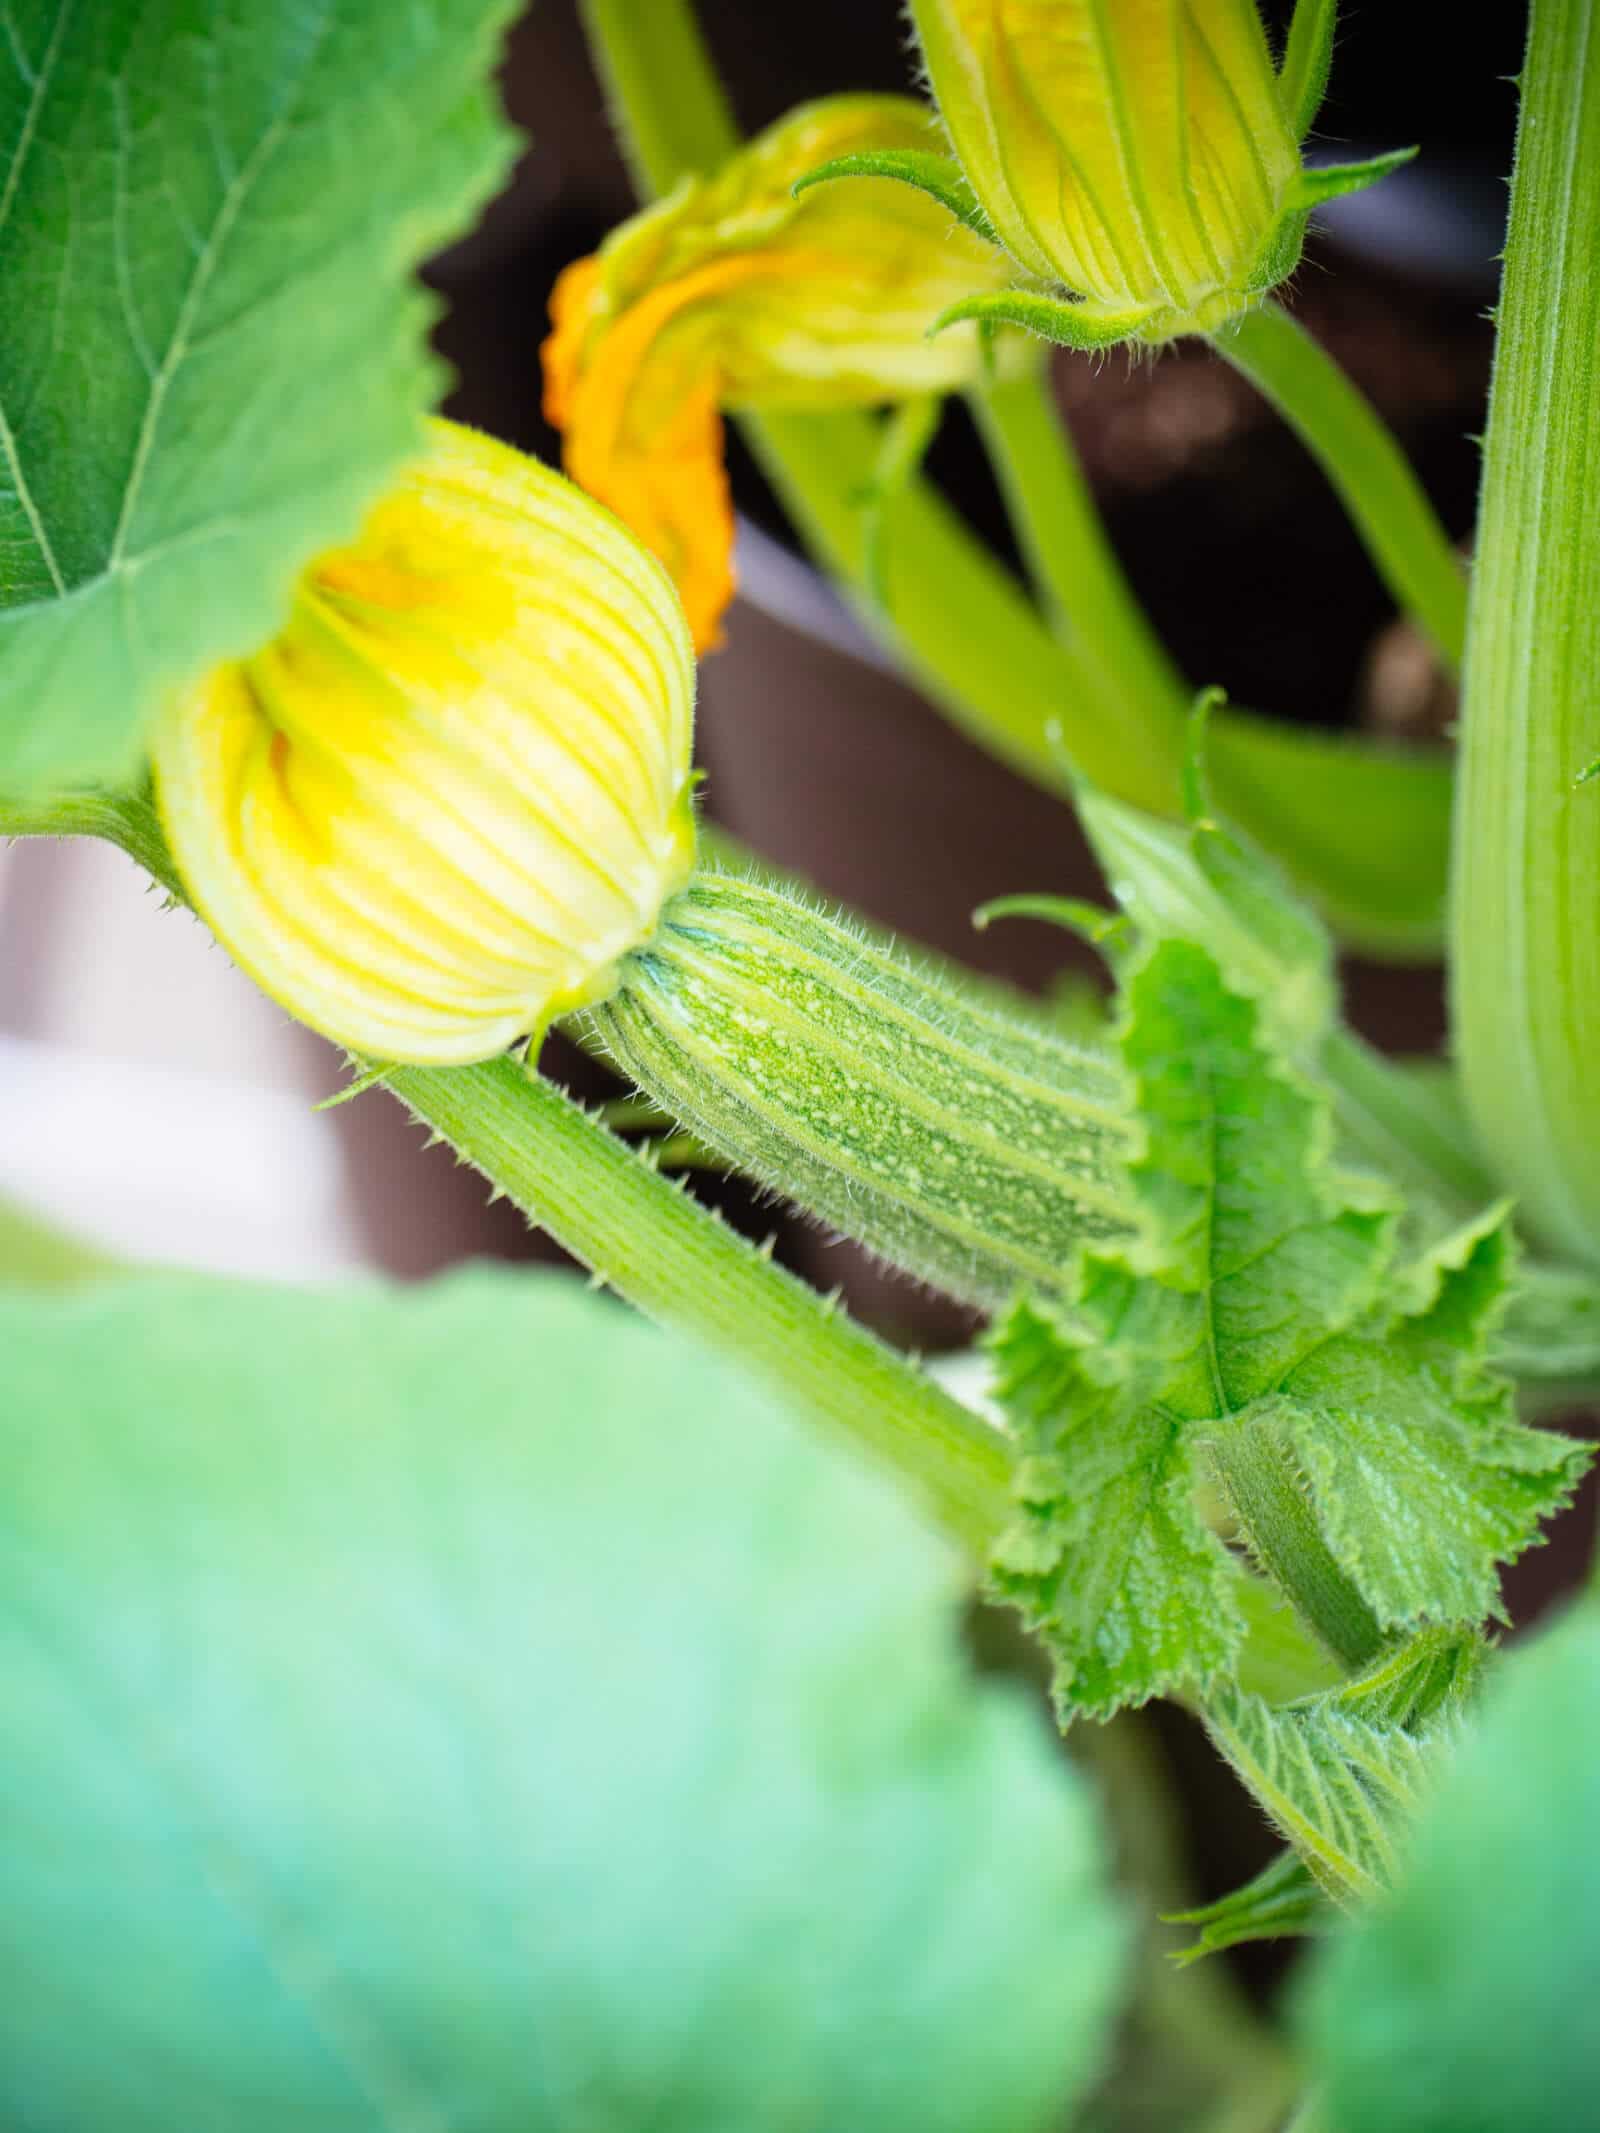
7. Summer squash
Squash is jokingly known in gardening circles as the crop that keeps on giving. A single plant often leaves you with more squash than you know what to do with!
In contrast with winter squash, which is often planted in Three Sisters gardens, summer squash is ideal for new gardeners because it isn’t the notorious space hog that pumpkins and other winter types are.
With the exception of certain varieties that can be left on the vines longer to cure and store as winter squash (such as Zucchino Rampicante, which can be harvested early or late), summer squash are non-vining, compact bush varieties that stay upright and only take up a 3-foot x 3-foot area.
Summer squash average 60 days to harvest, though baby squash can be harvested as soon as a week after flowering. If you find that your squash are rotting or falling off before they start to grow, try interplanting flowers to improve squash pollination.
All squash have a stage at which they’re the most tender, moist, and prime for picking, but if you let yours go a little too long and that zucchini has suddenly grown into a foot-long monster, all is not lost.
I find larger zucchini ideal for pureeing into creamy soups, grating into baked goods, or spiralizing into noodles.
Sow the seeds about 1-inch deep and lightly cover with soil. As a warm-weather crop, summer squash germinates best when the soil is nice and toasty.
You’ll get decent germination in our target seed starting range of 65°F to 70°F, but the quickest (and close to 100 percent) germination at soil temperatures of 80°F or above, with seeds sprouting in just a few days at that point.
Favorite squash varieties
8. Cucumbers
Last on the list, but certainly not least, is one of my absolute favorite summer crops, cucumbers.
I love them so much that I try to sow seeds as soon as my soil is ready, because I like to snack on them all summer long and save a few harvests for making bread and butter pickles as well.
Most people are familiar with the common vining cucumbers that need climbing support, but compact bush types are also available for gardeners short on space.
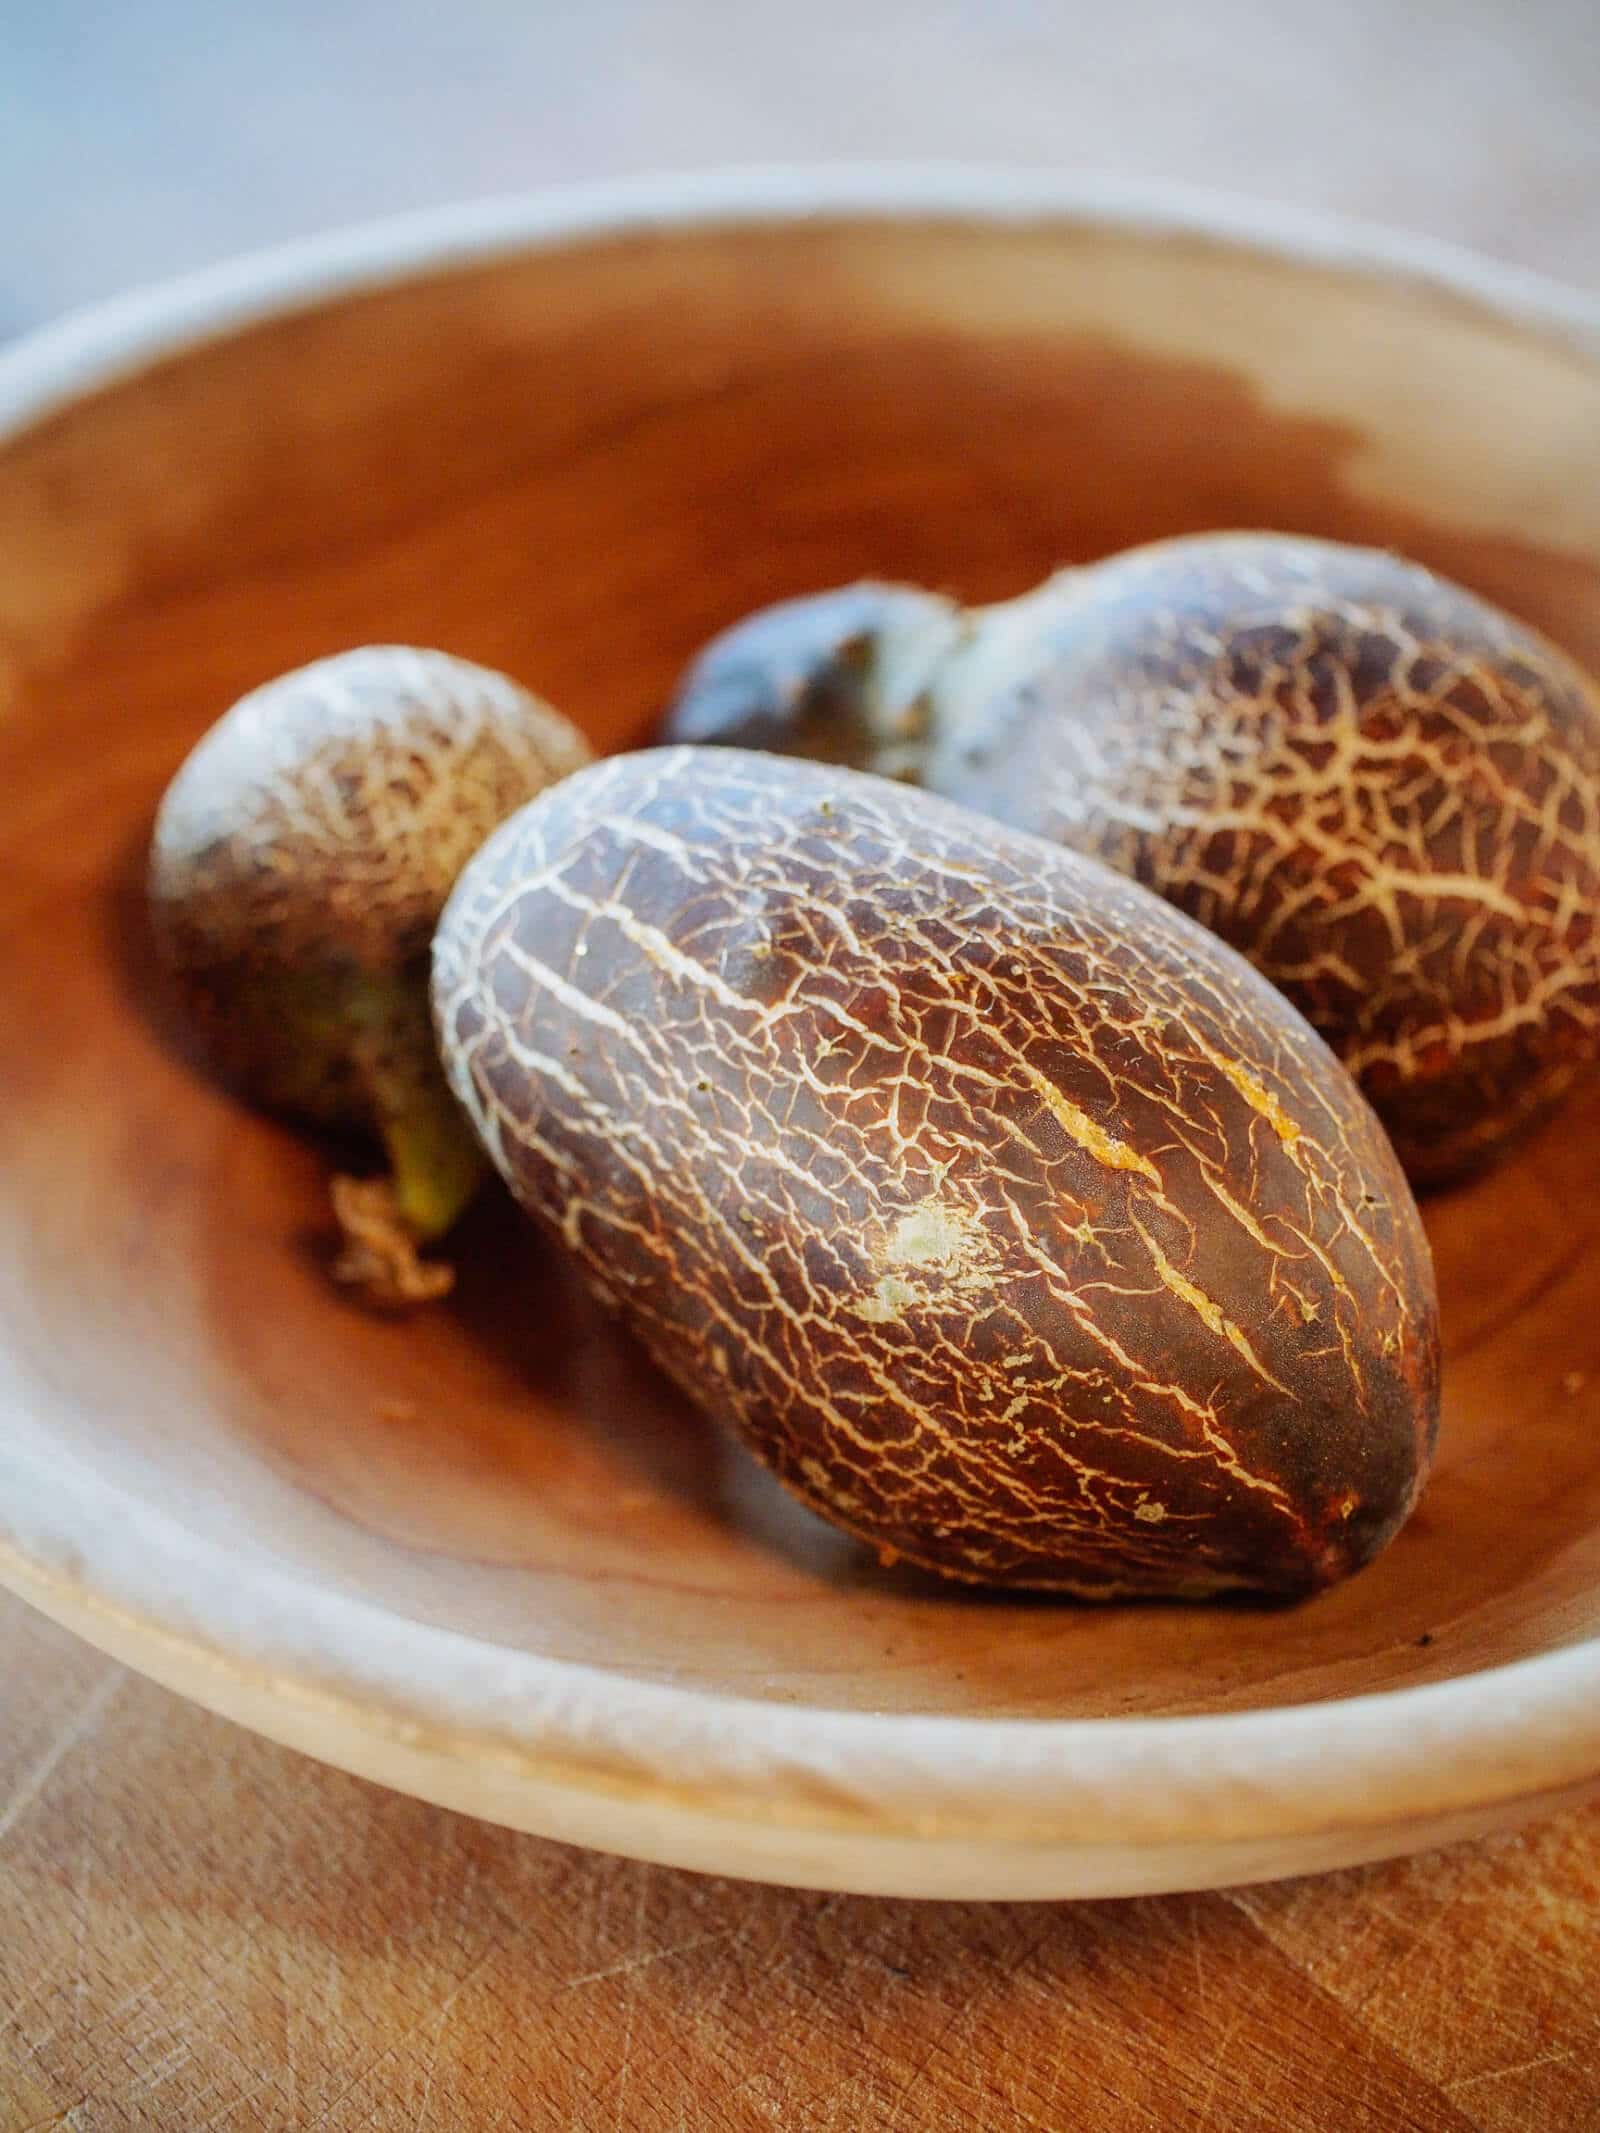
Most people also think of long and slender green fruits when they picture cucumbers, but this crisp, refreshing crop actually comes in a wide variety of shapes, sizes, and colors when you’re looking at heirloom seeds. (Some of my favorite and more unconventional picks are below.)
Cucumbers are in the same family as squash, so their growing needs are similar. They grow best when it’s warm, but the seeds will germinate in our magic range of 65°F to 70°F.
Sow the seeds 1-inch deep and cover with soil. In less than a week, the first seedlings will emerge.
Cucumbers (Cucumis) are large plants. Their final spacing in the garden should be 6 inches apart for a prolific harvest.
This does not include Mexican sour gherkins (cucamelons), which are often grouped with cucumbers because of their cucumber-like flavor, but are even larger plants belonging to a different genus altogether (Melothria). Cucamelons require 12 inches of spacing to be productive.
Favorite cucumber varieties
This post updated from an article that originally appeared on April 16, 2019.






I love your blog! So glad I found your page!
Thank you Gina!