Exactly as the title says—this is an easy, no-fail guide to indoor seed starting.
You don’t need to read any gardening books first. You don’t need any fancy equipment. You just need your seeds (these are the best garden seed catalogs that I order from every year) and a few basic supplies to get started.
Whether you have a dedicated vegetable bed in your backyard, or a cluster of containers on your patio, it all starts out the same way. You have to plant your seeds, and germinating seeds inside your home (where you have the most control) is the best way to do so, especially for seeds that are hard to start.
Starting seeds indoors is ideal if you want to get a head start on the season, or if the weather is still too hot or too cold to put anything in the ground.
Related: How to find your first and last frost dates so you don’t plant too early (or too late)—my custom planting calendar included!
This simple step-by-step tutorial will take you from seed to seedling with a minimum of fuss. Just the stuff you need to know, and none that you don’t. (But if you’re the really-need-to-know type, I’ve added footnotes at the end to explain why you’re doing what you’re doing.)
Disclosure: If you shop from my article or make a purchase through one of my links, I may receive commissions on some of the products I recommend.
How to start seeds indoors, step-by-step
Where to buy
My favorite seed starting supplies
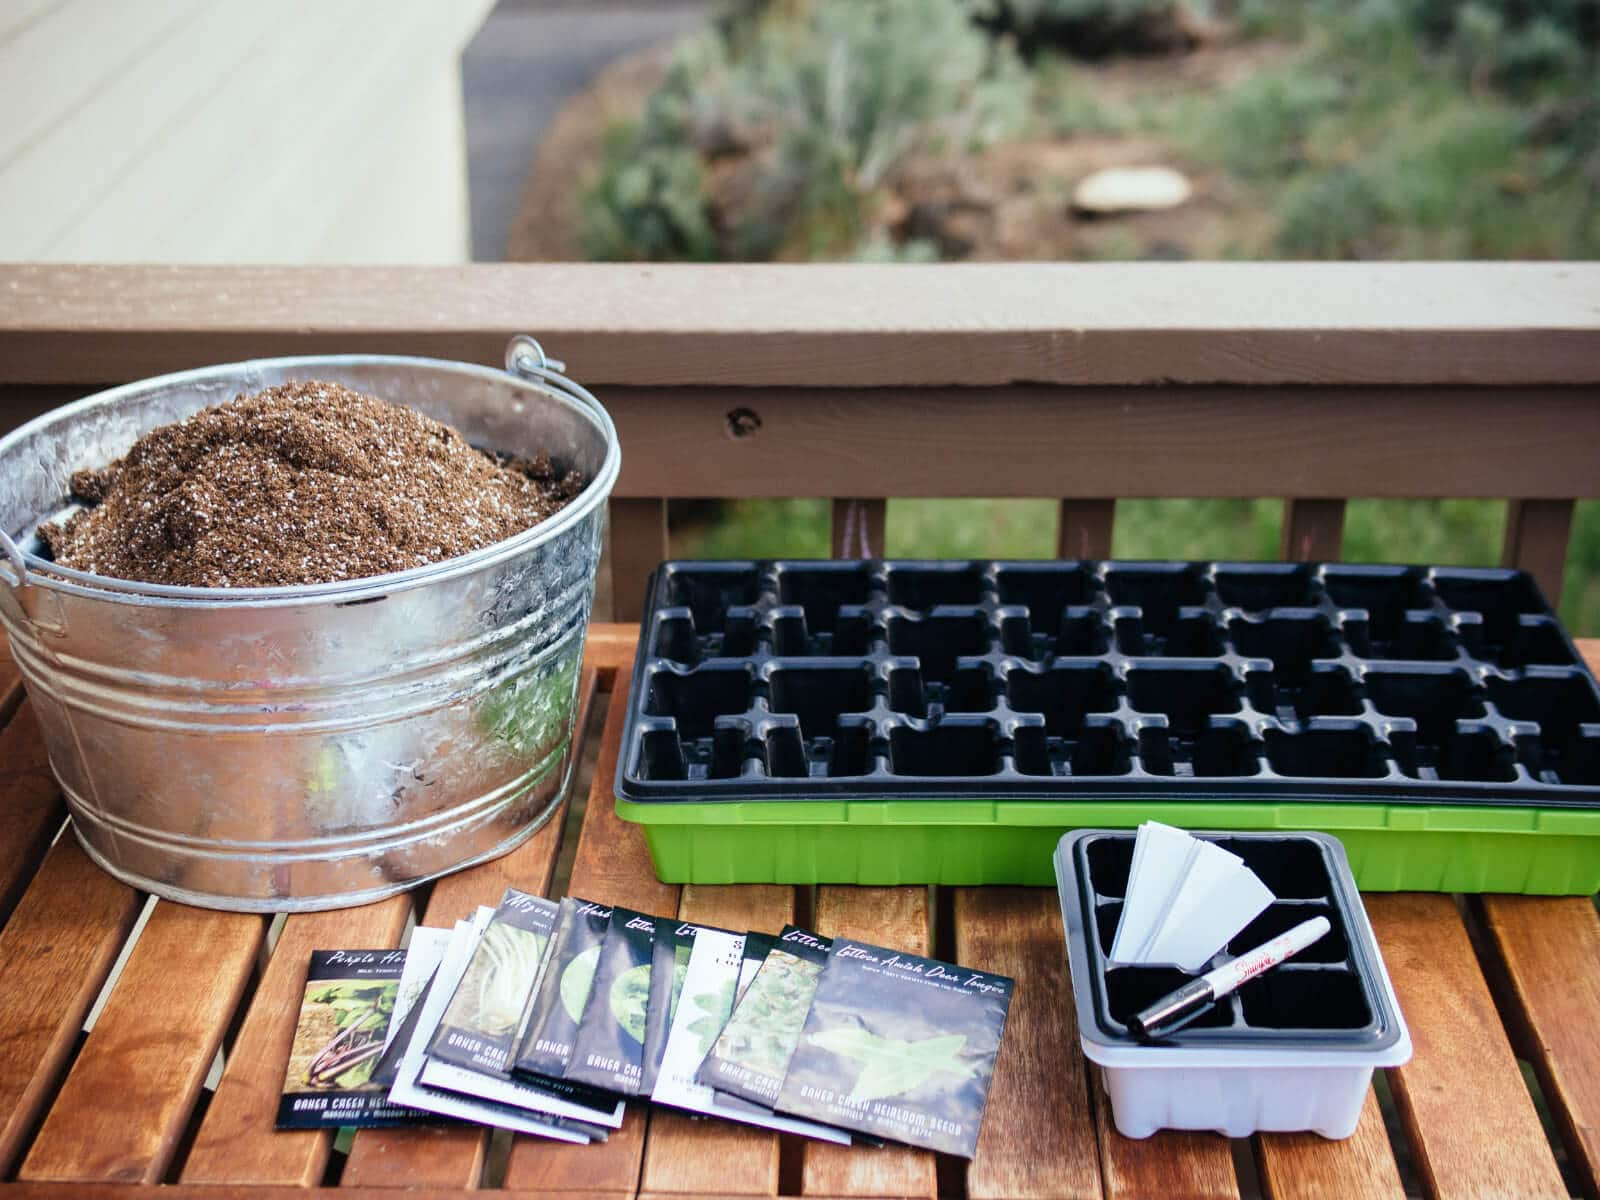
Step 1: Gather your seeds and supplies.
- Seeds
- Seed starting pots or seed starting trays (I like using cell inserts, as shown)
- Plant markers
- Seed starting mix (homemade or store-bought)
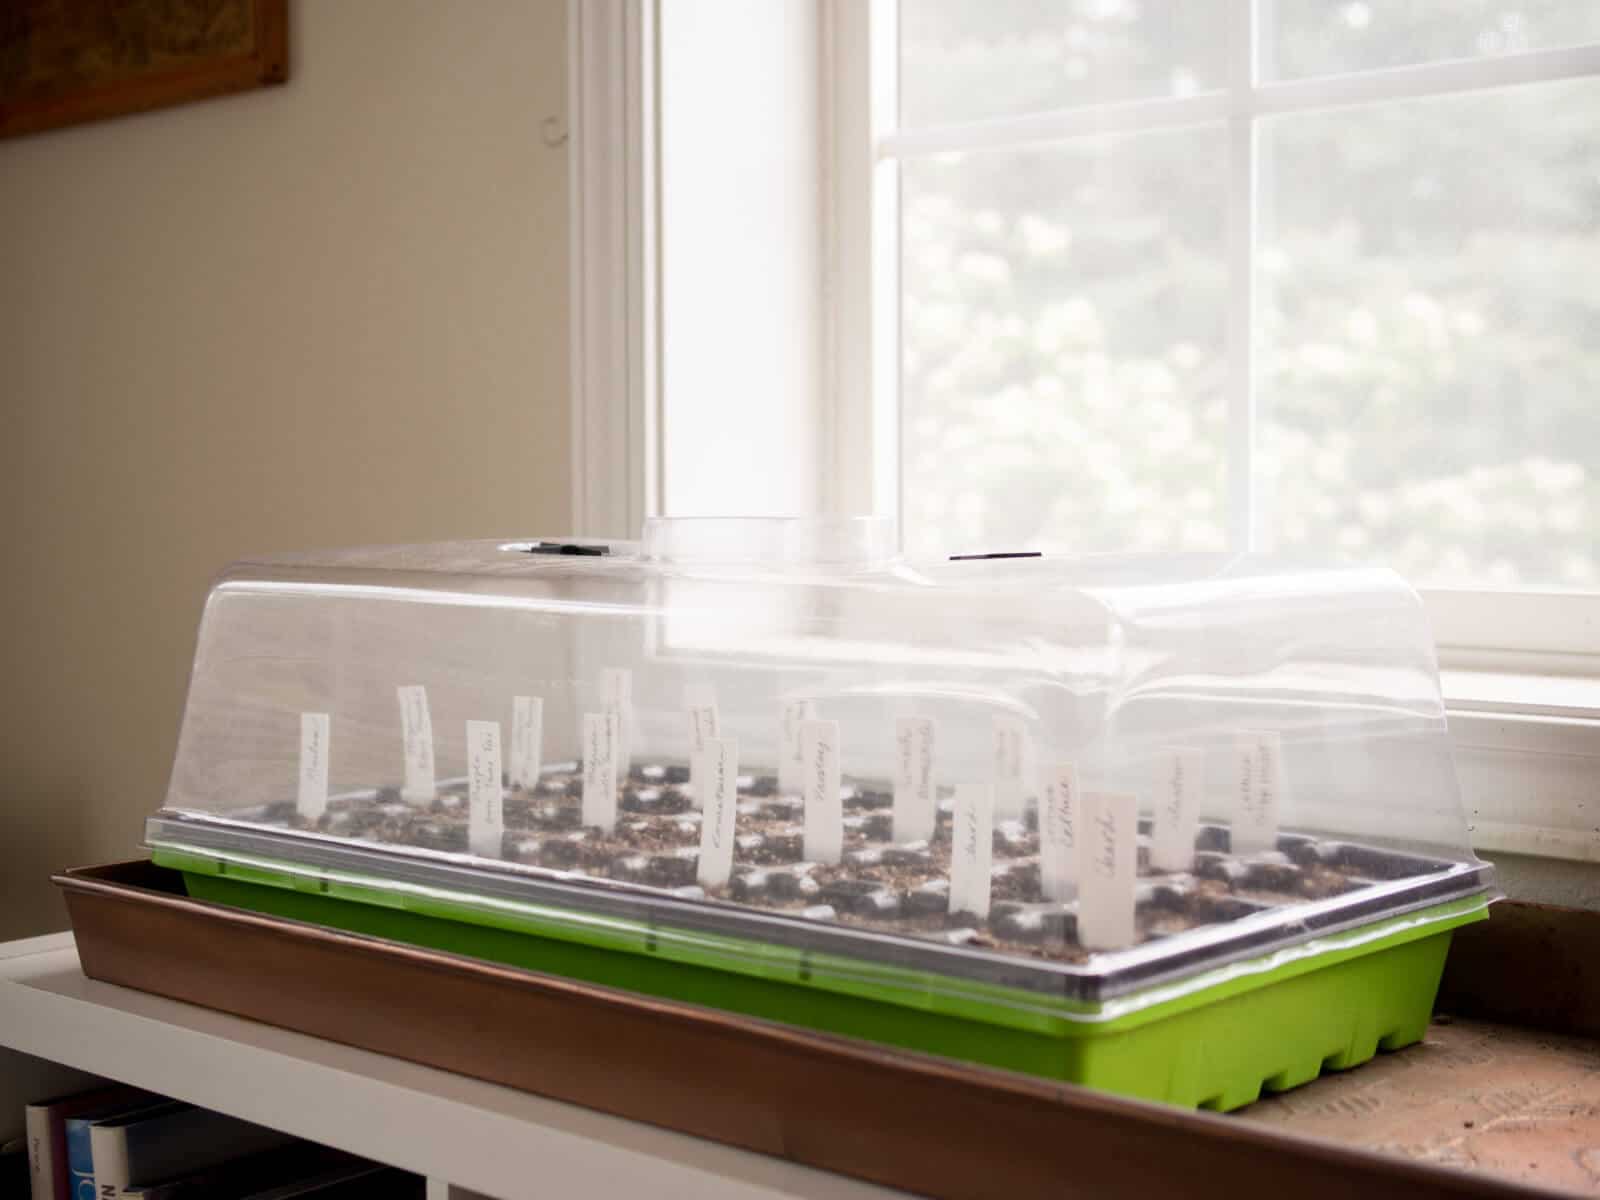
- Seed starting tray with humidity dome (I like using 1020 propagation trays)
- Spray bottle or squirt bottle filled with water
If you’ve already made your recycled newspaper pots, you’re all set. If you’ll be using other seed starting pots or cell trays, make sure they’re clean. (1)
You can also repurpose household items into seed starting containers, like egg cartons, Dixie cups, and yogurt cups. Just wash them out and poke a few drainage holes in the bottom with a nail or an awl.
Step 2: Fill your pots or trays with seed starting mix.
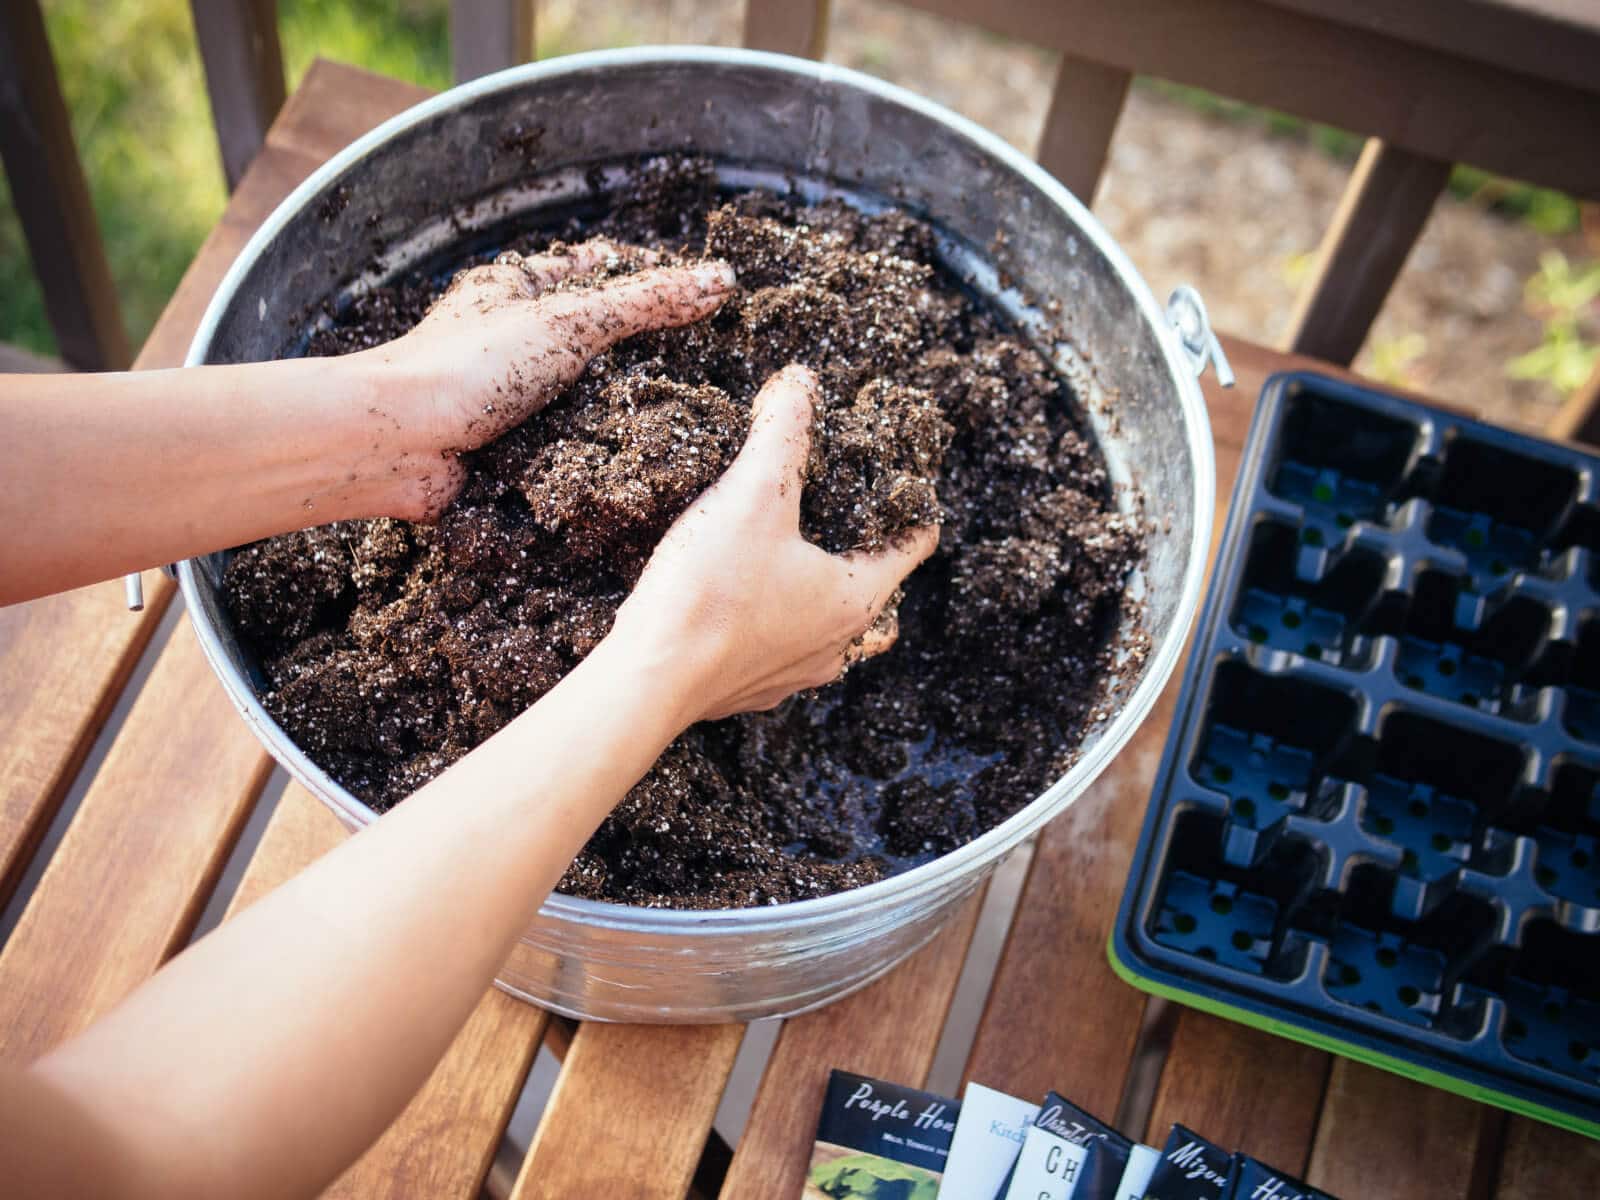
Dump your seed starting mix into a large tub or bucket, pour in a generous amount of water, and stir it up with your hands or a trowel.
As the seed starting mix starts to absorb the moisture, add more water as needed. (This will take several minutes, as peat-based seed starting mixes are slow to absorb.) You want the mix to be uniformly damp, like wet sand.
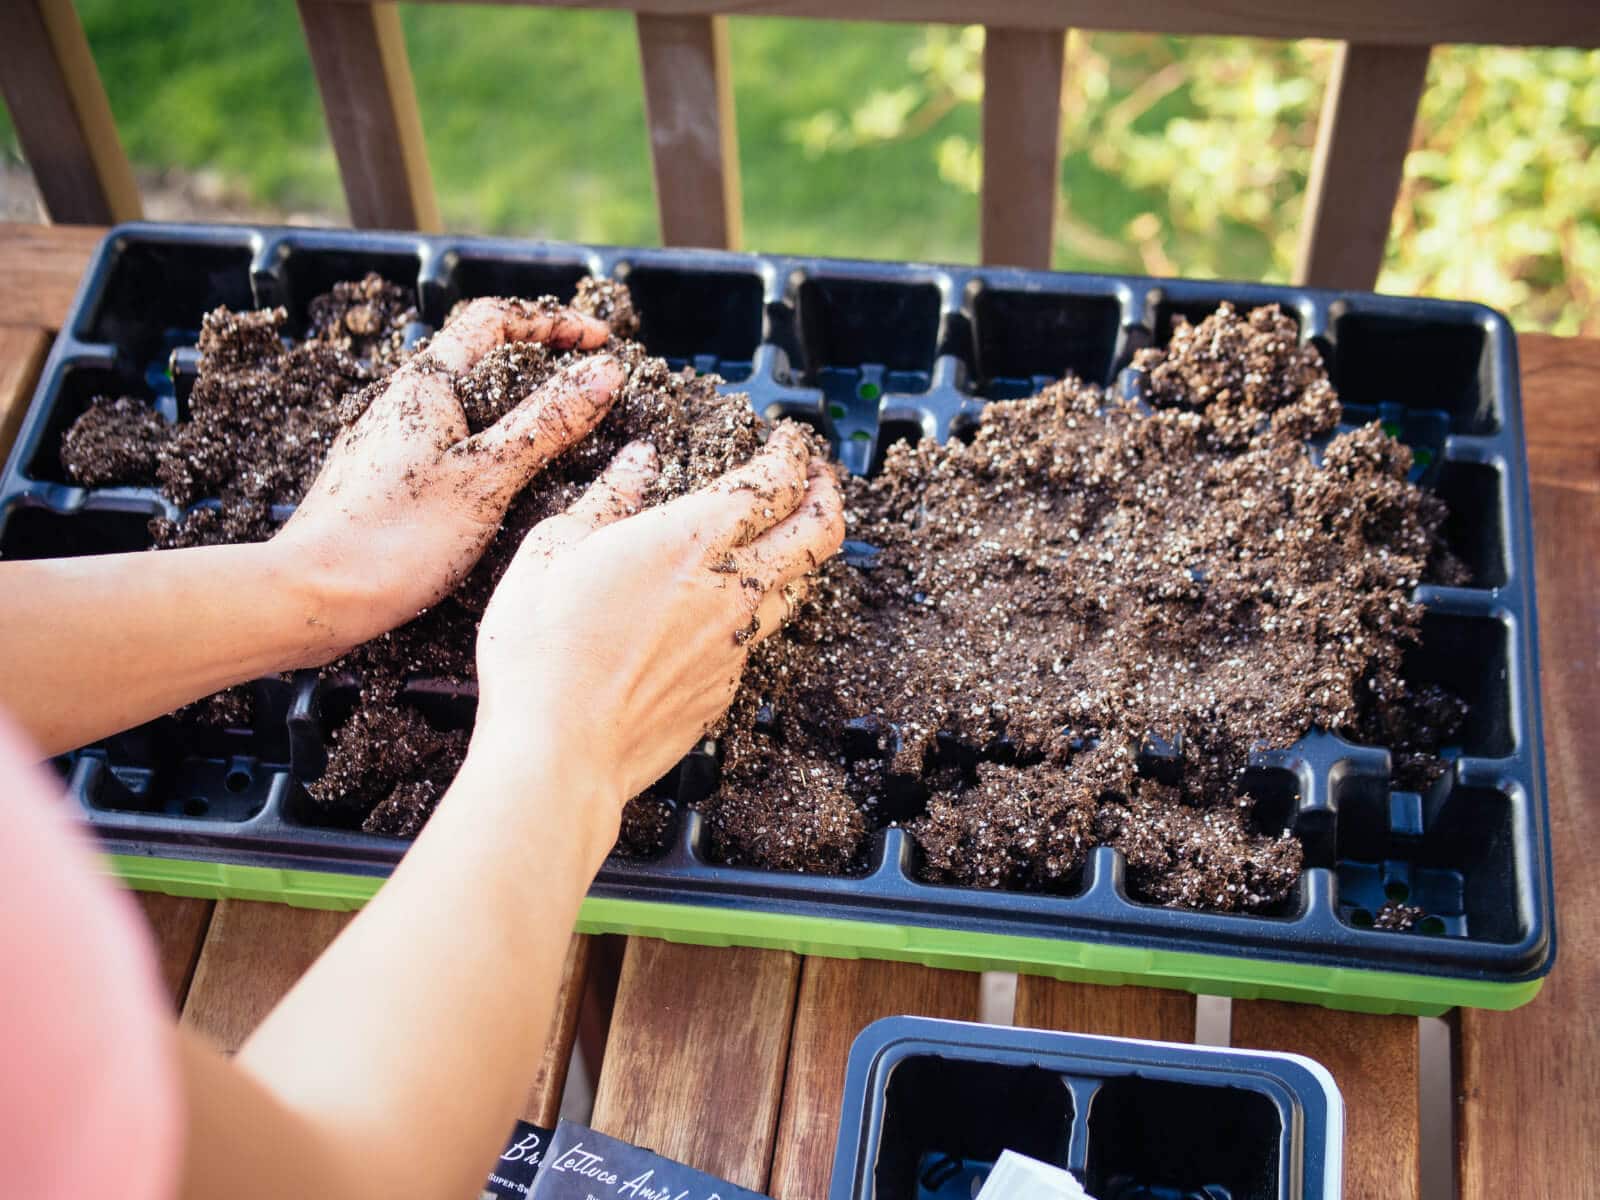
Fill your pots or trays with this pre-moistened seed starting mix. (2)
Step 3: Sow your seeds.
Place two to four seeds (per pot) on the surface of the seed starting mix, and gently press the seeds down with your fingers so they’re nestled in nicely.
If your seeds are very small, like basil or mustard, you can leave them uncovered. (3)
If your seeds are larger (like beans or peas) or they require darkness to germinate (check the instructions on the seed packets), cover them with a layer of vermiculite or seed starting mix equal to their height, usually 1/4 inch to 1/2 inch.
Step 4: Label your newly planted seeds.
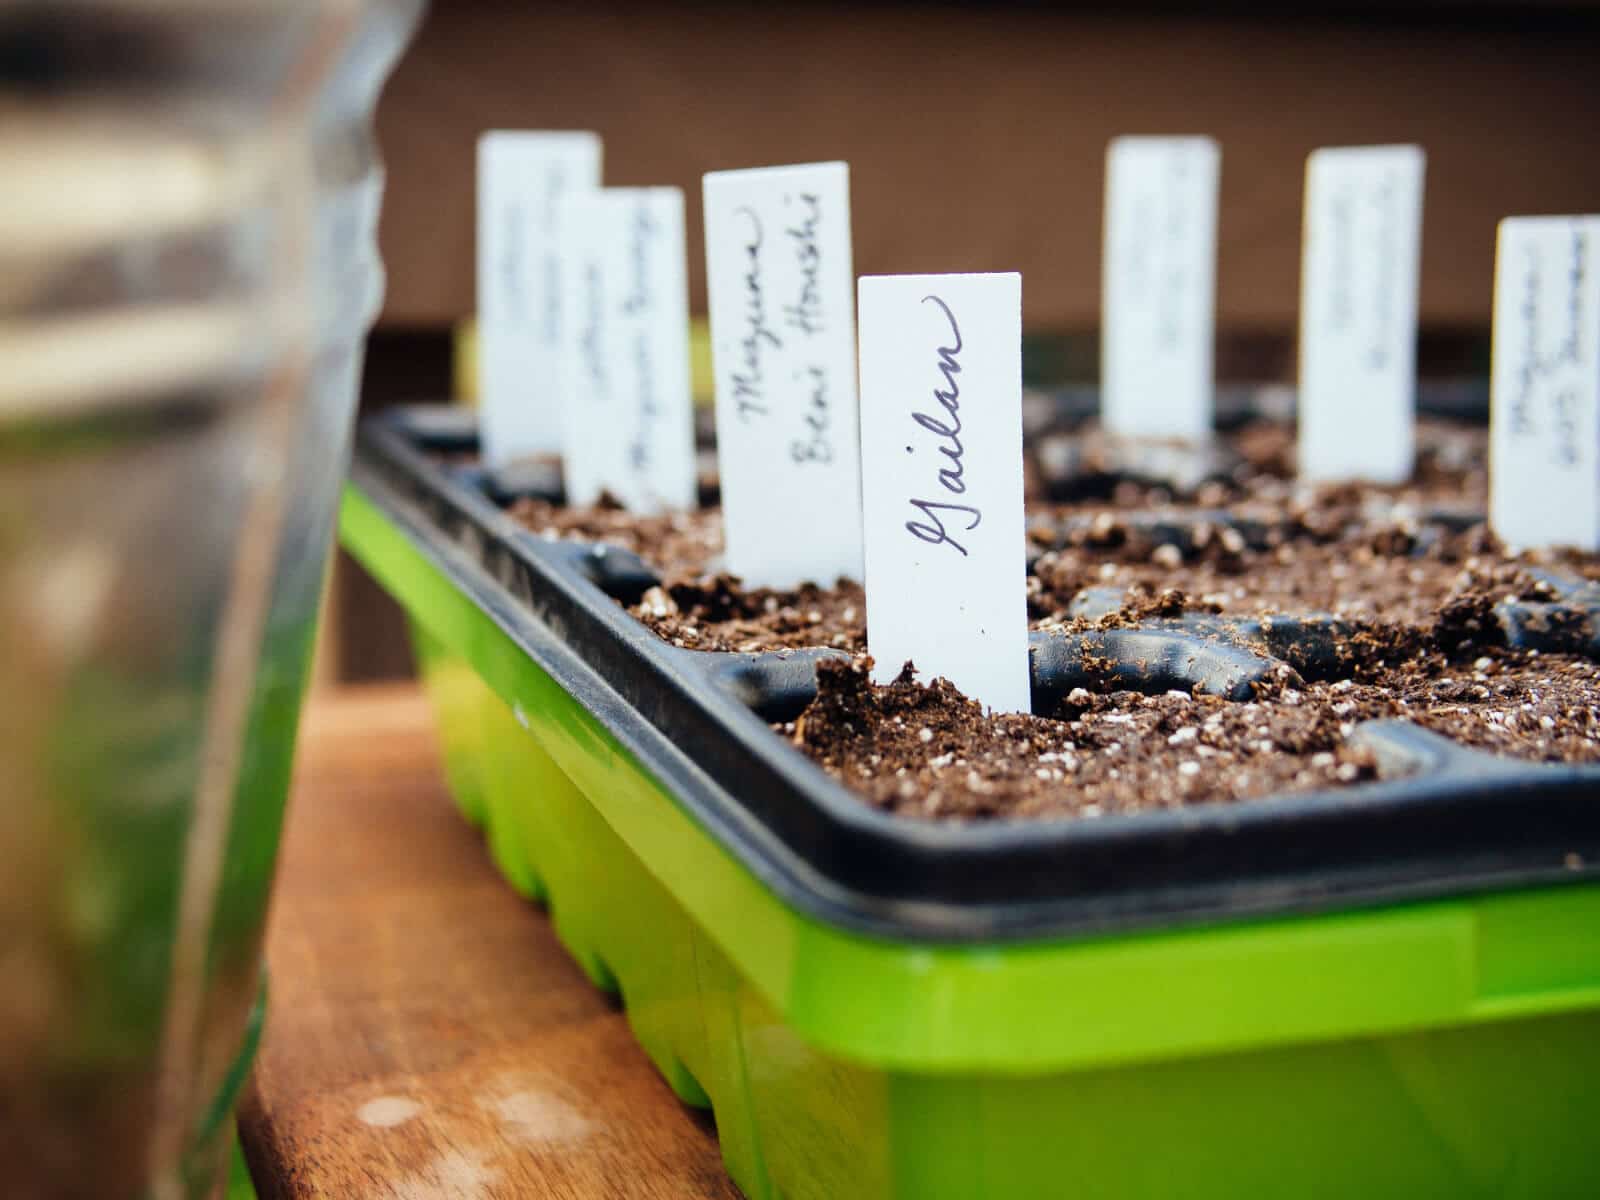
Label each pot. Trust me, you will never remember what you planted where, as most seedlings look the same at birth.
At this early stage, cheap plastic plant markers work great and stay out of the way, so save your big and beautiful metal plant markers for the garden.
Step 5: Keep your seeds moist and warm.
Mist your seeds with water. (4)
Assemble your pots in a propagation tray (or repurpose a disposable aluminum roasting pan or baking pan) and cover with a humidity dome (or just plain old plastic wrap). (5)
If your dome has vents, keep them open to help with air circulation during the sprouting period.
Now, you need to add heat. Since sunlight is not essential at this point, your seed trays can be placed wherever it’s warmest in your house, such as an attic, bathroom, laundry room, or kitchen. (6)
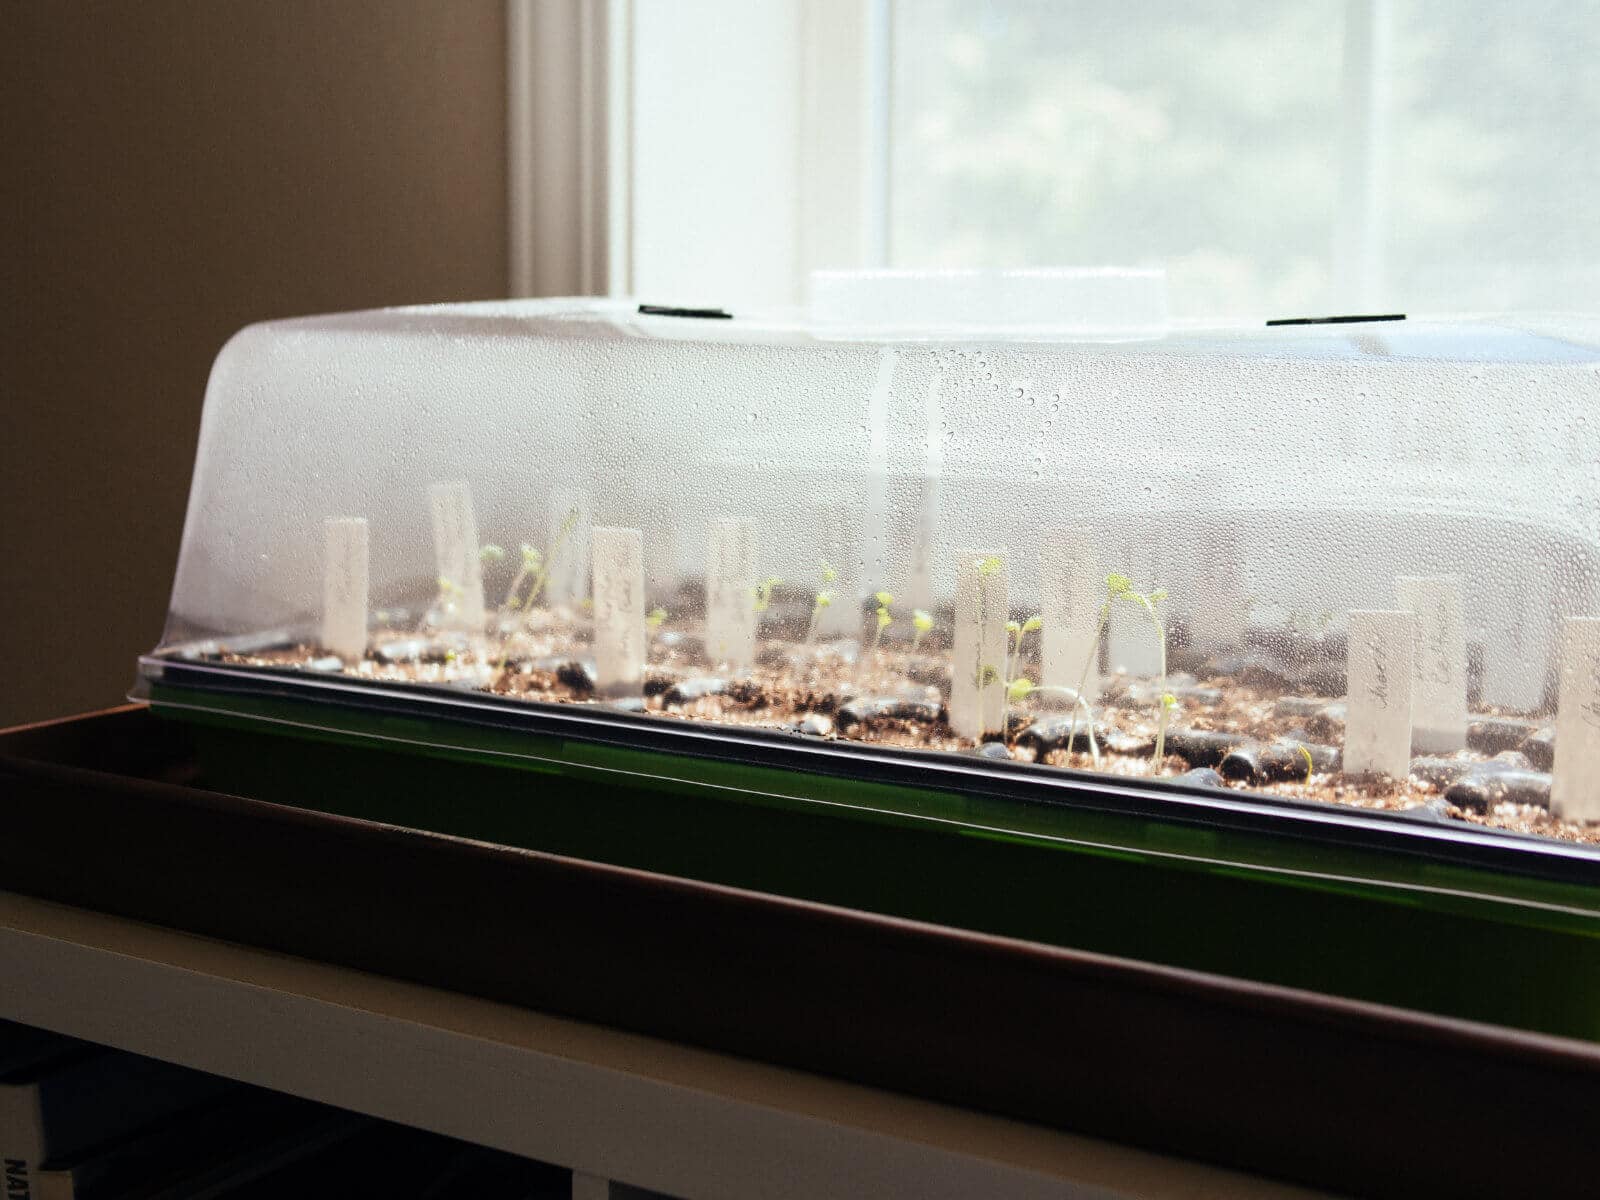
If your seedling pots stay covered in a warm nook, the low humidity will keep your seeds happy until they sprout. High humidity will make them sad. Only spritz the seeds with more water if the mix feels dry to the touch. (7)
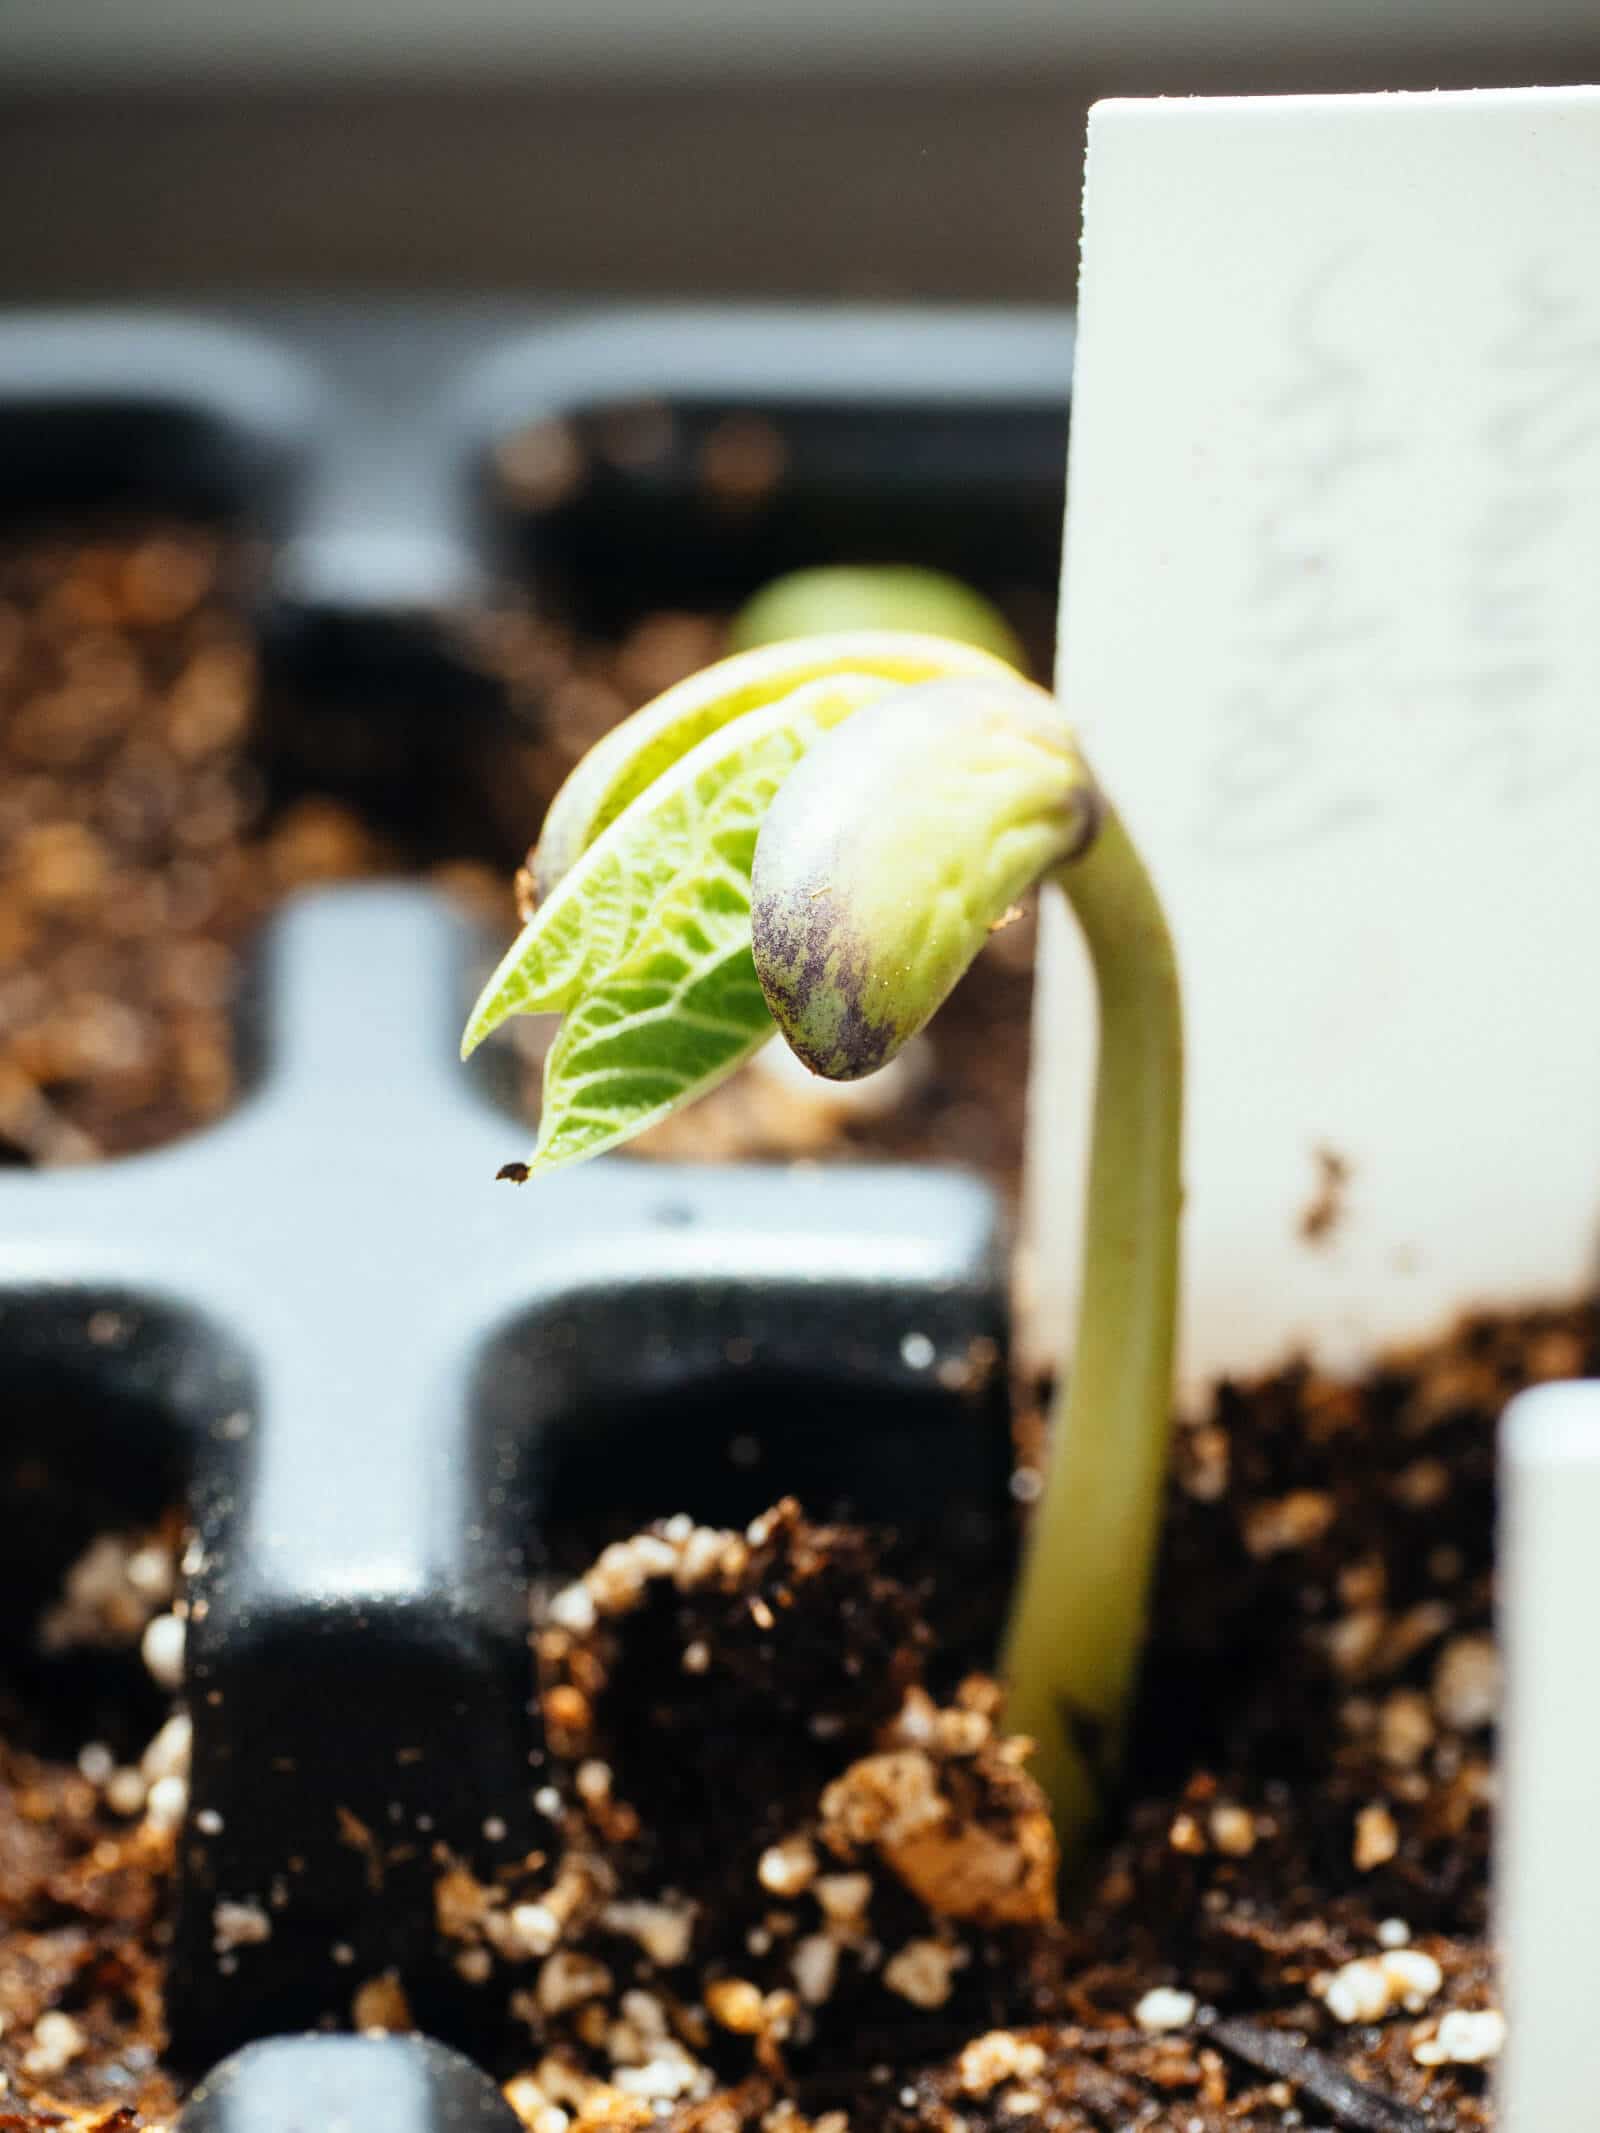
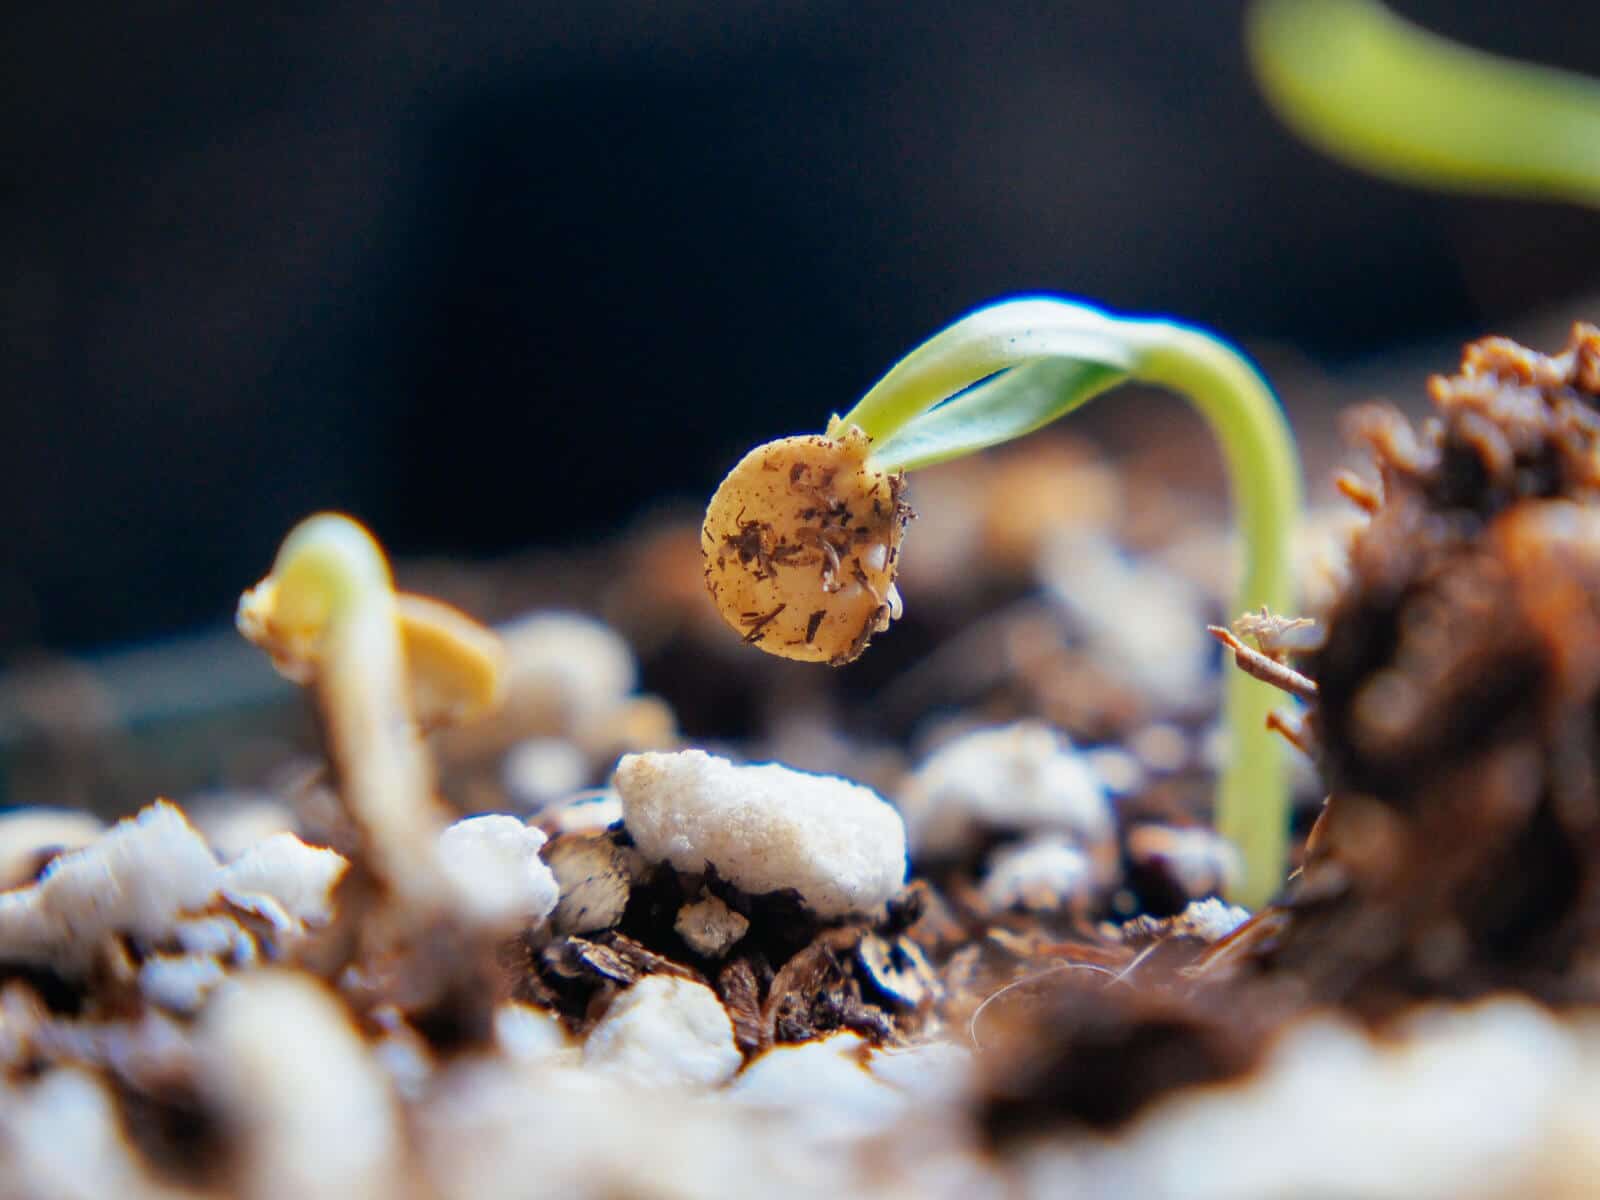
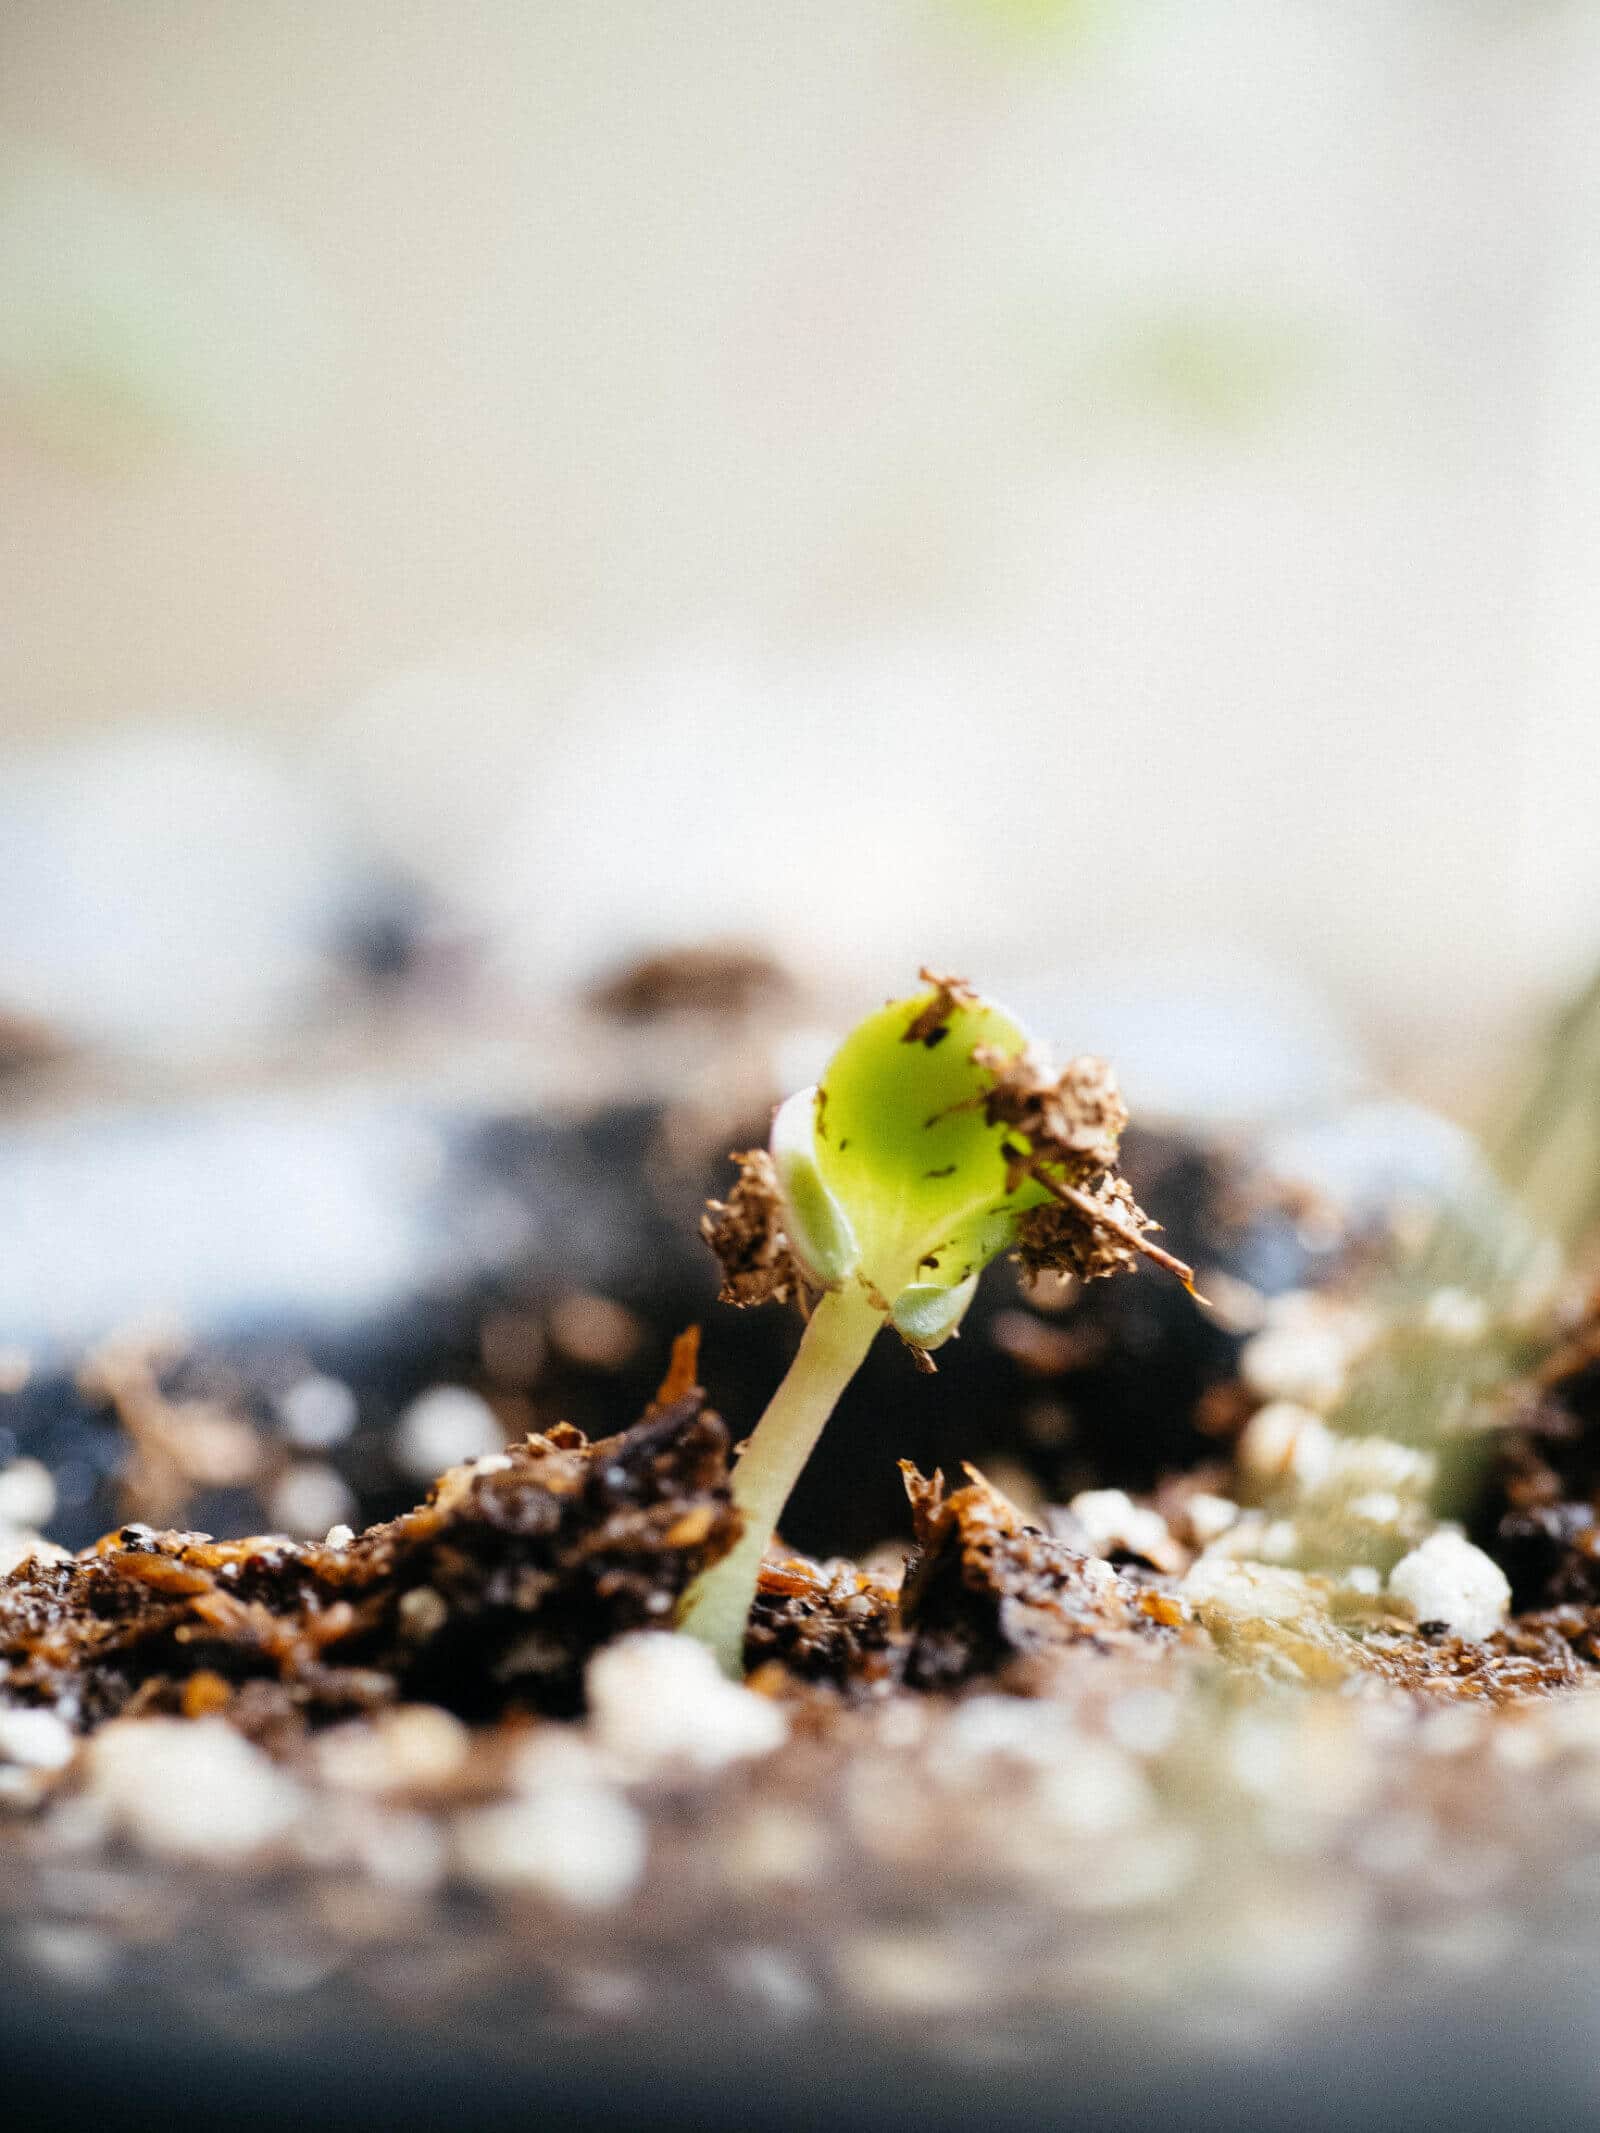
Within a couple of days to a couple of weeks, the seeds will germinate. As your seedlings start to emerge, some of them will look like they’re wearing little seed hats. (No need to do anything, as they’ll fall off on their own.)
Germination (the process of a seed sprouting) is highly variable, so don’t stress if it feels like it’s taking forever to happen. In most cases, seeds will germinate within three weeks (after that, try starting a new round of seeds).
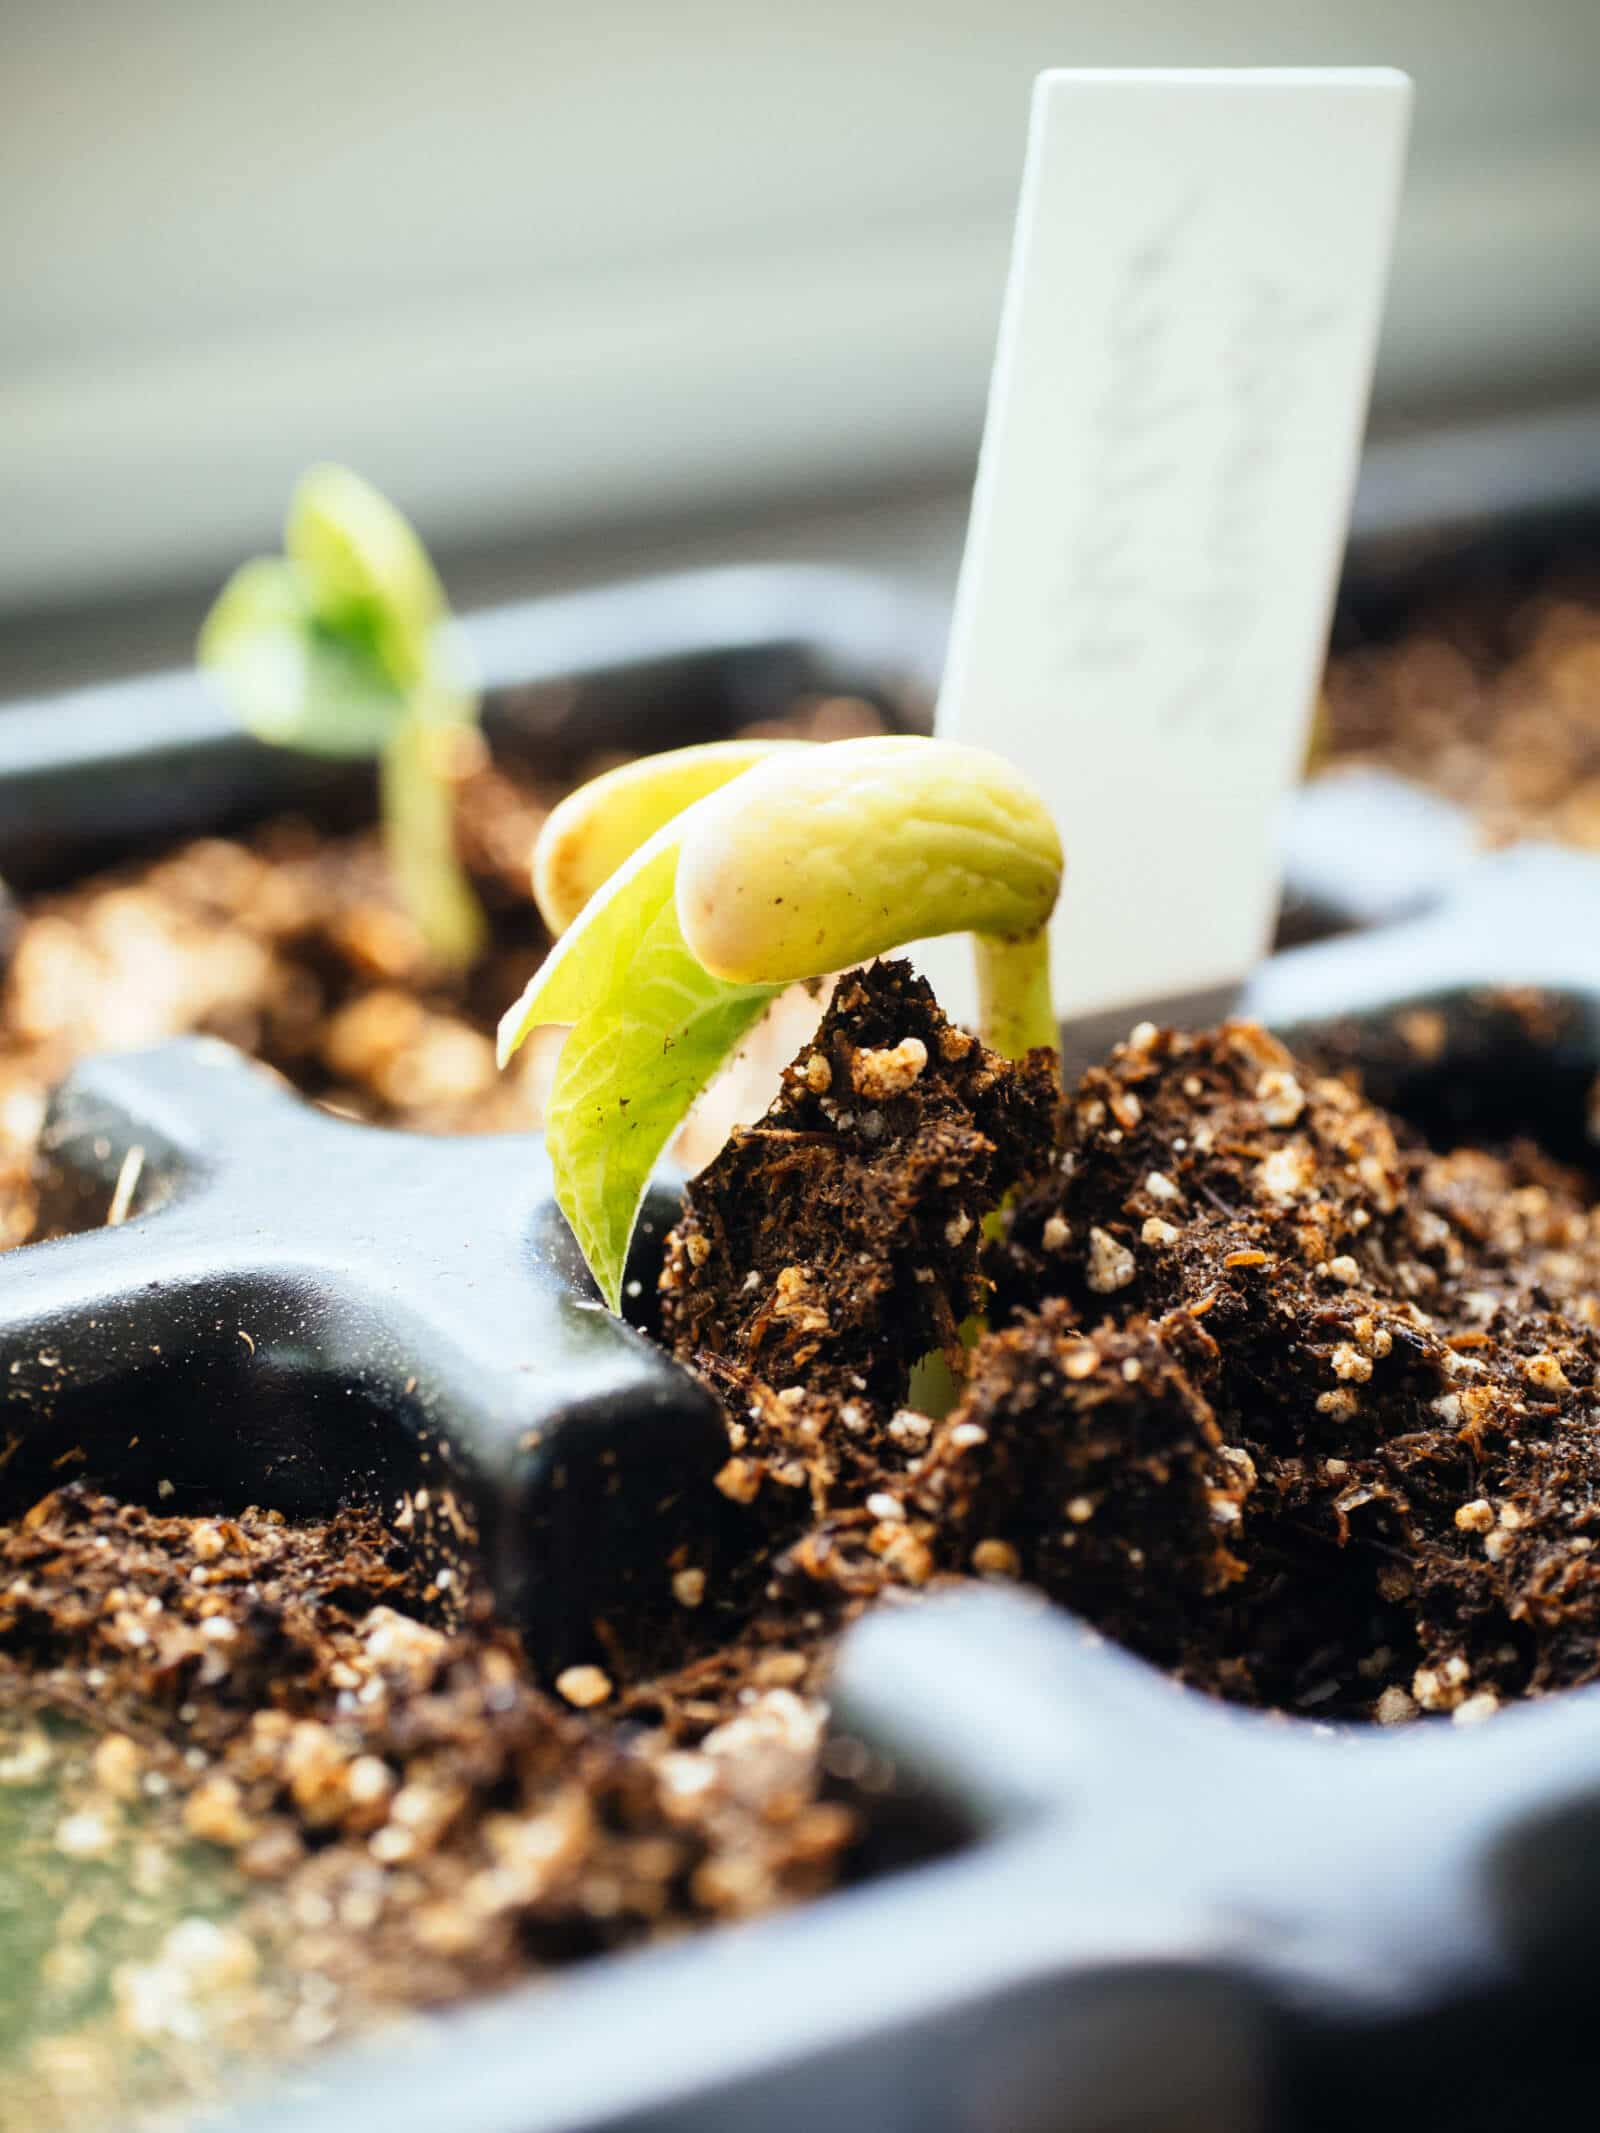
Step 6: Give your new seedlings light.
At this stage, the newly germinated seedlings need light. Remove the humidity dome or plastic wrap, and move the seedlings to the sunniest spot in your house (preferably a south-facing window).
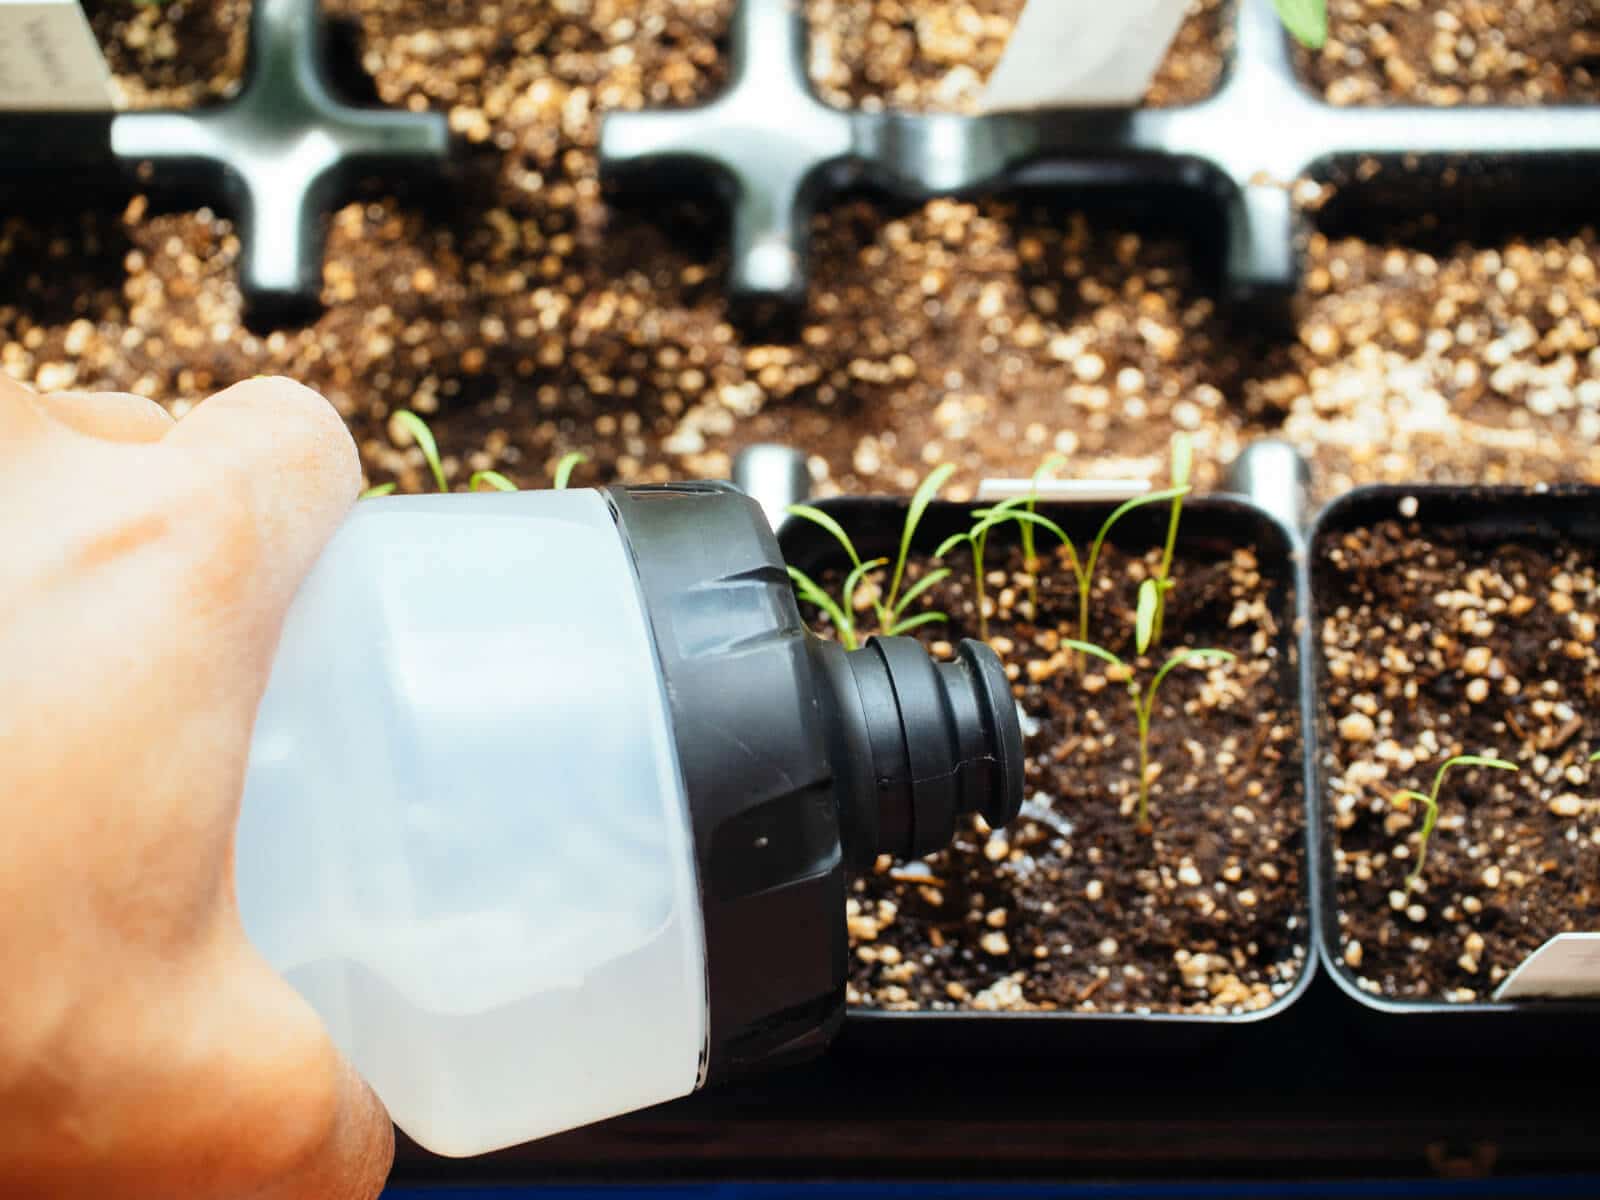
Continue to keep the mix moist, but not overly wet. Seedlings should be watered once a day or every other day, depending on how much sun and heat they get.
Remember that seedling roots are fairly close to the surface and they’re growing in a small amount of media, so they don’t need a deep soak the way larger plants do.
I like using spray bottles or squirt bottles, as the gentle streams of water won’t displace seeds or damage seedlings.
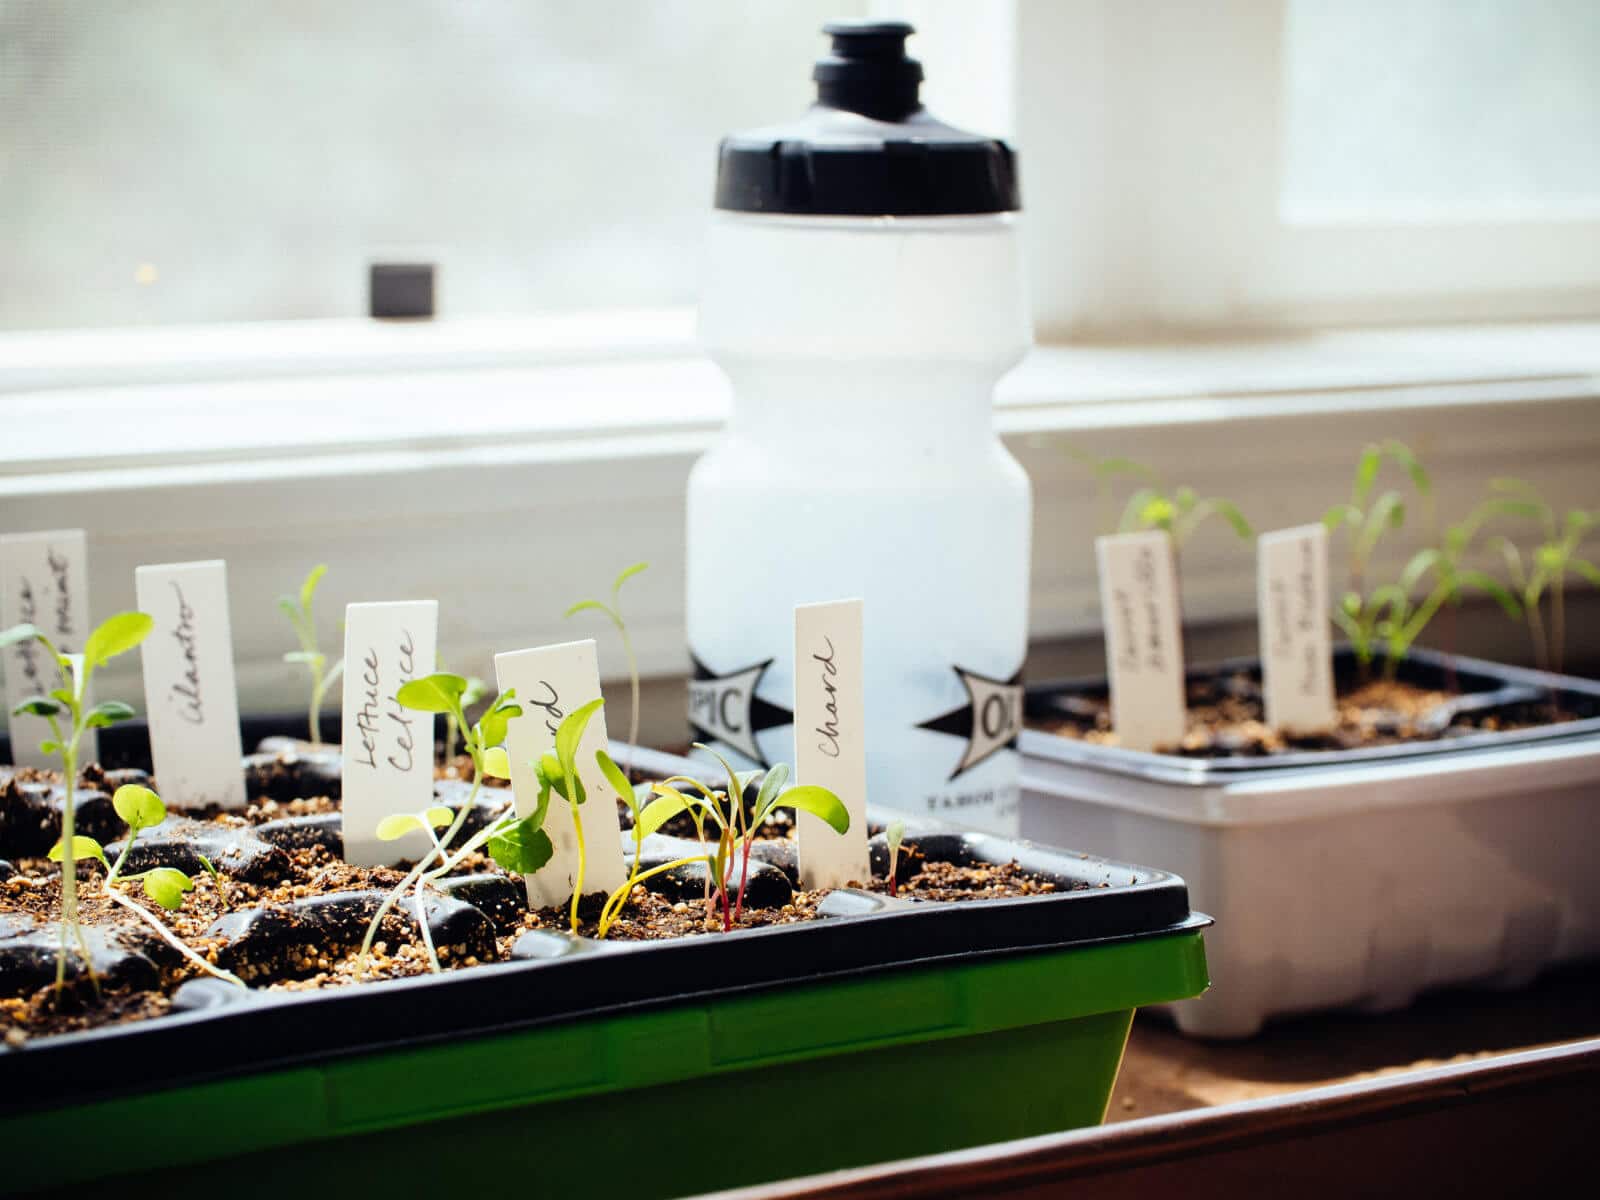
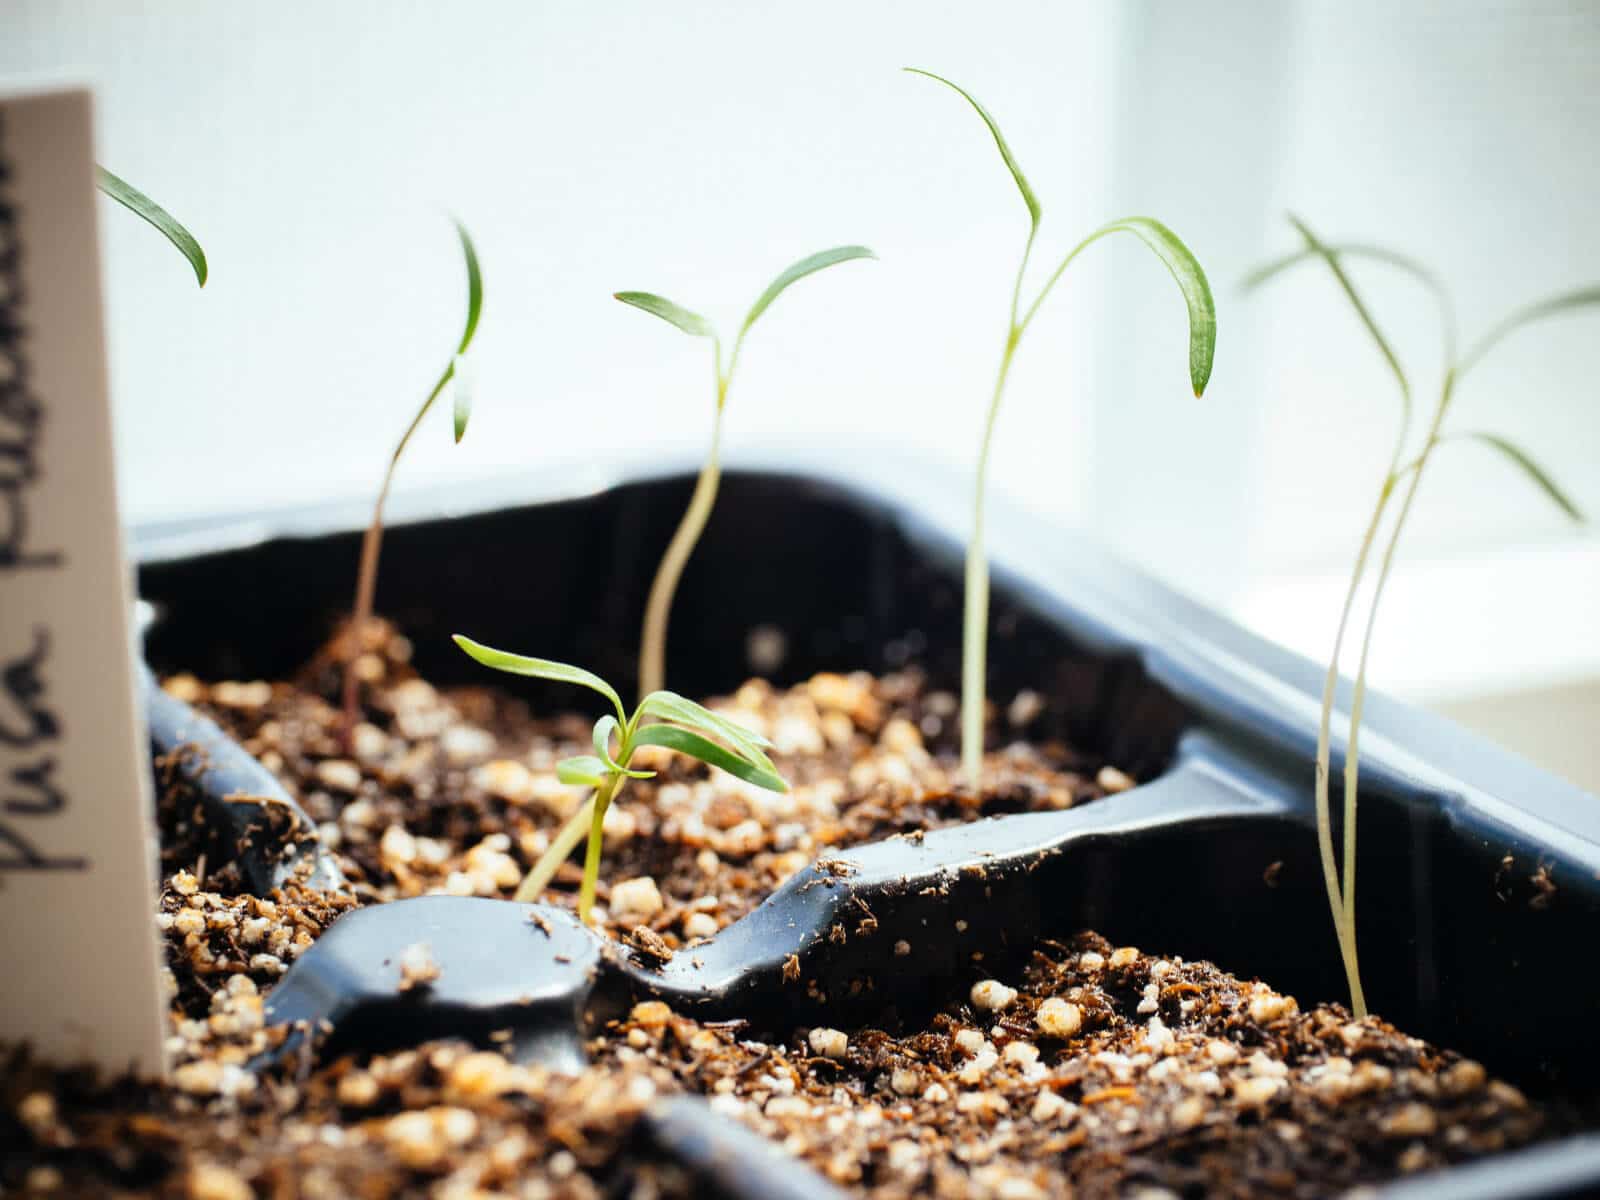
Step 7: Moving day! Transplant the strongest seedlings when they’re ready.
After your seedlings develop their first “true set” of leaves, they are ready to be transplanted. (8)
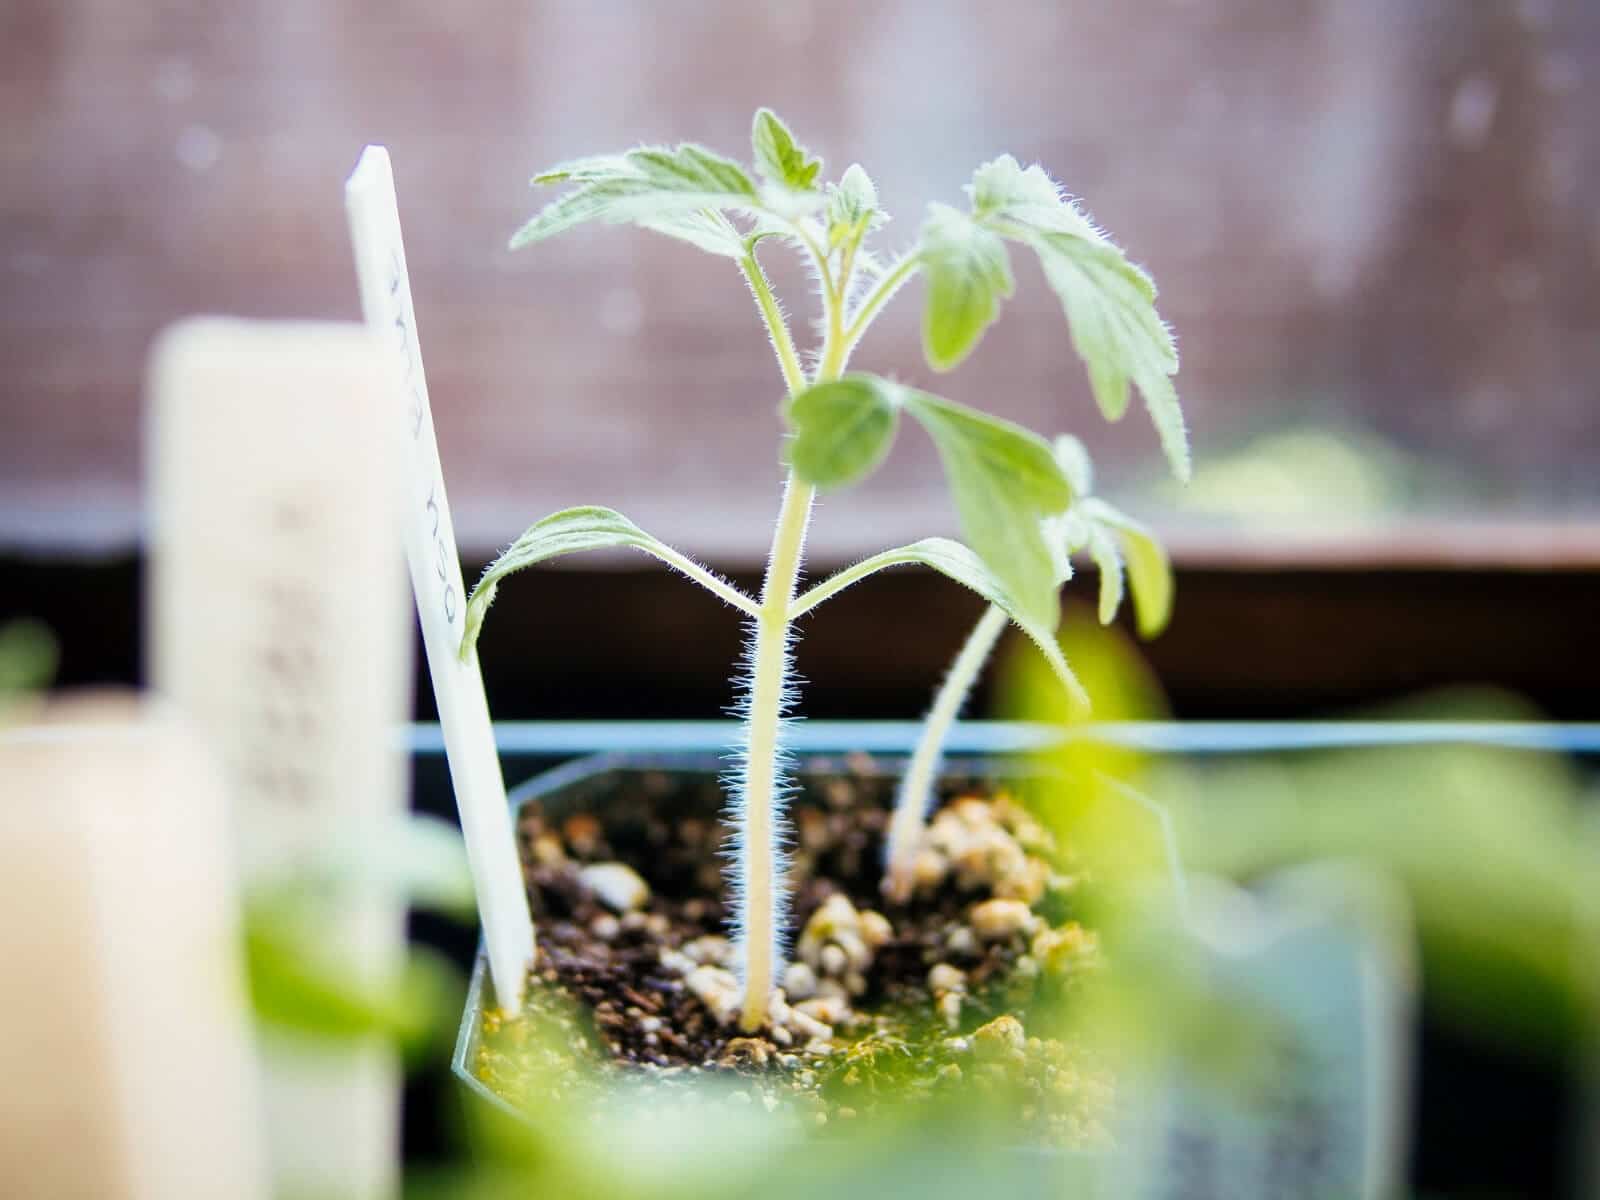
If more than one seed sprouted (or if you sowed a multigerm seed like chard or beets), choose the strongest one and pinch or snip off the others. You can even keep all of them, but be careful separating the roots if the seedlings are close together.
Transplant the seedling into a larger container filled with potting mix. Hold it by the cotyledons (the first leaves that appeared) and try not to manhandle the tiny roots.
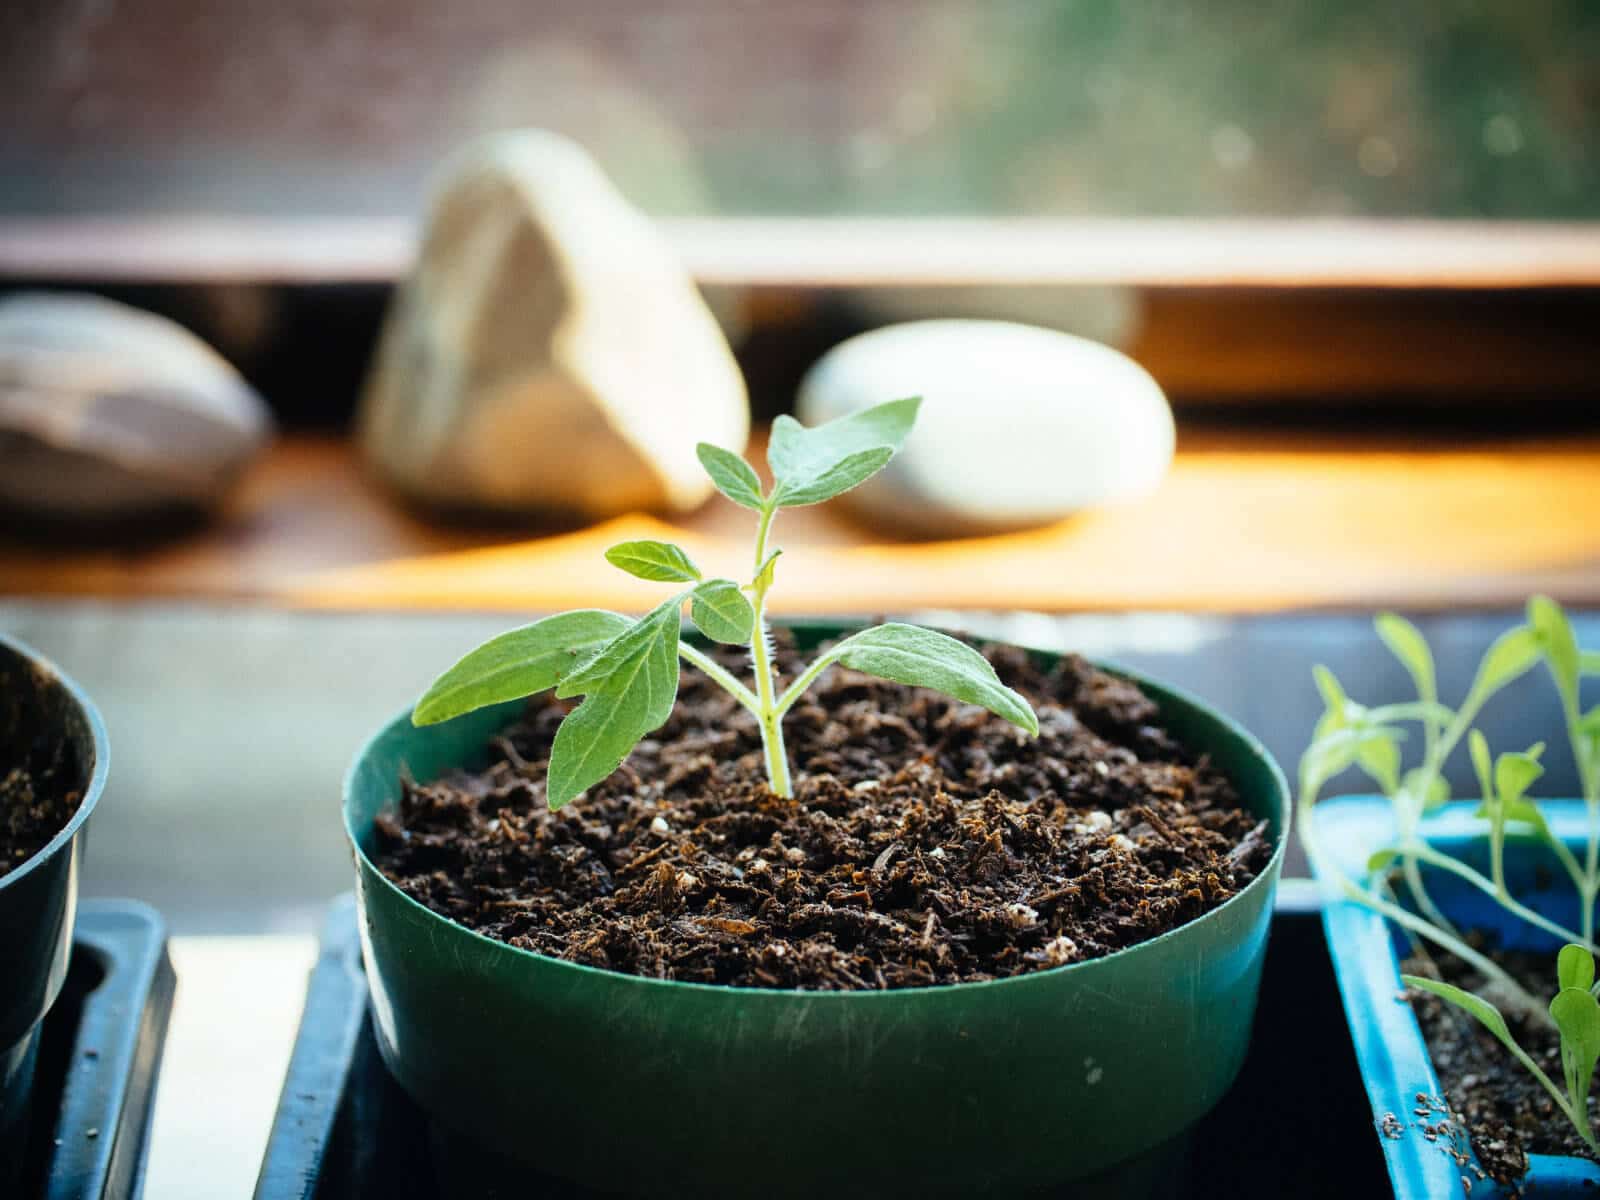
At this stage, you can lightly drench the potting mix using a diluted solution of liquid fertilizer or compost tea. Keep it simple, keep it organic, and don’t obsess too much over the nutrients. (9)
Give the seedling plenty of sunlight each day (at least 12 and up to 16 hours is optimal for most vegetable seedlings) to avoid the “leggy” look. (Learn how to fix leggy seedlings if this is happening to you.) (10)
Step 8: Harden off those seedlings.
To get your seedling prepped for a good life outside, you can start to harden off the seedling (11) by moving it outside under diffused light for a few hours and bringing it back inside each night.
Over the next week, move it from diffused sun to partial sun to full sun, and for longer periods of time, until it’s finally kept outside all night.
Step 9: Transplant your seedlings outdoors.
After the hardening off period, you can transplant your seedling to its final destination, whether straight into your garden or into a larger container.
And then, in a couple of months, you can enjoy the fruits (and veggies) of your loving labor!
Footnotes
(1) This seems obvious, but laziness gets the best of us. Clean pots are key and help keep damping off at bay (an untreatable fungal disease that causes seedlings to suddenly keel over and die at the soil line).
Discard or thoroughly wash any pots that previously housed diseased plants. Avoid using leftover soil from the nursery container you brought home, as it might harbor weed seeds and bad bacteria.
If you have a healthy garden, you can skip washing your pots and simply dump out the dirt from your pots before using again.
I’ve put countless seed trays and humidity domes to the test over the years, and found these trays and domes to be the thickest and strongest on the market—they don’t bend, flex, or crack as easily as other brands, and can be reused for many seasons. back
(2) It’s easier to start with pre-moistened mix, as peat-based mixes are harder to wet down uniformly if they dry out in pots. Although peat has a very high water-holding capacity once it’s wet, it actually repels water when it’s dry. Go figure.
If you’re not using homemade seed starting mix, this is a reputable brand that I like. If you’re looking in a local garden center, you do not need anything fancy; seeds just need a basic mix of perlite, vermiculite, and peat moss (or coco coir) to germinate and grow into healthy seedlings. The cotyledons provide all the nutrients they need for the first week of life. back
(3) For certain types of plants, such as lettuce, light may be necessary for germination (the process of a plant sprouting from a seed). back
(4) The moisture will help the seeds shed their protective coating and eventually sprout. back
(5) This creates a greenhouse effect to keep your seeds moist and warm, the key to germination. Most annual vegetables germinate best in temperatures of 75°F to 90°F. A few, such as radish, will germinate at lower temperatures.
Seeds will sometimes sprout in less than ideal temperatures, but the germination period will be longer. back
(6) I like to put my seed trays next to my heating vent on the floor. Some gardening guides suggest placing your tray on top of a refrigerator, but most appliances these days are energy-efficient and do not give off much heat. back
(7) Too much water will make the seeds rot. If your makeshift greenhouse is looking a bit too wet inside, remove the cover or plastic wrap for a few hours during the warmest part of the day to allow air circulation. Mold is no good for seeds, either. back
(8) The true leaves are actually the second set of leaves that appear; the first leaves that initially unfurl are not leaves at all, but cotyledons. These leaf-life structures are part of the embryo of the seed, and supply food to the seedling until its true leaves begin the process of photosynthesis. back
(9) I like to use a liquid seaweed/fish blend, liquid seaweed, or home-brewed compost tea. No fertilizer is fine, too, especially if you start with good soil. I have grown healthy vegetables with no fertilizer through a whole season, and could barely keep up with the harvests. back
(10) Insufficient light makes your seedling spindly and weak as it channels its energy into growing taller and taller, straining for sunlight. To reduce this problem, I like to gently run my hands across the top of my seedling to simulate a breeze; this slows down initial growth and strengthens the stem. A few brushes a day is all it needs. back
(11) Hardening off is the process of gradually acclimating the seedling to its future environment outdoors… getting it acquainted with the breeze, the birds, and the bees. back
The Beginner’s No-Fail Guide to Starting Seeds Indoors
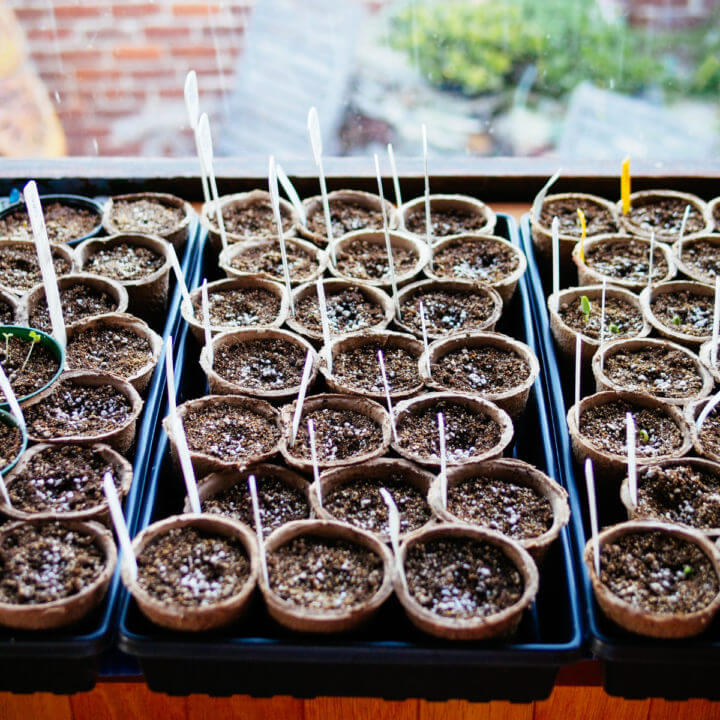
If you're new to seed starting, this foolproof beginner's guide to starting seeds indoors will take you step by step from seed to harvest, quickly and easily.
Materials
- Seeds
- Seed starting pots or cell trays
- Plant markers
- Seed starting mix (homemade or store-bought)
- Seed tray with humidity dome (often called a 1020 plant tray or propagation tray, or use any DIY drainage tray with plastic wrap)
- Spray bottle or squirt bottle filled with water
Tools
- Large bucket or tub
- Trowel
Instructions
- Gather your seed starting supplies. Instead of seed starting pots, you can also use recycled newspaper pots, or repurpose household items into seed starting containers, like egg cartons, Dixie cups, and yogurt cups. Just wash them out and poke a few drainage holes in the bottom with a nail or an awl.
- Fill your pots or trays with seed starting mix. Dump your seed starting mix into a large tub or bucket, pour in a generous amount of water, and stir it up with your hands or a trowel.
As the seed starting mix starts to absorb the moisture, add more water as needed. (This will take several minutes, as peat-based seed starting mixes are slow to absorb.) You want the mix to be uniformly damp, like wet sand.
Fill your seedling pots with this pre-moistened seed starting mix. - Sow your seeds. Place two to four seeds on the surface of the seed starting mix, and gently press the seeds down so they’re nestled in nicely.
If your seeds are very small, like basil or mustard, you can leave them uncovered.
If your seeds are larger (like beans or peas) or they require darkness to germinate (check the instructions on the seed packets), cover them with a layer of vermiculite or seed starting mix equal to their height, usually 1/4 inch to 1/2 inch. - Label your newly planted seeds. Label each pot. At this early stage, cheap plastic plant markers work very well and stay out of the way, so save your big and beautiful metal plant markers for the garden.
- Keep your seeds moist and warm. Mist your seeds with water.
Assemble your pots in a seed tray (or reuse a disposable aluminum roasting pan, a baking pan, even that plastic clamshell that your salad greens came in) and cover with a humidity dome (or just plain old plastic wrap). If your dome has vents, keep them open to help with air circulation during the sprouting period.
Now, you need to add heat. Since sunlight is not essential at this point, your seed trays can be placed wherever it’s warmest in your house, such as an attic, bathroom, laundry room, or kitchen.
If your seedling pots stay covered in a warm nook, the low humidity will keep your seeds happy until they sprout. High humidity will make them sad. Only spritz the seeds with more water if the mix feels dry to the touch.
Within a couple of days to a couple of weeks, the seeds will germinate. Germination (the process of a seed sprouting) is highly variable, so don’t stress if it feels like it’s taking forever to happen. In most cases, seeds will germinate within three weeks (after that, try starting a new round of seeds). - Give your new seedlings light. At this stage, the newly germinated seedlings need light. Remove the humidity dome or plastic wrap, and move the seedlings to the sunniest
spot in your house (preferably a south-facing window).
Continue to keep the mix moist, but not overly wet. Seedlings should be watered once a day or every other day, depending on how much sun and heat they get. Remember that seedling roots are fairly close to the surface and they’re growing in a small amount of media, so they don’t need a deep soak the way larger plants do. - Moving day! Transplant the strongest seedlings when they're ready. After your seedlings develop their first “true set” of leaves, they are ready to be transplanted.
If more than one seed sprouted, choose the strongest one and pinch or snip off the others. You can even keep all of them, but be careful separating the roots if the seedlings are close together.
Transplant the seedling into a larger container filled with potting mix. Hold it by the cotyledons (the first leaves that appear) and try not to manhandle the tiny roots.
At this stage, you can lightly drench the potting mix using a diluted solution of compost tea or all-purpose fertilizer.
Give the seedling plenty of sunlight each day (at least 12 to 16 hours is optimal for most vegetable seedlings) to avoid the “leggy” look. (Learn how to fix leggy seedlings if this is happening to you.) - Harden off those seedlings. To get your seedling prepped for a good life outside, you can start to harden off the seedling by moving it outside under diffused light for a few hours and bringing it back inside each night.
Over the next week, move it from diffused sun to partial sun to full sun, and for longer periods of time, until it’s finally kept outside all night. - Transplant your seedlings outdoors. After the hardening off period, you can transplant your seedling to its final destination, whether straight into your garden or into a larger
container.
This post updated from an article that originally appeared on March 19, 2011.







Fantastic guide for “second” timers like me. Less than successful with my first attempt last year. Made LOTS of mistakes that this guide can correct!
I’ll blog on this years attempT at capost2k.wordpress.com
THANX!!!
If you suffer from ‘helmet head’, where the seed covering is still attached to the codyledons when it emerges from the soil, you can wait to see if it falls off on its own, mist with water to increase moisture or spit (yep, you heard that right) on the seed covering. An enzyme in saliva helps to soften the tension between the young seedling and the seed covering. Wait an hour or so then very gently rotate the seed covering from the seed leaves. Your plant will thank you!
I had my first few hot peppers sprout today. I do not have grow lights and it is forecasted to be very cloudy the next few days in Zone 5a. What would you suggest I do to get them enough light?
Any light will help. Don’t get too wrapped up in the quality of grow lights. Lumens, Kelvin, etc. While those characteristics matter, you can improve the growth of your plants with just about any light bulb (even a cheap shop light from a big box store). Best to use LED bulbs to prevent burning the plants. Keep the bulb an inch or so from the plant for best results and raise as the little seedlings grow. Good luck and happy gardening!
Get a cheap shop light with as many lumens as possible. Even a south-facing window will produce leggy seedlings in the winter!
This article is amazing!! I use a product called Seed Booster from Covington Naturals that is 100% organic and does wonders to help kickstart my new seeds!
I find that pieces of mini blind or vertical blind cut to needed size make ideal plant markers. Either metal or plastic. Cut to shape with Scissors . Use a china marker (grease pencil), to write on them.
Great tip! I find that a large yogurt container works well. Wash well and cut into strips. Viola!
Thank you for all this information!
I have a question, though. Why start in a super-mini pot (egg crate size) and then transplant to a semi-mini pot (travel mug size) when you could just start your seeds in a mug-sized pot?
It seems that one would want their start their seeds in whatever sized container is necessary to carry them until they are hardened off and planted outside. Would love to hear your thoughts on this!
Hello, I am a beginner indoor herb grower. Unknowingly, I placed my basil, thyme, parsley pots in the window sill for two days before they sprouted. After reading this blog, I immediately removed them to the closet covered with clear plastic wrap. Do you think those two days in the window sill with sun will prevent them from germinating properly?
Update: checked on my pots this morning, and four basil seeds have sprouted, and three thyme seeds sprouted, and the parsley seeds are looking healthy. ❤
So happy it worked out for you!
I planted my seeds today and instead of lightly covering my seeds I pressed them down in the soil. Will this affect the growth?
I went big and .. planted everything i could get my hands on last wednesday and thursday. of course some plants took off as others are taking their time. i cracked open 2 or 3 lids this morning and they sit in a dark warm garage right now. I am going to take a leap here and say I might be able to take a bulbed aquarium light and place over my seeds ? They are all on a metal rack in my garage so maybe place the light one row up and it would cover all 5 trays of seeds or should i just take them all to the back door for light all day ? my beans and peas as well as some others are about 2 to 3 inches high.
I’m not familiar with aquarium bulbs so I’m not sure if that would be enough light for your seedlings. If you find them getting too leggy after a few days, here are a few solutions: http://gardenbetty.com/2017/02/leggy-seedlings-what-causes-them-and-how-to-correct-them/
please unsubscribe me
Hi, I’m a first time gardener and I’m overwhelmed! There is so much information out here it’s hard to know what to do. This article was great! Thank you! I do have a few questions though. I started some seeds in a container with a dome and the seeds sprouted very quickly and were super leggy. Someone told me to put them in a shady spot inside as I do not have a grow light. Most of them died and all of them flopped over and the heads broke off or bent. I bought a new dome and replanted last week, the seeds are already sprouting and your article said to remove the dome and place them in a sunny spot in the house, is this correct? This will keep them from getting leggy? What about the couple that have not sprouted yet? Also, I planted some Dragon’s Tongue beans and okra in yogurt cups and they are growing very quickly. Are they ok in those cups until I plant them outside or should I put them in a larger pot? I’m planting everything in containers on my patio as I live in an apartment, is it ok to direct sow the flowers I will be planting? Morning Glories, Poppies, maybe Sweet Peas too? Will my cat be safe around these things? Thank you!
Unless you have seeds that require darkness to germinate, you can put your seed starting tray in a sunny window. Once they sprout, seedlings need sufficient light for growth. You can learn more about leggy seedlings and how to correct them here: http://gardenbetty.com/2017/02/leggy-seedlings-what-causes-them-and-how-to-correct-them/
Once your seedlings reach 3x the height of their seed starting container, they should be transplanted — or even sooner, if they’re overcrowded and you haven’t thinned them. Leaving them in small cups can cause them to get leggy or rootbound.
All your flowers can be direct sown (as can the vegetables you mentioned). I’m not really familiar with what type of vegetation is toxic to cats, but as long as your cat doesn’t have a tendency to eat your plants, it’ll be fine.
I was wondering if you could tell me if the room temperature matters to the success of seedlings? My seeds have sprouted, and I have them under floresant grow lights, but the room they are in is quite cool because it’s in the basement. When the timer turns the lights off, do the seedlings need to be kept warm?
It’s not so much the temperature of the air that affects growth, but the temperature of the soil. Most seedlings do their best in soil that stays on the warmer side, so if yours feels very cold, I recommend getting a heating mat or moving the seedlings to a warmer room.
I have a question. We bought one of those plastic, shelf like greenhouses with green plastic covering. My seedlings are all doing great inside the house under a grow light and all have sprouted. I’m going to transplant into larger pots and don’t have enough room to keep them under the grow light at that time. Can I move them into the greenhouse with no more grow light? I’m in zone 7 and our last frost date is 3.5 weeks away. Also should I start taking them out of the green house during the day for a few hours to start hardening off since plant date is almost here and then put them back in? Nighttime: inside the house or inside the greenhouse? Can’t find answers to this anywhere. Please help 🙂
I would love to know the answer to this also. I’m in zone 6 and running out of space too!!
Assuming your greenhouse gets enough light, you can certainly keep your seedlings in there until they move outside. As for whether you should start to harden them off now, that depends on your forecasted weather the next couple weeks. If no frost is imminent, you can begin to acclimate your seedlings. I’ve written more about that process here: http://gardenbetty.com/2014/03/how-to-harden-off-your-seedlings/
I started my seeds inside on my window sill,I usually start them outside where they will live but its been too windy, now the little fellers have sprouted I realized there is no sunny spot inside I live in hawaii so frost or cold arent an issue how do I safley move them outside to the sun before the true leaves come in? a grow light is not an option for me and the little maters are getting quite leggy.
Follow the instructions in this post to harden off your seedlings before they move outside: http://gardenbetty.com/2014/03/how-to-harden-off-your-seedlings/
Hello! I’m new to gardening and seeds but I’ve been looking for some information and I just can’t seem to find it. Any help would be greatly appreciated. I started seeds using toilet paper rolls with the ends folded up but I think I may have just barely over watered them because there is light white mold growing on the outside, bottom part of the containers but none on the top of the soil. I tried using cinnamon & giving them plenty of air to stops this but it keeps coming back. A lot of the seeds have already started sprouting, so my question is, would it be okay to move the seeds into different containers? Or since there is mold present do I have to scrap these little guys and start fresh? They’re so cute & healthy looking I would hate to lose them. Again thank you for any help. Newbie here. Also great article, can’t wait to try that compost tea!
Hard to say if the mold will have any effect on the seedlings, since you say it’s only growing on the outside of the containers. Cut back on the watering a bit and try running a fan to increase circulation. You can let the seedlings continue to grow until they form their true leaves, and then transplant them immediately. I’d also recommend a dose of compost tea once they’re transplanted.
aren’t the seeding trays you buy with the plastic domes meant to hold water which wicks up through the individual sections to keep seeds moist? or should I only water lightly from top? additionally I tried for the heck of it putting moist seed start mix and seed in peat pots and set the pots in a tray with water in it. do you have an idea how long peat pots will last before they fall apart in that situation? does this make sense? lol I will save this page in case you answer. thanks
You can use the plastic trays either way. With seeds, I water from the top since only the surface needs to be kept moist until roots develop. I generally only start watering from the bottom when I’ve transplanted the seedlings into 3-inch pots.
I’m not sure I’m understanding what you’re doing with the peat pots… are you keeping them in water permanently? I don’t recommend it, as peat pots are designed to decompose with moisture (which is why they’re great for transplanting directly into a garden, pot and all). They’ll survive regular watering until your seedlings are sturdy enough to transplant, but I personally wouldn’t bottom-water them unless you’re starting a very fast-growing crop (like beans or corn).
Great post, this is going to help me immensely! I needed a step by step guide instead of trying to wing it and this is perfect – Thanks! Melissa @thefoodprintexperience
You’re welcome! Good luck with your seed starting!
Hi Linda! I LOVE your blog! I am pretty much on here every day, actually… reading new posts and even re-reading previous posts because I can’t get enough of all the good stuff you post on here!
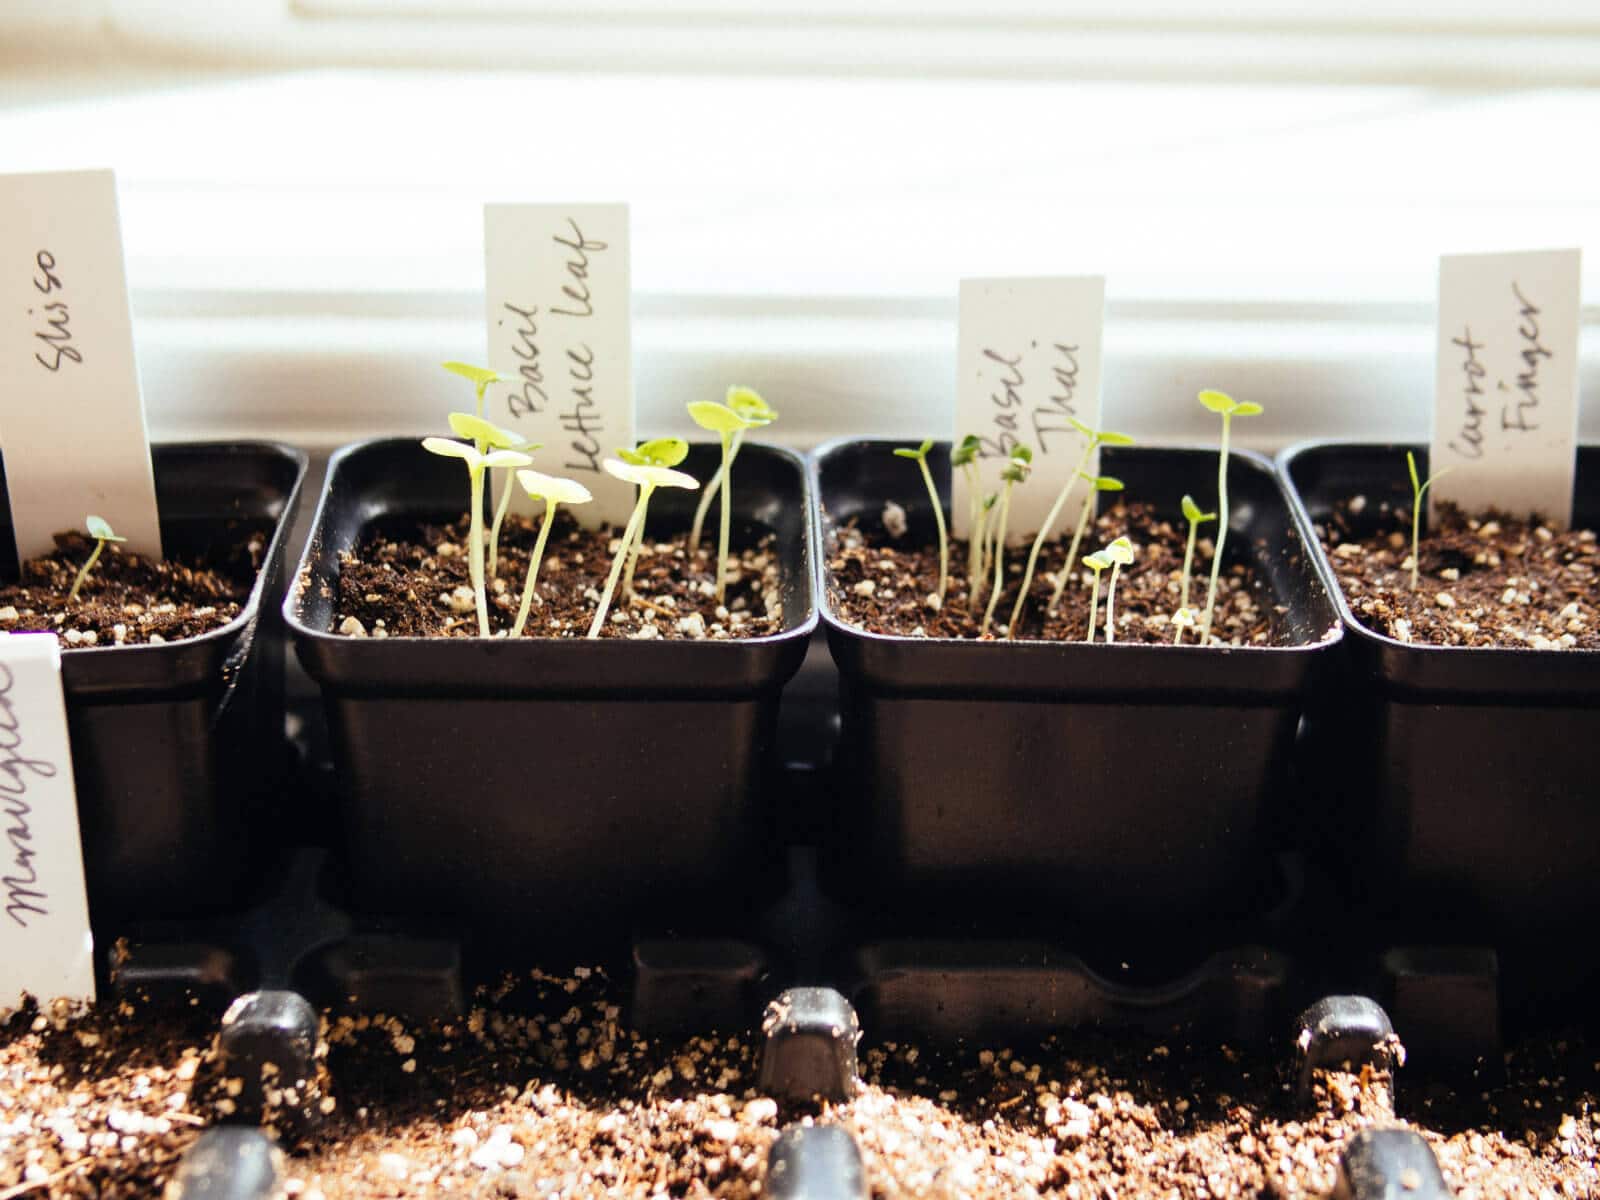
I was wondering what kind of label you used for your seed pots on this post (pictured). If it’s a kind of paper tape, does it get really soggy after all of the water spraying? If it does, are you still able to see your writing on it? Or do your labels have a laminated coating?
Thanks!
They’re just Avery address labels folded over toothpicks. I spray directly on the soil, so they don’t get soggy at all. They’re also temporary and not meant to last more than a month or two. I use larger plastic plant markers once I transplant the strongest seedlings.
Thank you so much for reading my blog!
Thanks for the mention! RT @GayWeigh: The No-Brainer Guide to Starting Seeds Indoors http://t.co/nkYHkleJ2e via @theGardenBetty
The No-Brainer Guide to Starting Seeds Indoors http://t.co/YxsdhDzr3I via @theGardenBetty
RT @OliversGProject: IT IS SEED STARTING TIME ! Check out this great guide to get your green thumb revved!! http://t.co/EUHWICW3wr
Once you have your potting mix, it is time to plant some seeds! Garden Betty has a great article on starting seeds.
http://t.co/Rk9sk3itIV
We borrowed this link from @OliversGProject, you should check it out! Great directions for starting seeds indoors: http://t.co/oaQNj03HXo
IT IS SEED STARTING TIME ! Check out this great guide to get your green thumb revved!! http://t.co/EUHWICW3wr
RT @theGardenBetty: The No-Brainer Guide to Starting Seeds Indoors http://t.co/V562eaHpsw #gardenchat < TY for RT! @ExtravagantG @TheHortic…
The No-Brainer Guide to Starting Seeds Indoors http://t.co/V562eaHpsw #gardenchat < TY for RT! @ExtravagantG @TheHorticult
This is such a great site! Absolutely loving it and I’ve already started pinning your blogs.
Quick question regarding light. Historically I’ve started my seeds next to a large wall of windows, unfortunately they’re north facing. The last few years my seedlings have been pretty leggy. They did fine in the garden, and eventually produced more than I could handle, but I think they got really late starts on fruit production. So, this year I added a grow light to the mix. I typically only use the grow light in the evenings for a few hours. Basically, I’m just curious what you do for the light component at this stage.
Also, when do you first fertilize?
Thank you!
I have my seedlings in a south-facing window, so I have enough natural light available until they go in the garden. At minimum they should get 12 hours of light a day, but if you’re using a grow light, 14-16 hours would be even better. I don’t fertilize until they’re transplanted outside, but if I repot them into 4-inch pots, I add compost to the potting soil and that will feed them for a few weeks.
I love your blog! You don’t often find a blog where it’s all about getting dirty. I love it!
Thanks Blair!
Very useful advice, thank you! I also starting from seed indoors for the first time. I’m attempting to grow Coastal Redwood trees which have a low germination rate apparently… I’ve placed the seed trays inside propogation trays and in the hot water cupboard. Fingers crossed!
Thanks again 🙂
I hope you have a big yard to plant them in! 😉
I do luckily! 🙂 I’m actually aiming to grow them into bonsai trees. If I manage to get a few to germinate, one will be going in the yard.
I’ve read stories about redwood trees… won’t be planting close to the house, that’s for sure.
This is going to be my first year attempting to starting seeds indoors, thanks for all the information! I know you said that there are many options for seed trays, but I was wondering what you use? Thanks!
I just use the generic black trays you can find in any nursery (what you see in the pictures).
Thank you. I’m going to try Filius Blue peppers!
What if I fill the newspaper pots with potting soil, make a well in the center and fill it with seed starting mix, and start my seeds in it? That way, I won’t have to transplant my seedlings into bigger pots, and I can just plant the whole lot in the ground when they’re big enough. Is that a bad idea? I’m a brand new gardener, and I don’t know anything about this stuff. I’m just wondering if this will streamline the process and reduce the risk that I’ll kill my seedlings when they grow beyond their little starter pots.
Transplanting just means to either move the seedlings into a larger pot, or move them into the ground (if it’s warm enough by the time they’re ready). If you don’t thin out your seedlings, they’ll outgrow their seed starting pots quickly and you’ll have to transplant them somewhere regardless.
Thanks, Linda–I guess what I really meant, was this:
I started a bunch of seeds in egg cartons. For some of them, it was okay, because they didn’t grow that fast, and I’ll be moving them into pots before putting them into the ground. But my peas, for example, grew really fast, and their roots were growing through the egg carton within a few days. They weren’t ready to go into the ground, but they couldn’t stay in the egg carton.
I ended up breaking some of their roots, trying to detach them from the cardboard egg carton to move them into pots.
Might I have avoided that problem if I’d started them in a pot to begin with?
Because I’m so inexperienced, I don’t know which seedlings grow too quickly for the little egg carton wells. So, I thought that if I start them in a pot with potting soil, I can plant them in the ground when they’re ready, and be less likely to traumatize them.
Sure, you can start seeds in any kind of container you have. But if your peas grew that quickly, you should just start them later, or start them directly in the ground when it’s warm enough (which is what I do, since the vines get so long and straggly). I only start seeds indoors for plants that take a long time to grow.
I really like the design of and information provided on your site, so thanks for keeping it going! I live in TX and last night I sowed several seeds in peat containers. I’ve added heat pads under each seed tray but here is where it gets tricky. I’m lighting one with compact fluorescent lights and the other with LED’s. Do you think the output of each light will vary much? Meaning…should I adjust one to be on longer than the other? Thanks!
I honestly have no idea, as I don’t use grow lights. But, I do know that you should use full-spectrum fluorescent bulbs if you want to simulate the sun. As neither type of bulb gives off much heat, you’re probably safe setting them at the same distance from your pots. Just don’t forget to adjust them as your seedlings grow.
I have used plastic salad containers & rotisserie chicken containers for little greenhouses. If just write on the container with a marker as to what I planted. I put labels in the pots when I take the lid off
Great idea!
I have been looking and looking for this kind of information and I am so happy I stumbled upon yours. OMG!
I’m doing a campaign for a university project and I’m making a poster regarding this, which means that I will have to actually create this and take a photo of it.
I have a question..when I was reading info about seed starting indoors, I’m sort of confused if you do water them.. cuz the paper will fall apart once you do.?
Cheers,
Joie Anne
Good luck!
Don’t worry – the pots will hold together well enough until it’s time to pot the little seedling up into the next size pots, paper pot and all. After that, the newspaper/toilet paper tube pot will just quietly disintegrate in the new pot of potting mix. Be prepared to pot up several times until it’s the best time to harden off and plant outdoors.
Stumbled upon your blog a few days ago and it’s been similar to Christmas every day since! Beyond the gardening (which is how I initially stumbled upon your blog) I love the adventure that you share. I’m from the coast of NC and love to be on the beach and surf but after spending the winter in Aspen, CO I have a new love for snowboarding as well. Your blog encompasses a lot of what I love!
After finally finding out that my local newspaper used soy-based inks i’ve made my seed starting mix according to your recipe and I’ve planted my seeds for my fall garden – and first garden!
Your blog is informative, easy to follow, and a great read!
Here’s to hoping my seeds sprout!
Cheers from Eastern NC!
Riley
So happy that you’re here, Riley! It’s thrilling to find out that a lot of people share a similar lifestyle, even though at first glance, gardening and adventuring don’t seem to go together LOL.
Best of luck with your new garden! I’m sure you/it will do great!
Thank you for making this process incredibly easy to understand. Lol for days I’ve been *googling* trying to determine the right time to take off the cover and it was never clear. I know this thread is a bit older but I have a question for you. I know in the footnotes you say that you simulate a breeze by brushing your hand over the seedlings. My question is when do you start this process? My seedlings only have their first set of leaves… is this too soon?
I start brushing my hand over the seedlings as soon as they sprout leaves… so, it’s not too soon for you! You’re just trying to mimic the same environment as outside, and seedlings (even new ones) deal with breezes right away.
Awesome post (and I love your blog)! I hope my seeds come up as pretty as yours! Cheers.
Thank you!
Love your
gardening seems difficult until i read this blog. It made me more confident to grow vegetables..thanks.
I’m really wanting to get my family started growing our own organic vegetables. This is great info for me. I didn’t even know you could start indoors. I’ll keep browsing your blog because I want to know how much it costs to get started.
The biggest expense of a garden are the soil and amendments. If you don’t have good soil, you’ll have to invest in compost, minerals and fertilizers. The good thing is that the costs diminish over time. Seeds are inexpensive (you can even save your own from plants you’ve grown), and you can make do with very few tools and recycled containers. Good luck!
First of all — I LOVE your site. I’m the garden coordinator for my son’s school (CICS – Irving Park in Chicago: http://www.cicsirvingpark.org/apps/pages/index.jsp?uREC_ID=91793&type=d). Though an avid outdoor gardener, I’ve never done seedlings and am going to attempt this year so the students can see the process from beginning to end. Your step-by-step guide is wonderful.
I have a quick question about transplanting — if you use the homemade newspaper cups do you have to transplant seedlings into a larger container?
Thank you Ann!
If you start seedlings in newspaper pots, you do not have to transplant again before they go in the garden. Just wait until they grow at least three full sets of leaves, and plant them right in the ground. You only need to transplant into a larger container first if your garden soil is still too wet/cold for your seedlings.
I have a question about how both dry pea and green pea both indoor plastic box they grow if any body know the the method please I need help.
I’m sorry, I don’t understand your question?
Peas are climbing plants, so they need support from a stake or trellis as they grow. They also prefer cool conditions to do their best.