Before we broke ground on our tiki coop, we looked at countless examples online of custom-built coops and off-the-shelf coops. It seemed that chicken-keepers spent anywhere from $100 to $1,000-plus on their designs, with huge, tricked-out McCoops on the high end of the scale.
We wanted something fairly simple for the limited space we had. No power, no plumbing, just four walls and a roof. But… we also wanted to inject our personality into it. We weren’t sure the barn or cottage look was for us. We wanted style on a budget!
After picking apart the umpteenth coop design, we decided that building our own coop fit our needs better. We had a lot of time but not a lot of money, and we really had fun seeing our idea take shape over the weeks.
I’ve read stories of people getting no sleep, giving up all their weekends, sacrificing their sanity… but honestly, building the coop was a lot easier than I thought it would be. We definitely put in our fair share of sweat, but with my guy in charge of heavy labor and construction, me in charge of research and logistics, and our trusty forepugs overseeing the project, everything went along swimmingly.
Thanks to my resourceful guy reclaiming wood from his office dumpster and saving every extra screw that came with all our furniture, we managed to keep a lot of our costs down by recycling as many odds and ends as possible.
With our salvage finds, our leftover lumber from previous projects, and the leftover lumber we gleaned from our neighbors, we had enough to build the bones of the coop. The materials we had to buy included a few sheets of plywood, a handful of hardware, and a couple cans of paint.
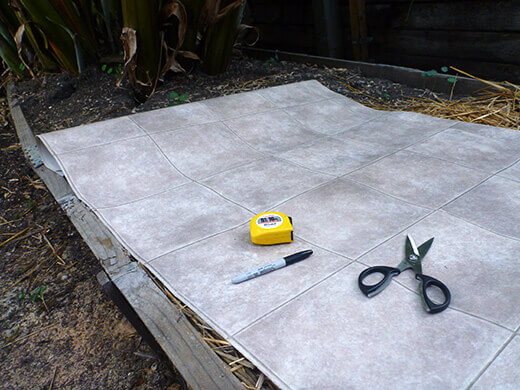
The linoleum was a cheap roll of excess flooring sourced from a local mom-and-pop shop (thankfully, it turned out to be a neutral color and not some garish casino pattern). The bamboo and banana fronds came from our garden.
The single most expensive purchase was the hardware cloth, but it came in a 100-foot roll that we barely put a dent in (and will probably last us years).
All together, our construction materials and trimmings totaled less than $400.
- Hardware cloth: $75
- Lumber: $65
- Hardware and locks: $100
- Linoleum: $10
- Wood sealer: $65
- Paint: $35
- Sand: $20
We put in about five weeks of work, but it was more like a leisurely afternoon here, an afternoon there, a week off from doing any work at all. We winged it as we went, going by a few scribbles on scrap paper that changed every day as new challenges came up.
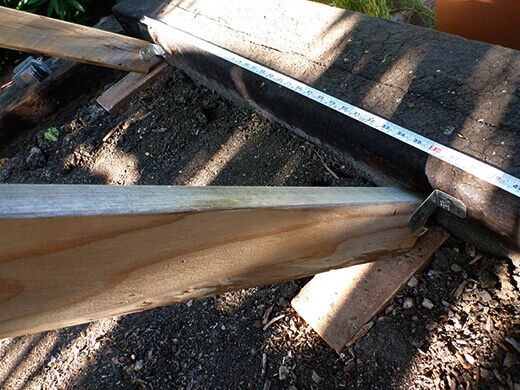
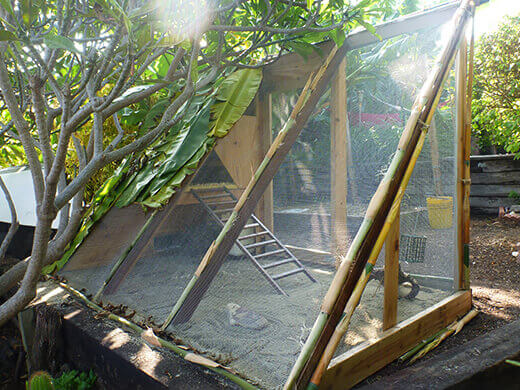
The only known variables before construction began were the dimensions—the coop is 3 feet by 4 feet, sitting inside a fully enclosed run that is 9 feet long, 5 feet wide, and 6 feet tall. The egg box and storage areas extend from the coop another foot or so.
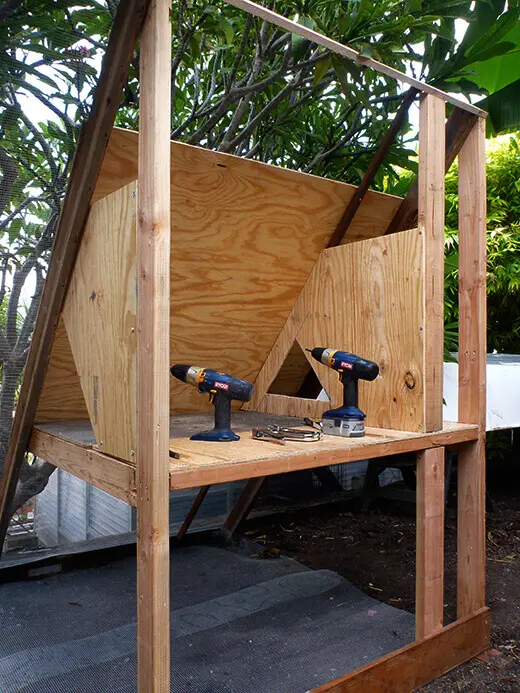
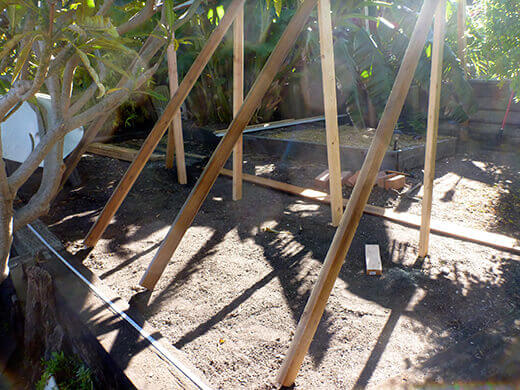
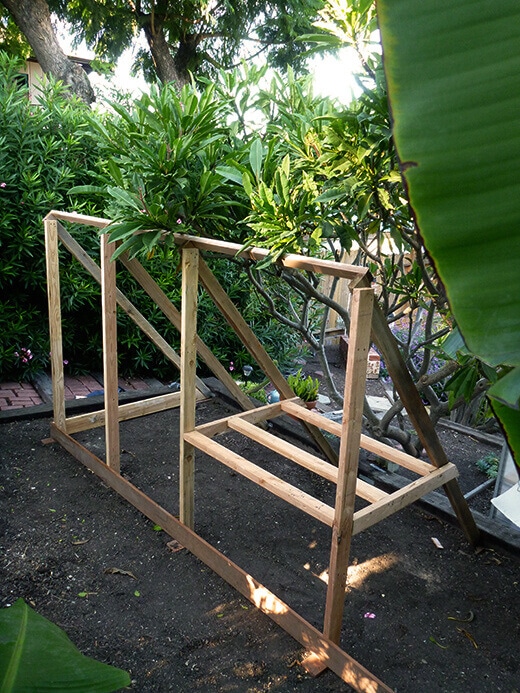
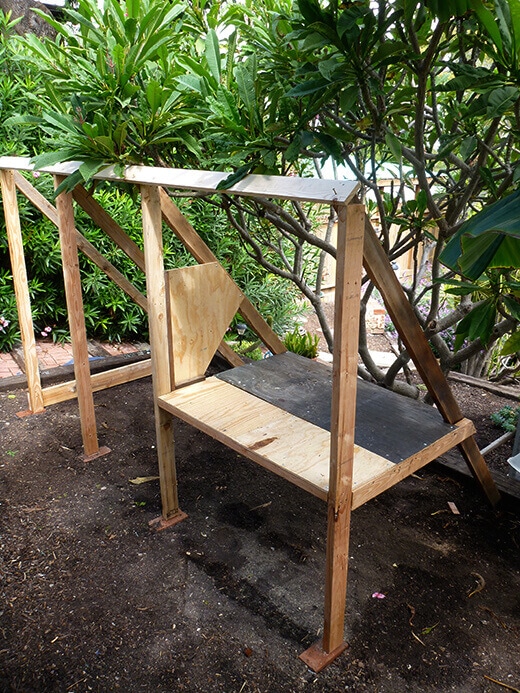
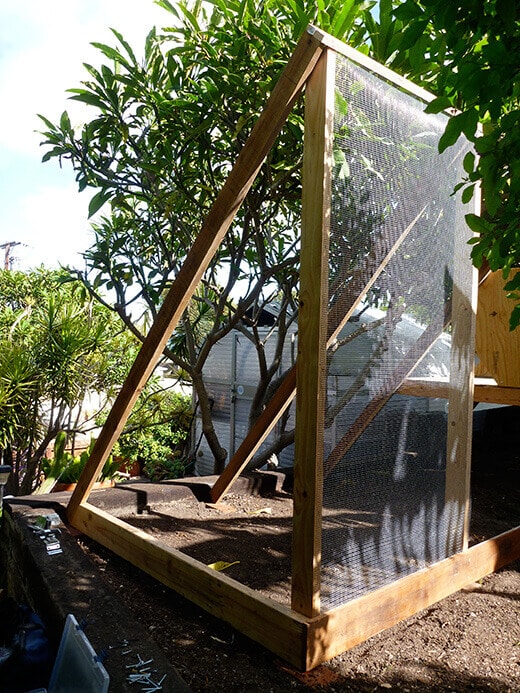
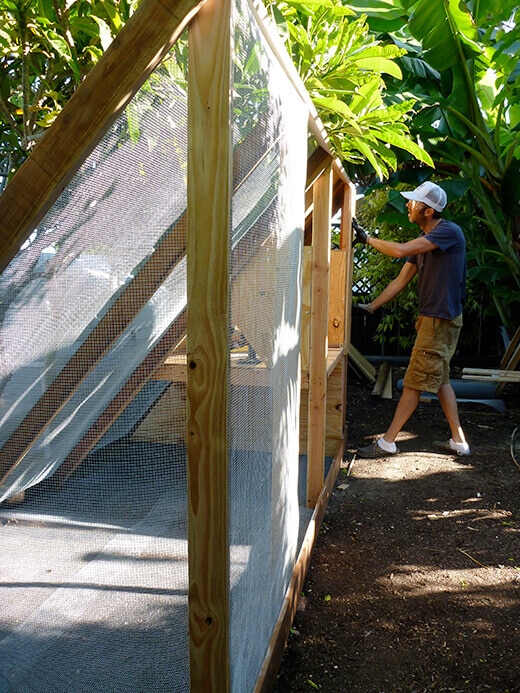
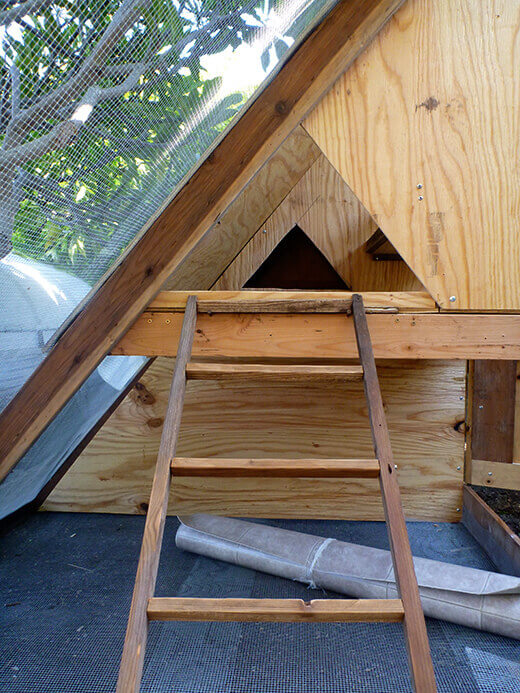
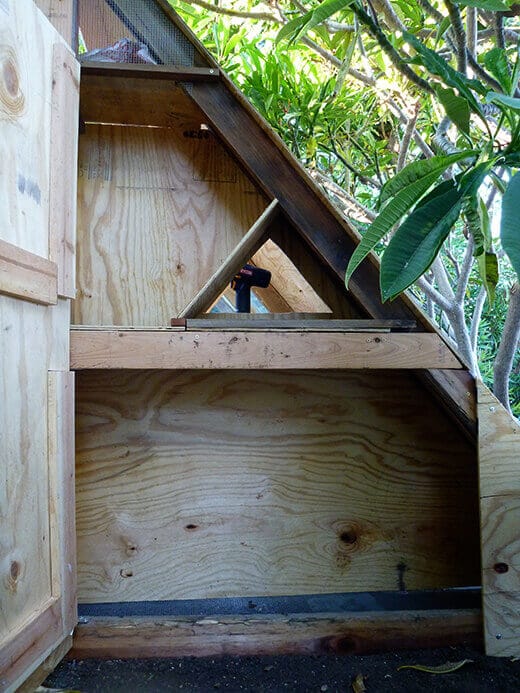
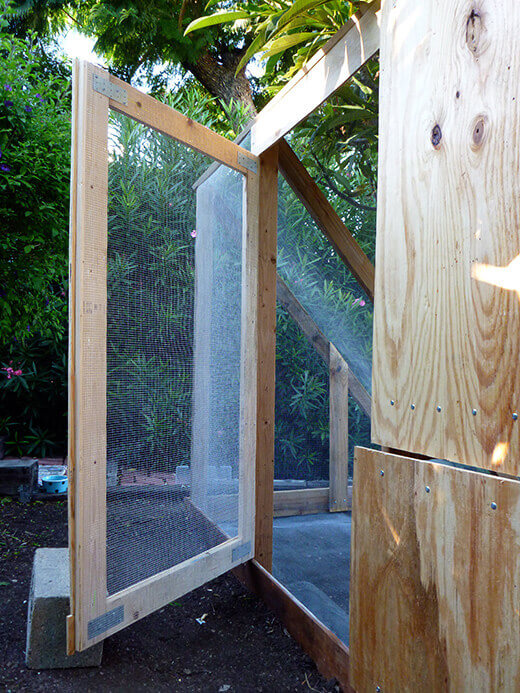
We built the coop and run over a dirt patch and under a plumeria tree, which dictated the shape. It was originally pictured as an A-frame, but space issues turned it into half an A-frame. I love the right triangle look. The vertical wall also gives more room inside the coop for the roost.
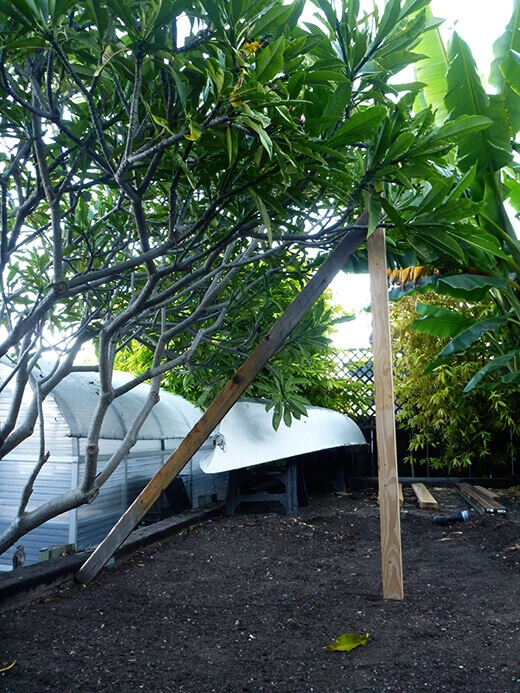
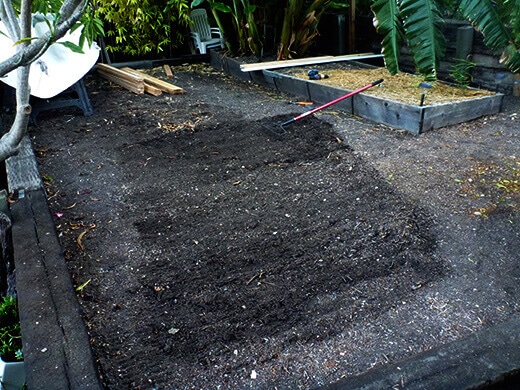
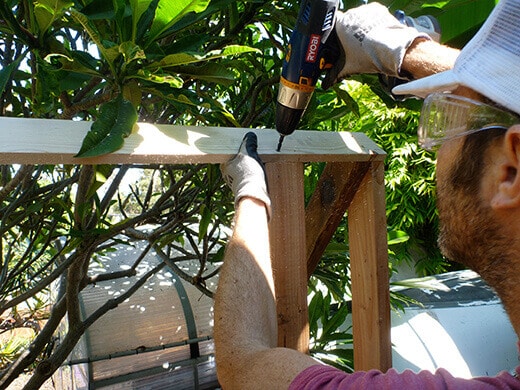
After raking out the dirt, we started framing. We used redwood 2x4s secured with long screws.
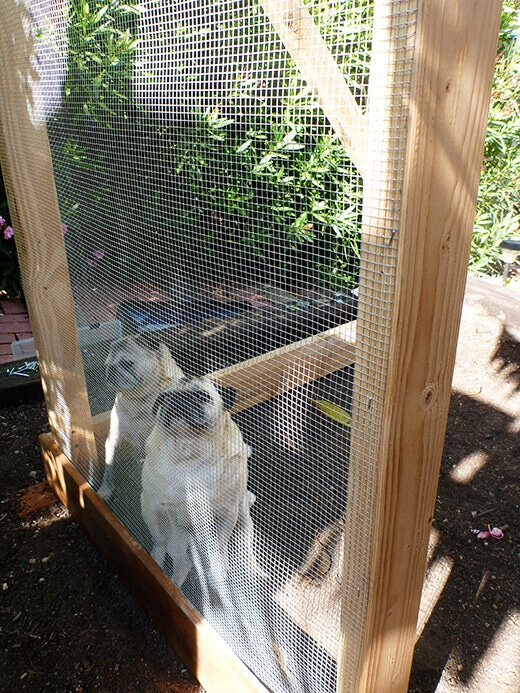
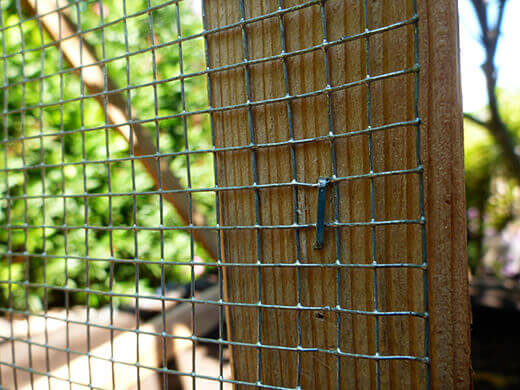
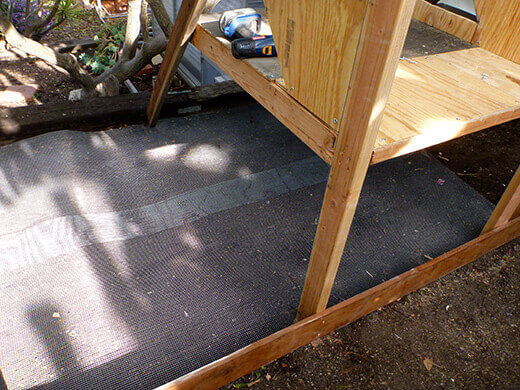
We staple-gunned 1/2-inch hardware cloth on all sides of the run, and also lined the bottom with hardware cloth to keep critters from burrowing underneath.
The roof and walls of the coop were built with 3/8-inch sheets of pine plywood.
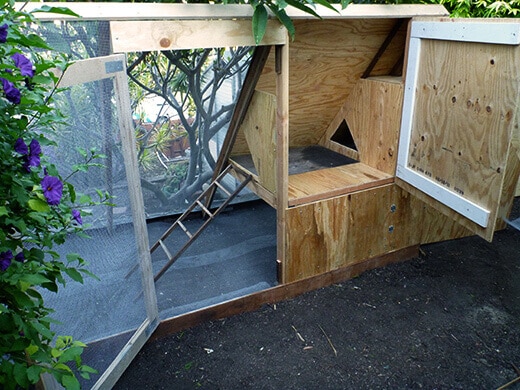
Inside the coop, a 2×4 with the edges sanded down was used for the roost. It’s also removable when we need to empty the poop tray below.

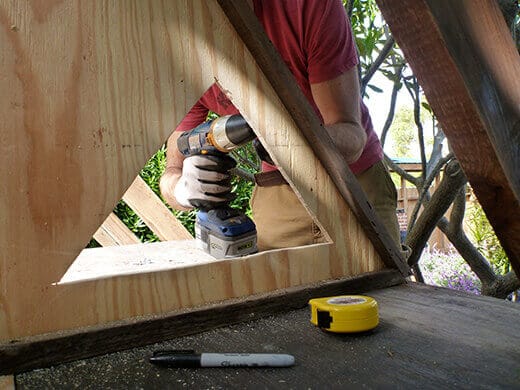
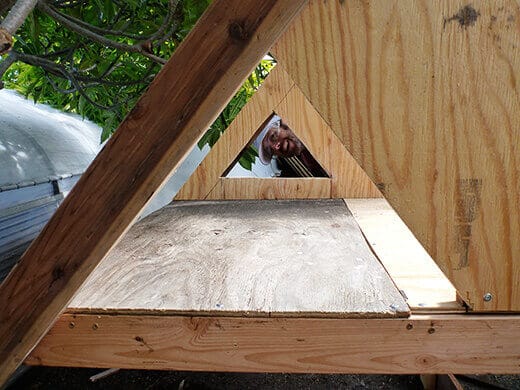
We decided not to have a closing door on the coop, as neither of us are early risers, nor are we keen on setting an alarm every morning to let the chickens out. So, the pop door is simply an opening that gives the girls free access into the run as they please. At sunset, they shuffle back into the coop to roost.
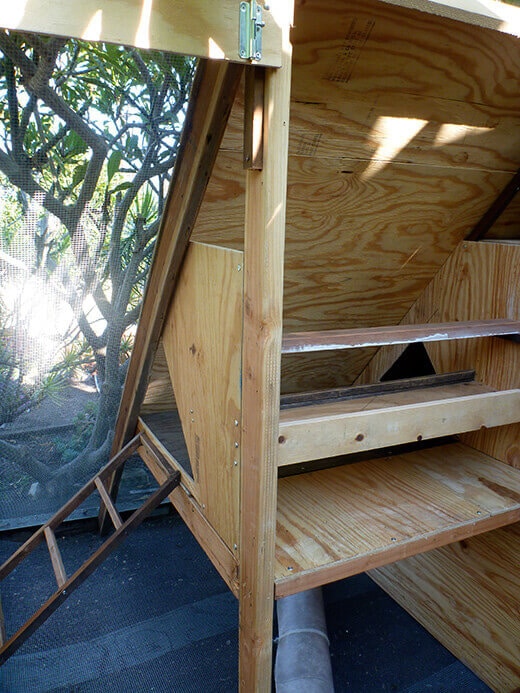
We made a ladder for the pop door out of recycled wooden stakes. After realizing our poor pullets might fall through the wide openings, we later added more rungs for a final spacing of 3 inches between each rung.
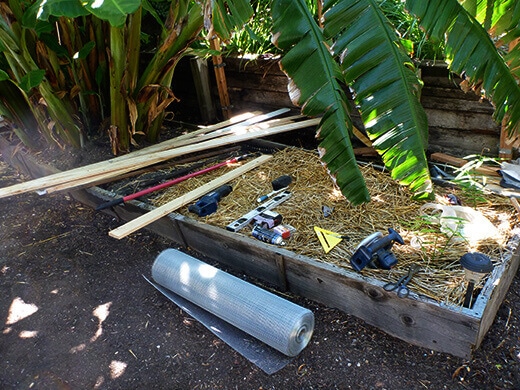
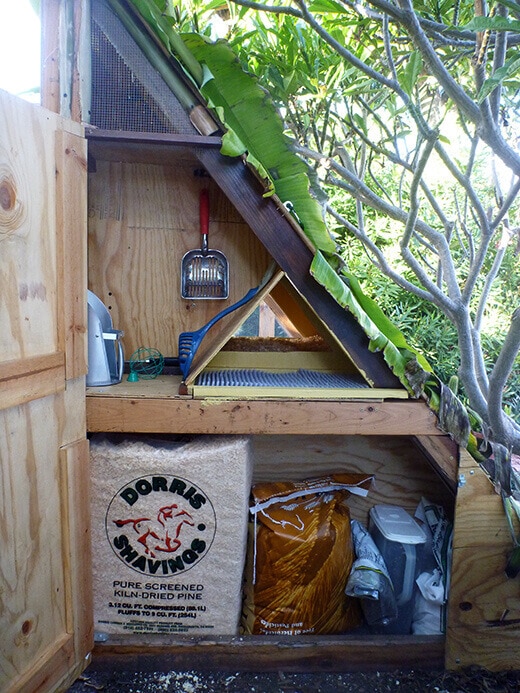
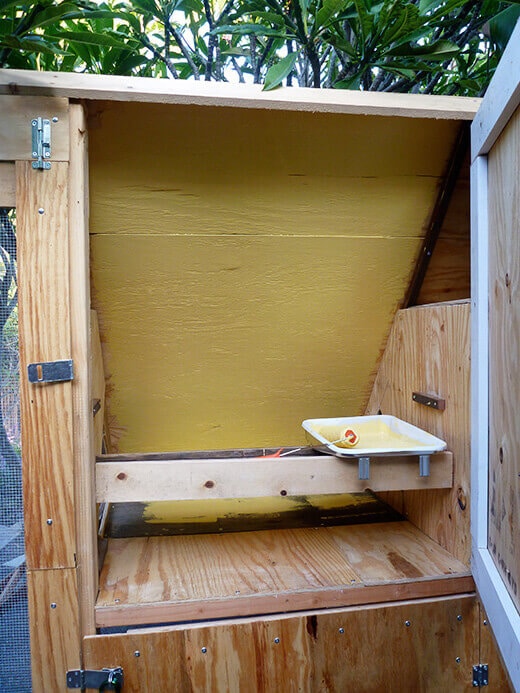
The egg box and storage areas were built on the outside of the coop with their own access door. A shelf adjacent to the egg box holds a few tools that we use most often (including a knife, screwdriver, feed scoop, and litter scoops).
I think onsite storage is crucial—you don’t want to be hauling around bales of shavings and bags of pellets unless you’re the Hulk. (Just hauling them in from the car was enough for me!)
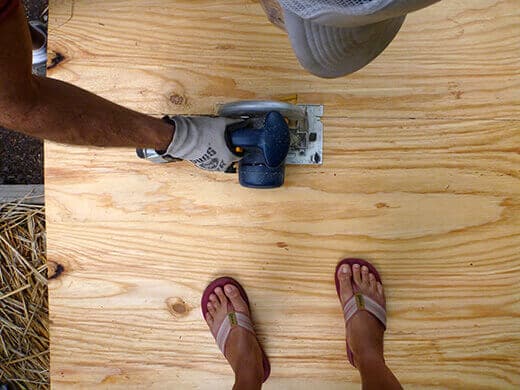
The interior of the coop and egg box was painted a pale yellow to brighten up the space. A semi-gloss surface makes clean-up a breeze. All the wood was sealed with a few coats of exterior polyurethane.
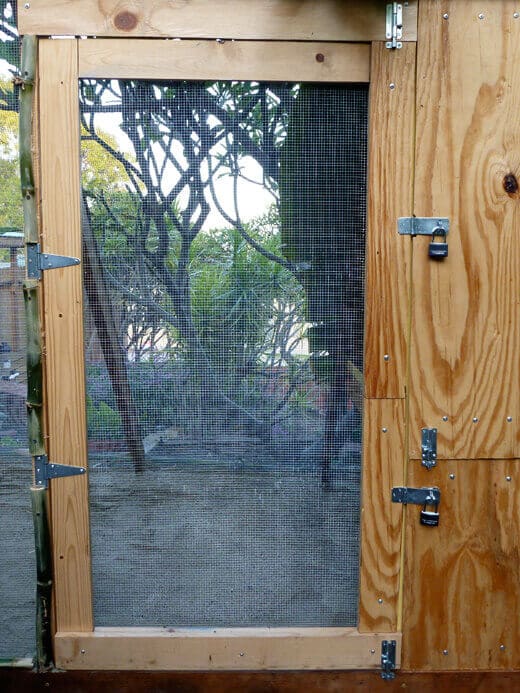
Pieces of scrap wood were used to assemble the main door.
We also built two separate doors to access the coop above and feeding station below.
In my research, I read many, many horror stories about people finding decapitated chickens in the morning, the victims of relentless predators. Although our predators are limited to raccoons and skunks (and the occasional possum), these city-bred creatures are the hoodlums of the nocturnal world—roaming alley ways at night, diving into dumpsters, antagonizing neighborhood pets. I once even had a skunk hold me hostage in a corner of my own yard, sniffing me out with that threatening little tail of his wagging and taunting me.
The stories I read in online chicken forums were accounts of strong and dexterous raccoon hands ripping through chicken wire, unclipping carabiners, sliding open barrel locks—hell, they were practically showing up with their own lock-picking kits after hot-wiring a stolen car.
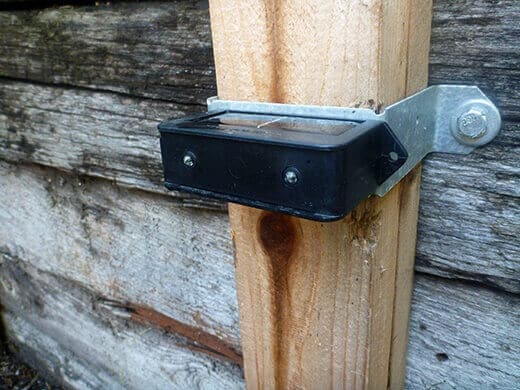
So, I knew the tiki coop had to be built like Fort Knox. The main door into the run is secured with two barrel locks and two keyed padlocks—yep, four locks on one door. No messing around here! The same padlocks also secure the coop door, as well as the door for the feeding station underneath. A single barrel lock latches the two smaller doors together to keep them from swinging out when the main door is open.
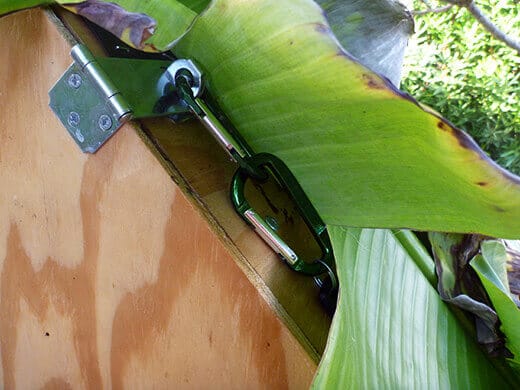
On the side of the coop, the storage door is secured with a barrel lock and a latch, which we clipped a small carabiner through. We also clipped the key for the padlocks onto this carabiner. Since the plywood is a little warped, making the door quite sticky, it’s already difficult enough to open without any locks at all. So, we’re solid there.
(And if any raccoon figures out what the key is for, unclips it from the carabiner, goes around the corner, inserts the key into the padlock, turns it, takes off the lock, opens the latch, and also opens the barrel lock—well, maybe that prodigy deserves a chicken dinner.)
Outside the coop, we placed Solar Nite Eyes to deter the aforementioned hoodlums. These solar-powered gadgets feature two blinking red LED lights, which are supposed to mimic a pair of eyes. These “eyes” are claimed to startle predators (including owls, deer, coyotes and other wildlife) and make them flee the area.
Even though the lights blink so fast that I don’t feel they’re passable as “eyes,” I have to admit that one night I went out to the garden to harvest greens for a dinner salad, and for a split second I was startled by a flash of red that I saw in the corner of my eye… until I realized that I had moved the lights into the garden. I was both relieved and amused!
The Solar Nite Eyes have magnetic backs, so they can be attached to a variety of surfaces around the yard — on the hinges of the coop, on our wrought-iron trellises, on hammock poles, gates, and even our vintage bath tub. We have two units that we move around every few days, so the critters don’t get used to the blinking lights being in any one spot. We got them a couple weeks before the chickens moved in and were just using them in our garden, which seemed to deter the raccoons from digging around the raised beds.
While we were busy putting the coop on lockdown, we caught our forepug sleeping on the job in the watermelon patch.

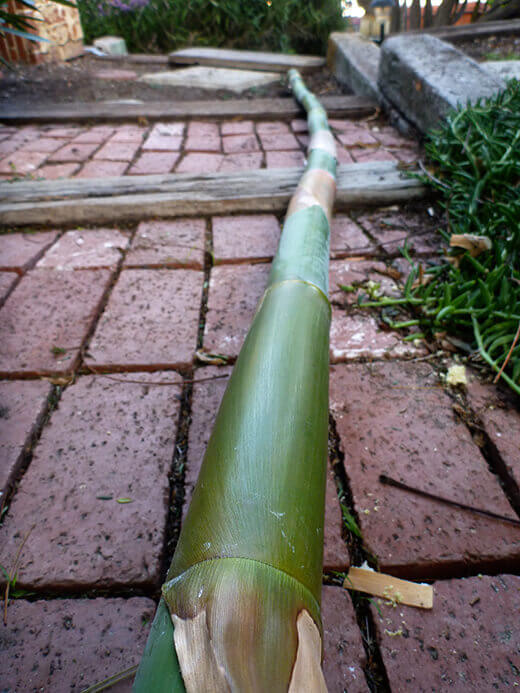
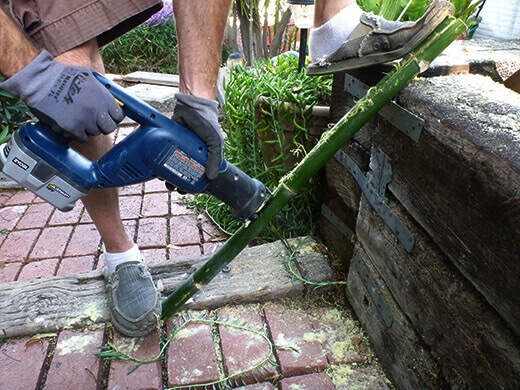
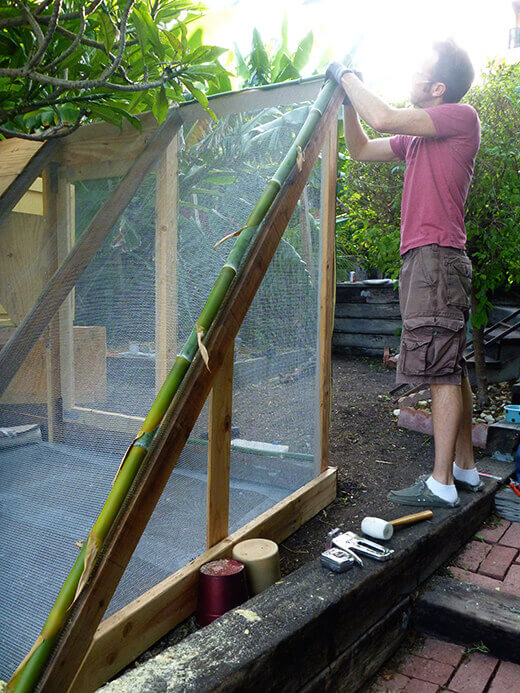
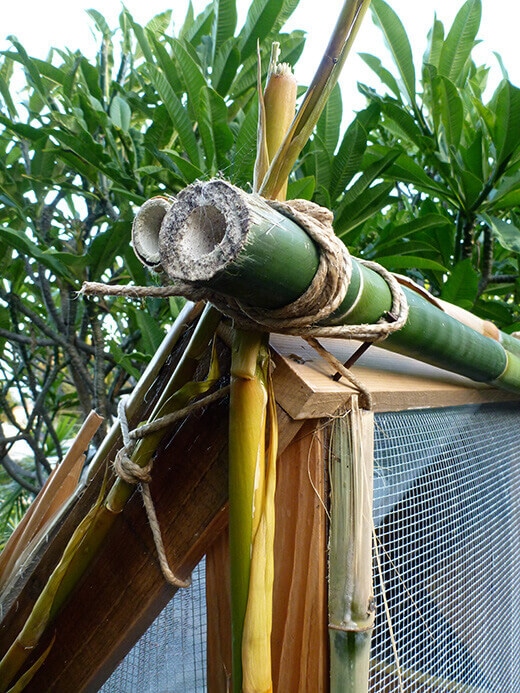
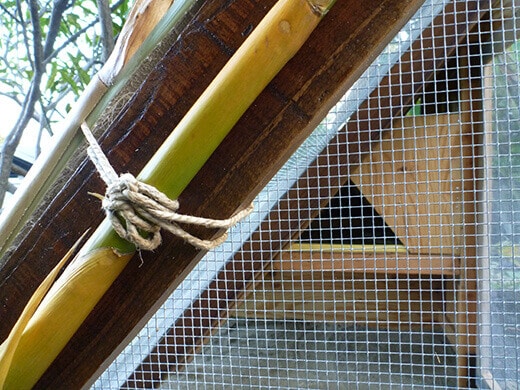
After major construction was completed, we moved on to more fun — decoration. We chopped down a few stalks from the bamboo screen in our yard, sawed some of them in half, and tied them together with jute twine. The edges of the coop and run were adorned with our own sustainable tiki flair!

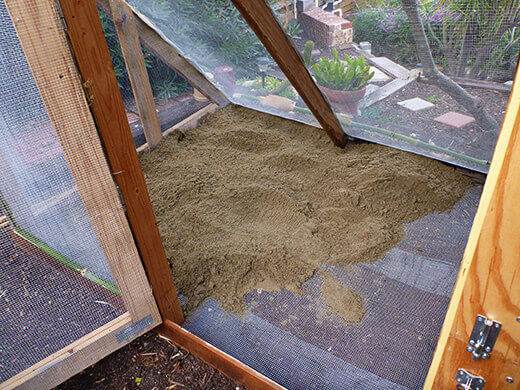
To finish, we filled the run with washed plaster sand, which we purchased in bulk by the scoop (about 11 cubic feet) from a local building supplier. The sand is very dense with a fine grit, similar to beach sand. It serves a few key purposes — to keep the run from becoming muddy, to let the chickens dust bathe, and to make poop patrol as easy as sifting out litter with a scoop.


I still can’t believe it—five weeks after starting the project (and almost one year after first entertaining the idea), I’m the proud owner of a lovingly hand-built chicken coop in my own backyard!


Very nice! One thing to remember when building chicken coops is access, access, and more access. If they aren’t easy to clean, you’re bound to have a bad experience with chickens. It looks like your design is great!
Clean-up is a breeze with this design!
I love your chicken coop! And I love the pugs. I, too have pugs and they love my chickens. They follow the hens around until they stretch out their wings and squat. Then they give their chicks a good bath. Everyone dies laughing at dogs bathing chickens. Your blog is so cute. I saw it in Country Living magazine. Thanks.
That sounds adorable! I have an alpha hen who loves to face off with my alpha pug, and they run around the yard together. I’m just waiting for the day a hen hitches a ride on my pug’s back.
What a good idea !