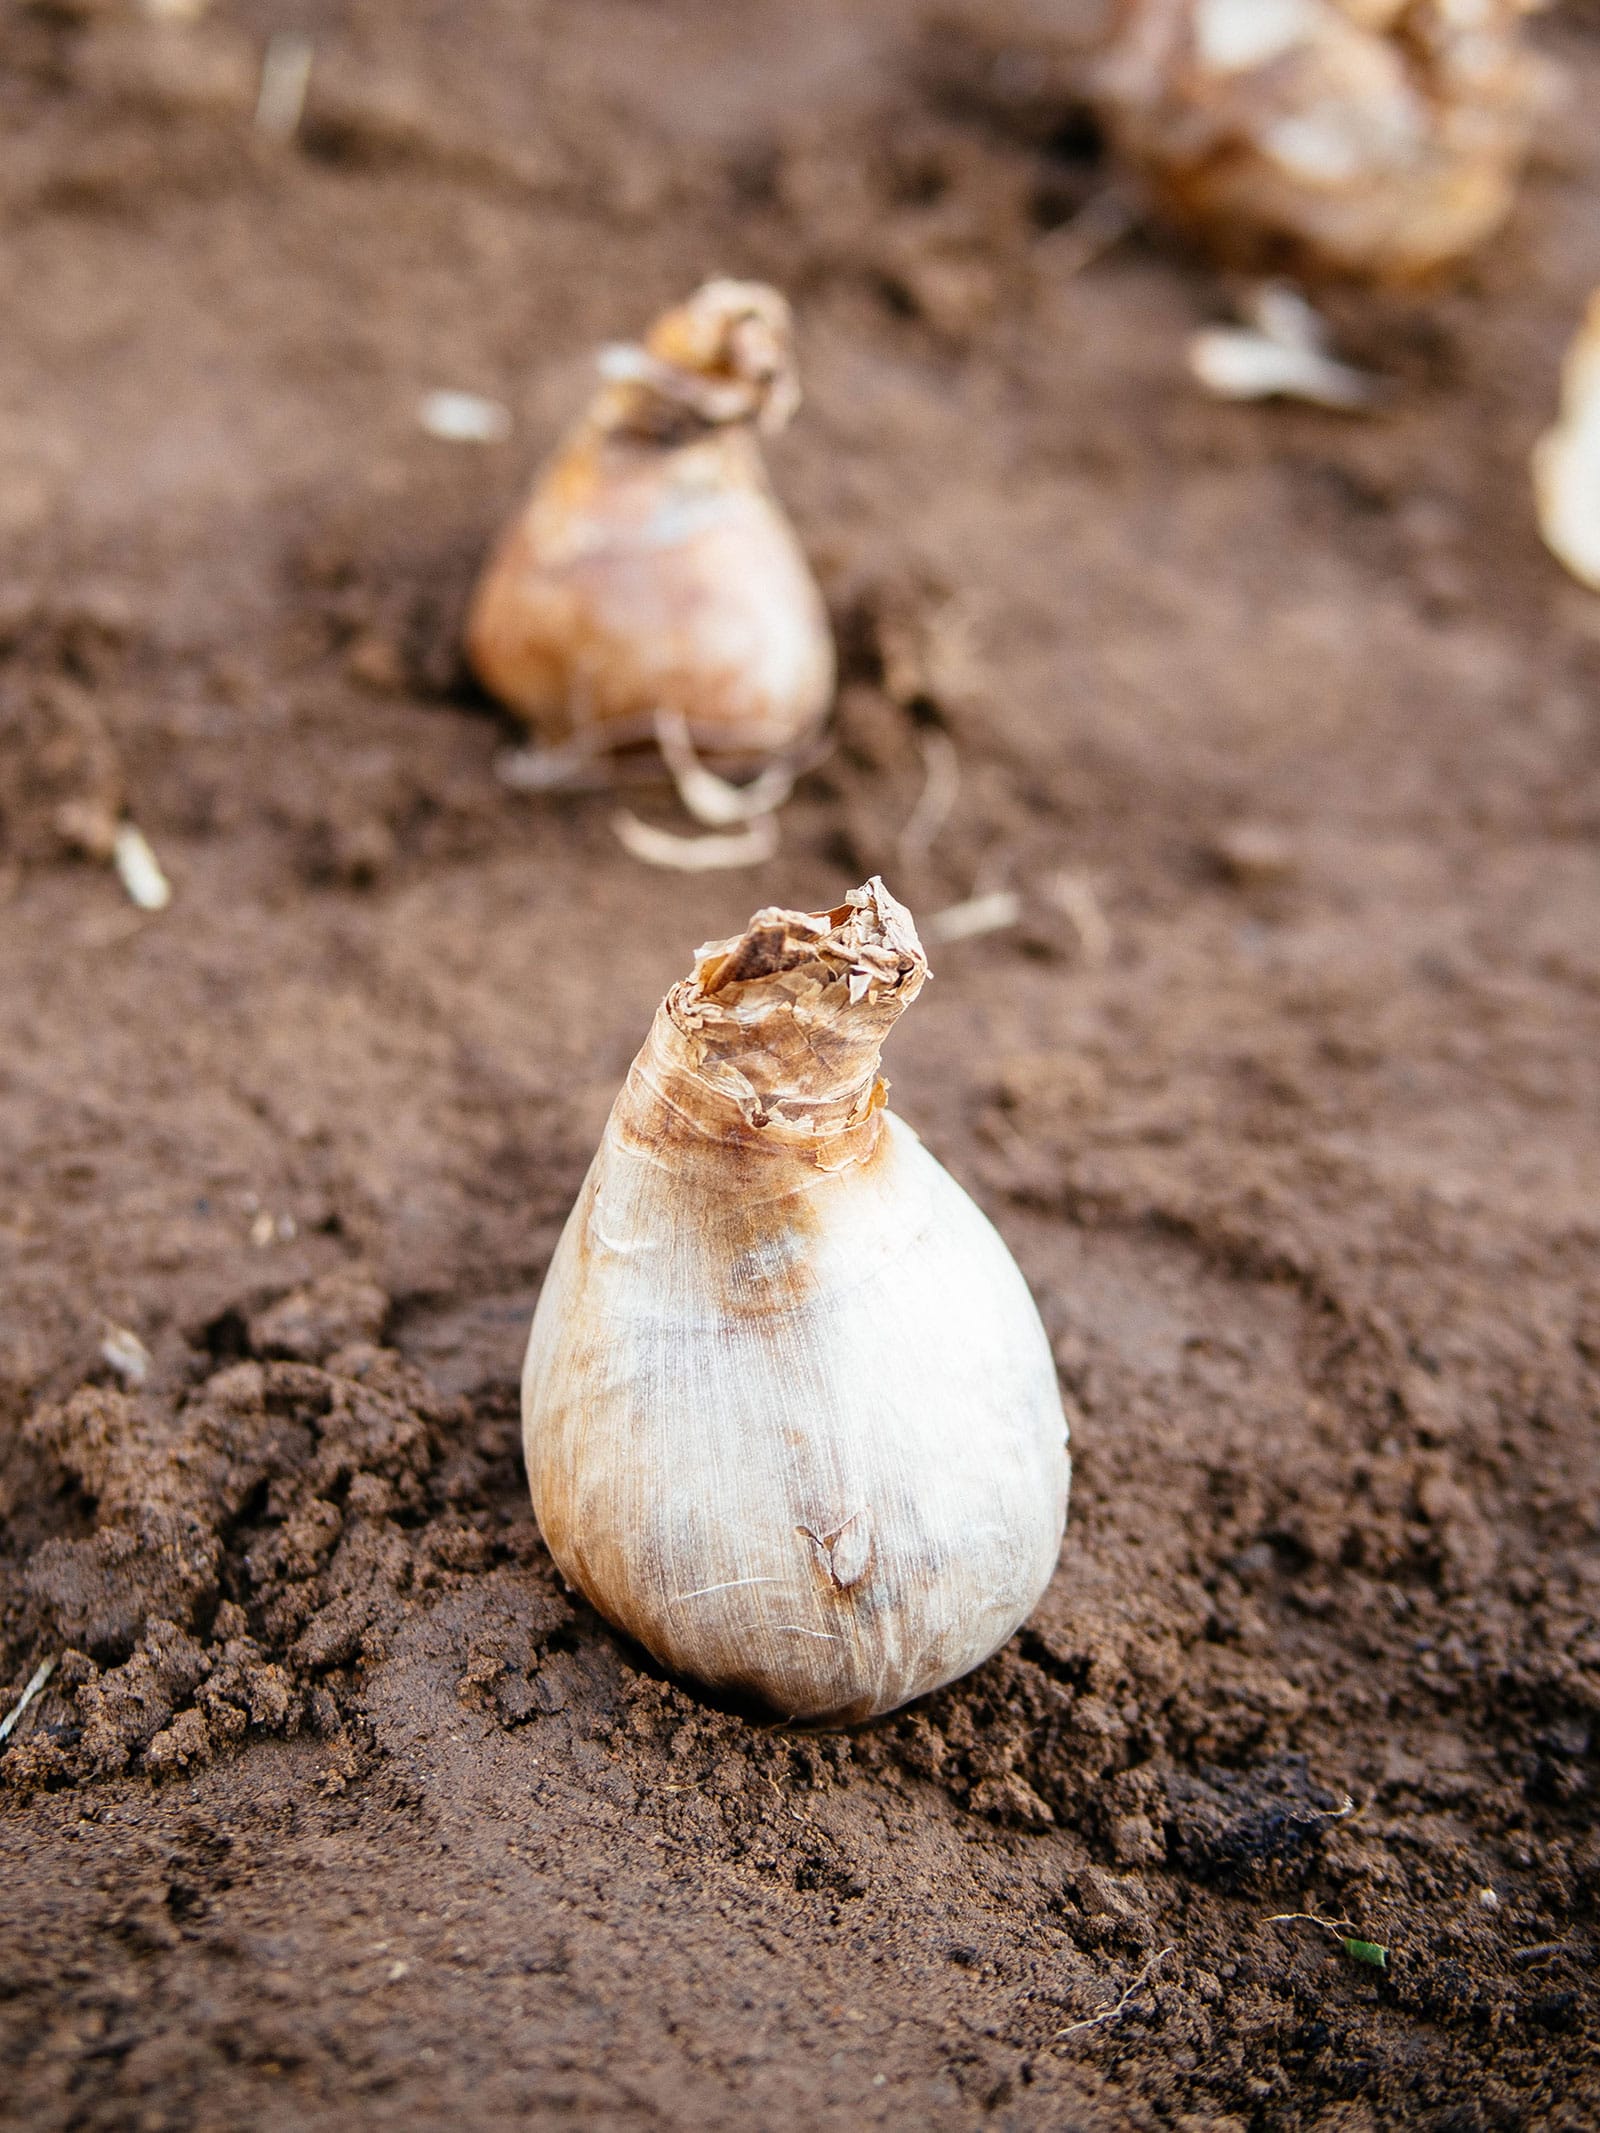
If you’ve ever stood in front of the bulb bins with a mesh bag in each hand, doing mental math, you’re in good company. Is 25 tulips enough for the bed by the mailbox? Should you grab 50? And how many daffodils go with them?
Hint: It’s almost always more than you think. A 4×8-foot bed of tulips at the standard 6-inch spacing takes 128 bulbs. Not 25. Not 50. But a whopping 128!
Trying to figure this out on the spot is a bit tricky (and running out of bulbs before you realize the store’s all sold out is frustrating), so I built this calculator to do the math for you. Pick your bed shape, plug in your measurements, choose your bulbs, and it tells you how many to buy before you get to checkout.
It works for rectangles, triangles, circles, semicircles, and ovals, for fall-planted and spring-planted bulbs, and in feet or meters. Below the calculator, I’ll walk you through different ways you can plant your flower bed—from straight to staggered, tight to roomy, or tidy to wild—and how they affect the numbers you get.
How to use this tool
Start with the shape that’s closest to your bed and enter its measurements. (Is your bed a lumpy kidney bean? Choose the oval and measure its full length and full width from edge to edge.) Then choose whether you’re planting fall bulbs (the ones that bloom in spring, like tulips, daffodils, and crocus) or spring bulbs (the ones that bloom in summer, like dahlias, lilies, and gladiolus).
Pick your bulb, and the calculator fills in its recommended spacing. You can change that number to plant tighter or roomier, and the next few sections explain why you might want to. Prefer centimeters? Flip the metric toggle and everything converts.
Quick tip
Round up and buy a few extra. Every bag seems to have a soft bulb or two, and squirrels have a way of finding fresh plantings.
Straight spacing vs. staggered spacing
Straight spacing lines your bulbs up in a grid, like a checkerboard. Each bulb sits directly beside and directly behind its neighbors.
Staggered spacing (also called triangular or offset spacing) shifts every other row over by half a space, so each bulb nestles into the gap between two bulbs in the row ahead of it, like cells in a honeycomb.
Staggering fits about 15 percent more bulbs into the same bed at the same spacing. The rows sit closer together, but every bulb still keeps its full distance from its neighbors. That 4×8-foot tulip bed holds 128 bulbs in a straight grid, or about 148 staggered.

So which should you choose?
- Go straight: For cutting gardens, where you’ll be walking the rows to harvest stems, for a crisp single line along a walkway or fence, or anytime you’re planting in a trench.
- Go staggered: For most ornamental beds. You get a fuller, more even carpet of blooms with no obvious stripes of bare soil running through it.
Subscribe to Garden Betty
Sign up to get my free weekly emails and I’ll teach you how to keep your plants alive, maximize your garden bounty, and preserve the harvest.
Why you might want to adjust spacing
The spacing on a bulb package is just a starting point for your flower bed. You can plant more or fewer bulbs, depending on the look you’re going for and how much money you want to spend.
Plant close for instant drama
If you want that jaw-dropping, shoulder-to-shoulder sea of color you see in public gardens and bulb catalogs, plant tight. Some gardeners set tulips so close they’re nearly touching (in containers, that’s standard practice).
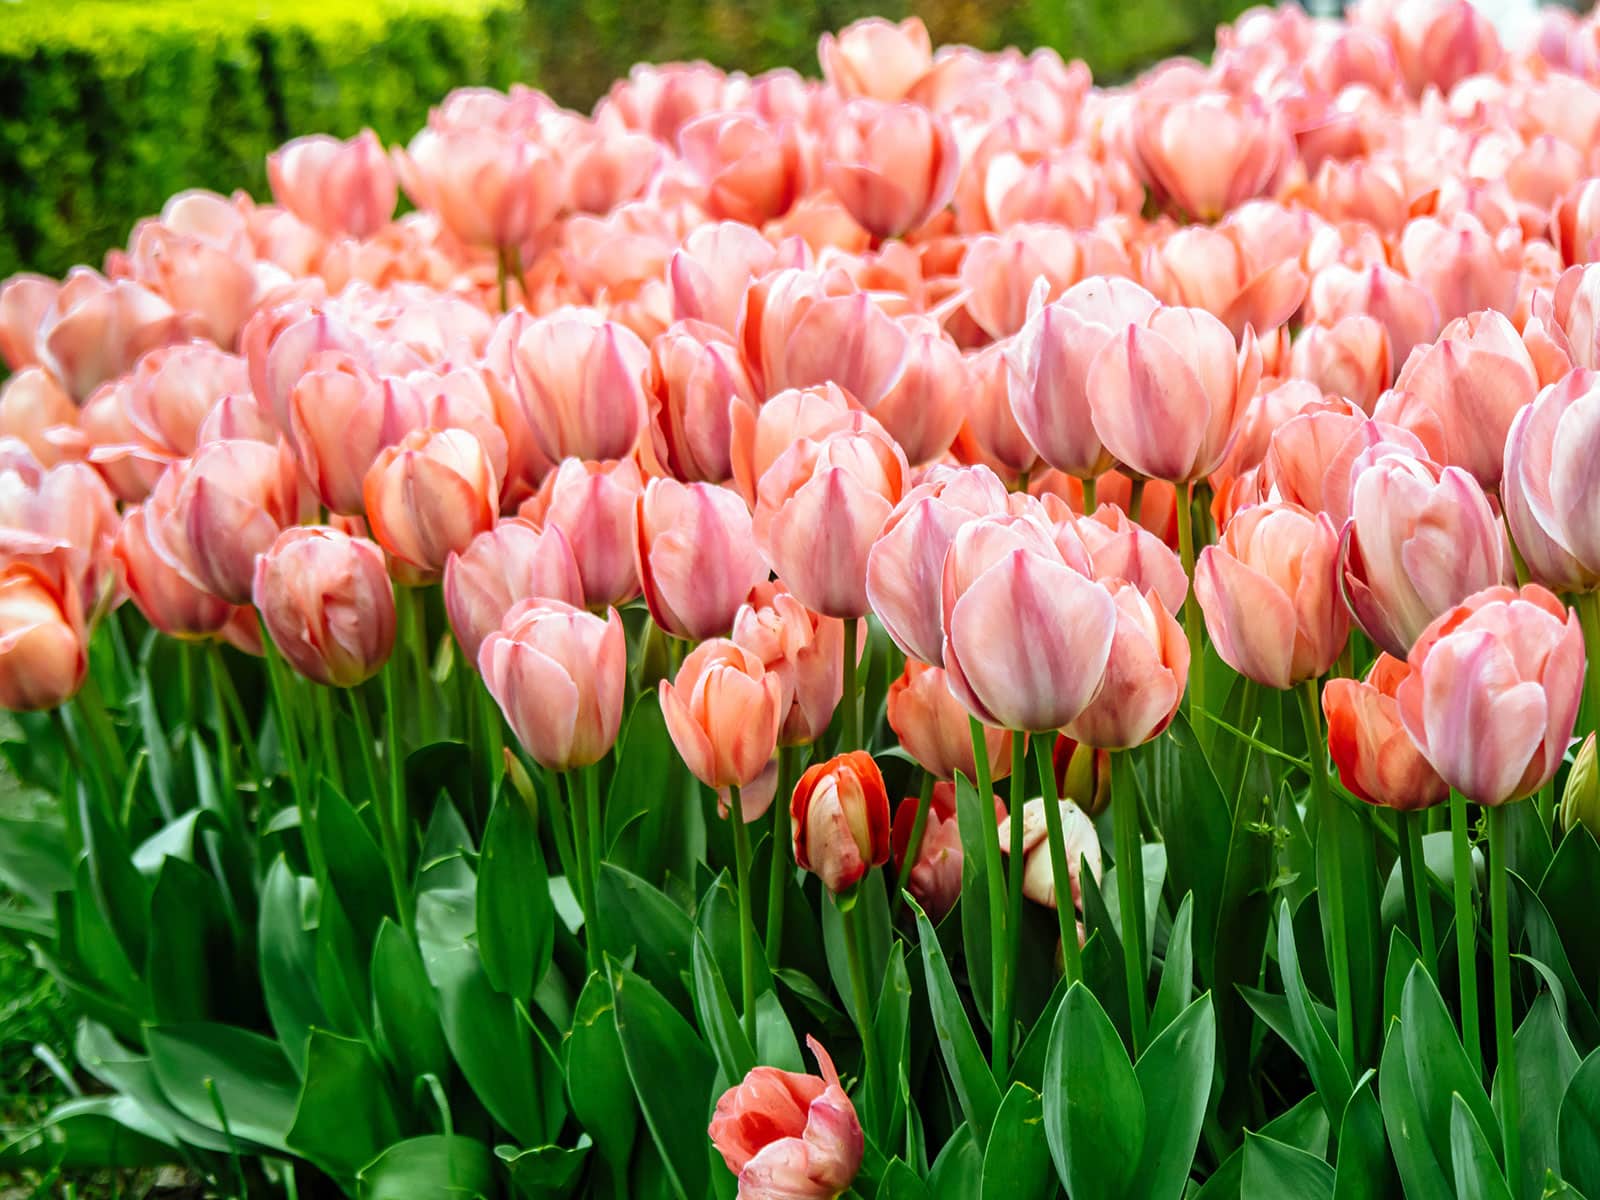
The trade-off is that perennial bulbs like daffodils, alliums, and crocus multiply underground, and a bed that started off crowded gets very crowded. When you notice plenty of leaves but fewer flowers, the bulbs are competing for space and nutrients, and it’s time to dig and divide them. A tightly planted bed of daffodils often reaches that point in three to five years.
Hybrid tulips are the exception. Most of them bloom their best the first spring and decline after that in many climates, so plenty of gardeners treat them like annuals anyway. If you’re replanting next fall regardless, go as dense as your budget allows.
Plant farther apart to save money
If you’re willing to wait, wider spacing is the most budget-friendly way to fill a bed. Bulbs that naturalize (more on that below) produce offsets, or little daughter bulbs, that fill in the gaps on their own. Plant them at the wide end of their range, and in two to three years you’ll have the full look you wanted for a fraction of the price.
Or do both
You don’t have to stick with one spacing for the whole bed. Plant more densely where people look first, like the front edge, the corner by the door, or the bed beside the driveway, and farther apart toward the back. Run the calculator once for each zone and add the numbers together to help you nail down your bulb budget.
Disclosure: If you shop from my article or make a purchase through one of my links, I may receive commissions on some of the products I recommend.
Where to buy
Flower bulbs
Creating a more natural drift of bulbs
Not every bulb planting needs to look like it’s methodically planted. A drift is a loose, irregular sweep of flowers that looks like it wandered in on its own, the kind you see spilling under trees, across a lawn, or along a woodland edge.
The secret to a drift is naturalizing, which means planting bulbs that come back and multiply year after year with little help from you. They spread by making offsets underground, and some, like scilla and snowdrops, also spread by seed. If you leave them alone, the patch grows a little wider and a little fuller every spring. Daffodils, crocus, snowdrops, grape hyacinths, scilla, species tulips, and many alliums are all reliable naturalizers.
Related: The prettiest spring-blooming bulbs for your flower garden

How many bulbs to buy for a drift
There’s no industry-standard percentage for this, but here’s how I’d approach it. Run the calculator for your drift area at the bulb’s recommended spacing, then adjust based on the look you want:
- For a dense carpet: Buy the full amount, plus about 10 percent. Tossed bulbs always land in a few clumps and leave a few bare patches, and the extra lets you fill those holes.
- For a sparse, meadowy look: Buy about half to two-thirds of the full amount. You want flowers dotted through the grass with plenty of green between them, not a solid sheet of color.
Another way to get there is to edit the spacing value instead of doing the percentages yourself. Increase the spacing by one-quarter (6 inches becomes 7.5) and you’ll need about two-thirds as many bulbs. Increase it by half (6 inches becomes 9) and you’ll need a little under half.
Remember that a naturalized planting is designed to fill in over time. If your first spring looks a little thin, give it a couple of years before you buy more.
Quick tip
If you’re naturalizing bulbs in your lawn, hold off on mowing that patch until the bulb foliage turns yellow, usually about six weeks after the flowers fade. Those leaves are recharging the bulb for next year’s bloom, and mowing them early is the fastest way to shrink your drift.
How to plant a drift
Skip the grid and the tape measure for this one. Outline your area with a garden hose or a length of string, curving the lines so they don’t look like a flower bed. Then grab a handful of bulbs, toss them gently across the space, and plant each one where it lands.
You can make a few small adjustments so the planting looks even more natural:
- Nudge the touchers: If two bulbs land right on top of each other, scoot one over a few inches.
- Feather the edges: Toss more bulbs toward the center and fewer toward the edges, so the drift thins out gradually instead of stopping at a hard line.
- Toss in groups: Small bulbs look best in generous clusters of 30 or more, and larger bulbs like daffodils in clumps of 5 to 9, scattered across the area.
Did you know?
The Dutch have a word for flowers that naturalize around old country estates: stinzenplanten, after the stone manor houses (stinzen) of Friesland where many of these bulbs have been spreading on their own for centuries.
Layering flower bulbs
Layering, also known as lasagna planting, means planting two or three types of bulbs in the same spot at different depths. The biggest bulbs go on the bottom, the smallest on top, and they take turns blooming for weeks of color from one patch of soil.
It works because every bulb has its own ideal depth (a good rule of thumb is two to three times the height of the bulb), and shoots from the lower layers simply grow up and around the bulbs above them.
To maximize the effect of continuous blooms, I like to start with super early-blooming bulbs (like crocus or snowdrops, which often pop up in late winter), add an early to mid-season bloomer (like daffodils or hyacinths), and finish with late-season color (alliums and irises bloom in late spring, just as daffodils and hyacinths are finishing).
How to calculate bulbs for layers
In a lasagna-style flower bed, each layer covers the whole bed. Your daffodils don’t share floor space with your crocus. They’re on different floors entirely, so don’t split the bed between bulb types. Run the calculator once for each type, using the full bed size and that bulb’s spacing, then add the numbers together.
For a 3×3-foot space, it might look something like this:
|
Layer |
Bulb |
Depth |
Spacing |
Bulbs needed |
|---|---|---|---|---|
|
Bottom |
Giant allium ‘Globemaster’ |
8 inches |
10 inches |
13 |
|
Middle |
Daffodil ‘Pink Wonder’ |
6 inches |
6 inches |
36 |
|
Top |
Crocus ‘Flower Record’ |
3–4 inches |
3 inches |
144 |
|
Total |
193 |
(Scroll right to view the entire table on mobile.)
That’s 193 bulbs for 9 square feet, which is why layering is best in pots, planters, and small focal spots rather than across a whole border.
How to plant layered bulbs
- Dig out the whole bed (or fill your container) to the depth of your deepest bulb.
- Arrange your largest bulbs at their spacing, pointed ends up, and cover them with soil up to the next layer’s depth.
- Arrange the next layer of bulbs, ideally in the gaps between the ones below. (Don’t stress about perfect placement. Shoots will find their way around a bulb that’s in the way.)
- Cover with soil, add your top layer, and cover again to the soil line.
- Water well to settle everything in.