The first hard frost has a way of ending the season overnight. One evening your tomatoes are still hanging on, and the next morning the whole bed is slumped, blackened, and very obviously done.
That’s usually when the urge to clean house kicks in. In your quest to check off your fall garden checklist, you want to pull every plant, rake the soil smooth, and put the garden to bed looking neat and tidy. I get it—a clean bed feels like a fresh start.
But a bare raised bed spends the winter losing topsoil to rain, starving the soil life that does most of the work for you, and taking the full brunt of every freeze-thaw cycle. (Raised beds are more exposed than in-ground gardens on every side, which is great for warming up in spring and not so great for staying insulated in January.)
So winterizing a raised bed isn’t really about cleaning it out. It’s a series of small decisions: what stays in the soil, what comes out, what gets added on top, what goes into storage, and what needs a closer look before spring. Here’s how I sort through each one, bed by bed, in about an afternoon.
What to leave
This is the easiest category to start with because it’s where doing less is actually doing more.
Roots in the ground
When a healthy plant is done for the year, cut it off at the soil line with a pair of pruners and leave the roots exactly where they grew. (For kale, chard, and anything else that might resprout from its base, cut just below the surface.)

A spent root system is free organic matter, already threaded a foot or two deep into your bed—far deeper than you could ever work in compost by hand. As those roots decompose over winter, they feed your soil microbes, leave behind tunnels for air, water, and earthworms, and help hold the soil together. Yanking them out does the opposite by tearing up soil structure, disrupting the fungal networks your plants depend on, and dragging buried weed seeds up to the light.
I explain more in my post on why you should leave roots from old plants in the ground.
Cut foliage as winter mulch over an empty bed
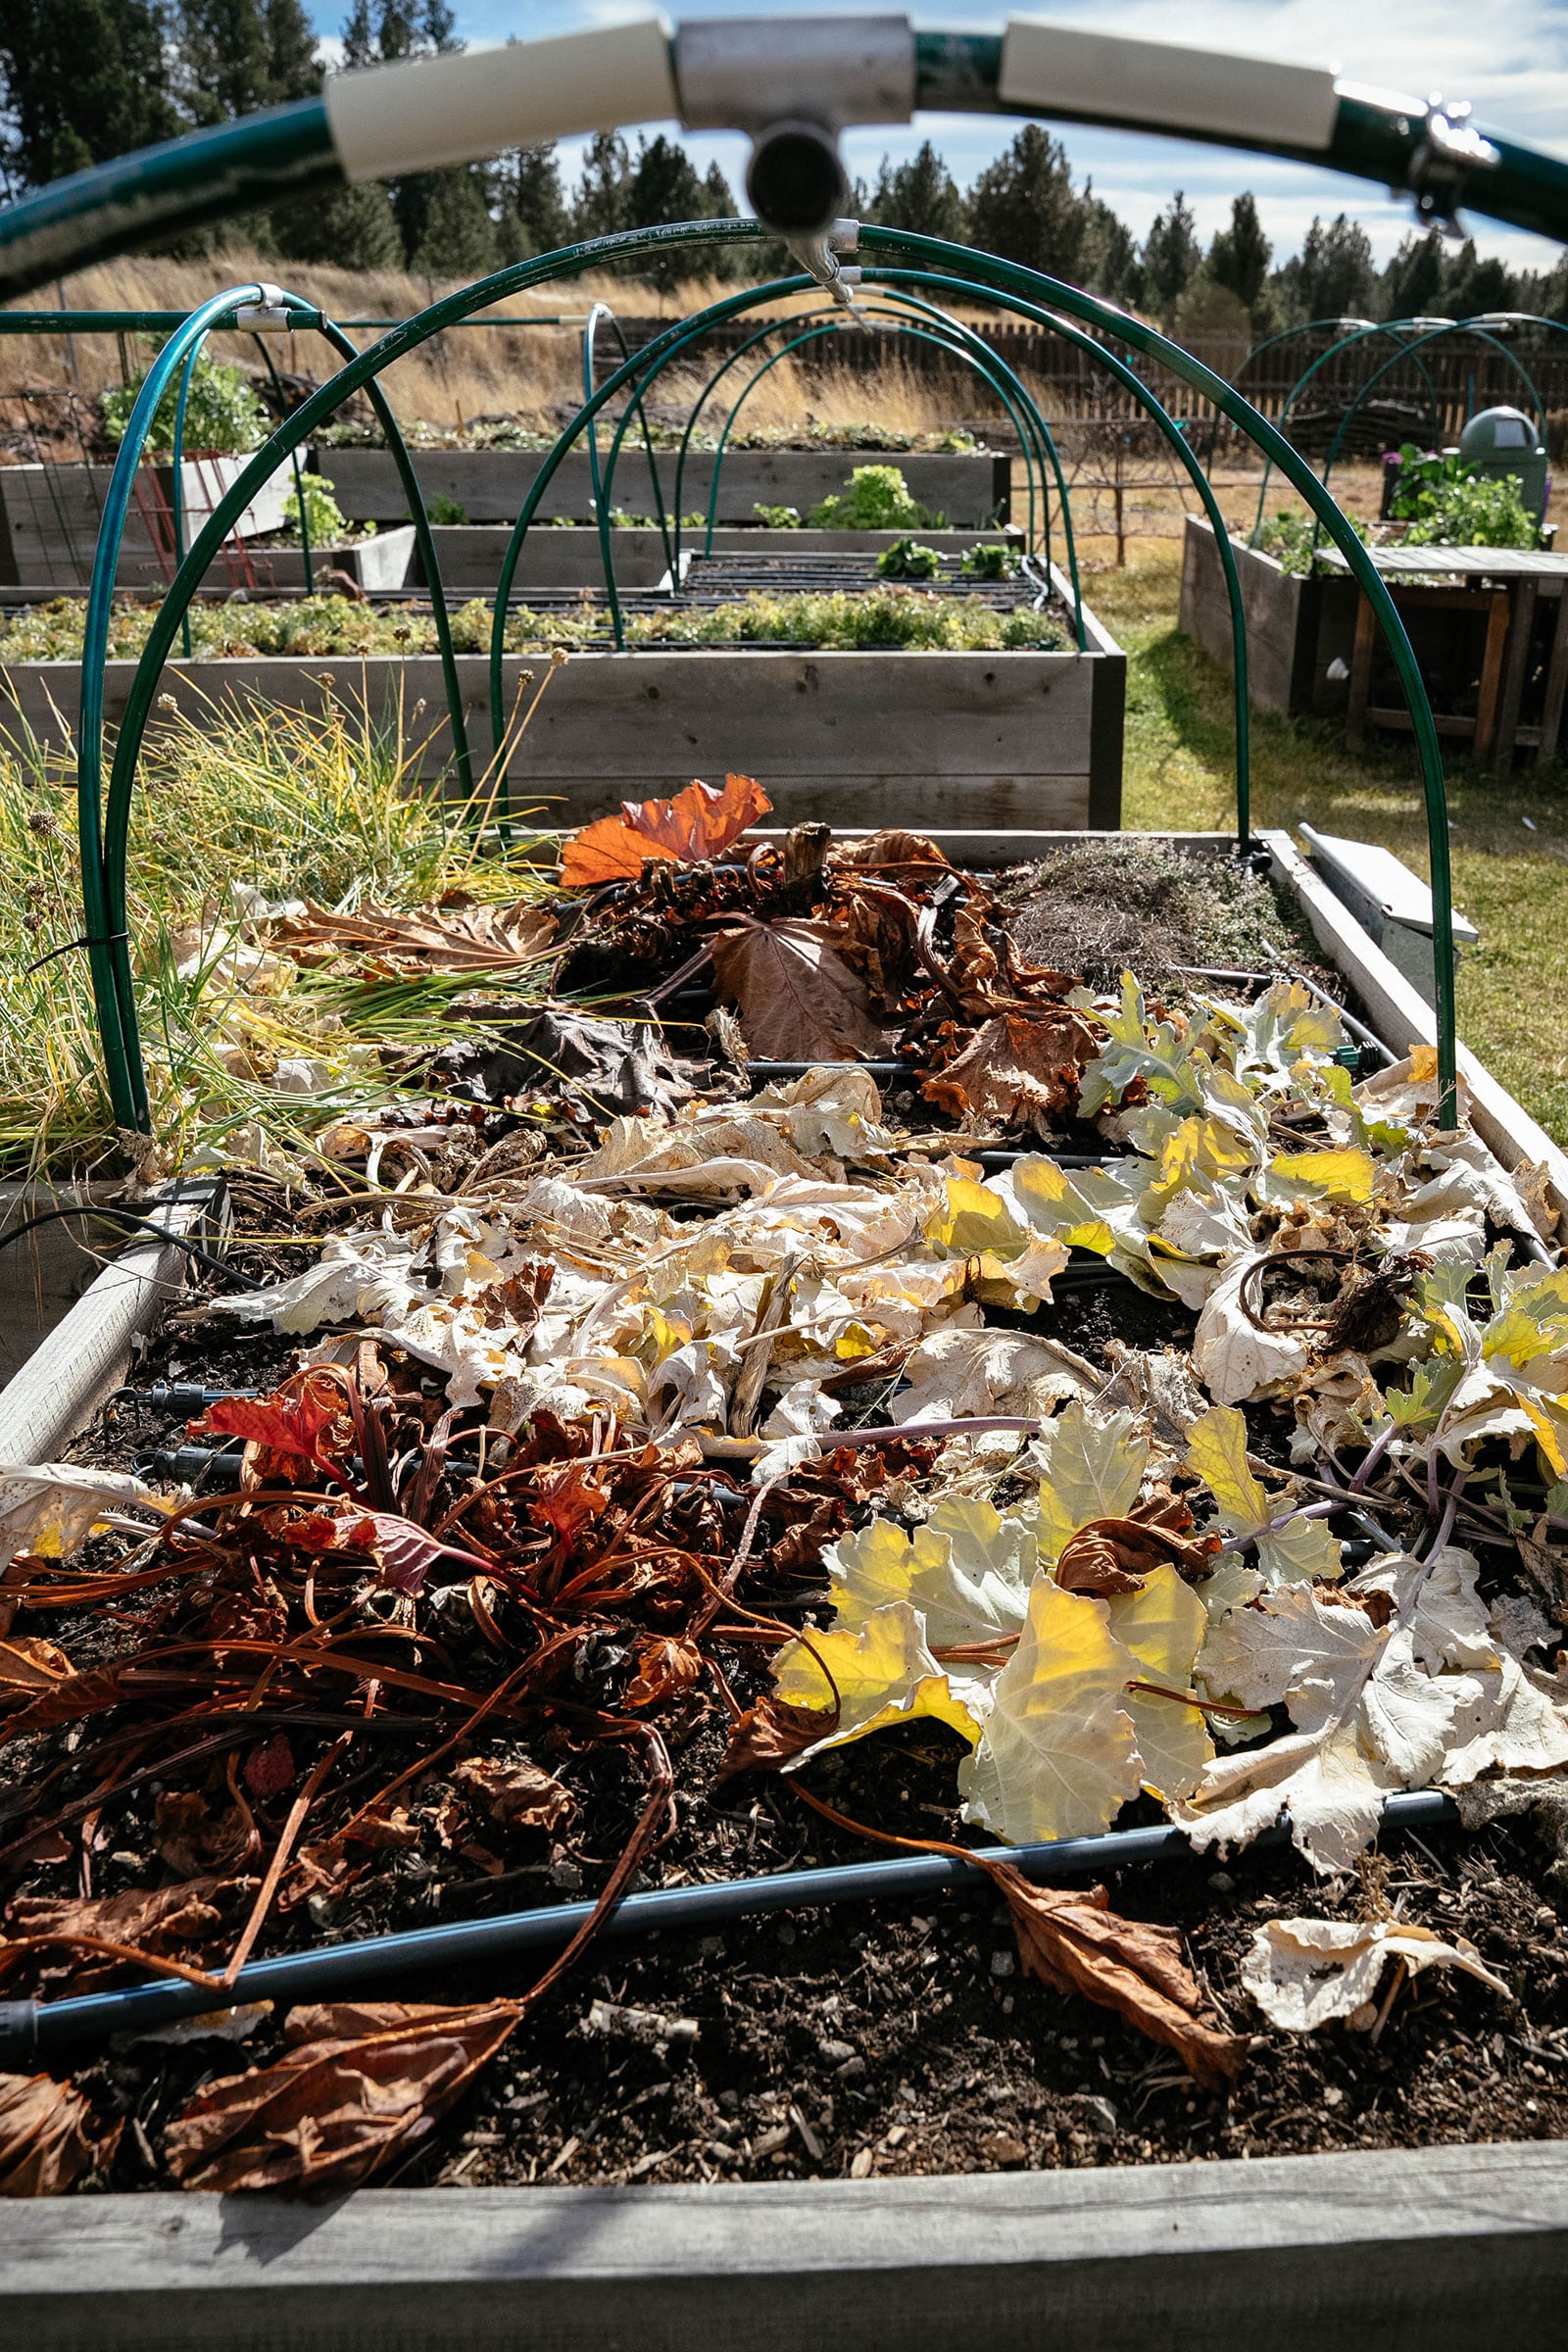
If a bed is going to sit empty until spring, the plants you just cut down are your first layer of mulch. Chop the stems and leaves into pieces about 6 to 12 inches long (hedge shears make this an easier job to tackle) and spread them right back over the soil.

That layer of dead foliage softens the pounding from rain, insulates the soil through freeze-thaw cycles, and feeds soil microbes all winter. Smaller pieces break down faster and are less likely to mat, so chop thick, woody stalks like corn and sunflowers a little shorter (or send them to the compost pile and use something finer on the bed).
The catch: This only works with plants that finished the season clean and healthy. Anything that battled blight, powdery mildew, or a serious pest problem doesn’t go back on your soil. More on that in a minute.
Leave habitat, but clean up strategically
Leaving debris on your beds raises a fair question: aren’t you just setting up a cozy winter rental for next year’s pests? Sometimes, yes. Squash bugs hunker down under old vines, cucumber beetles hide in crop debris, and cabbageworms ride out winter as chrysalises stuck to last summer’s broccoli stalks. But that same mess also shelters ladybugs, ground beetles, and spiders—the crew that keeps those pests in check next year.
So think of it as a targeted cleanup rather than a clean sweep. Clear out debris where a pest gave you trouble this season, and leave the rest of the yard a little wild. Here’s how to reduce overwintering pests in the garden without evicting the good guys along with the bad.
What to pull
While I usually advocate for leaving roots and foliage where they are, sometimes they just have to go.
Diseased plants
Leaf and stem diseases like early blight, Septoria leaf spot, and powdery mildew overwinter on infected debris, then splash back onto new plants with the first spring rains. For these, cut the plant at the soil line and bag up every leaf, stem, and fallen bit of foliage to throw in the trash. The roots can generally stay, since the disease was living up top.

Root and soilborne diseases are the exception to the leave-the-roots rule. If your brassicas had clubroot (those knobby, swollen roots) or your tomatoes wilted from Fusarium or Verticillium, dig out as much of the root system as you can and send it out with the trash.
Whatever you do, don’t toss diseased plants in your compost bin. Most backyard piles never get hot enough, for long enough, all the way through to destroy plant pathogens. When in doubt, bag it. Then wipe your pruners with 70 percent rubbing alcohol before you move on to the next bed so you’re not carrying the problem with you.
Plants with severe pest damage
If squash bugs swarmed your zucchini or cabbageworms chewed your kale down to lace, those pests are overwintering in the debris, so bag the foliage instead of leaving it as mulch. (The roots can stay.)
Pests that overwinter in the soil, like squash vine borers and Colorado potato beetles, have already left the plant by now, so pulling the roots does nothing but disturb your soil. Root-knot nematodes, on the other hand, require a full root-pulling since they live in the roots themselves.
Don’t worry about a little pest damage here and there. A handful of aphids on the last of your kale isn’t a reason to clear the bed; it’s lunch for the beneficial bugs you want to keep around.
Subscribe to Garden Betty
Sign up to get my free weekly emails and I’ll teach you how to keep your plants alive, maximize your garden bounty, and preserve the harvest.
Weeds
Clover, purslane, chickweed, and dandelions like to creep in and stay uninvited before winter, so pay attention to these weeds before you mulch.
- Chickweed: The sneakiest of the bunch. It’s a cool-season weed that keeps growing (and setting seed) through mild winter spells, so a few plants in November can carpet a bed by March. It also attracts egg-laying cutworm moths in spring.
- Dandelions: Get the whole taproot, or they’ll regrow from whatever piece you leave behind. A hori-hori (a Japanese soil knife) slides down alongside the root so you can pry it out in one piece.
- Clover: It spreads by runners, so pull slowly and follow them to the end.
- Purslane: It usually dies back with the first frost, but remove the remnants anyway. Its tiny seeds can stay viable in the soil for years.
That is, pull them unless you’ve been eating them. All four are edible weeds, and chickweed in particular makes a mild, tender salad green right when the rest of the garden is winding down.
What to add
The one thing your raised beds should never be over winter is bare. Bare soil gets compacted by rain, loses nutrients to runoff, forms a crust, and heaves with every freeze and thaw. You can cover it with something living, something dead, or both.
Winter-hardy cover crops
A cover crop is a plant you grow to protect and feed the soil rather than to harvest. Legumes are my go-to for winter beds because they pull nitrogen out of the air and store it in their roots, so the bed is richer in spring than when you planted it.

Two of my favorites for raised beds include:
- Austrian winter peas: This is the most cold-hardy of the bunch, and the tender shoots and tendrils double as early spring salad greens. Here’s how to grow Austrian winter peas as a cover crop.
- Fava beans and bell beans: They shrug off temperatures down to 15°F to 20°F and grow right through snow. In zones 4 and 5 they usually die back, but even a dead stand protects the soil as mulch. Here’s how to cover crop with fava beans and bell beans.
Different types of cover crops also grow happily together in the same bed. If you’re new to the idea, start with my simple guide to growing cover crops, or browse more edible cover crops that build your soil while they grow.
Sow seeds about four to six weeks before your first hard frost so the plants reach at least 6 to 8 inches tall before growth stalls for winter. If you’ve already missed that window, don’t force it—mulch the bed now and sow your cover crop between late winter and early spring instead.
Mulch for empty beds
If you don’t plan to grow anything over winter, mulch is your bed’s winter coat. A good layer prevents soil compaction and erosion, stops frost heaving, suppresses winter weeds, and stimulates microbial activity in the soil when there’s nothing else.

In mild climates, 3 inches is plenty as a topper. Where winters are harsh, you can go considerably deeper. A few of my favorite winter mulches include:
- Shredded leaves: Free, abundant, and right there in your yard. Shred them first (running a mower over a pile works), since large, thick, whole leaves mat into a soggy layer that sheds water and gives slugs a hiding spot. (Here are more ways to use fall leaves in the garden.)
- Pine needles: If you have lots of conifers in your yard, you know firsthand how crazy it can get with all the needles they drop! Spread some of them around on your garden beds (contrary to popular belief, pine needles do not make soil more acidic).
- Straw: Light, fluffy, and easy to rake back in spring. Make sure you use straw, not hay, which is loaded with seeds.
- Sheep wool: Holds moisture, breaks down slowly, and releases nitrogen as it goes. I get mine from a local farmer, so ask around if you live near anyone raising sheep.
- The foliage you just cut down: Chopped, healthy plant debris is the most convenient mulch you’ll ever have.
For a full breakdown, see my rundown of the best types of organic mulch.
Mulch for perennials and overwintering crops
When mulching perennials, you’re not trying to keep them warm—you’re trying to keep the soil consistently cold so the plants stay dormant and their roots don’t get heaved out of the ground.

- Asparagus and rhubarb: Once the foliage dies back, cut it down and cover the crowns with a few inches of their own spent leaves. (If asparagus beetles were a problem this year, bag and trash the ferns instead, since the adults overwinter in debris, and use straw or another material.)
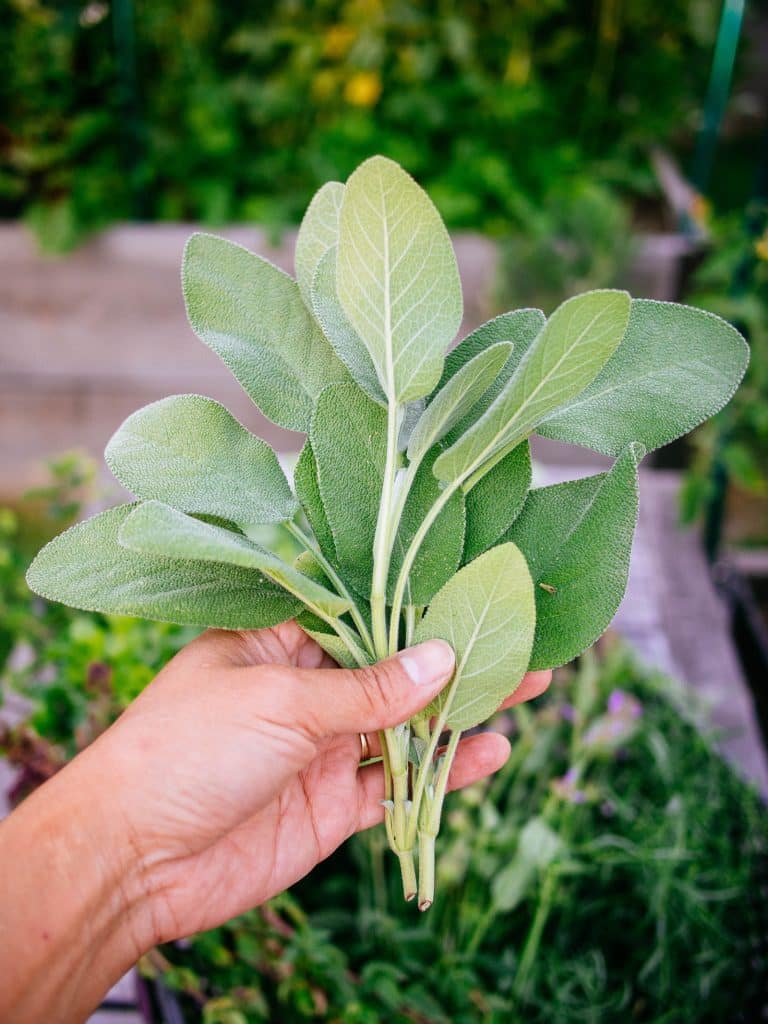
- Sage, thyme, and oregano: These woody herbs handle cold better than wet. Tuck a light, airy mulch like straw or pine needles around them, but don’t pile it over the crowns, and hold off on any hard pruning until spring. (Read more on cold-hardy herbs that overwinter outdoors.)
- Newly planted garlic: Give it a thick blanket of straw or shredded leaves to keep the cloves from heaving out of the soil. One year I mulched my garlic bed with cut-up boughs from our old Christmas tree, which worked beautifully.
- Carrots: A deep layer of straw or leaves slows the ground from freezing solid (or keeps it from freezing at all), so you can keep digging carrots well into winter.
- Kale, broccoli, Brussels sprouts, and cabbage: Mulch the soil around the plants, not the leaves, and keep it a few inches back from the stems.
- Strawberries: What I currently do in my zone 5 microclimate is let the healthy leaves die back on their own and drop over the crowns, where they act as a natural mulch through winter. Before you reach for the pruners, read my post on winterizing strawberries so you don’t make the most common mistake.
Did you know?
Carrots taste sweeter after a few frosts. Cold weather triggers the roots to convert some of their starch into sugar, which acts like a natural antifreeze. Overwintered carrots are a treat you can’t get any other way.
Compost
If you only add one thing to your beds this fall, make it compost. A 2- to 3-inch layer of finished compost works as a winter mulch and revives tired soil at the same time. Rain, snowmelt, and earthworms carry it down into the bed over the next few months, so you don’t need to dig it in.
It also solves a problem every raised bed gardener runs into: sinking soil. As organic matter breaks down each season, the level in your beds drops. A fall top-up brings it back to where it should be by planting time.
For reference, a 3-inch layer over a 4-by-8-foot bed takes about 8 cubic feet of compost. (My soil and mulch calculator will do the math for any size bed.)
Subscribe to Garden Betty
Sign up to get my free weekly emails and I’ll teach you how to keep your plants alive, maximize your garden bounty, and preserve the harvest.
What to put away
Anything that isn’t attached to your raised bed is better off out of the weather until spring.
Trellises, stakes, and tomato cages
Winter is hard on plant supports. Wooden stakes rot at the soil line, bamboo splits, metal rusts, and plastic turns brittle after months of sun and freezing. Pull them out, knock off the clinging soil and dried vines (which can carry disease spores and hide overwintering pests), and let everything dry before you stack it.

I store mine in a sheltered spot out of the rain and snow, and they last noticeably longer for it. The same goes for row covers you won’t be using this winter: shake them out, let them dry completely, and fold them away indoors. If you’re due for a deeper clean, here’s how to clean your garden tools before you put them away.
Plant tags
Pull your plant tags before they disappear under mulch or snow. If they’re still in good shape, dust them off (a quick scrub under water takes care of the stubborn dirt) and toss them in a bin to reuse next season.
Pro tip: Most permanent markers fade to a ghostly gray after a season in the sun, which is how you end up with a row of mystery peppers. My favorite permanent garden marker writes cleanly on plastic plant tags, and the ink lasts several seasons without fading—sometimes even longer than the plant tag itself.
Disclosure: If you shop from my article or make a purchase through one of my links, I may receive commissions on some of the products I recommend.
Staedtler
Permanent garden marker
This is the only marker I use to label my plants. It’s truly long-lasting (and more permanent than Sharpie), even after several seasons of rain, snow, and sun.
What to check
The last step is a slow walk around every bed, looking for anything that might fail you in the middle of a January storm.
Low tunnels and frost covers
If you’re overwintering crops under a low tunnel, inspect it now while the weather is still pleasant enough to fix things:
- Hoops: Look for bends, cracks, and loose connections that might make your hoops collapse under heavy, wet snow.
- Fittings, clips, and clamps: Replace any that are cracked or have lost their grip.
- Anchors: Make sure bricks or ground staples are holding the edges down tight on every side.
- Covers: Frost cloth with holes or tears won’t hold heat, and greenhouse plastic that’s gone cloudy and brittle lets in less light and rips easily. If a cover is on its last legs, replace it now instead of after it shreds in a storm.
Here’s more on the different types of row covers and how I use them to grow vegetables through winter without a greenhouse.

Rotting wood or shifting boards
Raised beds take a beating from wet soil on one side and weather on the other. Look for screws backing out, rusted brackets, and sides bowing outward, which tends to get worse as the soil freezes and expands over winter.
If anything needs attention, you can either:
- Fix it now: Tighten loose screws, add a corner bracket, or drive a stake against the outside of a bowing board. A few minutes of work now means the bed is ready to plant in spring.
- Make a note to fix it in spring: If a board needs replacing, snap a photo and add it to your spring to-do list (or your garden journal). Swapping out a board is easier before the bed is full of plants than after.
Drip irrigation
If your raised beds run on drip, don’t let the system sit full of water all winter. Water left in the tubing and fittings expands as it freezes, and that’s how you end up with split lines, cracked connectors, and a busted pressure regulator you won’t discover until the first warm day you turn everything back on.

Before your first hard freeze:
- Shut off the water: Turn off the supply at the spigot or valve, and disconnect any hoses feeding the system.
- Drain the lines: Open the end caps or flush plugs on every line and let the water run out. Lines that sit flat in a bed drain slowly, so give them time (or lift the ends to help gravity along).
- Bring in the vulnerable parts: The filter, pressure regulator, backflow preventer, and timer are the most likely to crack, so unscrew them and store them indoors. Pull the batteries from battery-powered timers so they don’t corrode.
- Look for damage while you’re there: Note any chewed tubing, kinks, or clogged emitters so you can swap them out before spring planting.
If you’re overwintering crops that still need the occasional drink, water by hand on mild days if it hasn’t rained in a while (so long as the soil isn’t frozen).
What to do in late winter or early spring
The same mulch that protected your beds all winter can work against you once spring rolls around. A thick, damp layer keeps the soil underneath cold and soggy long after the air has warmed up, which delays planting and makes the soil miserable to work.
So a few weeks before you plan to plant, start thinning it out. Rake back some of the mulch (or all of it, if you live in a cold or rainy climate) so the dark soil can soak up the sun, dry out, and warm up.

Exposing the soil also flushes out slugs, cutworms, and other pests that spent the winter in the moist, dark recesses of your mulch. Birds are quick to find them, and chickens are even quicker if you keep them!
A few more spring notes:
- Don’t toss the old mulch: Pile it in a wheelbarrow or at the end of the bed, and put it back once your seedlings are a few inches tall and the weather turns drier.
- Garlic and strawberries: Pull the mulch back as soon as you see new growth poking through.
- Cover crops: Cut them down at the soil line three to four weeks before planting, once they start to flower. That gives the roots time to release their nitrogen and gives any pests sheltering in the foliage time to move on.
My post on how to use mulch effectively has more tips on when to mulch, when to pull it back, and when to leave your soil bare.