Get yourself a cup of coffee or a frosty beverage, my friend, and settle in.
Today’s post is long, and there’s a lot to cover so I’m going to dive right in.
As I previously mentioned, my family and I decided to move into the mobile home on our new property and postpone construction of our house.
Since we’re living on site for the foreseeable future, we’re going to start building a brand-new garden from the ground up, which has been my dream for a long time coming.
You see, I loved growing in my first garden in Southern California, but most of it was laid out by the previous owners. There were times I wished I could’ve moved a tree or widened the paths or designed parts of it differently, but we were renting so we couldn’t really alter it structurally.
I had many nagging “If this was my garden…” thoughts over the course of those seven years and took plenty of mental notes for the day I could plan, design, and execute an edible garden from scratch.
And that day has arrived!
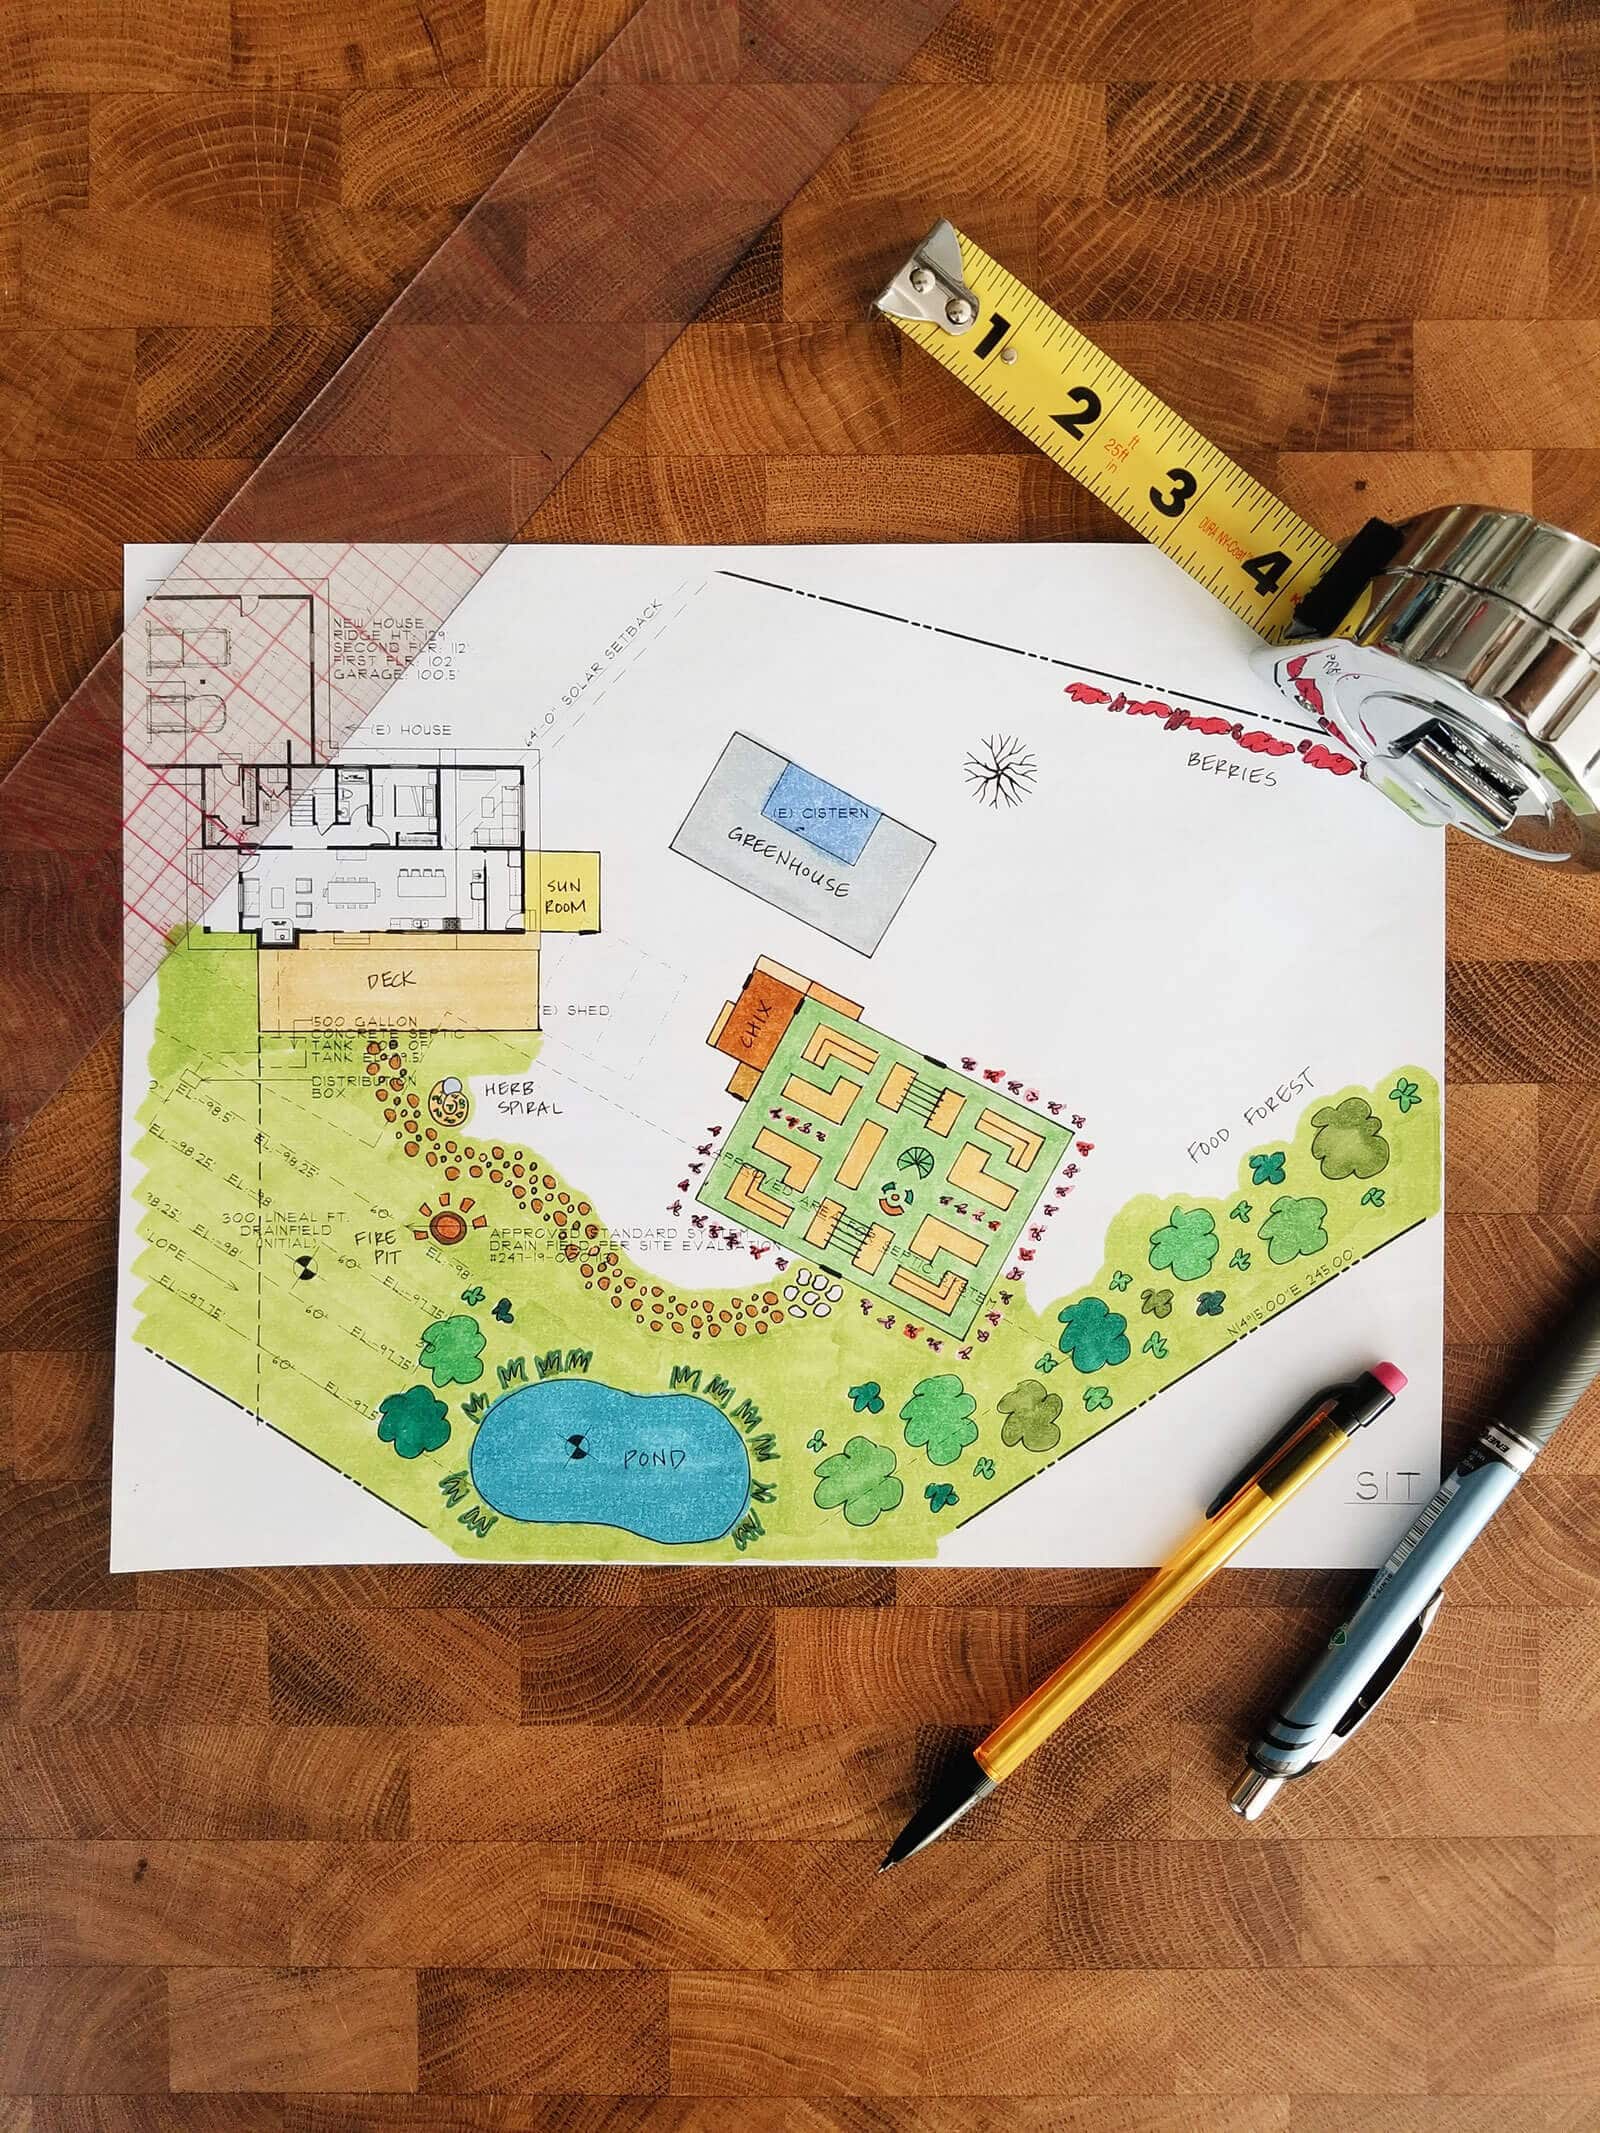
I’ll show you how and where I’m siting the vegetable garden and all the other components of our yard (like our future greenhouse, food forest, and swimming pond).
I’ll also give you a glimpse into how we’re working the chicken coop and chicken run into the garden design, though the details of that area will be a separate post. (We changed our minds while I was writing this post, and are reworking how we want the chicken run to look and function.)
So, let’s begin.
The current property layout
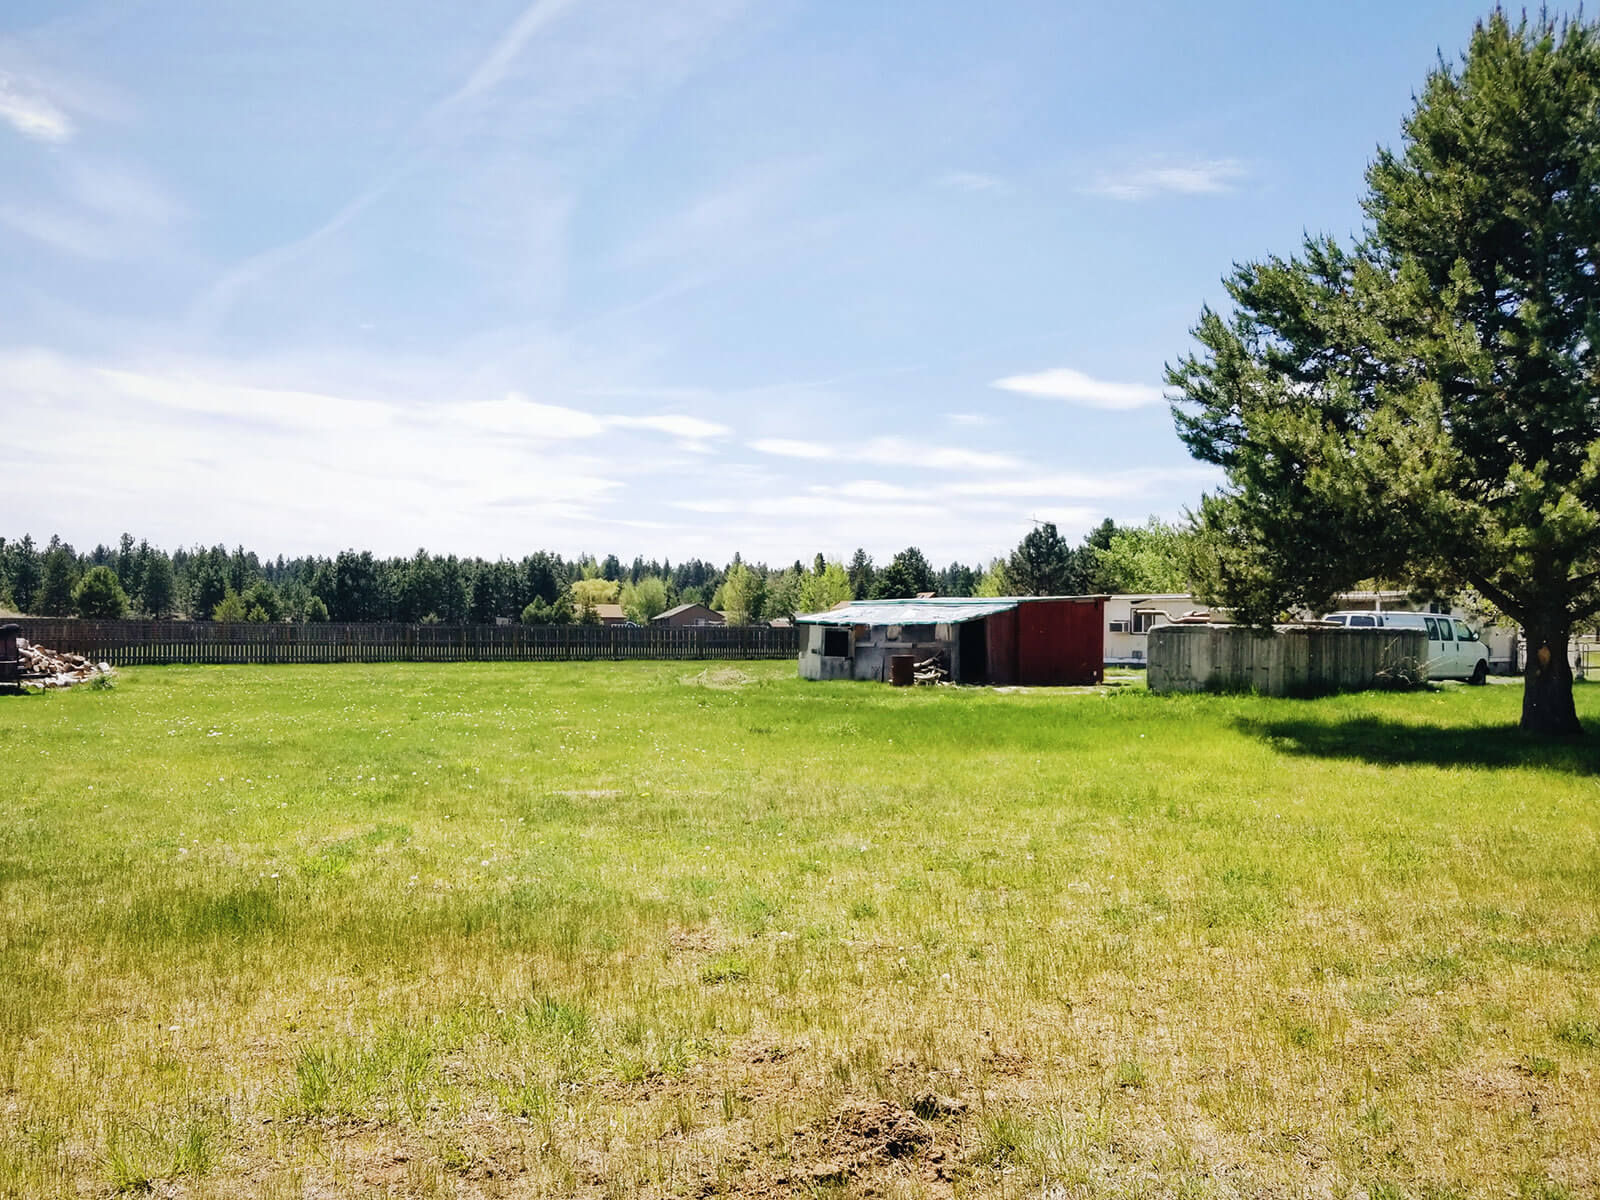
Here’s a drone shot of our property (with the existing mobile home). We have 1 1/2 acres on a flat, wedge-shaped lot with full southern exposure.
For reference, the top of this image (as well all other images and drawings in this post) points north.
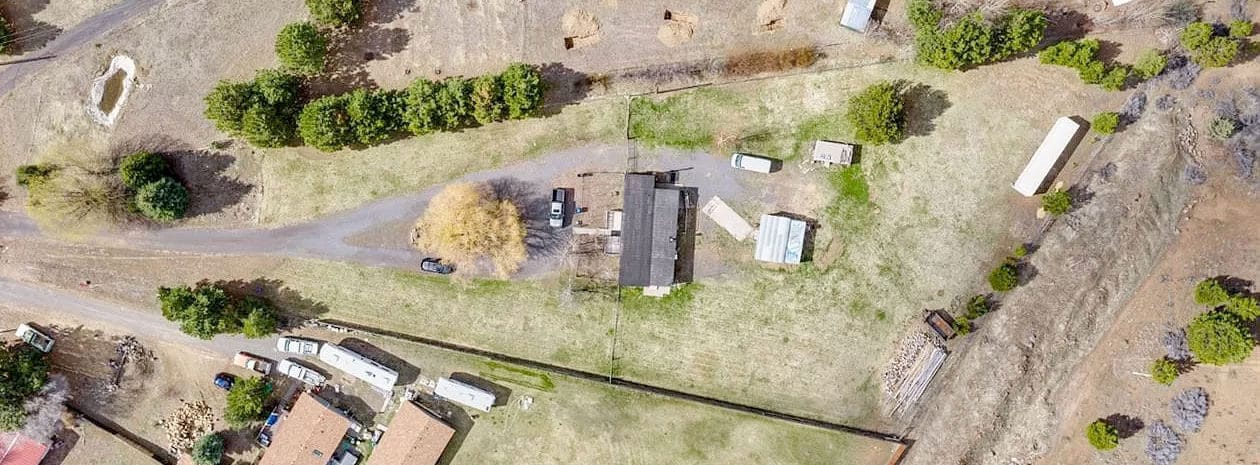
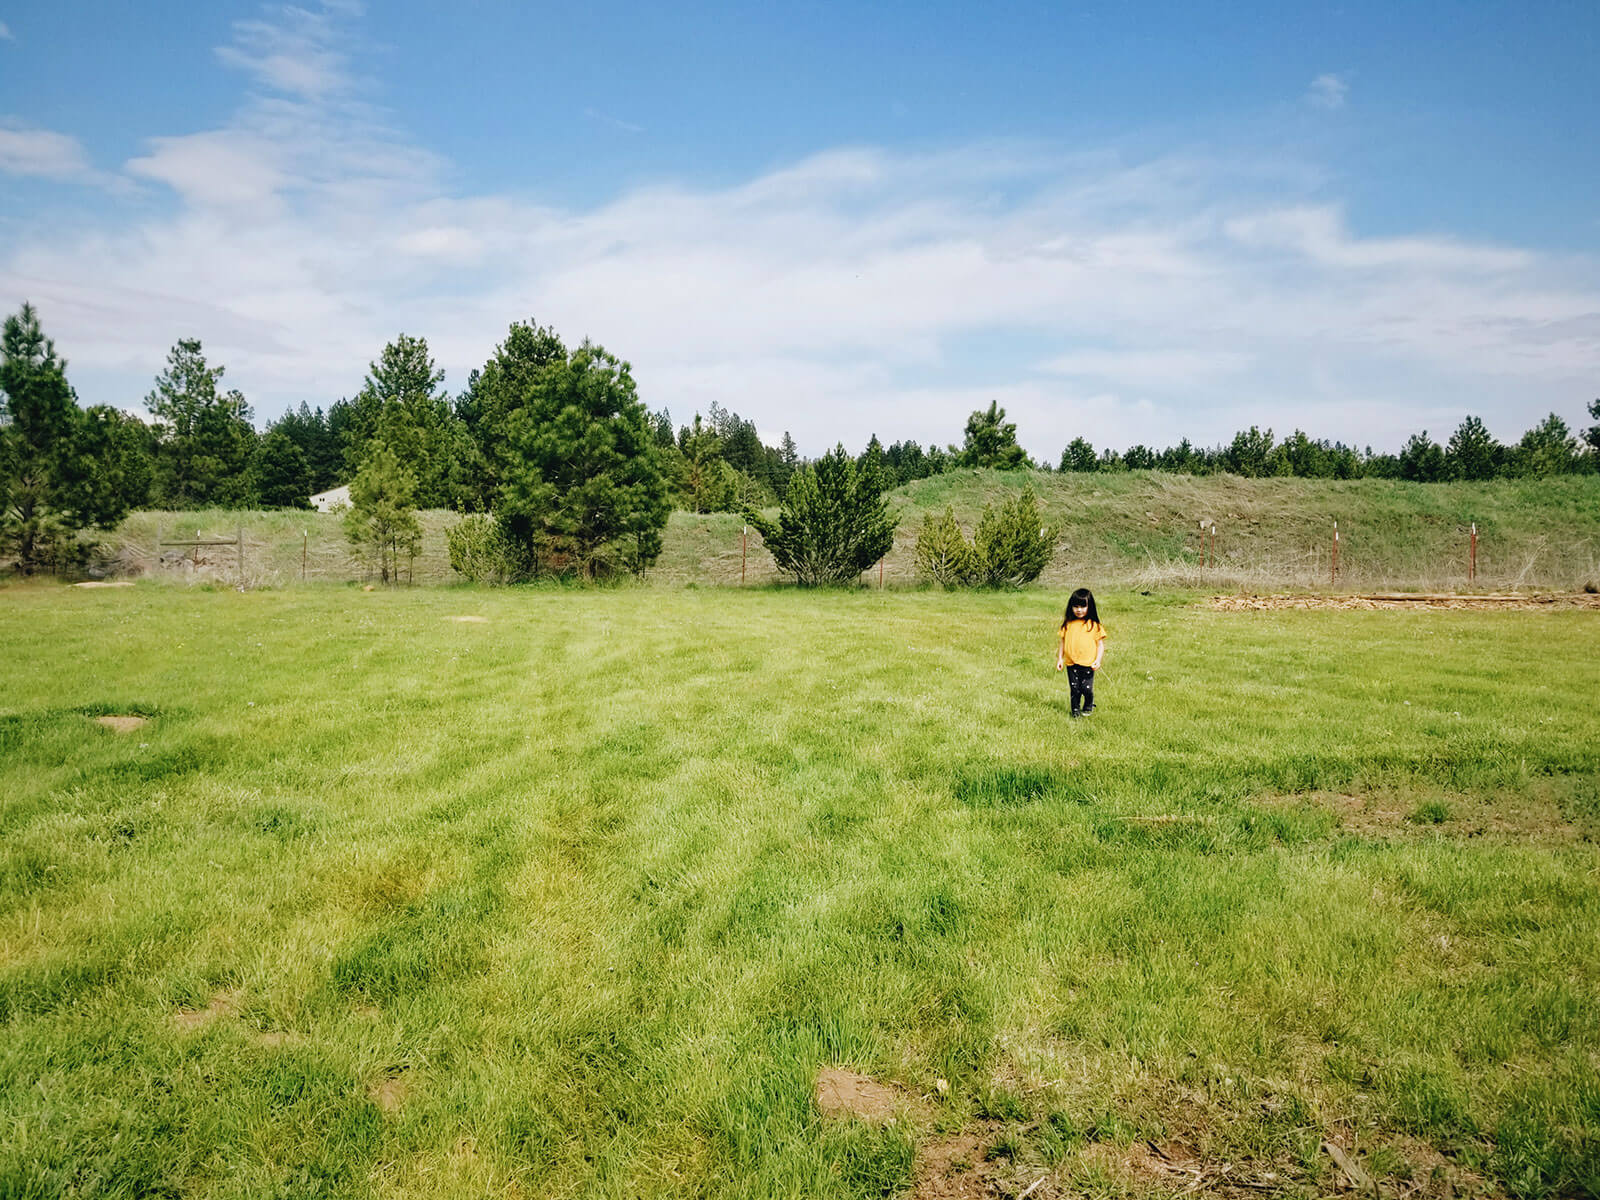
That glorious south-facing pasture is a big part of why we bought this land. The neighbor to the south also has an open expanse of grass, and with the county’s solar setback codes, we’re not likely to lose any sun if and when that neighbor sells his home.
I know it sounds crazy to think that far ahead of how the neighbor might affect our future views and sun exposure. But we plan to be here for a long time, so we wanted to minimize the possibility of any new owner building a two-story house and blocking our light.
This is the same drone shot, but with a rough overlay of where things will be.
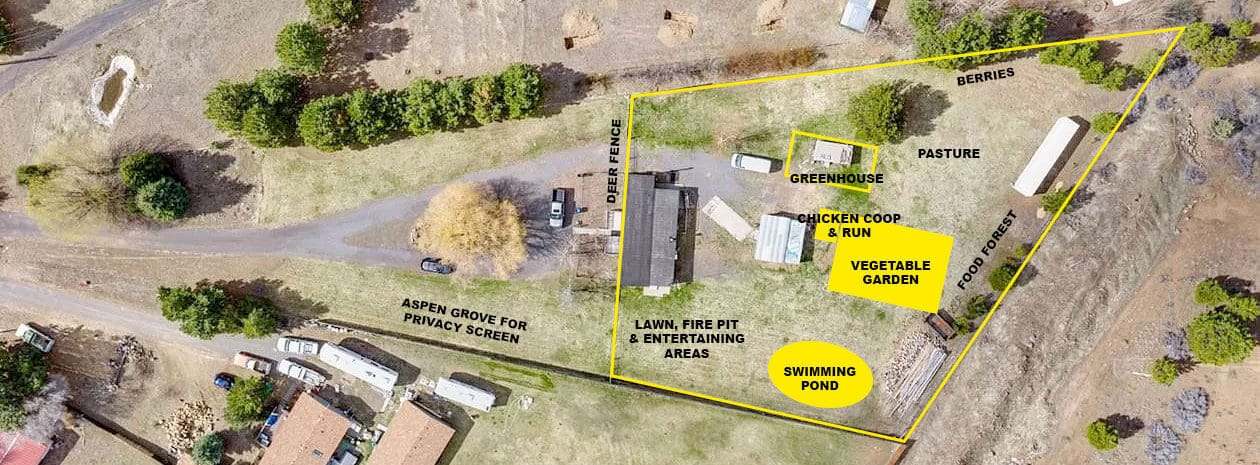
Our new house will be built exactly where the mobile home currently is, so the circular driveway will remain the same.
A deer fence will divide the property in half where the house is, with the front (western) portion landscaped with perennial bulbs, wildflowers, and deciduous and evergreen trees. We’ll also let the existing aspens grow as a privacy screen.
Related: 5 Super Effective and Humane Ways to Keep Deer Out of Your Garden
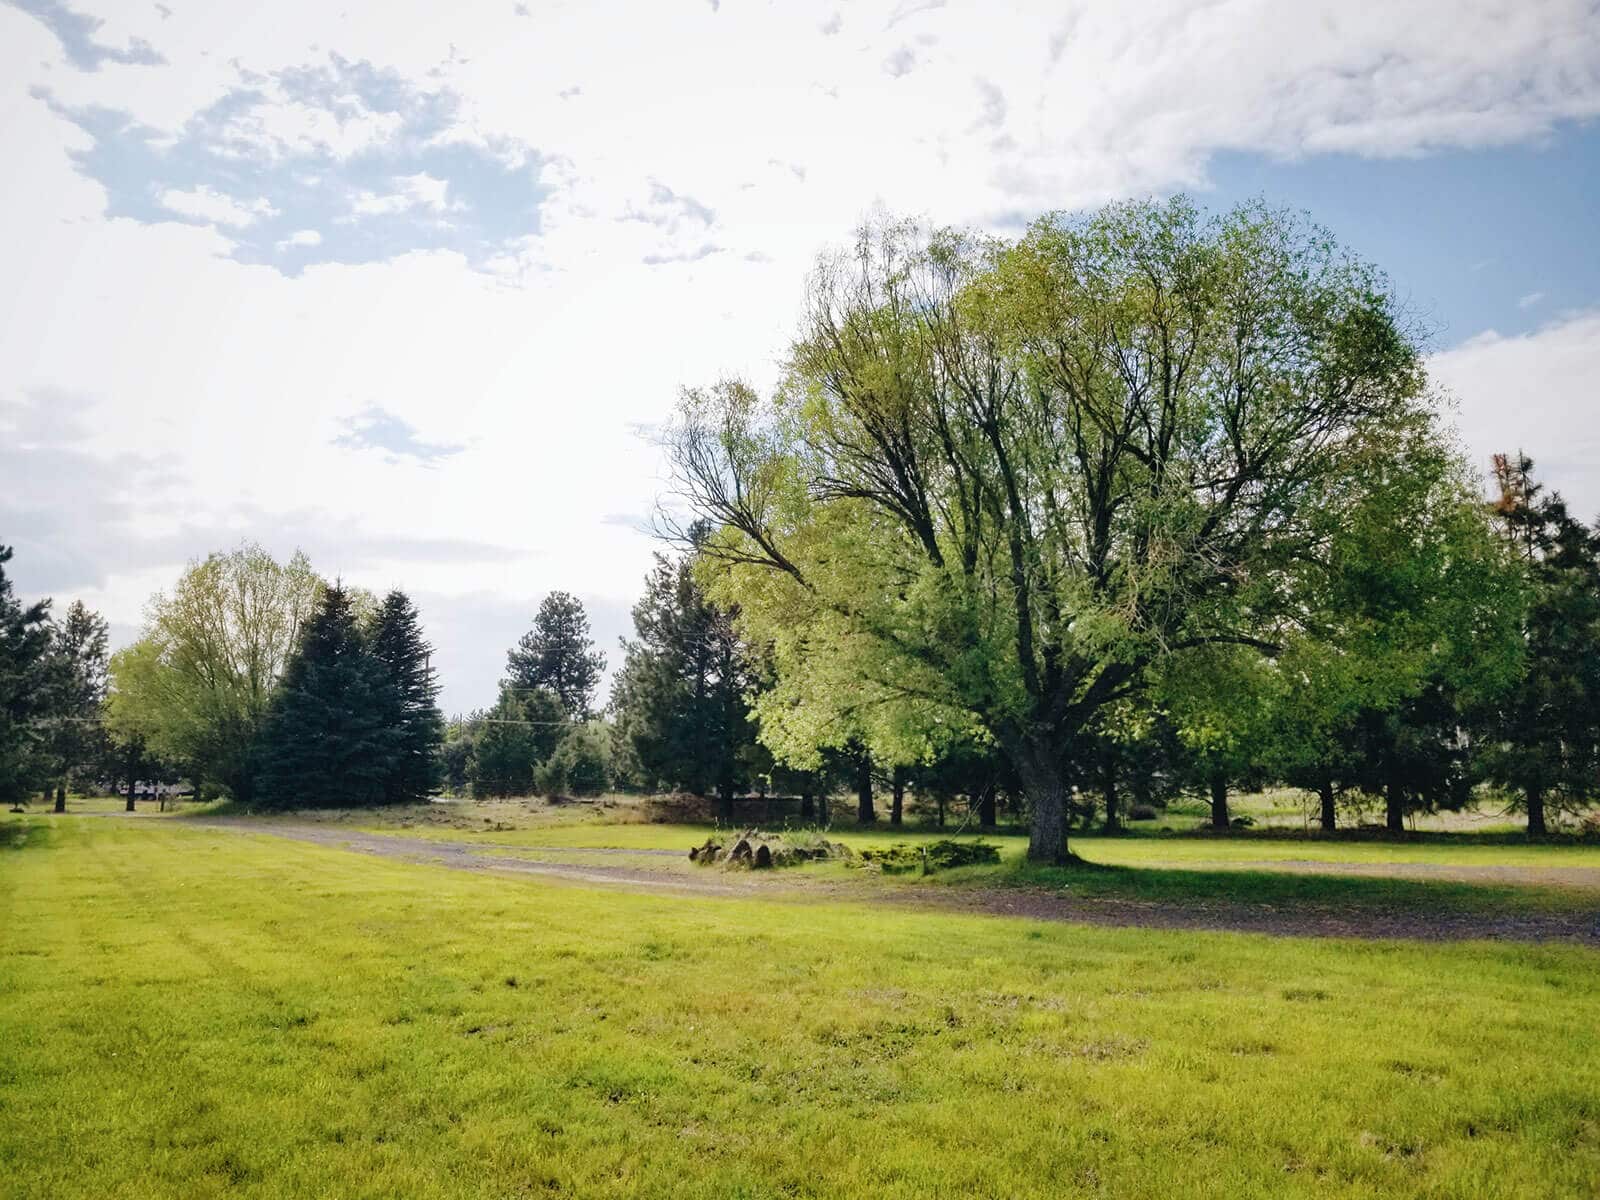
The back (eastern) portion will be dedicated to our homestead.
The vegetable garden
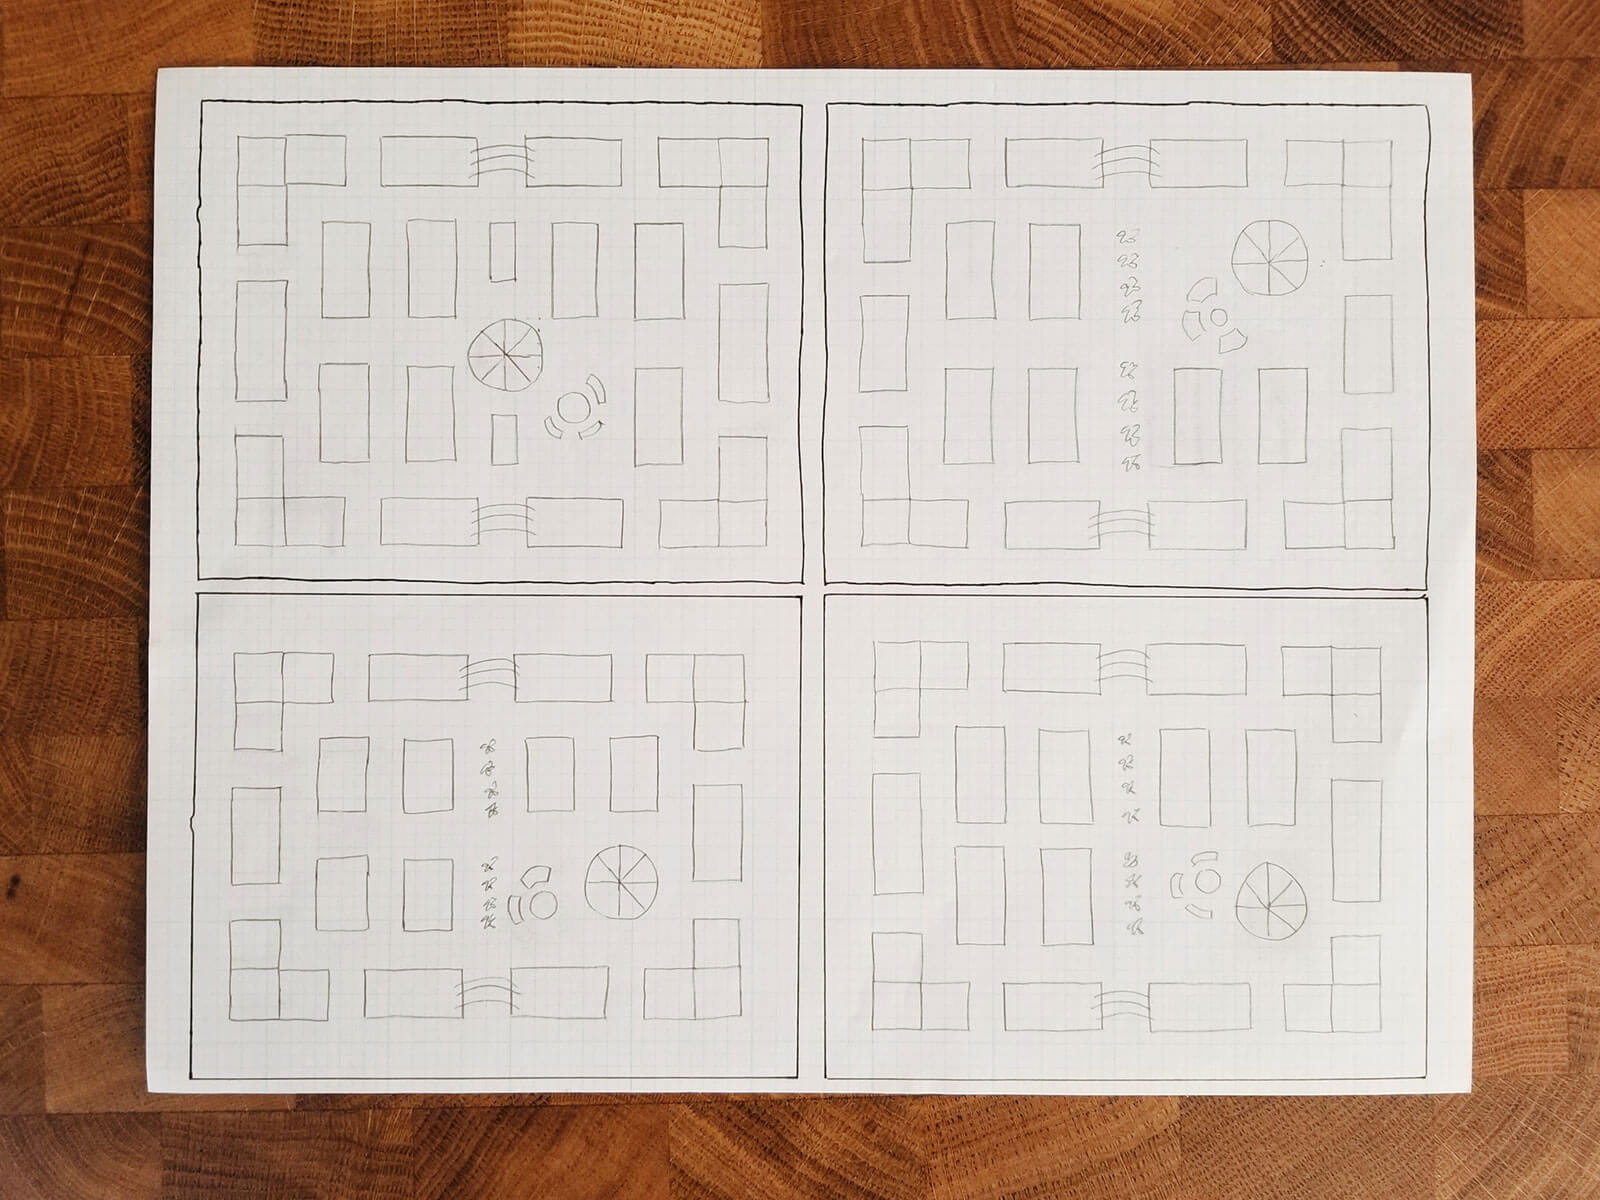
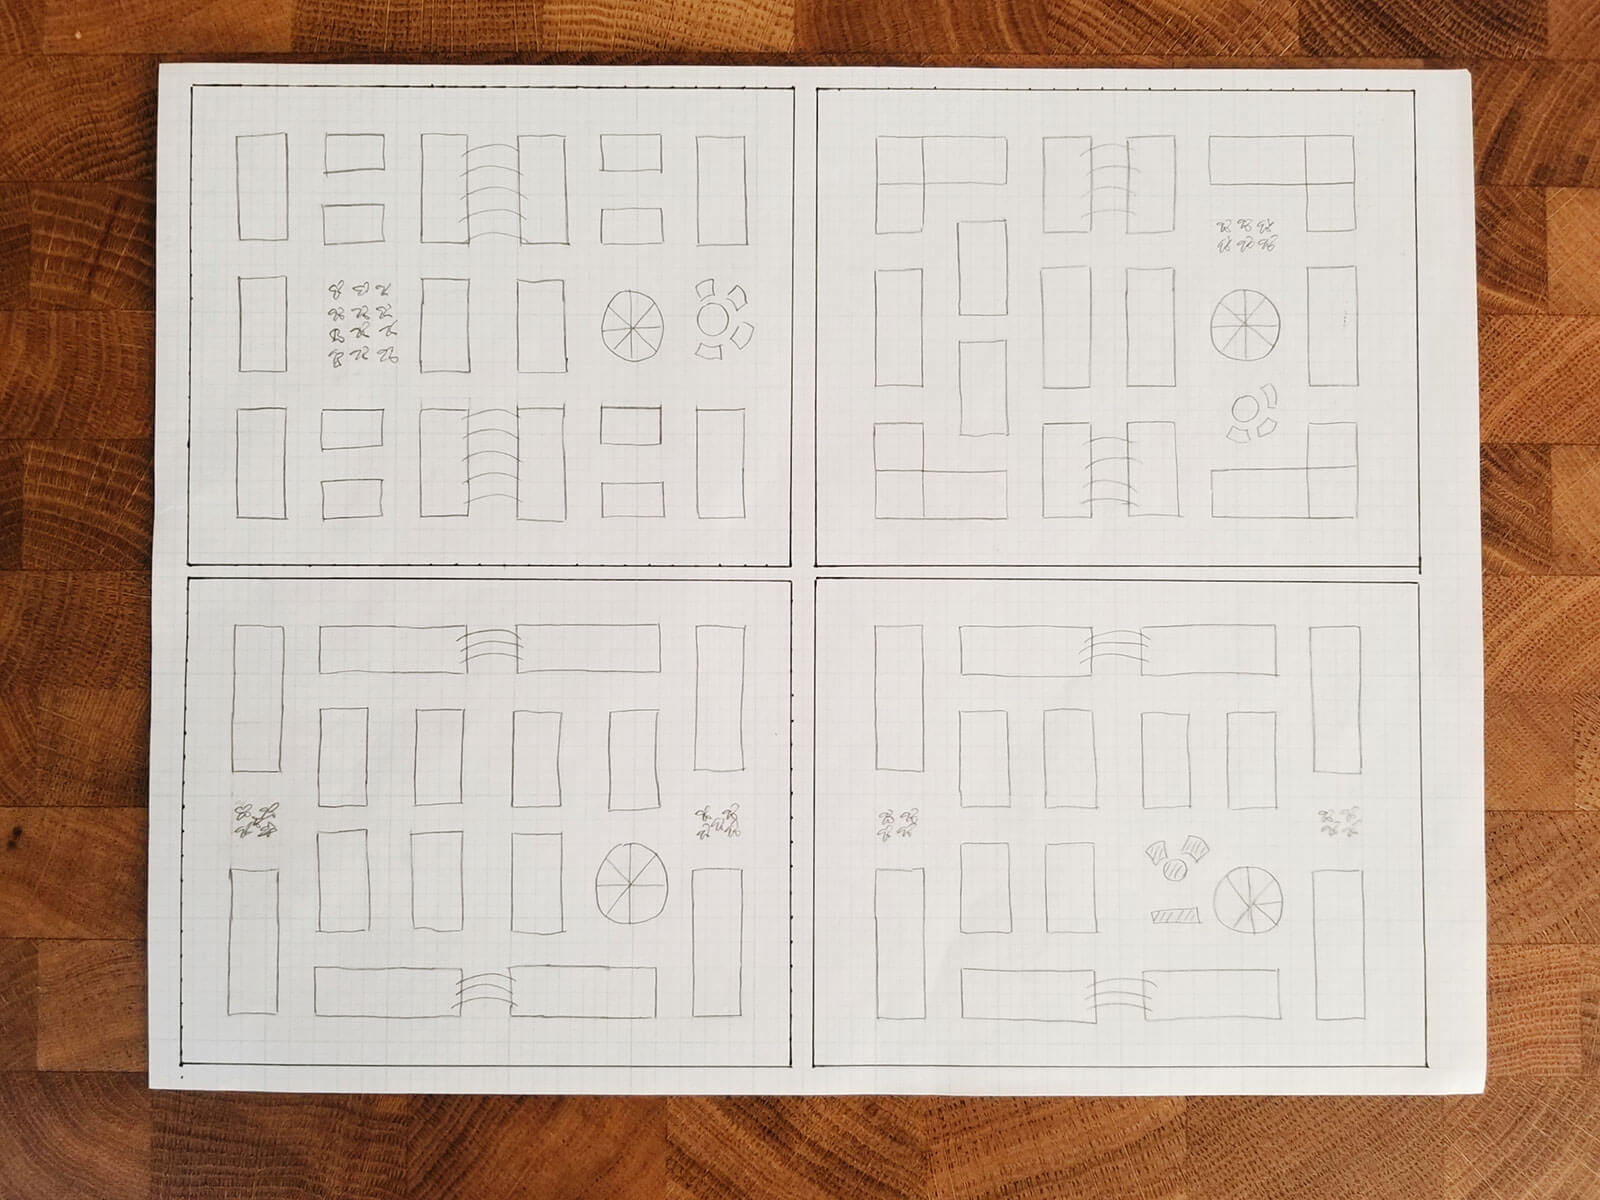
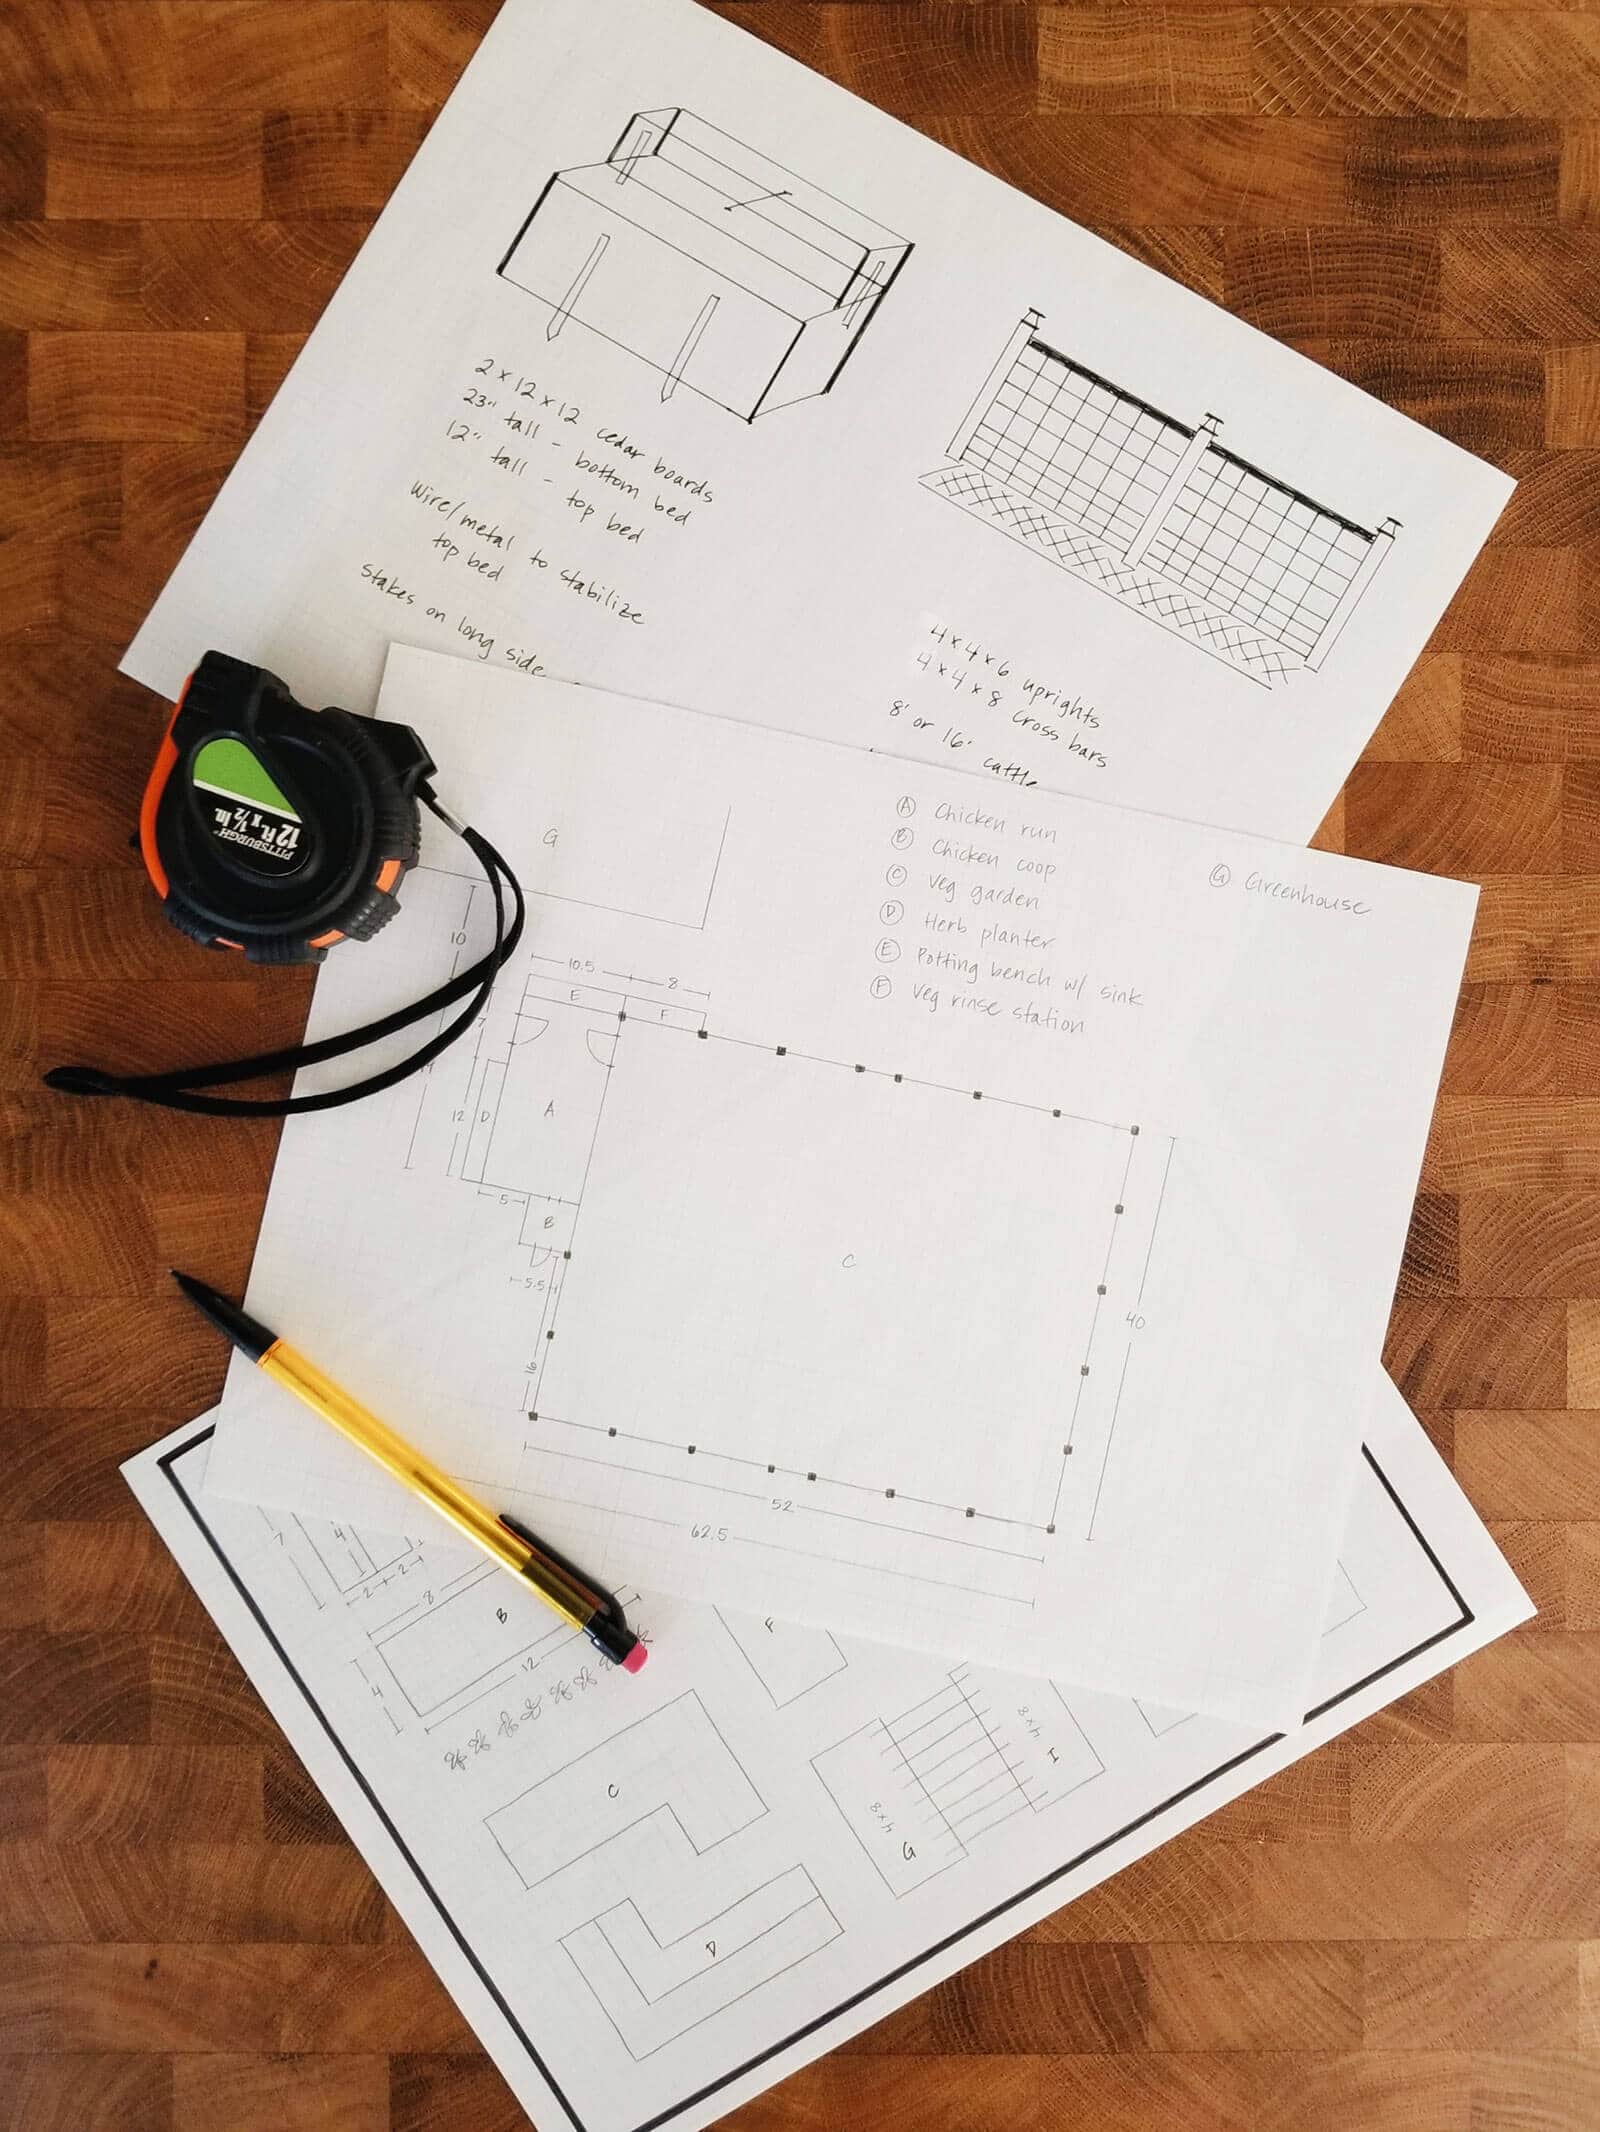
I spent a few days mulling over different ways to lay out the raised beds in the vegetable garden. While I’d love to have meandering paths through the yard that lead from one outdoor “room” to the next, I also love symmetry so I wanted a geometric design that was linear, but not boring.
Originally I was thinking triangles, trapezoids, and even a star-shaped bed as a central feature. (Pinterest will do that to ya!) But since we’ll need to cover the garden most of the year, it made more sense to build simple rectangular beds that we can install low tunnels over.
I pictured a vegetable garden with a maze-like feel that would be fun for the kids to explore, but not so complicated that it would be a pain to build or bring a wheelbarrow through.
These are some of the early sketches. Which one do you like?
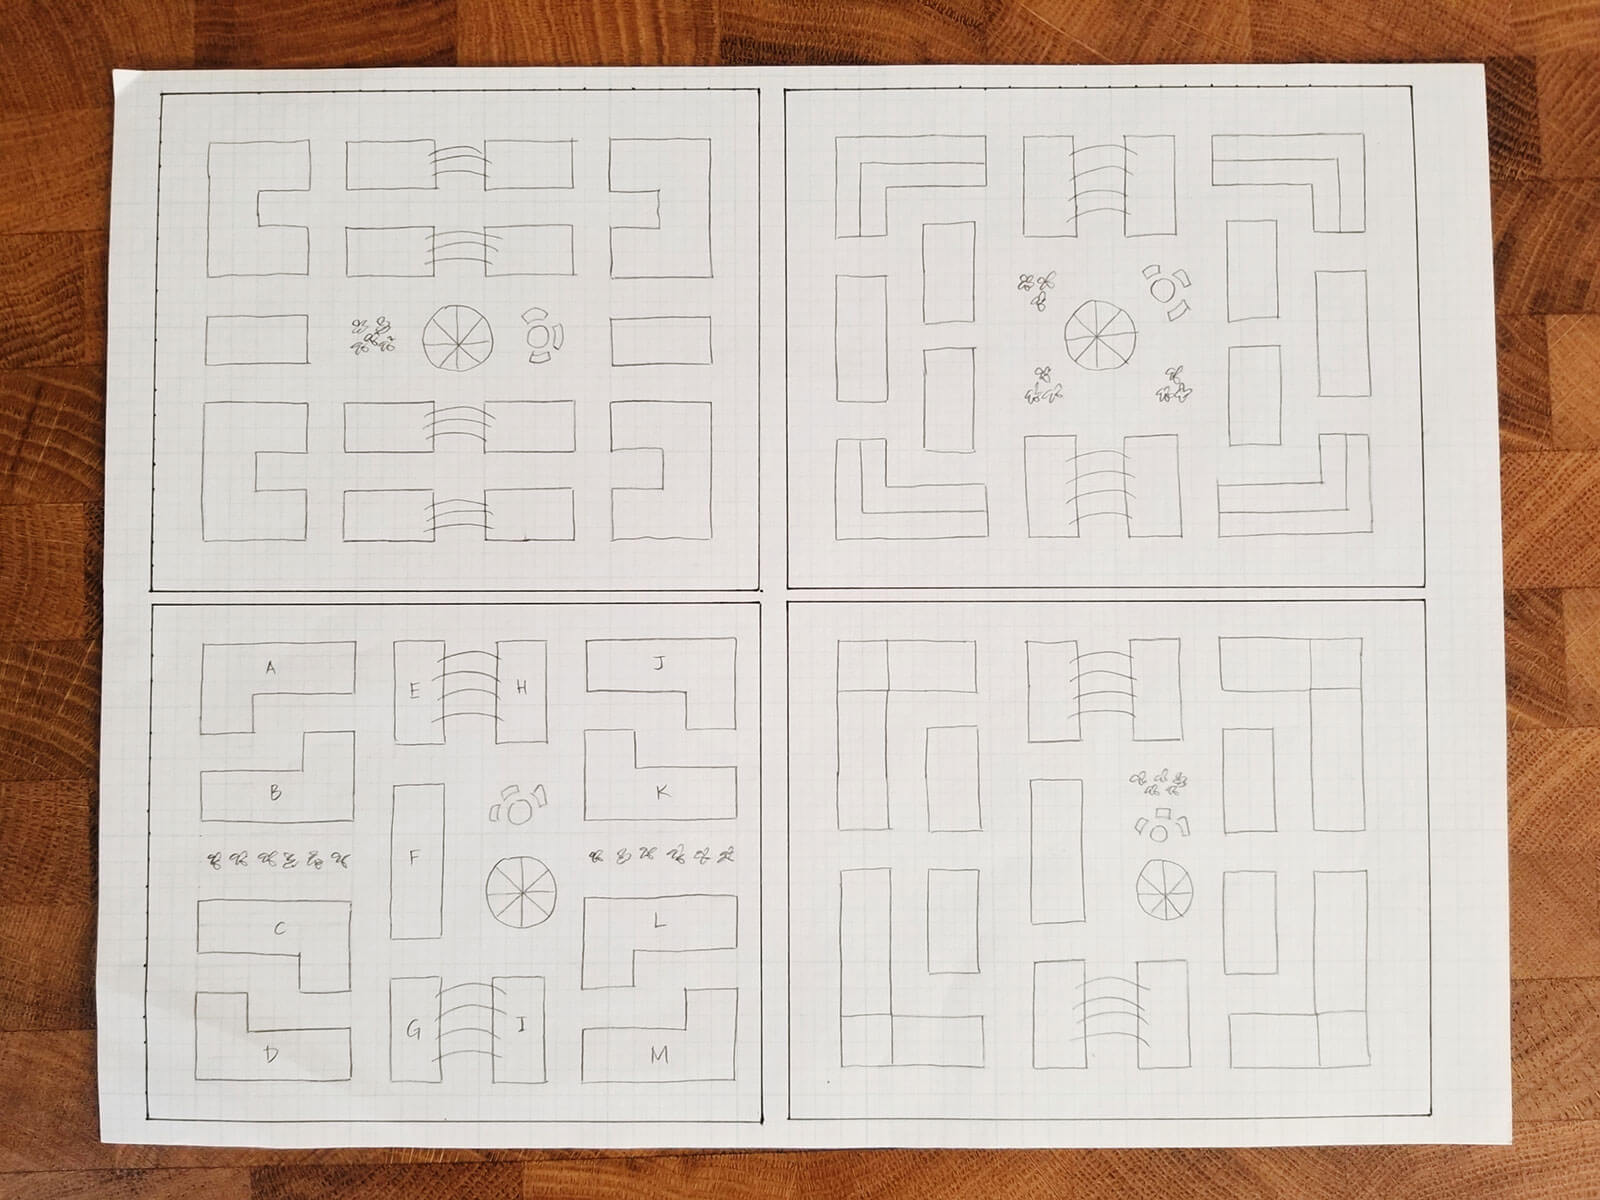
Even though we have loamy native soil (this is what we found 4 feet underground when we dug our septic test holes), I chose to go with raised beds over in-ground beds for a number of reasons.
First, raised beds help deter some of the pests in the yard (such as gophers and rabbits) since we can run hardware cloth across the bottom of the beds to minimize issues with burrowing and digging.
Second, raised beds warm up faster in spring, which is crucial in our very short growing season. Our last frost is typically in June and first frost is in September, so a few extra degrees always helps with seeding and transplanting.
Related: Find First and Last Frost Dates Accurately with This Custom Planting Calendar
Raised beds also make it easier to amend the soil and control moisture. Weeds are more manageable in a confined area, and planting beds don’t get compacted the way they do when they’re in the ground.
But the number-one game-changing reason I’m doing raised beds?
Having the ability to bring the plants higher!
No more bending over to harvest or being on my knees to transplant. Every bed will be at least 23 inches tall, which is a major upgrade from the 8-inch-tall beds I had before.
This is the thing I’m most excited about for the vegetable garden, and why I’d recommend anyone starting from scratch to invest in taller beds, if at all possible. Your back will thank you for it!
Read more: Lazy Gardening: 11 Time-Saving Tips for Getting More Out of Your Garden By Doing Less
So after seeing all the sketches, can you guess which one we ultimately went with?
Here’s what we picked!
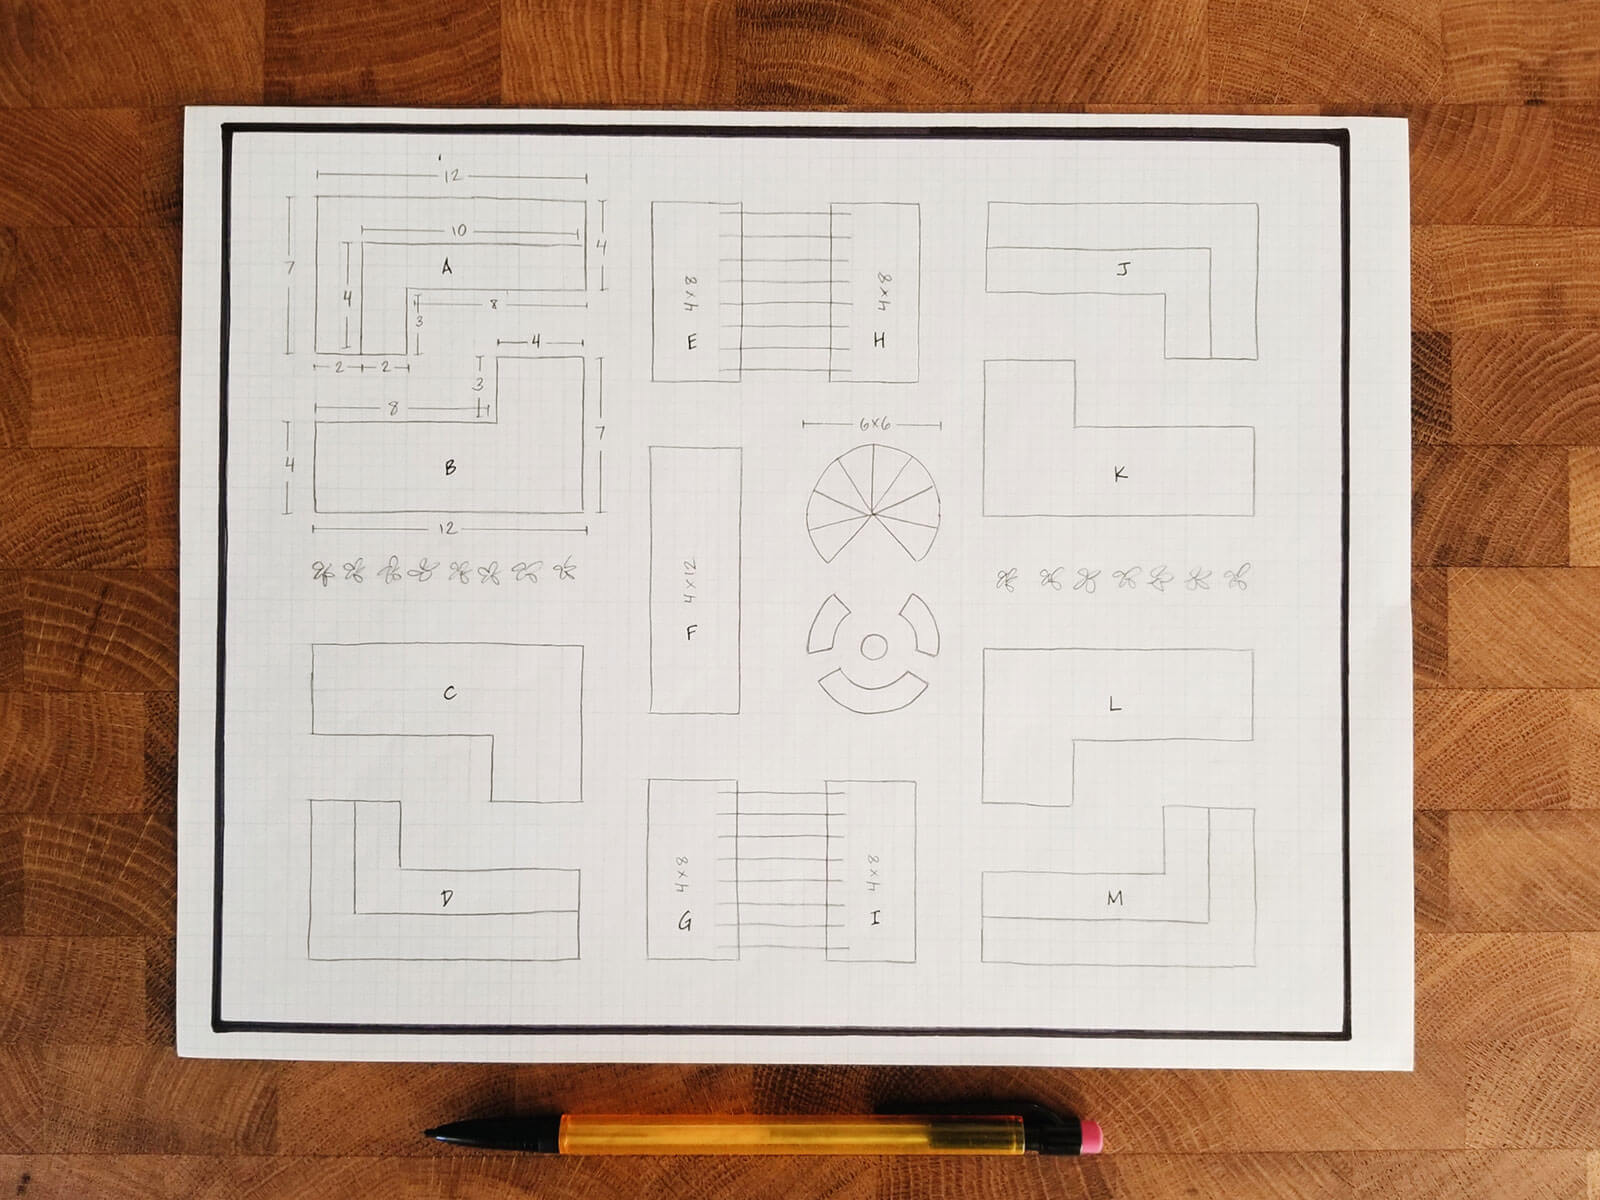
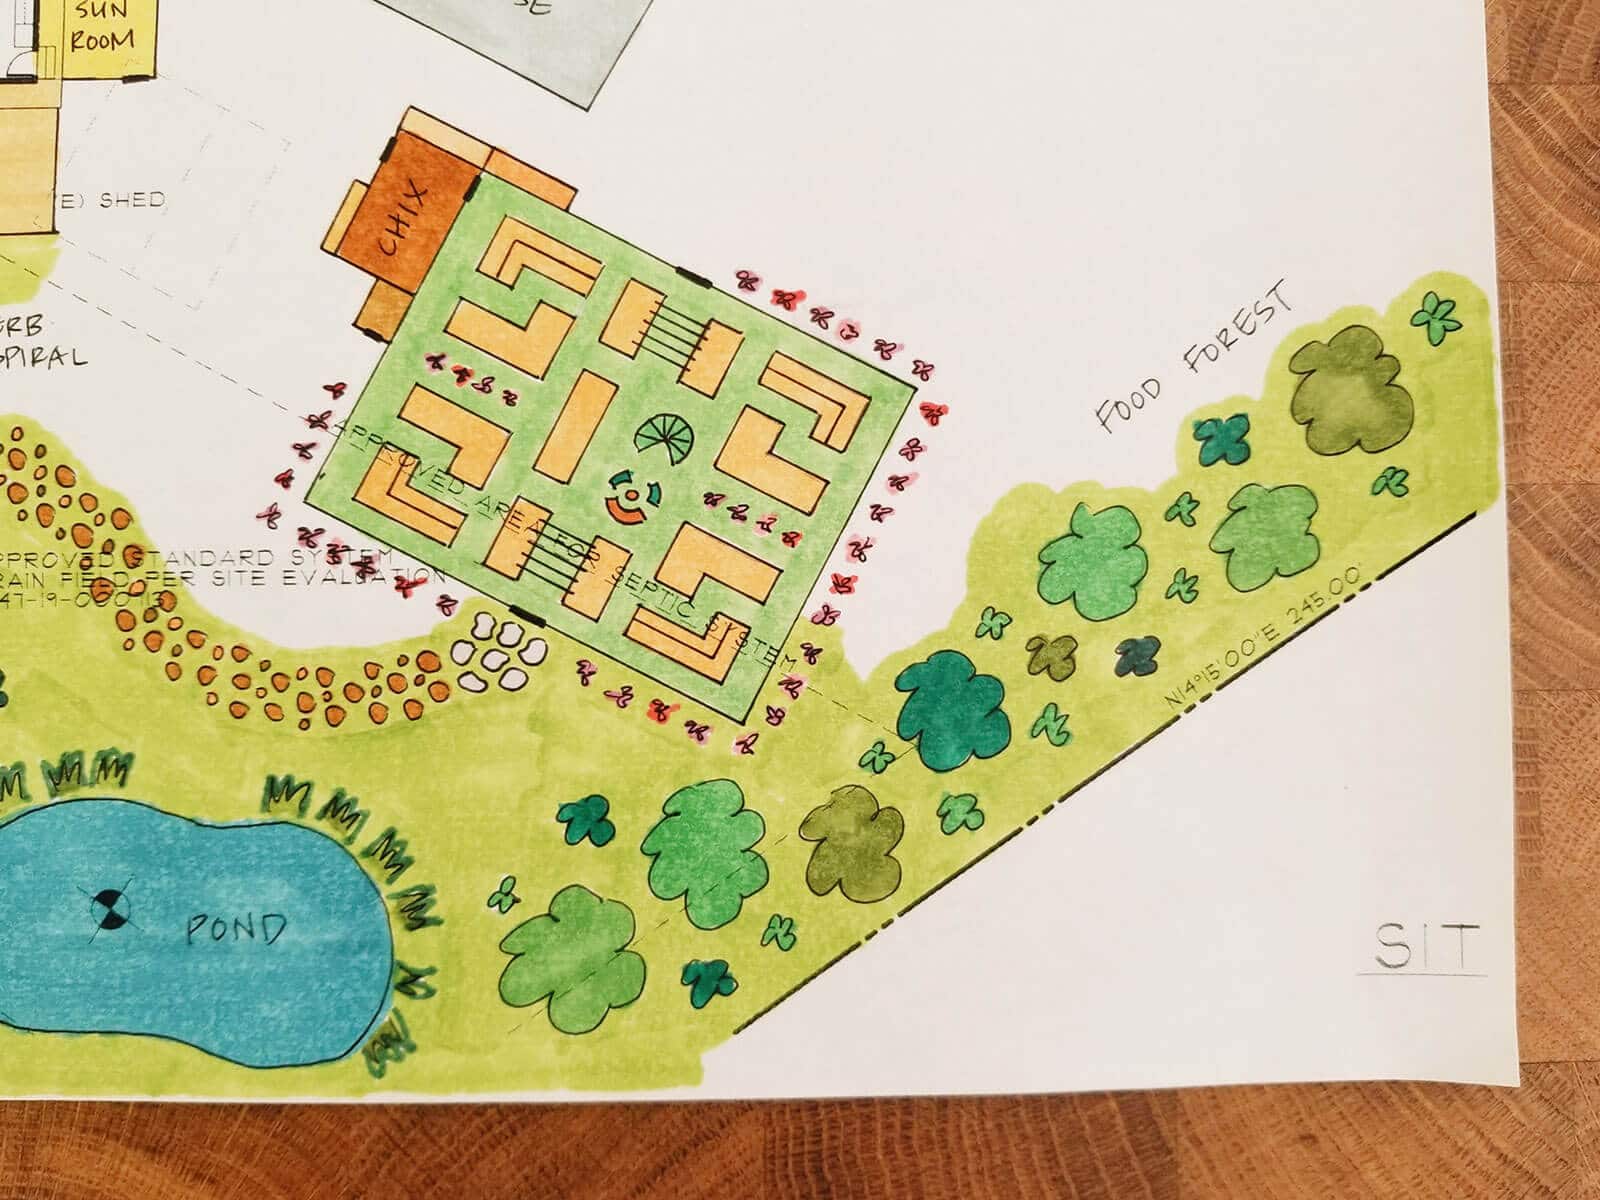
The garden measures 52 feet long by 40 feet wide and is fully fenced (but a low fence, so as not to obstruct any views from our future house windows). You know this belongs to a total plant geek when the footprint of the garden is bigger than the house! Haha.
I resisted the temptation to cram just “a few more” beds in the garden (because let’s be honest, 2,000 square feet is plenty big for a family of four). We’ll have food growing all over the yard, so this space is strictly a vegetable garden (with edible flowers planted throughout).
The paths are 3 feet wide between the beds for easier maneuvering, with 4-foot paths on the sides for containers, flowers, and other plantings. I want to leave those spaces sort of open and flexible for trying new plants and growing methods.
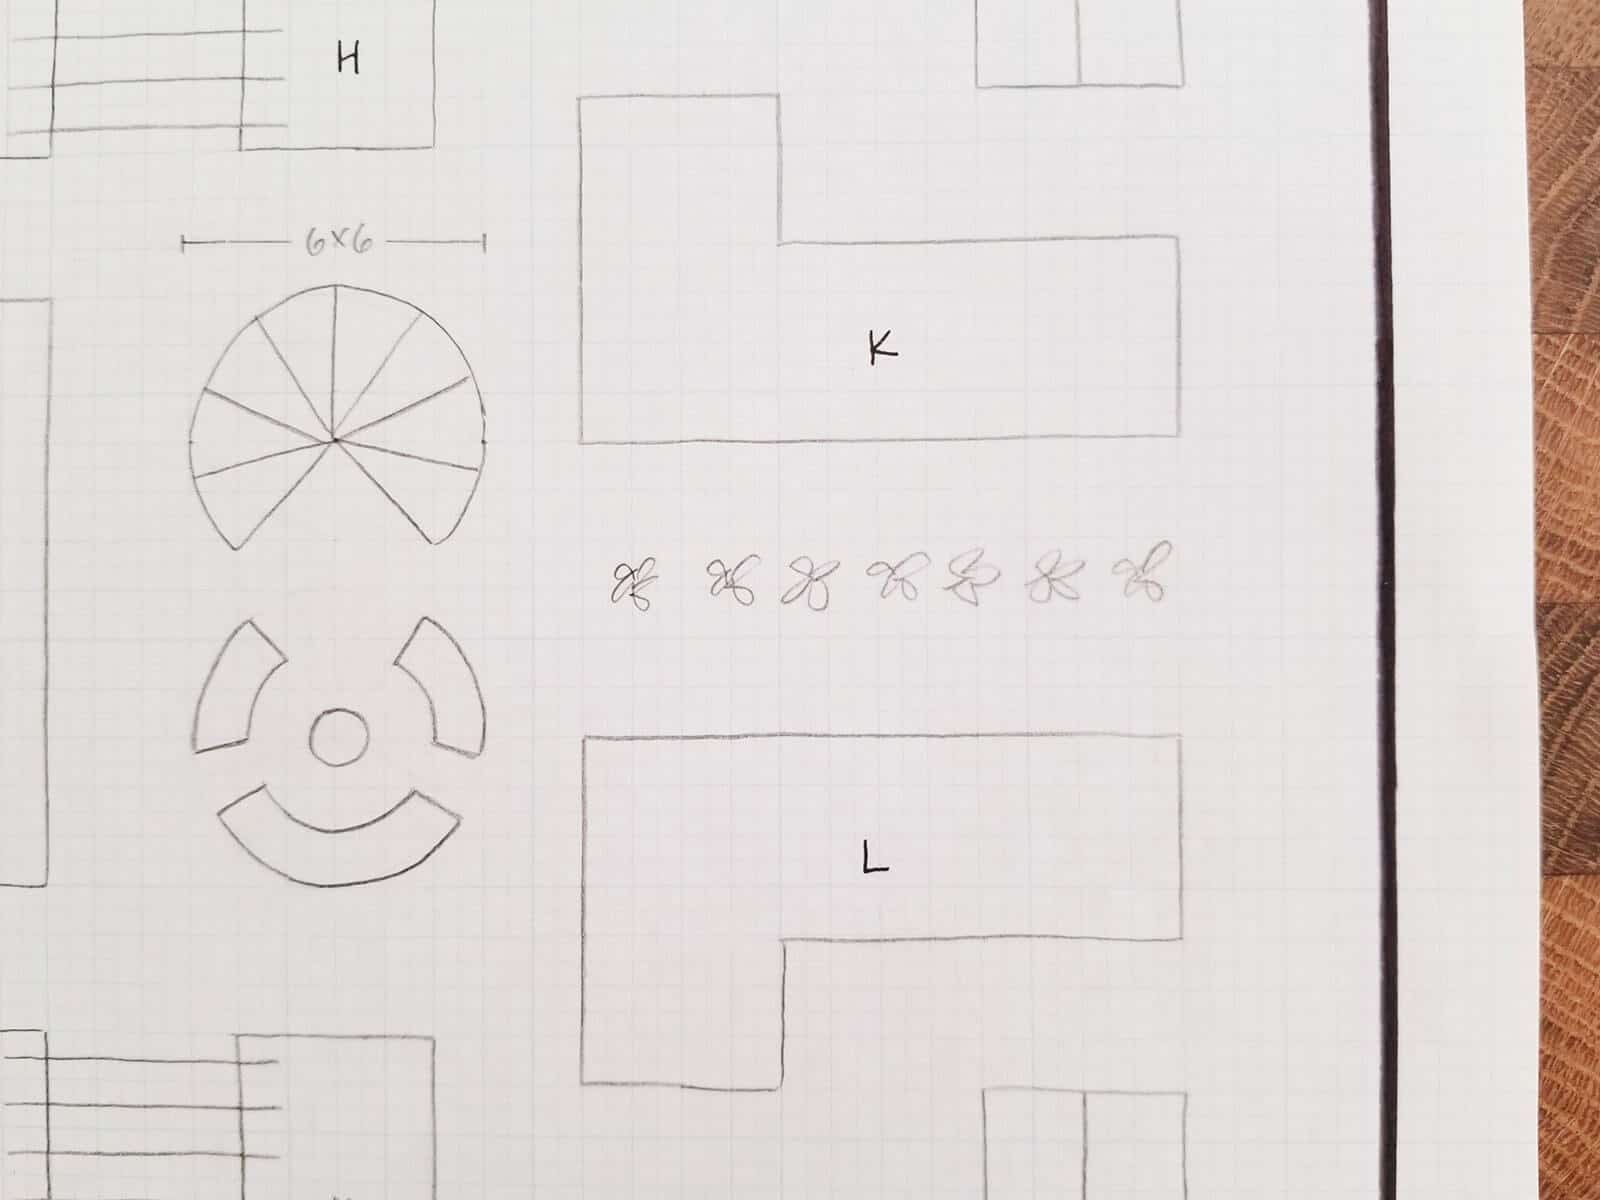
The L-shaped beds in each corner are tiered, with the upper section standing 35 inches tall.
The lines spanning the center beds are 8-foot-long tunnel trellises for tomatoes, squash, melons, and other climbing plants. (Is it wishful thinking to grow melons in Central Oregon? I’ll find out…)
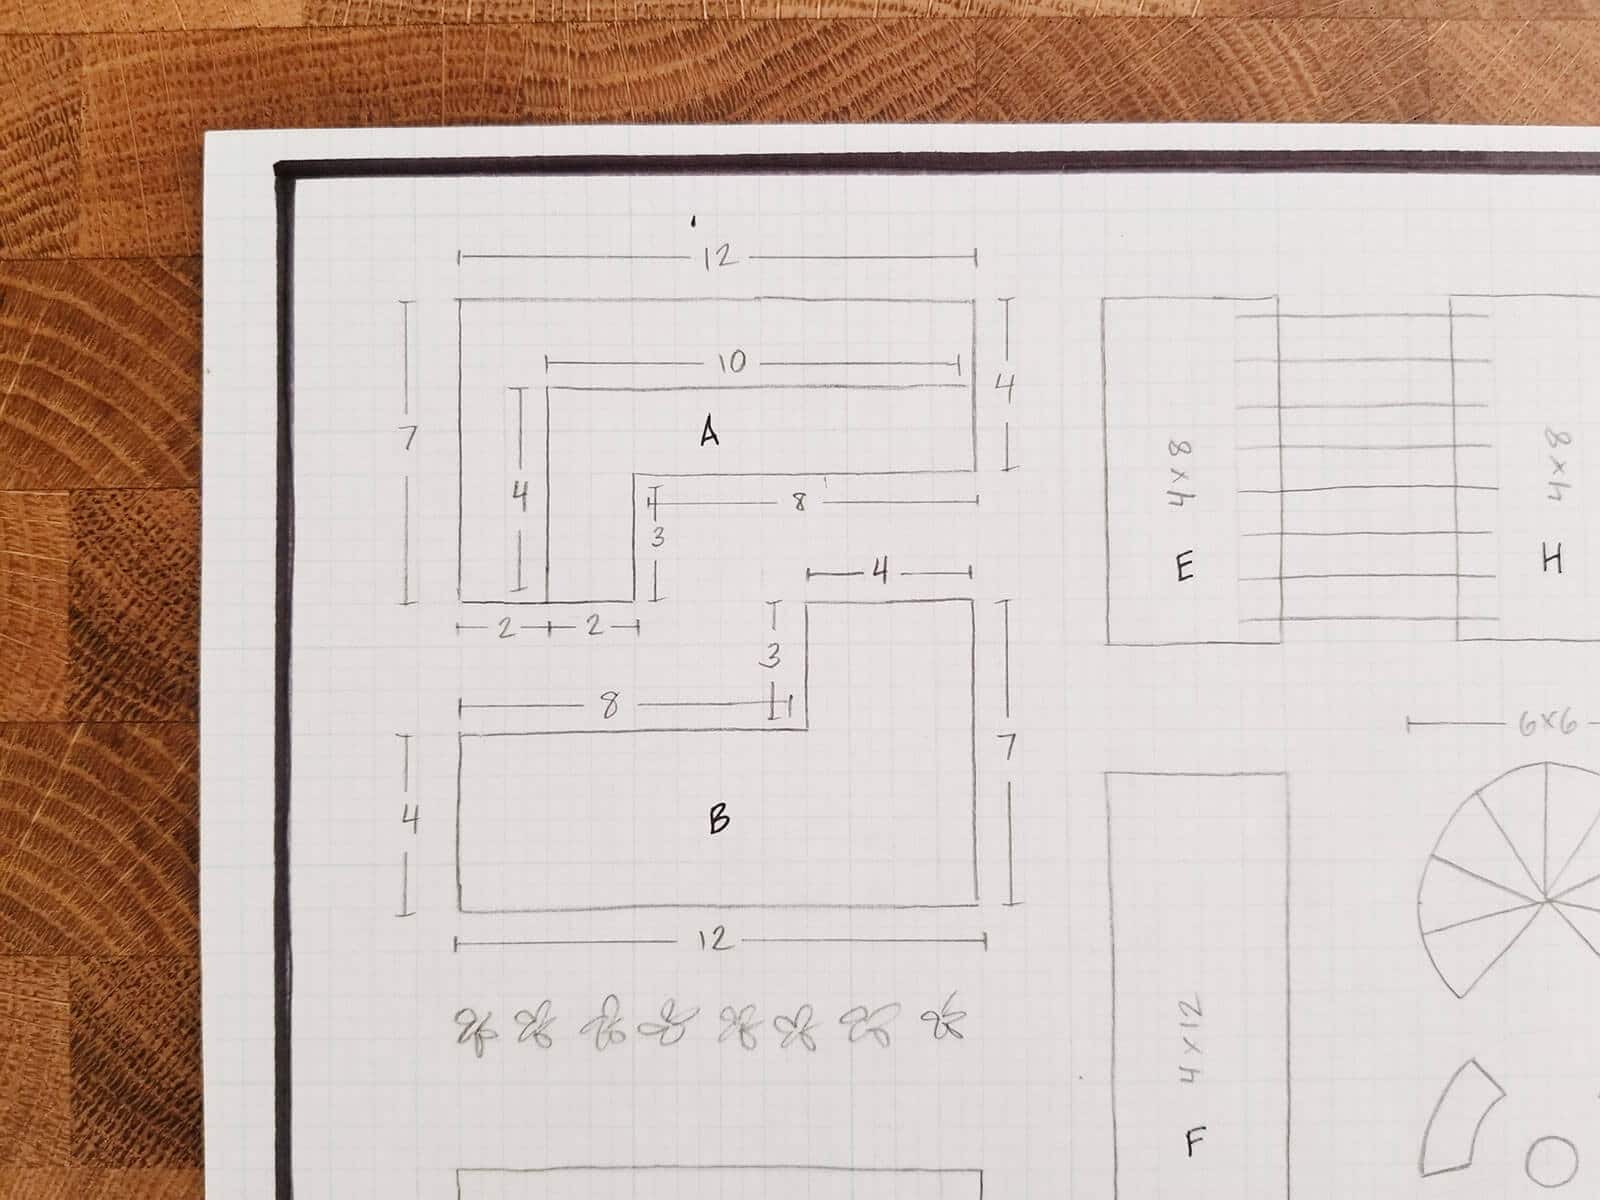
The top semi-circular bed is a bean teepee (and garden hideaway) for the kids, and the semi-circle below it is a built-in bench and table with curved in-ground beds. It’ll be a spot to play, relax, and enjoy a cold drink on a hot day.
The two strips of flower beds are going to be planted with bee-friendly varieties that we hope will reseed themselves each year. (And we want to have more growing along the outside perimeter of the fence, too.)
I’m using incense cedar from a local sawmill for the beds and fencing. (Originally I wanted juniper, which we have in abundance in our forests, but the trees aren’t tall and straight enough to be milled into the 12-foot lengths that I needed.)
Incense cedar has the high rot resistance that cedars are known for, with exceptional dimensional stability (being the least likely of all cedars to shrink). It’s also said to hold up better than the more common Western red cedar when exposed to weather, which is a bonus in our harsh climate.
For the other materials I’ll need, I’m super excited to be working with Gardener’s Supply Company to build out this garden.
Once I get my supply list together, I’ll share what I’m using from their product line. It’s going to simplify this project immensely! Like, taking a month-long job of building all those beds and turning it into two weeks tops. (And that’s only because our kids are too little to help, but not quite big enough to stay out of trouble.)
The chicken coop and chicken run
See those two rectangles to the left of the vegetable garden? The smaller one is our current chicken coop, and the larger one is the chicken run.
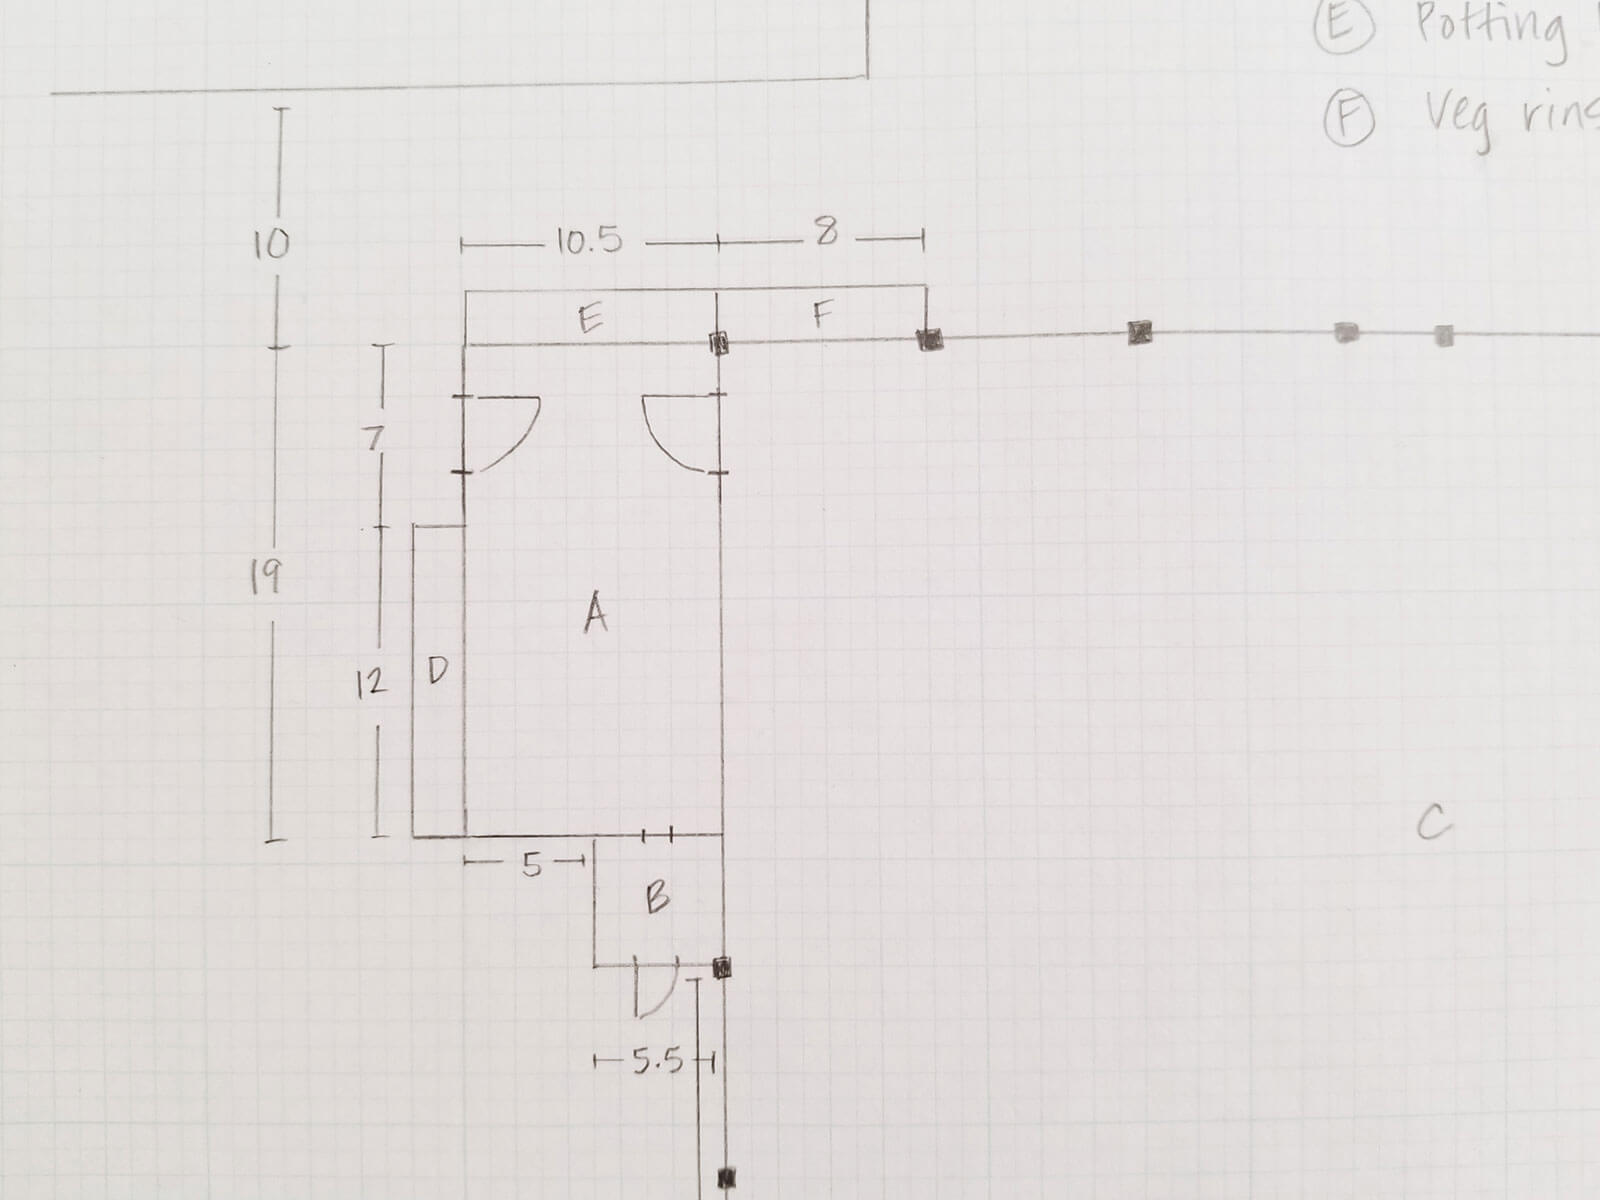
There’s a full-sized door from the yard into the chicken run, and another full-sized door from the chicken run into the garden.
This way we can easily shuffle the chickens inside to “clean up” the raised beds at the end of the season. We can also let them out into the pasture to free-range when we’re outside with them.
I’m planning to build a planter box next to the chicken run for pest-repelling herbs like mint, rosemary, and lavender. We used to have this in Los Angeles, and twice a week I’d pick a handful of fresh herbs to throw in their nesting boxes. (It’s kind of like aromatherapy for them.)
The two narrow rectangles above the chicken run are a potting bench and a rinse station for vegetables.
I’m not sure yet if we’re going to trench in a water line to an outdoor garden sink, because it’s one more thing to winterize. (But it might not be a big deal since we’ll have to winterize all of our drip irrigation anyway.) At the very least, we’ll have a garden hose hooked up to a faucet.
The greenhouse
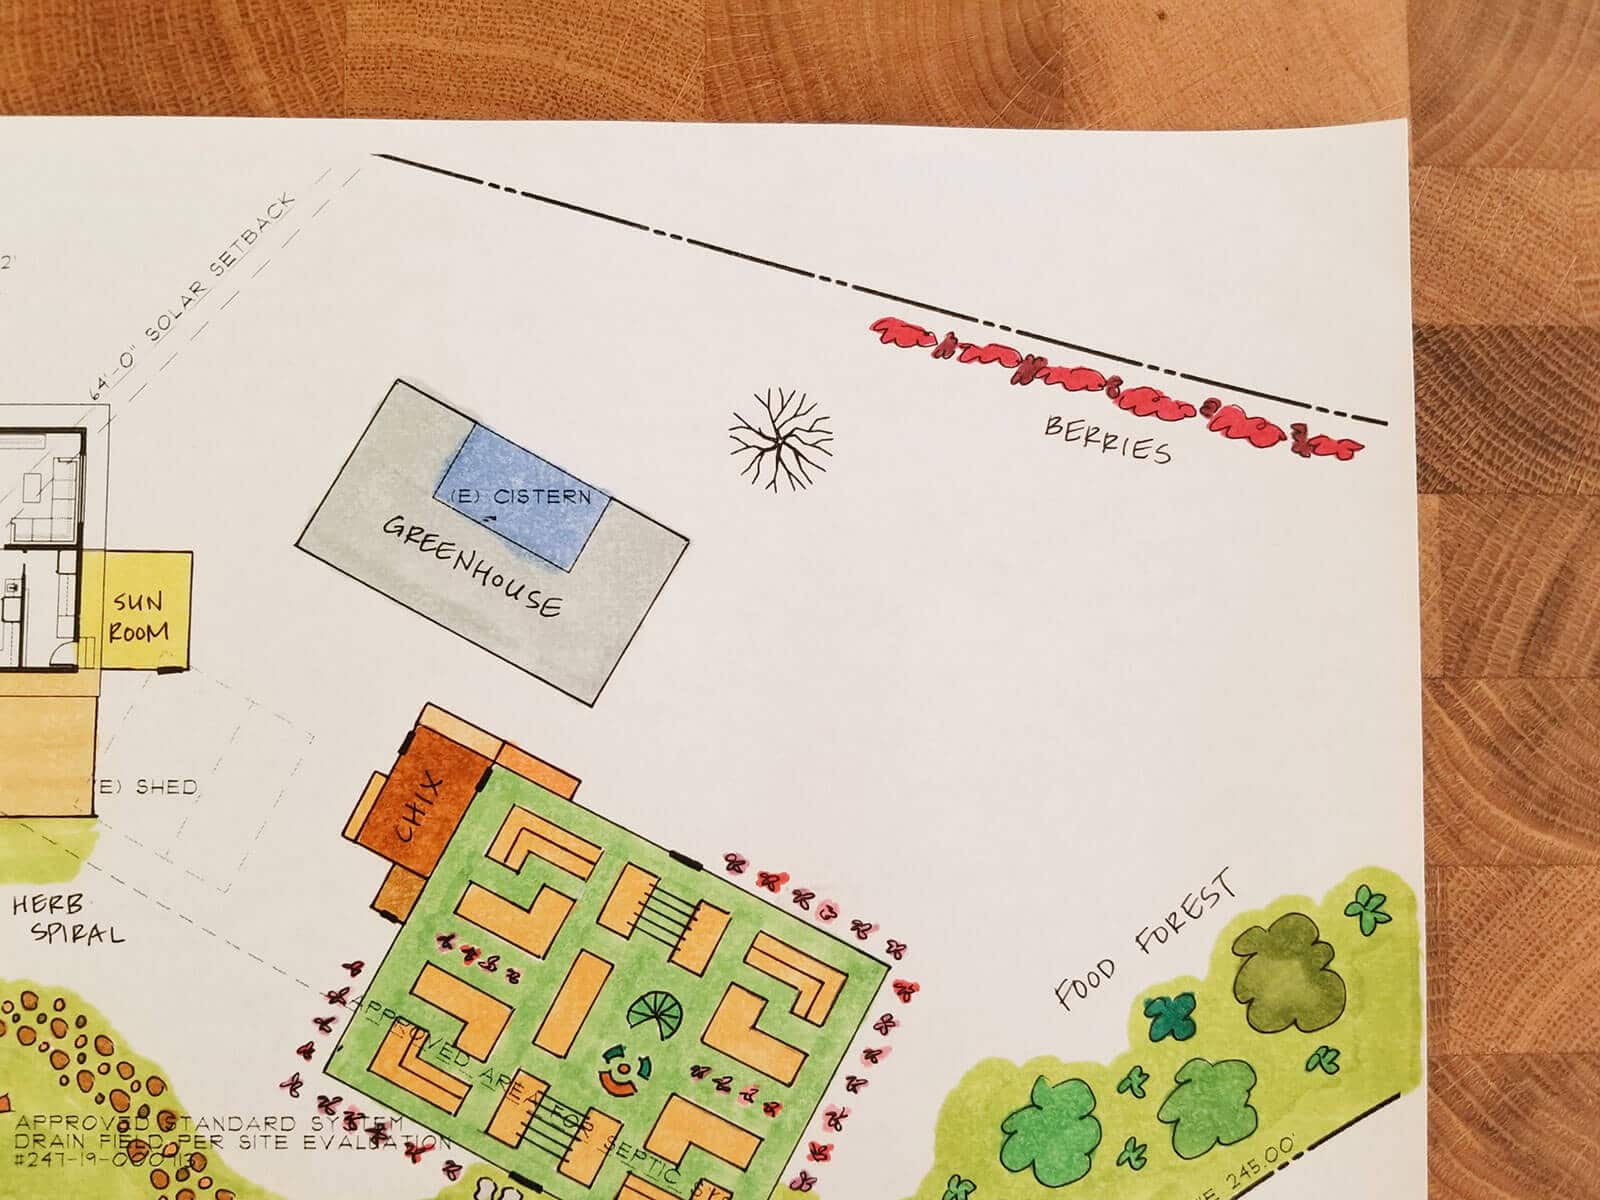
North of the vegetable garden is our cistern, which stores our irrigation water from the river.
We’re going to build a temporary greenhouse (and garden shed) around it this year, using the stored water in the concrete tank as radiant heat for overwintering our citrus trees and fair-weather plants.
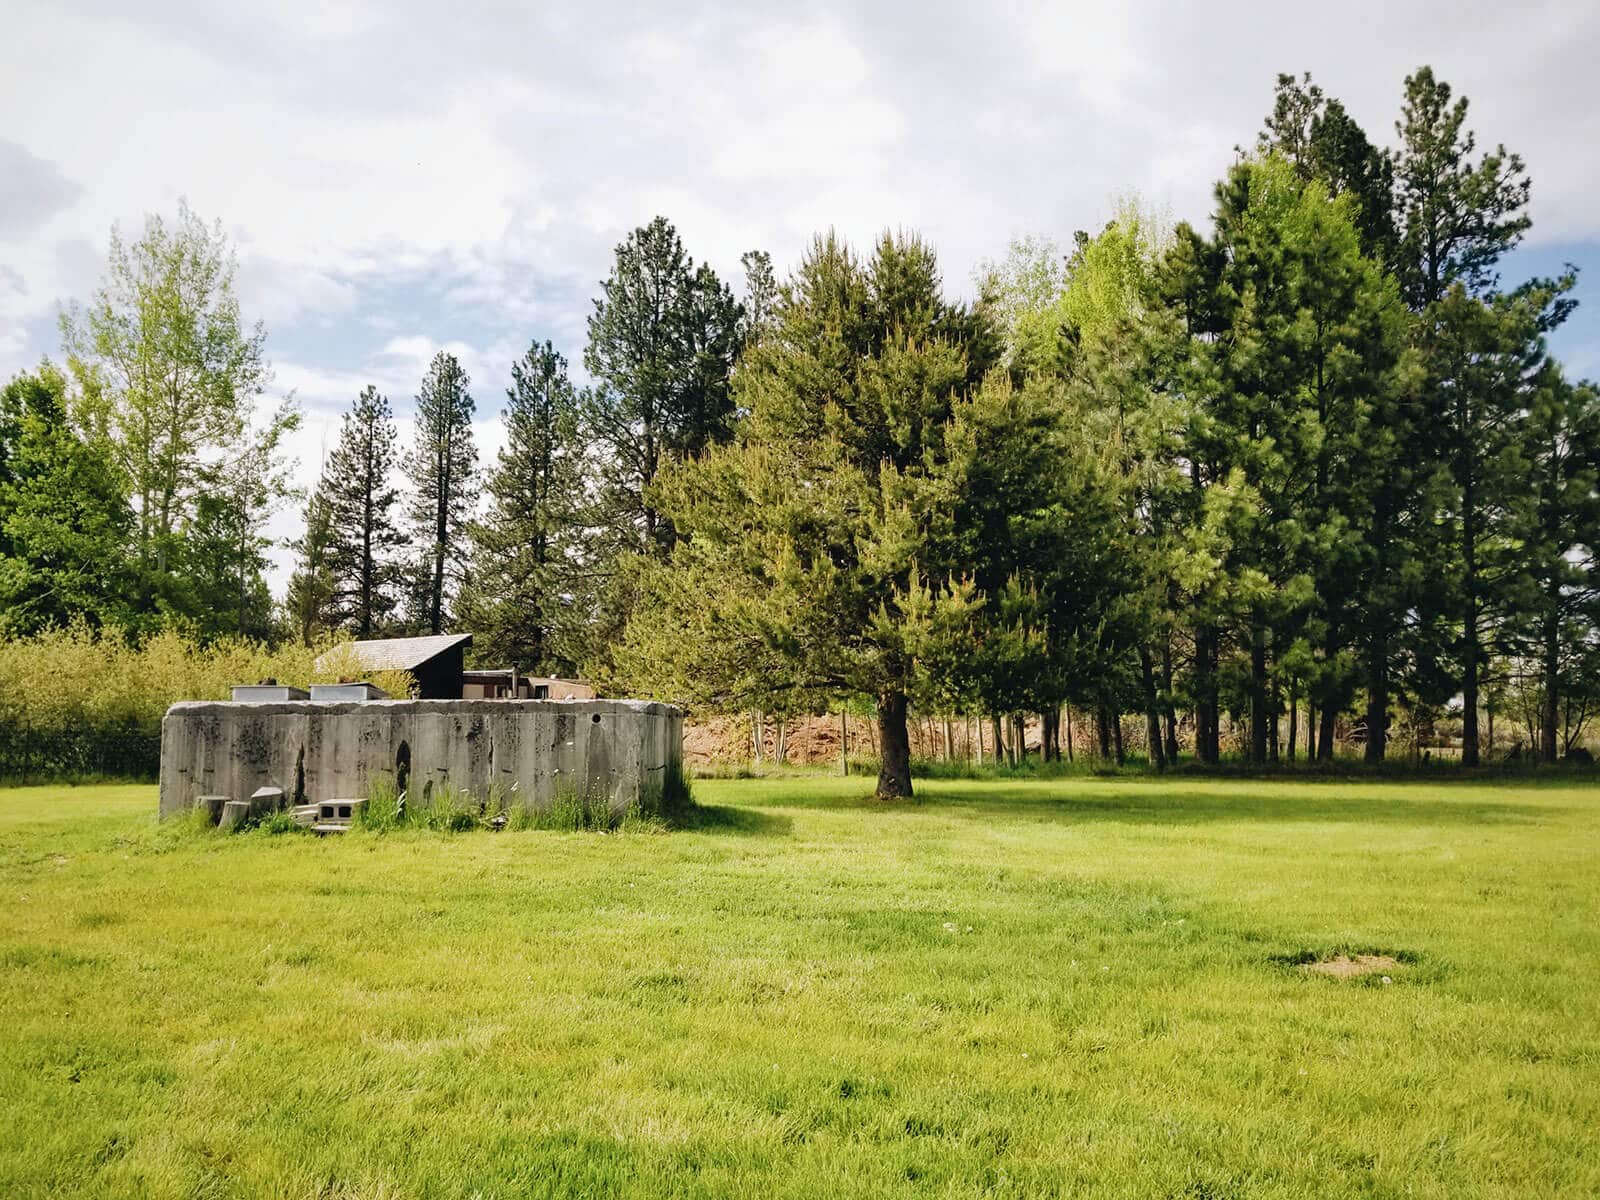
This is how we heated our previous greenhouse (on our rental property) without power. We lined the north wall of the greenhouse with several 55-gallon drums filled with water. The drums collected solar energy during the day and radiated the heat back out at night.
Together with some foam insulation and a hot compost pile inside the greenhouse, we were able to keep the space above freezing on the coldest winter nights (which sometimes got down to 10°F). We actually get more sun on our current property, so this method should work even better.
We’re toying with the idea of building a walapini (an underground greenhouse). We’re intrigued with this style and how it uses thermal mass from the earth to heat the structure and stabilize the temperature inside. (It’s similar to the way Earthships work.)
The back of the property
Along the northern fence, we’re thinking raspberries. Lots of them. And maybe other berries? (Though blueberries will go in planters around the deck.)
All that empty space east of the cistern/greenhouse is going to remain a pasture for now (which we’ll seed with clovers and wildflowers).
What isn’t shown in the drawing is our 40-foot cargo container, which currently sits in the northeast corner of the lot.
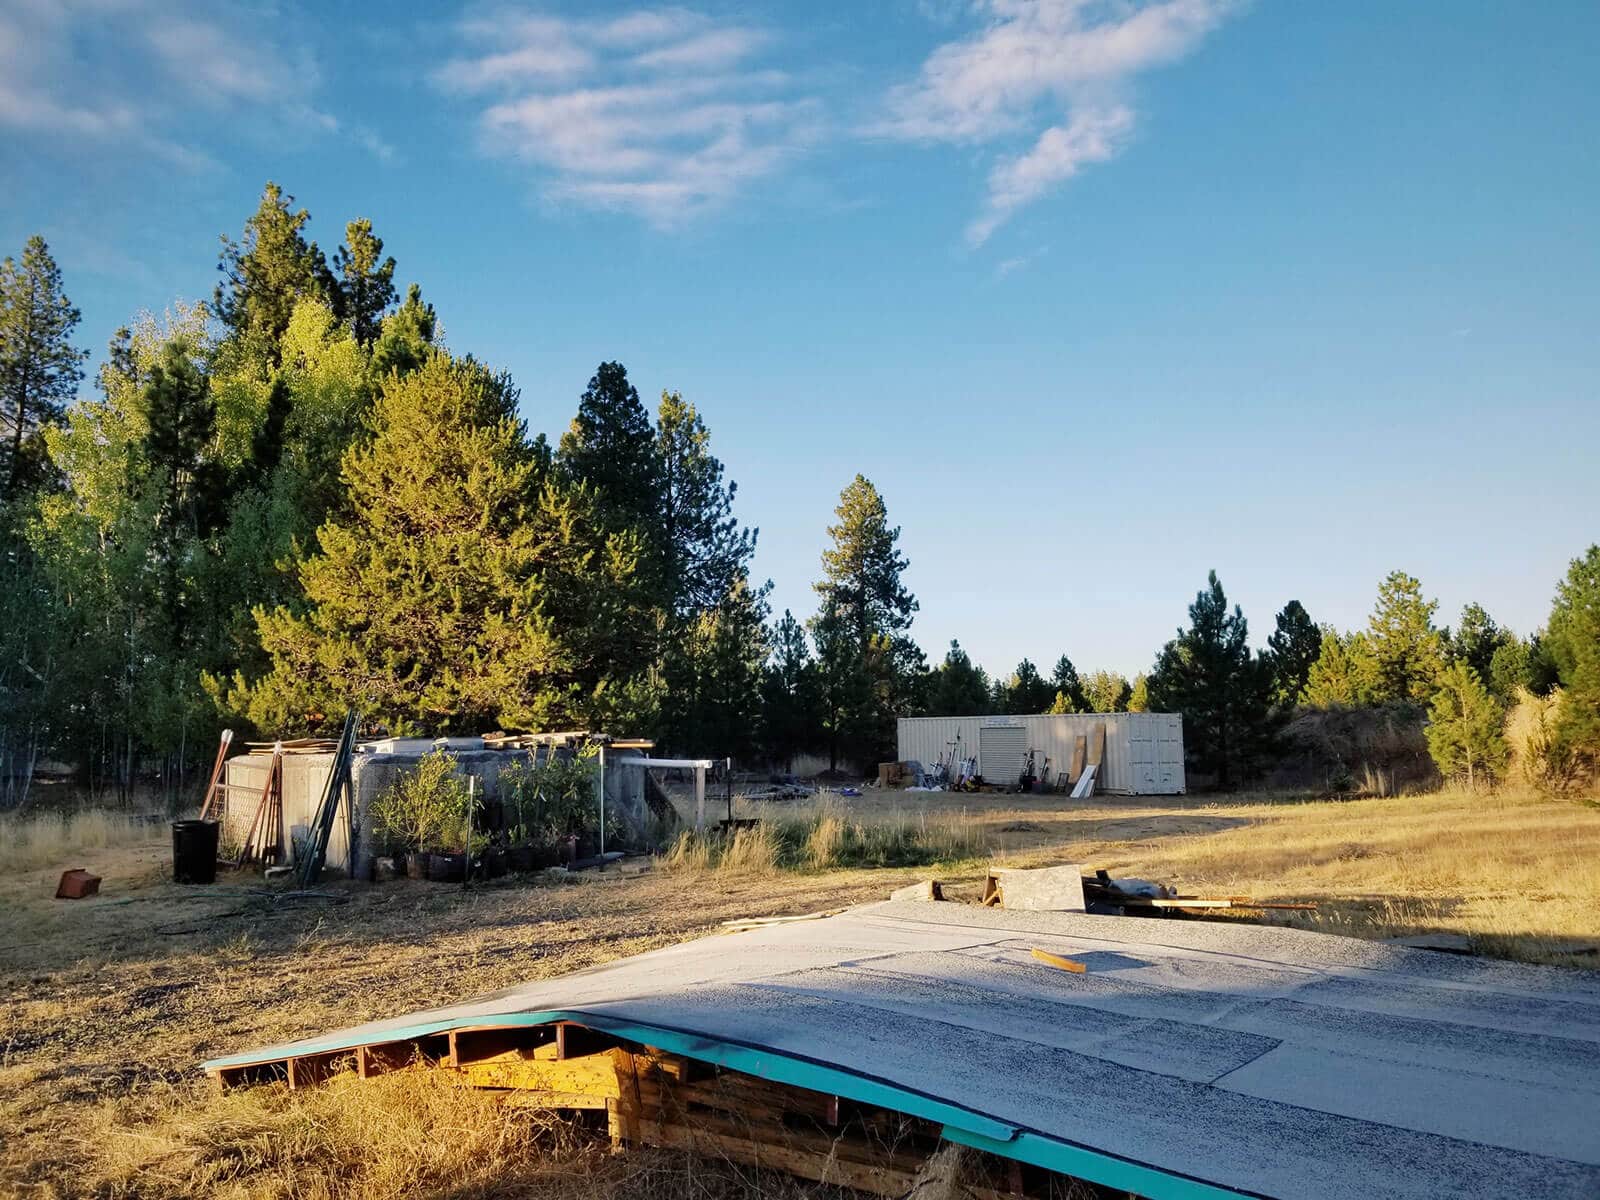
It’s being used for storage at the moment, but once we move in to the new house, we’d like to reposition it on the lot (maybe in a way that blocks off the northeast corner so we can hide our junk yard) and turn it into something cool.
Will has all sorts of grand ideas for it, so if he decides to make it his man cave, it means I get the unfinished bonus room above our garage! Hehe.
The food forest
East of the vegetable garden where I drew in all those trees—that’s our future food forest (also known as a forest garden). We’ll have a mix of fruit trees, flowers, herbs, and ground covers in this space.
It’s more of a variation on a permaculture food forest, as we won’t have all seven layers (canopy layer, low tree layer, shrub layer, herbaceous layer, rhizosphere, soil surface, and vertical layer) but we’ll plant multiple layers to create our own mini ecosystem.
This part of the yard will take some time to develop as we experiment with what works in our climate, but I’m looking forward to seeing how it evolves while we live here.
The swimming pond
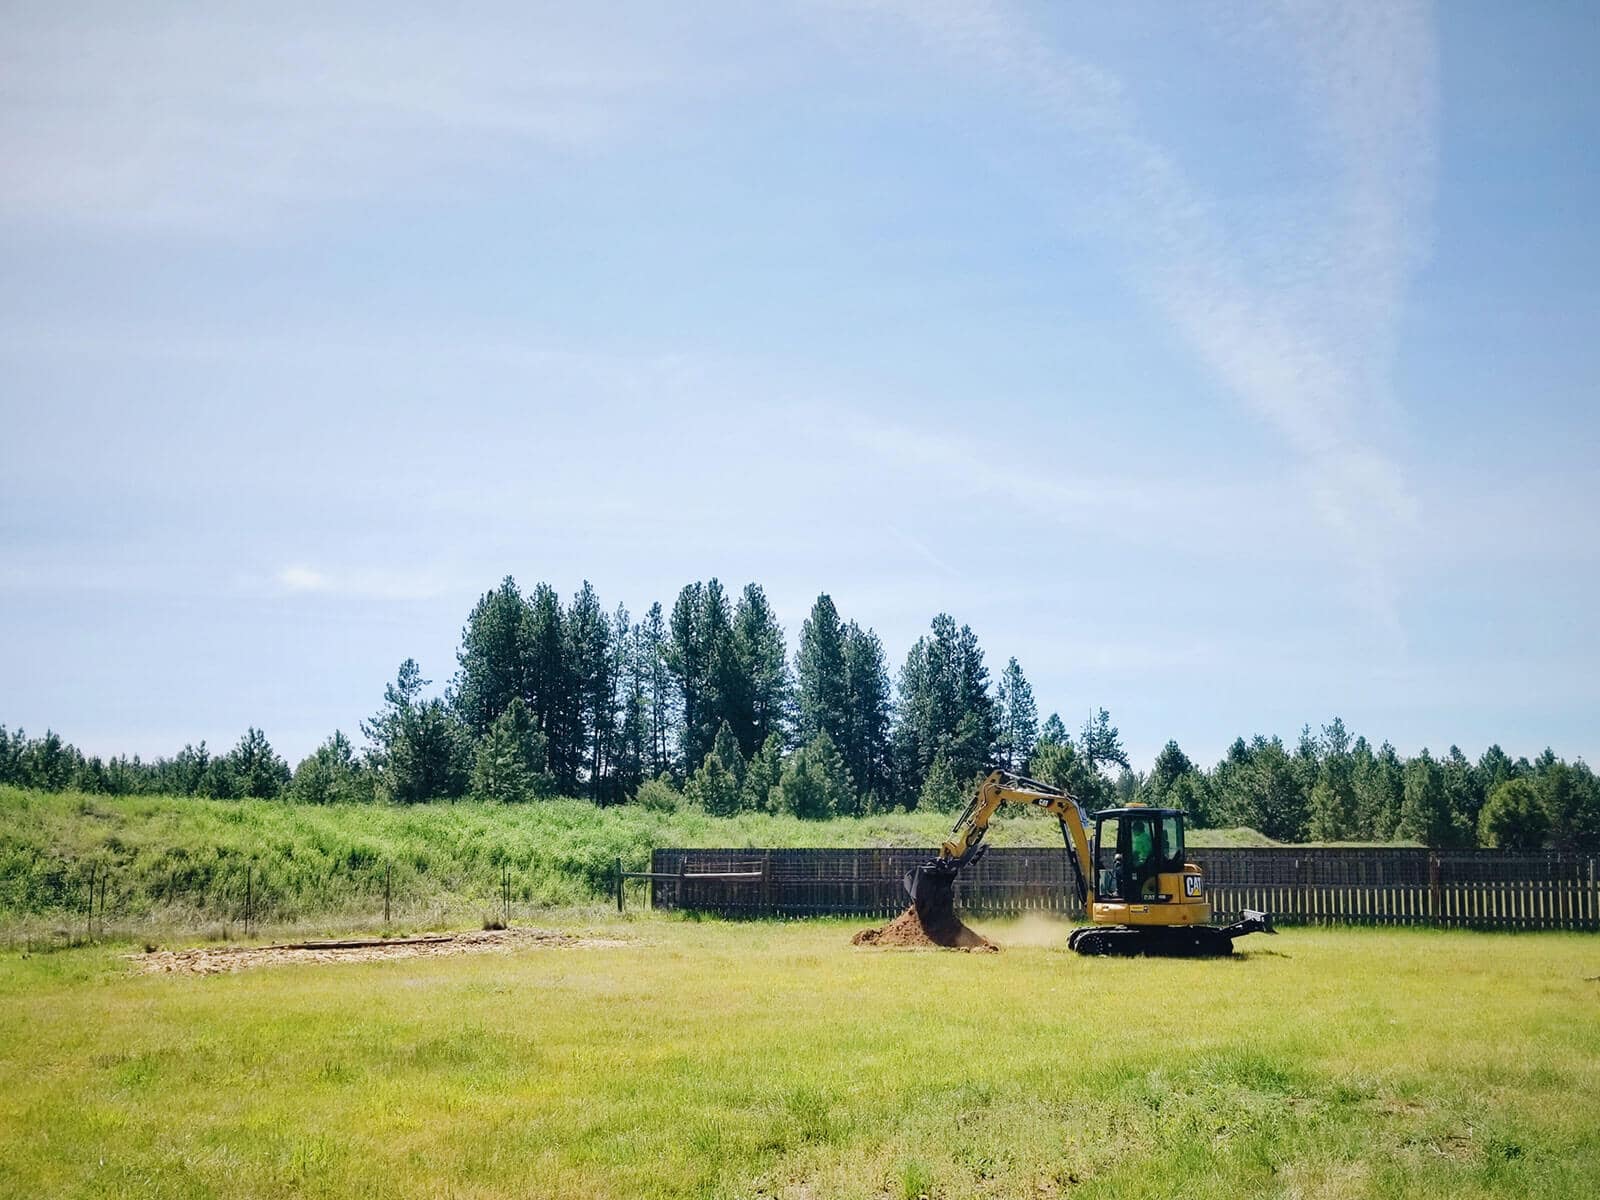
We’re leaving open space in the southeast corner of the yard for a swimming pond. This project will be several years out, but if we survive the construction of our house without tearing our hair out, we might start on it sooner.
Swimming ponds are also known as natural pools, and they’re chemical-free pools that rely on plants to filter out harmful microorganisms.
Half the pond is a dedicated swimming zone, and half the pond is a regeneration zone—that is, the zone filled with aquatic plants that remove bacteria and algae.
Think of it like having your own swimming hole in the backyard. We still have a lot to figure out, so our pond might not be quite as large as I’ve drawn it. (One can dream, right?)
The entertaining areas
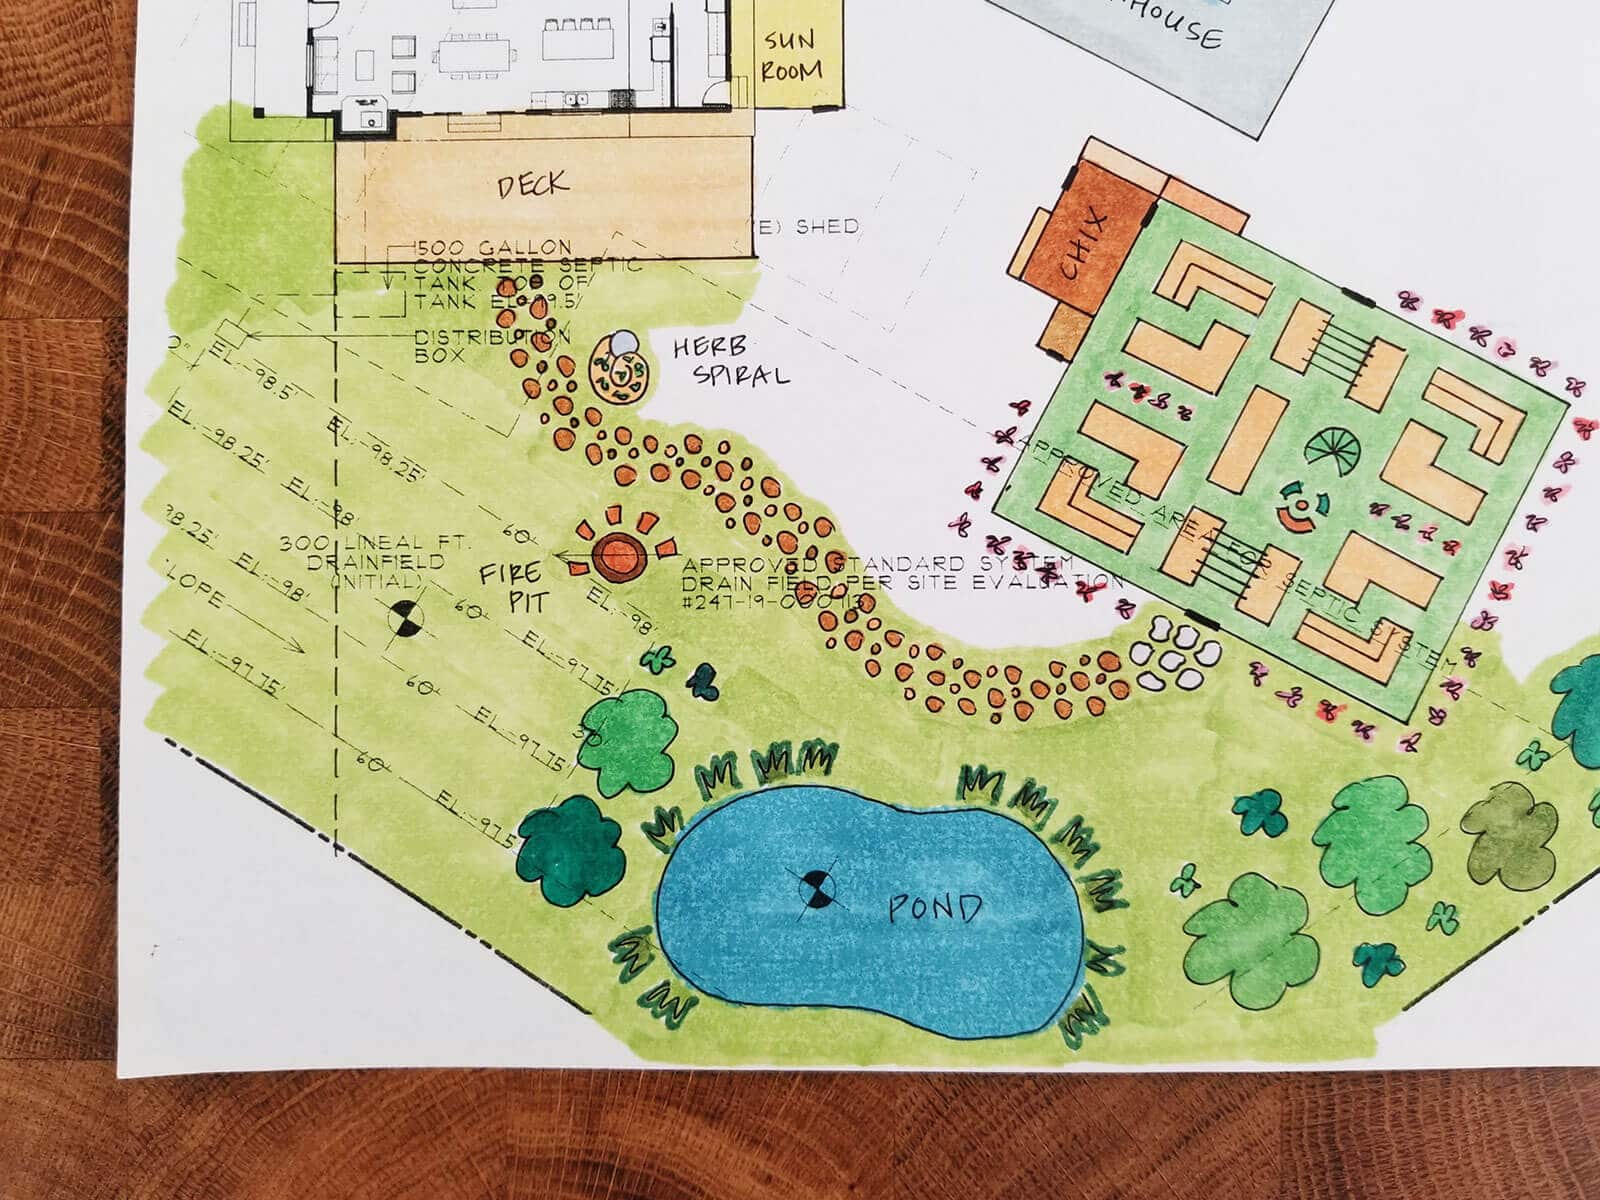
To the left of the pond is simply a nice grassy area for kids to run barefoot on. We can’t do much here since it’s our septic leach field, and we have to be mindful of any tree roots that might damage the leach lines.
The deck will open to this little lawn so I think we’ll reseed it or lay down fresh sod after our house is built. (Just depends on how beat up the existing grass gets in the process.)
I drew in a footpath leading from the deck to the vegetable garden (possibly made from pine log rounds, since we have to cut down a few pine trees).
On the north side of the path I’m planting an herb spiral (the shape that looks like a seashell) so we have fresh herbs close to the kitchen.
On the south side of the path is a fire pit. We’re not exactly sure where it’ll be built yet, but we know we want it somewhere in between the deck and the pond.
What’s next
There you have it—our garden plans, as complete as they can possibly be for the time being.
Do you have any suggestions to add? Are there things you would’ve done differently in your own garden, in hindsight?
I’m sure some things will change once we have an actual house to visualize in the space, but we feel pretty good about these initial concepts.
So, what’s next?
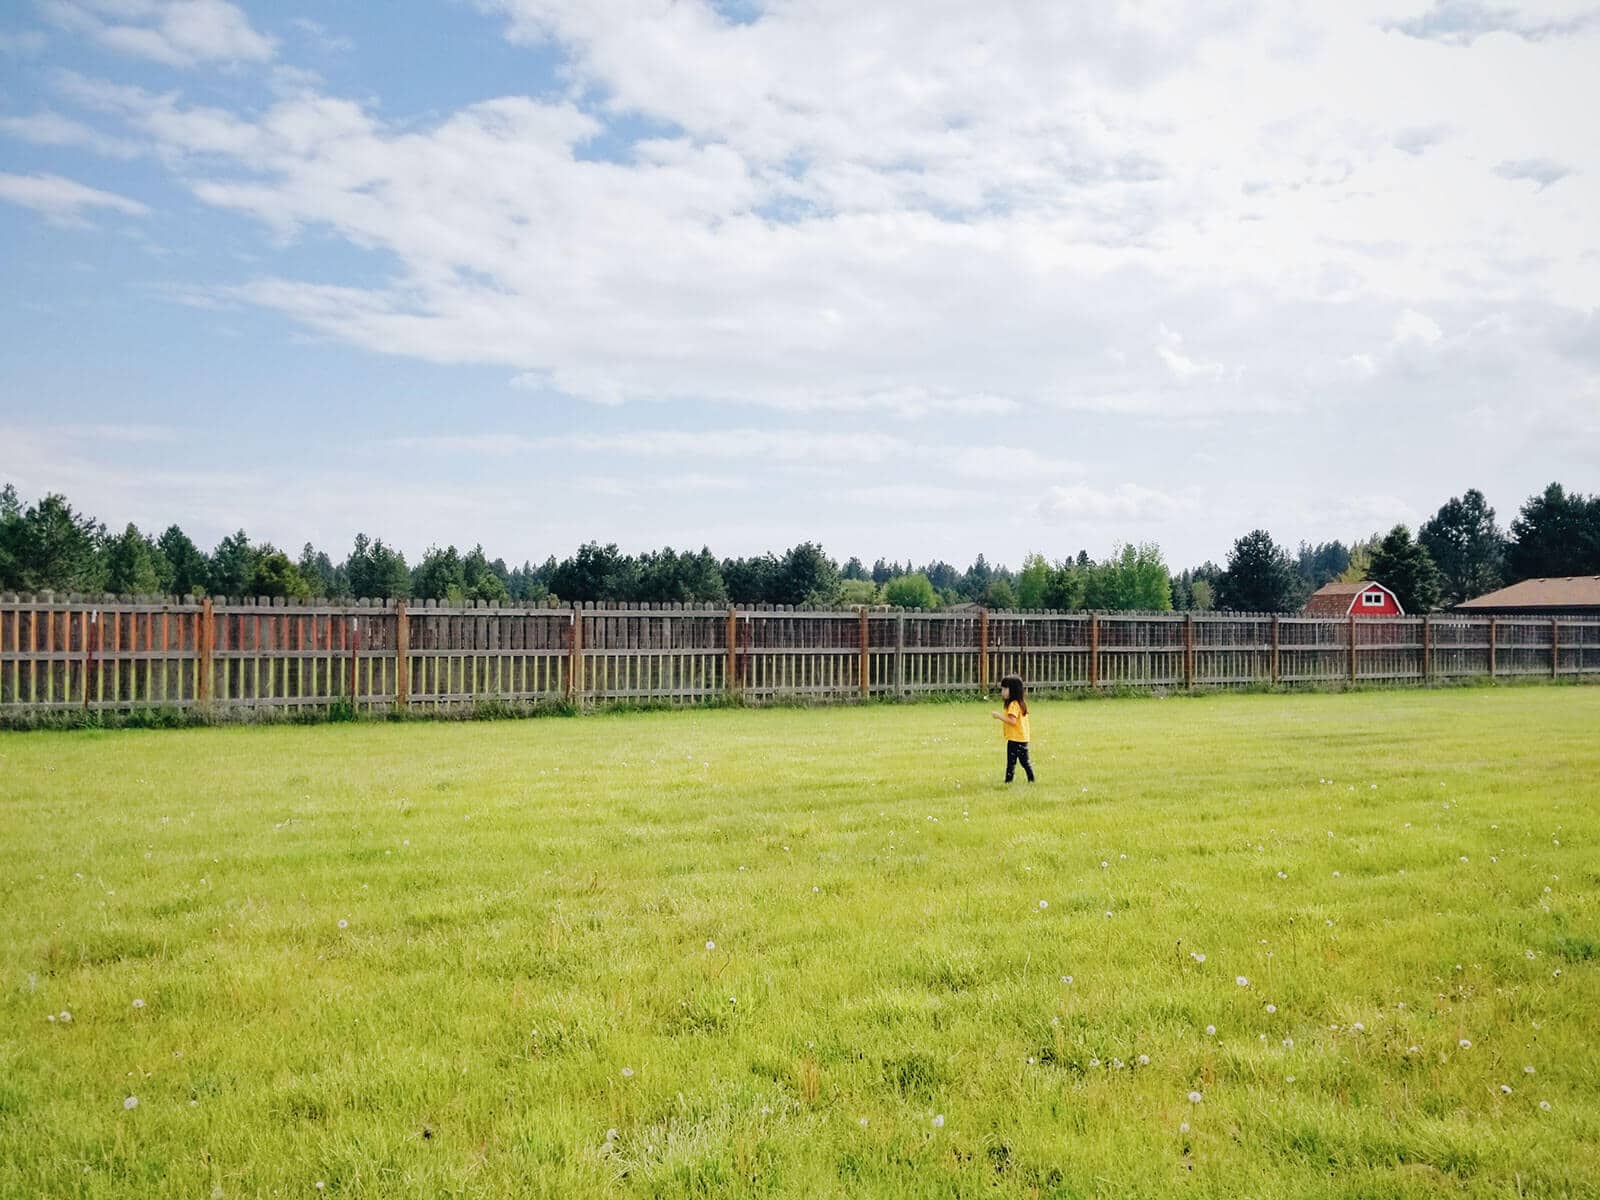
Right now, we’re clearing the weeds from the yard so we can mow our overgrown grass. The old sheds have been torn down, but we still need to dismantle the roofing and take it to the dump.
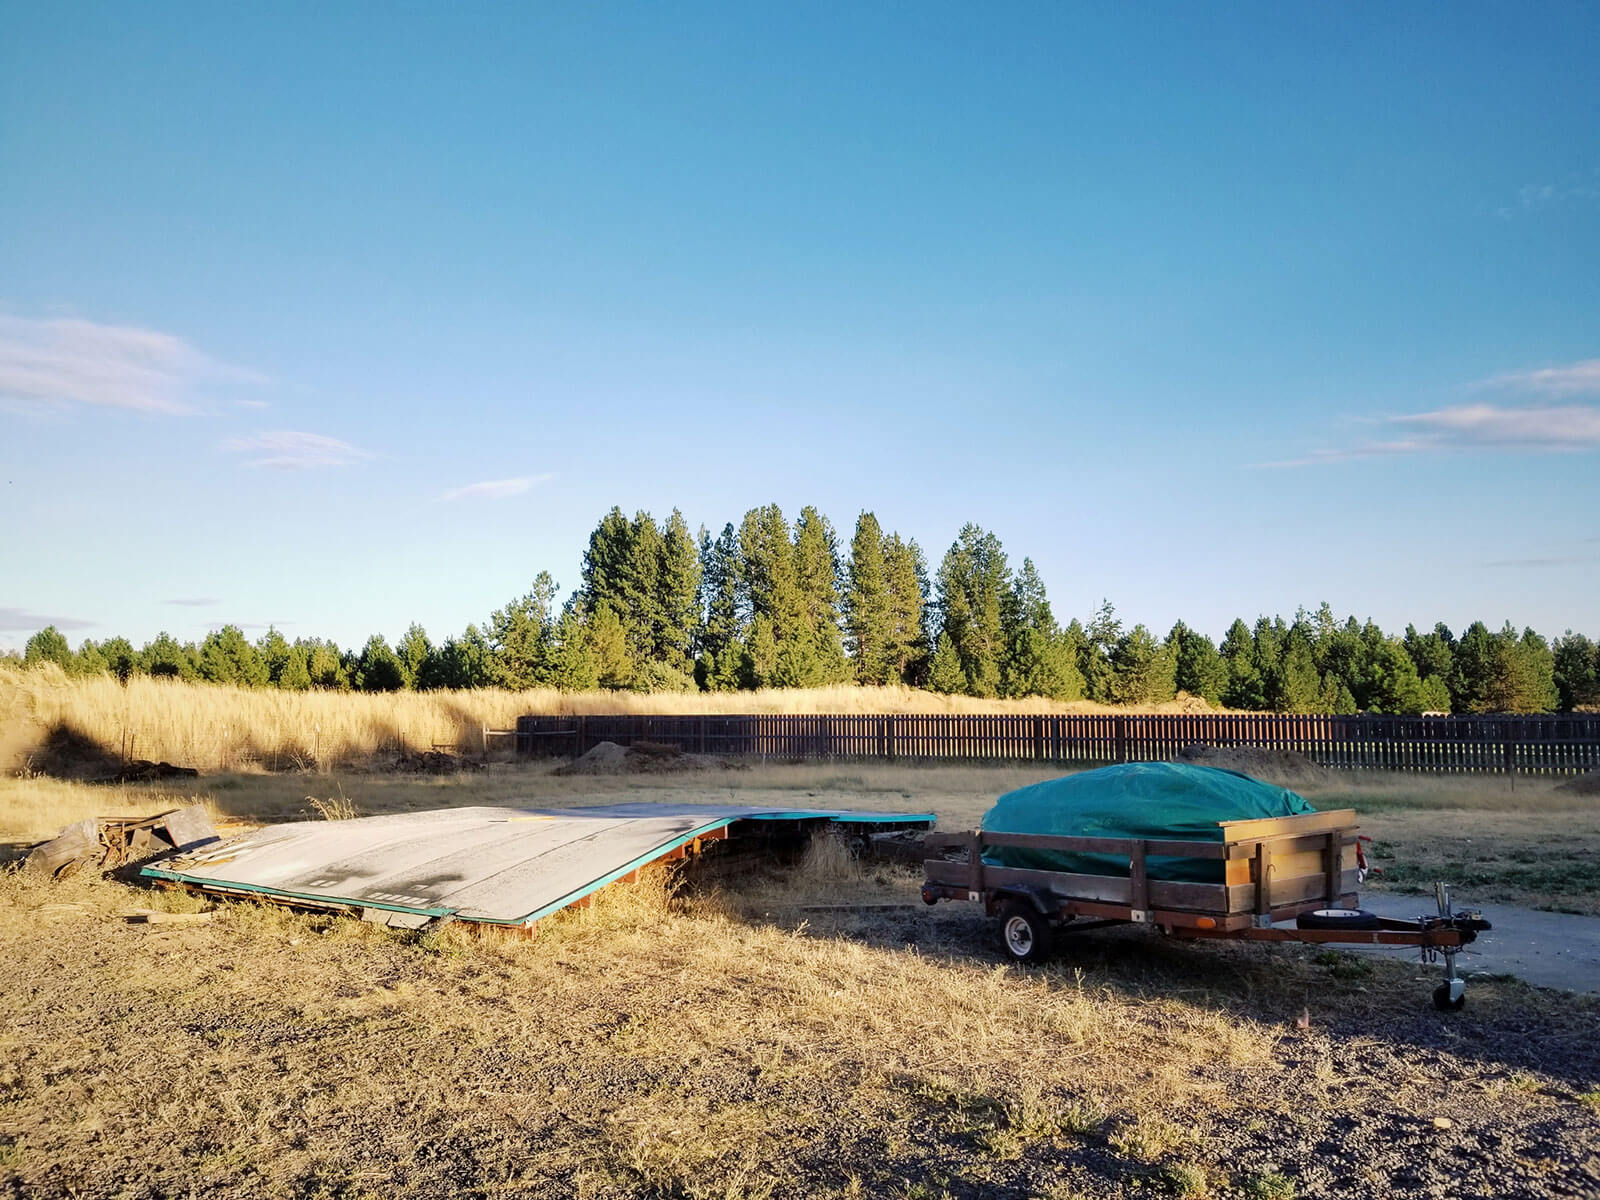
Once we have a nice, clean slate to work with, we’ll tie off the area with stakes and string; mark the exact locations of all the raised beds, fence posts, and chicken run; and begin construction.
Lumber is on order! And hopefully the weather will start getting cooler by the time it’s all delivered. Stay tuned.










Have you heard of/ thought about adding hugelkulture to your raised beds and other plantings? If that’s new to you, there’s lots of information online, but basically it’s making your garden function more like forest by using logs, leaf litter, compost, manure, etc. covered with soil to retain water and reduce or eliminate the need for additional watering.
I love your ideas! Best wishes!!!
I love all that you are planning! I’ve gardened now for 49 years in CA, NC, MA, SF, and now UT. I love how different each plant is in terms of its needs, growth patterns, and which plants it likes as companions. To me, plants have “feelings” which they express with wilted leaves or perky leaves, drooping stems and more. It is a language we must learn if we want to live with and enjoy them. I can see you have truly leaned their language! So wonderful!
Glad I ran across your website through The Penny Hoarder, as we are moving to Central Oregon next year and have NO idea what I can grow there. Hope to be able to follow your journey.
Hi Linda,
Your plans look well thought out and amazing!
I wish I was as organized – i do little parts at a time and hope it all comes together in the end!
Just wanted to say that you might check with your septic guy, not sure if your pond can be that close to your leach field…
Best of luck, and I’m enjoying your posts,
Debbie
We”re planting a food forest, too! We discovered Jim Channon and his amazing ideas (he was who Men who stare at goats movie was about) and his TED talk about growing He had a website BiOasis but it’s been disabled since his untimely death, but youtube is full of his stuff! He talks about view planes and vertical use of our space for food. We are so excited and I’m so inspired by your raised beds.
Thank you Marcia! If you sign up for my weekly newsletter at gardenbetty.com/subscribe you can follow along on my garden build. I’ve been sharing updates for the last few months!
So exciting! I moved almost two years ago to East Tn from SoCal and I’m very curious to see how your citrus turns out. I haven’t gotten any to grow here but so far I’ve only tried building a plastic box around it in winter to keep frost and snow off. I figured that wouldn’t work but I wanted to try because a green house is several years ahead in our plans. Can’t wait to see your future posts!
Hi Linda! I came across your blog while searching for California based seed companies. I’m pretty new to the garden planning process (we’re currently planning out our own garden) and enjoyed reading about how you went about designing your garden. I love the raised bed layout you ended up with and can’t wait to see how it all turns out!
Awesome plans, I look forward to seeing them come to fruition!
I am so excited! We just bought 20 acres and I can’t wait to plan my gardens! I have a big garden now, but I can go gigantic when we move! Thanks for the ideas!!!!
WOW, that’s exciting!! Have fun planning your next garden!
I’m so excited and jealous and exhausted following your plans! I’m no longer fully able-bodied, which probably explains that.
And on that note, since nobody ever knows what’s going to happen next: when we built my beds we made them sitting height; 17 inches for me. Then we added flat planks around the edges. I think they’re 7 inches wide. They don’t restrict the growing area, but are wide enough for an injured body to rest on. Or weed from. Since you’re planning for a long future here I suggest thinking about such possible future or temporary needs.
Have fun!
Excellent idea! I was thinking about adding some kind of ledge, but hadn’t fully decided on that yet.
What fun to follow! I’m already worried for you in terms of deer. You mentioned the garden fence being low and non-obstructive. How tall are you planning the larger perimeter fence? Any thoughts on digging the pond sooner to have some of your loam to fill all those deep raised beds?
Looks great! We left our ~~4000 sq ft garden in the NC foothills a year ago after 20 years. Sad but it was time.
The reason for the post is that I wanted to pass on one of the things we learned. There was a huge deer issue so a 8′ fence was necessary. We used heavy 5′ fencing but we at least added decorative poles. 5′ obviously isn’t high enough so we added a 3′ band of chicken wire. Here’s the interesting part: Raccoons – which would have climbed the fence – apparently hate floppy branches – – and thus fencing. The only thing we had more of than deer was raccoons, but they never climbed the fence!
We also had a small grove on one side of the garden that provided some shade part of the days. It worked great for those veggies that didn’t like being hot – lettuces etc.
Can’t wait to see your chicken run. When I saw that mentioned, I envisioned an actual, fenced run around the garden perimeter, so the chickens can get all the bugs, but not the plants. I am looking forward to your version. It all look wonderful, good job with the design.
Oh, this is all so exciting! I look forward to watching your garden take shape!
Thank you!
Good luck! Plans are looking good 🙂