


What if I told you that you can add an abundance of nutrients to your soil, all without buying more amendments or trying to remember the proper NPK ratios? And by that, I mean growing your own fertilizer—an edible fertilizer, at that!
I’ve been growing cover crops for years as a way to mulch my empty garden beds and improve soil fertility, and if you’ve read my other guides on small-scale cover cropping and planting bell beans for nitrogen, you know I’m a big fan of this practice.
But today I want to show you how to grow another type of cover crop that’s not only fast-growing, low-maintenance, and super cold-hardy, it fixes nitrogen in the soil (which the next round of plants can then use), thereby minimizing the amount of “outside” fertilizer you need to add.
So what is this awesome cover crop?
Peas—specifically, Austrian winter peas, my favorite field pea for fall planting.
Disclosure: If you shop from my article or make a purchase through one of my links, I may receive commissions on some of the products I recommend.
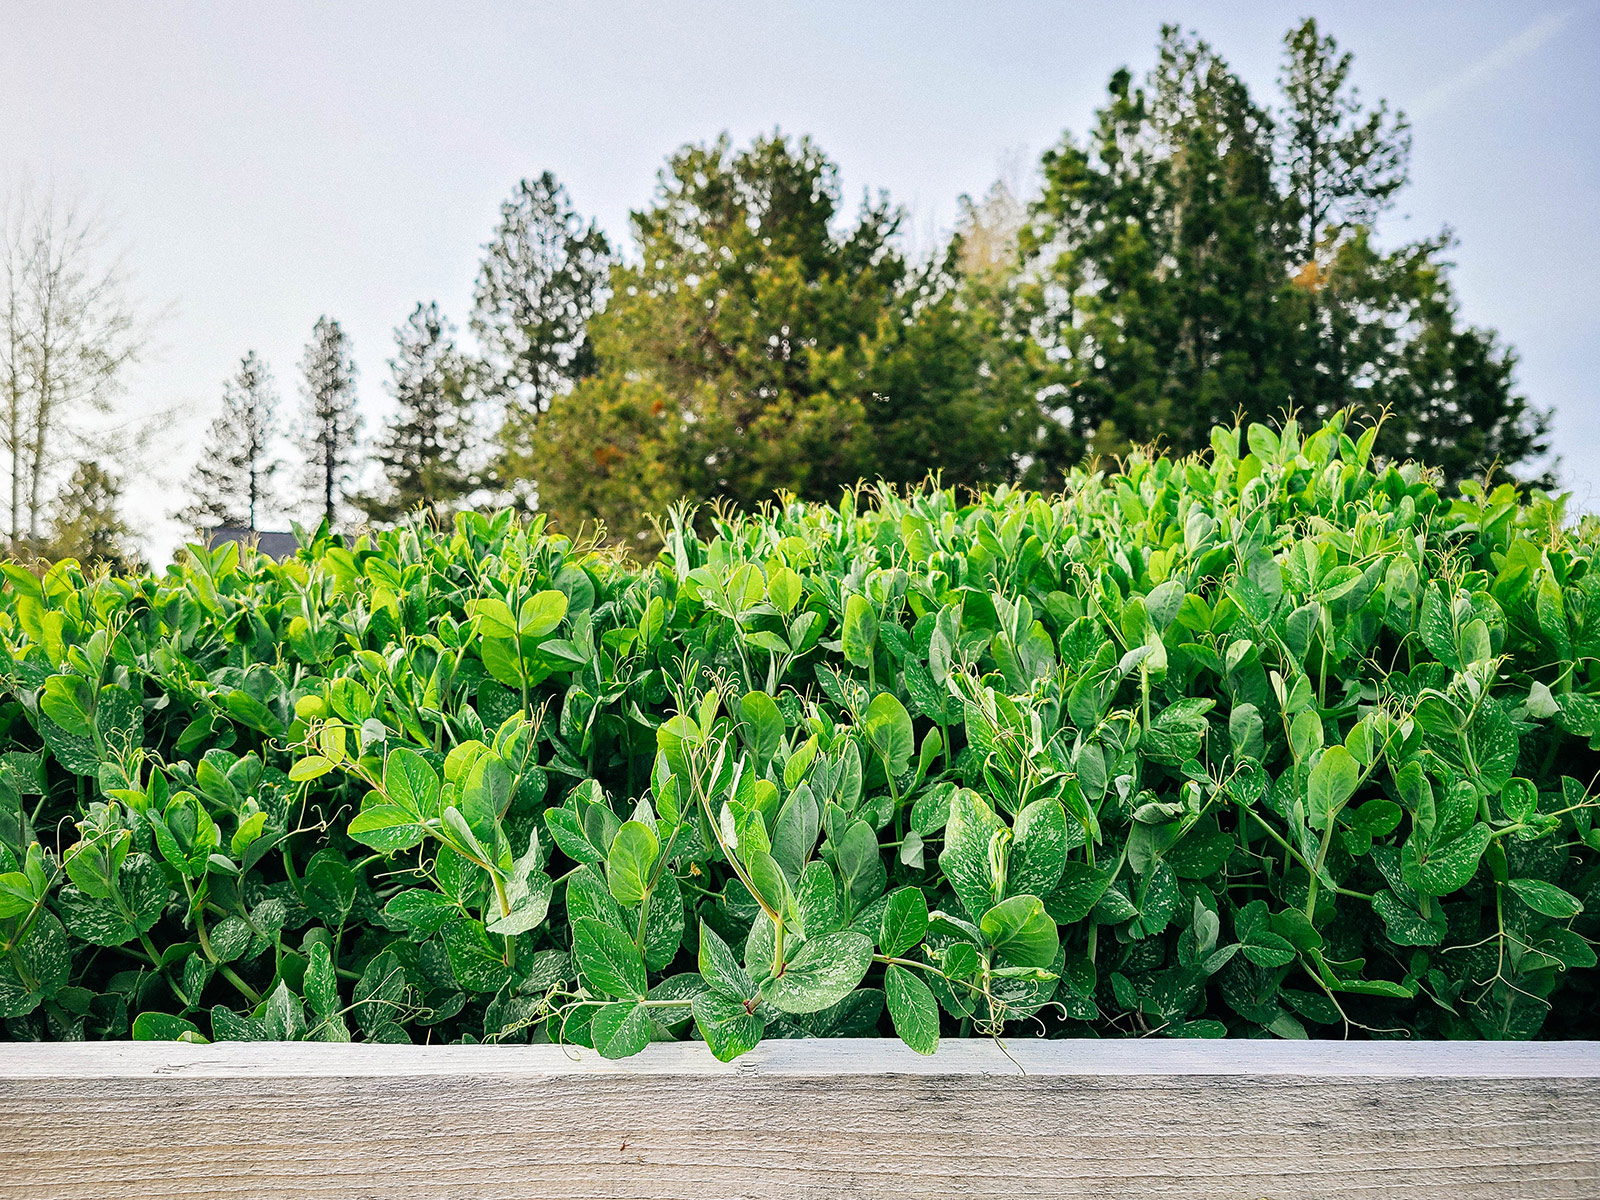
How Austrian winter peas enrich the soil
Like other cover crops, Austrian winter peas stimulate soil microbes, loosen compacted soil, add biomass, and suppress weeds.
But legume cover crops, in particular, are unique in that they work in symbiosis with soil bacteria (called Rhizobia) to fix nitrogen in the soil.
It’s a fascinating relationship: The legume crop sends nutrients to the Rhizobia. In return, the Rhizobia pull nitrogen gas from the air and convert it into a usable form for plants. This nitrogen is stored in small white sacs (called nodules) in the roots of their host plants, which are easily seen if you pull up the plants.
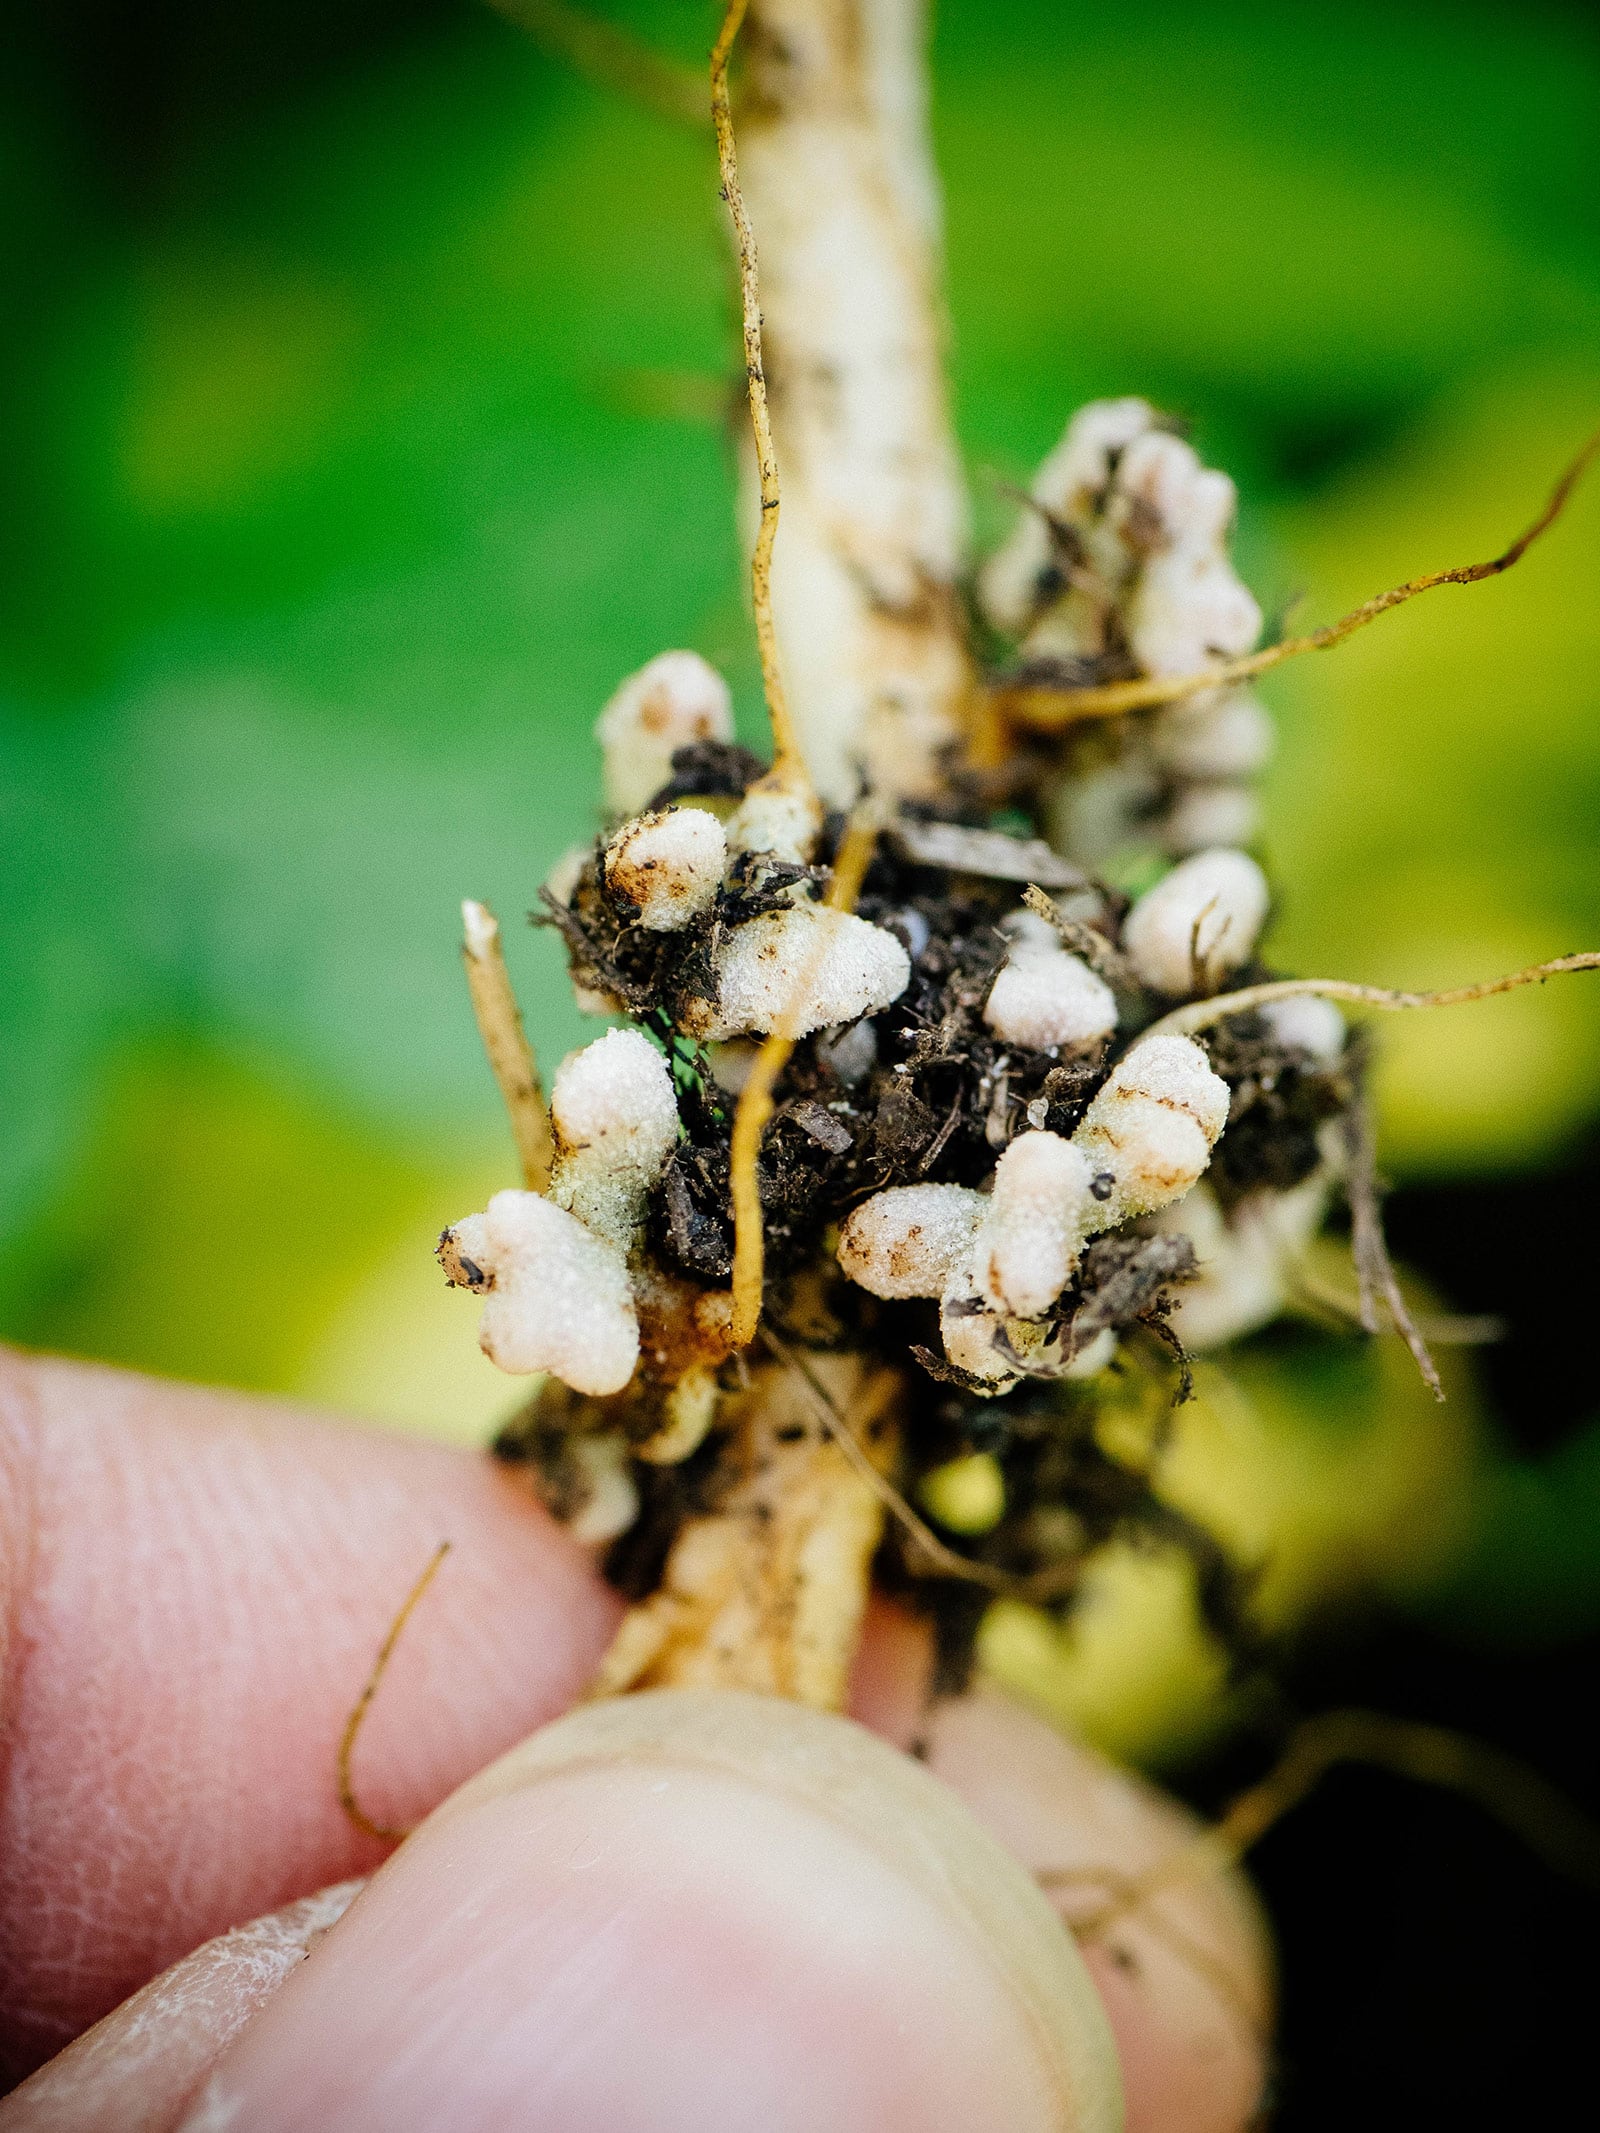
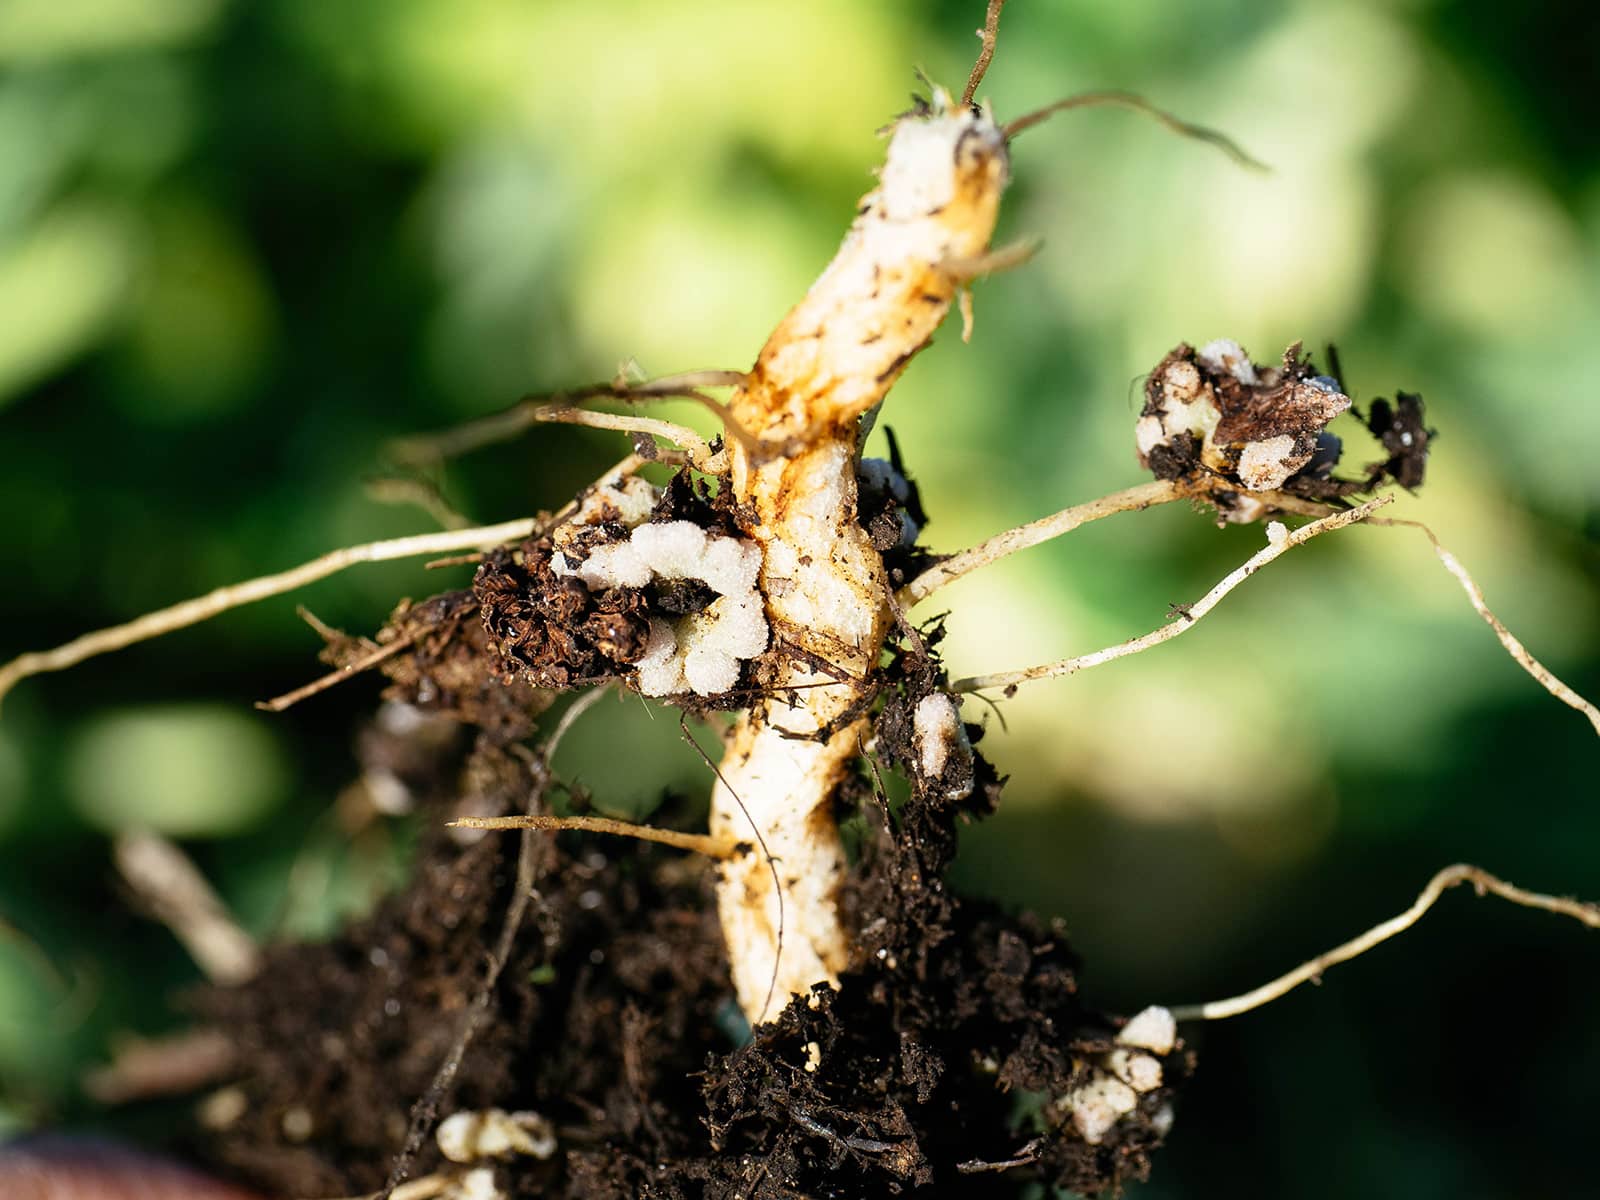
When the legumes are cut down at the end of the cover crop cycle, the stored nitrogen is released into the soil for the benefit of other plants. Leaving the roots in the ground allows them to enrich the soil naturally.
Legumes (in contrast to other cover crops like winter rye, buckwheat, or lacy phacelia) help boost soil fertility this way so you end up needing less fertilizer for your next round of plants grown in the same spot. They’re generous in that they give more than they take (when given the right conditions to get going) and help the rest of your garden thrive.
Did you know?
You may have heard the terms cover crops and green manure used interchangeably, and while they both refer to the same plant, it’s easiest to think of these terms as different stages of the plant.
A cover crop is a plant grown to protect the soil. The same cover crop becomes green manure when it’s incorporated into the soil.
When to plant Austrian winter peas
You have two options for planting Austrian winter peas:
- Sow in fall and let them overwinter
- Sow in early spring and let them grow during spring and summer
In an ideal world, you’d do both—but many people can’t “give up” a bed in peak growing season, so it often makes more sense to plant cover crops in fall and have them mature over winter (a time when people usually aren’t growing vegetables).
In cold climates, you generally want to get your peas sown in the garden about four to six weeks before the first hard frost. That means any time from September to mid-October is a good time to start planting, since diminishing daylength will slow the growth of your plants if you wait too long.
Related: How to look up the frost dates in your area
However, areas with mild winters can sow seeds for cover crops as late as the end of October through November. They’ll be slow to get going, but won’t have any problems germinating.
The upside to Austrian winter peas is that they can tolerate temperatures as low as 0°F for brief periods. So depending on what your weather’s doing this year, it’s probably not too late to plant them!
How to grow Austrian winter peas as a cover crop
Austrian winter peas (sometimes called winter field peas) can be purchased in 1- to 50-pound bags for cover cropping.
In my experience, 1 pound of seeds covers about 200 square feet of soil. I tend to err on the side of sowing more thickly, just to compensate for the fact that not all seeds may germinate.
To maximize their nitrogen-fixing ability, pair the seeds with an appropriate inoculant that’s made for peas and beans. Inoculants do have a shelf life, so it’s best to buy them fresh each year.
Where to buy
Seeds and inoculants
Quick Tip
If you grew a cover crop of peas in another bed last year, add a few shovelfuls of soil from that pea bed to this year’s bed to provide the inoculant for the new crop.
Cover crops are meant to grow freely and the easiest way to plant them is by broadcast seeding—or scattering, as I call it.
Here’s how to plant a cover crop scatter garden:
1. Inoculate your seeds.
Coat your pea seeds in soil inoculant. (Here’s a step-by-step process on how and when to inoculate seeds.)
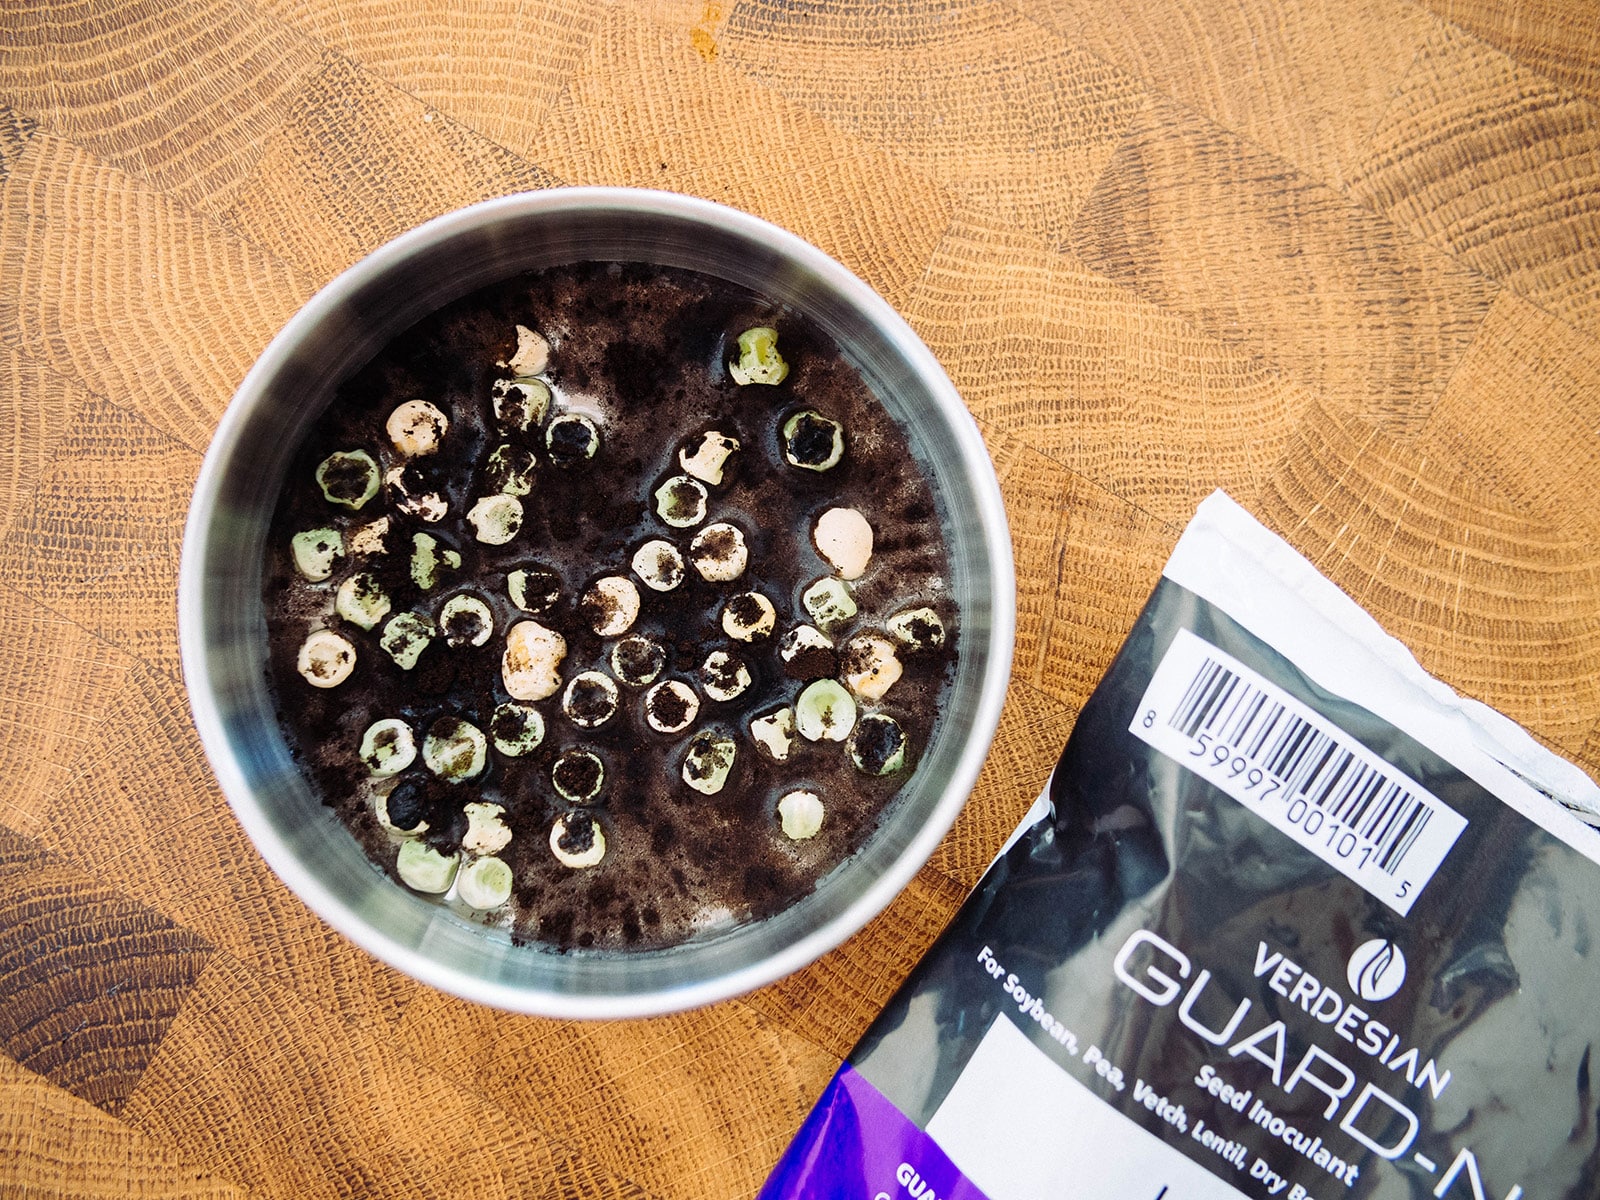
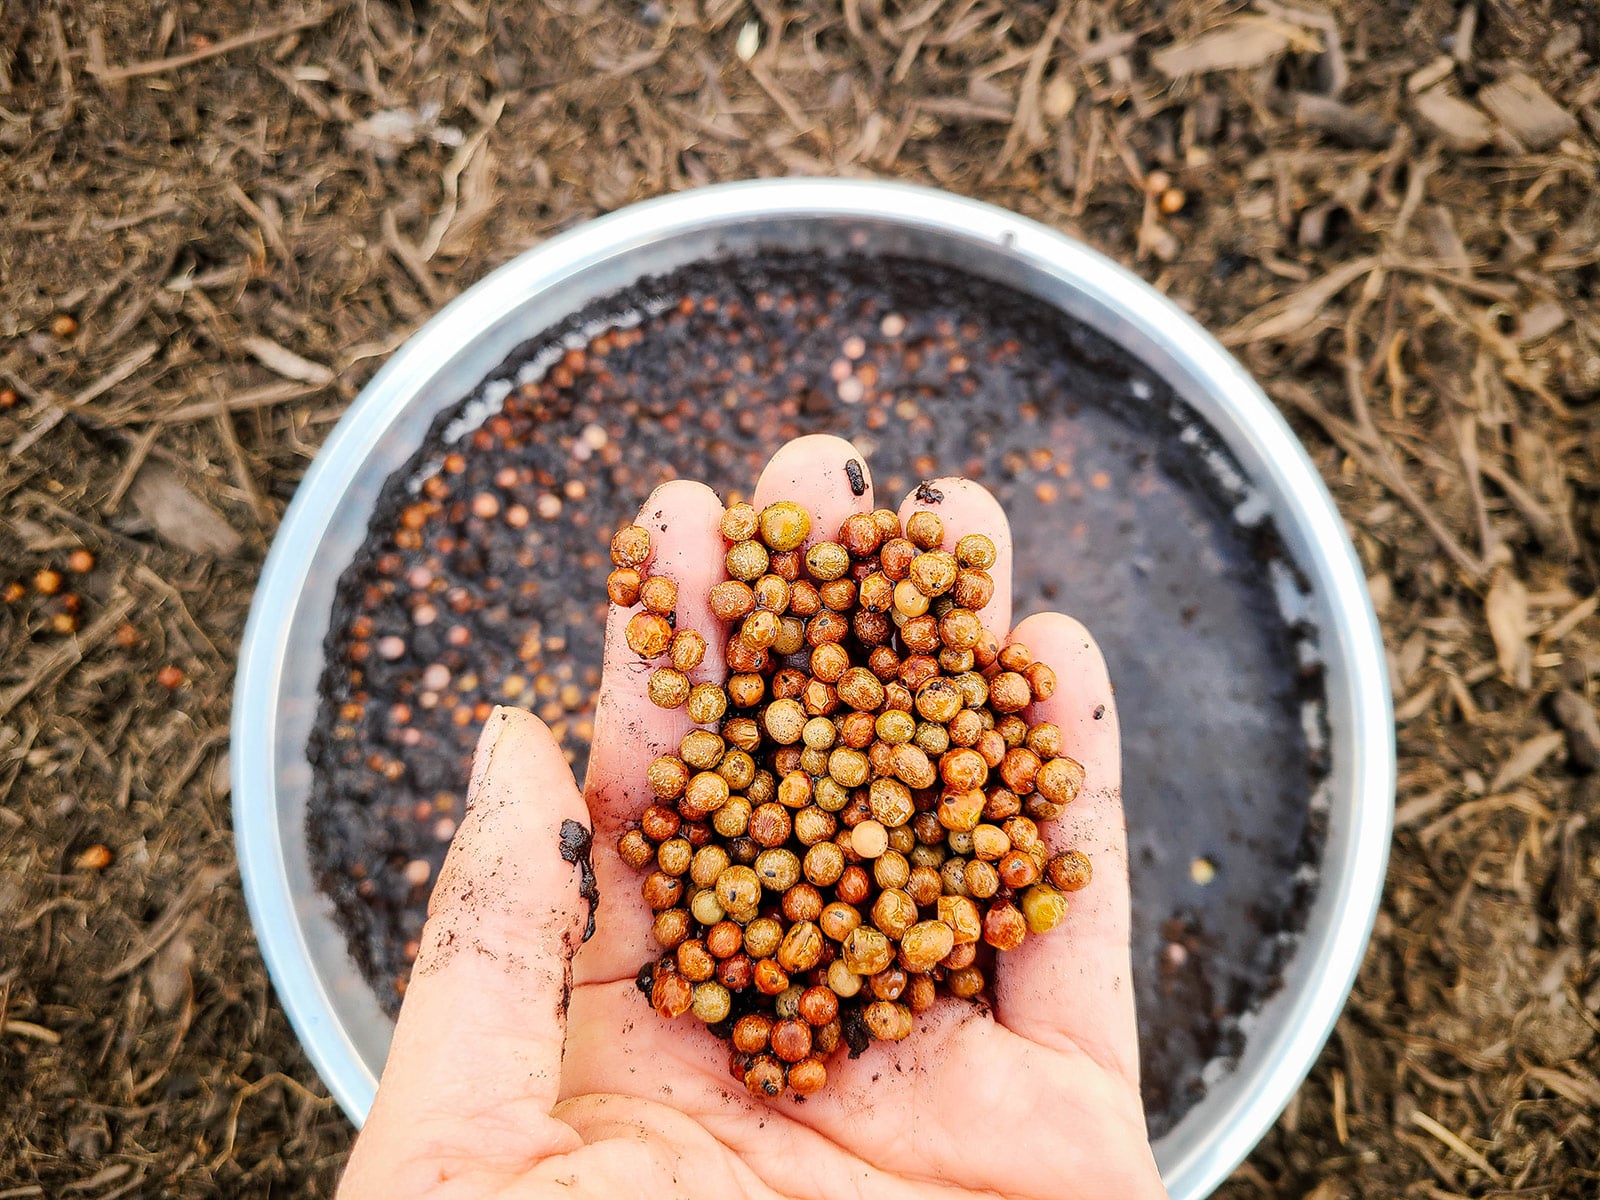
2. Broadcast seeds over your bed.
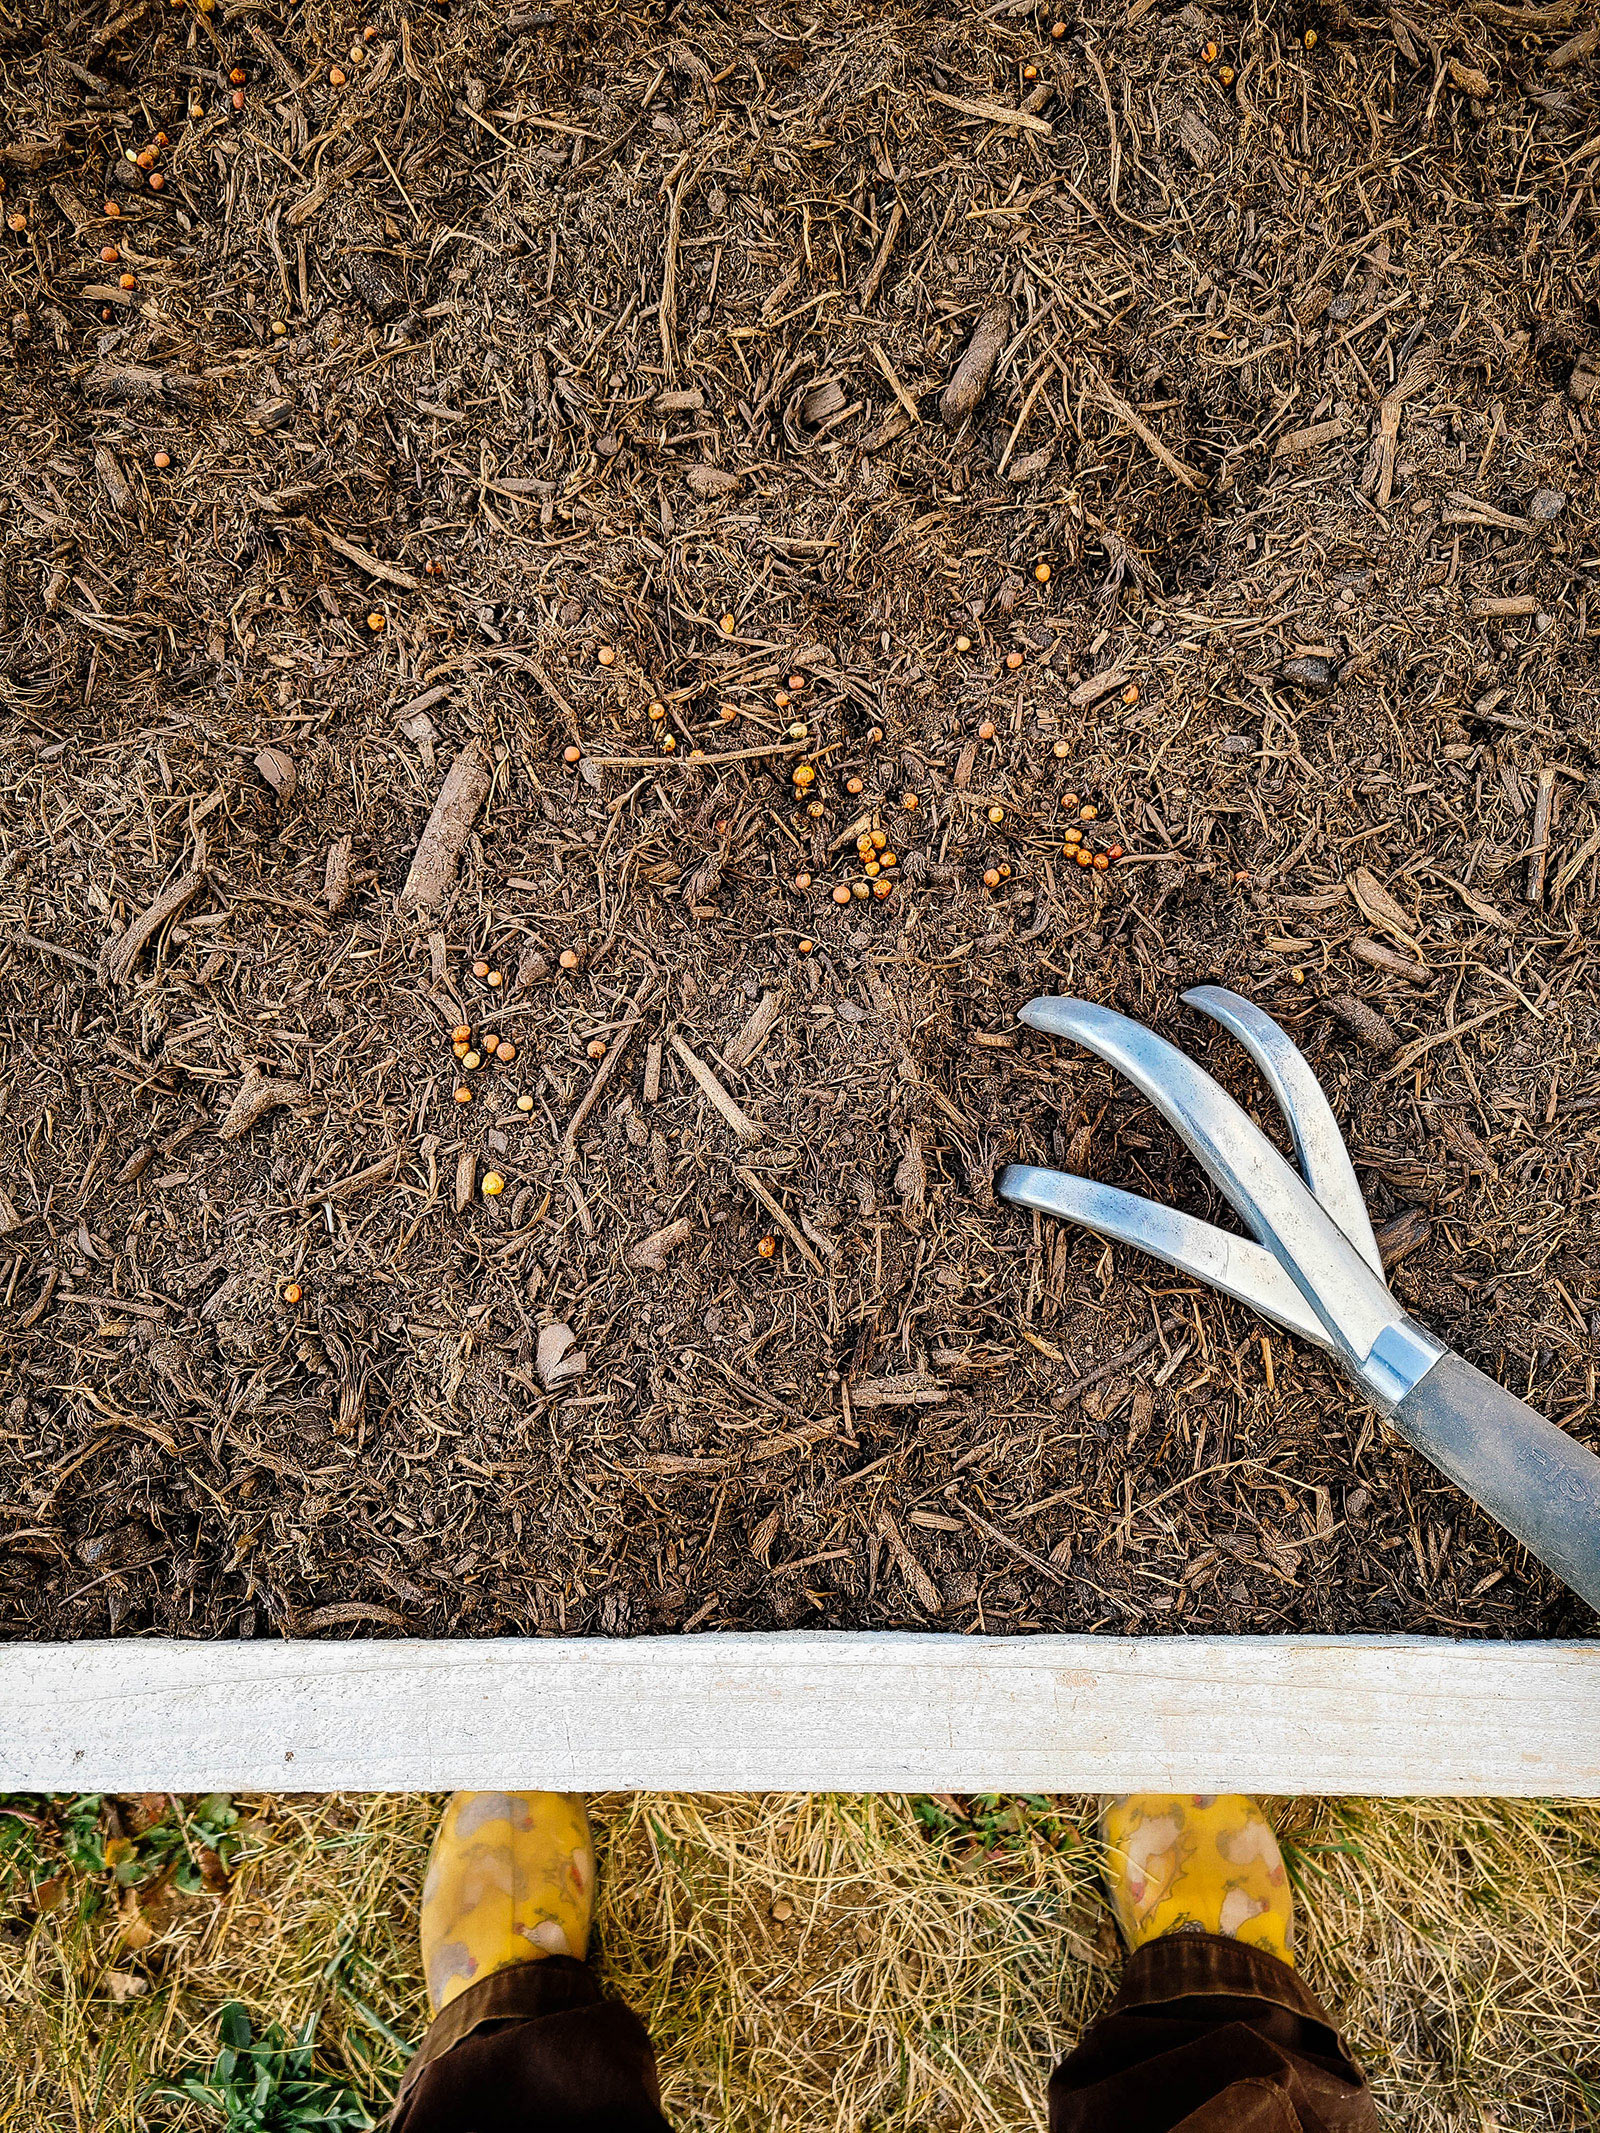
Once your seeds are nicely coated with inoculant, scatter several handfuls over your garden bed. Try to give the seeds enough space (around an inch or so) so they don’t germinate in crowded clumps.
Subscribe to Garden Betty
Sign up to get my free weekly emails and I’ll teach you how to keep your plants alive, maximize your garden bounty, and preserve the harvest.
3. Rake the seeds in.
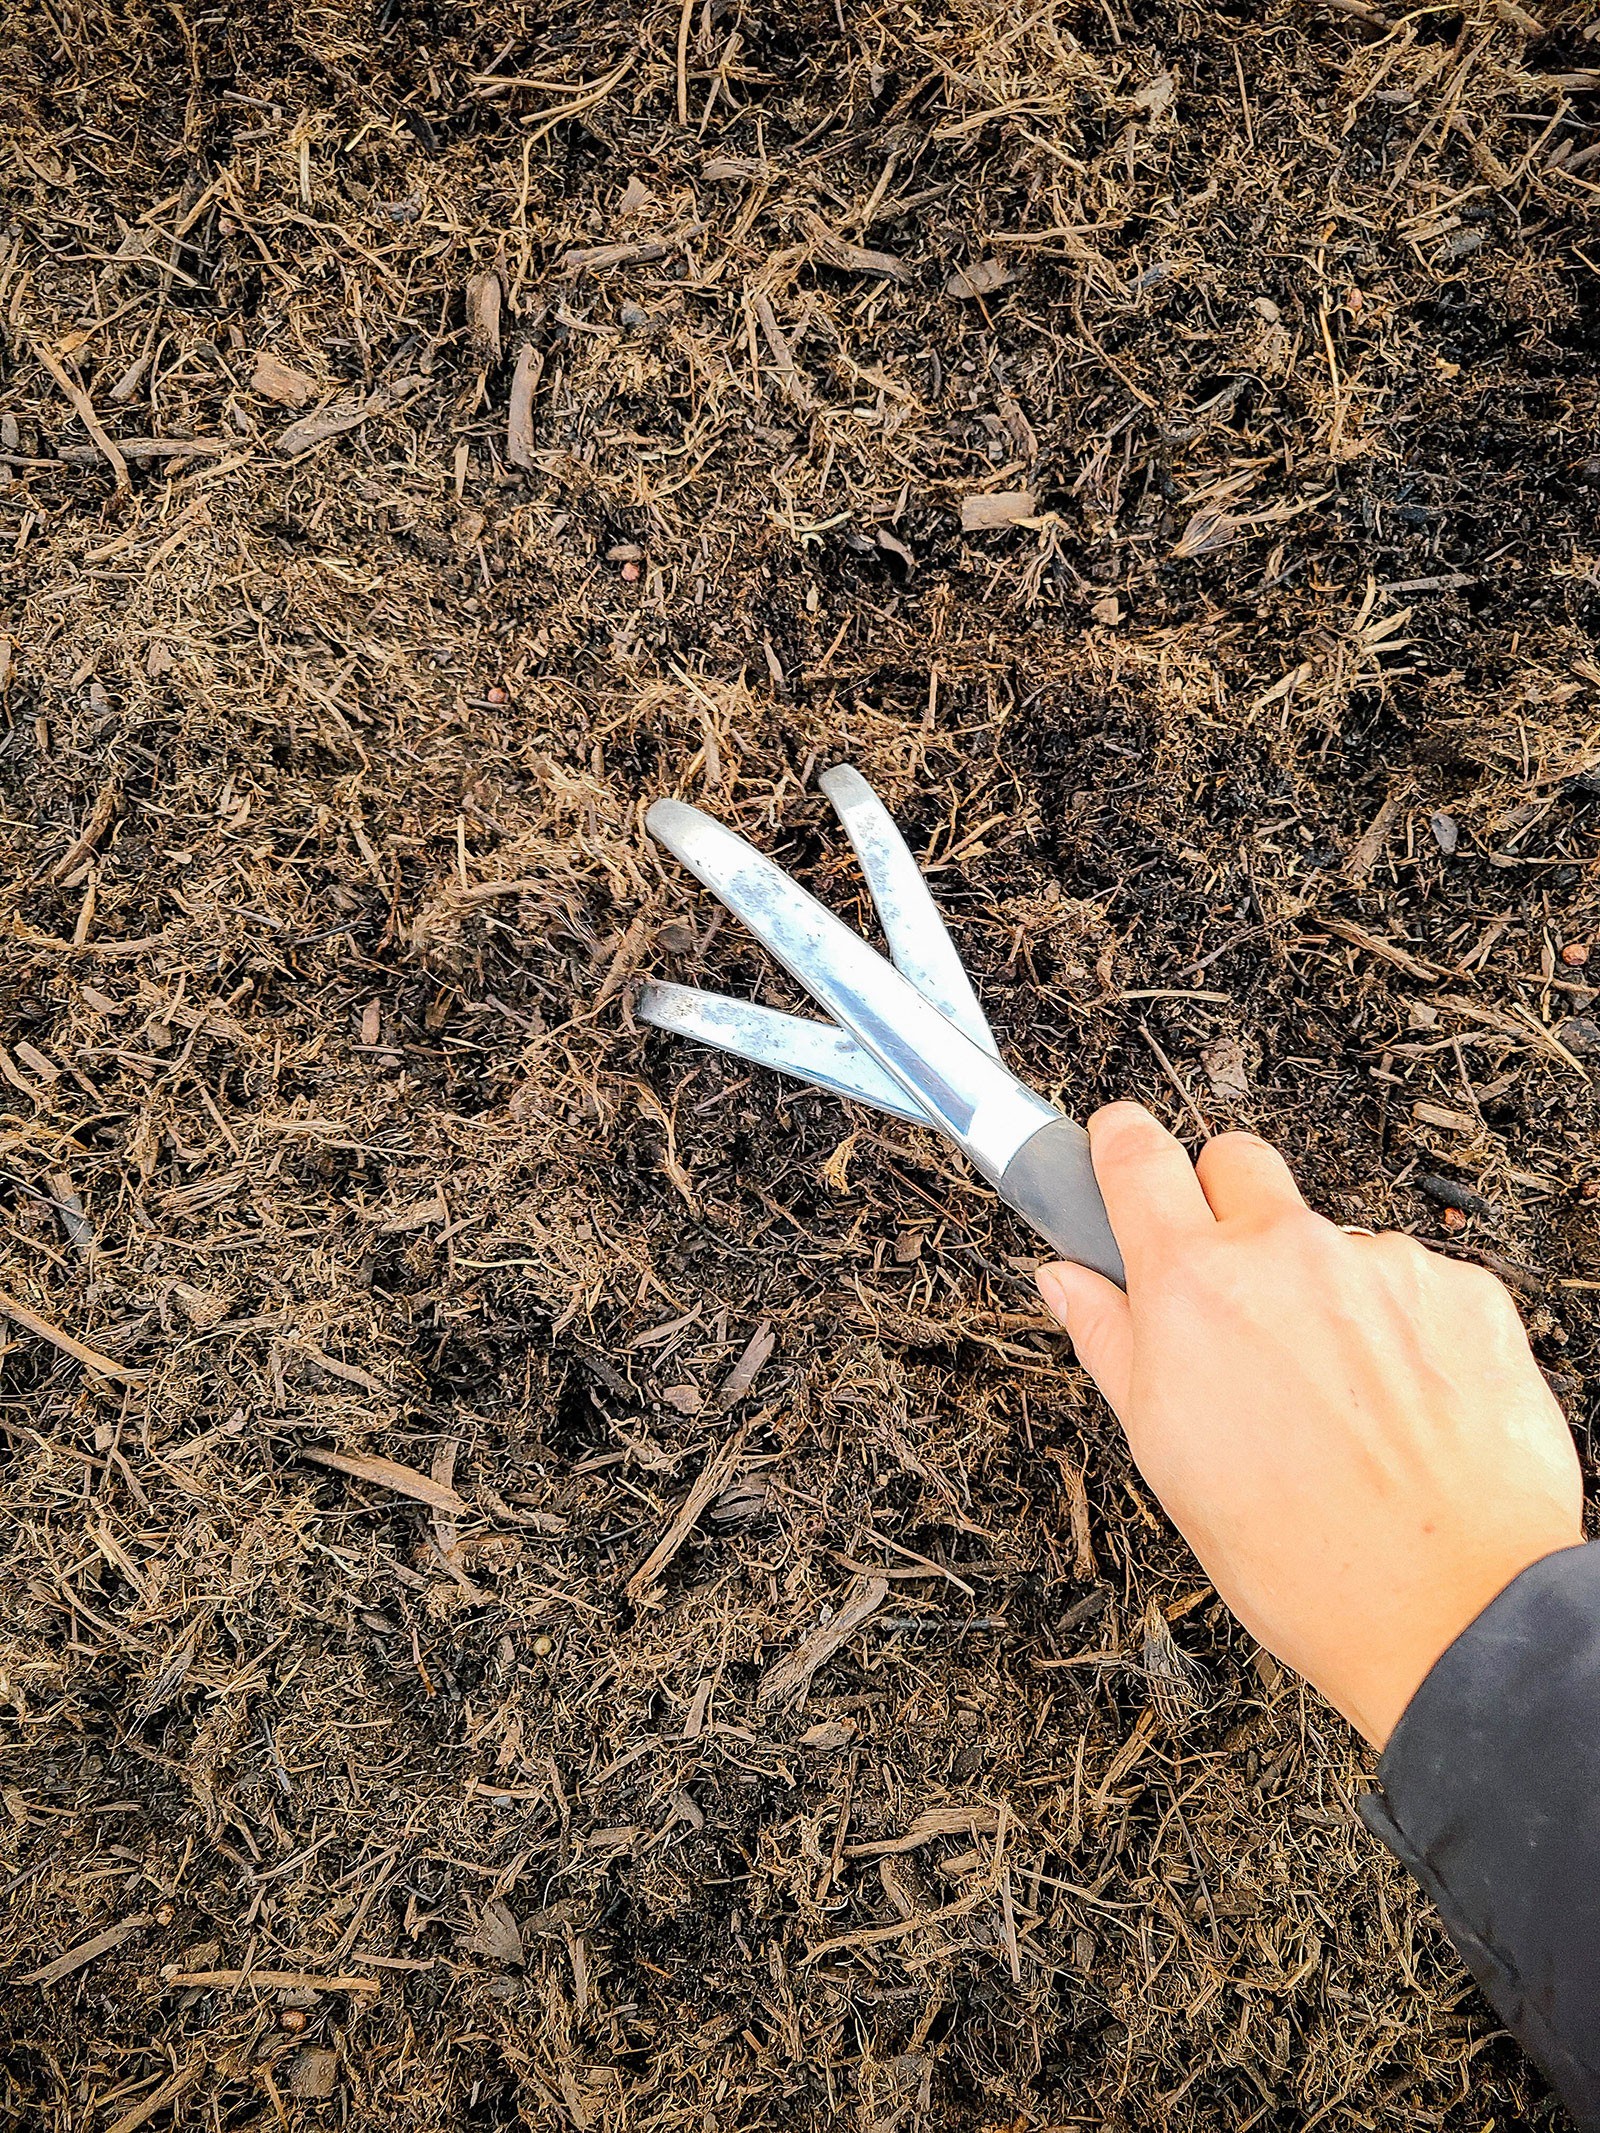
When you’ve got a layer of seeds spread fairly evenly across the surface, use a rake or hand cultivator to work them down into the soil to a depth of about 1/2 to 1 inch. They don’t all have to be covered with soil; pea seeds will still germinate while sitting on the surface, as long as they’re nestled in and have soil contact.
4. Water (and optionally, mulch) the bed.
Water the seeds in thoroughly. If you live in a dry climate that doesn’t get much rain in fall, add a thin layer of straw mulch to help hold in moisture.
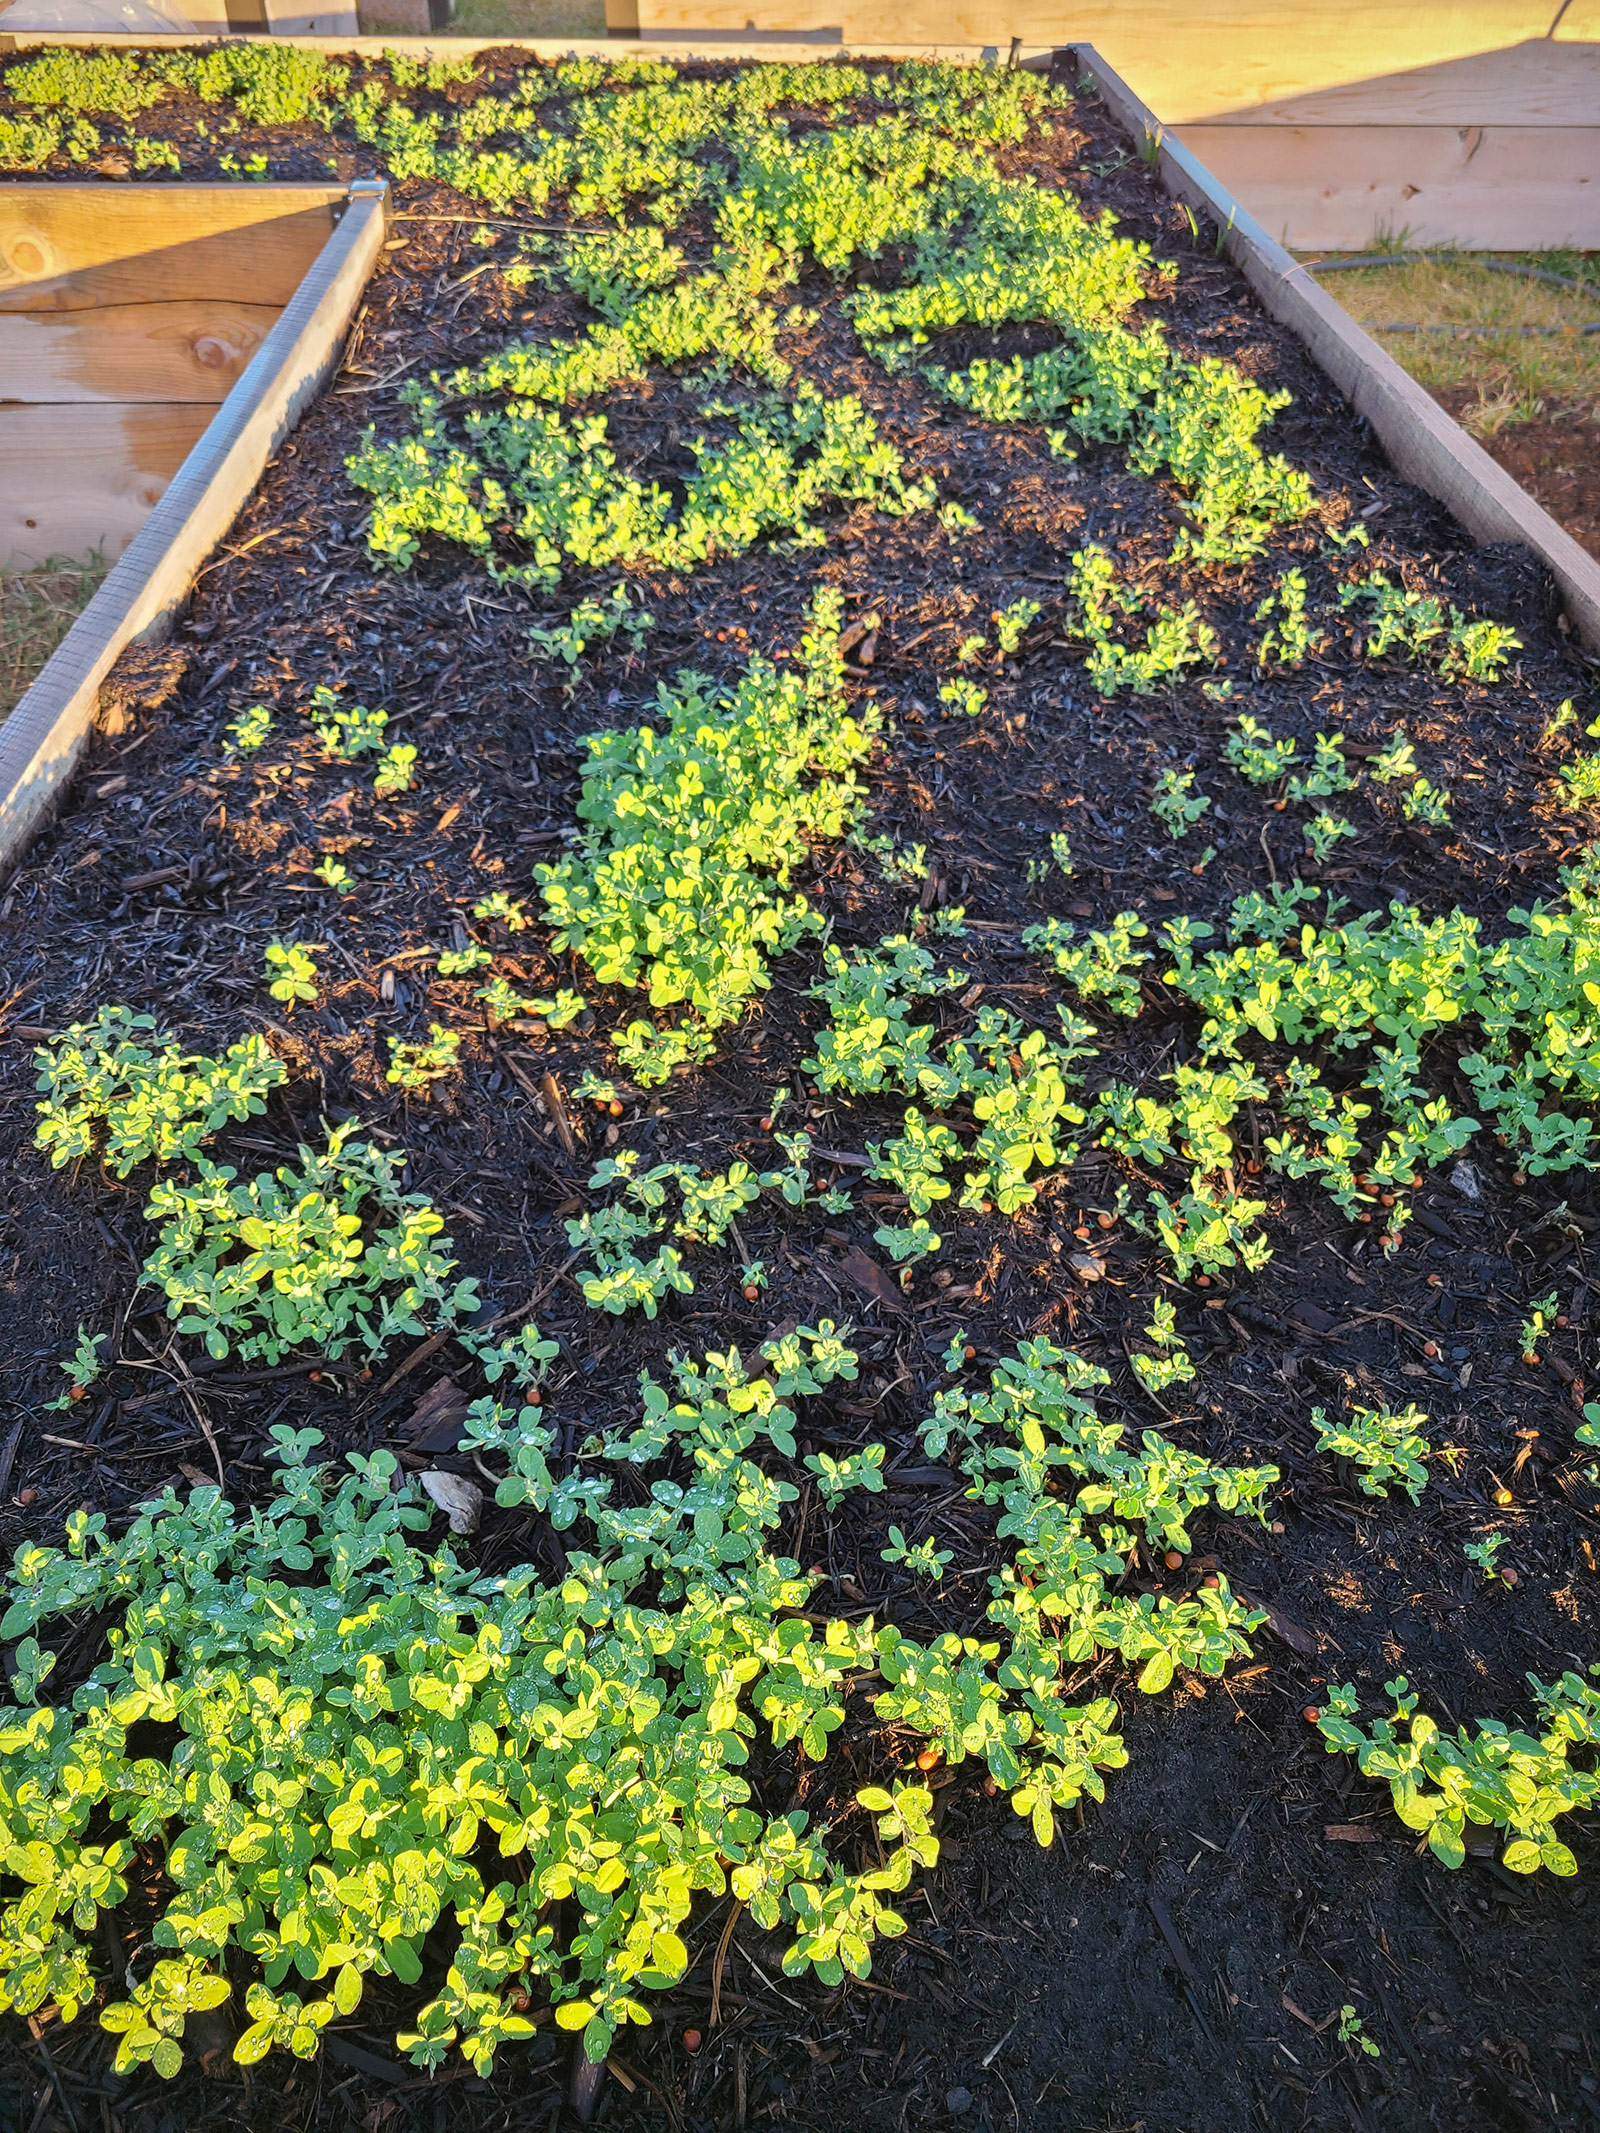
Keep them well watered until they sprout. The key to getting good germination is making sure the seeds stay lightly moist (either from rain or irrigation) but not waterlogged.
5. Start harvesting in late winter to early spring.
Austrian winter peas produce a tangle of vines that grow anywhere from 2 to 4 feet tall. However, you can start harvesting about one-third of the leaves from each plant once it reaches 6 to 8 inches.
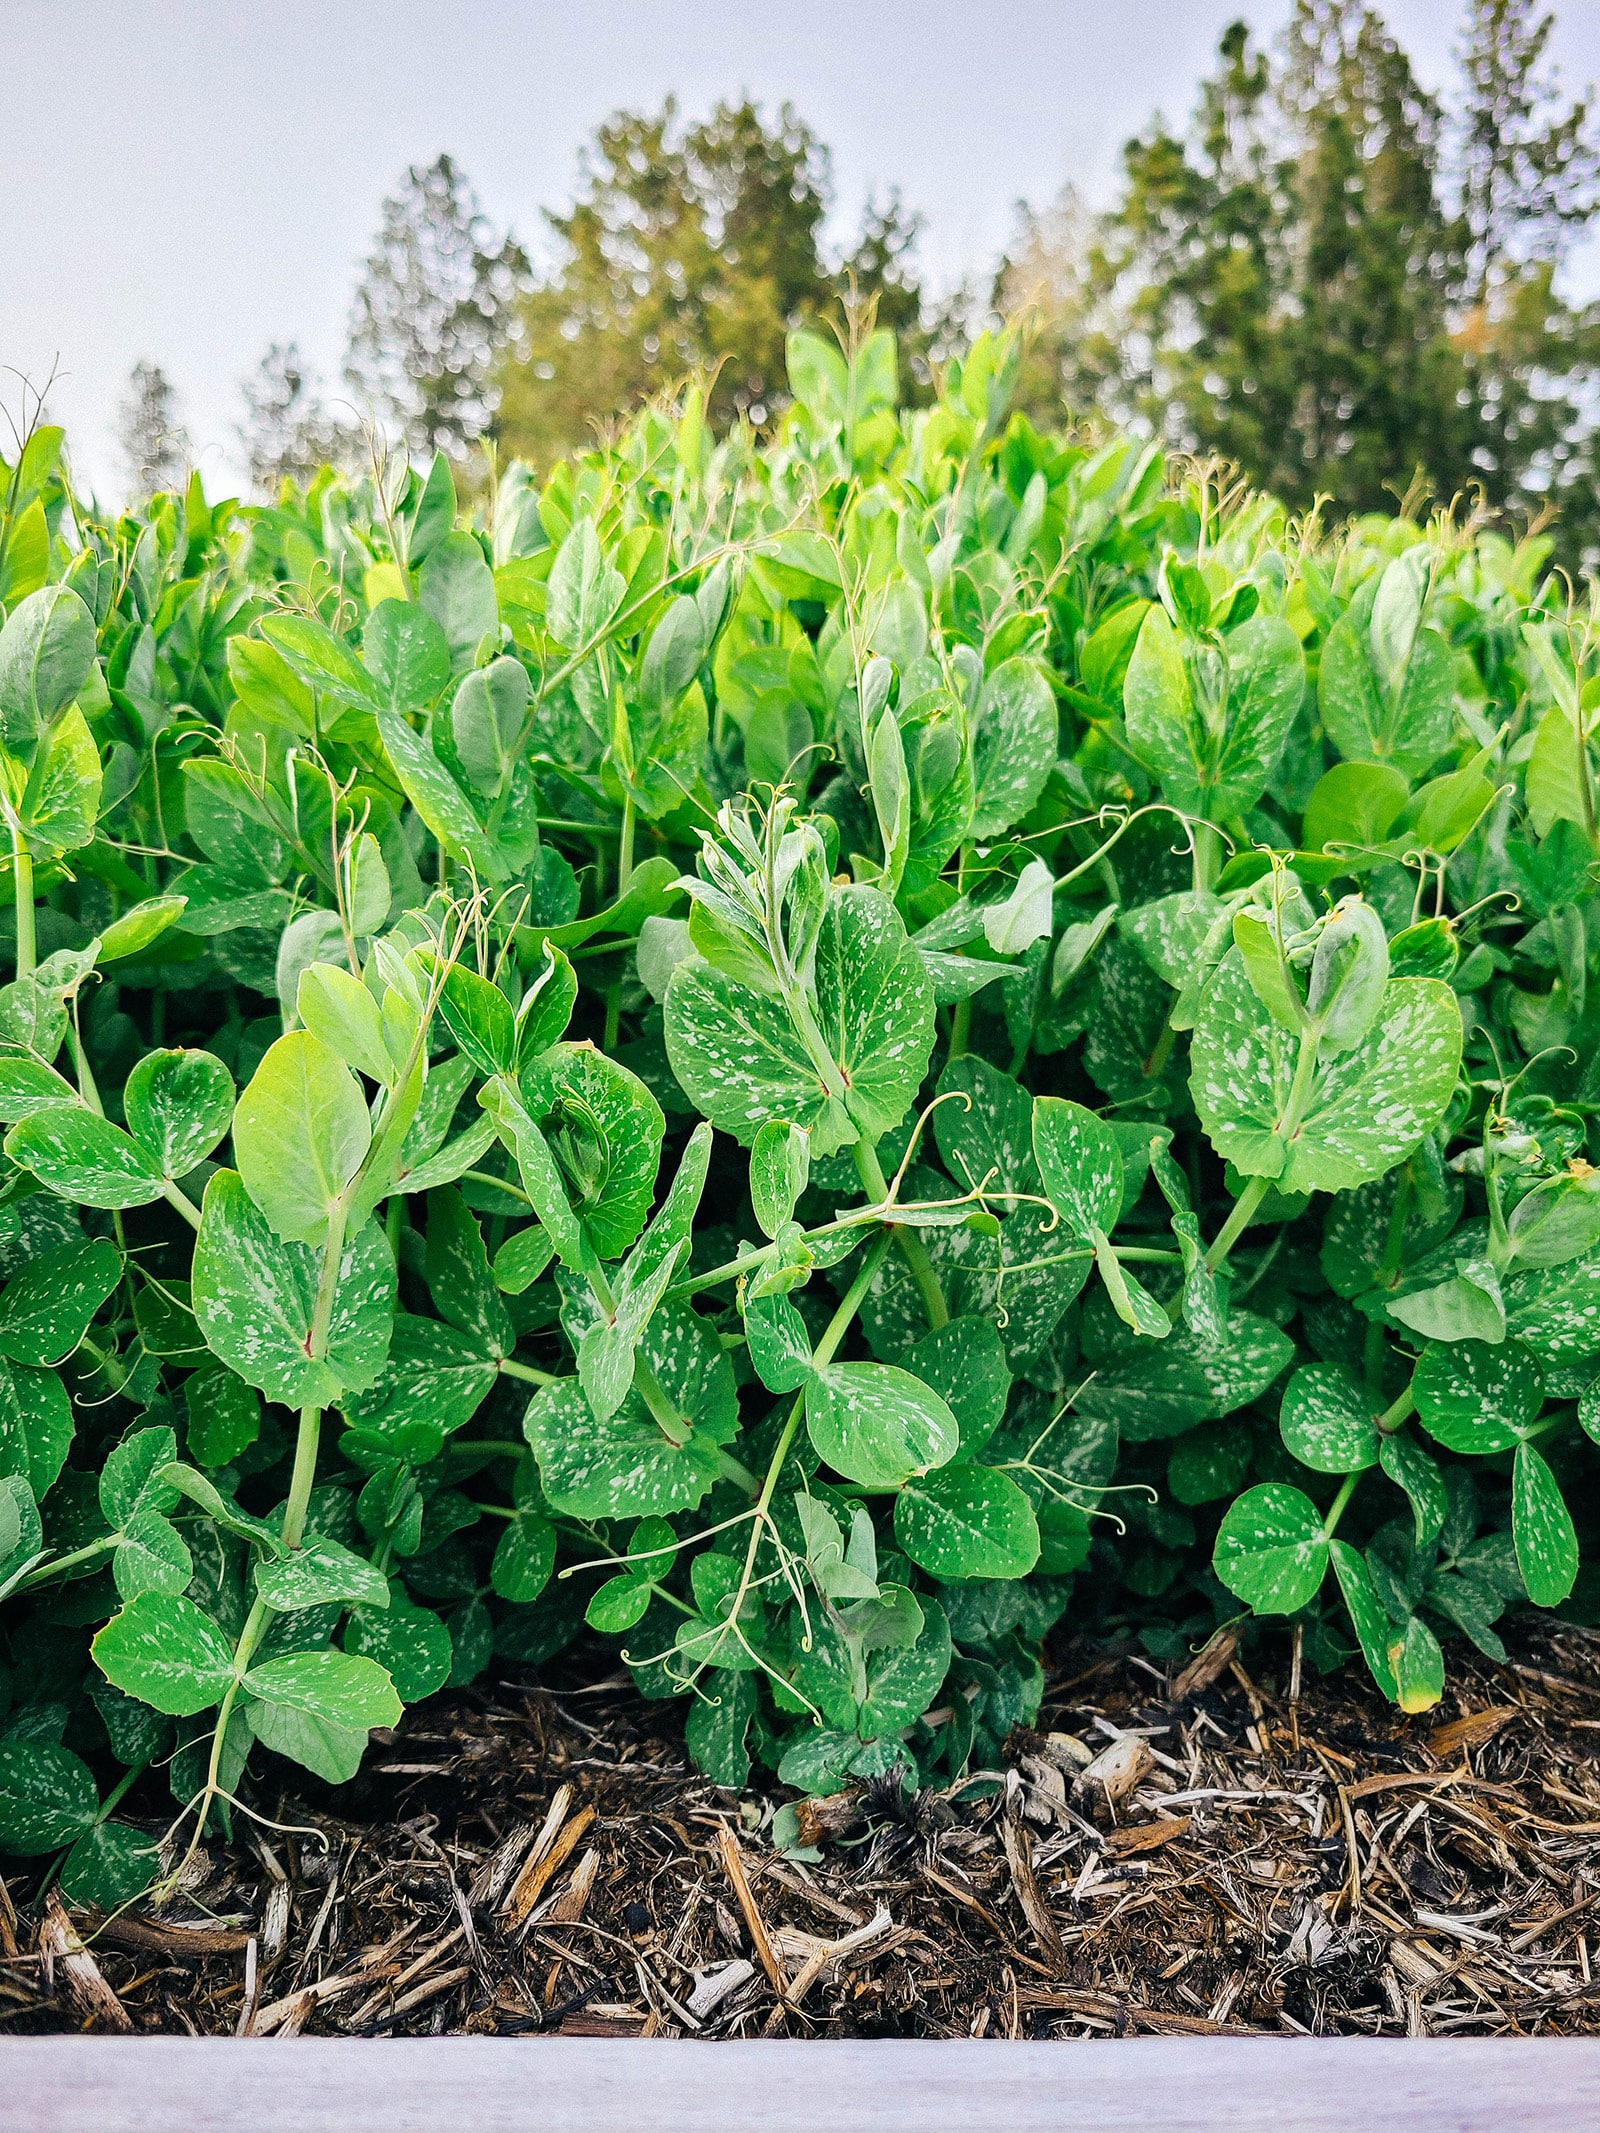
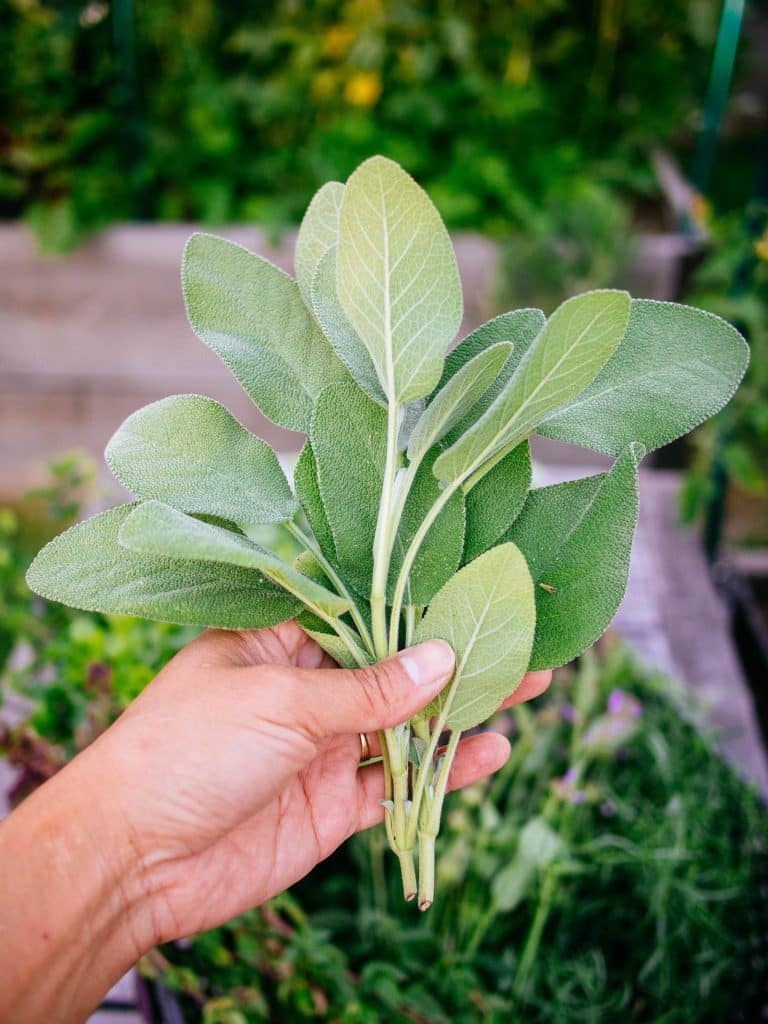
The leaves are delicious and taste just like peas!
Read more: Most people don’t know they can eat these unconventional “bonus” vegetables from their garden
Your plants will slow down considerably in the depth of winter, though Austrian winter peas are hardy to USDA zones 6 and above and will overwinter as long as temperatures are consistently above 10°F. If you’re in a colder region, you can let the hard freezes terminate the cover crop naturally and leave the plants in place (as mulch) to decompose.
But if you’re like me and love the bonus of growing an edible cover crop, cover the bed with frost cloth to keep your plants going all winter. They’ll resume growth in late winter to early spring once the soil warms up and the days get longer.
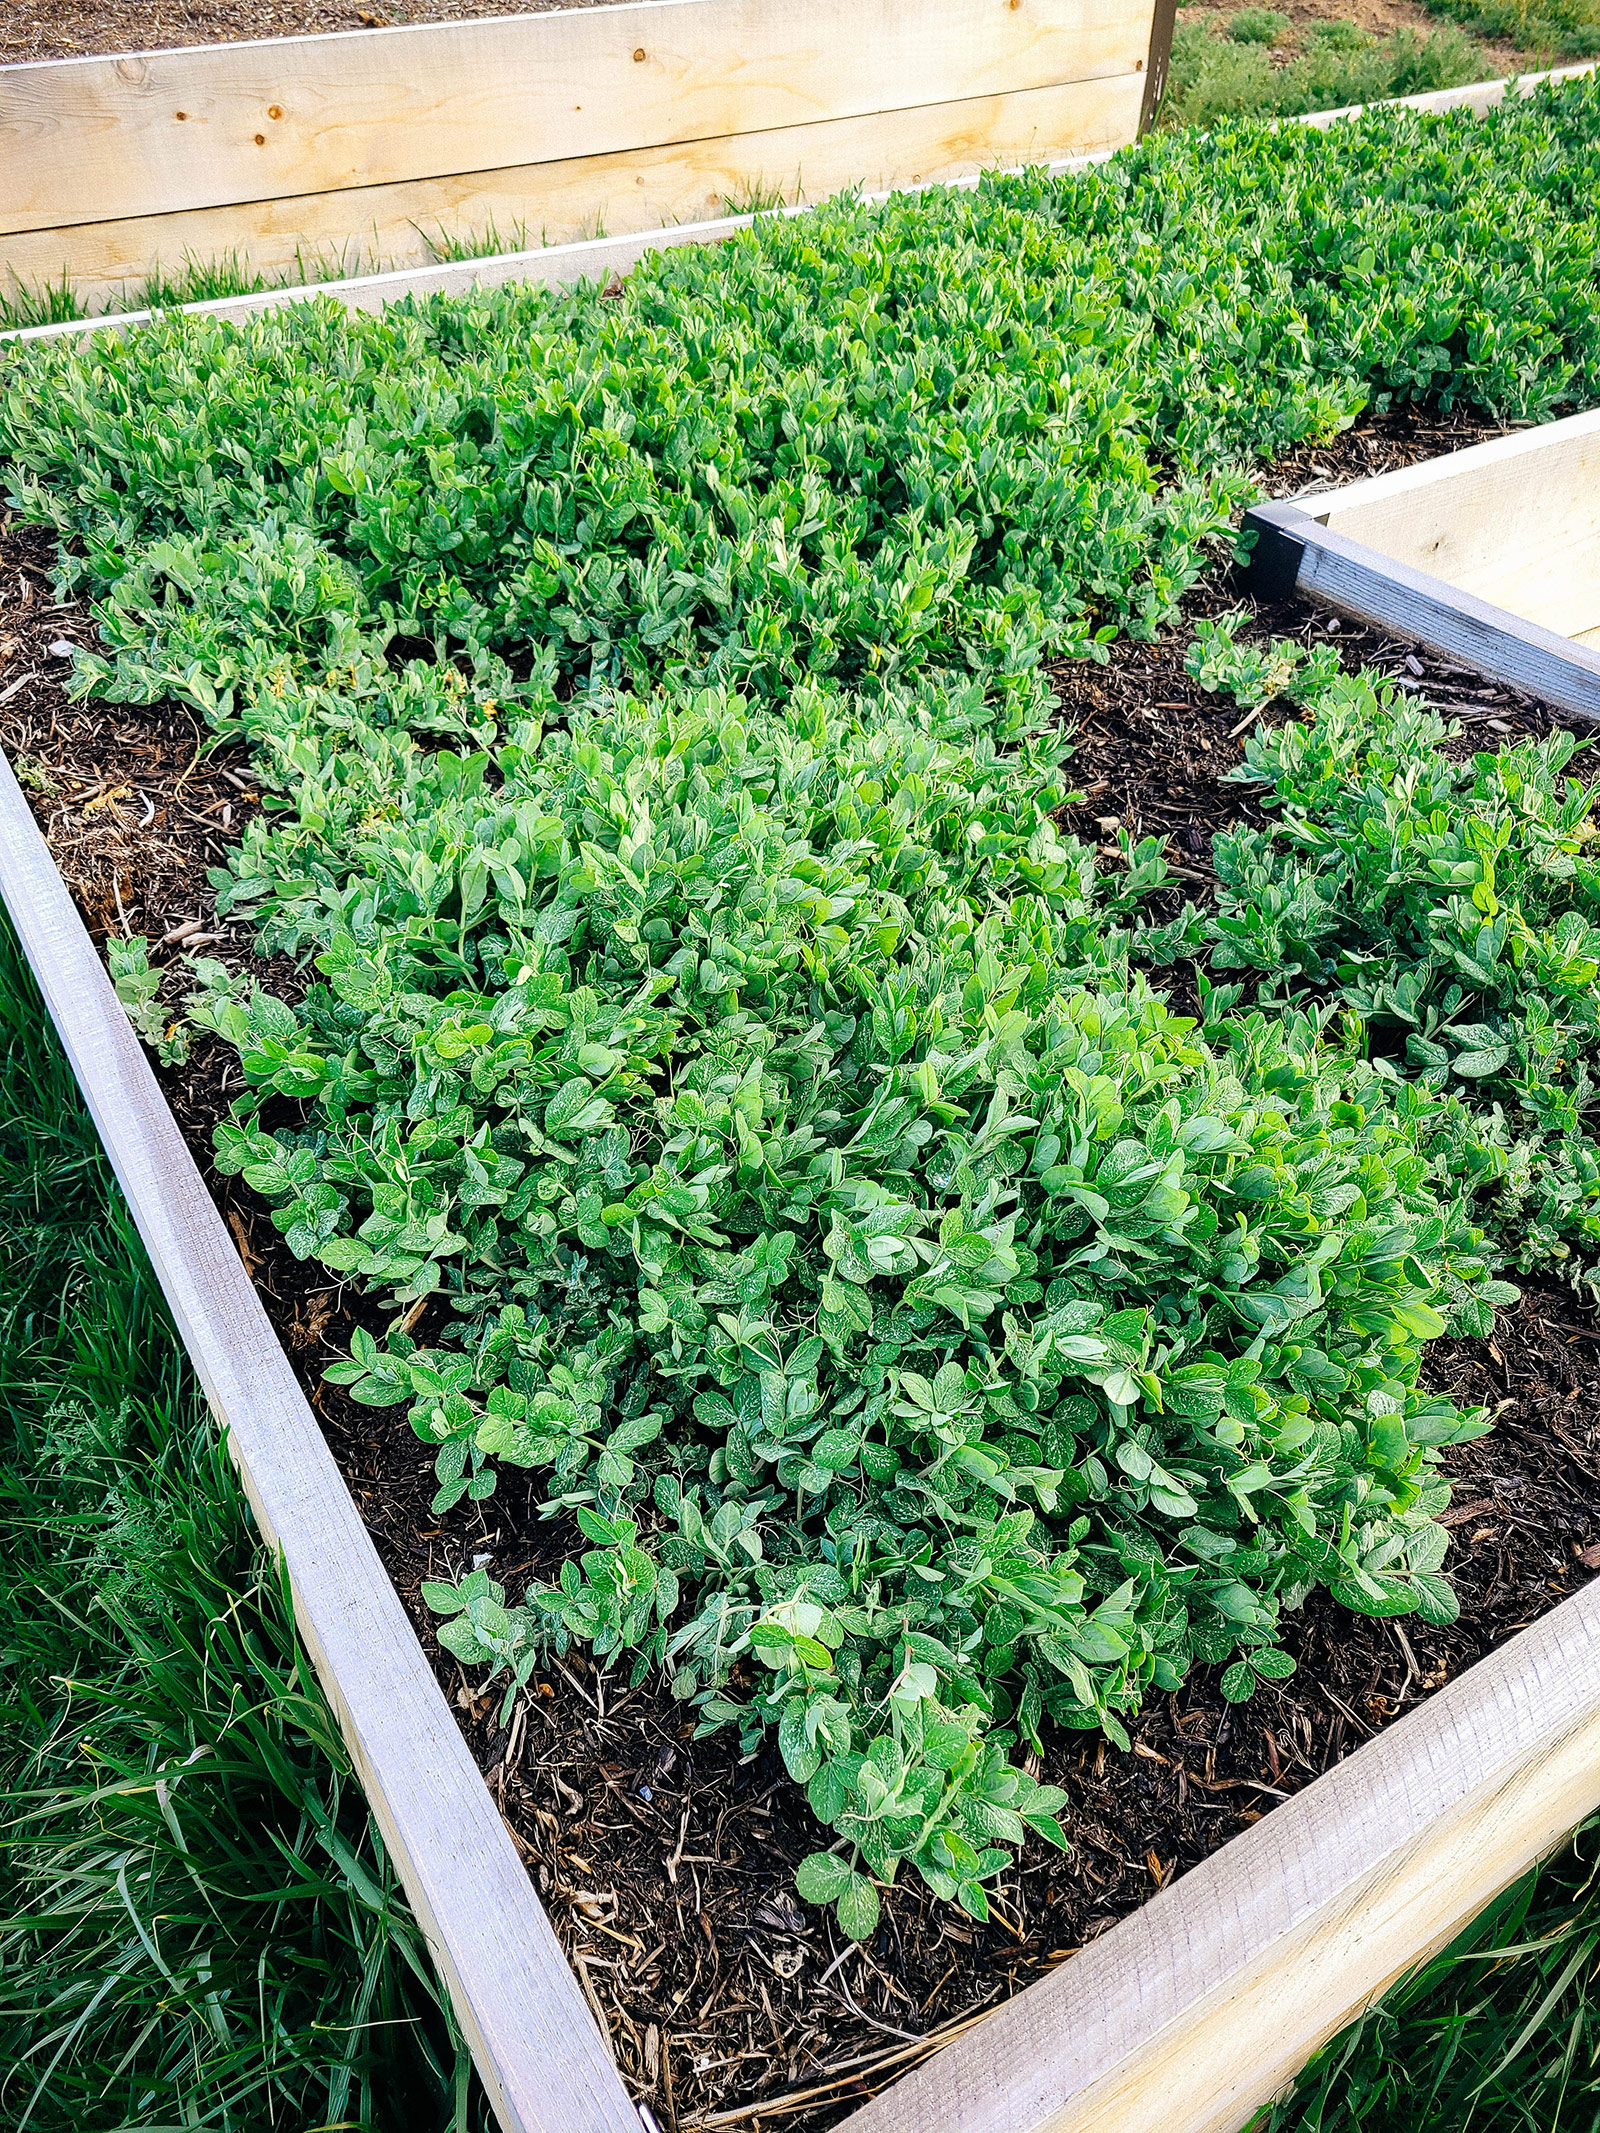
Continue harvesting lightly from your pea plants until they begin to flower, at which point the cover crop is at its apex of benefit.
Why you should wait for your cover crop to flower
Your cover crops store nutrients right up until flowering. The sugars produced by your pea plants are concentrated in those flowers, and all the energy and good things you want transferred from the flowers to the soil are in the ideal stage.
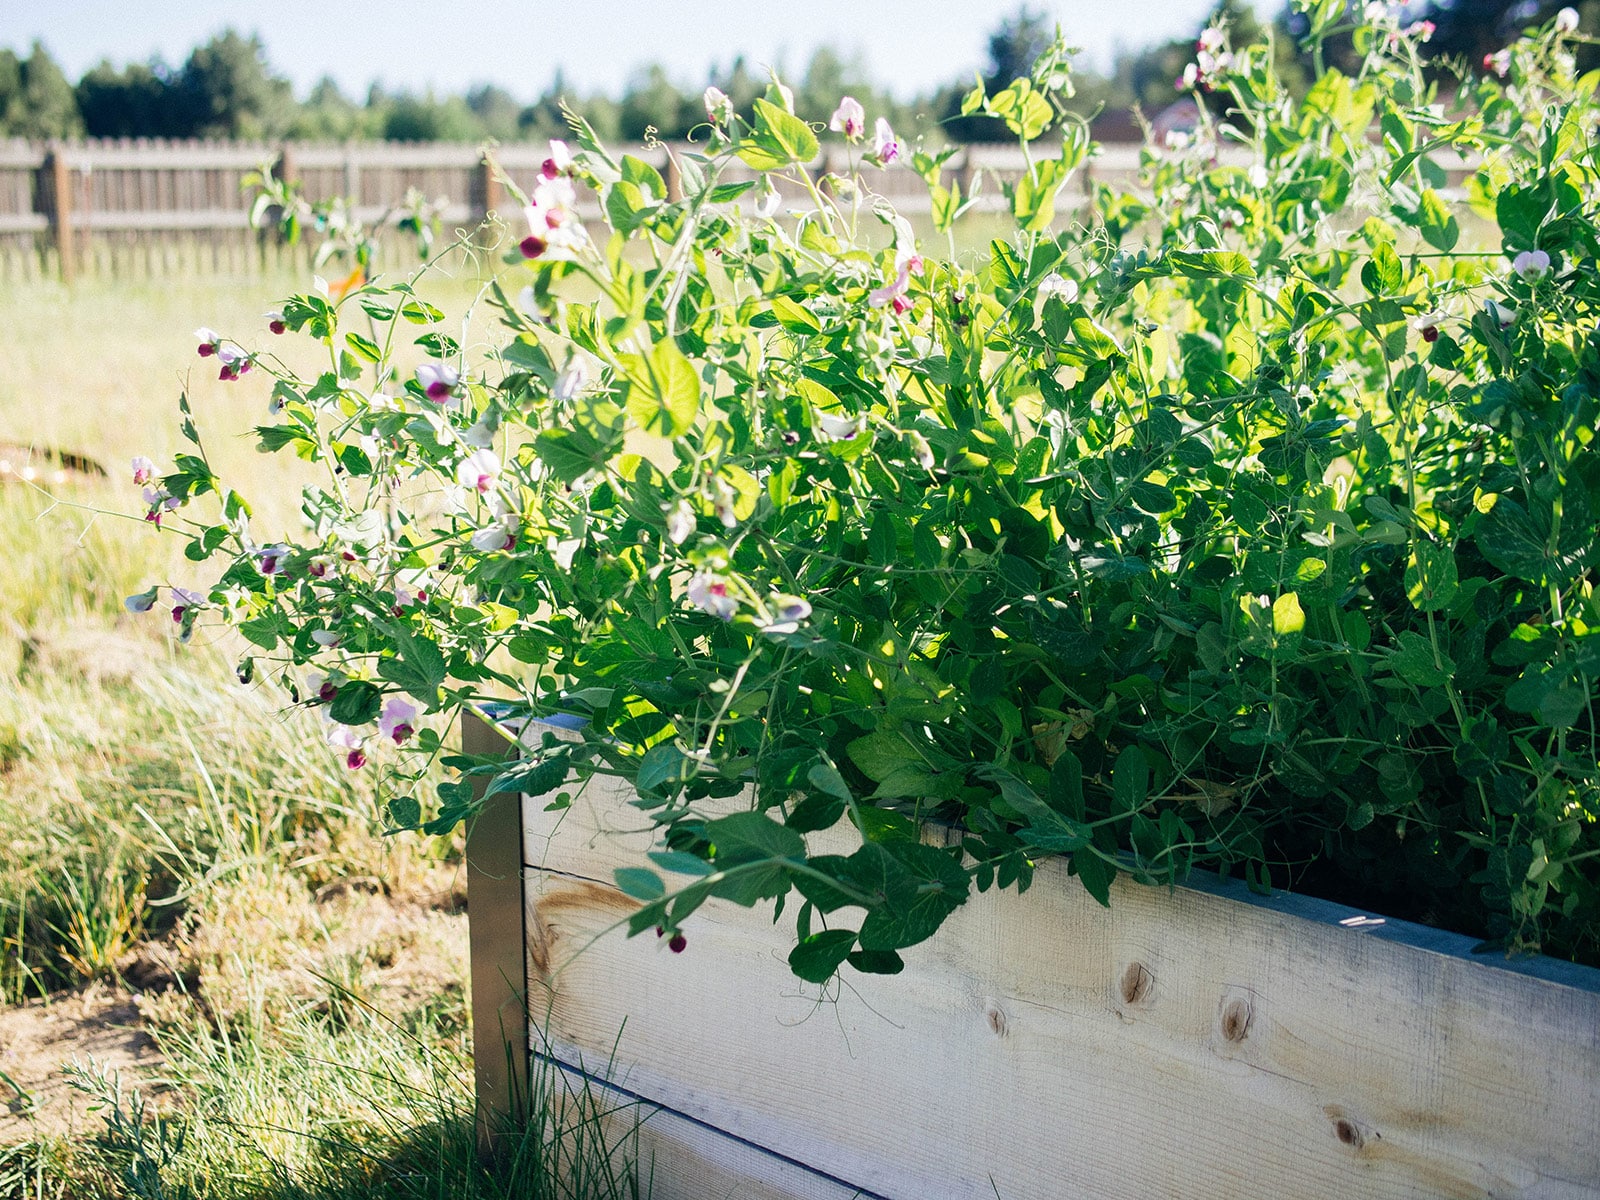
What you don’t want is for those flowers to set seed. When that happens, the sugars in the flowers turn to starch and the energy and nutrient benefits are no longer available to the soil.
That means you should cut down your pea plants while they’re flowering, but before they form pods. It might feel contradictory to terminate a plant before it produces its primary crop, but remember that cover crops are grown to be terminated so they can go back into the soil.
How to incorporate cover crops in a no-dig garden
When people talk about incorporating cover crops into the soil, they often “turn it in,” “work it in,” “till,” or some other variation of those terms that basically means they pull the plants up and dig them back in with a garden fork.
That’s the traditional way of incorporating cover crops, but there’s another way that’s more conducive to a no-dig style of gardening, and it’s called the “chop and drop.”
Chop and drop is exactly what it sounds like: You chop the plants down, then let them drop to the soil. Done!
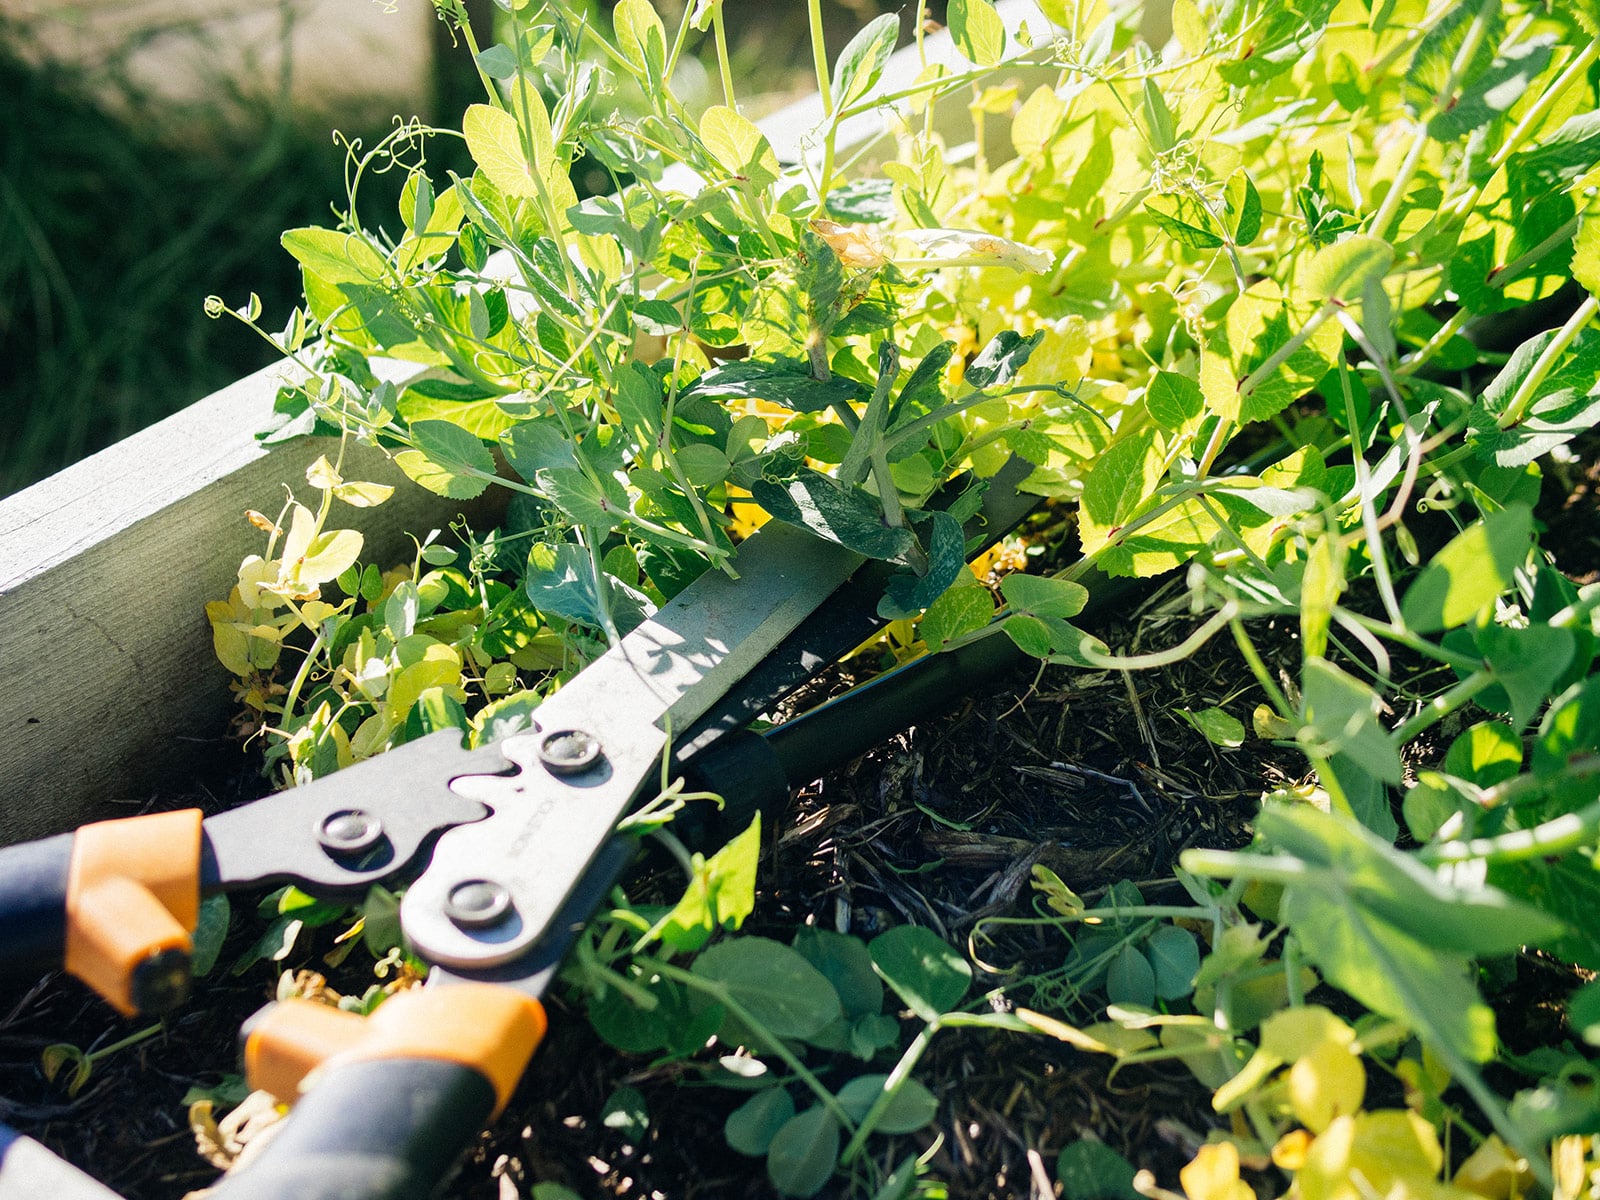
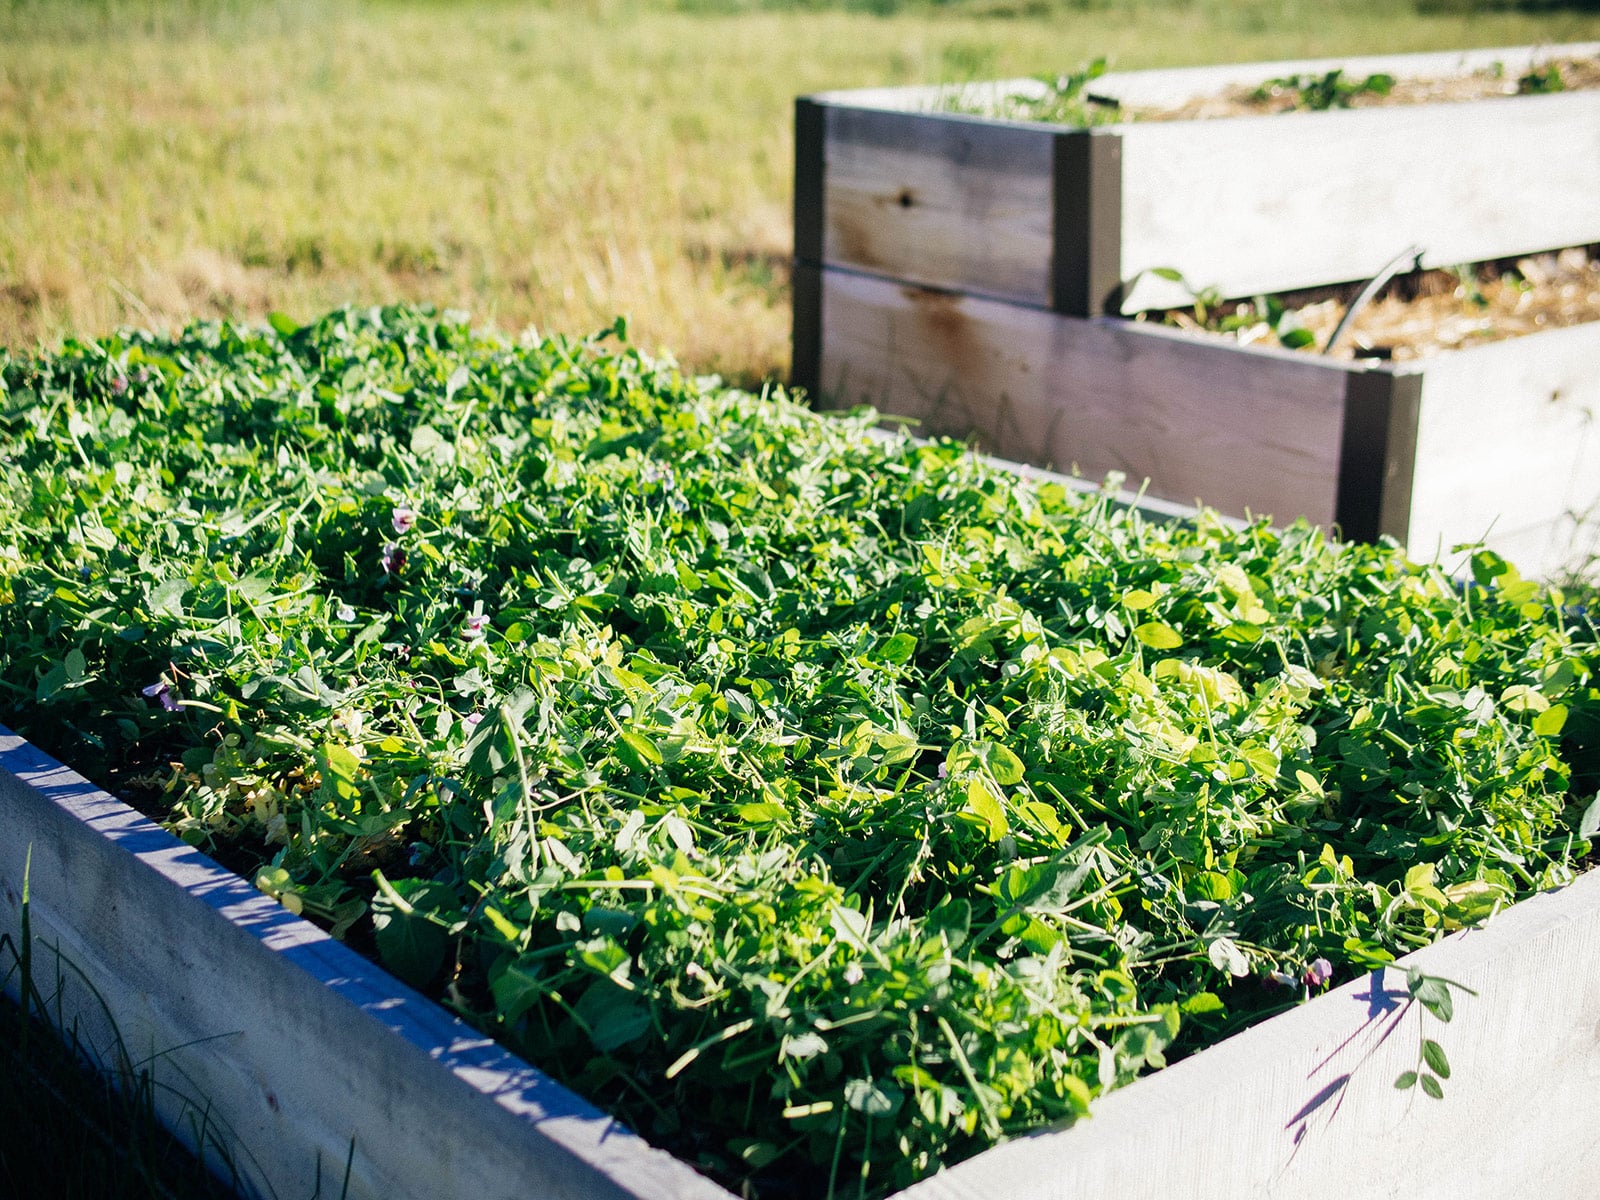
What happens is the plants are cut down as close to the soil surface as possible and then spread out over the bed to act as a mulch. The roots are left in the ground so all that stored nitrogen can get released. In a few weeks’ time, the roots will decay, providing food for soil microbes, and the mulch will protect the soil and smother weeds as new plants start to grow.
I use a pair of hedge shears to cut down my cover crops, which is the easiest for a raised bed, though you can also use a weed eater to trim them (could get a bit messy though) or a shovel to knock the plants down at soil level.
Recommended
Hedge clippers
Lightweight and easy to use, these clippers are a staple tool in my garden shed. I use them for a variety of pruning tasks to trim, shape, or cut down plants at the end of the season.
Since I want to make sure the plants are actually terminated, I prefer to cut them. (I’ve had pea plants attempt to grow again when they’re only knocked over.)
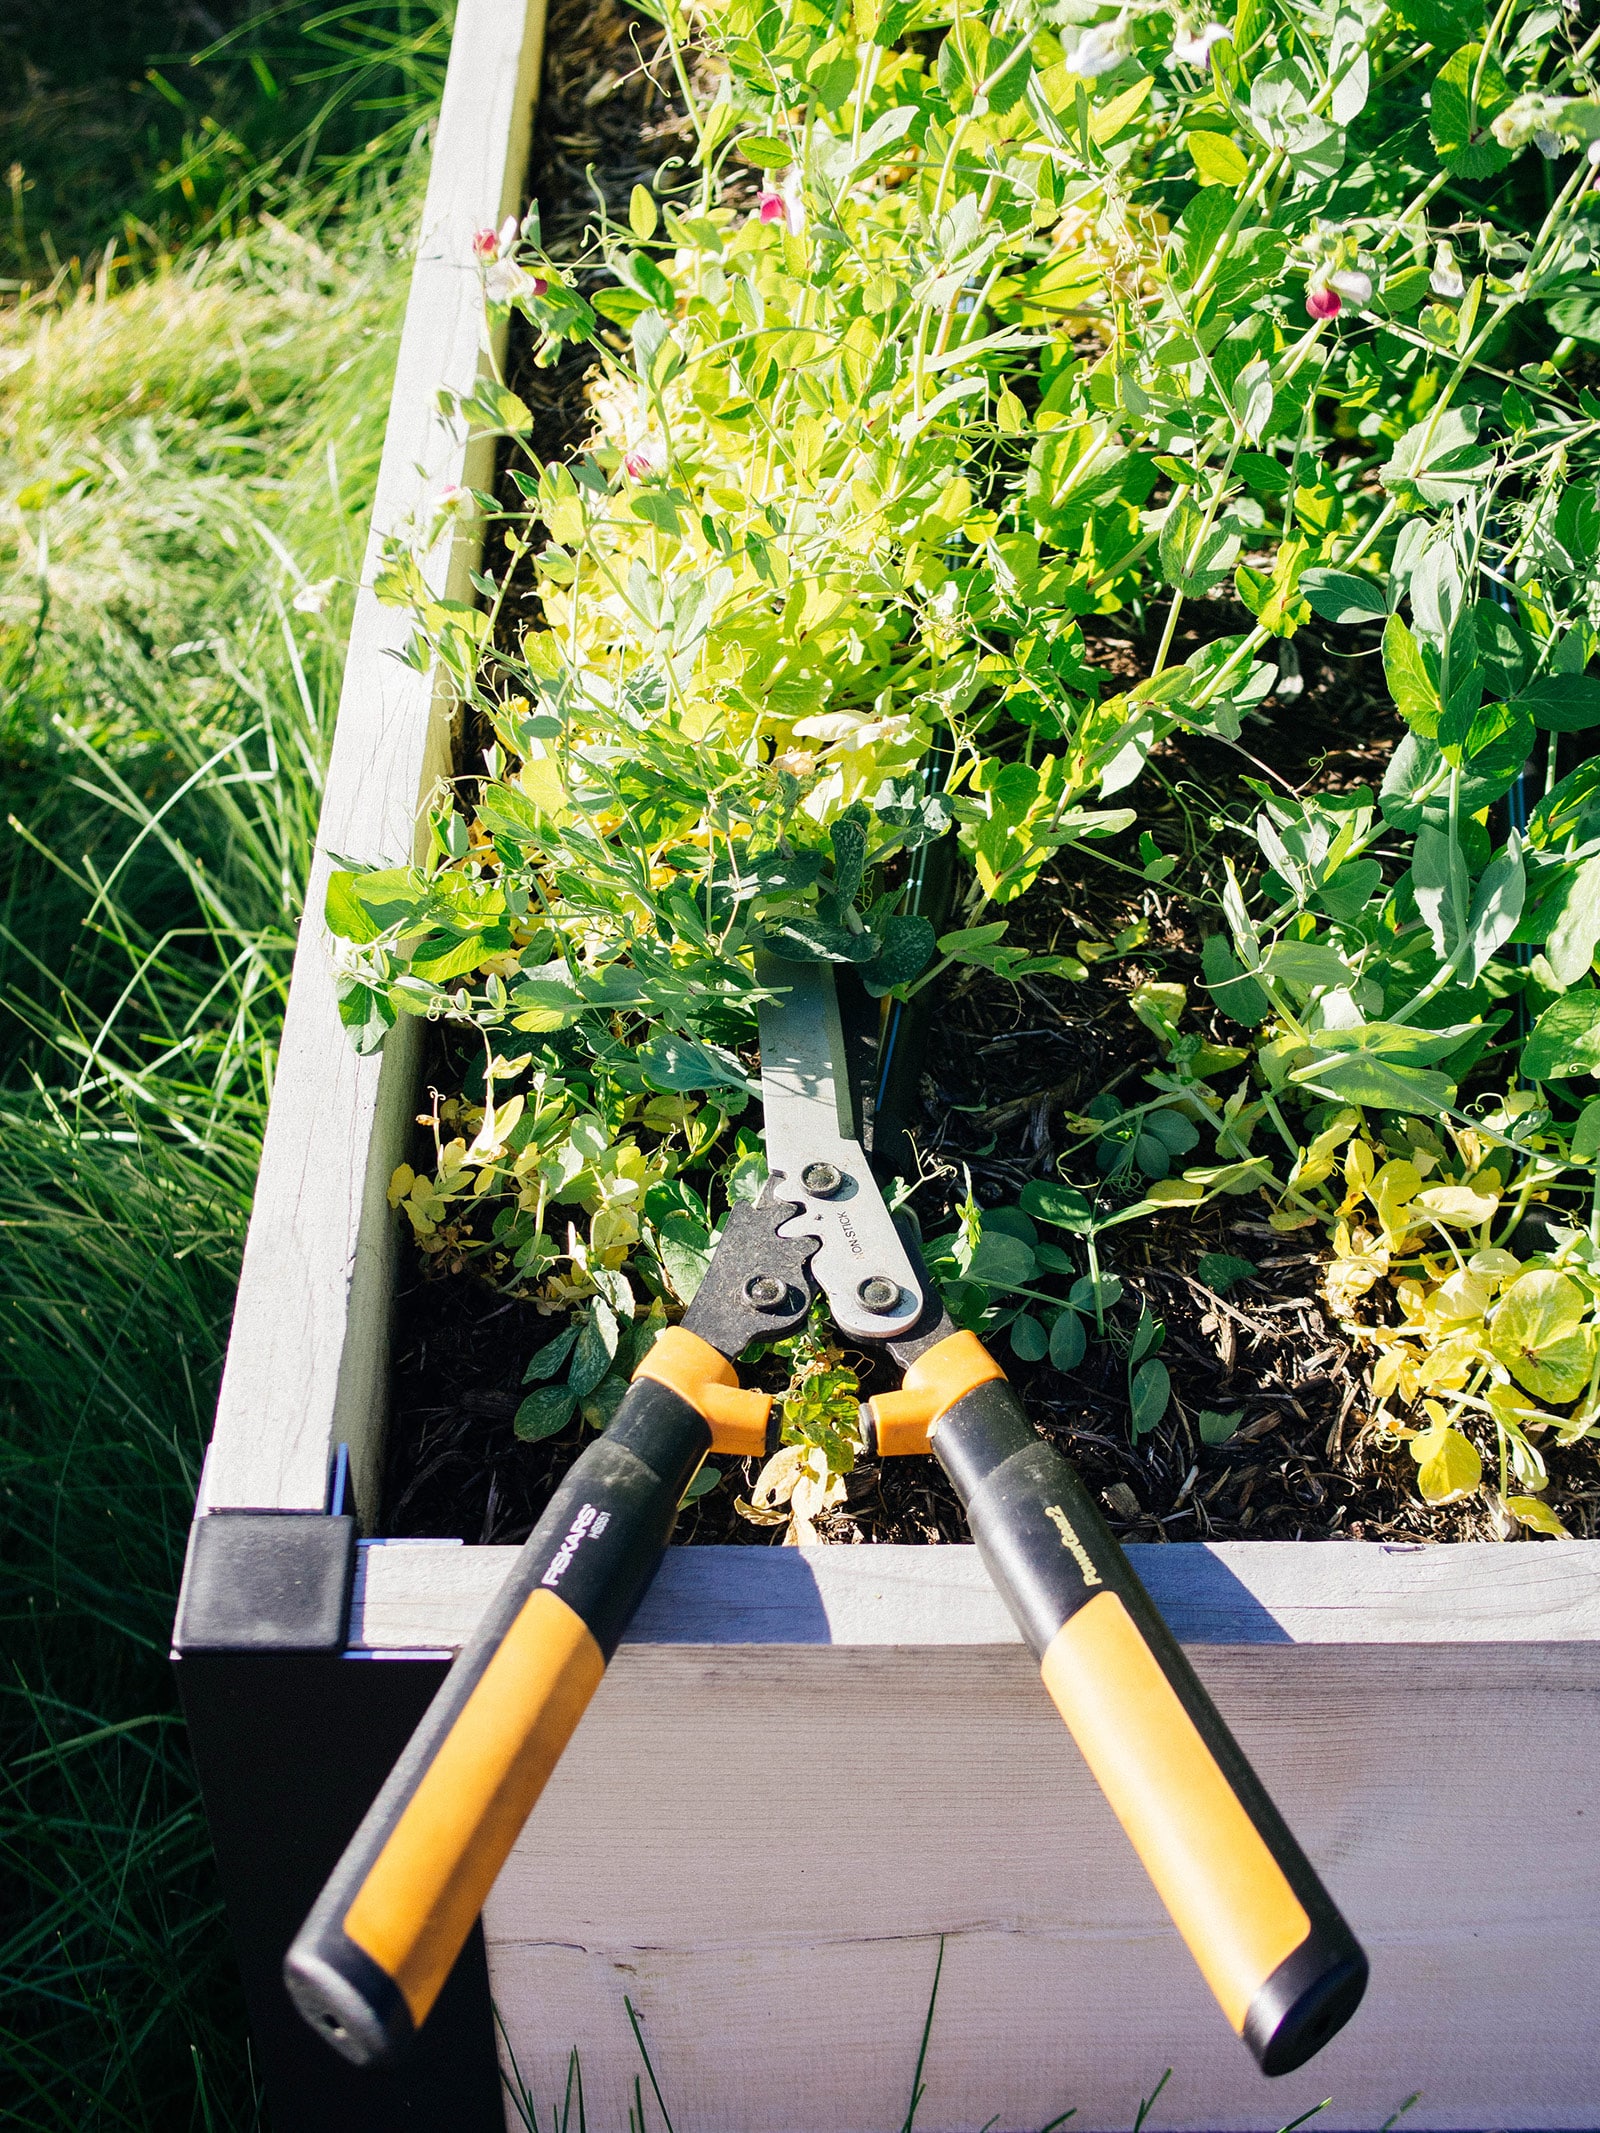
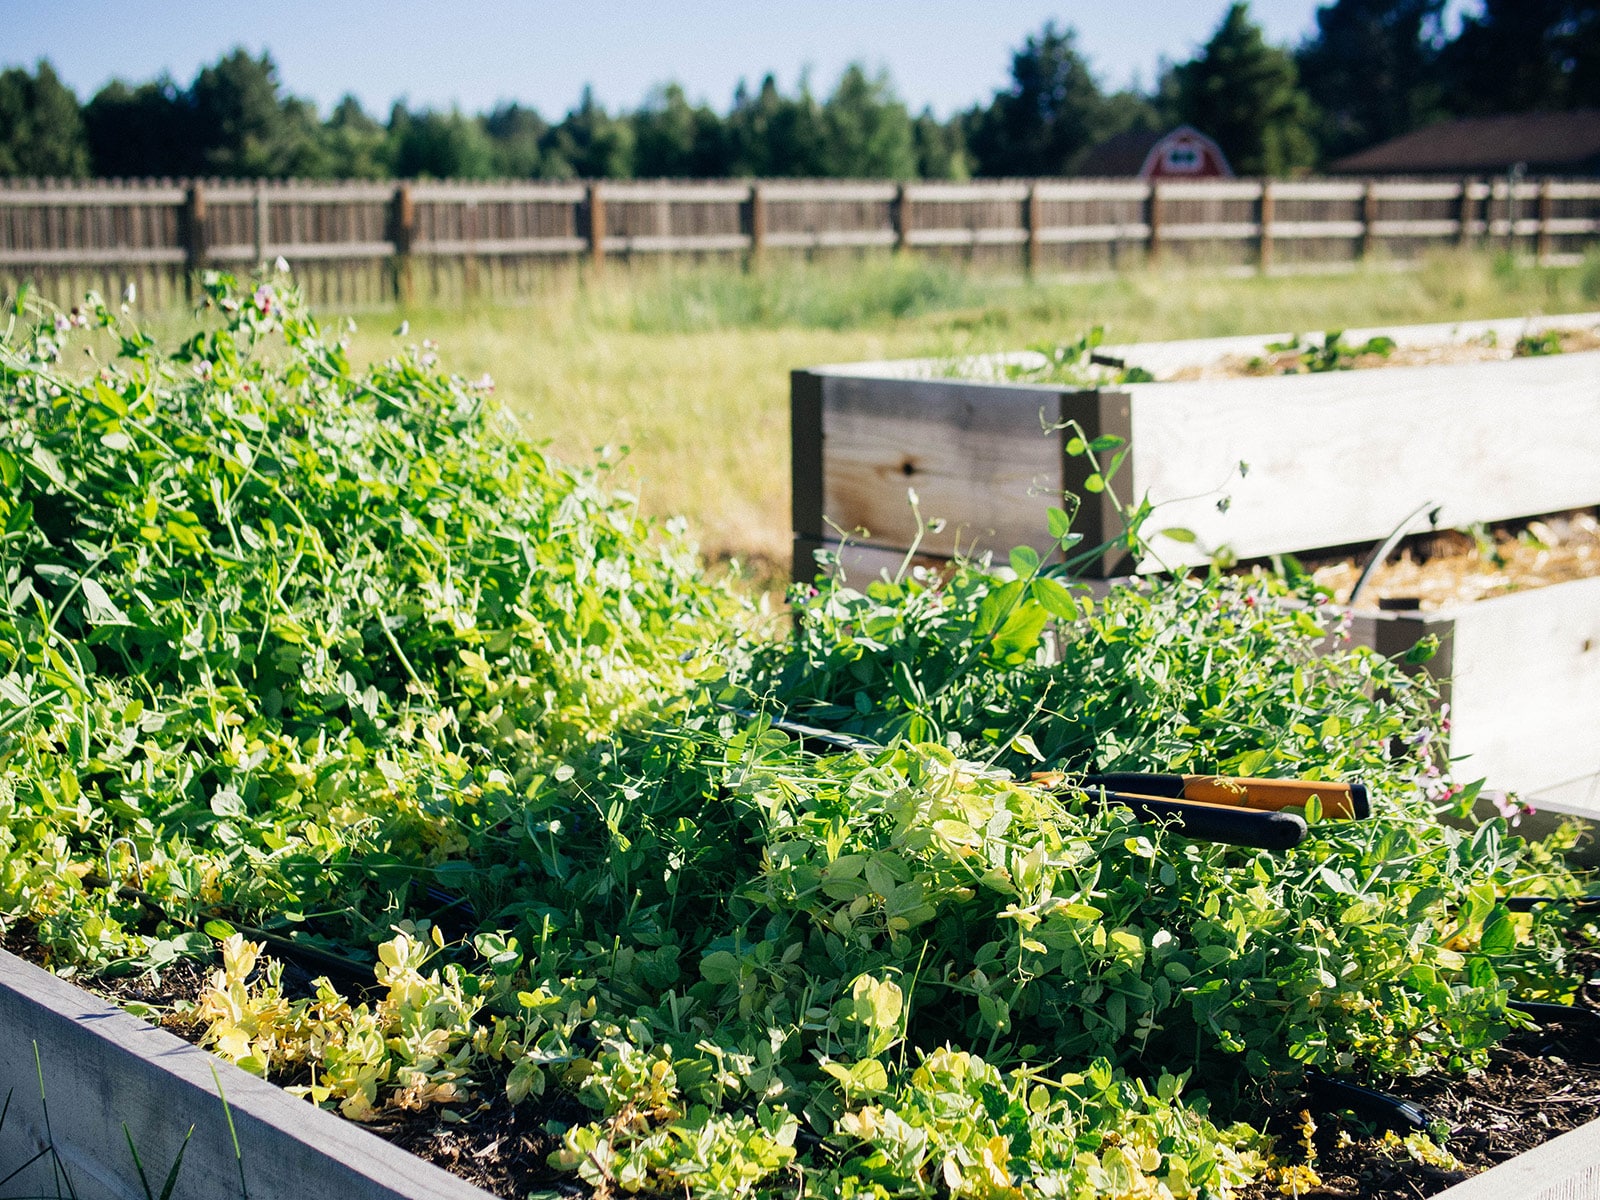
After cutting, wait about two weeks before planting your next crop. It’s crucial that you wait because your cover crop will start decomposing, and during this period some of the nitrogen in the soil will be temporarily locked up.
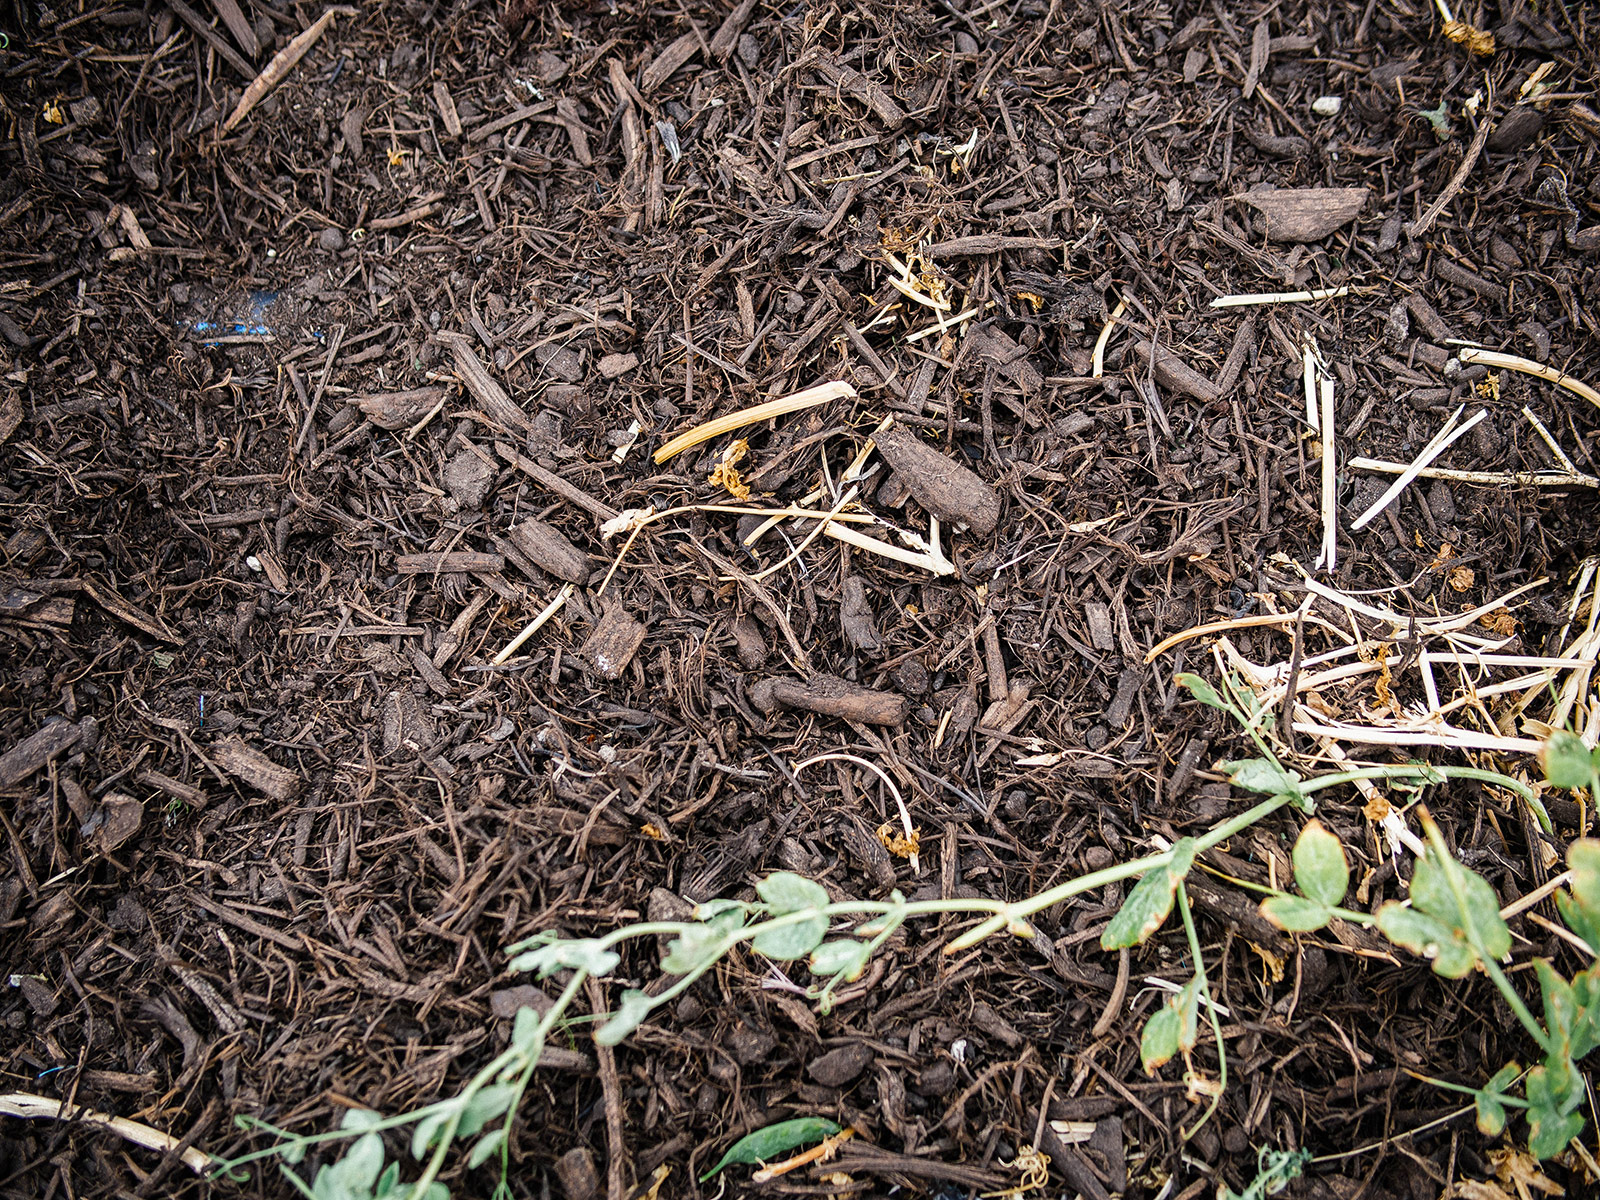
When you’re ready to plant, simply push the decomposing vines apart, make your holes, and plant your seedlings. Leave the vines in place to mulch the bed. They’ll eventually dry up and biodegrade, adding more nutrients to the soil.
It’s easy to work with starts and seedlings this way, but what if you want to sow seeds?
In that case, I like to cover the decomposing vines with a 2-inch layer of soil or compost (or a half-and-half blend) to make a nice fluffy planting medium for seeds to sink into. You’ll want to apply a new layer of mulch (like straw or leaf litter) on top once the seeds germinate.
Cover crops are most beneficial when grown before heavy-feeding crops like broccoli, tomatoes, or squash, but it’s good practice to rotate cover crops throughout all your beds over time to nourish and improve the soil.
Read more: Easy tips for growing huge tomatoes
As you do this, you’ll no longer need to use inoculant for your seeds because the soil will already be populated with compatible Rhizobia bacteria (as well as a host of other beneficial microorganisms).
Frequently asked questions



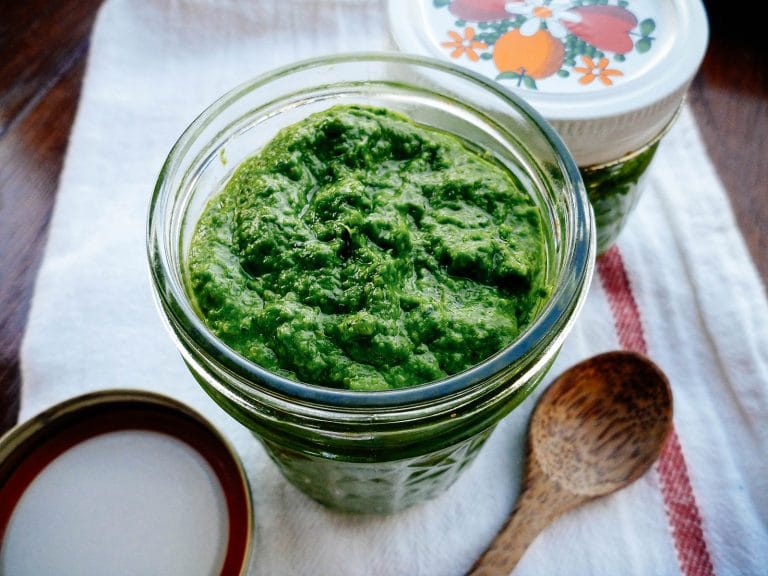
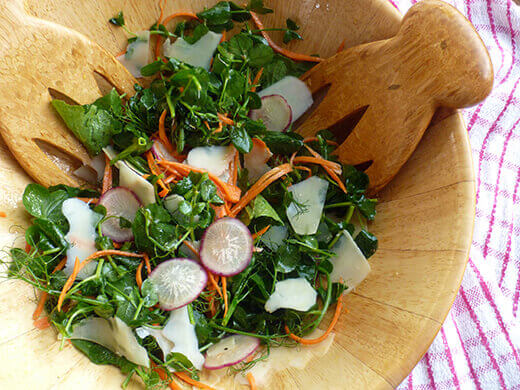

How do you prepare your pea leaves for dining?
Thank you for your very comprehensive look at cover crops. The sugars turning to starches is where I always mess up! Can’t resist eating those favas!
For those who live in Eastern Kansas/Nebraska Green Cover sells Austrian Winter Peas considerably cheaper than the links given here. I don’t work for nor am I an affiliate of Green Cover. Just great prices on cover crop and mixes.
How about just planting seeds-squash or zucchini-3 weeks after the cut down of the Austrian peas without adding mulch, compost or soil? Just spread the cut vines and plant the seed as you would normally do in your garden.
Yes, you can do that! I direct seed all the time after cutting down my cover crops.
If you are planting seed, seedlings have all the nutrients they need for a while, so you might ameliorate the amount to time to wait before planting to await the decomposition of the roots.
My seedlings have some nutrients in the growing mix, so if those transition the time of the beginnings of the root decomposition, you can transplant earlier than your recommendation.
I loved Vancouver, a zone 8, but now am in Nacogdoches, TX, also a zone 8. It just tells you how cold the winters are, but not an indication of how warm the summers are.
Super interesting! Thank you!
Great article! Thanks for the details. I am using crimson clover in one area of my garden but will try the Australian winter peas in my raised beds. I am doing no till as well.