What do you do with your garden beds when you’re not growing vegetables in them? Hopefully, you’re not just leaving them fallow—soil that sits bare through winter (or any season) runs the risk of losing nutrients and structure (not to mention opening the door to weeds).
A better option than bare soil is planting a cover crop any time a bed is left empty. While any cover crop will be beneficial for your garden, some are better than others depending on your soil’s needs, and some can only be grown at certain times of year.
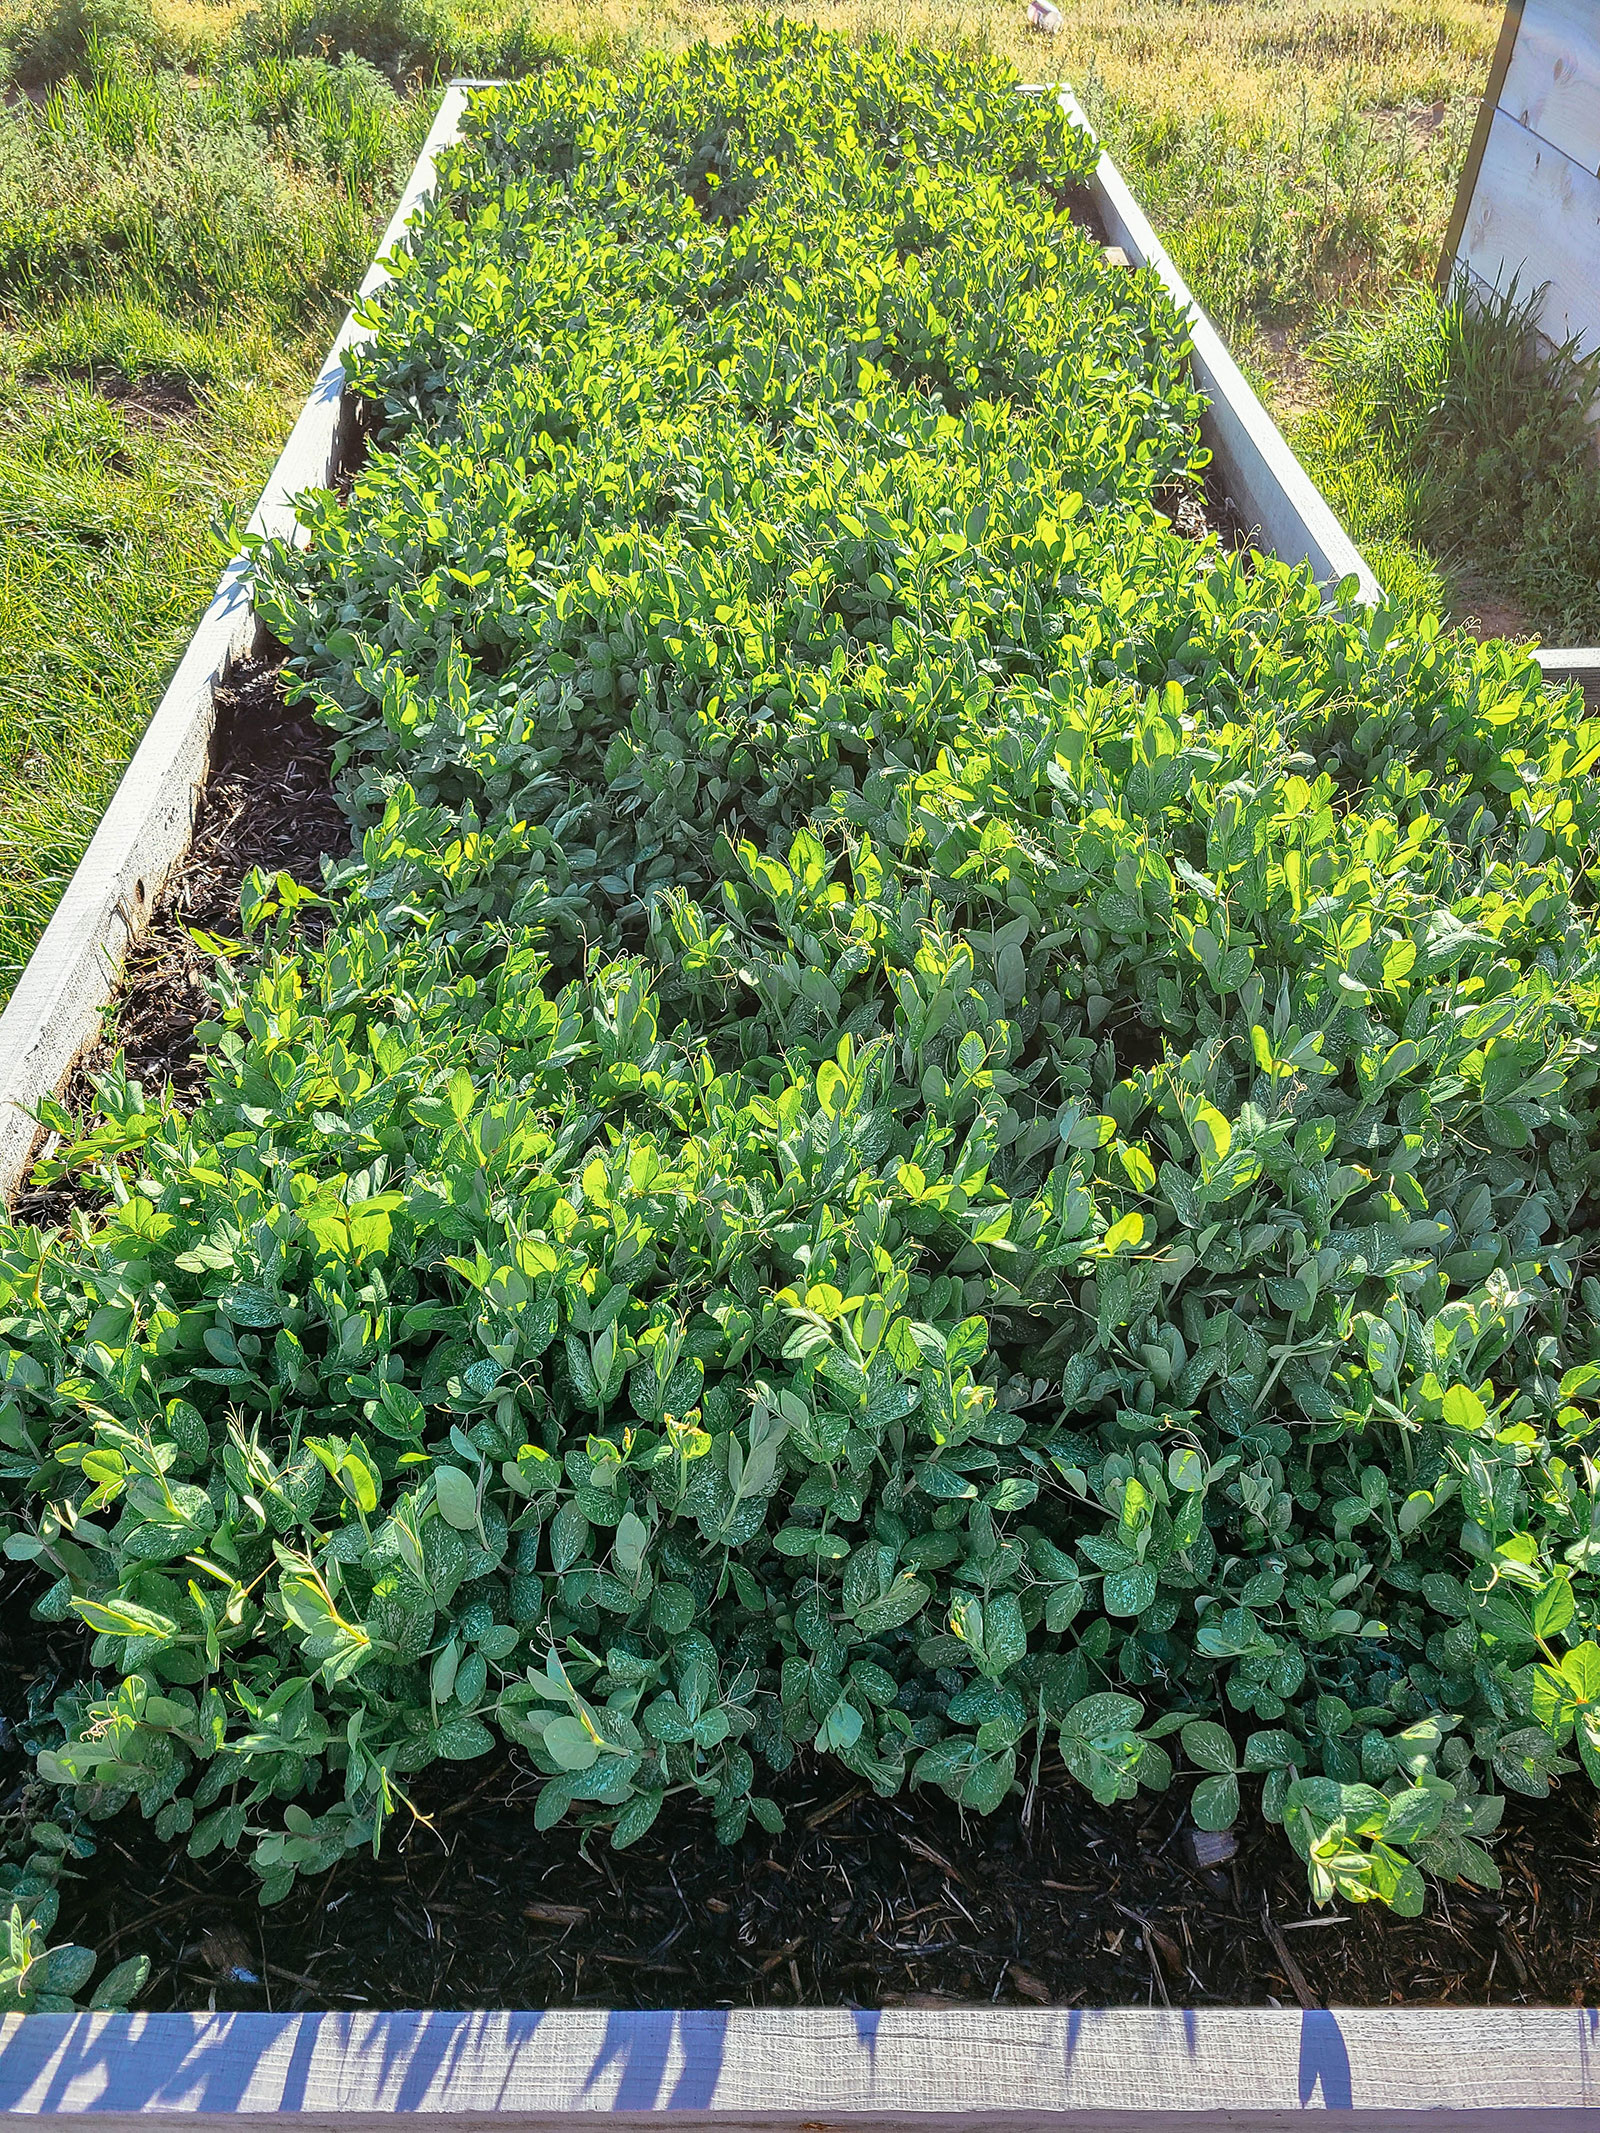
What can be especially confusing is that some cover crops look just like the plants you’d plant in your vegetable garden—so how do you know what to plant, and what’s best for your soil?
This is the guide I wish I had when I first started cover cropping. A lot of resources out there pertain to large-scale farms—this one is for home gardens. Even if your garden only has a couple of beds! Here’s how you can take advantage of cover crops too.
First, what are cover crops?
The simple definition of a cover crop is a bed of beneficial plants grown closely together to improve some aspect of the soil. While some cover crops are edible, they’re generally meant to be cut down and incorporated into the soil to reap their benefits.
Cover crops can be thought of as both a soil amendment and a mulch, and they’re always grown from seed—either in fall, where they may overwinter, or in between growing seasons.
Disclosure: If you shop from my article or make a purchase through one of my links, I may receive commissions on some of the products I recommend.
Where to buy
What makes cover crops so good for your soil
If your garden is full of heavy clay soil with very little sand or gravel in it, it’s tough to repair poor soil tilth and maintain good aeration just by adding compost or minerals.
But the one thing that works every time? Cover crops!
These hardworking plants benefit the soil while they’re growing and long after they’re cut down:
- Their tenacious roots open up channels that improve drainage while holding the soil in place.
- They create biomass (plant material) above ground and below ground, adding organic matter to the soil while protecting it at the same time.
- When they decompose, they stimulate soil microbes (which move nutrients through the soil) and feed earthworms (which then deposit nutrient-rich castings).
- They also outcompete weed seedlings and may even inhibit some weed seeds from germinating.
What happens if you leave your garden beds empty
It may be hard to imagine how the simple act of growing something can benefit the soil when we always hear about plants depleting the soil, but think of what happens when soil is left uncovered. If you leave your soil exposed to the elements all winter, it loses nutrients and structure.
You’re basically “starving” your soil, which results in less-than-stellar growth the following season. The effect of rain beating down on bare soil can also create a hardened pan on the surface or cause compaction.

A better way to put a garden bed to rest is to provide a blanket of some sort, such as mulch or cardboard. If you don’t, nature will do the job with weeds.
Why? Because soil that’s actively growing plants—any plants—keeps the soil food web (that underground network of beneficial microorganisms, worms, and arthropods) healthy and resilient. We don’t want a bunch of weeds in our garden though, so let’s get ahead of them by planting something else in their place that’s good for the soil.
Read more: Easy strategies for keeping weeds out of your garden
Subscribe to Garden Betty
Sign up to get my free weekly emails and I’ll teach you how to keep your plants alive, maximize your garden bounty, and preserve the harvest.
Common cover crops for a home garden
What you should grow depends on your climate, where you’re at in the season, and what you want to get out of your cover crop. I’ve listed some of the more common (and home garden-friendly) cover crops below, in order of planting window.
(Scroll left and right on mobile to view entire table.)
|
Type of cover crop |
When to plant |
Benefits |
Additional notes |
|---|---|---|---|
|
Tillage radishes |
Late summer, 6–8 weeks before first frost |
Breaks up compacted soil, scavenges nutrients, suppresses weeds |
Winterkills around 20°F; leaves no residue to clean up in spring |
|
Mustards |
Late summer to early fall (or early spring) |
Suppresses weeds, biofumigant action against some soilborne pests |
Chop and incorporate while flowering; avoid before brassica crops |
|
Oats |
Late summer to early fall |
Fast cover, suppresses weeds, easy to manage |
Winterkills in cold climates, so no spring termination needed |
|
Crimson clover |
Late summer to mid-fall |
Fixes nitrogen, feeds pollinators, adds organic matter |
Pretty crimson blooms in spring; mow or cut before seed set |
|
Hairy vetch |
Late summer to mid-fall |
Fixes nitrogen, suppresses weeds, very winter-hardy |
Can self-seed and become weedy; pair with rye in mixes |
|
Early to late fall (late winter in mild climates) |
Fixes nitrogen, tender and quick to break down |
Not as cold-hardy as vetch; tender pea shoots are edible |
|
|
Winter rye |
Mid-fall, up to about 4 weeks before the ground freezes |
Suppresses weeds, prevents erosion, adds lots of organic matter |
Wait 2–3 weeks after terminating before planting seeds or transplants |
|
Barley |
Early to mid-fall |
Suppresses weeds, prevents erosion, easier to terminate than rye |
Less cold-hardy than rye; may winterkill in the coldest zones |
|
Mid to late fall (mild-winter climates) |
Fixes nitrogen, loosens soil, feeds bees |
Tender in hard freezes; the green tops are edible in spring |
|
|
Lacy phacelia |
Early spring through early fall |
Magnet for pollinators and beneficial insects, loosens soil |
Absorbs and sequesters excess nitrogen and calcium from the soil; dies back with hard frost |
|
Buckwheat |
After last frost through late summer |
Smothers weeds in about 30 days, feeds pollinators, scavenges phosphorus |
Cut before seed set to avoid volunteers; dies at first frost |
|
French marigolds |
Spring, after last frost |
Suppresses root-knot nematodes, attracts beneficials |
Use nematode-suppressing varieties and grow as a dense stand for 2–3 months |
|
Cowpeas |
Late spring to midsummer, once soil is warm |
Fixes nitrogen, heat- and drought-tolerant, shades out weeds |
Frost-tender; also edible as a crop |
|
Sunn hemp |
Late spring to midsummer, once soil is warm |
Fixes nitrogen, grows 4–8 feet fast, suppresses nematodes |
Needs heat; cut before it sets seed and gets woody |
|
Sorghum-sudangrass |
Late spring to midsummer, once soil is warm |
Huge biomass, smothers weeds, breaks up compaction |
Mow at 3–4 feet to encourage root growth; heavy residue takes time to break down |
|
Pigeon peas |
Early summer in warm climates (zone 9 and up) |
Fixes nitrogen, deep roots, drought-tolerant |
Tropical perennial; needs a long, hot season and won’t survive frost |
How to plant
The number of seeds and depth of seeding depends on the specific cover crop you’re growing, so follow the directions on the package. But for the most part, cover crop seeds can simply be broadcast over the soil and lightly raked in. It’s very easy!


Keep the soil moist until the seeds germinate. Give moderate water through spring until the crop starts to flower. If you live in an area that gets little precipitation, be sure to water during winter too (about once or twice a month if you don’t get any rain or snow).
How to terminate the cover crop
Once your cover crop starts to flower, it’s time to terminate to get all the good stuff into the soil. You have a few options:
- Time your cover crops with a frost. Certain crops like bell beans and oats will die after a hard frost, so you can simply leave them in place over winter.
- Mow or cut the cover crops down. I call this the “chop and drop.” You cut all the plants down at soil level, spread the foliage across the bed as mulch, then leave the roots where they are underground to decompose. This work for some crops, but not all. (Grasses, in particular, can regrow even after being cut down.)
- Till the cover crops in. This is traditionally the way farms do it, but since I’m a no-till type of gardener, I don’t recommend it.
- Fork the cover crops in. This is a gentler way to incorporate cover crops into the soil. After you cut the plants down, use a garden fork to turn the top layer of soil over (no more than 4 inches) so the vegetation is shallowly buried.


Once your cover crop is terminated, wait between two to four weeks before you sow seeds or transplant seedlings (if you’re planting in spring—otherwise, leave it be over winter). This waiting period lets the plant material start to break down so it doesn’t lock up nitrogen in the soil.
The actual timing depends on the cover crop: field peas, for instance, usually decompose within two weeks, while winter rye has a high carbon-to-nitrogen ratio and needs about four weeks to begin breaking down (provided soil conditions are warm and moist).

So now you’ve got a pile o’ dead stems and leaves on top of (or just under) the soil. How are you supposed to sow seeds?!
Just spread a 2-inch layer of compost (or a 50/50 blend of compost and soil) over the whole bed. Now you have a nice, clean surface to sow all your seeds into. If you’re working with transplants, you can skip this step and simply push some of the vegetation aside, dig your planting hole, then use the vegetation to mulch your new plants.
Subscribe to Garden Betty
Sign up to get my free weekly emails and I’ll teach you how to keep your plants alive, maximize your garden bounty, and preserve the harvest.
Mistakes to avoid
I’ve been cover cropping for a while and made plenty of mistakes. Here’s what I’ve learned that other sources generally don’t tell you.
Don’t mix and match clovers in a vegetable garden
Crimson clover (Trifolium incarnatum) is grown as a cover crop because it’s an annual and doesn’t regrow from its roots. Avoid perennial clovers like red clover (Trifolium pratense) or white Dutch clover (Trifolium repens), which are tricky to remove from the soil. (Crimson clover and red clover may sound like the same plant, but they’re not.)
Perennial clovers do great in a landscape where they won’t take over other plants, but in a vegetable garden, they’ll keep coming back if you don’t get rid of all the roots.
Don’t let your cover crops go to seed
Once they do, they’ll become persistent weeds in your garden and you’ll find yourself pulling them up all year. You also don’t want seeds to form because the nutrients in the plant will convert from starches to sugars, reducing the immediate nutrient benefit to the soil.
Don’t let edible cover crops (like field peas and bell beans) make pods
For the same reason above. I know it feels weird to cut down a crop before it produces anything, but remember that pea shoots and bell bean leaves can be harvested (a bit at a time) for salad greens, so it’s not a complete “waste.”

Frequently asked questions