

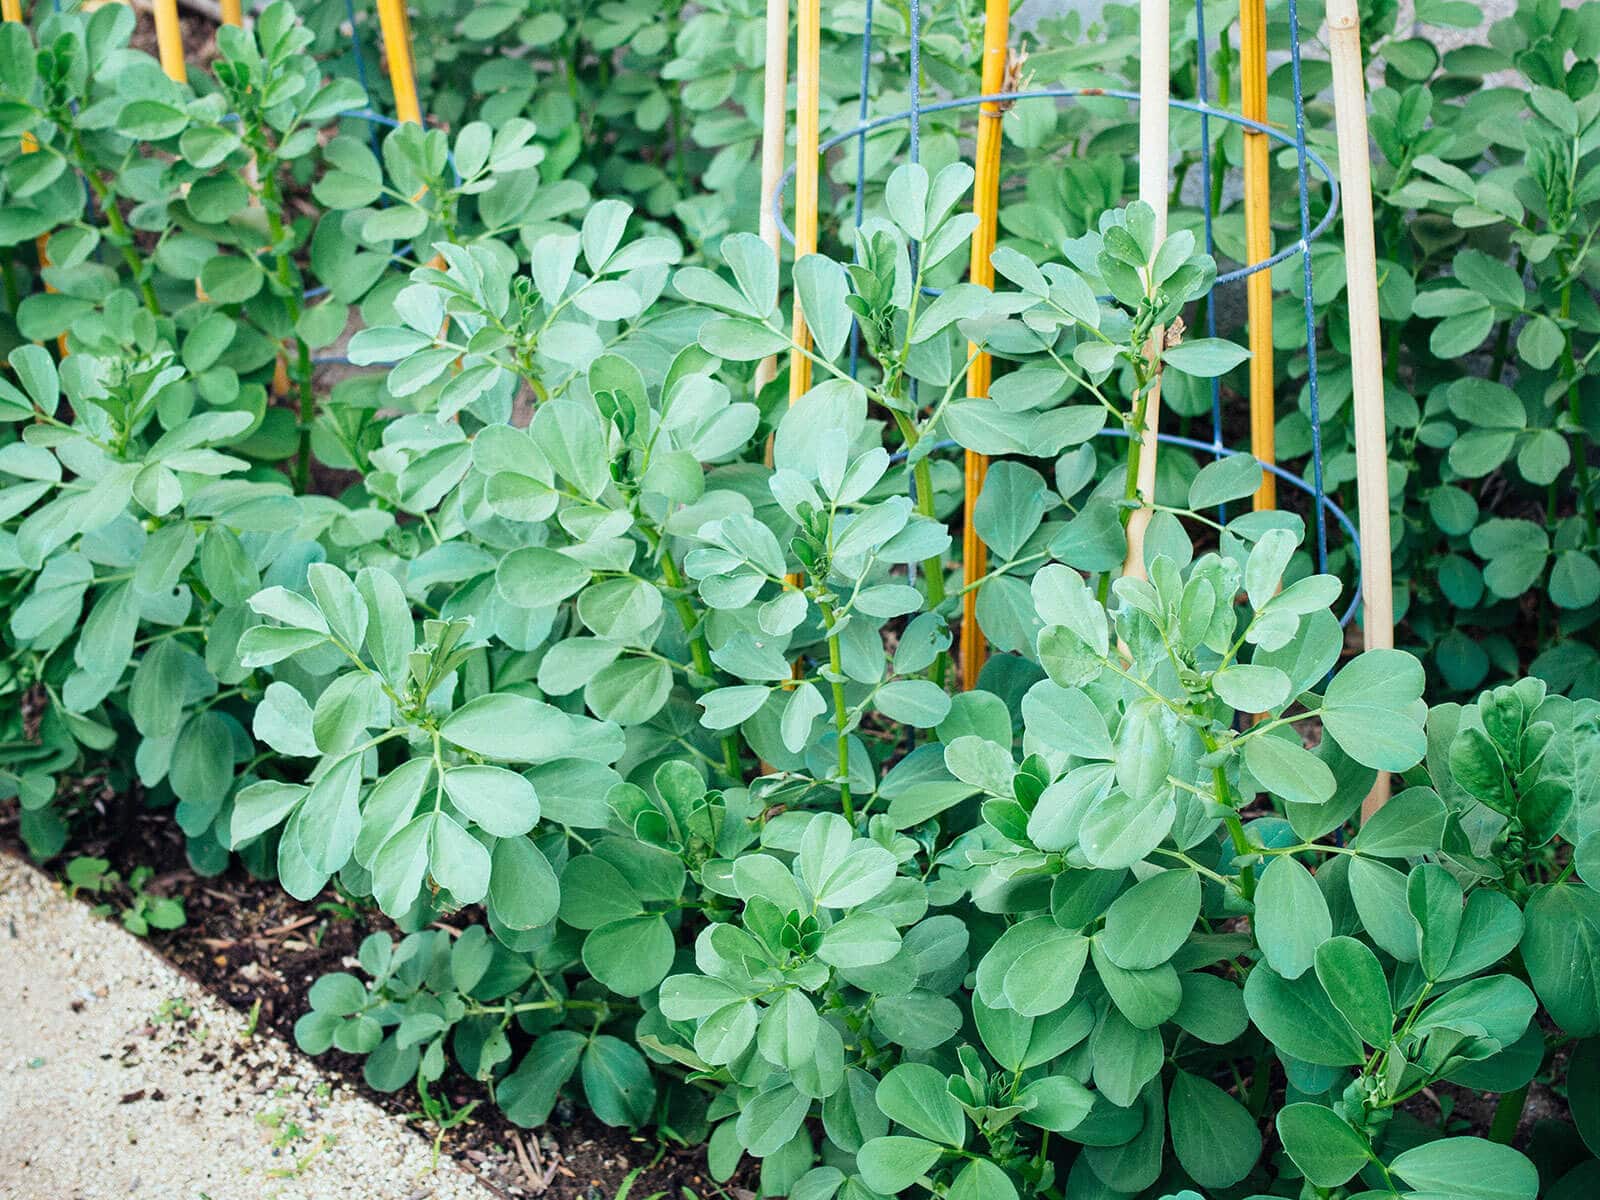
Step inside my garden and rarely will you see a garden bed left empty for more than a few weeks, even when all my plants are done for the season. When soil is bare and untended during the winter months, it can lead to depleted nutrients, compacted soil, and tenacious weeds that pop up at the earliest signs of spring.
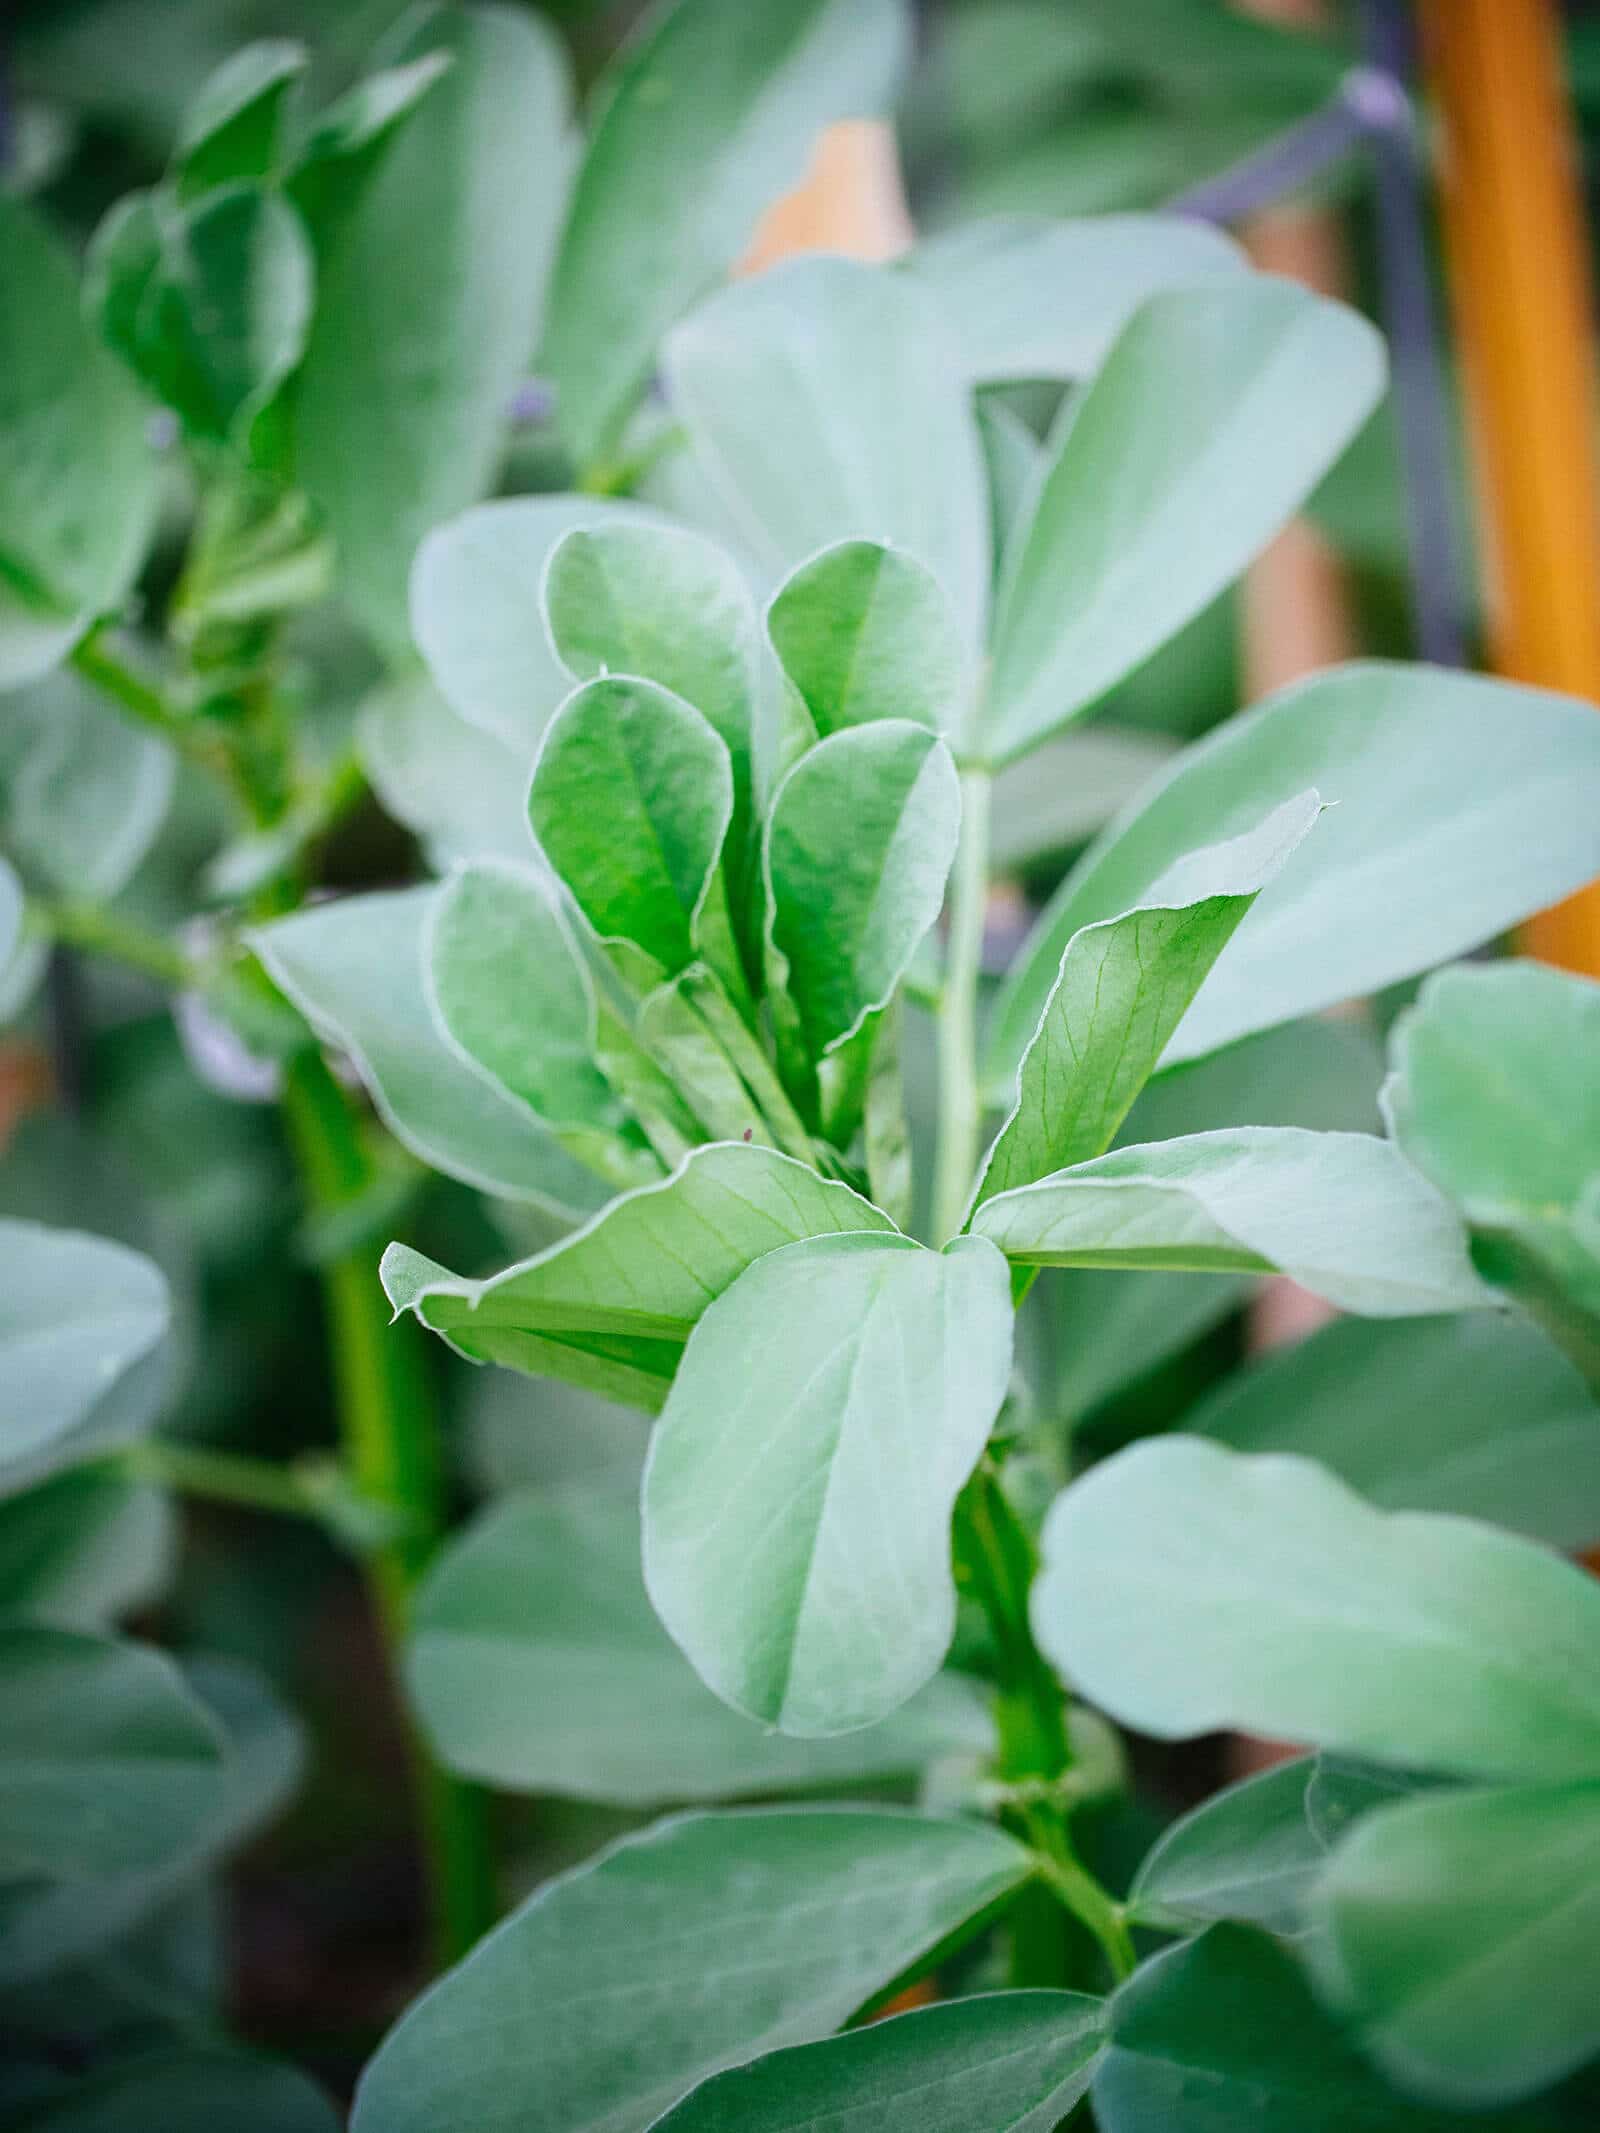
That’s why I’m a fan of using cover crops to protect the soil and improve fertility over winter, particularly edible cover crops like fava beans and bell beans.
Read more: More of my favorite edible cover crops that build your soil while they grow
These cold-hardy plants easily survive temperatures of 15°F to 20°F. They’re not as hardy as Austrian winter peas (another excellent cover crop), but are pretty close and can be grown in most climates. They even love the snow and will grow right through it!
Fava beans and bell beans are easy-to-grow legume cover crops that fix nitrogen in the soil—that is, they add significantly more nitrogen to the soil than they use for their own growth. Once they start blooming, they’re cut down to the ground so other plants can take advantage of their stored nitrogen.
Is there a difference between fava beans and bell beans?
Bell beans are simply a small-seeded variety of fava beans (Vicia faba, also known as broad beans). Unlike standard large fava beans, bell beans are usually grown as a cover crop rather than a food crop. It’s not that bell beans are superior to favas—it’s just that the small seed sizes make it easier to plant them mechanically in the field, so they’re the type used on farms.
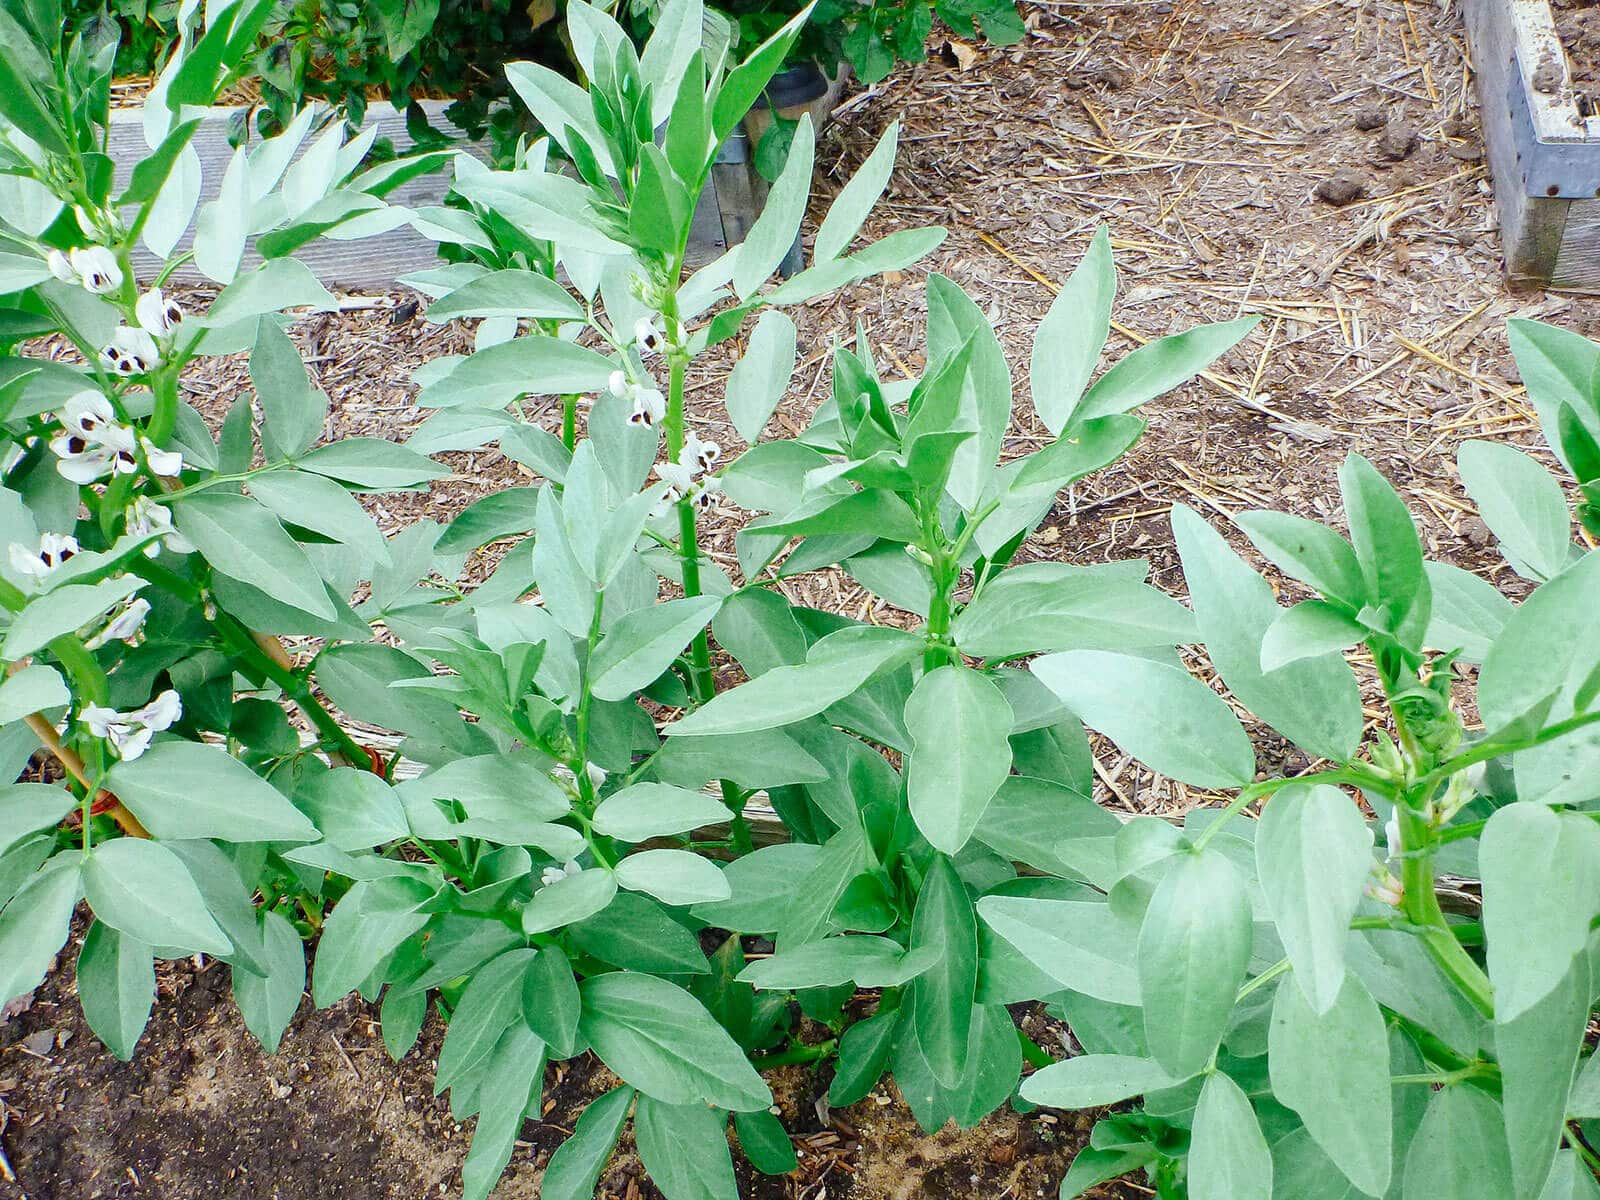
Other than that, fava beans and bell beans are essentially the same plant. They both have edible leaves and flowers that taste faintly bean-like and are best used fresh in salads, sandwiches, and creative pestos.
How fava beans enrich the soil
Fava beans can “make” fertilizer by fixing nitrogen in the soil (putting in more nitrogen than they take out). And since they can make their own nitrogen, they don’t need to be fertilized.
You see, there’s plenty of nitrogen to go around—about 80 percent of the atmosphere is free nitrogen, but it floats around in a form that plants can’t use.
Enter legumes like fava beans and bell beans: They’re unique in their ability to form a symbiotic relationship with harmless soil bacteria called Rhizobia. The legumes provide food (sugars and other nutrients) that sustain the Rhizobia. In return, the Rhizobia pull nitrogen gas out of the air and convert it into ammonium compounds that plants can consume.
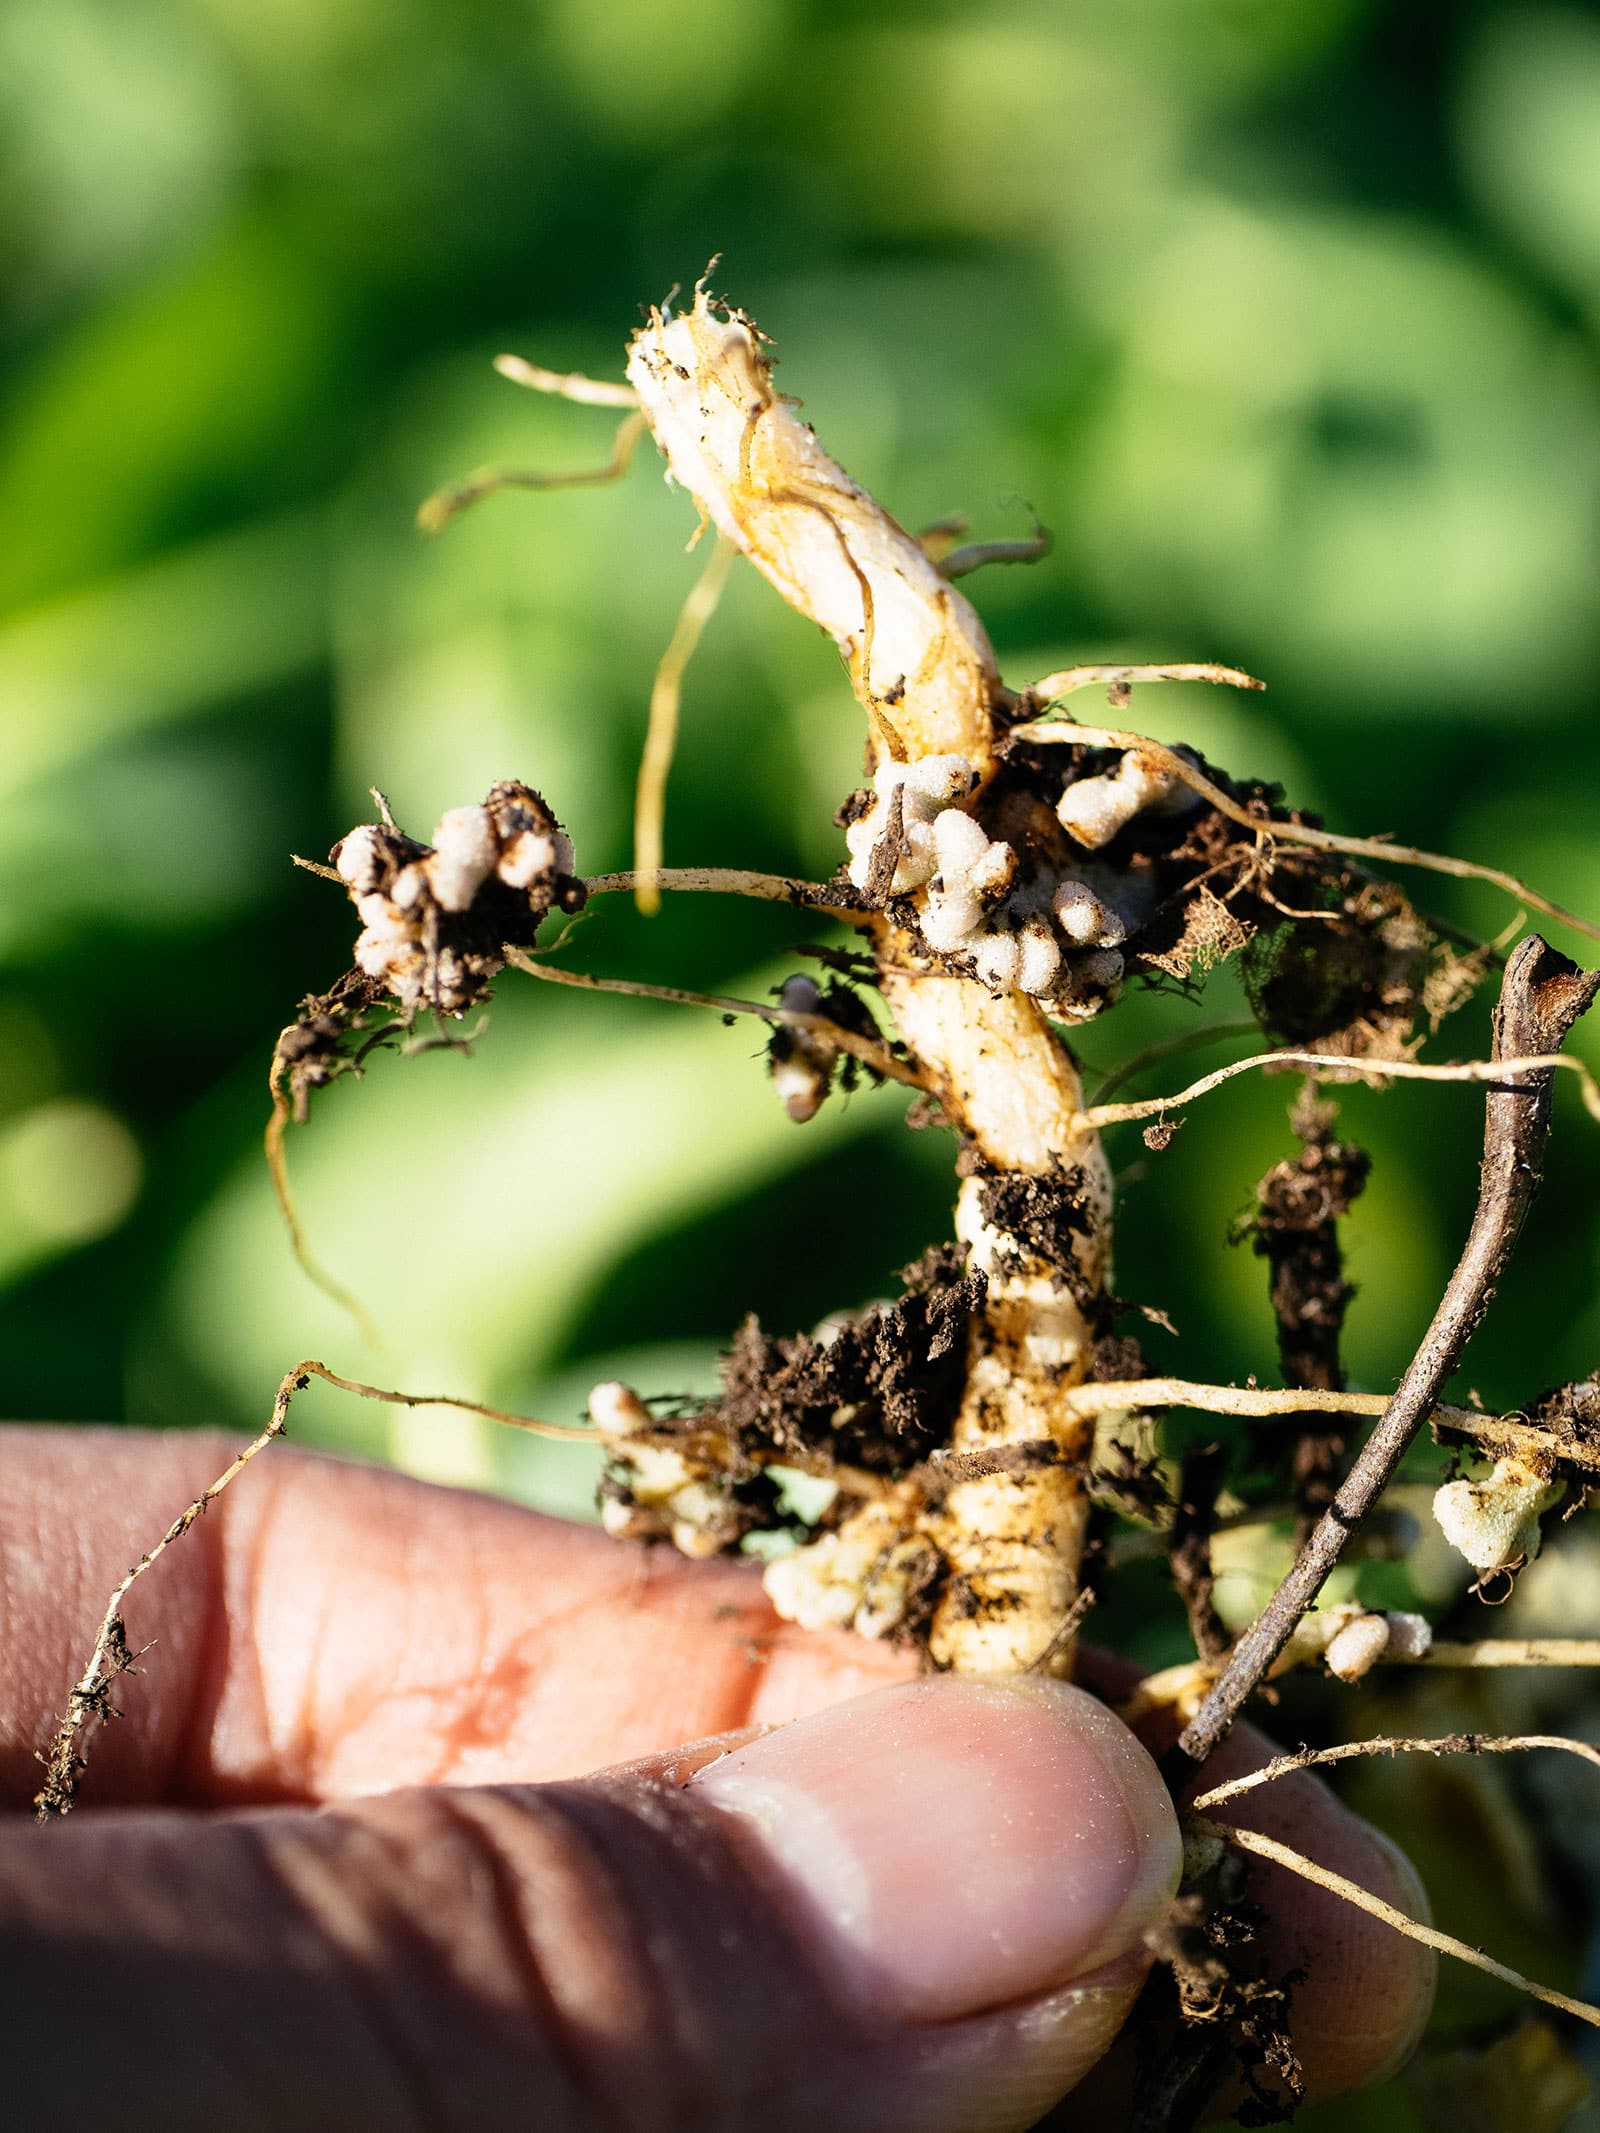
Fava and bell beans store nitrogen in small white sacs on their roots called root nodules. When the plants are cut down—and more importantly, when the roots are left underground to decompose—the root nodules release the stored nitrogen for other plants to use.
That means when you plant your next crop, you can reduce (or even skip) the initial fertilizer application because those plants will already be off to a great start.
Disclosure: If you shop from my article or make a purchase through one of my links, I may receive commissions on some of the products I recommend.
When to plant for maximum soil-building benefits
Fall planting: In climates that never drop below 15°F, bell beans are ideal for late summer to mid-fall planting (typically from September to mid-October) because they germinate quickly, thrive in cold weather, and are one of the few fruiting plants that tolerate some shade. They overwinter easily and protect and replenish your soil over winter.
Fava and bell beans start flowering anywhere from 90 to 200 days after a fall sowing. This timing is ideal for planting heavy feeders like brassicas (broccoli, cabbage, kale, cauliflower) right after you turn the cover crop into the soil.
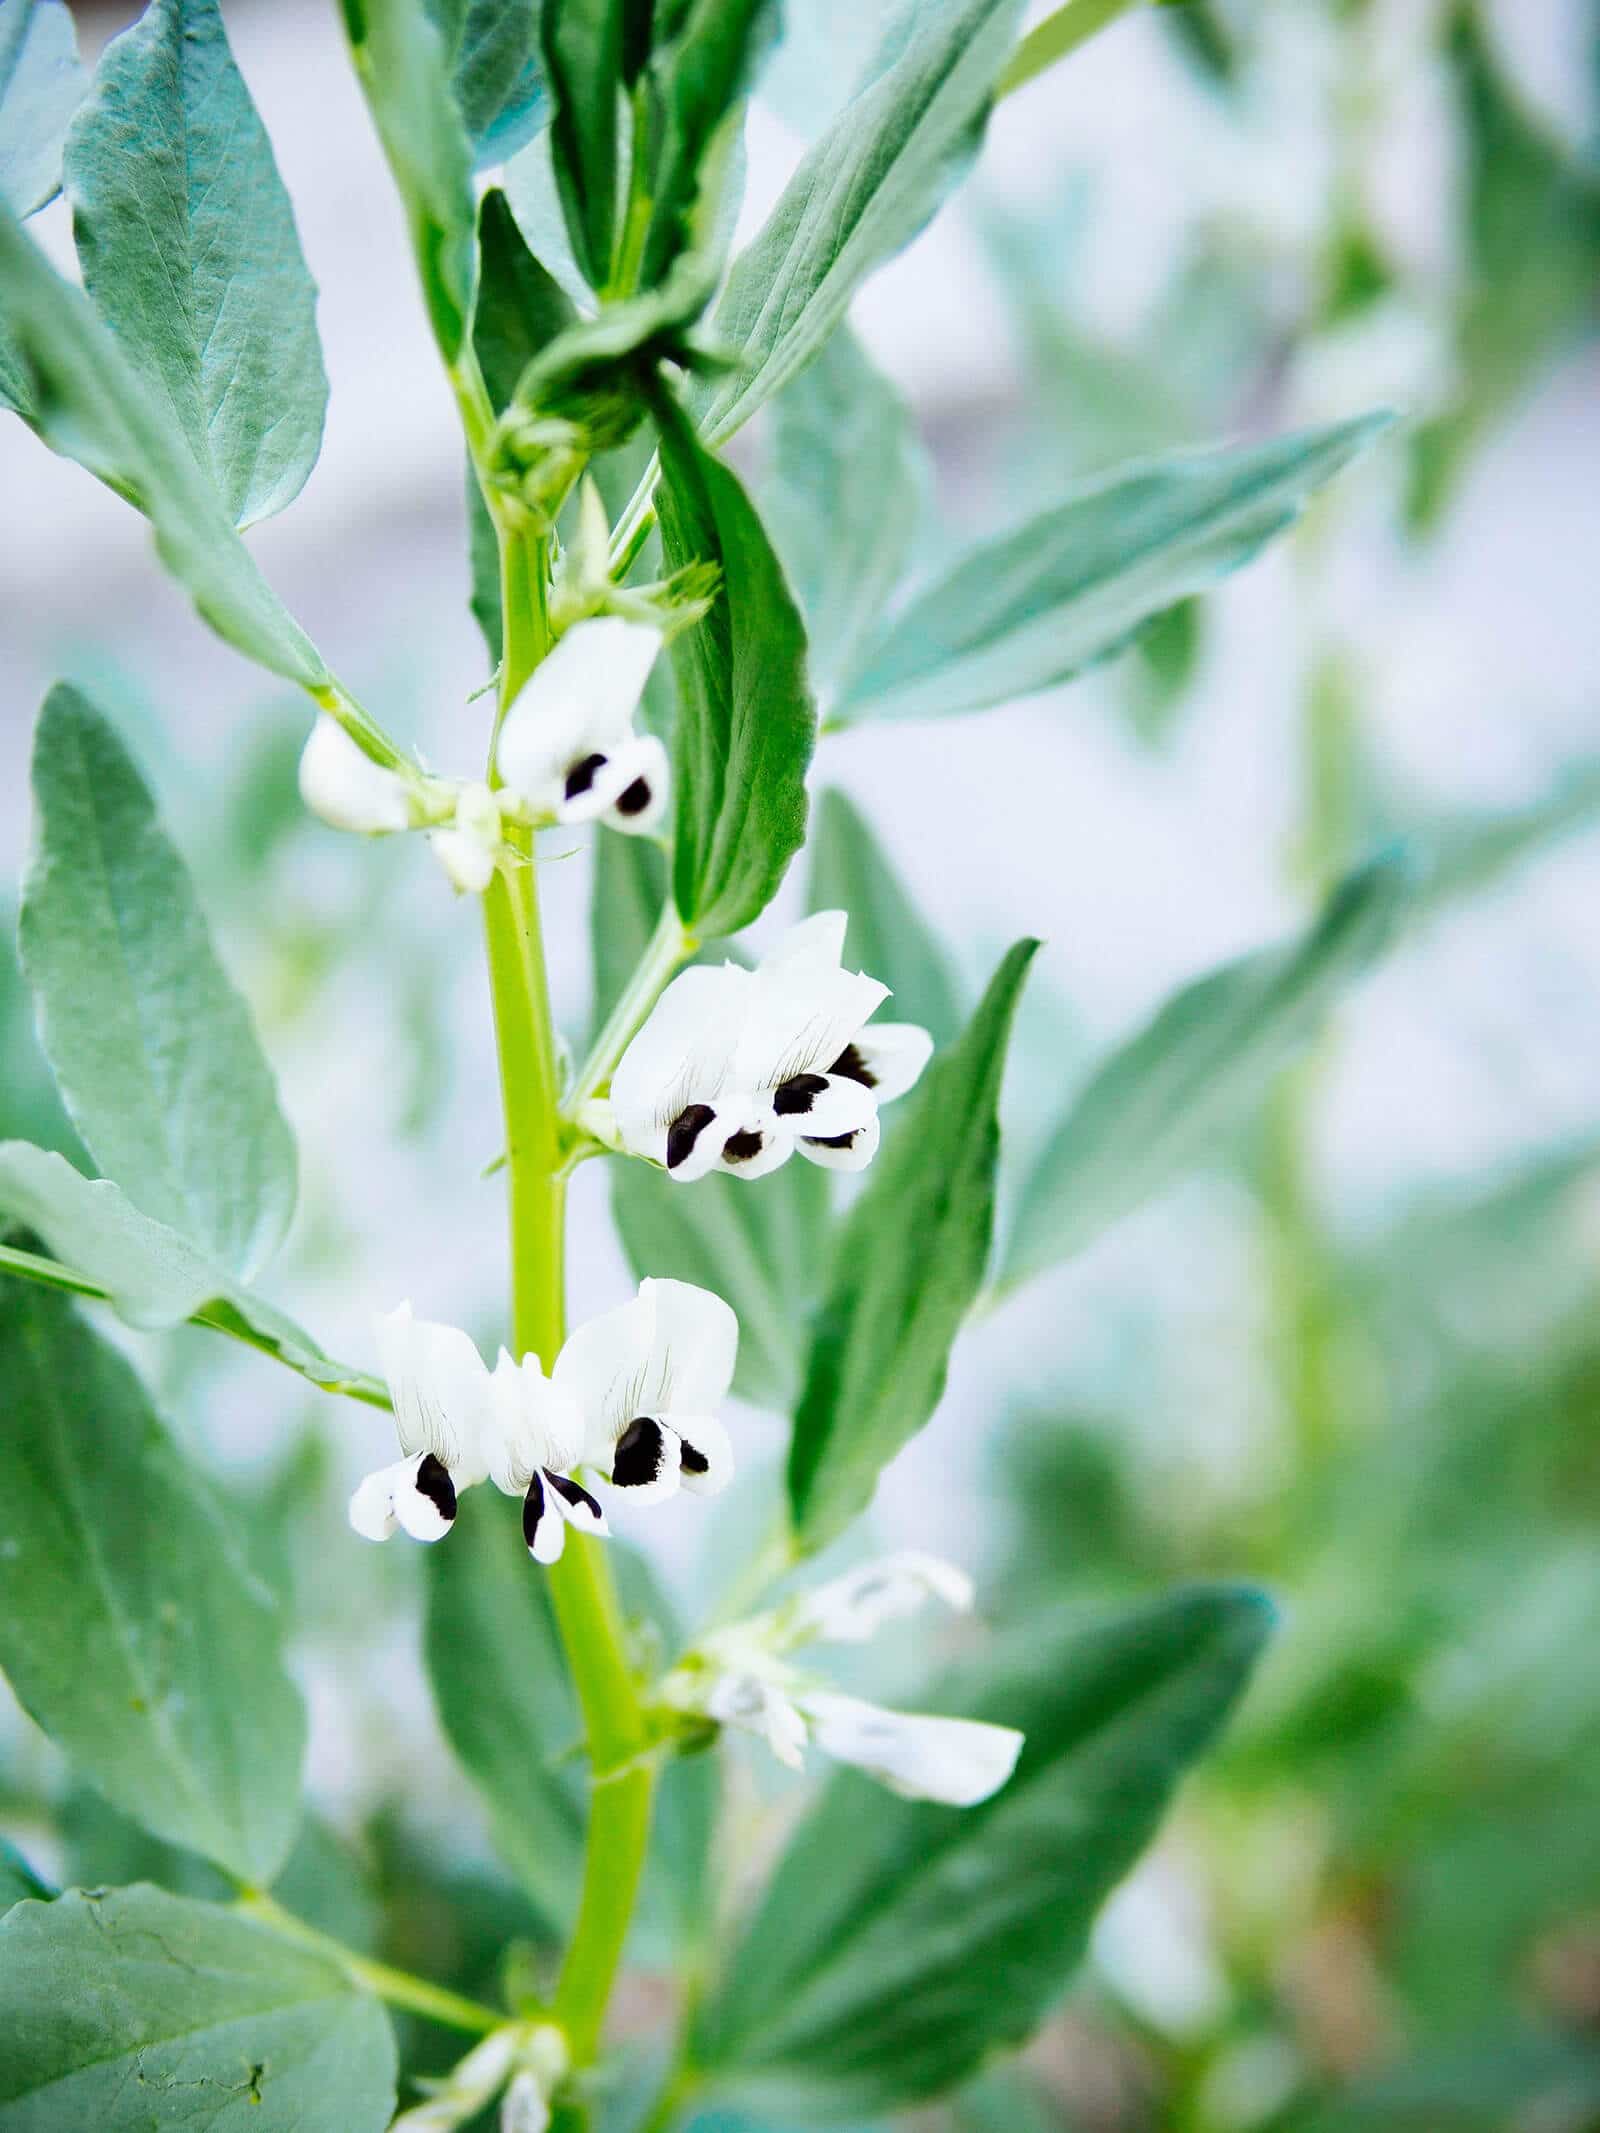
Spring planting: In harsher winter climates, you can sow fava and bell beans as a cover crop in late winter to early spring as soon as the soil is workable. I’ve found that they’re more tolerant to heat than Austrian winter peas, so they’ll happily grow into summer when peas generally start struggling.
Fava and bell bean plants typically start flowering about 40 to 60 days after a spring sowing. Timing-wise, that means a spring-sown crop should be turned into the soil between May and June, so think about how this affects your planting schedule.
If you plan to overwinter your bell beans: Sow seeds roughly four to six weeks before the first hard frost so the plants are at least 6 to 8 inches tall before growth stalls.
If you plan to grow bell beans in spring: Sow seeds once the soil temperature is at least 40°F (though germination will be faster if the soil temp is between 50°F and 75°F).
Read more: Find out when your area is expected to get its first frost
Planting schedule by growing zone
|
Zone |
Plant By |
Overwinters? |
Turn Into the Soil By |
|---|---|---|---|
|
Zones 4–5 |
Late August to mid-September |
Generally winterkills |
Turn in spring or leave crop residue as mulch |
|
Zones 6–7 |
Mid-September to October |
Overwinters with mulch or frost cloth in most years |
Turn in March to April |
|
Zones 8–10 |
October to November |
Overwinters reliably |
Turn in February to March |
How to plant fava beans as a cover crop
If your garden is less than perfect, rest assured that fava beans and bell beans can easily be grown in deficient soil or clay soil (after all, their job is to make it better). They won’t be happy in waterlogged soil though, so try to plant them where there’s good drainage.
Subscribe to Garden Betty
Sign up to get my free weekly emails and I’ll teach you how to keep your plants alive, maximize your garden bounty, and preserve the harvest.
Step 1: Inoculate your seed.
To maximize the nitrogen-fixing capabilities of your bean crop, seeds should be inoculated before planting. Doing so helps get the right kind of Rhizobia bacteria into the soil that your plants need for their nitrogen stores.
(Inoculant has a limited shelf life since it contains live beneficial bacteria. I always recommend buying fresh inoculant each year just to be sure you get the bacteria in your soil.)
Recommended
Bean inoculants
Though it isn’t strictly necessary, you can also soak bean seeds for a few hours to speed up germination. This is especially helpful if the weather is still dry when you plant and you want the seeds to germinate quickly.
Step 2: Sow seeds about 6 inches apart and 1 inch deep.
If I was the type of gardener who spaced plants perfectly in rows, I would tell you to space your plants in rows 12 to 18 inches apart to give them room to breathe. That’s what you should do.
But when I plant a cover crop that doesn’t mind growing more densely, I prefer to broadcast the seeds over my garden bed and rake them into the soil about 1 inch deep. It’s okay if some seeds aren’t fully buried; as long as they stay moist, they’ll germinate.
In dry climates or very cold climates, adding a layer of straw mulch on top will help hold moisture between watering sessions and protect the soil over winter.
Step 3: Water thoroughly.
Keep the soil consistently moist but not soggy. Sprouts will appear that first week and grow several inches within a couple weeks (depending on soil and air temps).
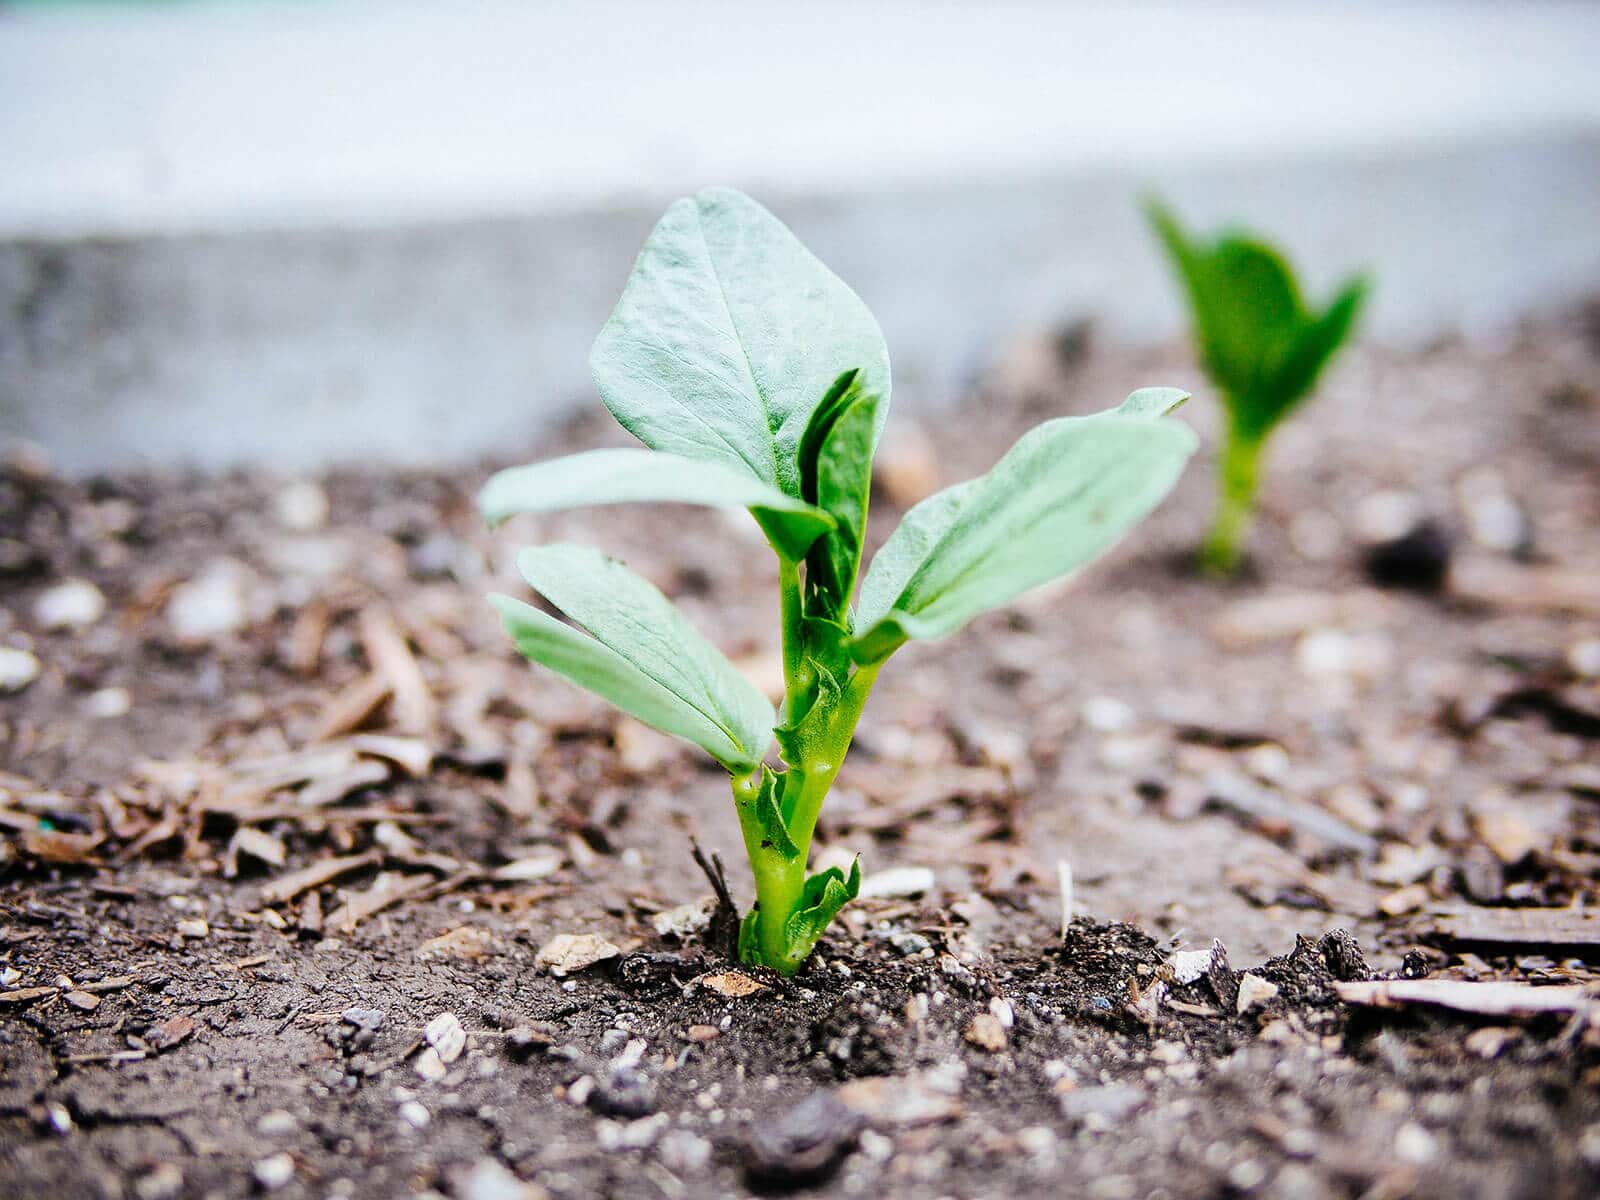
If you sowed seeds in fall, keep in mind that plant growth will slow down significantly in winter. But as long your average lows stay above 15°F to 20°F, your cover crop will overwinter and resume growing in late winter to early spring once the days get longer.
Step 4: Add support for your plants.
Fava beans and bell beans are tall, thin, and top-heavy plants that require minimal staking as they grow so they don’t flop over under their own weight.
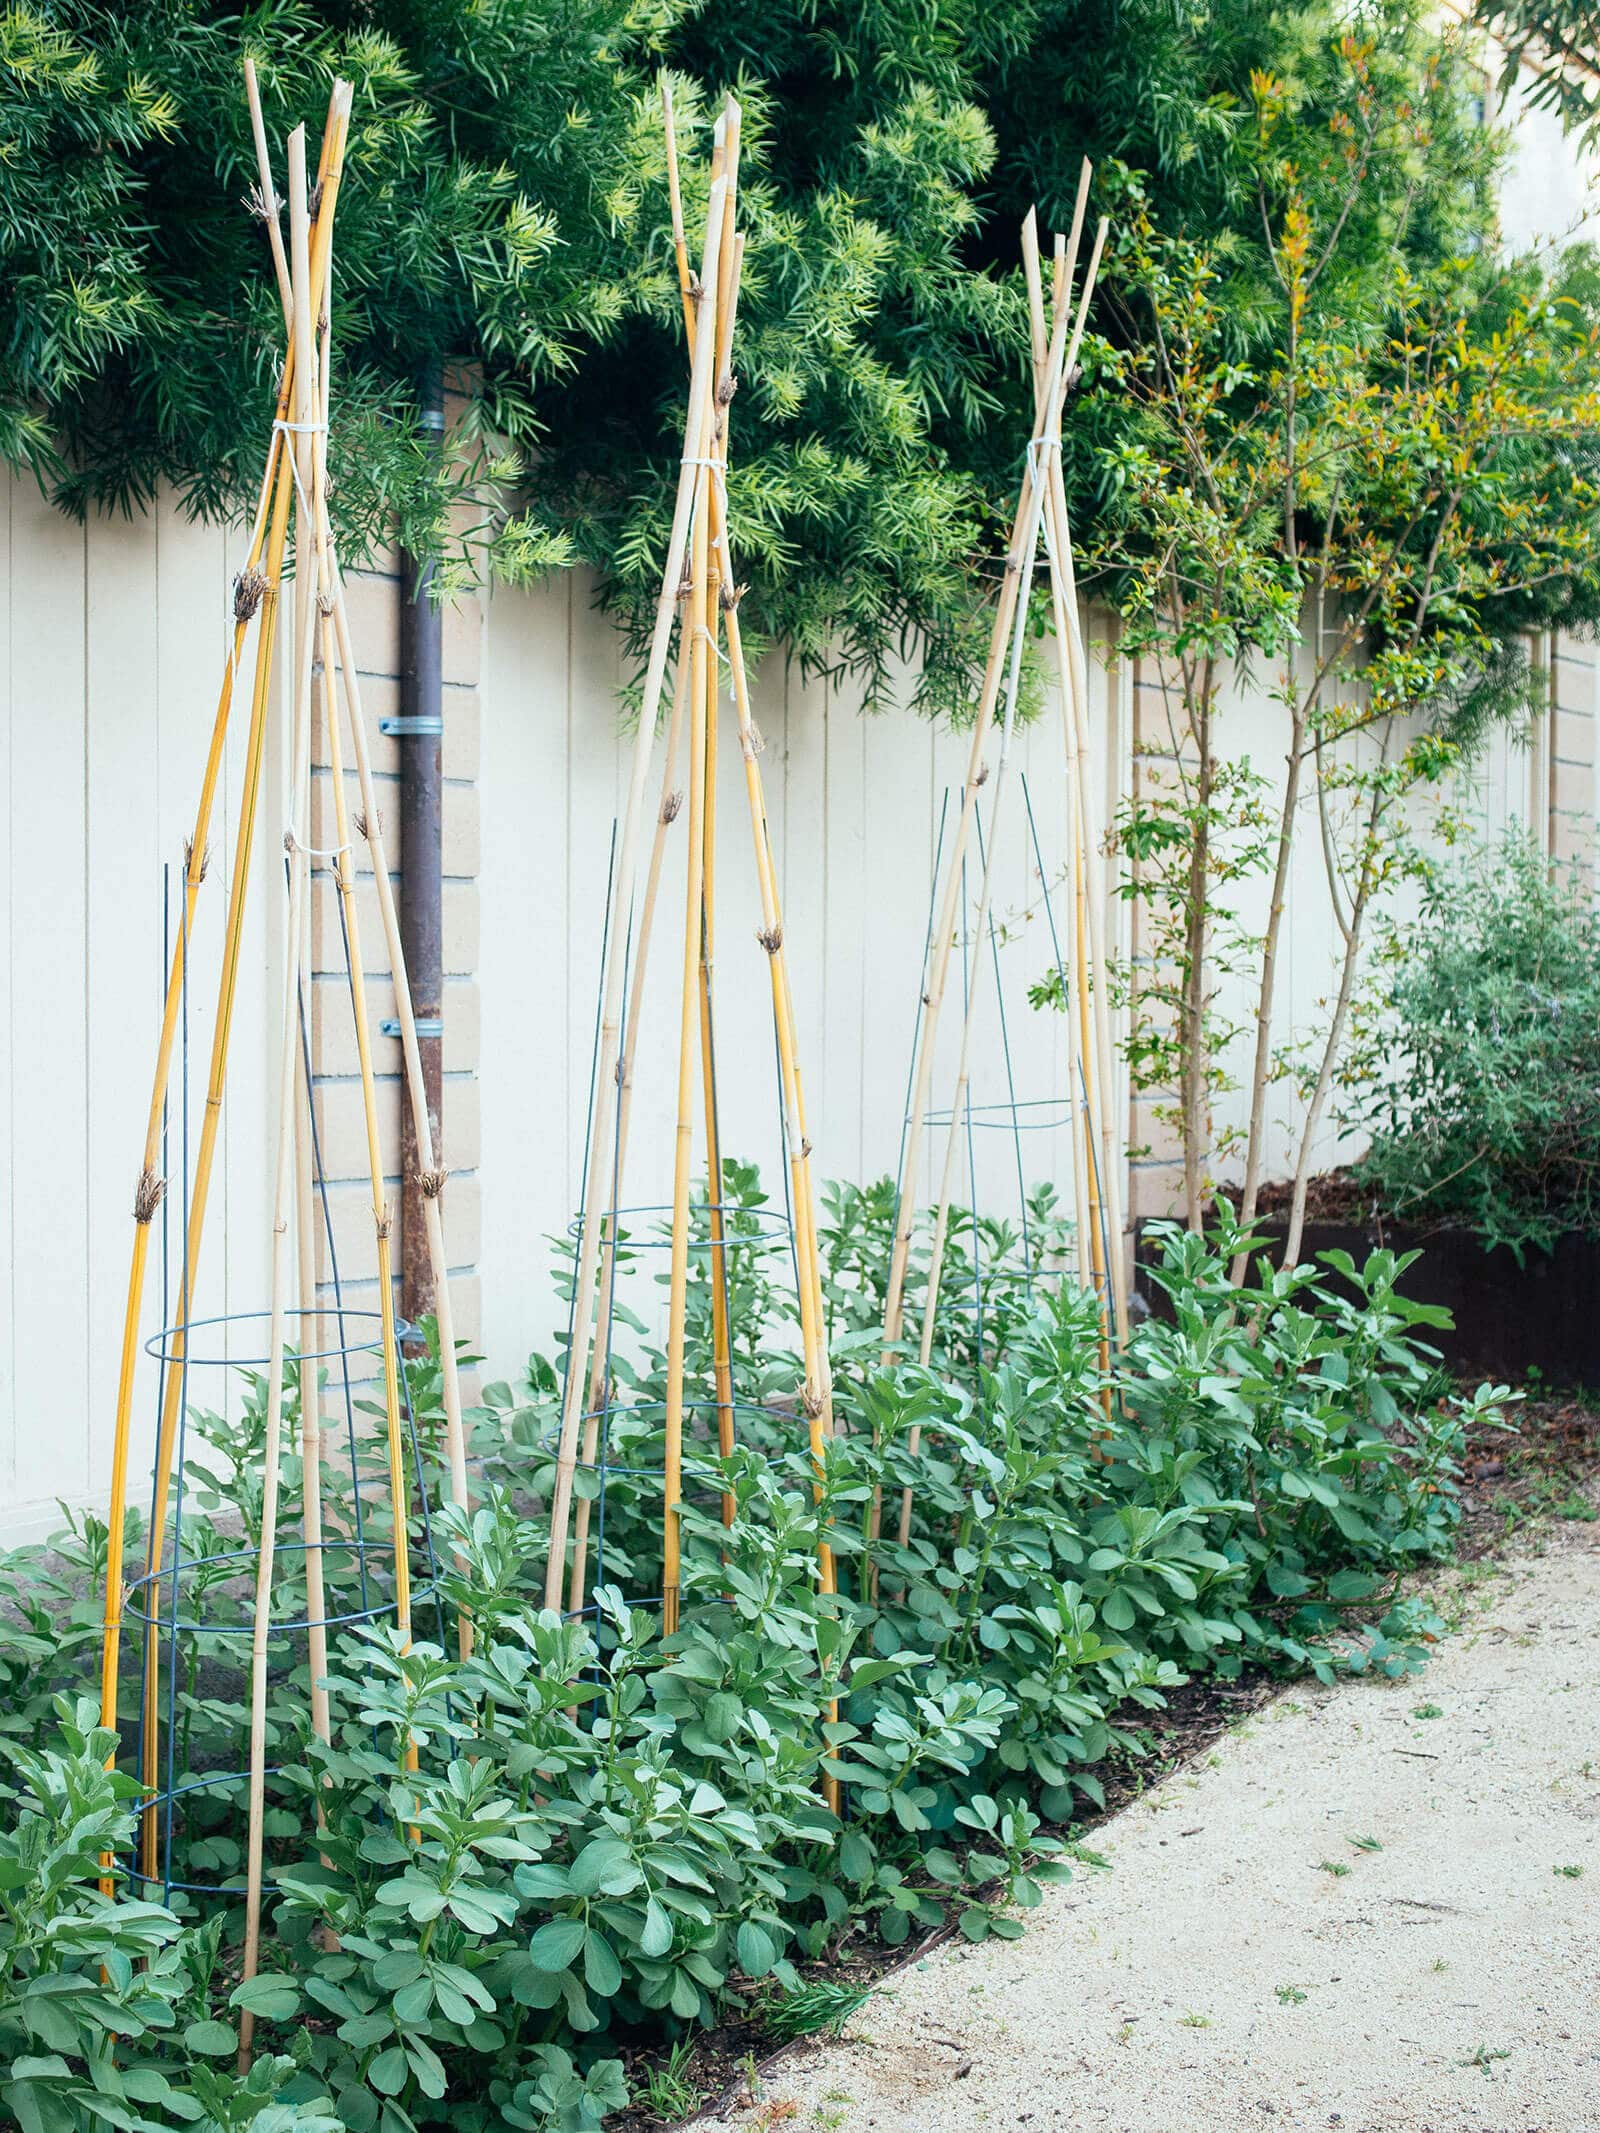
They’re well suited for those conical wire tomato cages that, ironically, don’t do a super job of supporting indeterminate tomato plants. But they’re fantastic for fava and bell beans!
You can also support them with bamboo teepees or wire plant stakes (the ring type usually sold as peony cages).
Recommended
Plant support rings
These half-circle wire plant supports can be used alone or in pairs to keep top-heavy plants from flopping over. I like the 32-inch version for supporting fava beans and bell beans.
When and how to turn the plants into your soil
Turning fava beans and bell beans into the soil means terminating the plants and letting them break down to enrich the soil.
Beans should be cut back when 25 to 50 percent of the crop is flowering. Don’t wait for the plant to make pods, because it’ll send most of its stored nitrogen to the seeds as it prioritizes filling the seeds rather than feeding the Rhizobia. That means less nitrogen will be available for your soil!
So watch for your crop to bloom and get ready to “turn it into the soil,” as they say in gardening parlance.
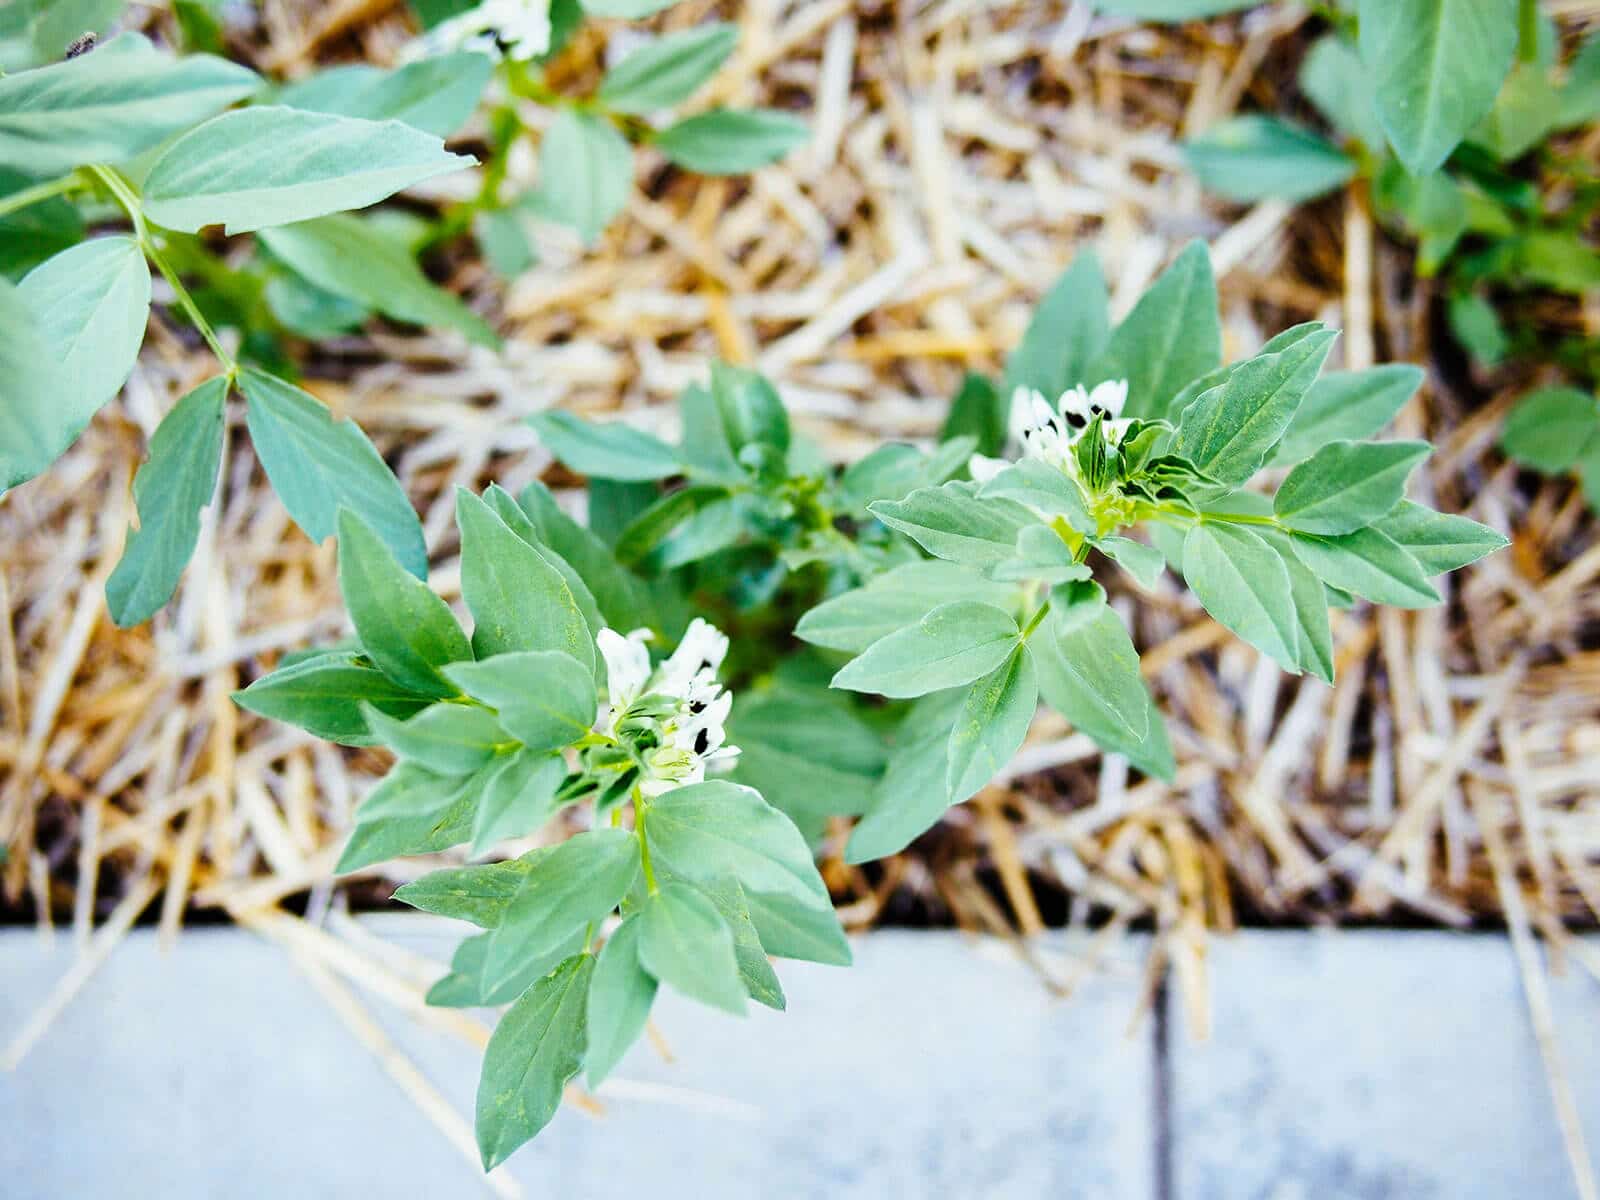
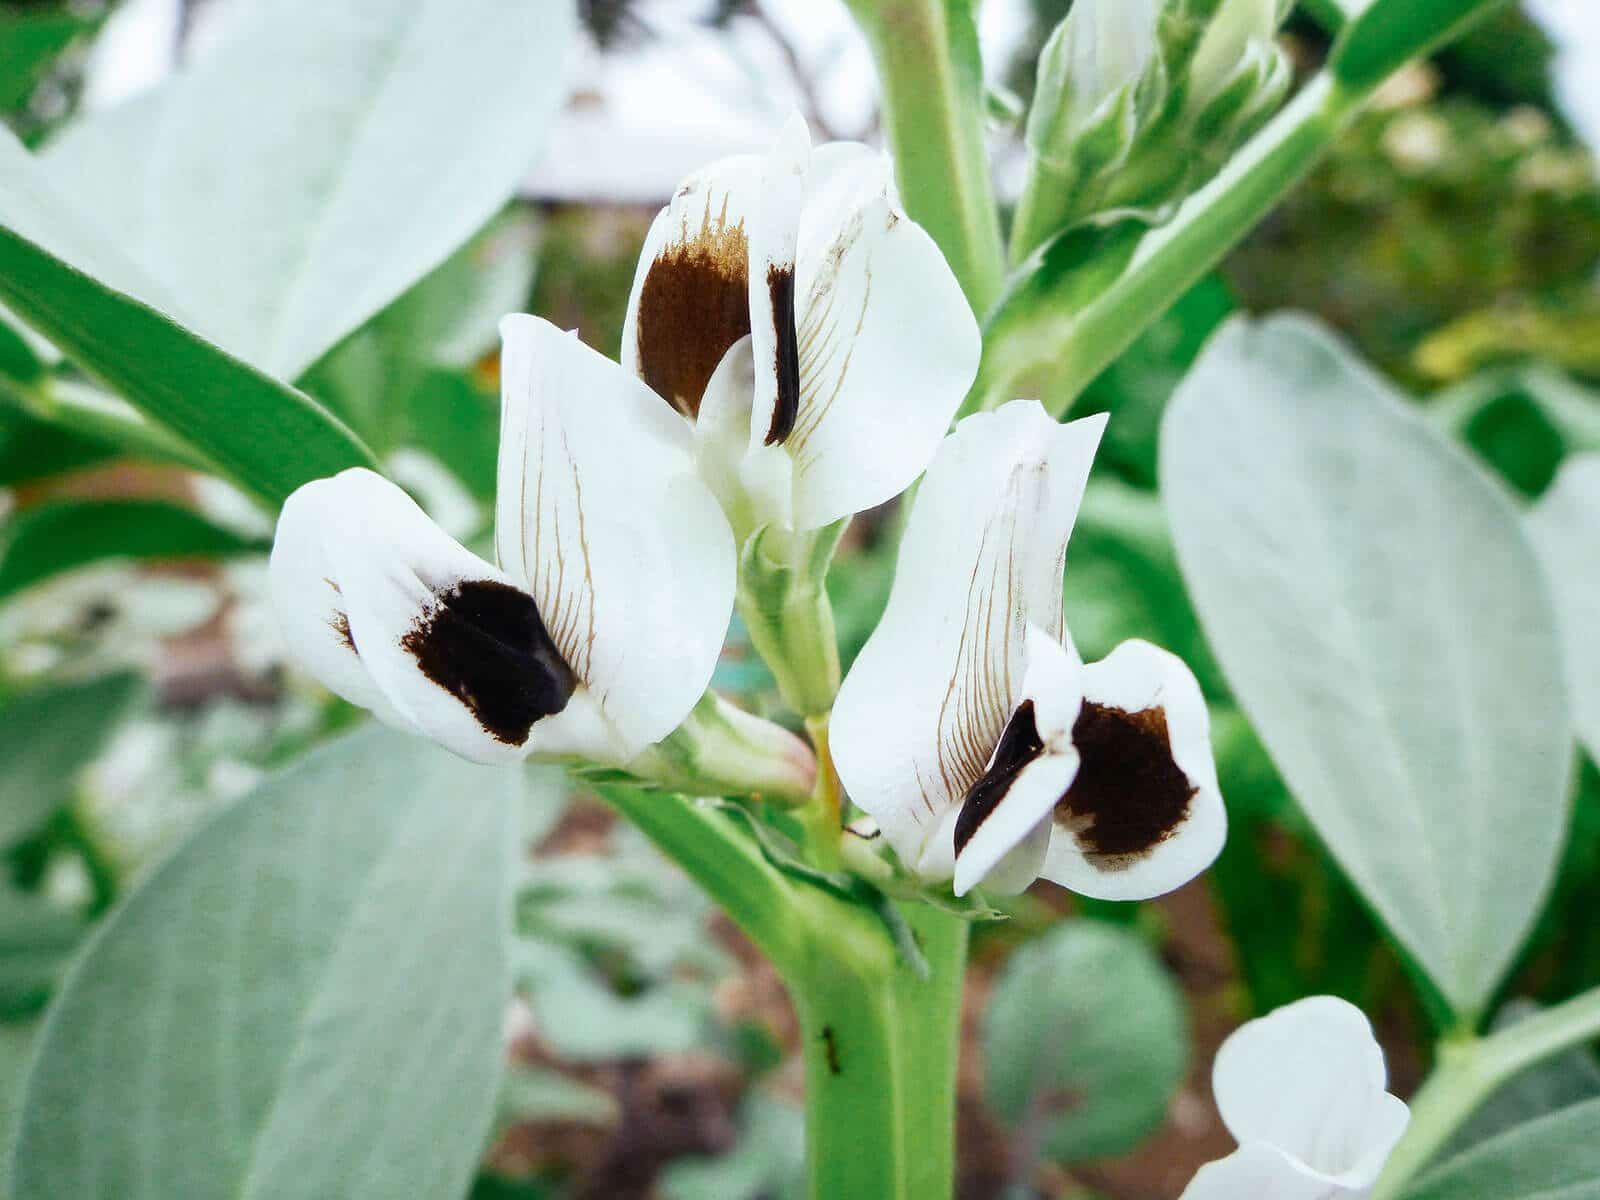
Traditionally, you would turn a cover crop into the soil by tilling, digging, or forking the plant material under the soil. But if you’re a no-till type of gardener, the “chop and drop” method is what I personally prefer: simply chop the plants down and spread them across the bed.
Cut them right at soil level (do not pull the plants up) so the roots stay in place underground. I find it’s easiest to do this with a pair of hedge clippers (I use the ones below).
Recommended
Hedge clippers
Lightweight and easy to use, these clippers are a staple tool in my garden shed. I use them for a variety of pruning tasks to trim, shape, or cut down plants at the end of the season.
Then wait three to four weeks before planting your next crop. I generally recommend this waiting period because as your cover crop decomposes, some of the nitrogen in the soil will be temporarily locked up. After a few weeks, the decaying roots will release their nitrogen stores and the foliage will break down into mulch and nutrients for your next crop.
When you’re ready to plant, just push the stems and leaves aside, make your holes, and plant your seedlings. If you want to sow seeds, cover the decomposing foliage with a 2-inch layer of soil or compost (or a half-and-half blend) so you have a clean planting medium for your seeds.
Quick tip
Growing fava beans and bell beans as “free fertilizer” doesn’t mean you should skip fertilizer completely. But you may only need half as much nitrogen in an average season for heavy-feeding plants.
Recommended bell bean seeds
Growing the bell bean variety of fava beans as a cover crop or green manure (with no intention of harvesting for food) means you can buy seeds in bulk, rather than culinary fava bean varieties that are only sold 20 seeds to a packet.
Here’s what I recommend:
- Bell Beans: Sold by the pound
- Bush Bell Beans: Sold by the ounce and pound
- Small Fava: Forage-quality variety sold by the pound
- Sweet Lorane: Cold-tolerant down to the low teens (°F)
The big bean misconception
Many gardeners think that simply growing beans alongside their other plants will help pump nitrogen into the roots of these other plants.
But that’s a myth: Living legumes use most of their fixed nitrogen to grow their own leaves, stems, and flowers. They store the rest of their nitrogen in root nodules until that nitrogen is needed for seed production.
To actually get that nitrogen, you have to chop the plants down (before they set seed) and let the roots decompose in the soil instead of pulling them out. As the root nodules break down over a few weeks, they release the stored nitrogen for the next round of plants that go in.
Frequently asked questions
This post updated from an article that originally appeared on October 15, 2013.




I have a question about pests and cover crops. Last year I took your advice and planted fava beans and Austrian winter peas as cover crops. I covered the rest of my beds with straw. I loved the taste of the peas, and the idea of keeping the soil healthy. However, this year I had the worst problem with pest insects, especially squash bugs. I always have praying mantises, wasps etc. and I never spray insecticide, although this year I used some Neem to combat the infestation. I am wondering if cover crops give those pest insects a safe refuge, when their numbers might be kept down by freezing temperatures otherwise. Do you have any insight? Thanks! I love reading your blog, as a fellow Oregonian.
Theoretically cover crops can provide winter shelter for pests, although straw, other kinds of mulch, leaves, wood piles, and other debris would do the same. Often, cover crops attract (and also shelter) beneficial insects that help control pests. One thing you can do is wait a few weeks after terminating your cover crop before you plant, so that any pests have a chance to disperse. I’ve also found that pests seem to come and go with the weather—if it’s unusually cool, wet, hot, dry, etc. (which has an impact on weed growth, predatory bugs, watering routines, and such), then their numbers might be outside of what’s typical for your yard.
I grow all my veggies in 10 gallon fabric containers with approximately 12 containers on my balcony. One of the issues i have is the soil gets compacted over time. What do you recommend to use as a cover crop as I don’t need a large amount or want plants that grow too large. I’m in zone 6b and thinking this would be a good way to overwinter the pots while moving them to a sheltered area of the balcony.
For compacted soil, tillage radishes work great. Since you’re growing in containers, you can get away with growing regular daikon radishes (or any type of long winter radish) instead of buying cover crop seeds. Once the plants are terminated, the roots underground start breaking down quickly and add a lot of organic matter that fluffs up the soil. As a bonus, you can harvest some of the leaves to eat!