
One of the perks of having a garden is being able to grow your own herbs and use them all year long. I’m sure I’m not the only person who’s had a half-bundle of parsley turn slimy in the back of the fridge, or paid $10 for a tiny bottle of dried organic tarragon.
So when my herbs are at their peak—and before they die back in fall—I gather and preserve as much as I can to last through winter and spring. I’ve frozen fresh herbs and also dried them in the oven, but the simplest way to save herbs for year-round enjoyment is to air dry them. No special equipment needed!
Here’s how I dry my herbs at home without a dehydrator, how long it takes, and the best way to store them for maximum flavor.

The best herbs to dry
All of your favorite Mediterranean culinary herbs and some common herbs and flowers used for tea can be air dried. You can even dry tomato leaves to use as a seasoning! (Yes, tomato leaves are edible and I’ve shared several ways to use the leaves in your kitchen.)
- Basil
- Oregano
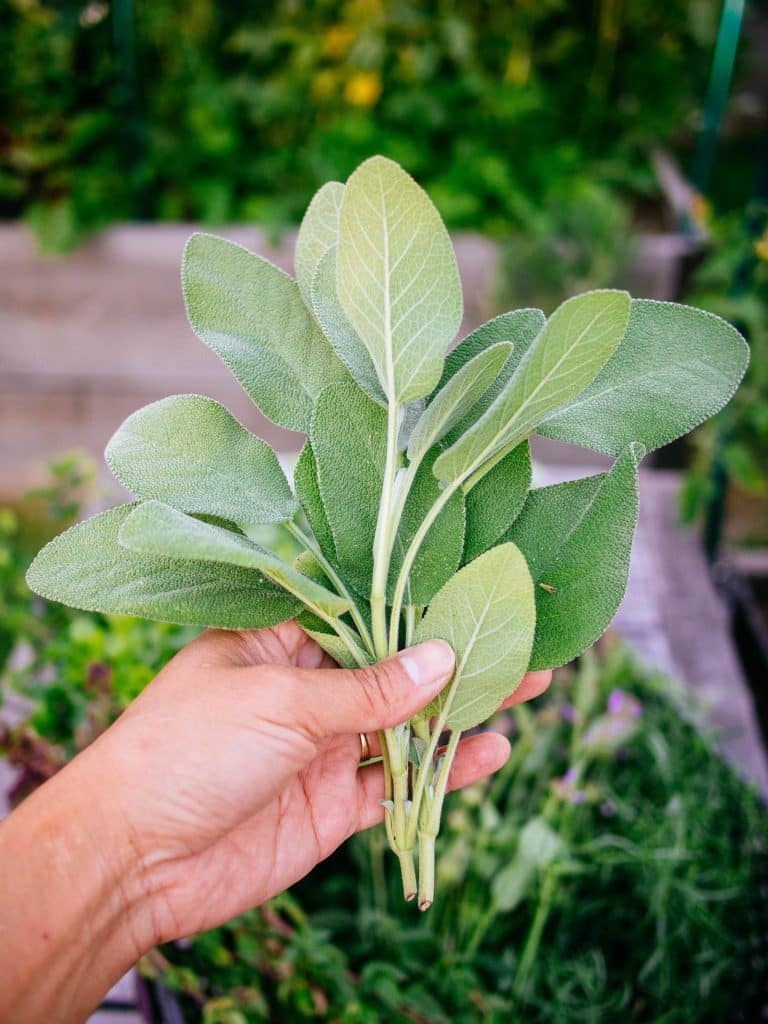
- Sage
- Thyme
- Rosemary
- Parsley
- Tarragon
- Dill
- Bay
- Mint
- Lemon balm
- Lavender
- Anise hyssop
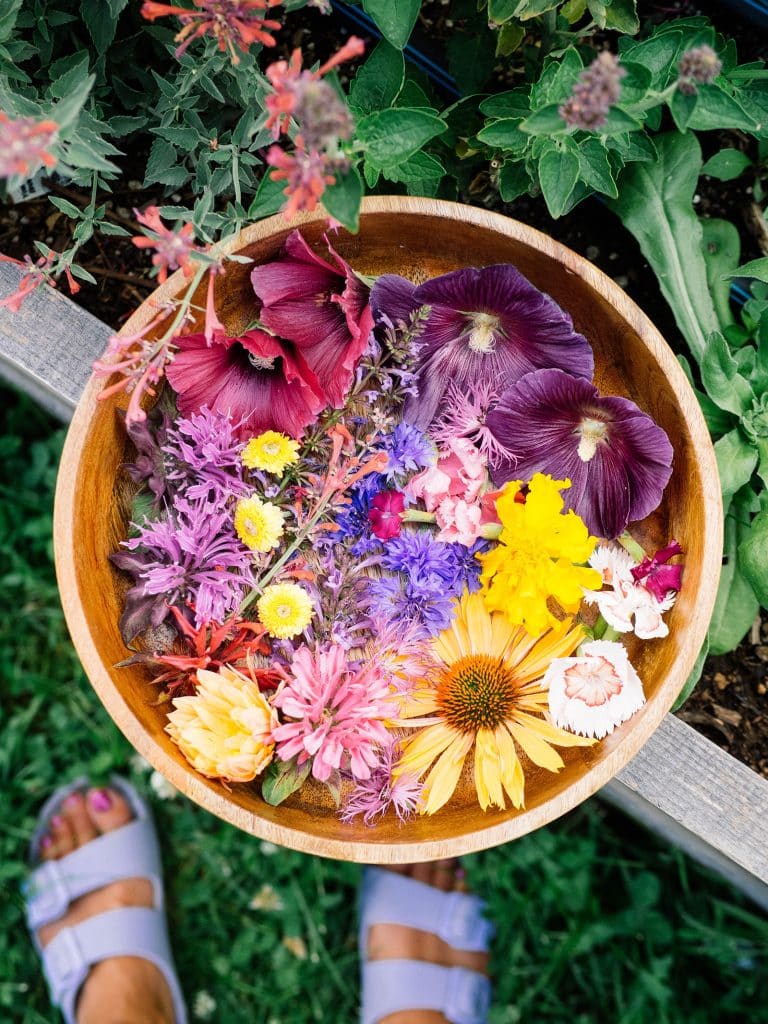
- Chamomile
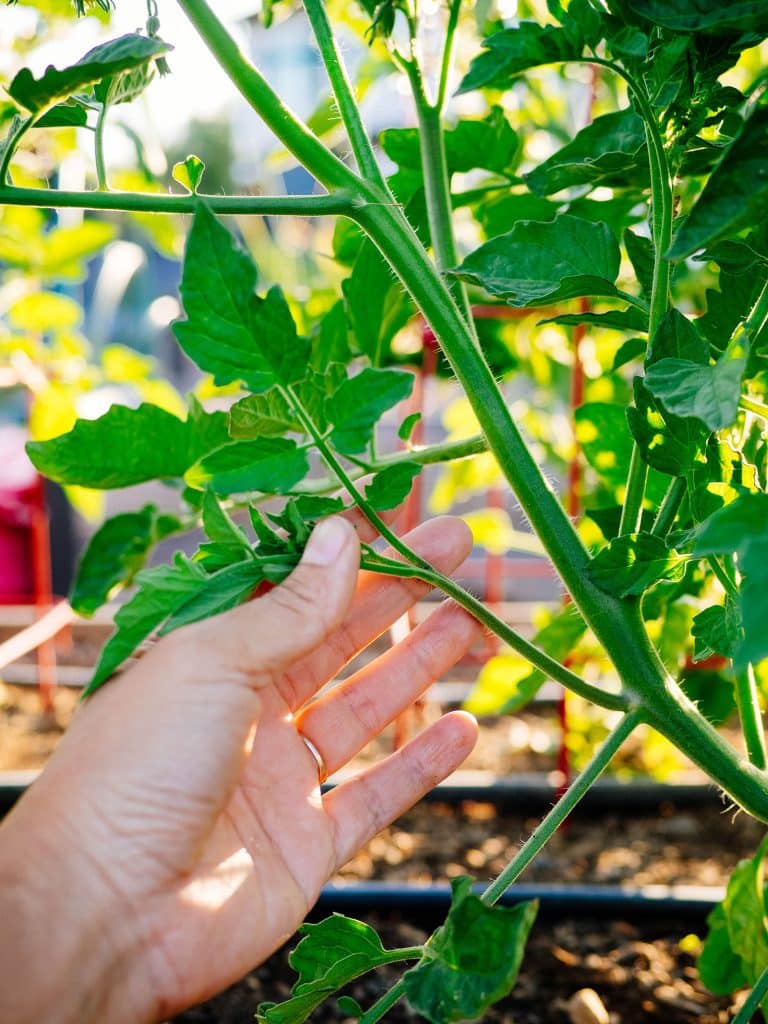
- Tomato leaves
How to harvest and hang your herbs to dry
While your first thought is to gather all the herbs you can at the end of the season to preserve them, there’s no reason you can’t preserve your favorite herbs all season long once they start producing. In fact, this is a good way to put the trimmings to use after you’ve gone through and pruned your herbs. (I usually can’t use all of the sprigs before they turn brown, and drying the excess is a nice alternative to simply composting them every time.)
The best time to harvest herbs is mid-morning, after the dew has dried but before the heat of the day sets in. This ensures the oils responsible for flavor and aroma are at peak concentration.

You can harvest annual herbs right until frost. In climates where perennial herbs stay evergreen, clip them about a month before the first frost so new growth has a chance to harden off for winter.
Read more: How to find your first frost date by neighborhood
1. Cut several long stems of herbs from your garden.

If needed, give them a quick rinse to remove dirt, debris, or bugs, then give the washed herbs a spin in a salad spinner or thoroughly pat them dry with a towel.
2. Remove the lower leaves from each stem.

Leave at least an inch or two of bare stem at the bottom so you can tie it.
3. Gather the stems and tie them in bundles with twine.


Leave a little loop on the end for hanging.
4. Hang the bundles on a clothing line or rack.


Or use any place the herbs can be left undisturbed for a couple weeks to dry. I’ve used pot racks, coat racks, even doorknobs in guest rooms.
The key is to dry your herbs somewhere dark and well-ventilated. Sunlight can strip the flavor and color from your herbs, and humidity can prolong the drying time or even encourage mold. (Mold can particularly be an issue with basil leaves, which have high moisture content.)
Subscribe to Garden Betty
Sign up to get my free weekly emails and I’ll teach you how to keep your plants alive, maximize your garden bounty, and preserve the harvest.
How to tell when your herbs are fully dry
Typically, you can tell by looks alone. The leaves dull slightly in color, curl up, and shrink in volume. This usually only takes about a week for most herbs, but high-moisture herbs (like basil) may take up to three weeks to completely dry.


Once my herbs look dry and crisp, I like to wait another week or two just to be sure all the moisture is out of the leaves. The stems should feel brittle and the leaves should crack easily if you bend them. If they’re still somewhat pliable, they need more time.
An alternative to hanging herbs
If you have space in a spare room or in your garage, you can spread your herbs across a window screen (or a sheet of wire mesh framed with 1×2 boards). Prop the screen on sawhorses or the backs of chairs to provide plenty of airflow so your herbs dry evenly. You’ll want to keep the screen away from direct sunlight and in a low-key place where it won’t get bumped into.
Disclosure: If you shop from my article or make a purchase through one of my links, I may receive commissions on some of the products I recommend.
How to store dried herbs
The best way to store dried herbs is in airtight containers in a cool, dark, and dry place, ideally below 75°F. A drawer, cupboard, or pantry is ideal—never near the stove, since heat and steam cause the delicate, volatile compounds in the oils to degrade faster. I use clear jars since I keep all my herbs out of direct sunlight, but if your spice rack sits near a window, I recommend amber jars to protect the leaves inside.
Related: Make your own magnetic spice rack with this easy DIY

Pull the leaves (and/or flowers) off the stems into a small bowl. Most of these will naturally crumble, but I prefer to leave them as intact as possible when filling my jars. This way, I can crumble the leaves right before using them to release all the flavors. A small funnel will help with filling if you have one.
Where to buy
Herb storage supplies
Dried herbs keep for at least six months to a year. In optimal storage conditions, I’ve even had home-dried herbs store for up to two years! While they don’t necessarily go “bad” after this, they do start to lose potency so you’ll need to use more to achieve the same flavor.
Frequently asked questions